
Matt's Weekly Shop Update
Kitchen Island, Barn Power – March 2024 Update
Welcome to my shop! This is a quick update to let you know what I’ve been up to. This big chunky thing is the leg
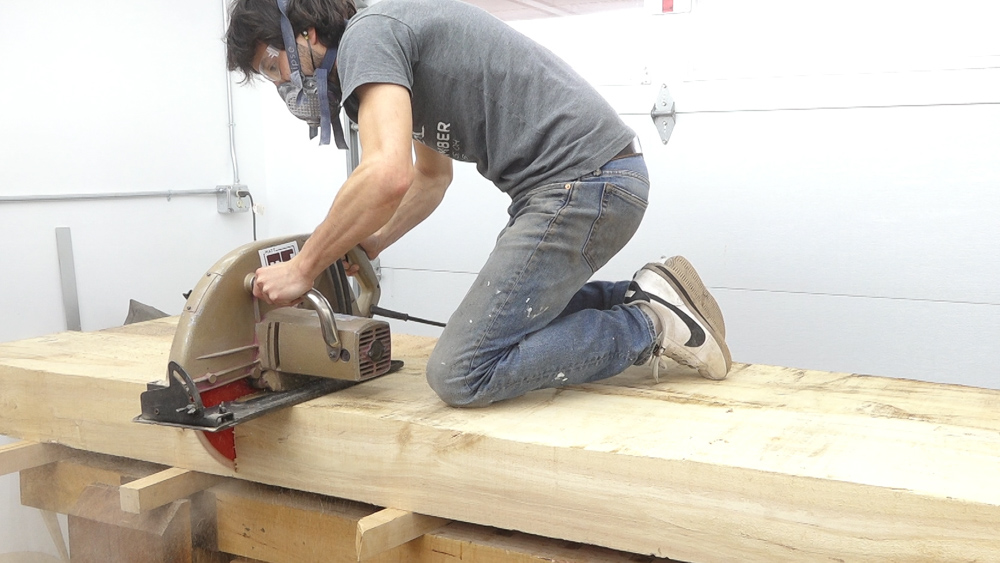
This customer is building a replica of the workbench that andy klein built for adam savage from the first few benchtop I produced as a proof of concept. That bench is 5’ long to fit smaller spaces. First step for me is to chop these 8 footers down. I’m rough cutting at 66” with the beam saw. That takes the slabs down from about 140lbs to around 100lbs.
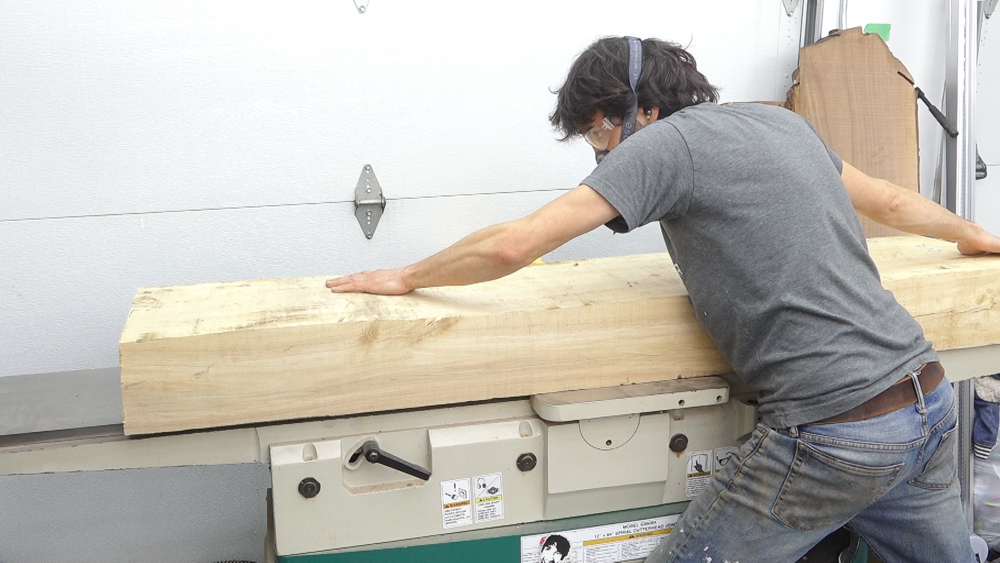
First step for surfacing is to joint one face flat. These are 13 and change inches wide – wider than my 12” jointer so just as I would with anything else that is too wide, I’ll cut a wide rabbet and use the planer to finish the flattening. My jointer has a rabbeting ledge which wont allow multiple passes unless I manually flush up the area that doesn’t get cut so I aim for a pretty heavy cut.
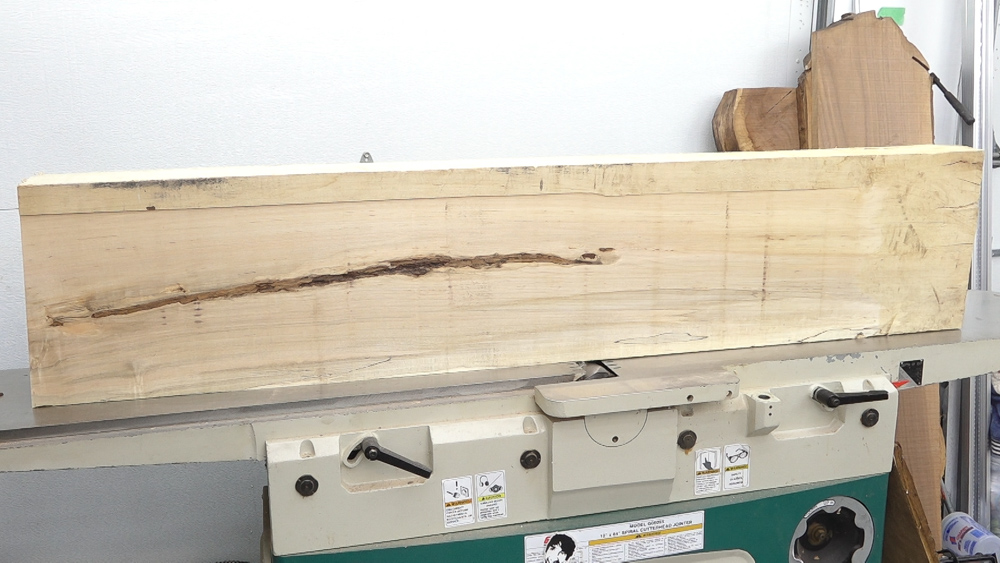
This is a bit over 3/16” deep. And there’s a look at the 12” wide rabbet that is flat and will become the reference surface. This one falls off towards the end but that’s not a huge deal since this area will be cut away when the slab is cut to final length.
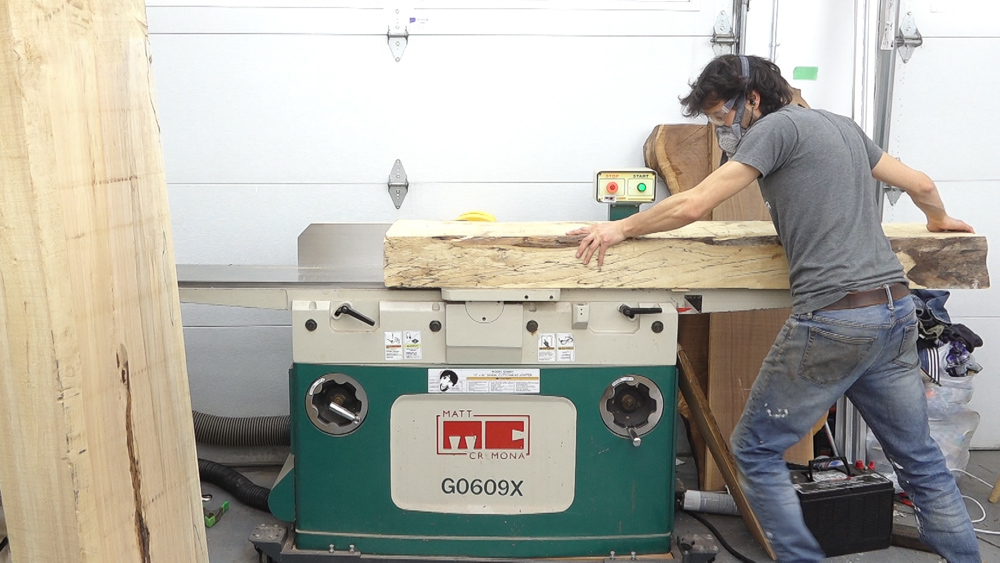
On to the second one. This one has a bit of twist in it. Here’s a trick I use to help stabilize a twisted board. I’ll put a shim under the board to hold it midway through the twist. This keeps it from rocking as it goes through the jointer and results in less material that needs to be removed to establish a flat area vs just holding one end all the way down. I’ll use a scrap or chip of wood off the floor or in this case, a piece of cardboard.
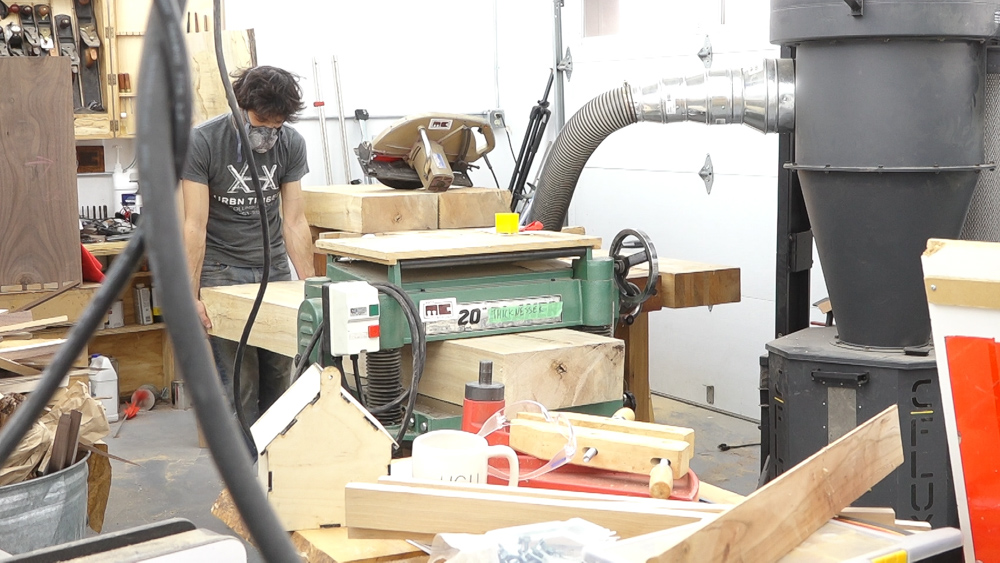
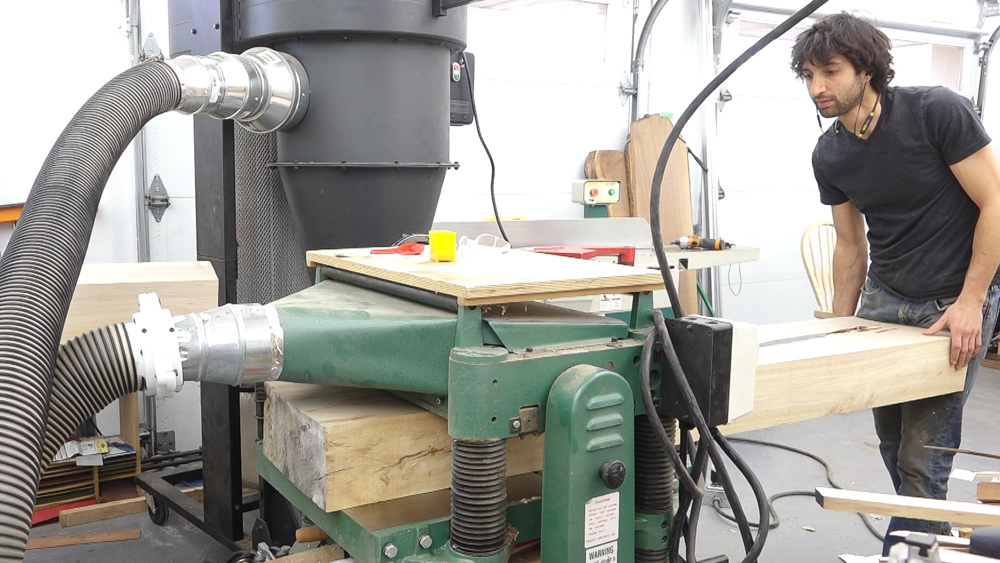
Now I can install my planer platform into the planer. It’s a 12” wide piece of melamine with a stop on the bottom which catches on the table so it cant be pulled through.
I’ll run the slabs through the planer guiding the rabbeted portion along the platform until the top face is mostly cleaned up.
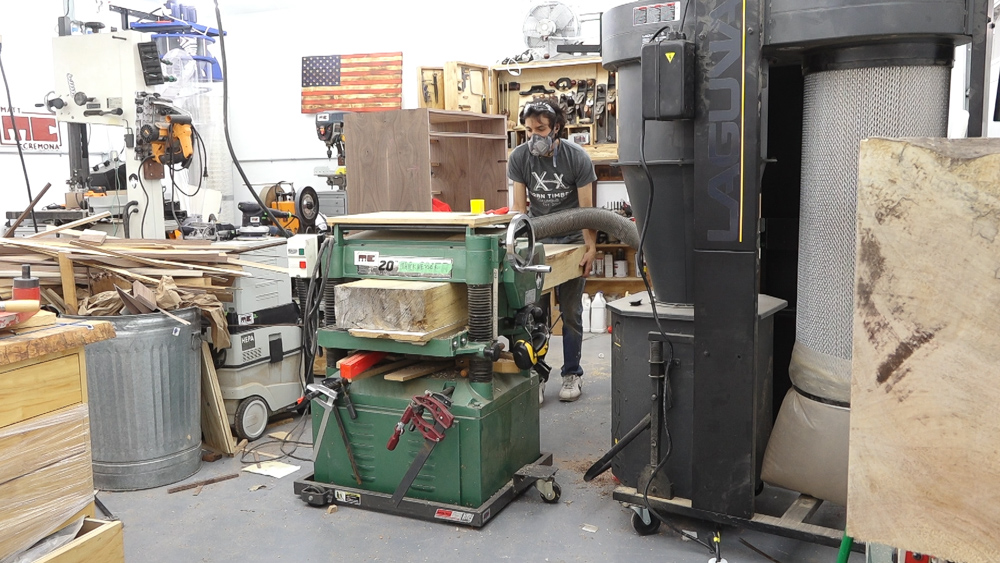
Now I can pull the platform to plane the previously jointed face. Since my platform is ¾” thick, I can turn the planer handle 12 time to be at a cut depth which will remove the excess material. From here, its just a matter of working both faces until they are all cleaned up on both slabs. Final thickness on these ended up at 5 3/8” thick.

Now we can go back to the jointer to square up on edge. The nice thing about these slabs being so thick is that once the edge is cut square, every needed subsequent pass doesn’t need the fence since these things aren’t going to rock around as they go through. I only need to focus on that first cut.
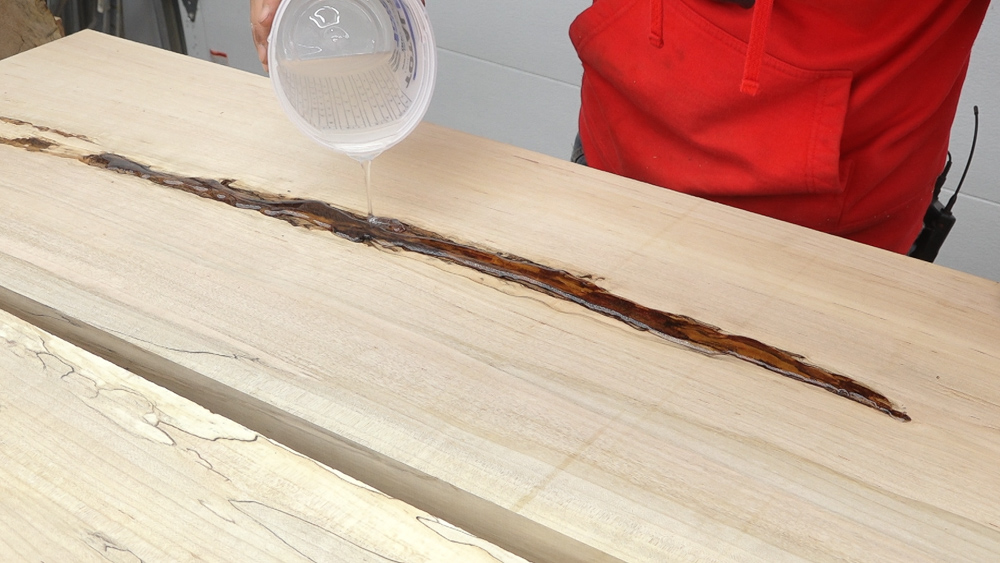
These slabs each had a defect on one face. A knot on one and a bark inclusion on the other. I’ll go ahead and fill these with Total Boat’s High Performance Epoxy.
To clean up the epoxy, I can give the slabs a skim pass through the planer.
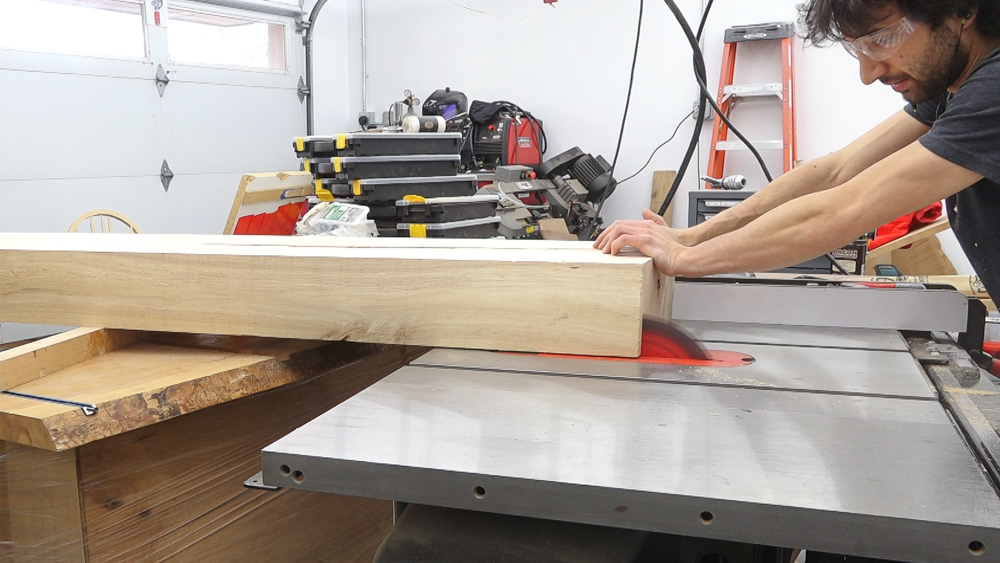
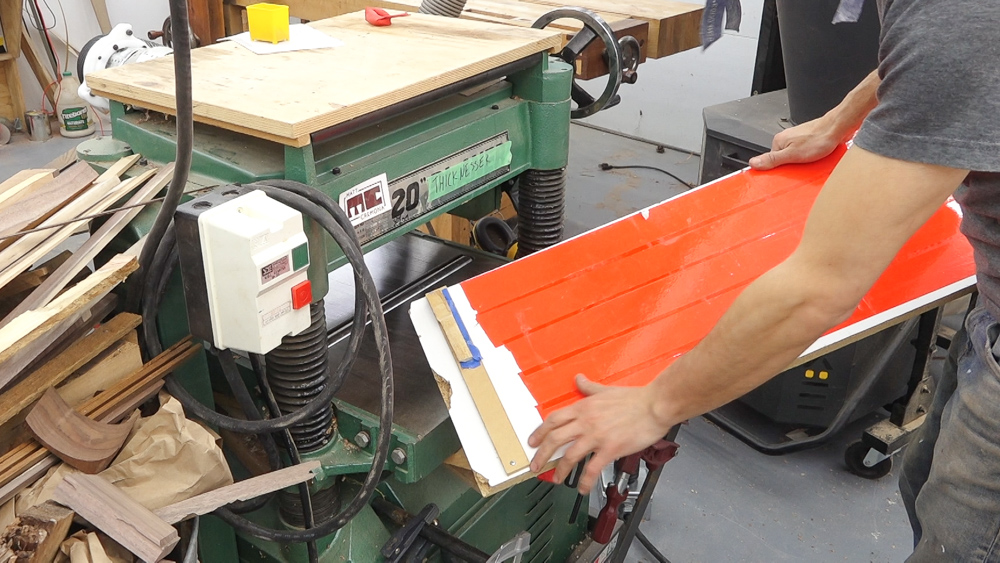
To rip these to width I’m going to use the table saw in two passes. If you’ve ever tried this, you’ll know it’s a guarantee that these cuts won’t line up perfectly so I’m introducing a bit of error to remedy that. I have the blade tipped just a bit to create a bit of a concavity down the middle of the edge. This will get the mismatched area out of the way and allow the outside edges to be the reference surface for a clean up pass at the jointer. This ensures that I will remove a consistence amount of material down the entire length; keeping the edge square and parallel to the other edge.
Beam Saw: https://amzn.to/3e8Gtr2
Dust Mask: http://amzn.to/2y8dl1m
Hearing Protection: http://amzn.to/2yQ0sa3
Table Saw: https://amzn.to/3eTcK9T
Jointer: https://amzn.to/3r43diH
Planer: https://amzn.to/2P69Nb2
Total Boat High Performance Epoxy: https://www.totalboat.com/product/high-performance-21-epoxy-kits/https://www.totalboat.com/product/totalboat-epoxy-kits/
Use coupon code cremona15 to save 15% off your first purchase on totalboat.com
Welcome to my shop! This is a quick update to let you know what I’ve been up to. This big chunky thing is the leg

Welcome back to the home renovation. This time I’m going to be working on the kitchen island. Here is a small model of the island.

Welcome back to our home renovation. Today I am going to be working on this wall. It needs some upper cabinets and the surround for