
Matt's Weekly Shop Update
Kitchen Island, Barn Power – March 2024 Update
Welcome to my shop! This is a quick update to let you know what I’ve been up to. This big chunky thing is the leg
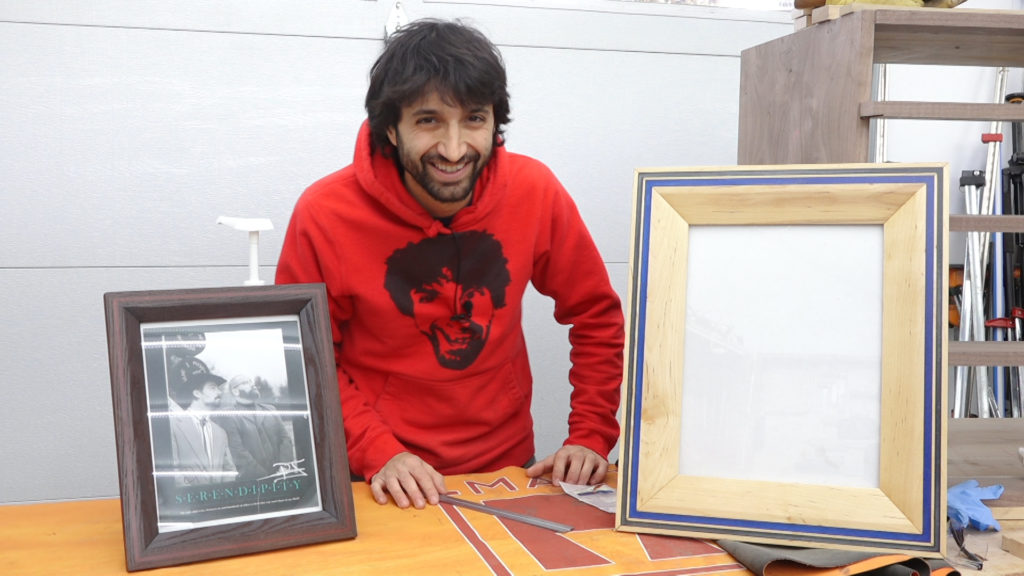
After spending so much time moving the shop, it’s time to make a quick project and have some fun in the shop. I thought a picture frame would be a good fundamental quick project and an epoxy boarder would add a bit of fun and experimentation to the project.
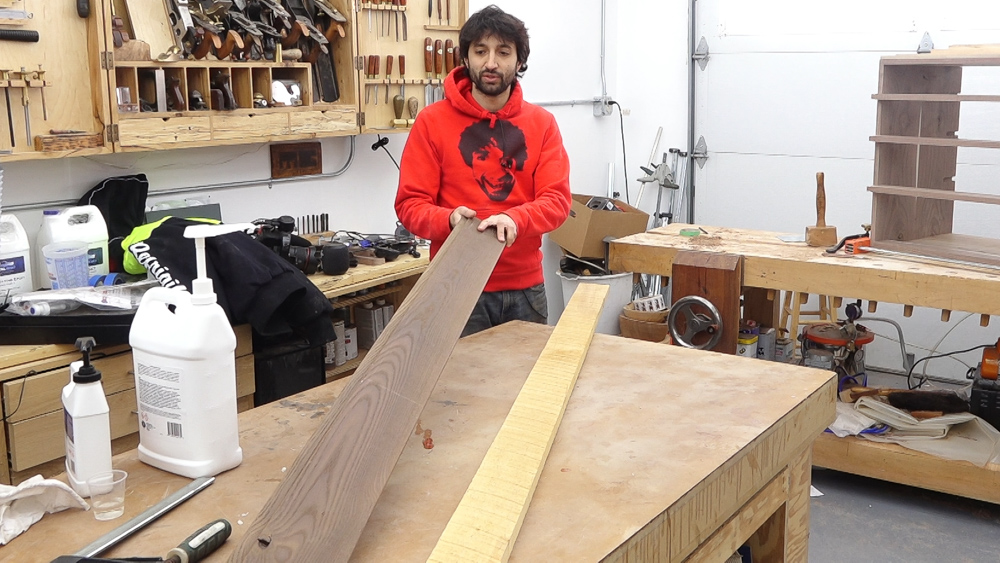
I pulled a couple of contrasting boards for this project. I have some high temp thermally modified ash that I got from a viewer several years ago. I believe this is an offcut of decking. I also had a narrow board of birch. My inlaws bought me a stack of wet lumber for christmas about 10 years ago. That was the first stack of lumber that I dried myself.
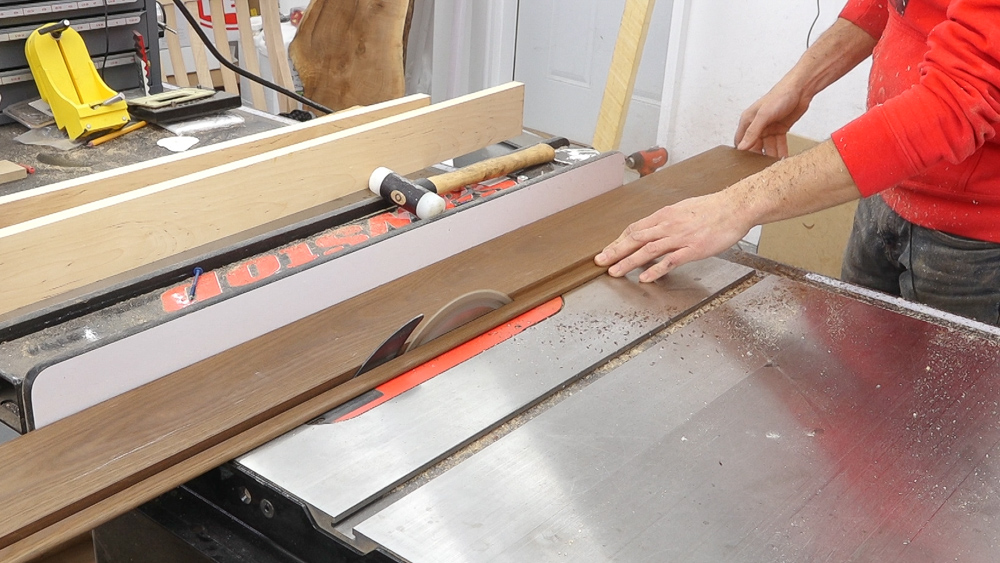
I’ll start off by prepping the stock. The birch gets jointed and planed flat and the ash has the molding profile removed and then ripped into strips.
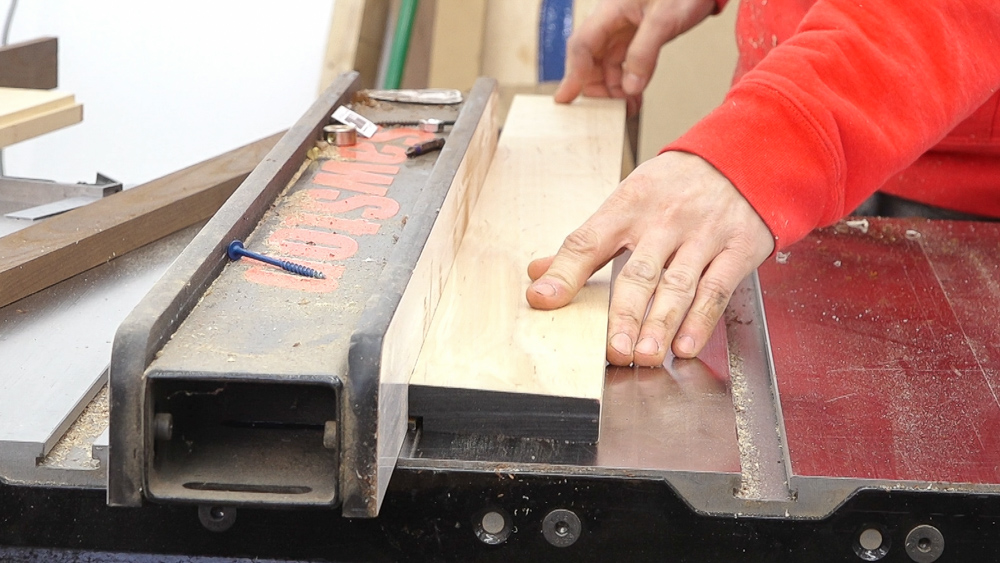
I’ll start the profiling by making the rabbet for the glass and backer. This is a 1/4″ x 1/4″ rabbet that I’ll make in two passes.
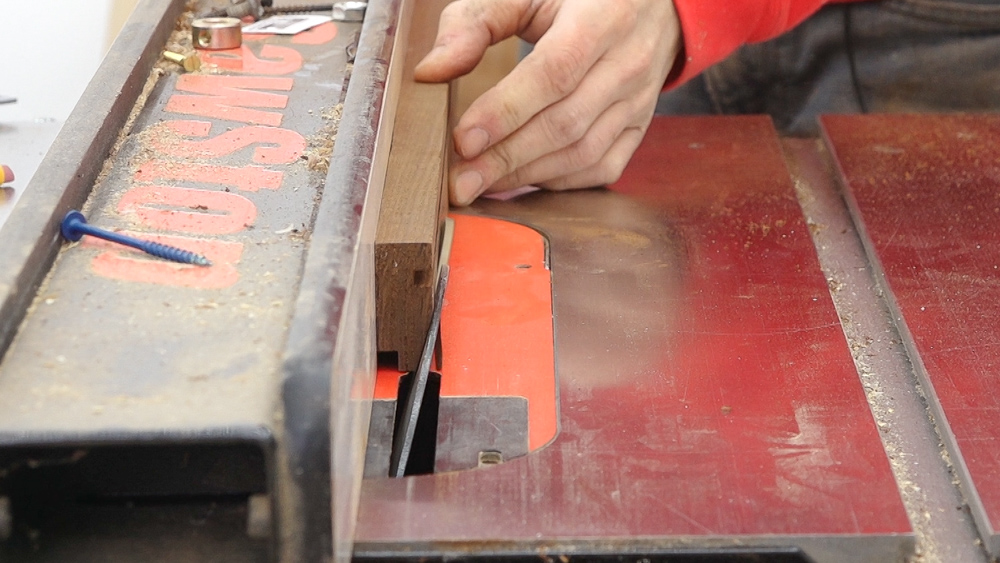
I’ll cut a groove for the epoxy and then add a bevel to the inside edge.
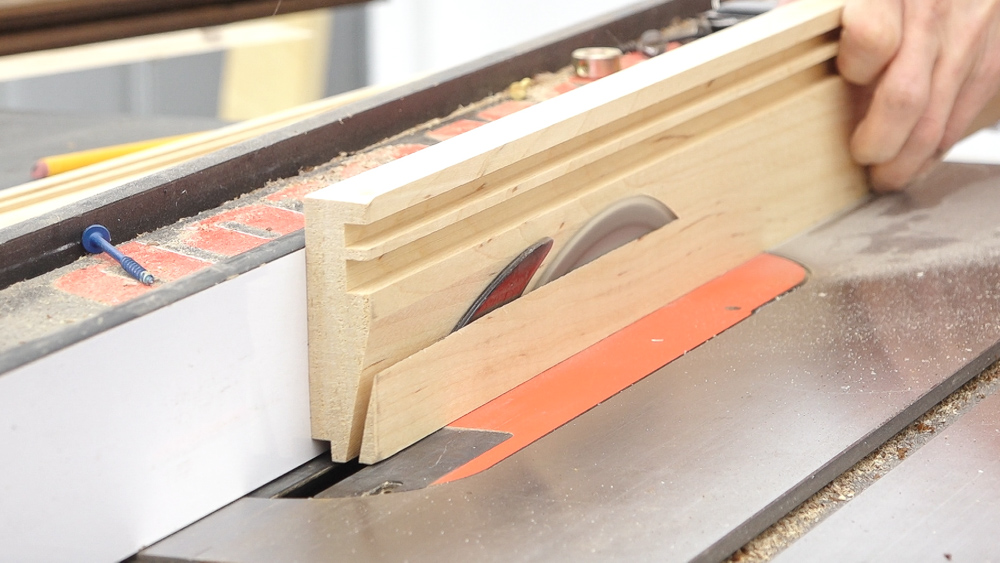
Because I’m not creative enough to come up with two designs, the birch gets a similar profile. I was going to make one large groove for the epoxy but in the middle of clearing out the waste, I thought it might be cool to have two grooves with a bit of wood between them.
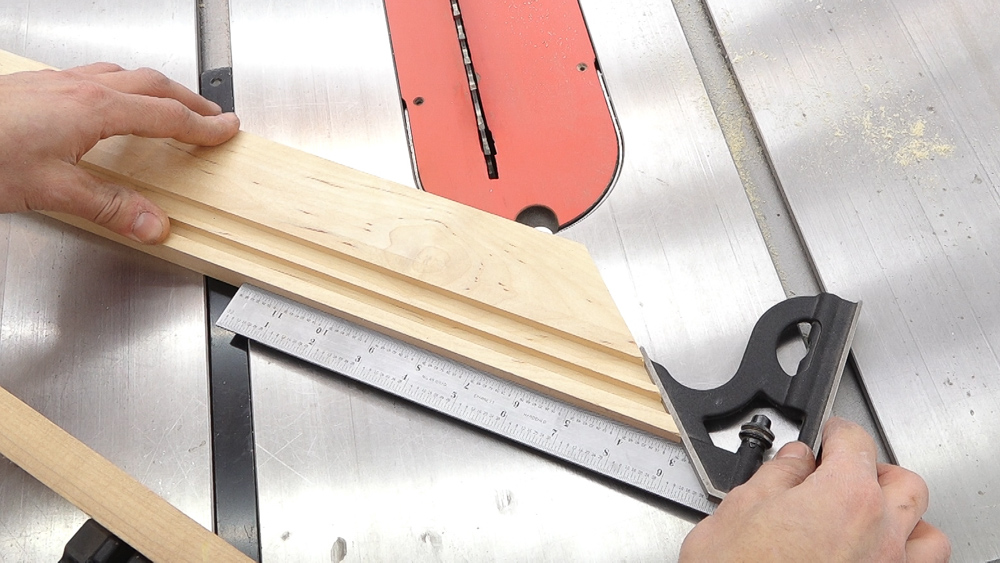
With the profiling complete, we can move on to cutting the miters. I know many people find creating perfect fitting mitered frames challenging and my biggest piece of advice is to check and verify your cuts for accuracy. Many people put a lot of effort into setting up their saws for a perfect cut but them never check the actual result of the cut. Here are a few things to check:
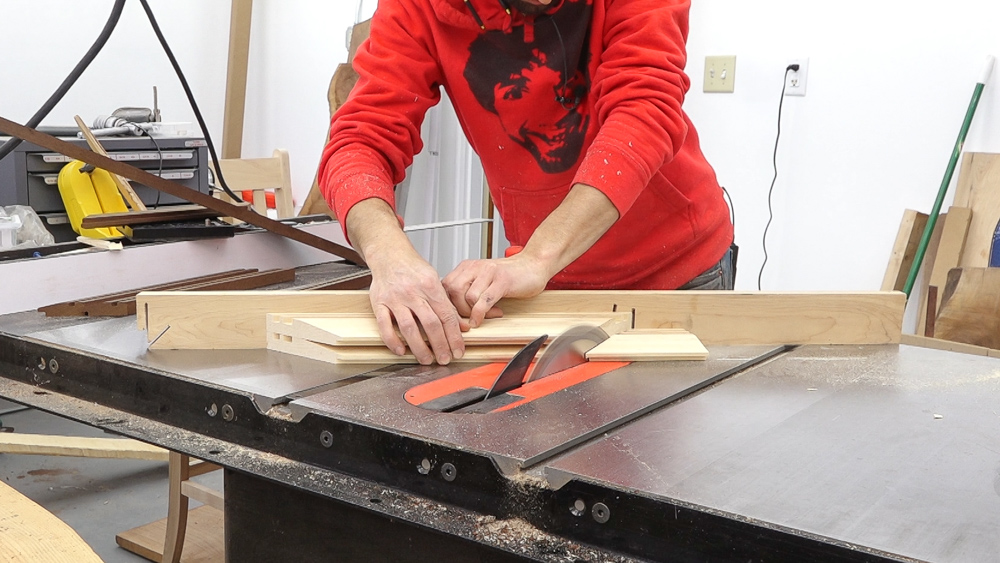
The other big accuracy thing with frames is that the two opposing sides are exactly the same length. This can be done with a stop block or by gang cutting.
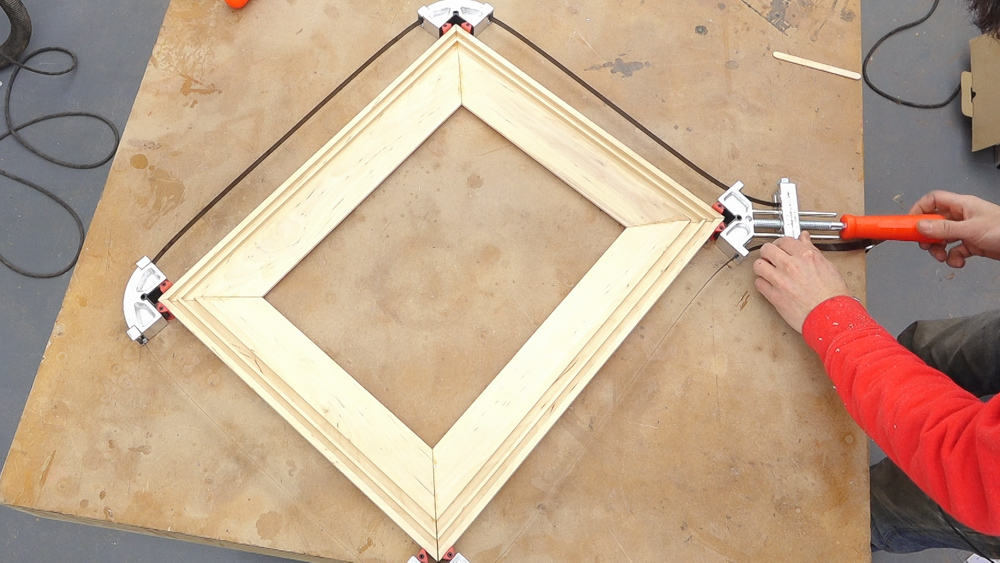
After checking the fit, we can proceed with glue up. I’m using epoxy here primarily because I’ll be pouring epoxy into the grooves. I’ll be able to do the pour without having to wait for the miter glue to cure. I’m using TotalBoat Traditional 5:1 epoxy for the glue up and the pour.
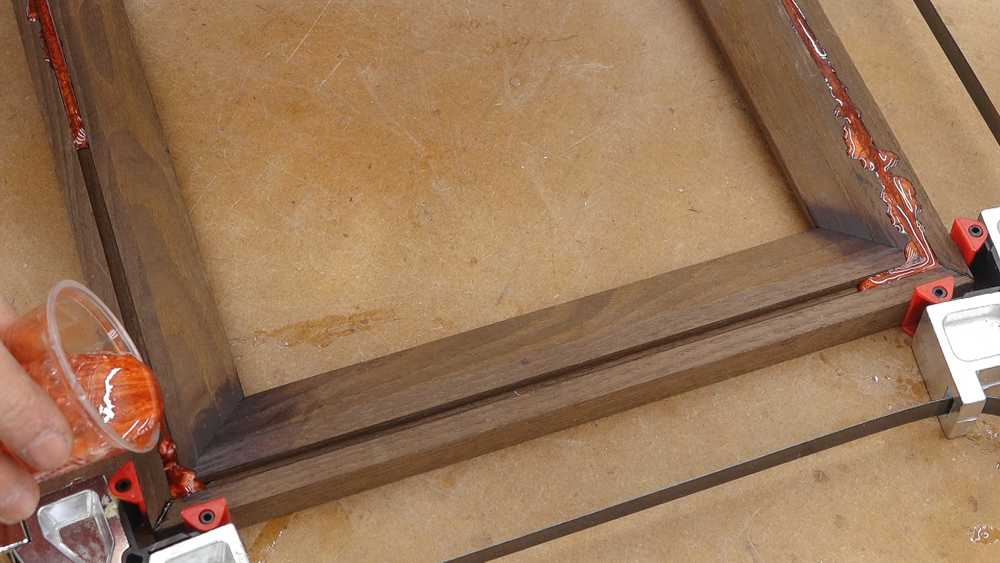
Into the ash frame, I’ll pour epoxy with copper pigment.
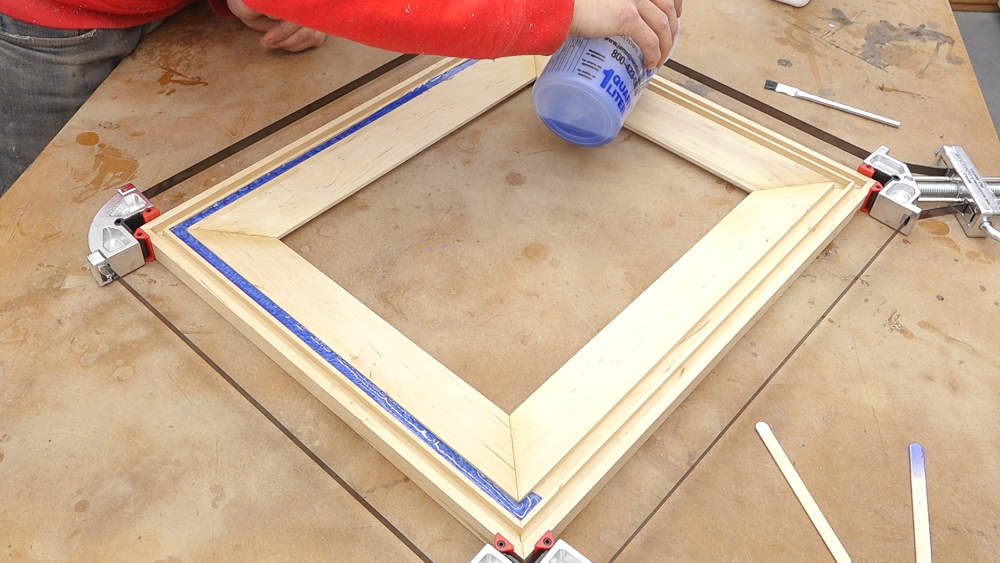
Into the wider inside groove I went with a blue pigment with some micro pearl which will give it some iridescence.
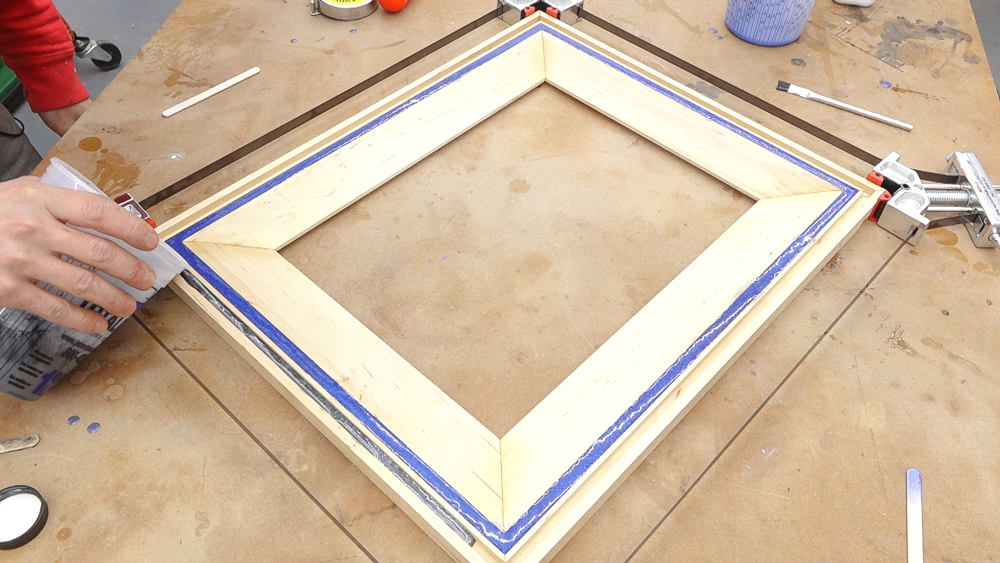
Into the outer groove I with with black and micro pearl.
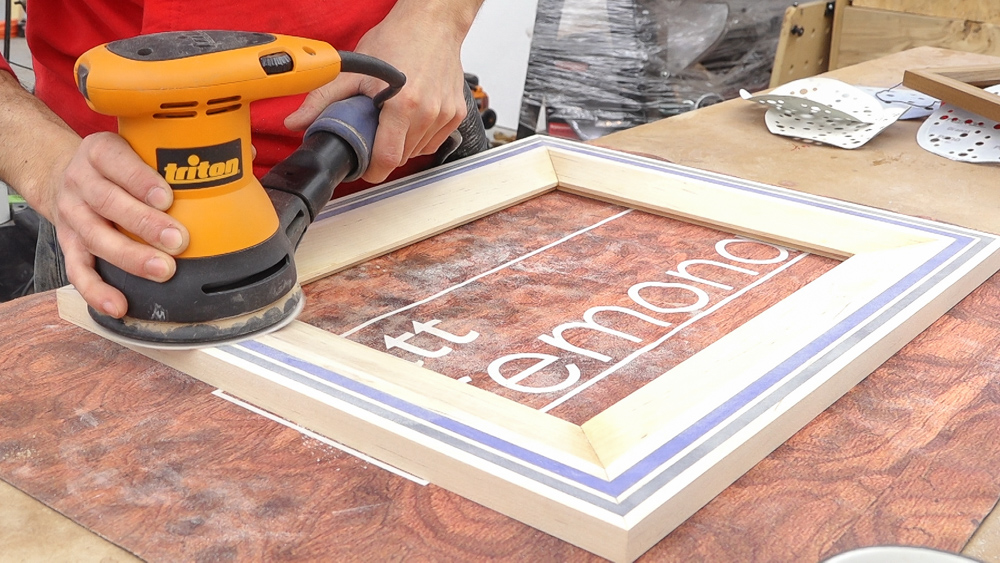
After the epoxy cures, I can flush it up and finish sand the frame. For a quick finish I used a semigloss lacquer in a spray can.

Lastly I can cut some glass for each frame and install the hardware.
Products Used
Triton Jig Saw: https://amzn.to/2PedA0a
Push Blocks: http://amzn.to/2yQD24r
Miterset: http://miterset.myshopify.com/?aff=10
Combo Square: https://amzn.to/3bdqbhh
Copper Pigment: https://amzn.to/3u4m5Re
Black Pigment: https://amzn.to/3jTxmPN
Micropearl: https://amzn.to/3jTh7lP
Blue Pigment: https://amzn.to/3jT8k3g
Band Clamp: https://www.mlcswoodworking.com/shopsite_sc/store/html/smarthtml/pages/merle_clamp.html
Triton TGEOS 6″ Sander: https://amzn.to/3u3khI9
Triton RO 5″ Sander: https://amzn.to/2NdMmfl
Total Boat 5:1 Epoxy: https://www.totalboat.com/product/totalboat-epoxy-kits/
Use coupon code cremona15 to save 15% off your first purchase on totalboat.com
Check out the Free Picture Frame Project
https://thewoodwhispererguild.com/product/picture-frames/
Welcome to my shop! This is a quick update to let you know what I’ve been up to. This big chunky thing is the leg

Welcome back to the home renovation. This time I’m going to be working on the kitchen island. Here is a small model of the island.

Welcome back to our home renovation. Today I am going to be working on this wall. It needs some upper cabinets and the surround for