
Matt's Weekly Shop Update
Kitchen Island, Barn Power – March 2024 Update
Welcome to my shop! This is a quick update to let you know what I’ve been up to. This big chunky thing is the leg
Welcome to my shop! I’ve been in this shop for almost two years now, and I haven’t really taken much time to get things organized yet.
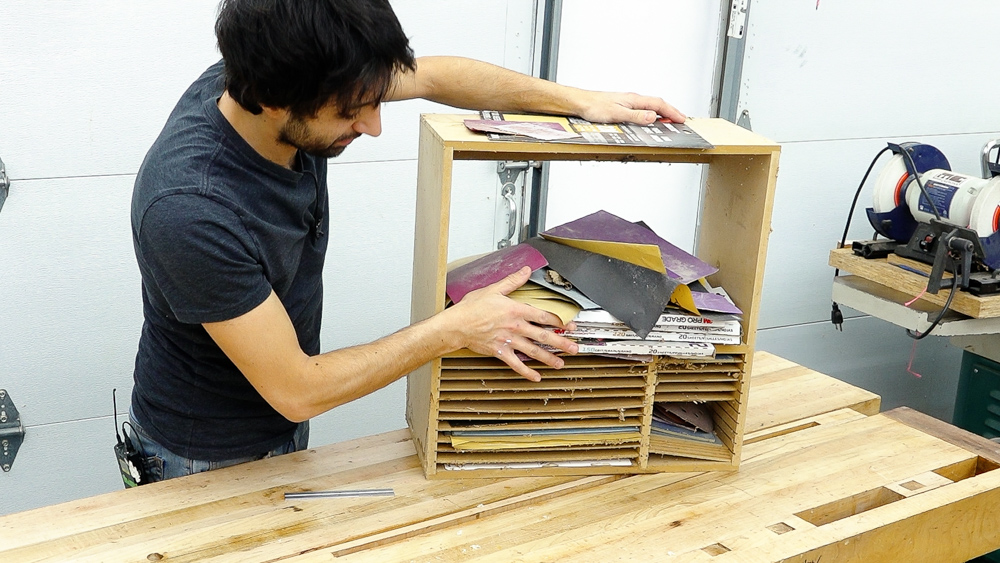
Today, I am checking one thing off of the list, because I’m going to make a nicer version of this sandpaper storage cabinet. This one stores full sheets of sandpaper as well as five-inch sand discs, but I use a six-inch sander now, and I typically buy sand discs in packs of 100. So I need to re-engineer this cabinet to be more useful for today’s standards. I’m planning to make the top section a little bigger so that it can store a router or something, keep the bottom section the same size for the full sheets of sandpaper, and then figure out something different for the sand discs.
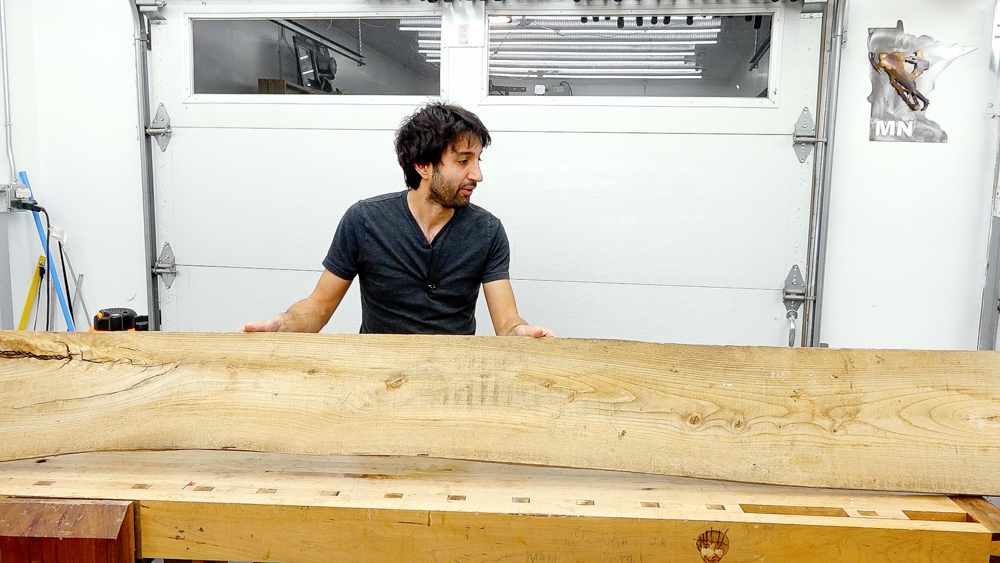
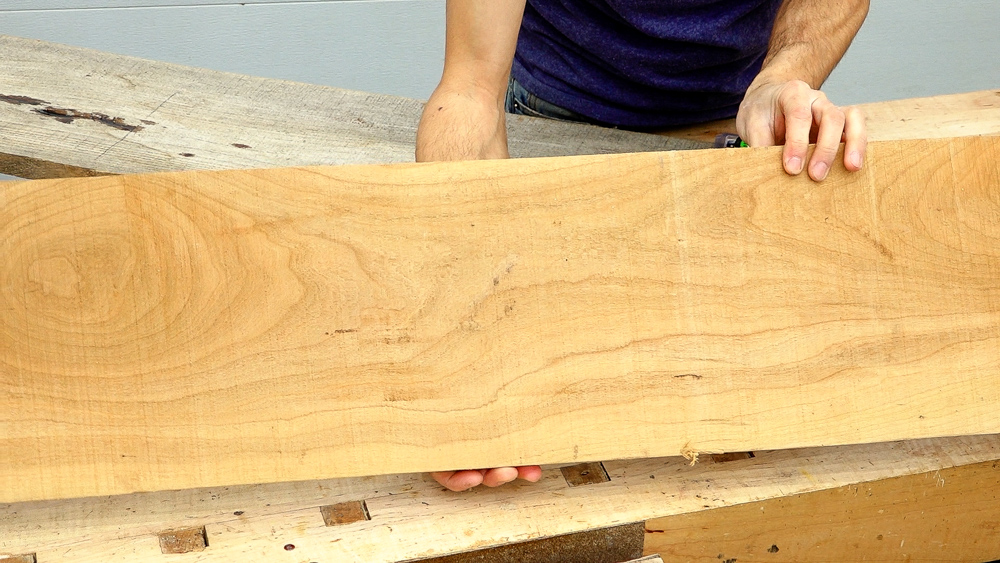
This is a chunk of elm that was one of the very first things I cut on the sawmill, and I will use this to make this new cabinet. This piece has a nice piece of crotch figure on it, and I’m hoping I can get this entire project out of this one board.
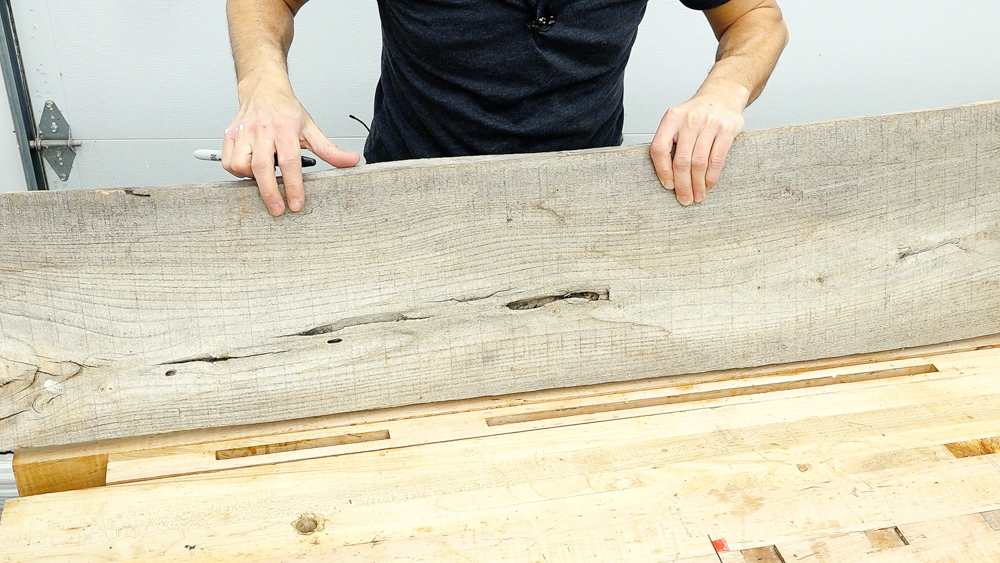
I’m going to do a little bit of epoxy filling before I get into cutting this down. I like to do my epoxy filling first so that it gets milled off and surfaced exactly flush. One of the cooler defects on this board is the remnants of an ant colony.
Another benefit of doing the epoxy first is that I can preserve more delicate areas that would get destroyed by the jointer or planer. As you can see, there’s a nice bark inclusion here, but it has some pieces that look like they could easily break off.
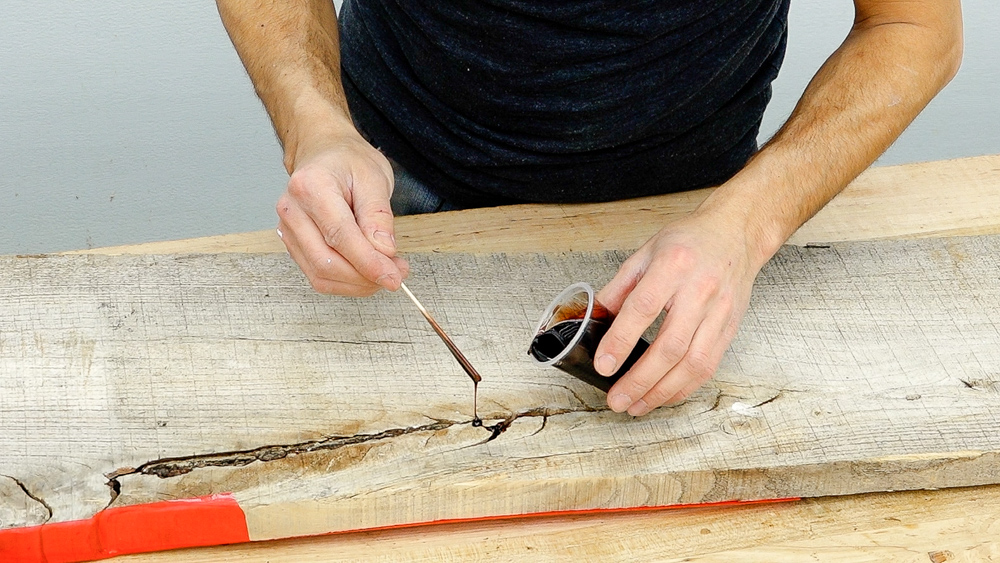
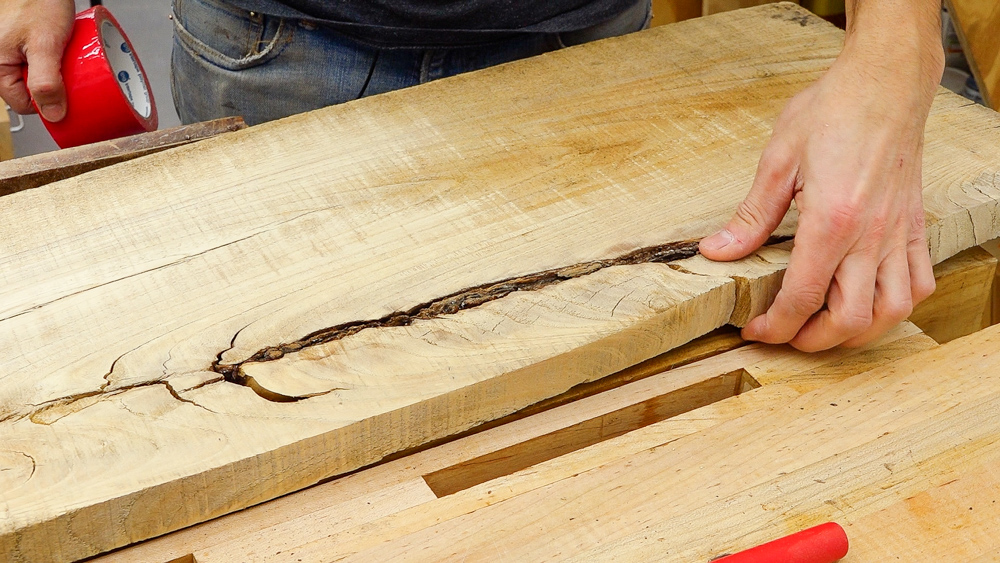
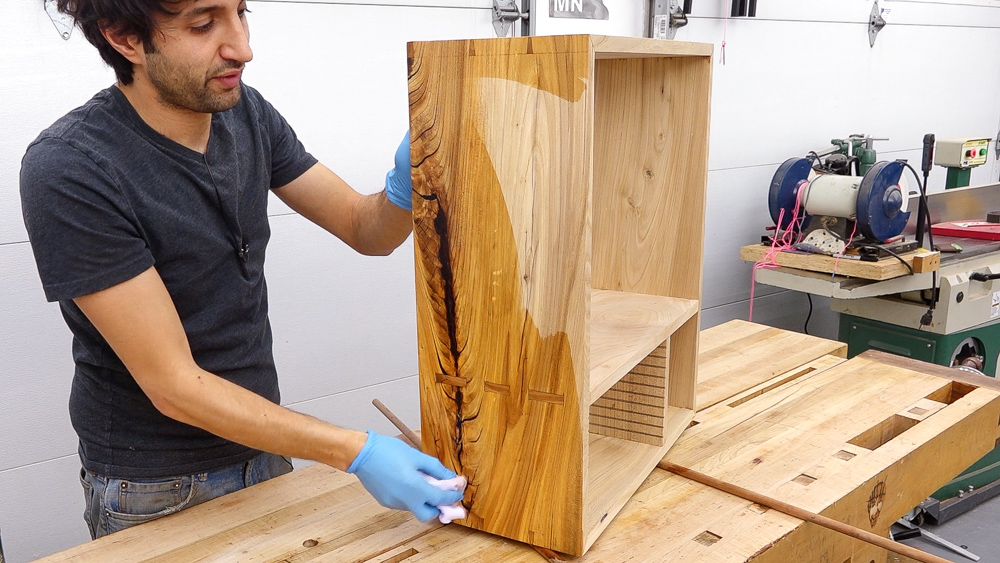
For the fill, I’m going to use TotalBoat’s traditional 5:1 epoxy. It’s a slow hardener, which means it will have plenty of time to flow down and find all of the defects and cracks before the epoxy starts to solidify. To color it, I’m going to use TransTint medium brown, which I like a lot. It gives it a sort of shadowy look that allows the epoxy to preserve the depth in the wood. With this board, there is a lot of filling to do, and I don’t expect this to be a one-fill operation. For now, I’m just trying to get this to a point where it’s stable enough to start doing some surfacing and getting them to furniture parts.
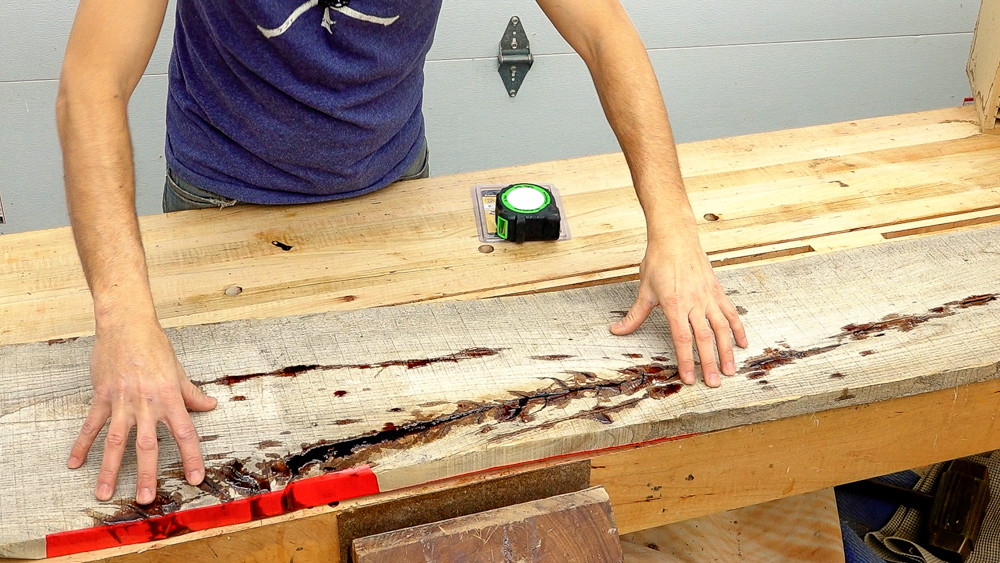
So the epoxy has set overnight, so next I want to do a little bit of layout here. The design of my original cabinet is 18’’ wide and 20’’ tall. For the new one, I’m going to make a 20’’ wide case and 24’’ tall case. I’m going to do a sequential layout, and I want this section of crotch with the bark inclusion to be the side. Conveniently, that area is 24 inches, so that will be my side, and I’ll have the bottom, the other side, and the top laid out in that order down the board. After marking off all of the cuts for those pieces, I have about a foot left on this board, so I won’t be able to make all of the shelves from this board.
I grabbed this piece of cherry for those shelves, because I figured I wouldn’t get everything out of the elm.
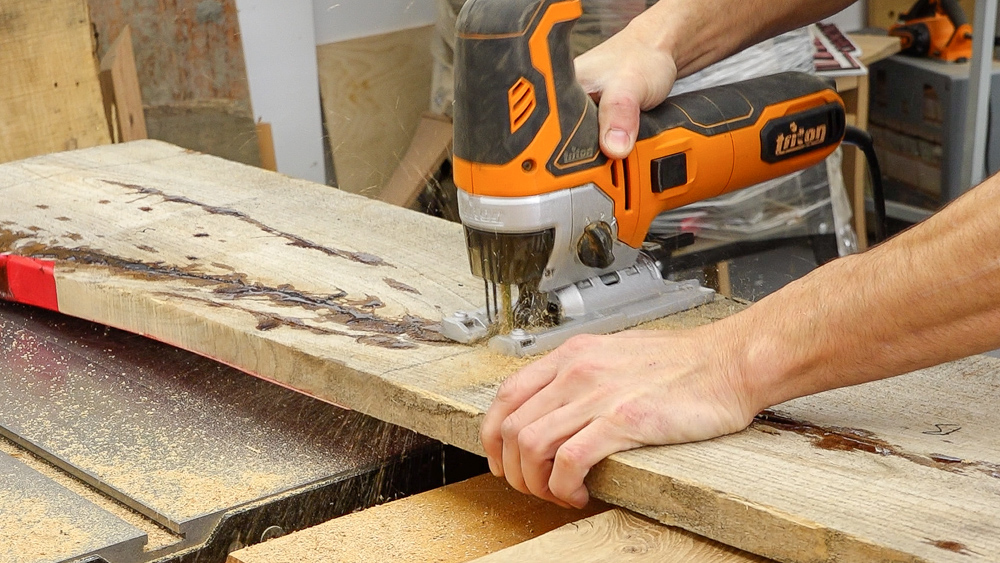
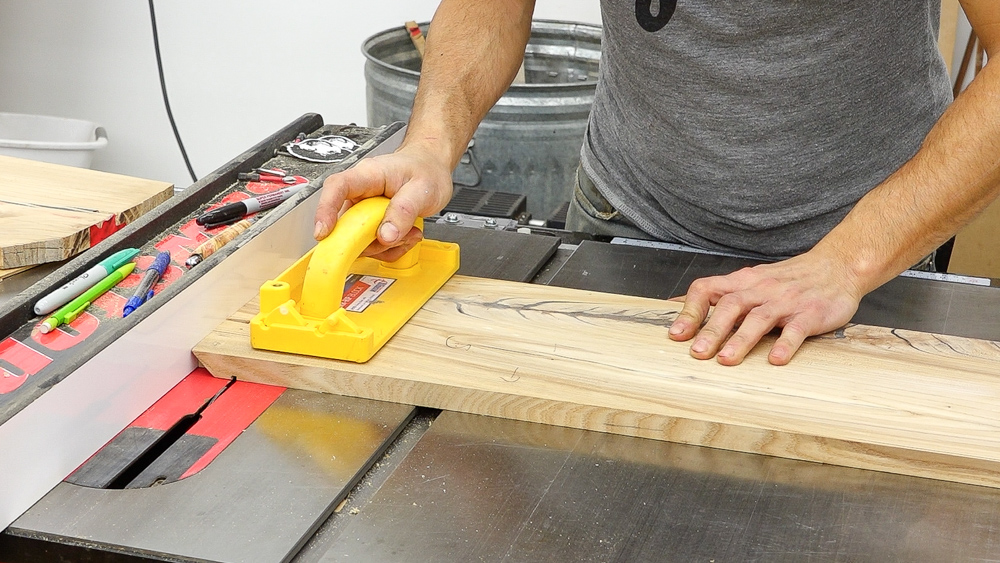
With everything laid out, I’m going to start breaking this down into more manageable pieces and do a rough milling. Then I will let them sit for a few days to distort.
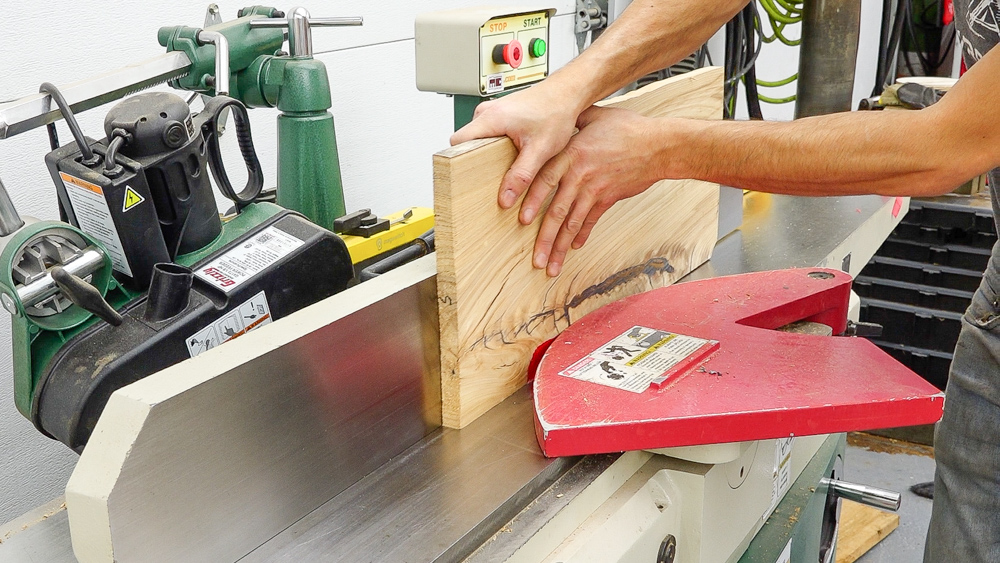
After resting a few days, they are still flat, so I can take this down to final thickness and start cutting the parts out to make the case. So I’ll cut out two sides, a top, and a bottom, then I’ll see you at the bench for some dovetailing.
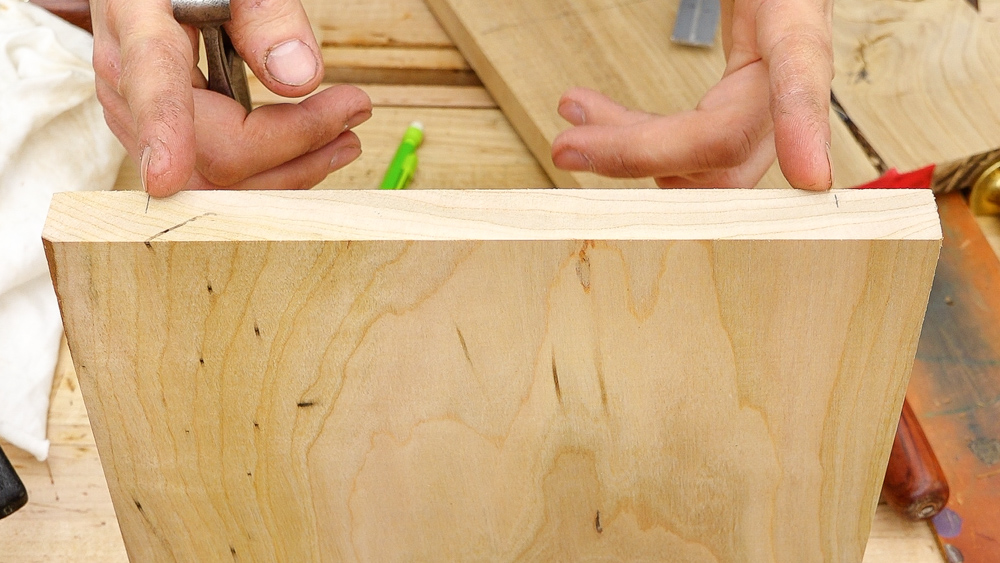
I have already labeled all of my parts, including marking the front edge and outside face so everything is oriented the way I want them to be. So this is going to be a through mitered dovetail, just like my hand tool cabinet and router bit cabinet. I’ll have a through dovetail connection at the corners and the bottom corner will be mitered.
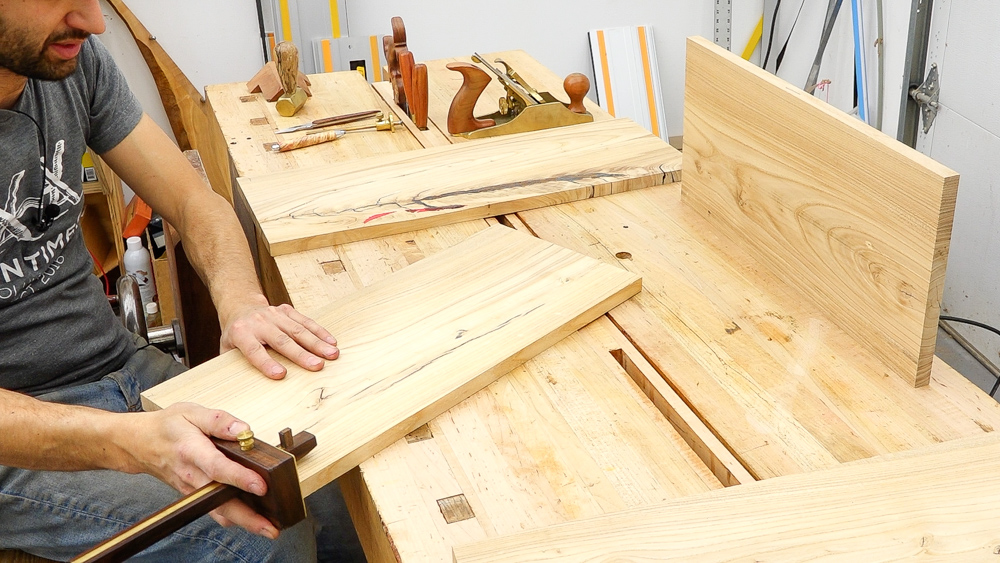
The pin and tail length are equal, because both parts are the same thickness, so I’m scribing all of those. Since this is a hanging cabinet, the case sides will be the tails and the top and bottom will be the pins.
I’m going to start tails first on this, so I’ll start with the sides.
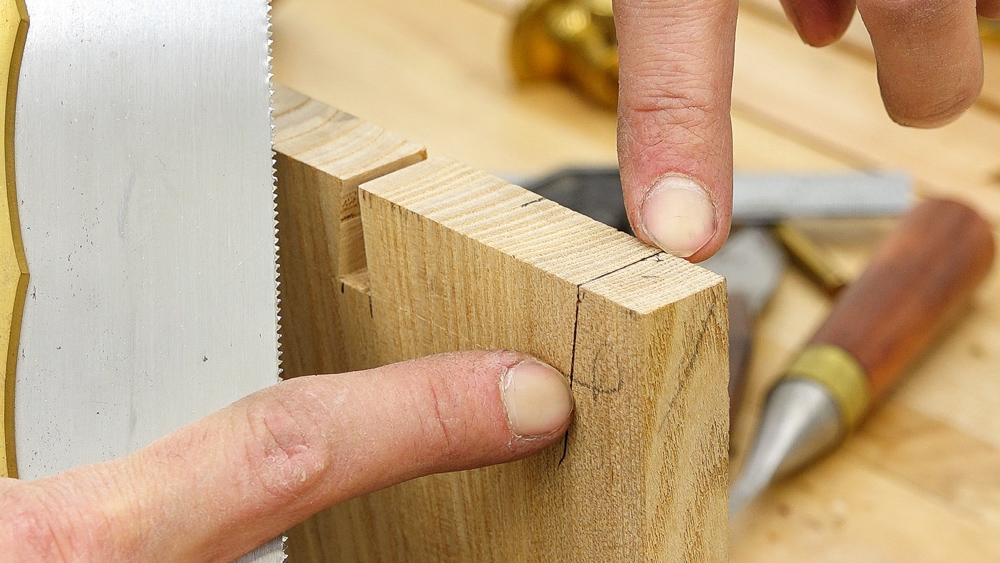
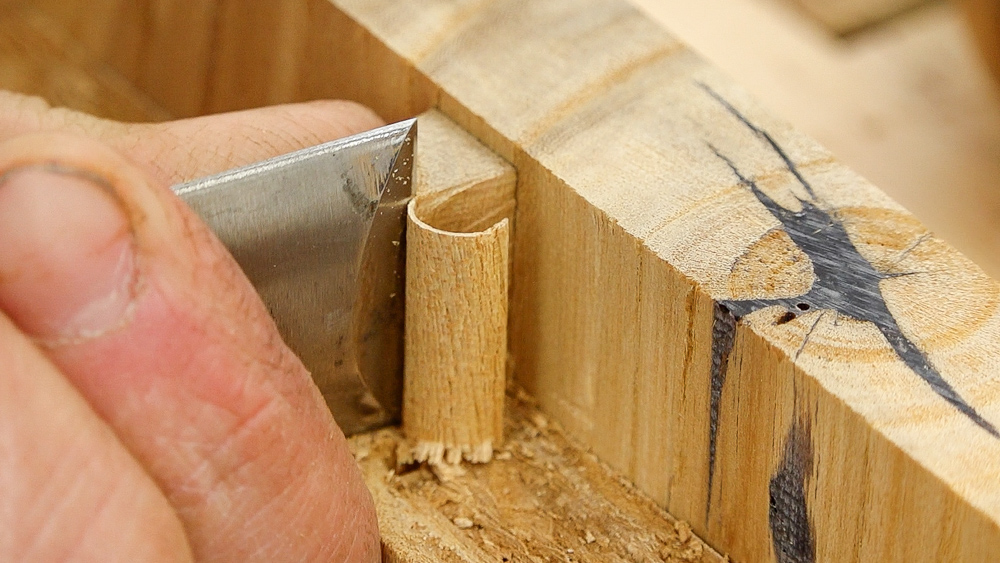
Next, I will take care of the mitered section at the front. After laying out a tail, I can take a hand saw and connect the scribe line back here to the very, very edge of the board right there. I’ll hand saw this, remove the bulk of the waste, then come back and pare it with the chisel and a guide block.
After doing all of that, we’re back to the scribe line and that’s where the miter starts, so this one is good.
![]()
Now I can use the tailboard to scribe the pins. You can modify the fit of your pins by moving the tailboard in or out. I like to move the tailboard a little bit past the edge, and that gives me a tighter fit.
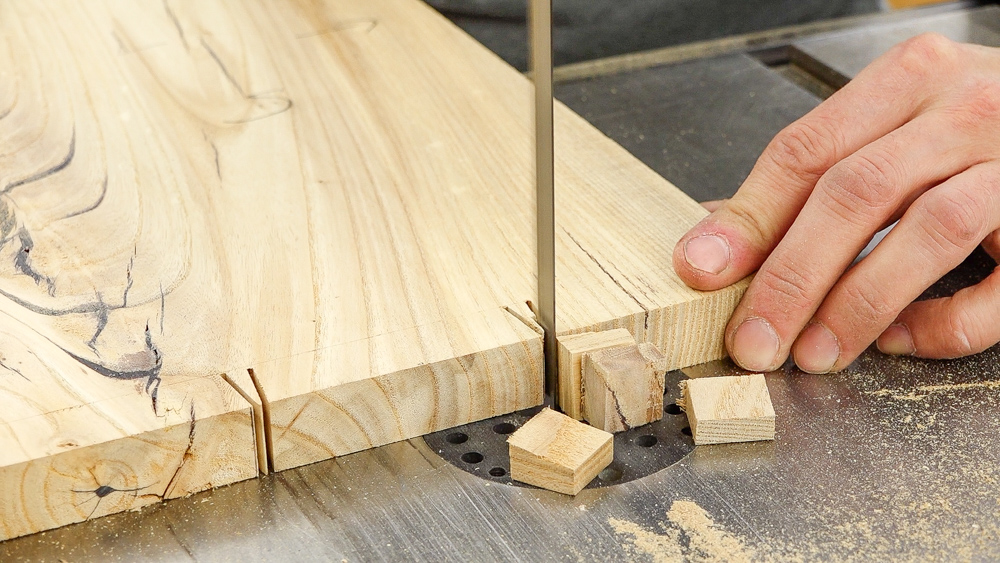
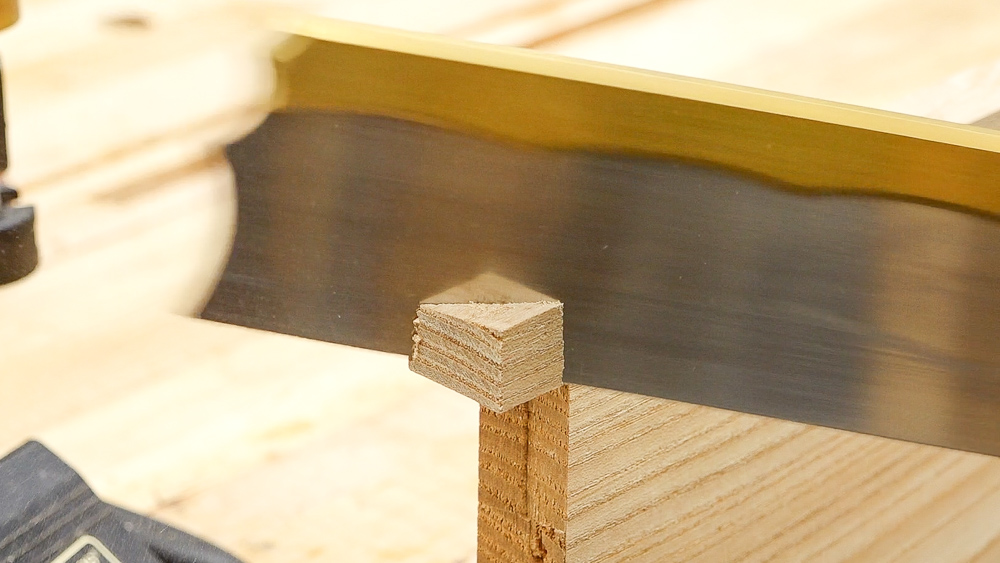
After making the cuts with my handsaw, I like to take this over to the table saw to remove the waste. By raking the piece across the blade, you end up with a really quick and clean result. If you do raise the blade all the way to the scribe line, you will end up with a slightly proud surface in the middle, which results in a hairline gap when you seat your dovetail. For a piece of joinery that won’t be seen, I don’t care and I’ll use the saw right to the scribe line. But if it’s a piece of joinery that will be seen, I stay back from the scribe line, which gives me a little material to chop and allow me to undercut the connection, so I don’t have anything getting in the way of the tail fully seating into the pin socket.
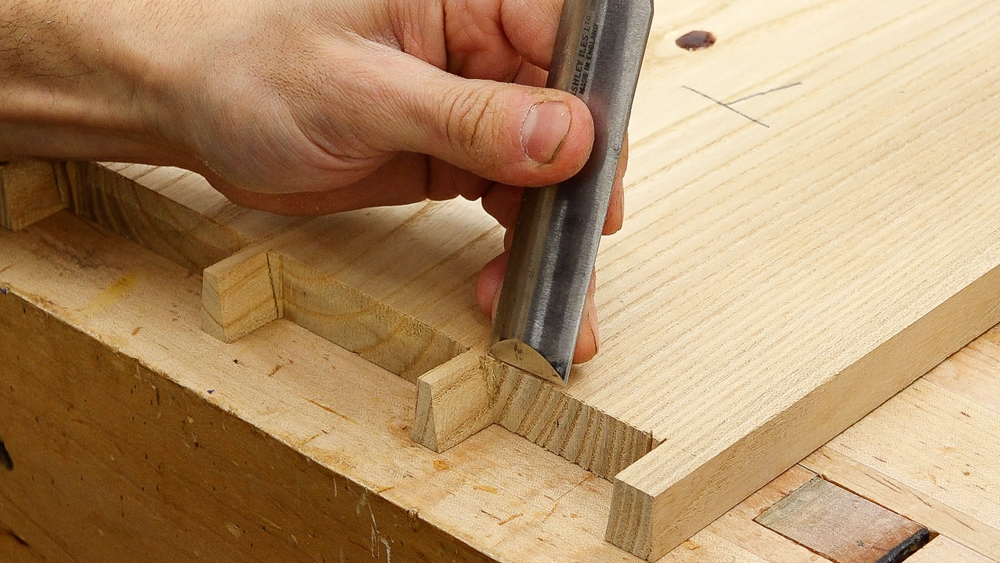
With all of that waste gone, I can do the fine-tuning and finessing with a chisel.
Now I can work on the final fit of the pins. I have a little extra material because I don’t saw right to the line. To do this, I set this board in the vice to do the paring.
Because I am doing a miter dovetail, I need to miter my pin, and then do some more paring.

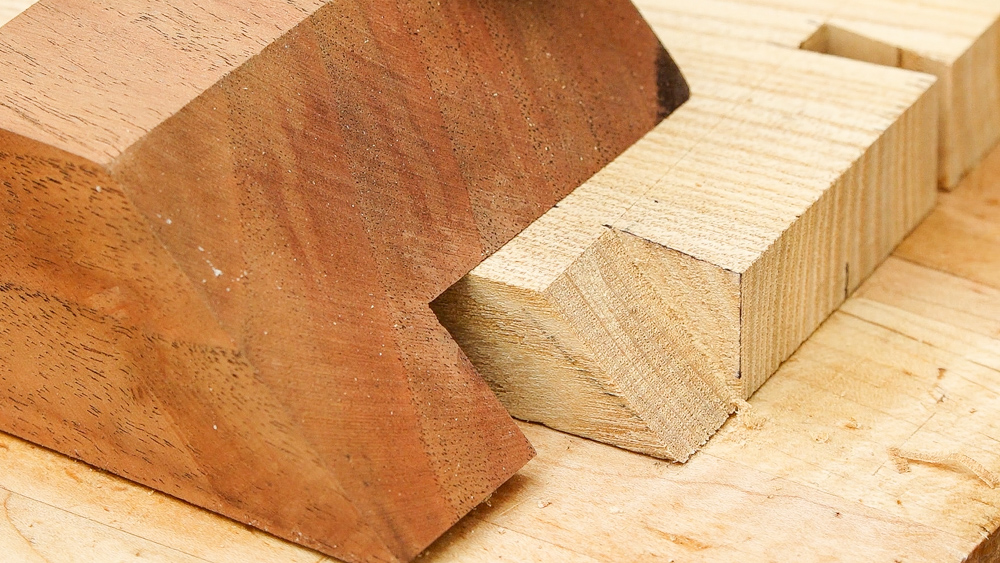
When that’s done, I can see how they fit together. It’s not seating fully at the miter, so I have a little bit of clean-up to do there.
I put some mineral spirit on it so you can see the dovetail joints a bit better. That’s what the through mitered dovetail joint looks like.
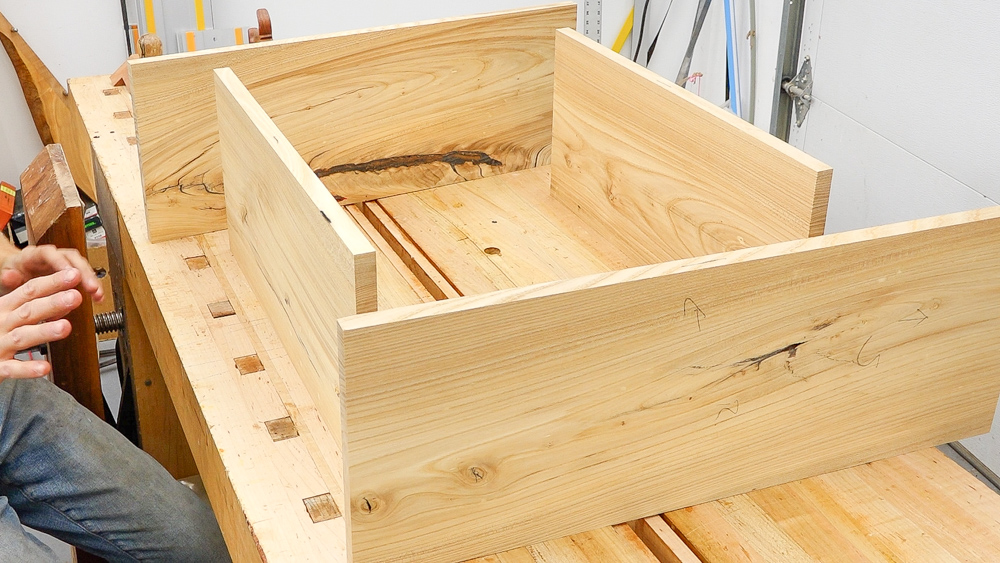
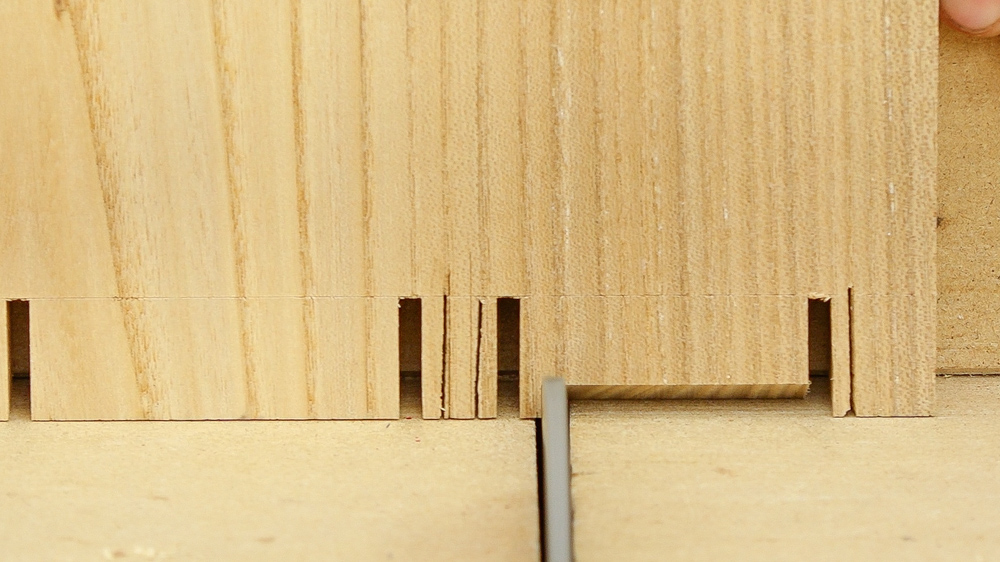
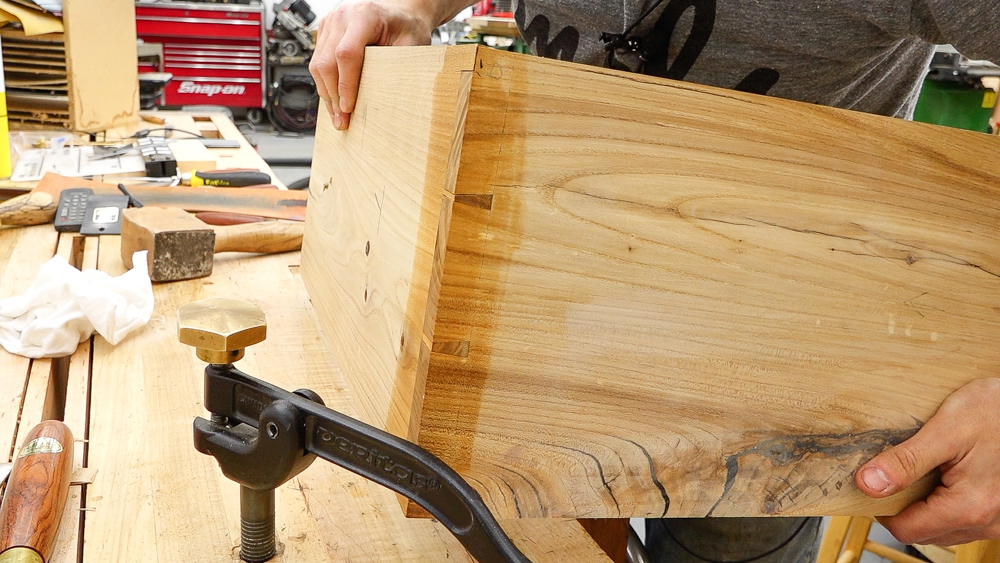
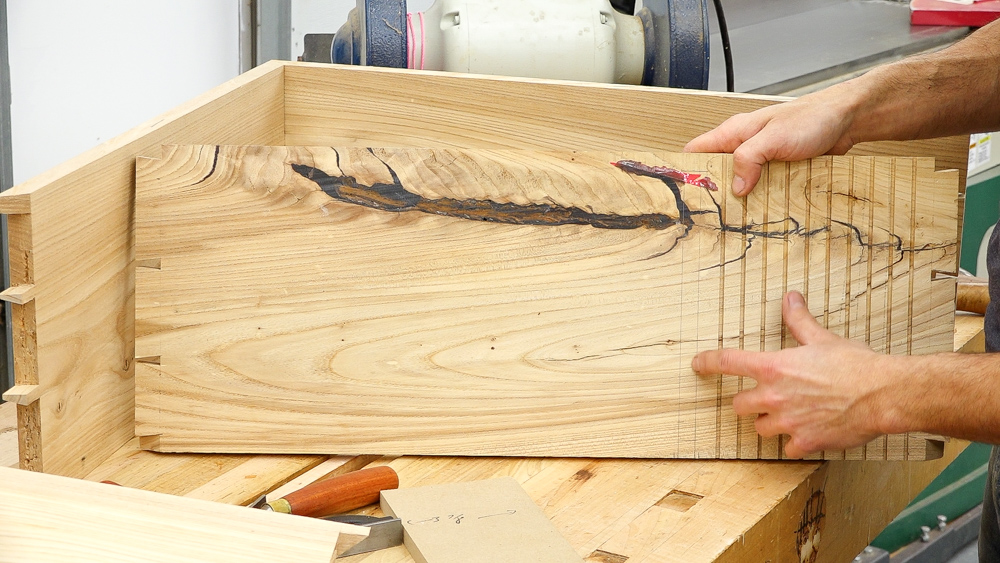
Now I repeat that for my other corners, and I end up with a box! Next, I want to get all of the divider pieces in here. The slots for the sandpaper holders determine the dimensions of those dividers, so I have to cut all of those slots first. Each sandpaper compartment is a half-inch, and the shelf material is eighth-inch MDF.
So I need to find my first position for that very bottom, which is going to be the thickness of the case bottom, the half-inch for the sandpaper, and then that should be the start of the dado for that first shelf. For every subsequent shelf, I have to move the fence over by 5/8’’ and make a pass until I’m all the way through. These are through dadoes, so the shelf pieces can be slide in from the front while the case is mounted on the wall.
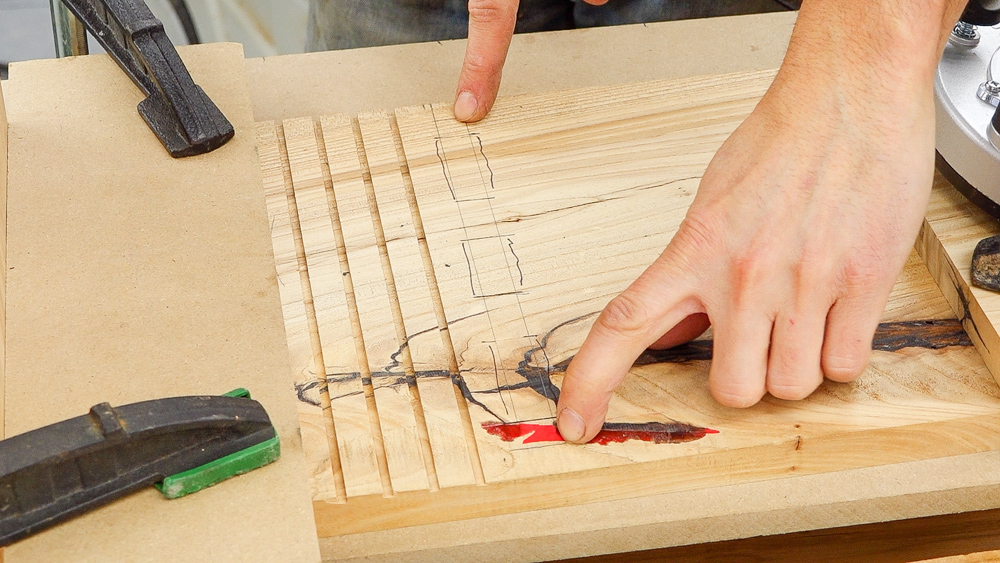
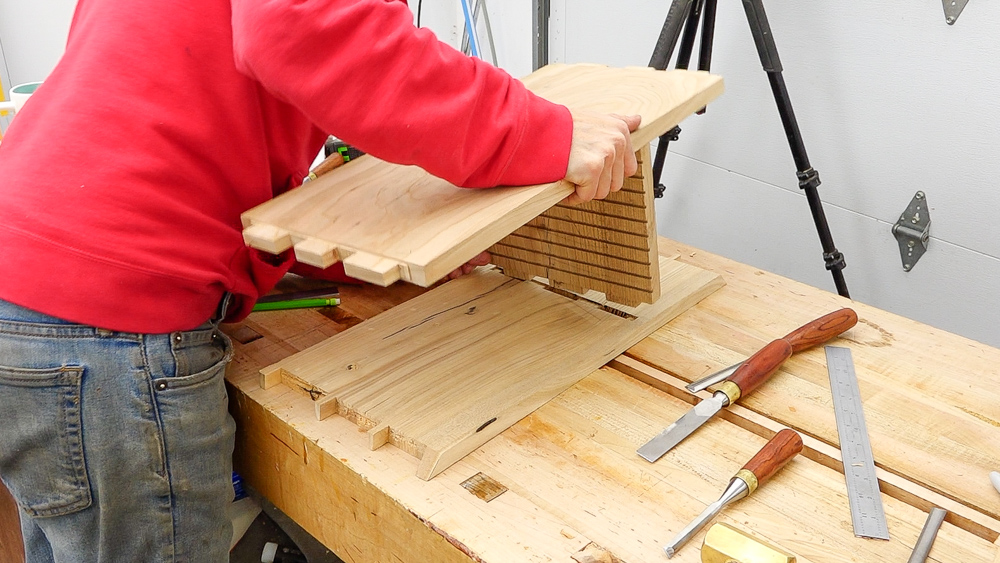
Now it’s time to get into the dividers. This is the middle divider, and it’s cut to exactly the same as the top and bottom, because I decided to do some through tenons as a nice accent for this piece. I’m going to lay out the tenons first, and the layout has to be perfect because there’s really no hiding any flaws with through tenons. I decided I want my tenons to start an inch in from the front and back edge, and I’ve already marked those spots. I want to have three tenons in here, so I’m going to divide the space in between those marks and set the spacing based on that.
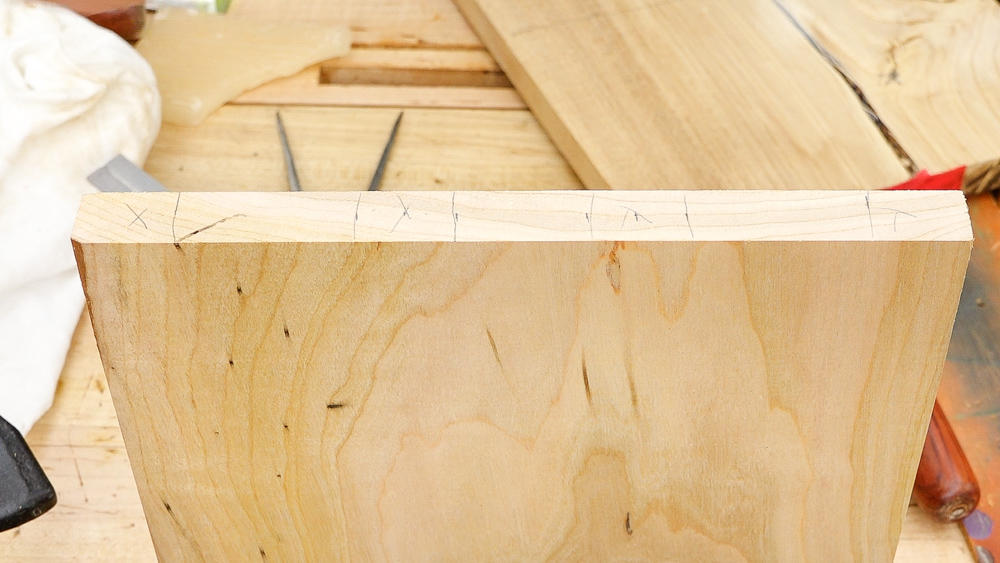
After dividing the space and marking the spots for the tenon, I want to know how far apart my tenons should be. So I mark half an inch from either side of the line that marks the tenon, and that will be the layout. On this board, I have crossed out all of the areas that will be waste, and you can see that my tenons are laid out symmetrically.
On the side pieces, I laid out the location of the dado where that piece is going to go. So I have this marked out as a half inch wide, and the work piece is three-quarter inches, so now I’m going to transfer all the start and stop points of those tenons to the inside.
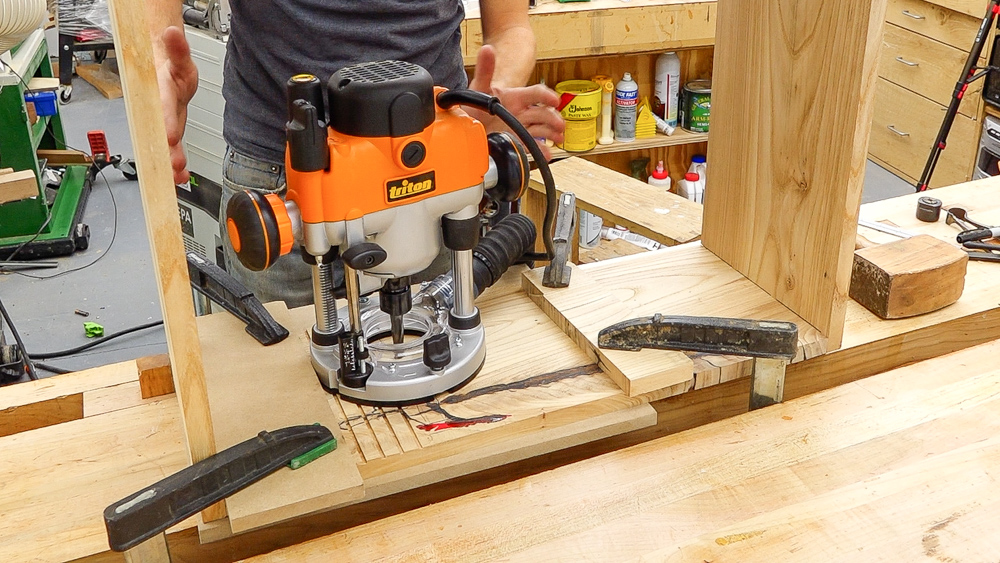
I have the whole case assembled, and I’m using it as a reference. I have a fence guide, which is going to offset my router and get it exactly where it needs to be.
So I’ll come in and route my little stub tenon area through here, which is going to give me a little eighth inch stub on the bottom. Then I’ll come through and plunge through the areas for the tenons.
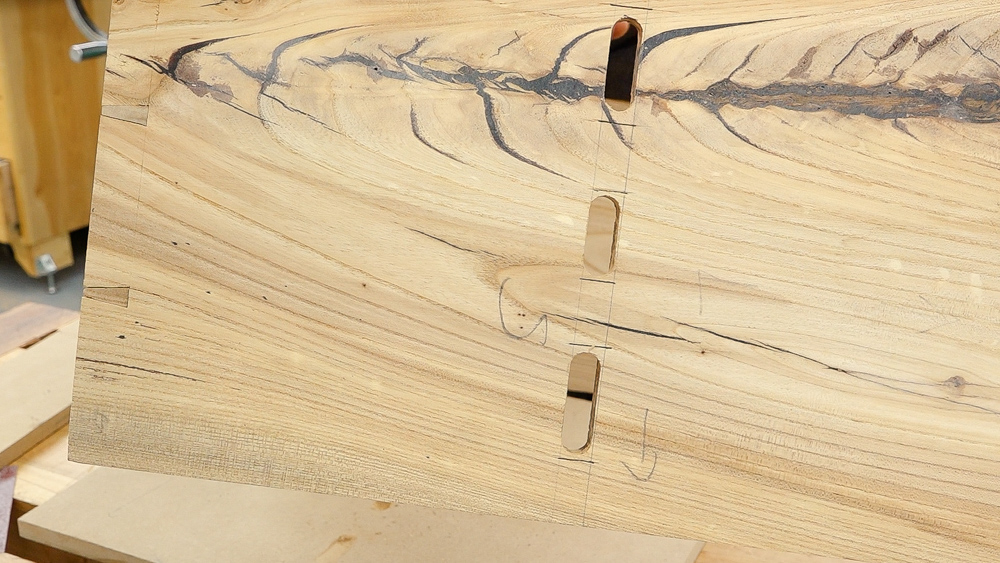
The cuts on the outside are pretty clean. I’m a little shy of the lines, so I can either chisel those out or run through with the router again.
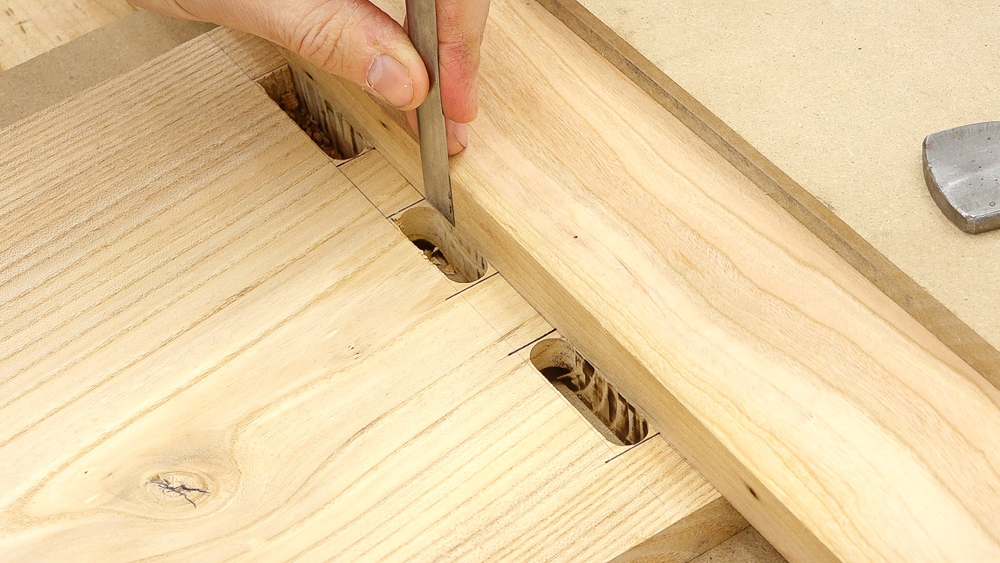
I’m using a guide board here to make sure I’m going across straight as I square up these inside corners.

Now I’m making sure that the scribe lines on the tenon board match with the mortises. It looks like everything is lining up pretty nicely, but I’m still going to stay away from the lines just a hair and fine tune the fit at the bench.
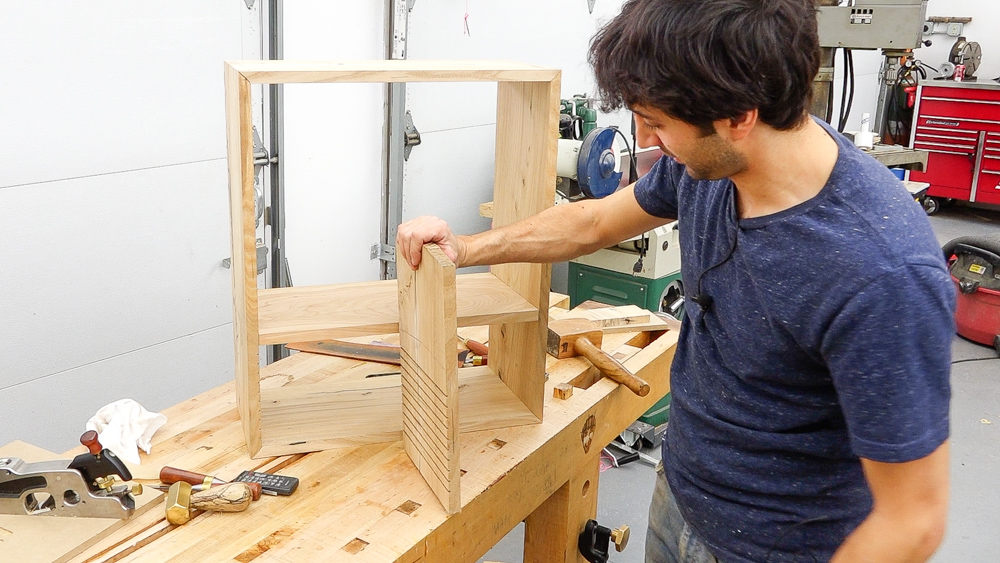
With the tenon board cut and fine tuned, I can put everything together to see how it all fits, and get ready for the next little bit of joinery: the vertical divider. I have this set up to do a through tenon, but I’m actually going to do a normal crenelated tenon.
So I got the tenons and mortises cut for this divider, and it’s ready to go.
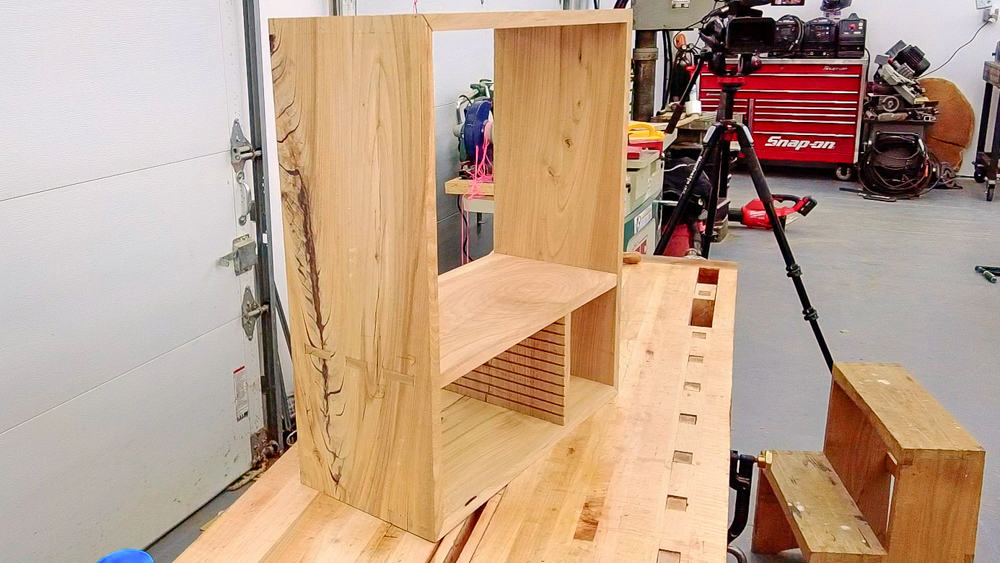
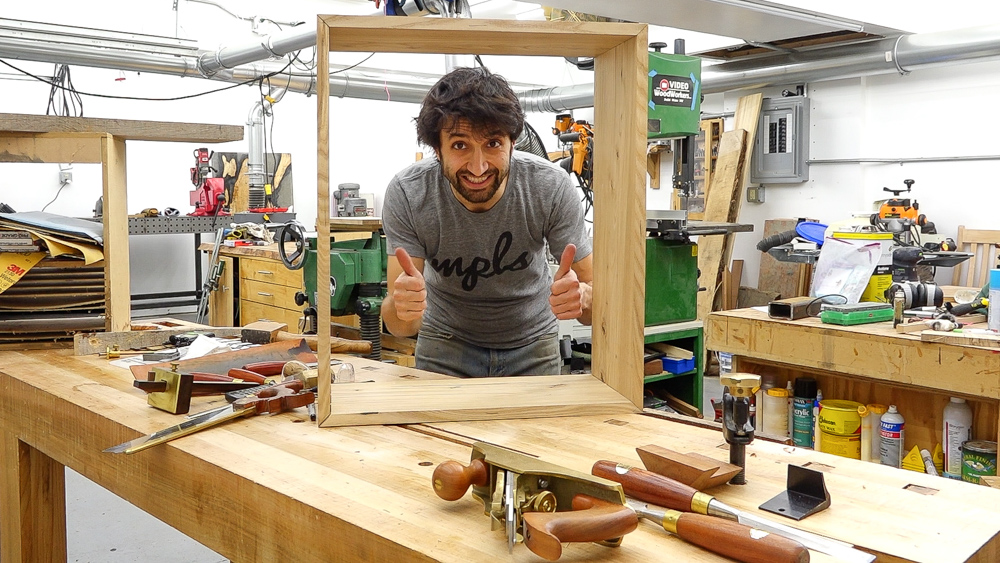
Here it is, dry assembled, and I’m pretty excited. It’s going to be a lot nicer than the old one. I’m going to take this apart one last time, finish sand all of the interior surfaces, and then it will be ready to get it glued up.
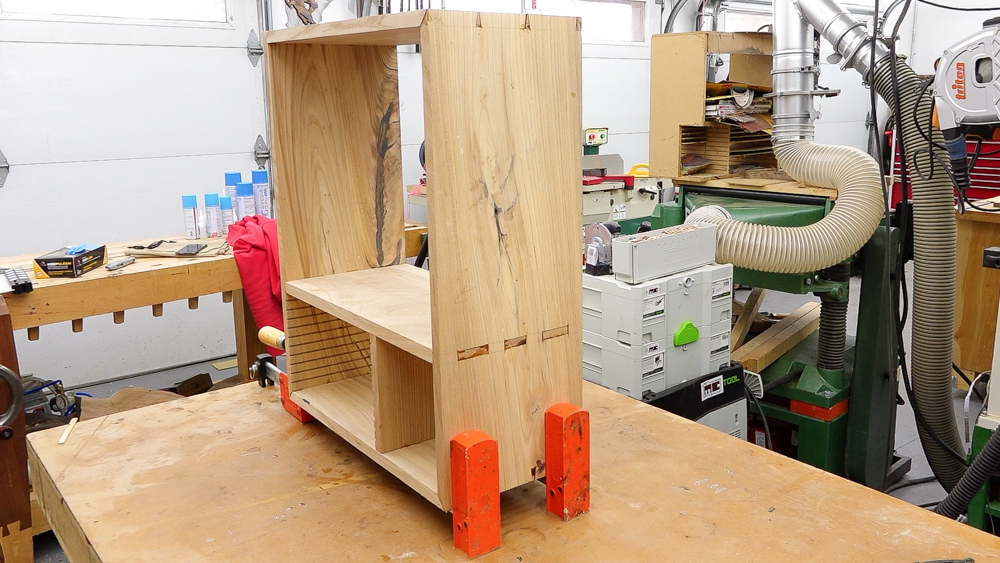
I am using TotalBoat’s traditional 5:1, which is the same epoxy that we used to fill all of the voids, and cracks, and defects in the board. There’s two advantages using epoxy for the glue up. First is time. Using this gives me about 45 minutes of working time to get this project assembled. With so many things that have to fit together in a certain order, having that time makes it less stressful compared to using a PVA, which would give me maybe 15 minutes. The other advantage to using epoxy is that it acts more like a lubricant, which is nice with so much joinery in this project. This will take about 24 hours to fully cure
After giving it a day to cure and doing a final sanding, it’s ready for a coat of finish.
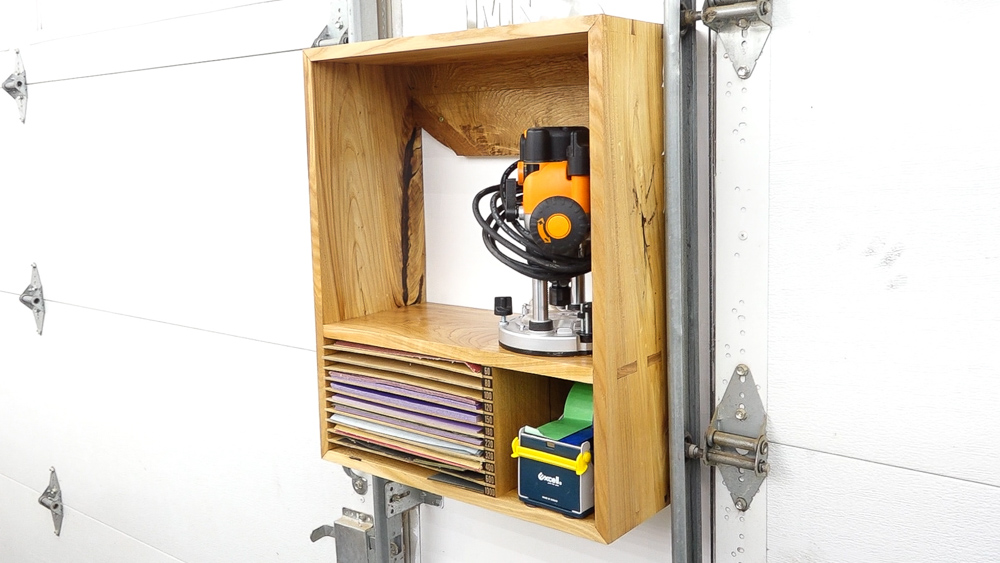
So there is the new bench-side sandpaper holder, which also has a router and my tape dispenser in there. It looks really nice sitting there on the wall, and it functions a lot better than the old one.
So that’s going to do it for this one! Thank you, as always, for joining. I greatly appreciate it! If you have any questions or comments on the sandpaper cabinet, please feel free to leave me a comment. As always, I’d be happy to answer any questions you might have. And until next time, happy woodworking!
Welcome to my shop! This is a quick update to let you know what I’ve been up to. This big chunky thing is the leg

Welcome back to the home renovation. This time I’m going to be working on the kitchen island. Here is a small model of the island.

Welcome back to our home renovation. Today I am going to be working on this wall. It needs some upper cabinets and the surround for