
Kitchen Island, Barn Power – March 2024 Update
Welcome to my shop! This is a quick update to let you know what I’ve been up to. This big chunky thing is the leg
With the stock all prepped, we can start on the joinery. I’m starting with the joinery that will hold the head and footboard together. The walnut will be joined to the maple posts with breadboard end style mortise and tenons which will allow for the walnut to move relative to the posts.
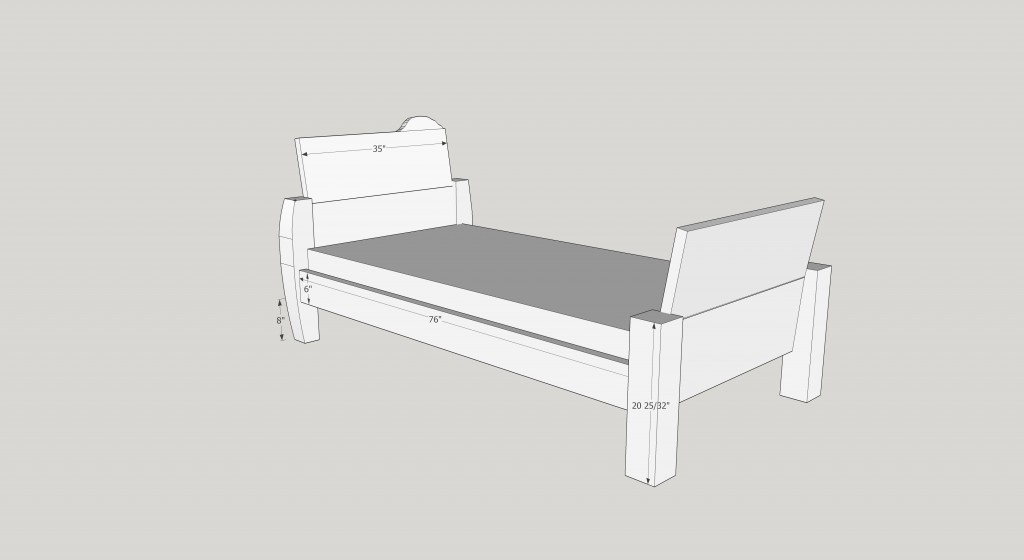
I’m still not completely sure of the final length of the posts but spending some time in sketchup, I’m heavily leaning towards cutting them so they extend a few inches past the seam. I think they look goofy before they are shaped but look quite right once they receive some profiling. Luckily I still have time to make a decision since I can work on all the bed’s joinery before cutting the posts to final length.
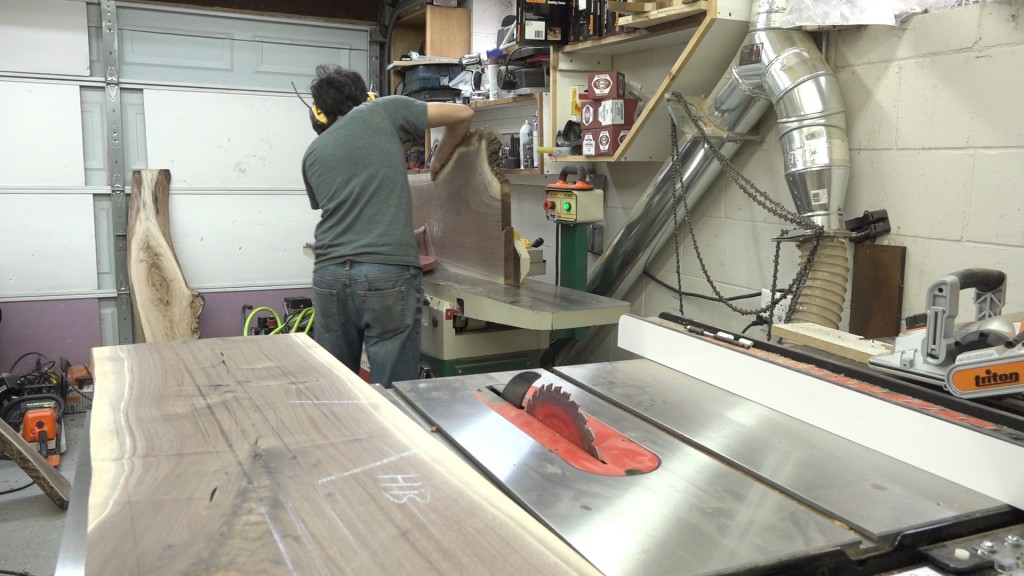
The walnut for the head and footboard still have rough edges so I can clean and square up an edge with the jointer and for the lower boards, I can rip the opposite side parallel with the table saw.
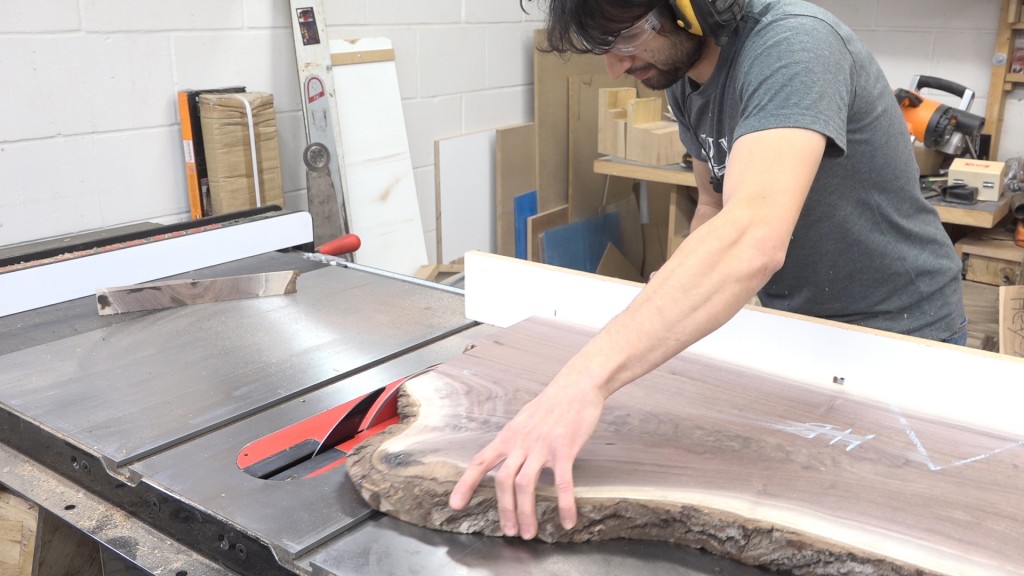
Next I can square up one end. I try to remove as little material as possible here because I want to incorporate as much of the crotch figure into the final piece. I also made a knife line across both boards so I could get the cut location consistent across both boards. This will preserve the alignment of the bookmatch.
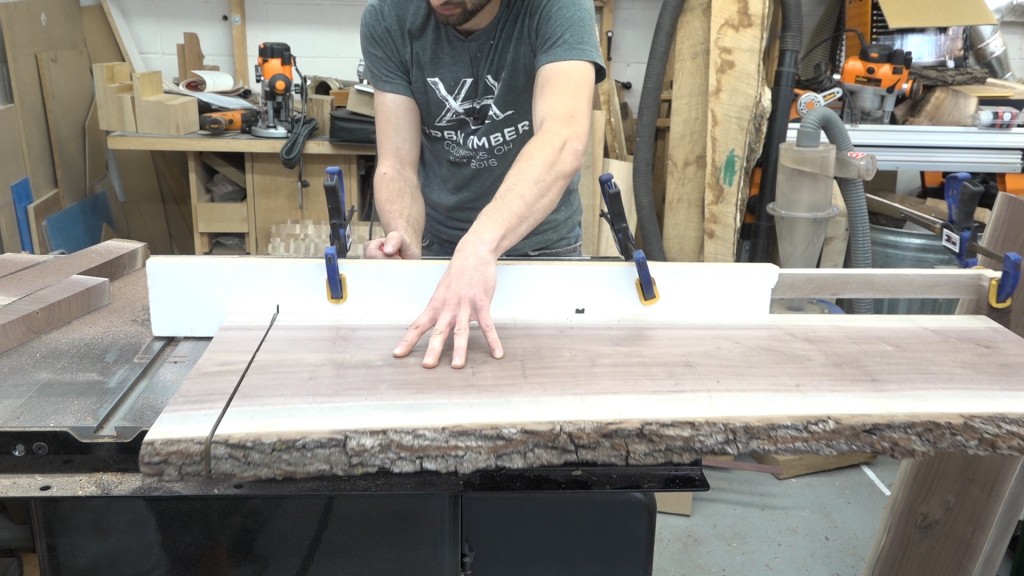
A stop block can be used to cut all 4 pieces to exactly the same length.
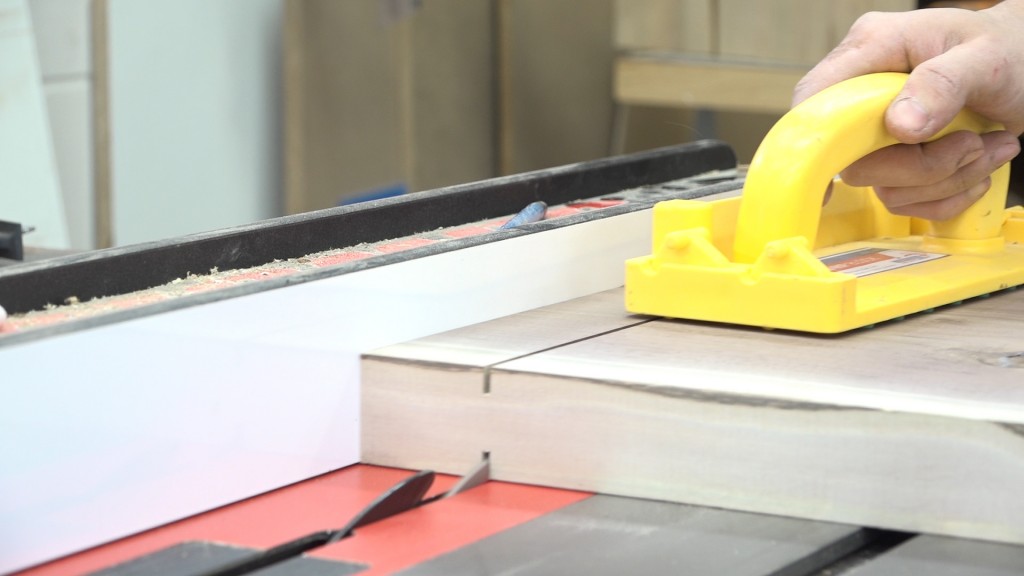
To start on the joinery, a shoulder cut is made on all the walnut parts.
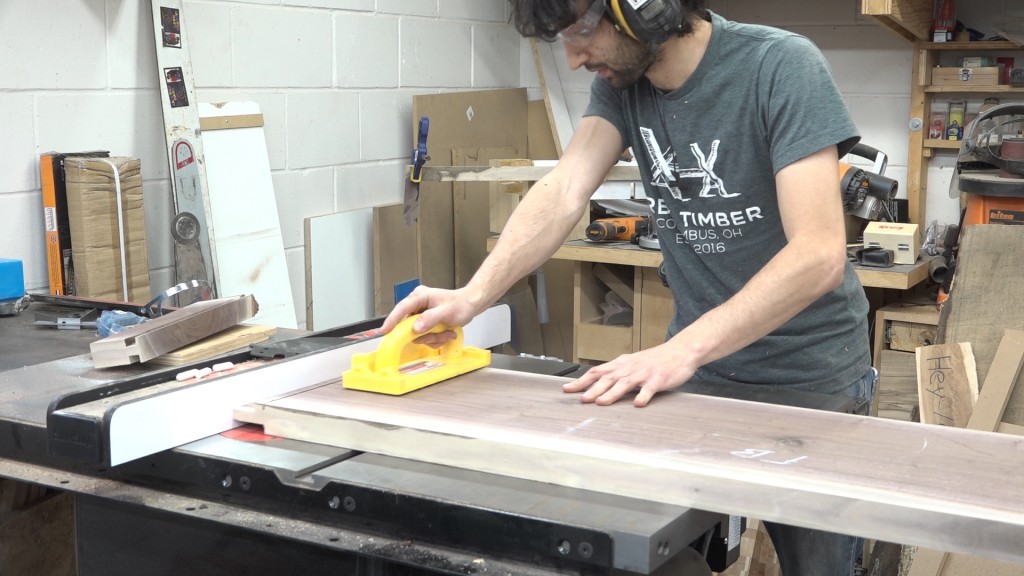
Then a tongue is formed on the ends of the boards with a dado stack. This tongue is only needed for the lower part of the head and foot board.
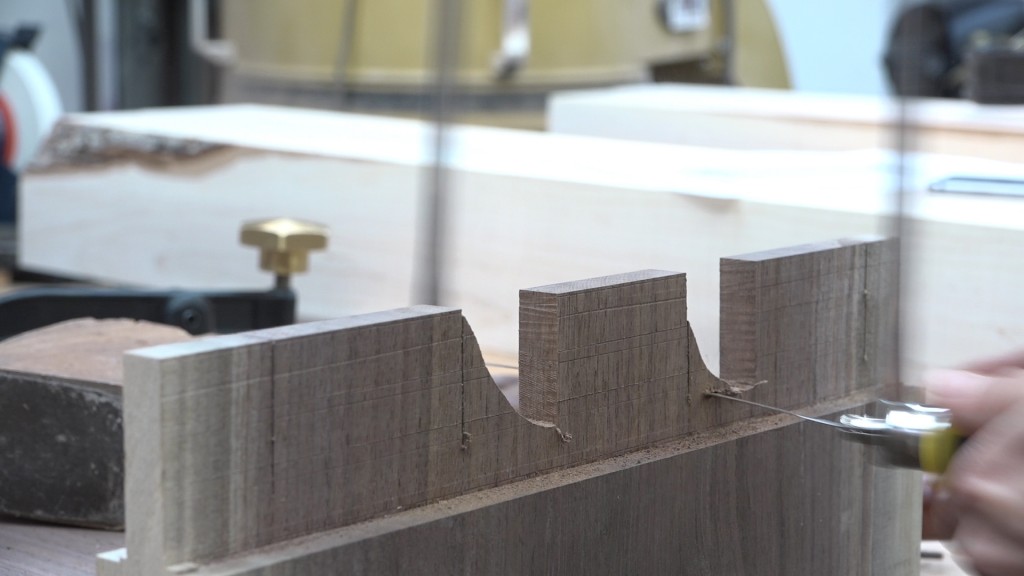
The tongue get broken up into individual tenons. The joinery is going to essentially be breadboard ends so two of the three tenons will end up floating in their mortises.
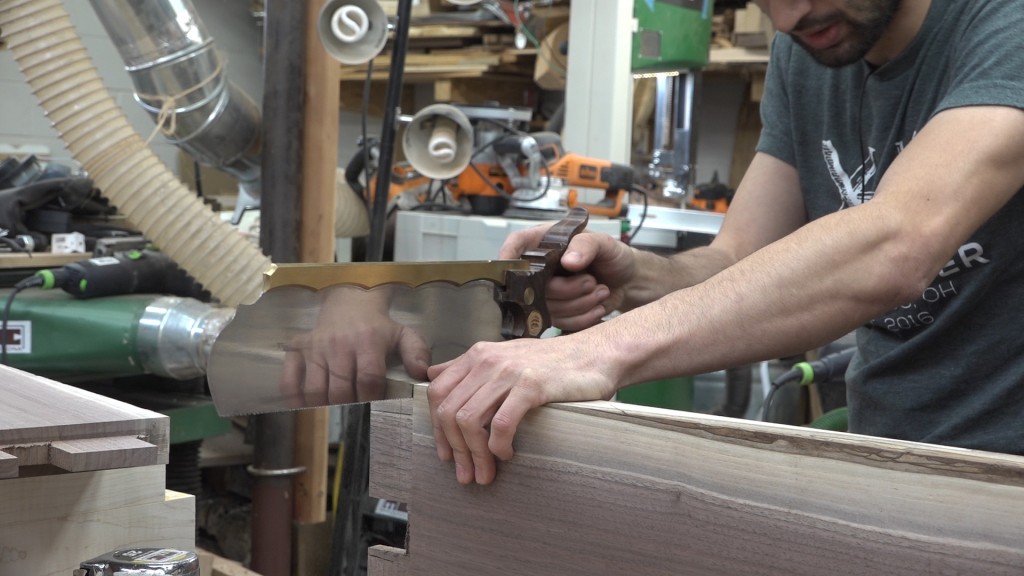
The ends can be quickly cut with a saw and any clean up work can be done with a chisel.
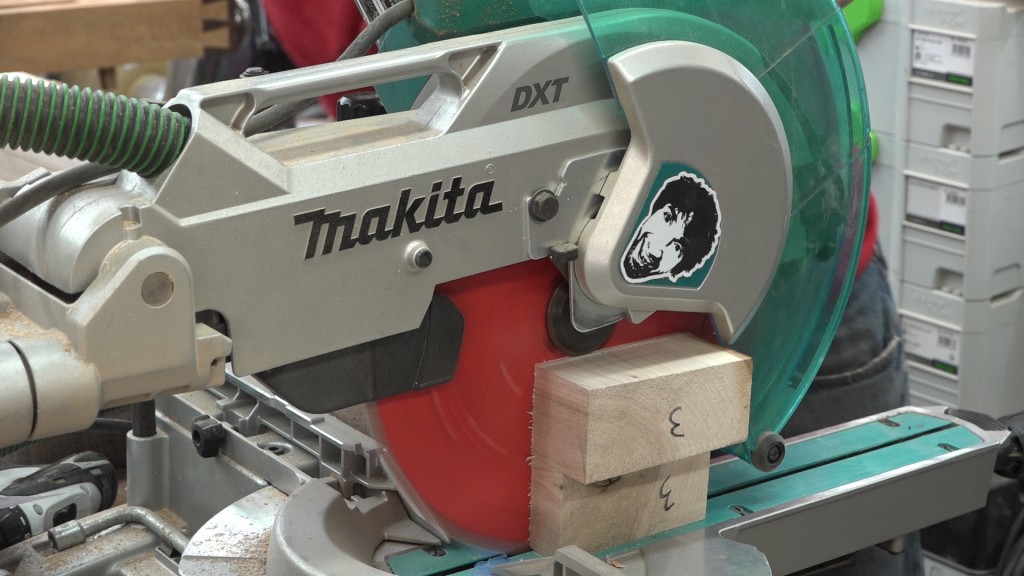
Before the mortises can be laid out, the posts can be cut at the bottom. This will allow me to reference all the joinery from the bottom without worrying about the posts’ final length.
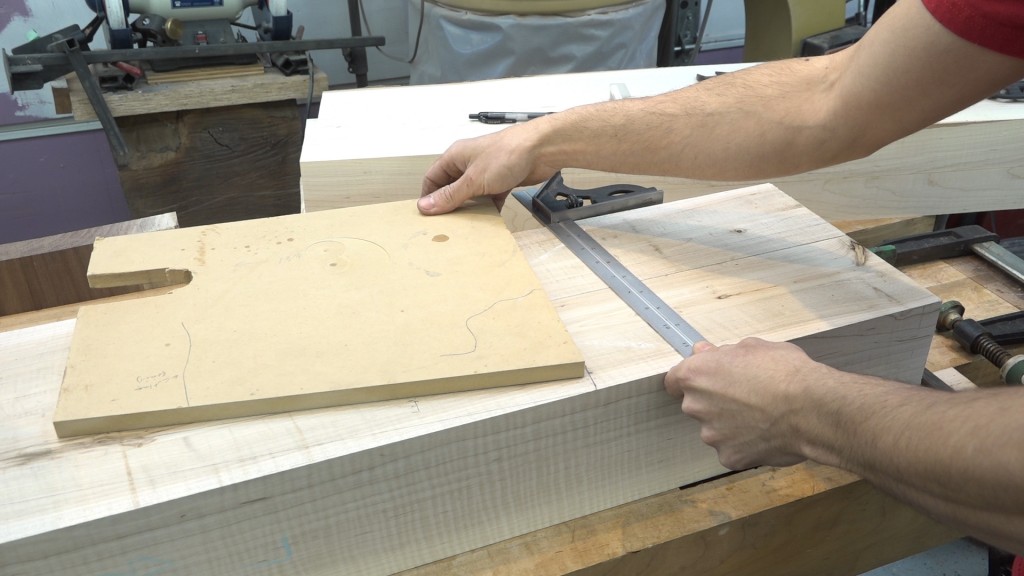
The mortises are going to be angled at 5 degrees relative to the front of the post and to cut them, I’ll use a router with a guide bushing. The bushing will ride against a piece of mdf that is cut at 5 degrees. The center line of the mortise can be laid out and the offset of the spiral bit and guide bushing (3/16″ in my case) can be marked. The mdf needs to be placed on this mark. A square can be used to get the angle correct and the mdf can be slid over until it is on the mark.
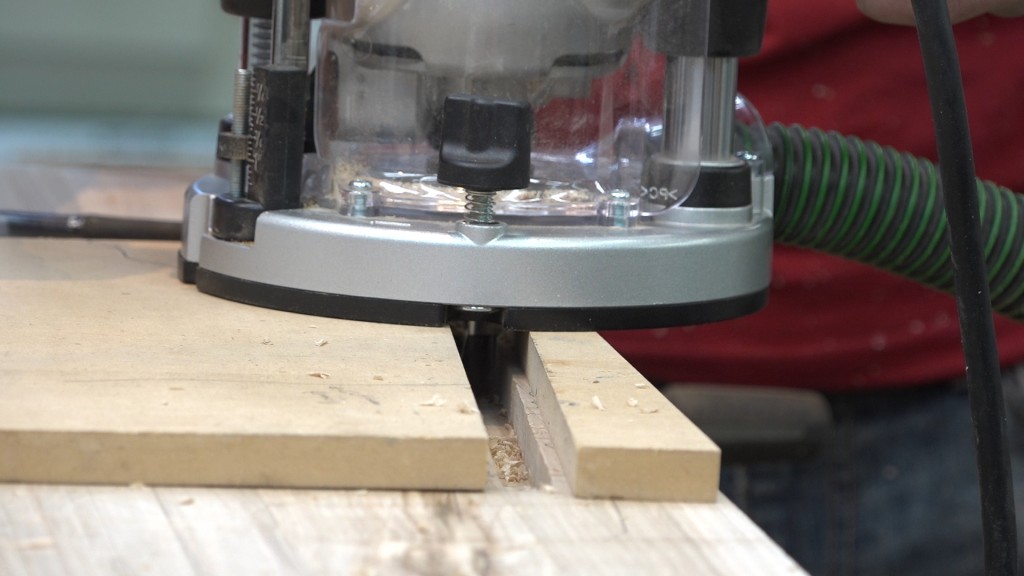
The tenons can be stood in place and their extents can be marked. I also added the offcut from the mdf to the front area to support the router and to capture the bushing which will make routing these mortises much easier. The first step is to create a groove for the stub tenons and then the individual mortises can be cut; stepping down gradually until the full depth is reached.
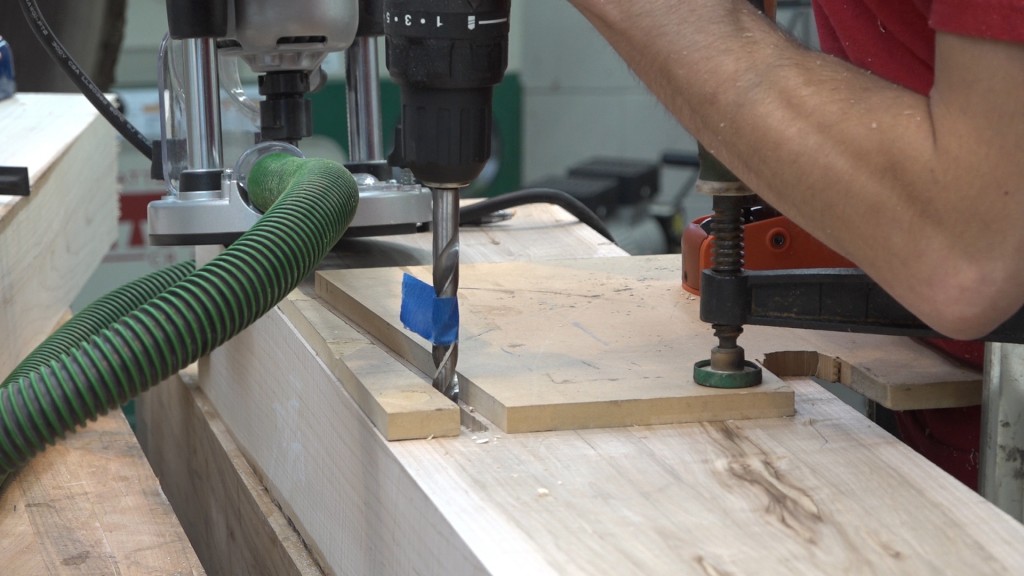
My spiral bit wasn’t long enough to reach to the full depth so a longer bit will be used. The longer bit I have isn’t well balanced so it vibrates a lot. I don’t like to ask that bit to do much work so the majority of the waste is removed with a drill bit and the router is used to just clean things up.
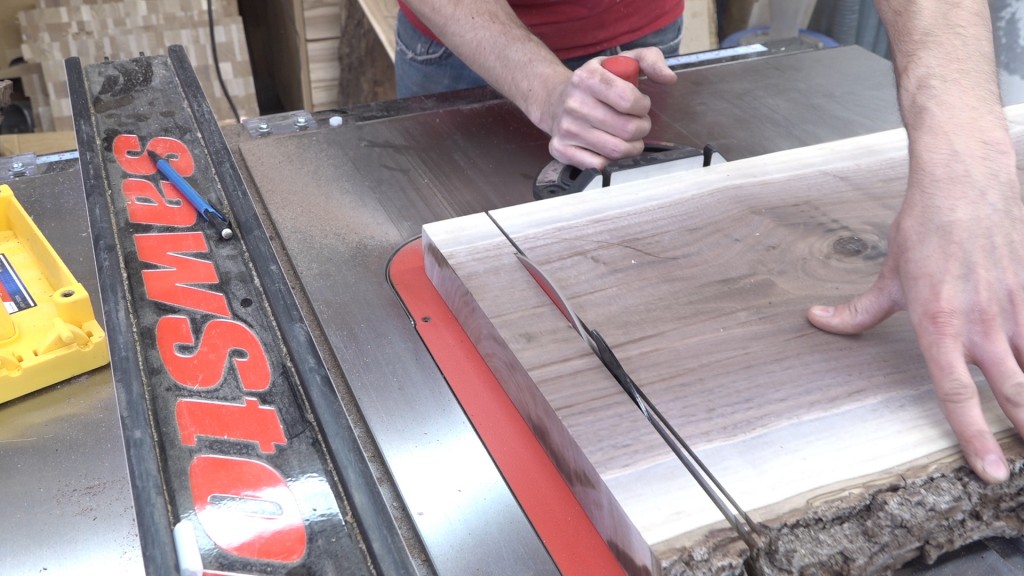
Next I can prep the upper sections. These need to be trimmed to final length which will be the distance between the posts. That is the shoulder to shoulder length of the lower section and since I made the shoulder cuts on all the parts, those shoulder cuts now serve as guides to cut the upper sections to perfect length.
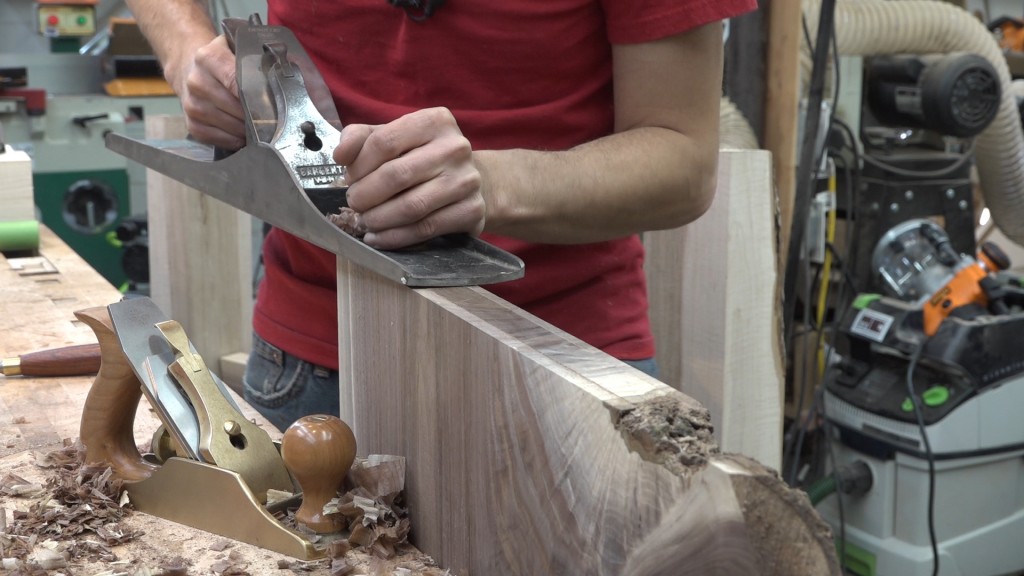
The majority is removed with the table saw and to do the final work, I’ll use some planes. I start with my No 4 to do the bulk of the removal and then switch to my No 8 to make sure the cut is flat. The last bit of material can be removed with the low angle jack set for a fine cut.
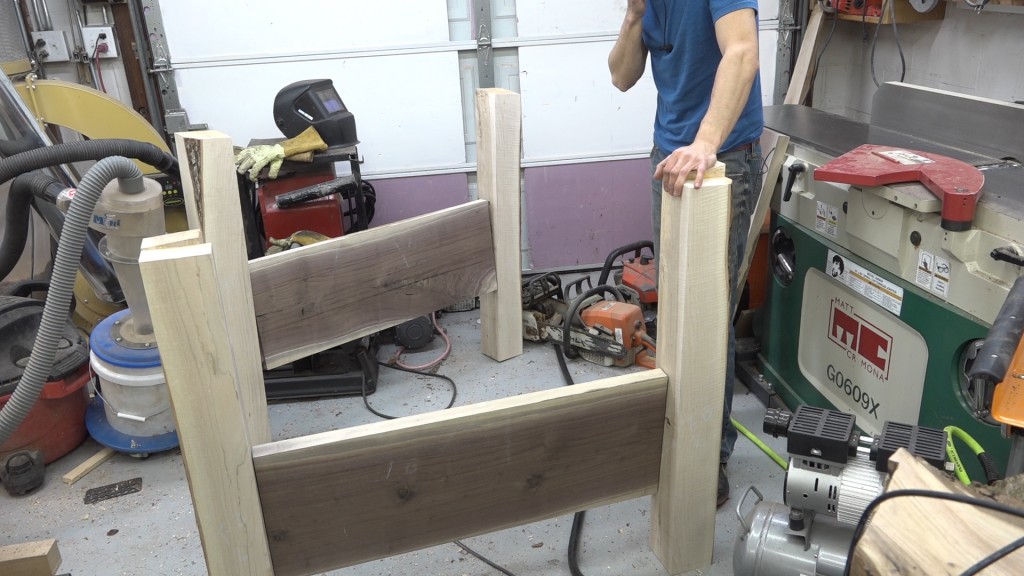
And there’s the head and foot boards with their completed joinery. The headboard tilts away from view and the footboard tilts towards view.
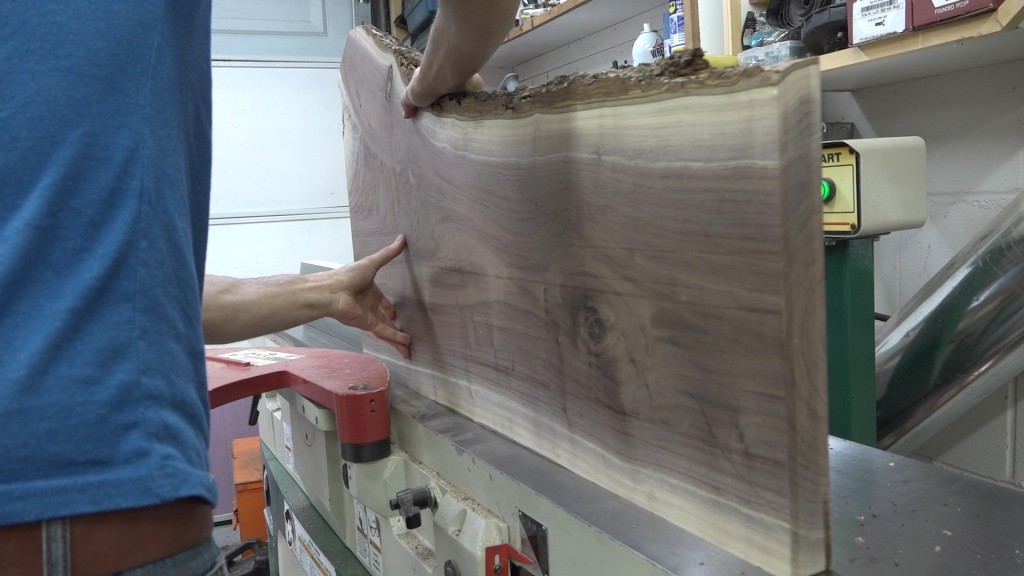
Last thing for now will be to bevel the joint between the upper and lower section. This will put the top section a further 5 degrees back from the posts.
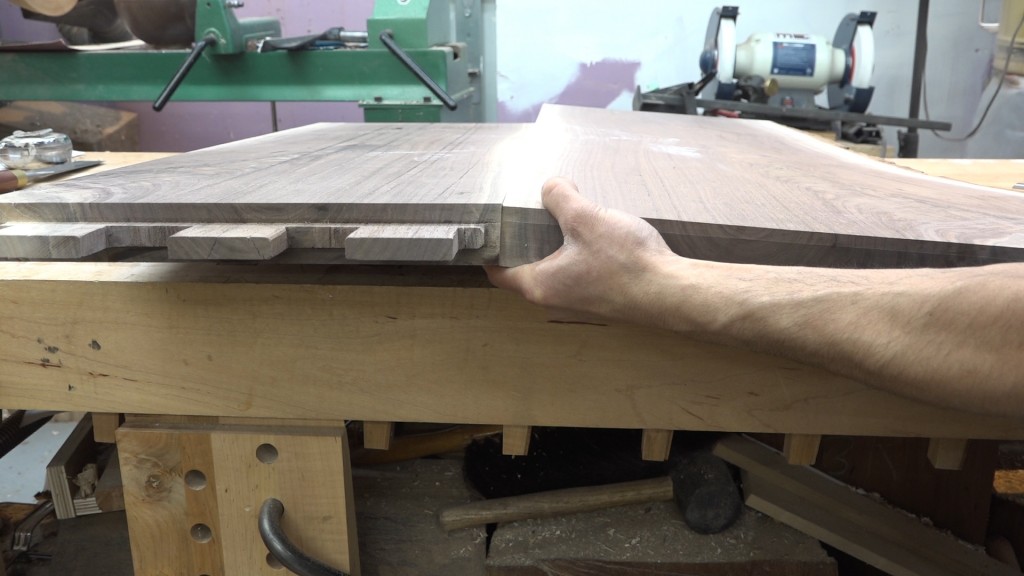
When the boards come together, they will be angled.
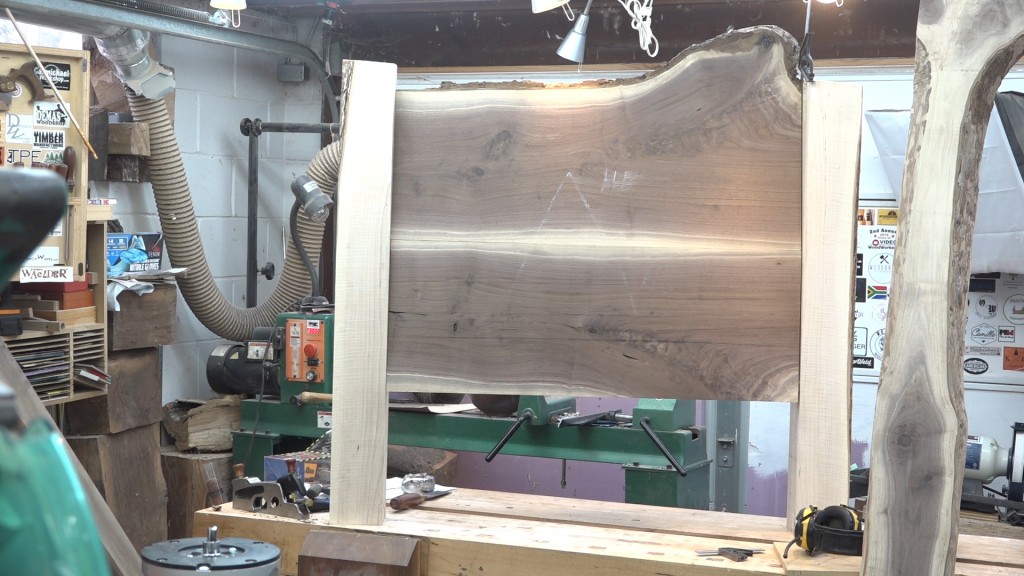
And here’s a look the the rough headboard with the walnut all ready. Next time we’ll do the joinery for the rails, treat the live edges, and finish the posts.
Push Block: http://amzn.to/2nEVg6B
Miterset: http://miterset.myshopify.com/?aff=10
Triton Router: http://amzn.to/2hXj5AC
Router Guide Bushings: http://amzn.to/2hFBllT
Triton T20 Drill: http://amzn.to/2bQ1ZkV
1/2″ Spiral Bit: http://amzn.to/2iRhCvG
LN #4: http://www.highlandwoodworking.com/lie-nielsenno4bronzesmoothplane.aspx?A=1314
Lie Nielsen Low Angle Jack Plane: http://www.highlandwoodworking.com/lie-nielsenlowanglejackplane.aspx?A=1314&B=28
[Affiliate links]


Welcome to my shop! This is a quick update to let you know what I’ve been up to. This big chunky thing is the leg

Welcome back to the home renovation. This time I’m going to be working on the kitchen island. Here is a small model of the island.

Welcome back to our home renovation. Today I am going to be working on this wall. It needs some upper cabinets and the surround for
One Response
i would leave the legs for the head board long enough to go to the low end of the walnut field. if your son leans on it and it has short legs it will strain the joint and possibly break it. head board legs are generally taller than foot board legs anyway.