
Kitchen Island, Barn Power – March 2024 Update
Welcome to my shop! This is a quick update to let you know what I’ve been up to. This big chunky thing is the leg
A quick project that I was able to put together in just a few hours using some of the first lumber that I cut earlier this year on my bandsaw mill.
My wife’s coworker was looking for a slab that he could use for a bartop. I didn’t have a single slab wide enough so I offered to glue up the width he needed from a pair of sequential slabs. This project is exciting for me because it’s pretty quick to produce which is a nice change of pace and (as far as I can remember) this will be the first project made from material that I cut on my home made bandsaw mill.
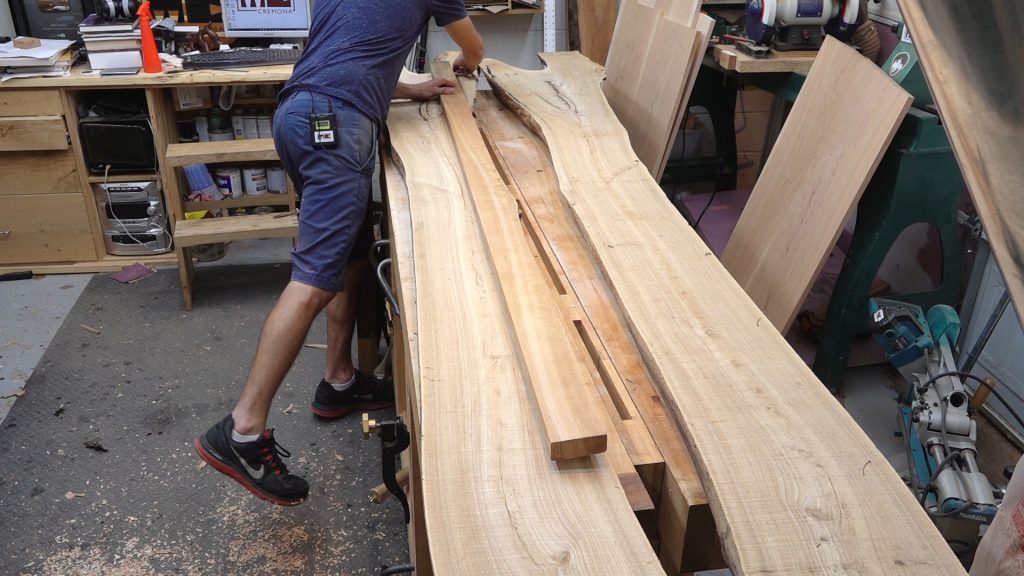
This top is going to have a live edge along the front and a squared edge along the back. First thing to do is establish a straight edge. I use a straight edge and some chalk to draw a reference line that I can cut to.
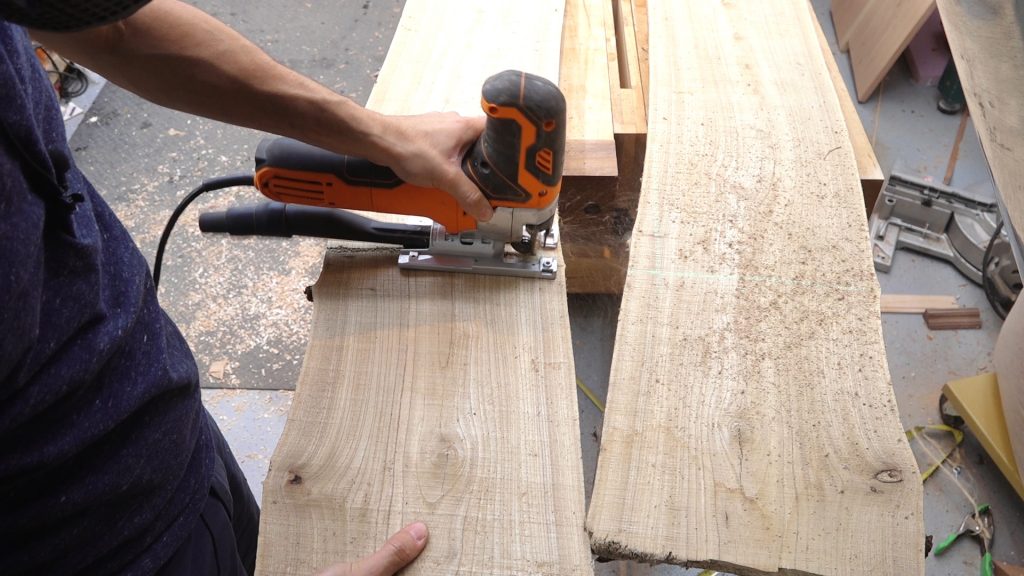
The final length of the bar top is going to be 88″ and these slabs are close to 10′ long so I trim some extra length off. This worked well because at this end the slabs curve together so removing this area yields me more final width.
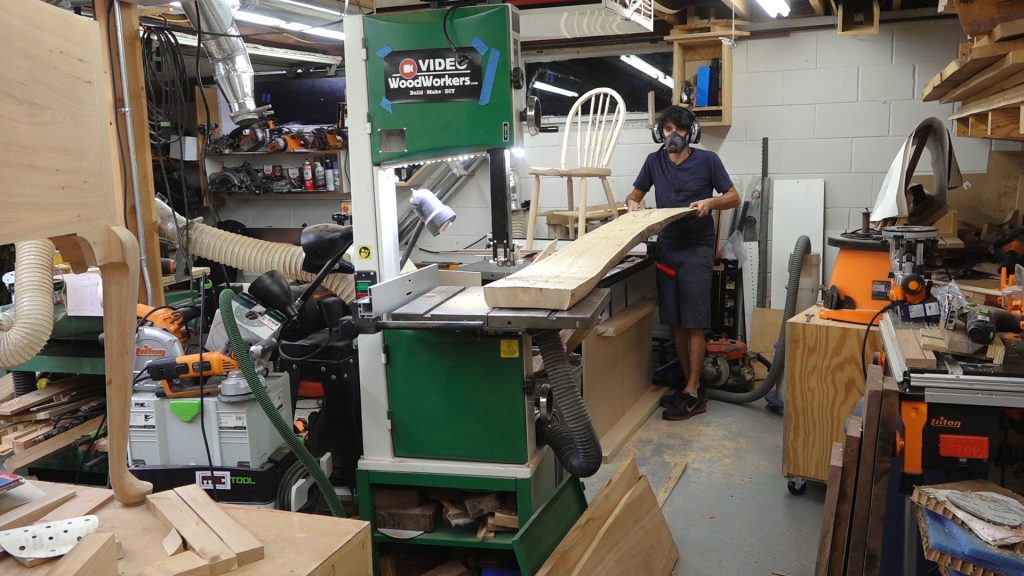
I use the bandsaw to remove the live edge. I still had the 1/4″ blade in the saw that I was using for the scroll work on the highboy so it wasn’t super easy to track the line. Luckily though, it doesn’t really matter how perfect I make this cut since the jointer will true it all up.
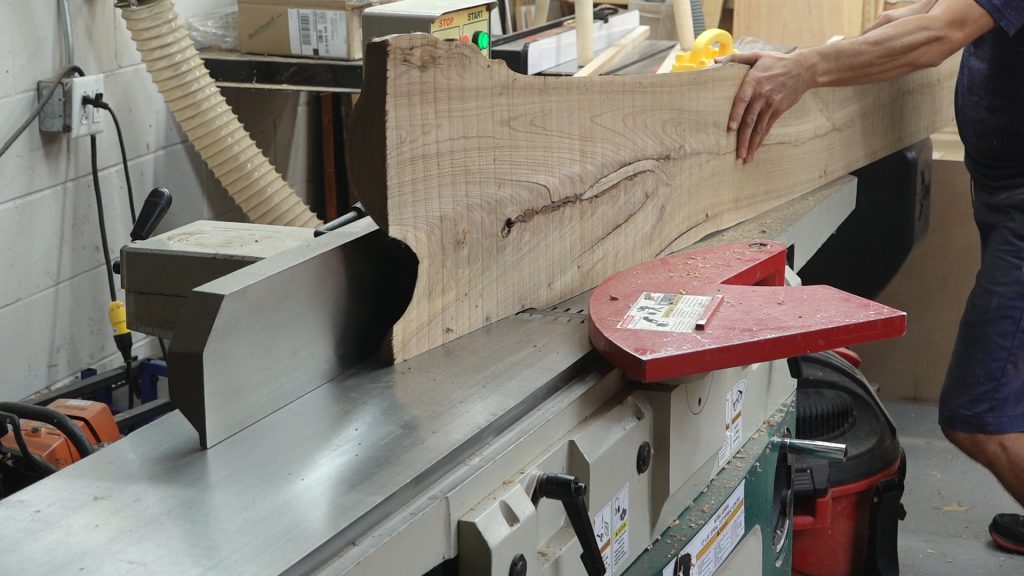
At the joiner, I straighten an edge on each slab. The rear slab then goes to the table saw to have it’s other live edge removed.
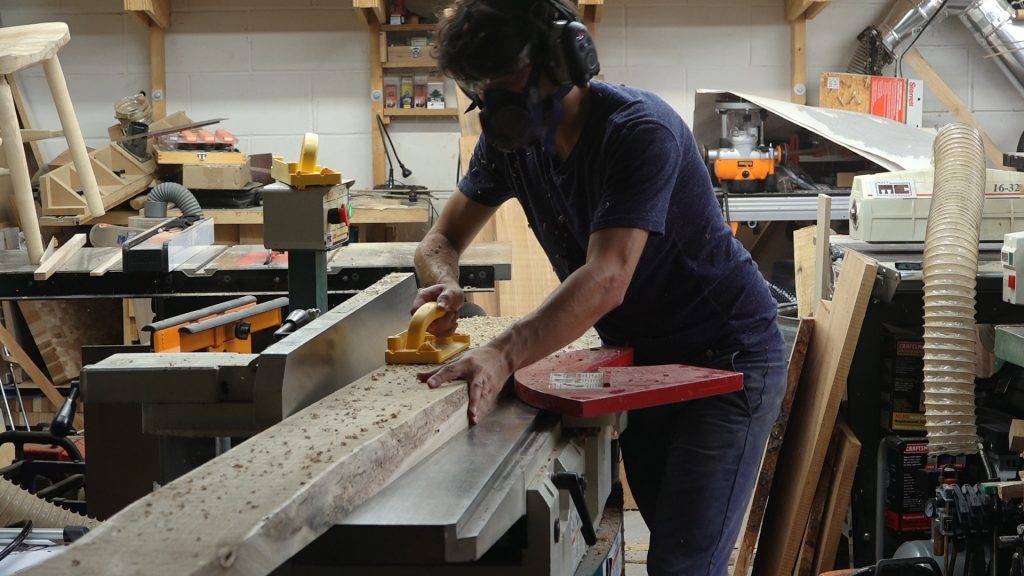
Both slabs get flattened on the jointer.
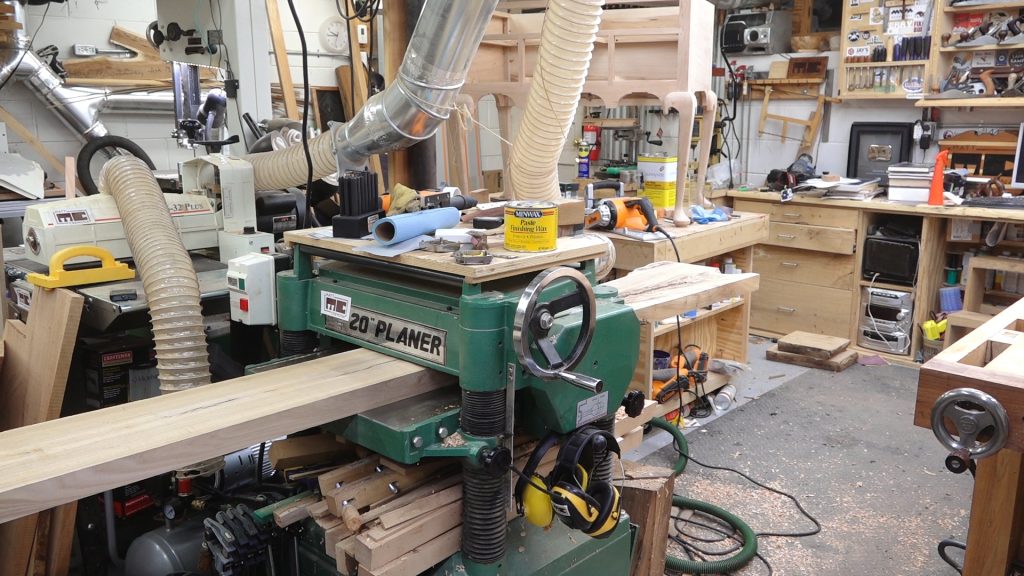
and the planed to thickness.
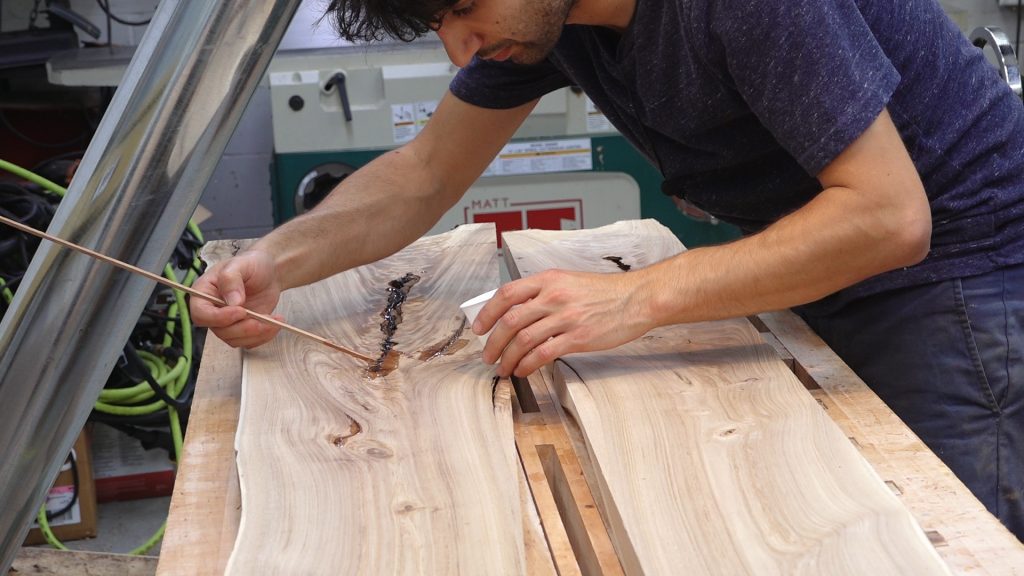
Next I can start on the epoxy filling. I will be doing the majority of the filling with a tinted epoxy so this first application of clear epoxy will do a couple of things for me. First, I’ve sealed up the underside of the voids with masking tape. Having a light first application will help to seal up the underside of the void and since there isn’t much epoxy, the masking tape doesn’t have much force to resist. This will help prevent any leaks from forming and all the epoxy flowing out the underside. The second thing it will do is seal up the fibers (especially the bark in this case) which will prevent the wood from absorbing the tinted epoxy. This will keep the color of the wood natural.
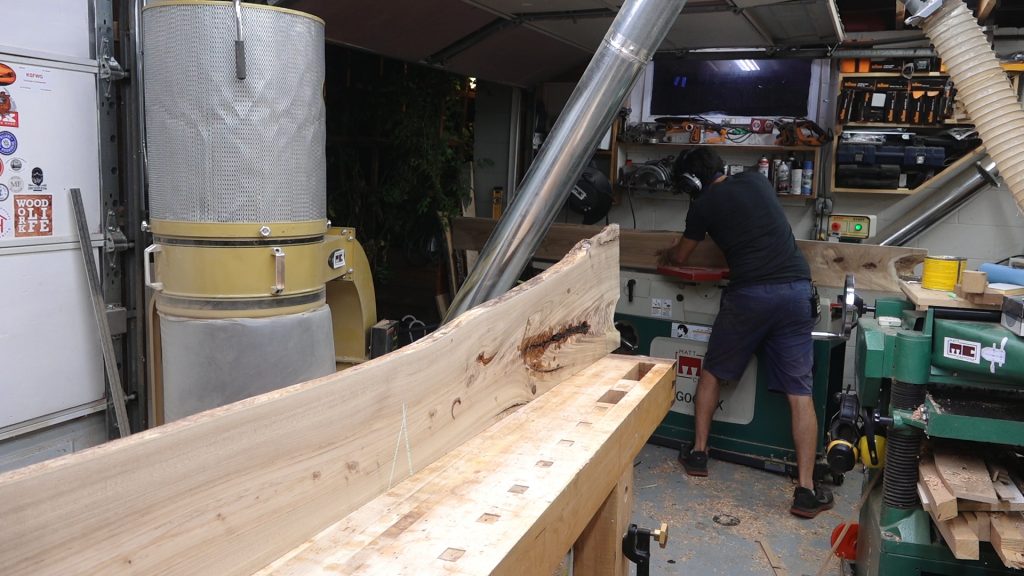
Once the epoxy is cured, I clean up the face of the slabs which will reference against my jointer’s fence and joint their edges in preparation for glue up.
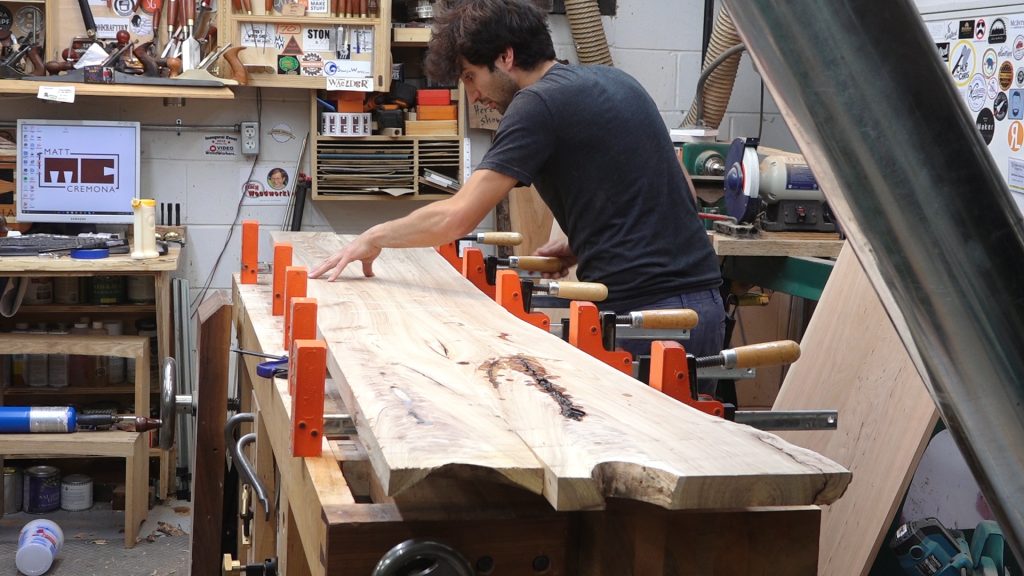
Some glue and clamps make two become one.
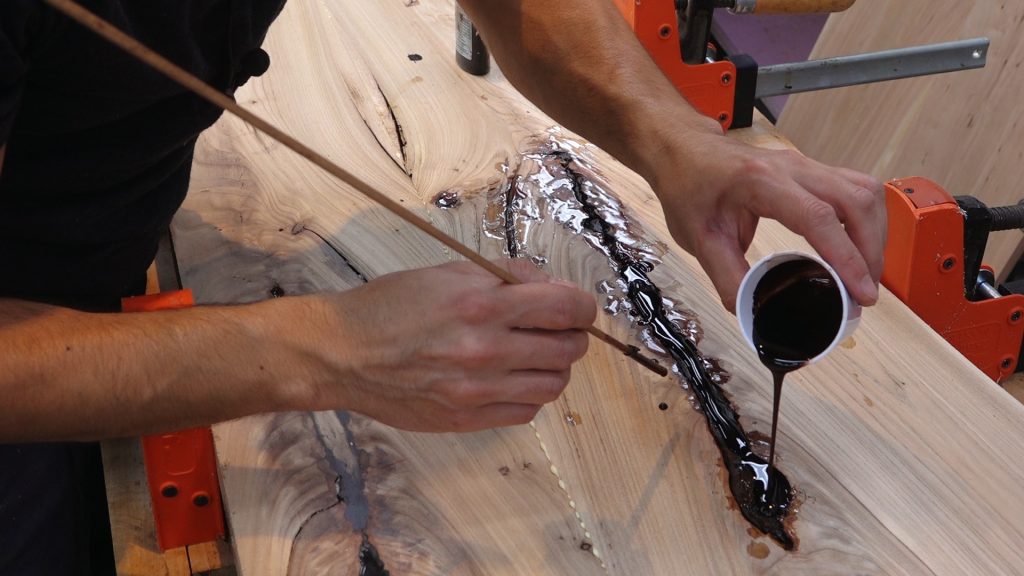
Now I can come back and do the second pour of epoxy, this time with a tint.
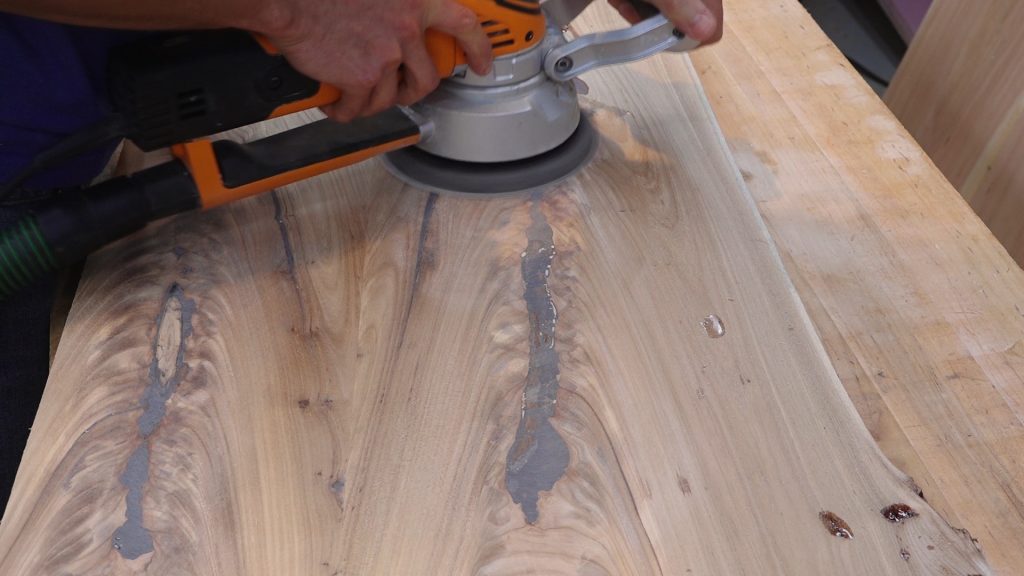
Once the epoxy is cured, I can sand it back. There are a few small voids in the fill which will need to be touched up.
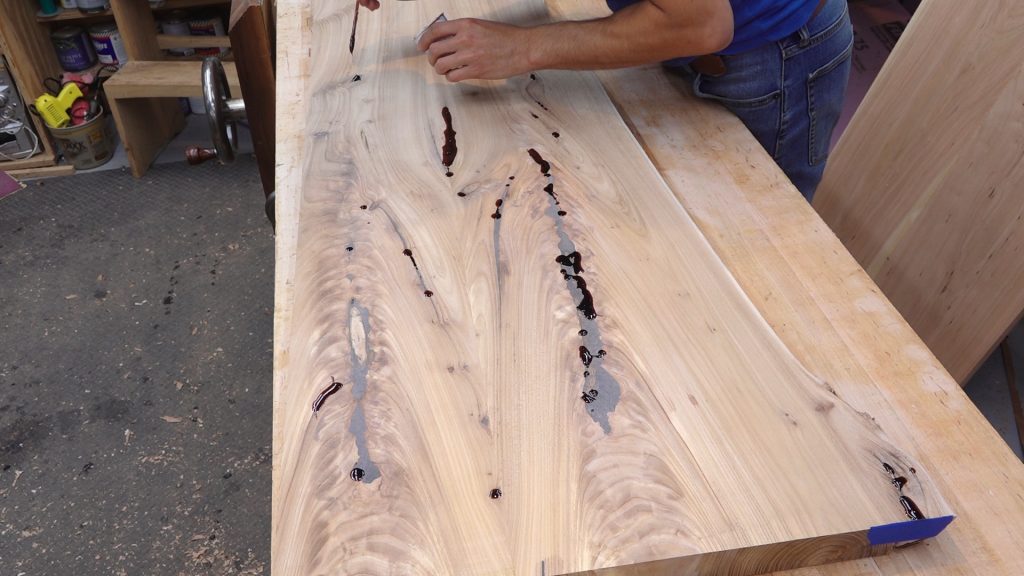
I mix up some more epoxy and look over the surface for any imperfections or low spots in the epoxy.
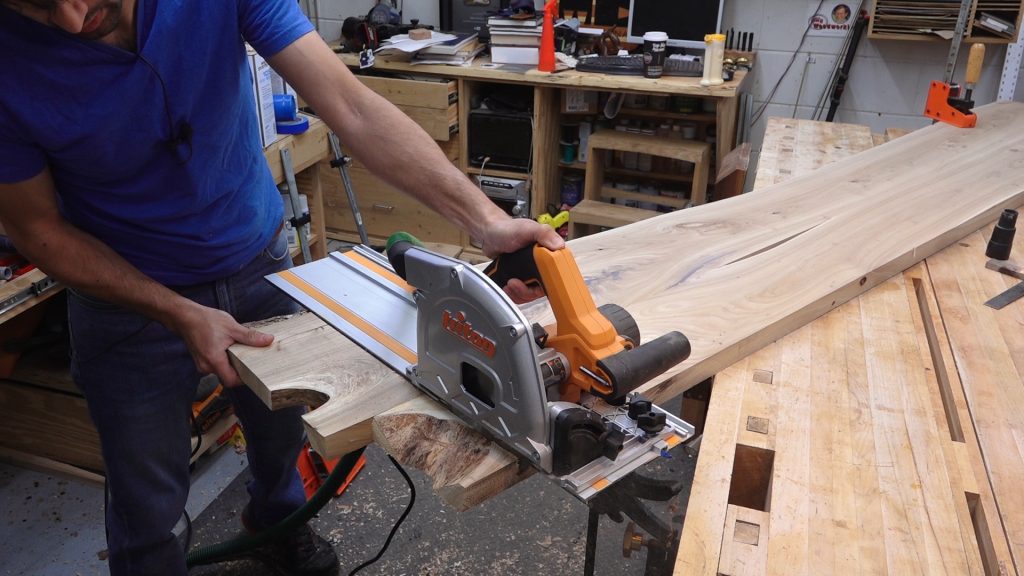
Next the bartop can be cut to length. I made these cut square to the back edge with a track saw.
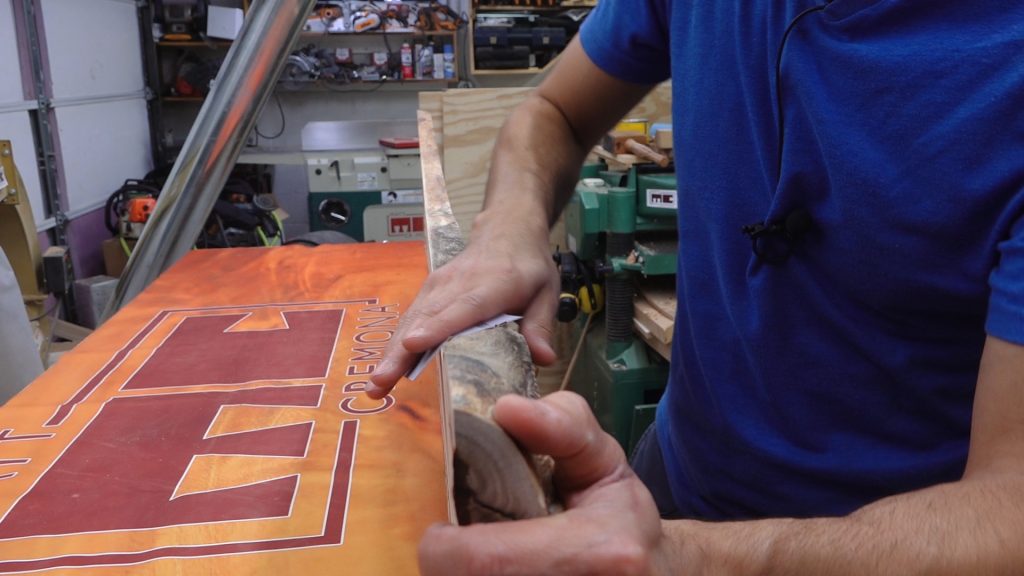
Next up is cleaning up the live edge. Not really much to do here since the back had fallen off cleanly so I gave the edge a nice hand sanding to smooth things up and to break the edges a bit.
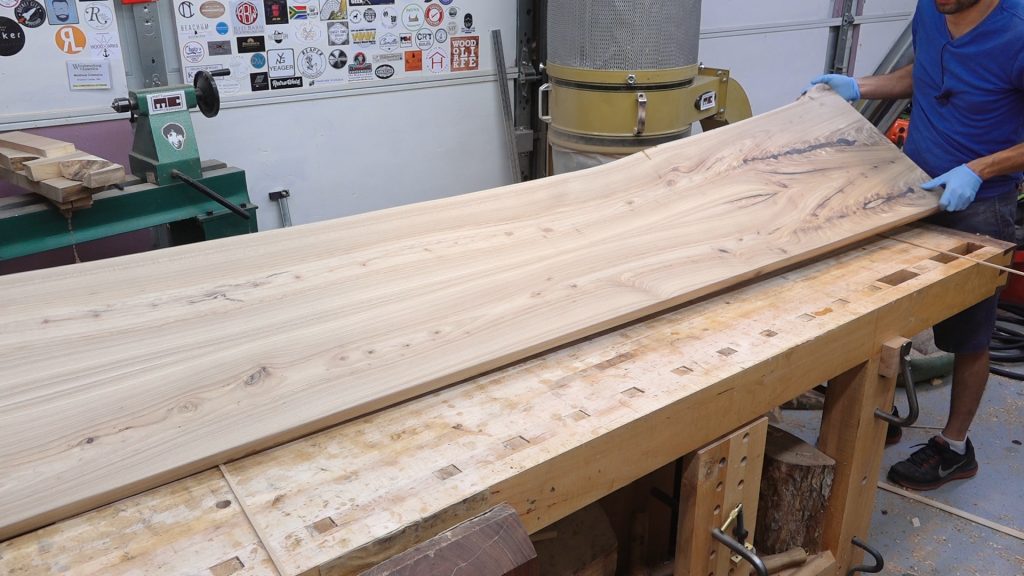
The surfaces get sanded to 180 grit, the edges get a slight roundover done by hand, and the corners get blunted and rounded over a bit.
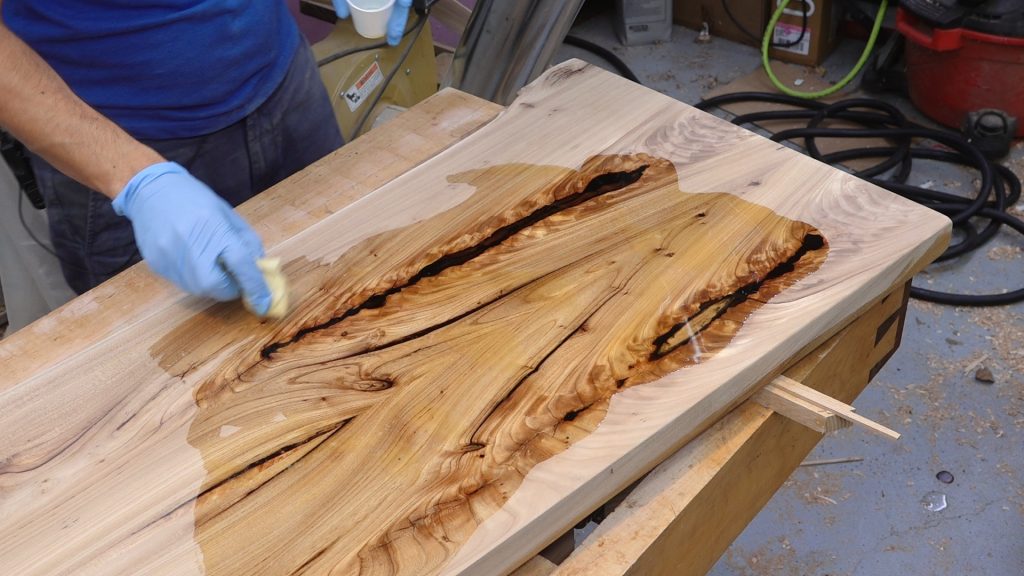
Now for some finish. I applied 5 coats of Arm-r-Seal with a rag, sanding between each coat with 600 grit sandpaper. A much more detailed explanation of this process can be found here.
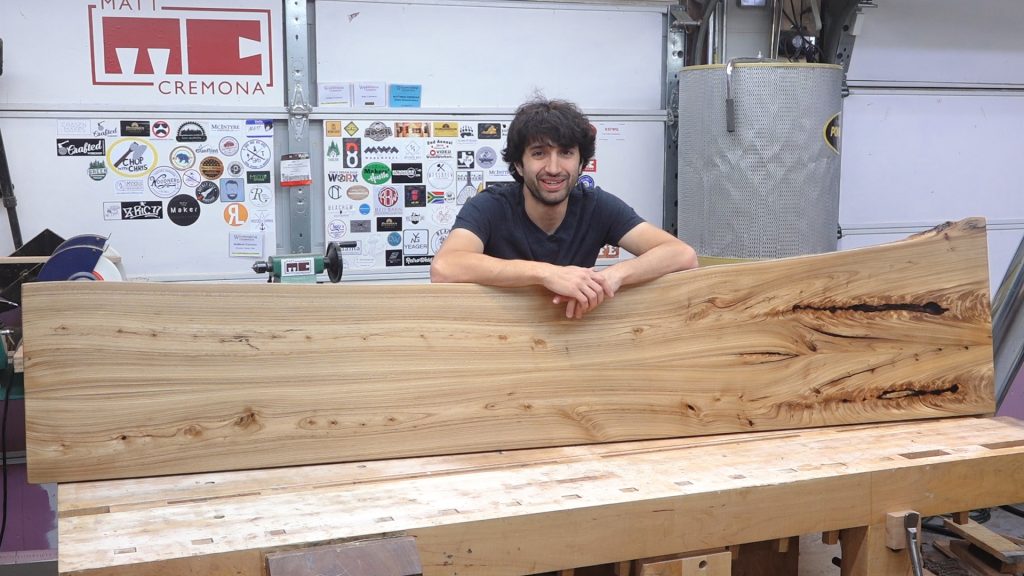
I am super thrilled by how well this turned out. It only took me a few hours to put together. It feels good to do a quick project once in a while. I’m really liking the color of the elm. It has almost a butternut color but is of course much harder. I’ll definitely be using more elm in the future. Seems like it is rather underrated 🙂
West System Epoxy Resin (Gallon): http://amzn.to/25TYH7y
West System Epoxy Slow Hardener (Quart): http://amzn.to/25TYKAr
Metering Pumps: http://amzn.to/1qicuEr
Transtint Medium Brown: http://amzn.to/23nL4Ps
Triton Track Saw: http://amzn.to/2f2P85l
Triton 7″ Planer: http://bit.ly/2xqGwtc
Triton GEOS Sander: http://amzn.to/2qmb2Fc
Planer: http://amzn.to/2z6eV2t
Bandsaw: http://amzn.to/2y29ZLK
Tablesaw: http://amzn.to/2g14V5J
Push Blocks: http://amzn.to/2yQD24r
General Finishes Arm-r-Seal: http://amzn.to/2fUwWbr
Dust Mask: http://amzn.to/2y8dl1m
Hearing Protection: http://amzn.to/2yQ0sa3


Welcome to my shop! This is a quick update to let you know what I’ve been up to. This big chunky thing is the leg

Welcome back to the home renovation. This time I’m going to be working on the kitchen island. Here is a small model of the island.

Welcome back to our home renovation. Today I am going to be working on this wall. It needs some upper cabinets and the surround for
6 Responses
Enjoyed watching this project on You Tube then came here to comment more than “you were taking a 1/4″ cut” I’ve watched your channels improve immensely. Do you have the room in your back area to build an actual shop? Also what is your take on the Triton sander? looked like it was doing a really good job of cutting the epoxy. I build Sam Maloof style rockers mostly for family and friends ad a good sander is essential. I use Festool now (5″) and it seems too slow with aggressive grits.
I do but I don’t plan to live here much longer. The 6″ Triton sander will chew through material quickly when it’s in geared mode like it was on the epxoy. Thanks William!
Enjoyed watching the video the final result was awesome this is something I would love to try to to do on my own
Thank you!
Have been watching you on utube love your saw didn’t see any way to contacts you
contact section of the site or email directly: matt@mattcremona.com