
Matt's Weekly Shop Update
Kitchen Island, Barn Power – March 2024 Update
Welcome to my shop! This is a quick update to let you know what I’ve been up to. This big chunky thing is the leg
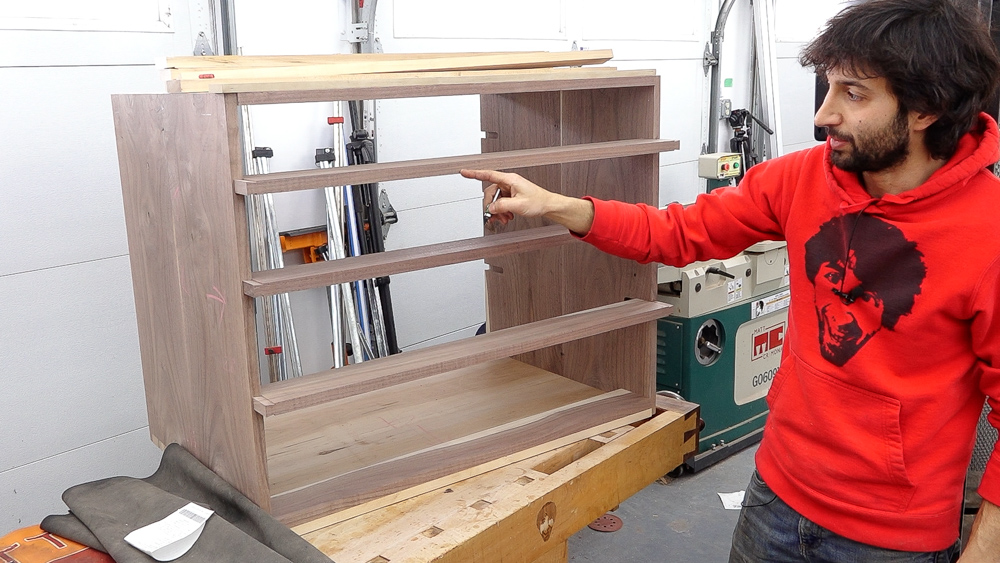
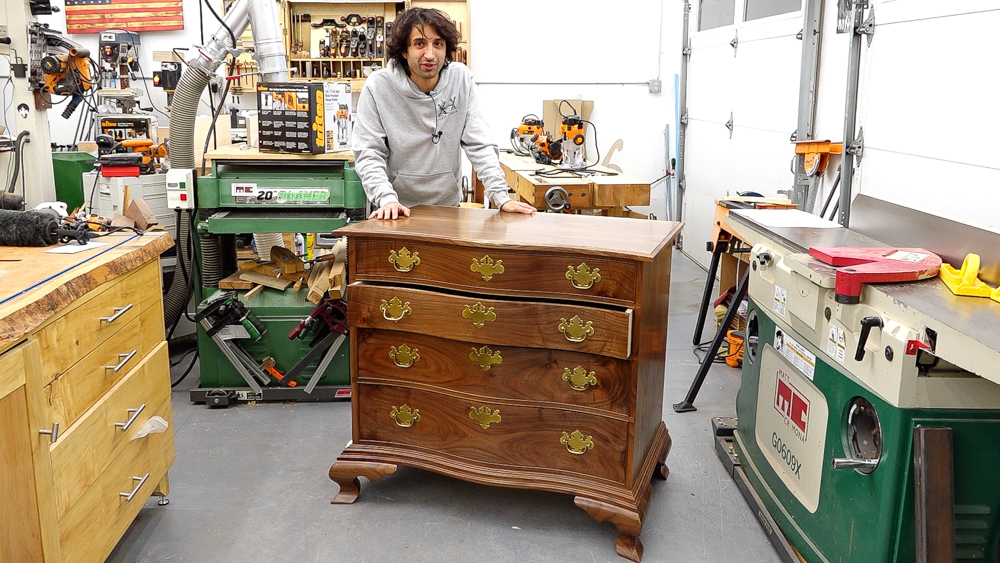
Welcome to my shop and welcome back to my series on building a serpentine chest of drawers. Last time we did all the dovetailed casework.
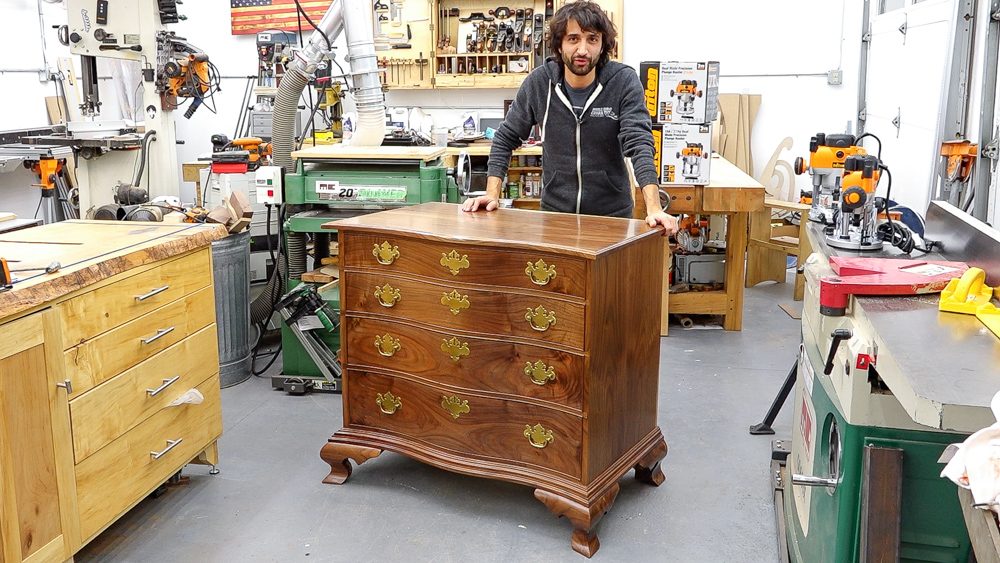
This time, we’re going to change our basic flat front dovetailed case into this curvy thing right here. Again, I want to say a big thank you to Triton Tools for sponsoring this series and continuing to support the channel over the last several years. Just like last time, we’re getting into routers. This time, we’re going to take a look at the MOF, the 2 1/4 Horsepower Router, the more nimble of the two routers.
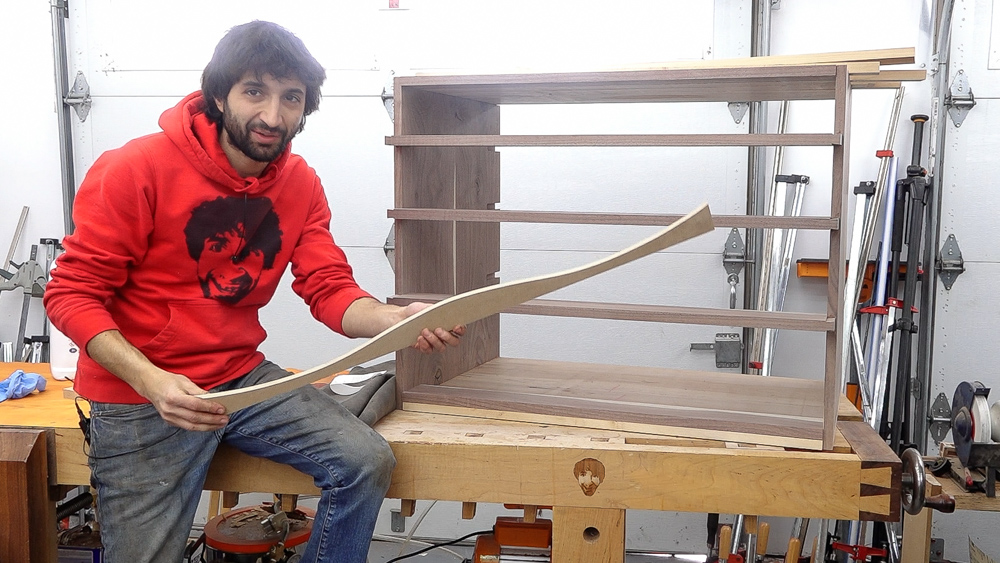
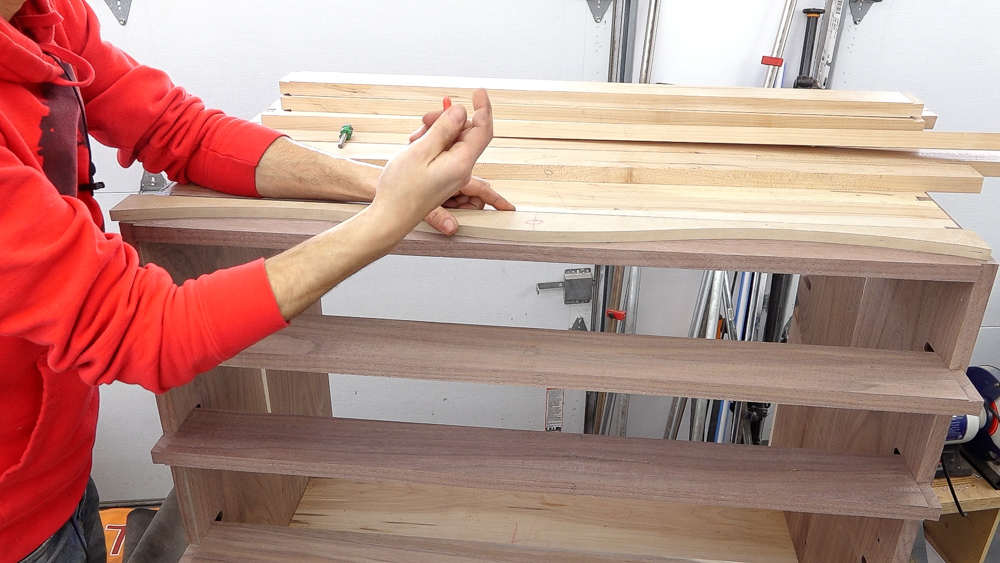
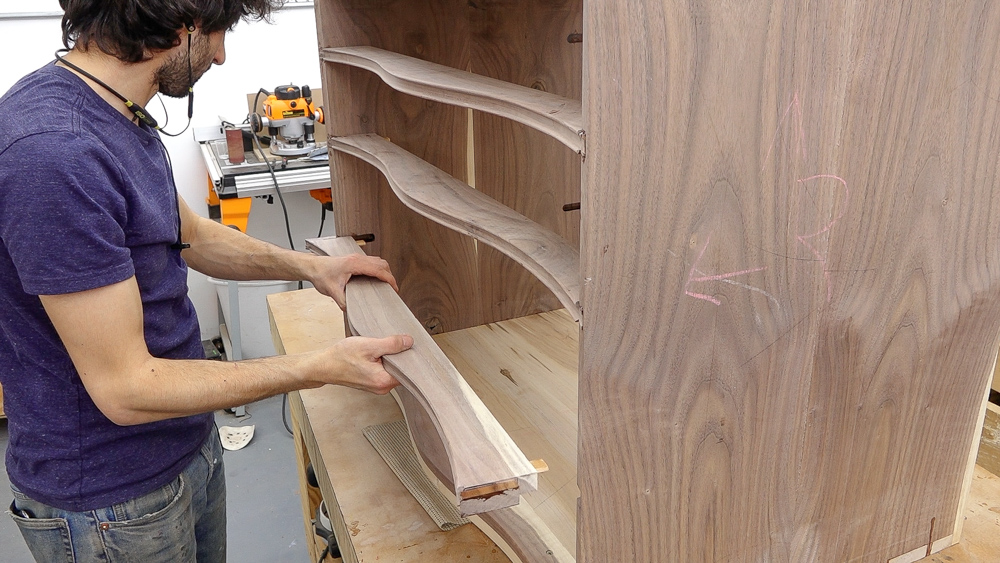
But for now, let’s hop into curvy stuff. It is finally time to get back to this thing, which we made in Part 1. This is going to give us the entire shape of the front case. Before we start that, I’m going to take a look at the top here, and we’re going to run through some of the details to show what we’re going to do with the curvature, as well as the bead detail, which is going to outline each of the drawer openings.
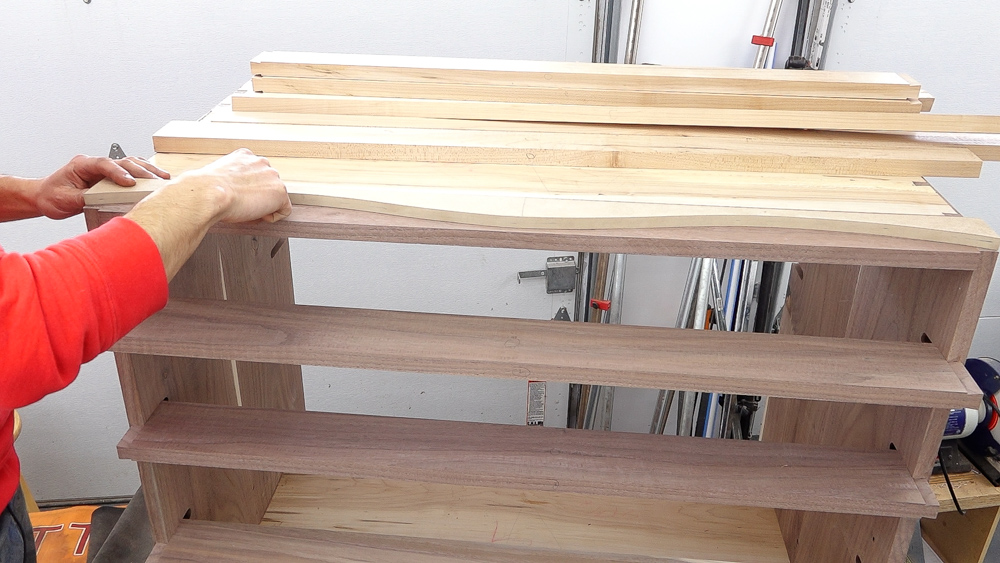
Bringing our template in here, we can see how the curve is going to relate to the dividers and then the case sides. The case sides are included in the curvature of this curve detail here, so we have a bit of material here on each end. What’s going to end up happening is the case side will be ripped with a bevel on it to roughly approximate the curve as it occurs at the side. It doesn’t need to be super perfect because we’re going to end up probably blending things together as we do the final assembly.
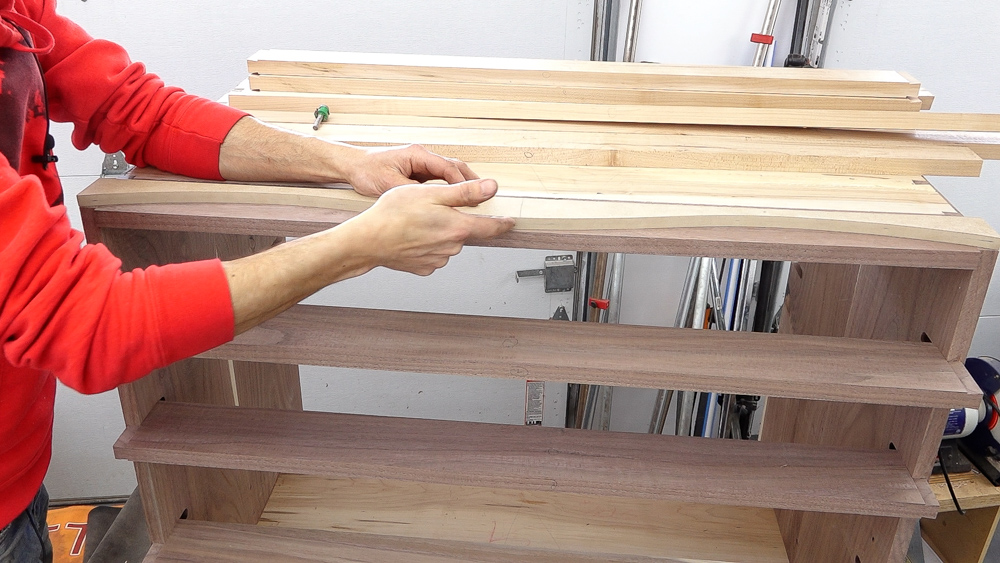
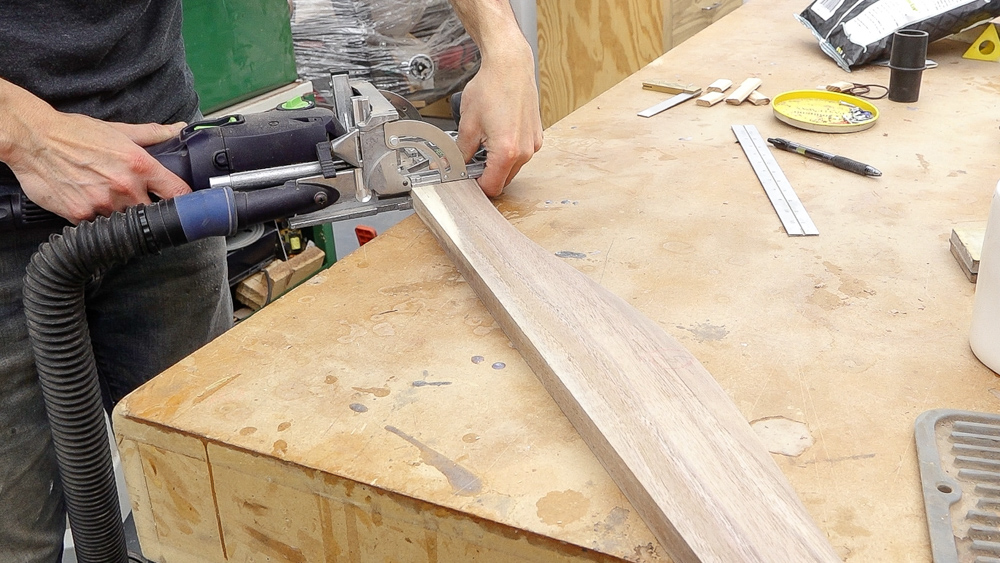
The other big important detail here is that the curve is actually going to be a little proud on the dividers and all the horizontal pieces versus the sides, because we need some material there for the bead. This is going to be an 1/8-inch bead, which is going to run around the drawer openings. You can see I have a little bit of extra material up here. I originally left that so I could come in here with a saw and make sure I get right on the curve with the saw versus coming in and trying to cut right to the curve. You always end up with some weird flat spot, so giving yourself a little bit of extra material to come through and cut this curve makes this curve process a little bit easier. All that is just to say that the dividers are going to be a bit proud, so they’ll be forward of the case sides a little bit.
The one thing I want to do before I forget is mark the reference face on the template. The template is probably not perfectly symmetrical because I, as a human, made it. In order to keep the whole case consistent, I’m going to mark one side as the top to make sure I’m always using it with the same orientation all the way down the case.
In theory, I should be all set to start cutting and template routing all the dividers, and then ripping the case with the bevels on there. One thing I’ll note at this point is the fact that the final depth of this case doesn’t really matter. If something crazy happens and things don’t work out perfectly, and you end up having to take off a little more material, and the case ends up a 1/2 inch narrower or less deep, it doesn’t matter. Right now, I have extra material here, meaning that the whole case is a little bit deeper than I need to be. That gives me some leeway in case I don’t like something, or in case this bead detail fails or whatever.
The bead detail is going to be on the top and the bottom of the dividers, and I have to clear out all the material between them to expose the beads, which should be fun.
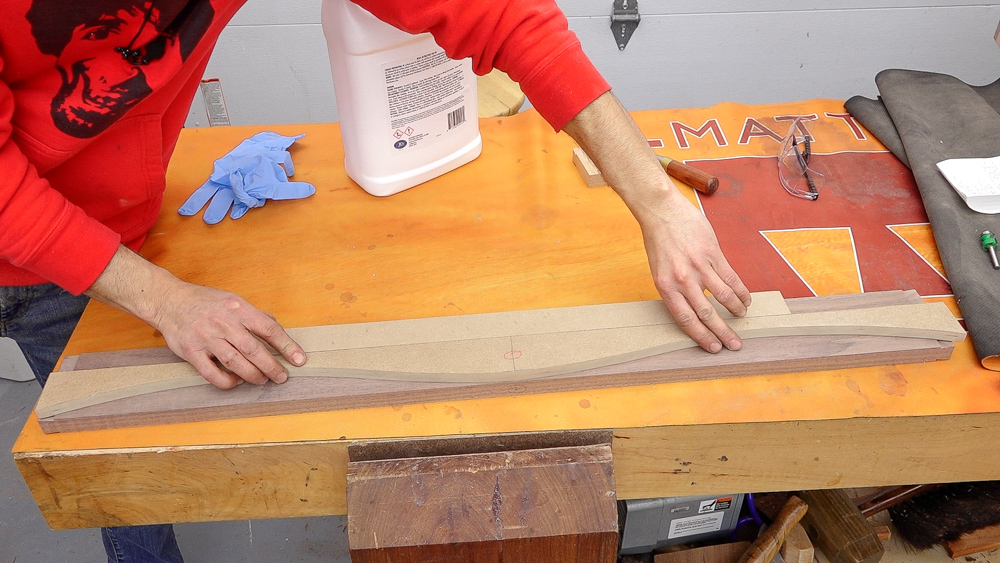
I’m going to start with the dividers because they’re the easiest, and I have to pull them out of the case anyway. The back edge, which is going to be straight for all this, is going to be our reference edge on all the parts. I have my old template here, which is narrower than the divider. To make the alignment here a little bit easier, I cut this little strip, which I can stick onto the back and line it up with the back edge. Now I have my rotational alignment correct, and all I have to do is worry about my left to right alignment. I have a center line that I could use, but I can also just verify that I’m protruding the same amount on both ends.
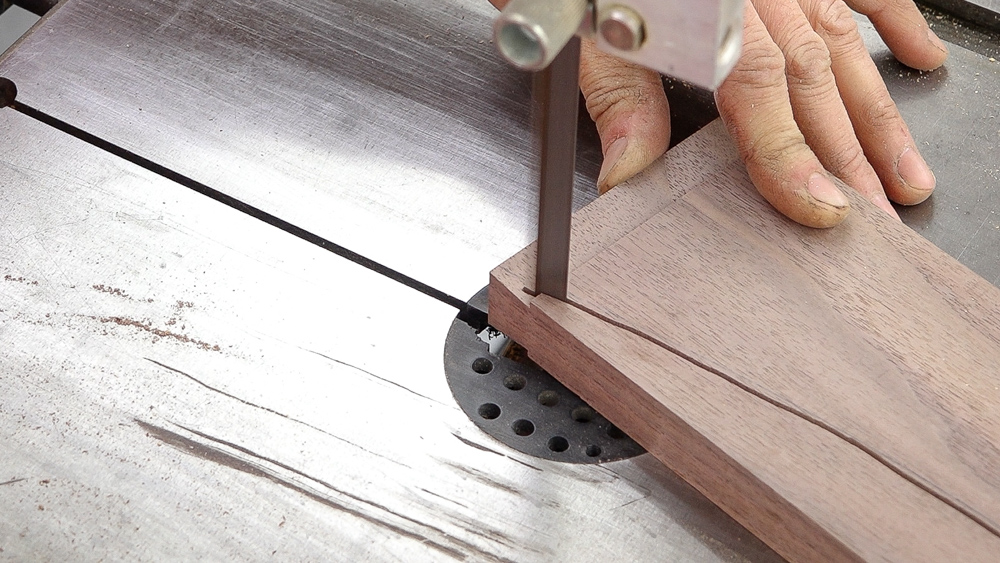
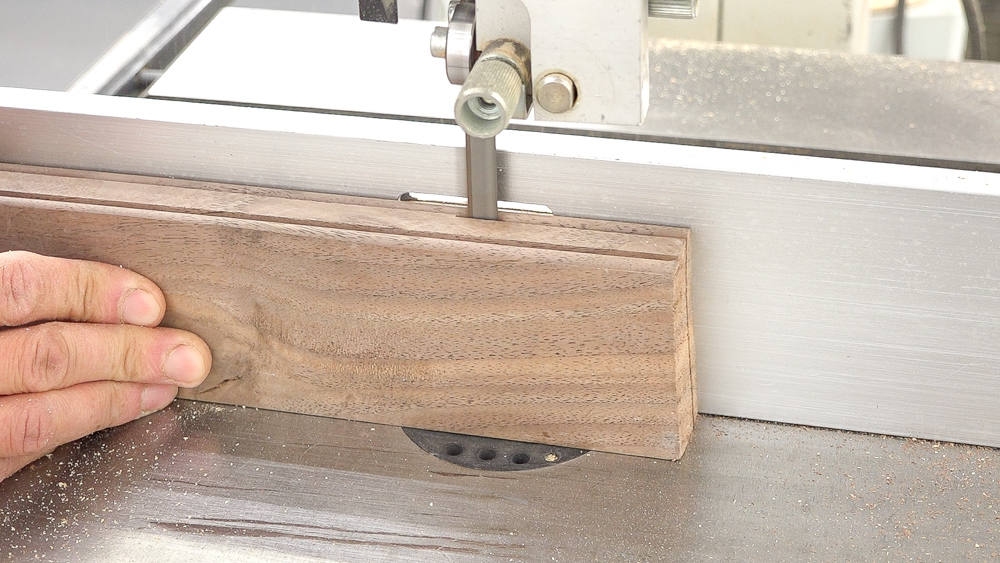
For this first little bead, all I’m doing is a rough material removal. I’m going to trace around the template, and then roughly cut it out at the bandsaw. When I actually stick this template down to do the flush trimming, that’s when the actual proofed alignment matters.
I‘ll go get this first one band sawn, and then I’ll flush trim it to the template. Then this will become my new template for the other two dividers.

Once we get through those other two dividers, we can pull the case apart and start working through its curvatures as well.
The next thing on the to-do list is to add the bead detail to the front dividers, and then the top of the case. This is the sample I did to give you an idea of what we’re going for. We want the bead on the top and bottom of the dividers and on the top and bottom of the case. There’s a bead on one side for that drawer opening, and then the area in between will be cleared out. So you have a little bit of a recess in the middle and two bead details on either side.
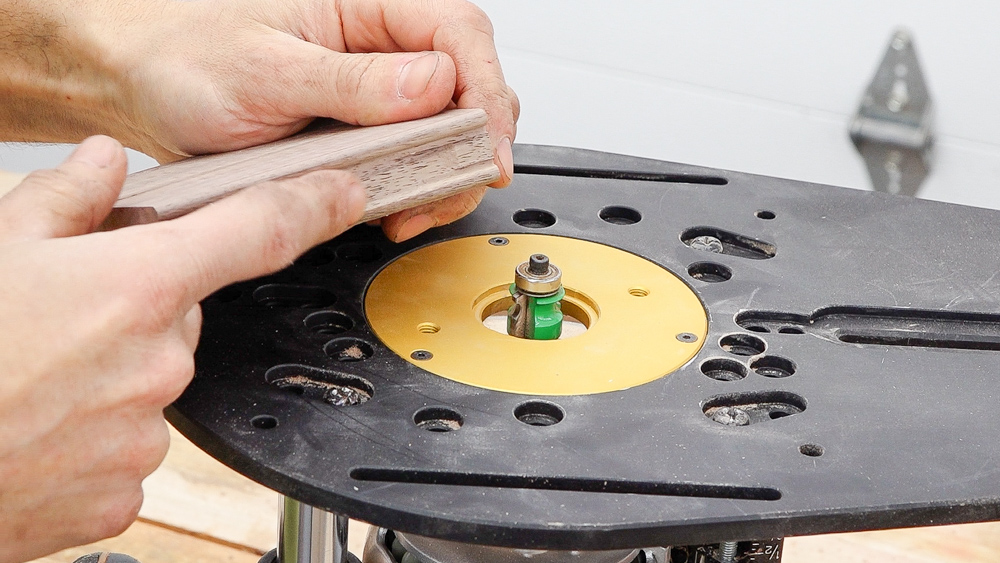
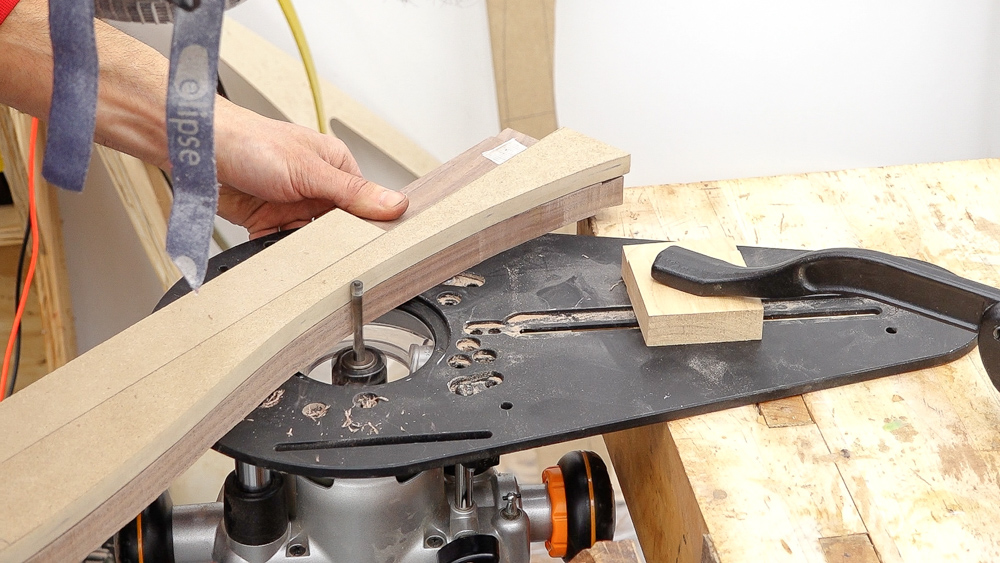
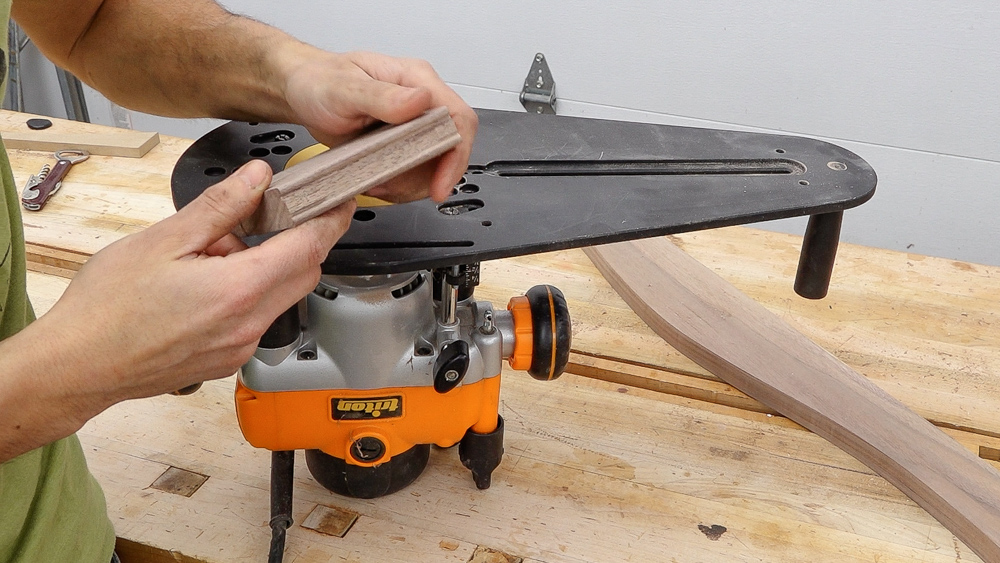
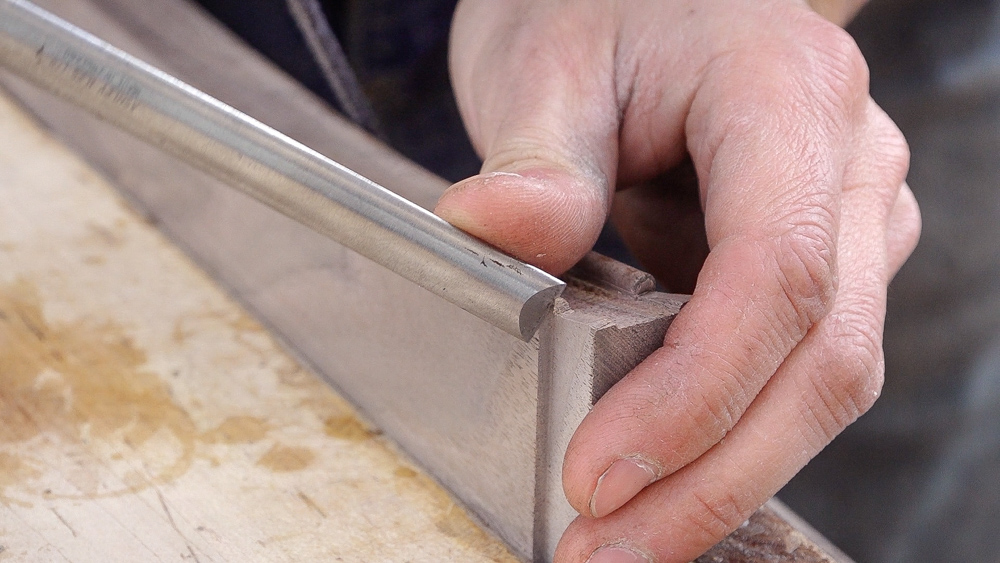
The first bit here is a beading bit that’s an 1/8-inch bead. That’s going to leave all this material here in the middle, which will need to be removed.
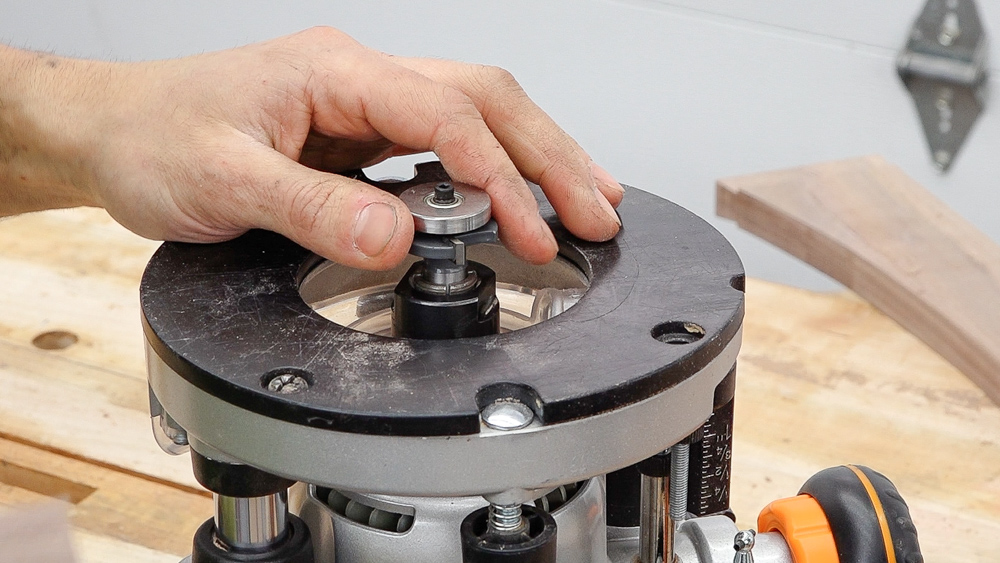
To do that, I have a second router with a slot cutter. This has a bearing on it, which gives me a cut depth, which is almost the right depth for this. There is a slight little ridge in there, which I can remove by hand later on. This at least allows me to clear up the bulk of the waste.

I’m going to do the dividers first, because they are going to be the easiest. But the case should be more interesting, because there’s a lot more waste that’ll have to be removed. Overall, this is just some simple, basic routing. The only challenging part about this is that the workpiece cannot lift off the router at all. If it does, the bead will be ruined, and you’ll be starting over again. These dividers are wider than they need to be, so if I do mess up any of the beads, all I have to do is remove the beaded area, flush trim the divider again back to the template and try again. It’s not the end of the world if I screw this up, which is nice to have in the back of your mind. But I’d prefer it to not screw it up and not have to go through and re-prep the divider.
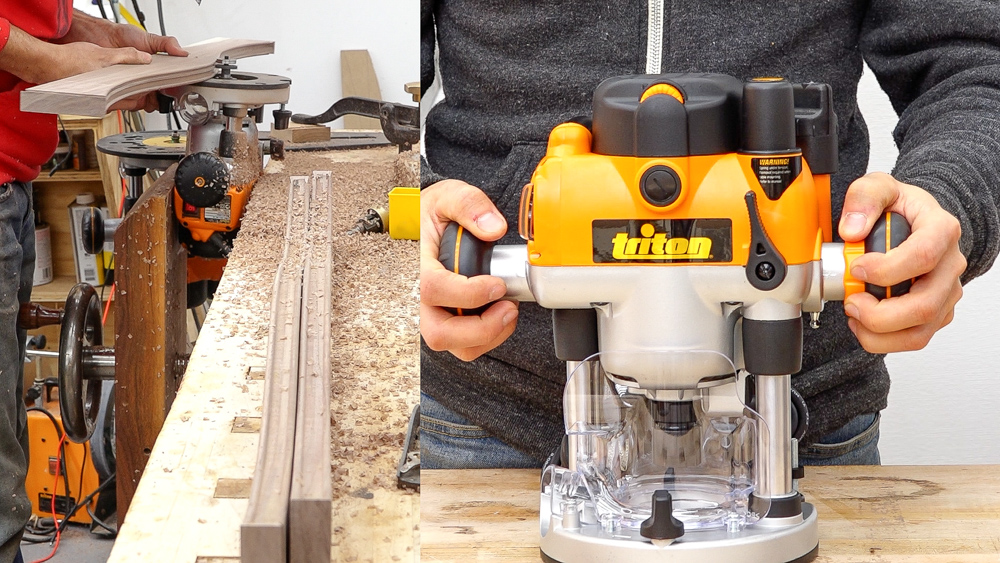
While I’m doing all that routing, let’s continue our discussion on Triton’s routers. Last time we talked about the TRA, and this time we’re going to talk about the MOF. This is the router that I’m using in the video. It’s small and compact, but still packs plenty of power. Efficient dynamic load control, which keeps the bit RPM at a constant velocity throughout any kind of changing conditions. Now, as I mentioned last time, the two routers share a lot of the same features. Last time we talked more about the router table functionality. This time we’re going to talk about the plunge functionality. Triton routers are a dual-mode plunge. So in one mode, you have the standard plunge mechanism. But in another mode, you also have this nice rack and pinion plunge, which allows you to raise and lower the router by twisting it up. This is my favorite feature of these routers, and it gives you a lot more precision and control through the plunge process. Another great feature of that plunge mechanism is it has built in detense. So if you’re doing an operation where you need to make incremental passes, like a mortise, you can step down in roughly 1/4-inch increments without taking your hand off the handle. So that’s Triton’s MOF, it’s a 2 1/4 horsepower router, a smaller version of the TRA, which is a 3 1/4 horsepower router.
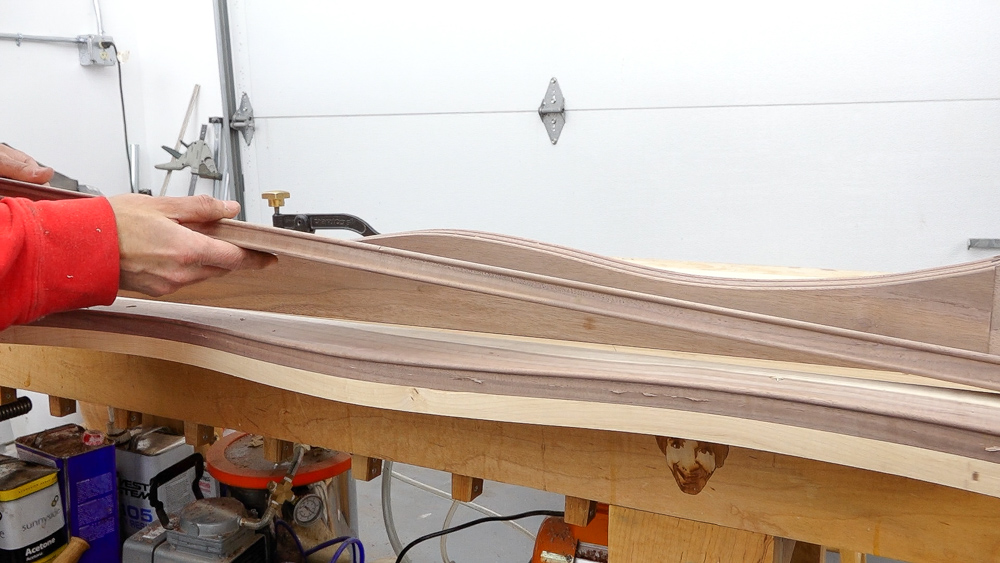
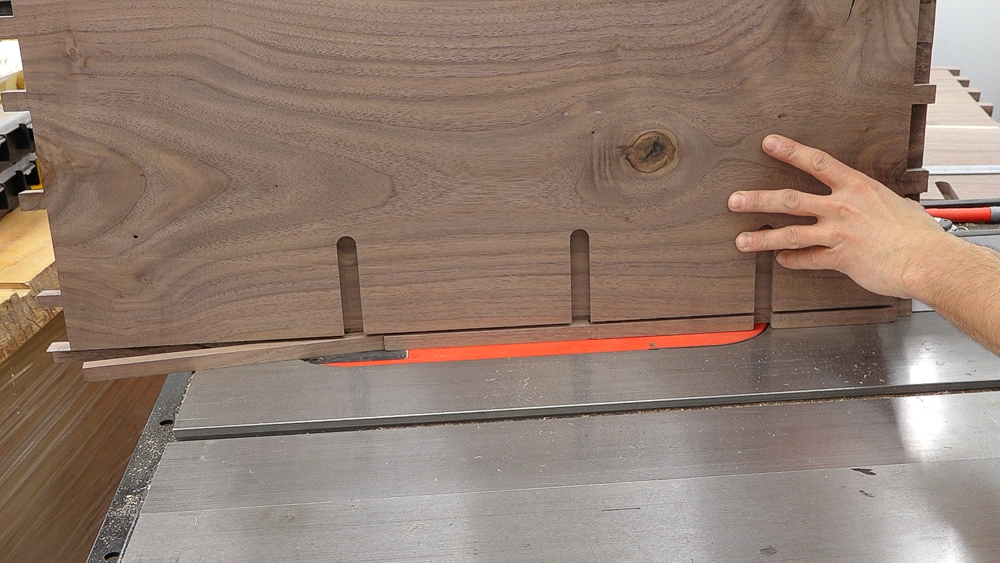
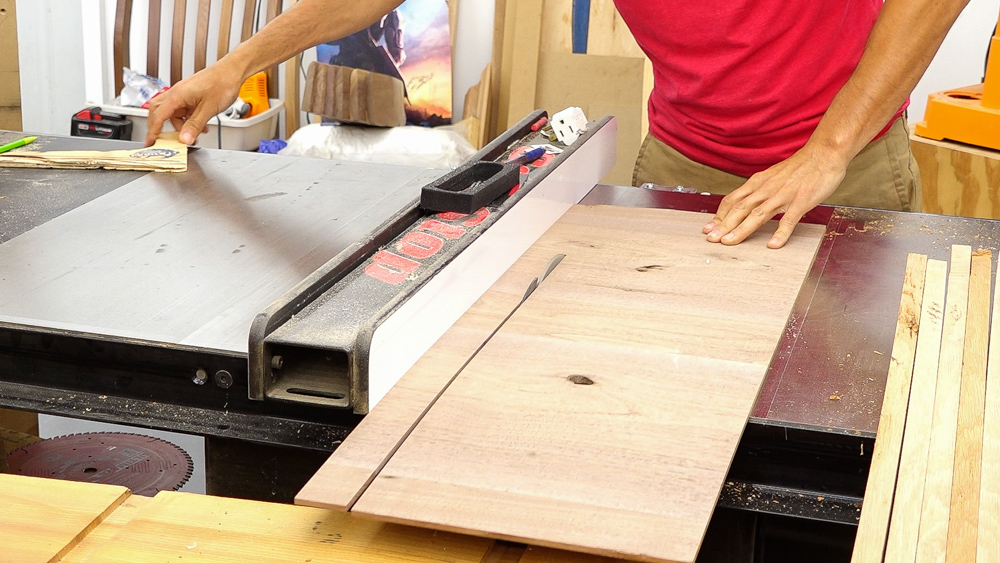
Here are the finished bead details on all the pieces. From here, we have two major things to take care of before we put the case back together. First off is mitering all of these beads here on the end so it’s out of the way. The other thing is ripping the bevel onto the front of the case.
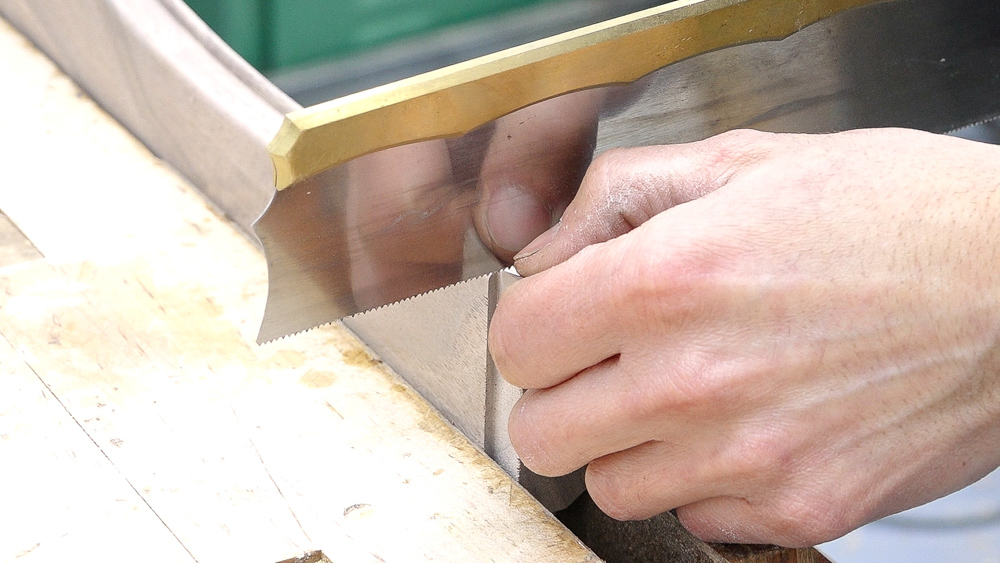
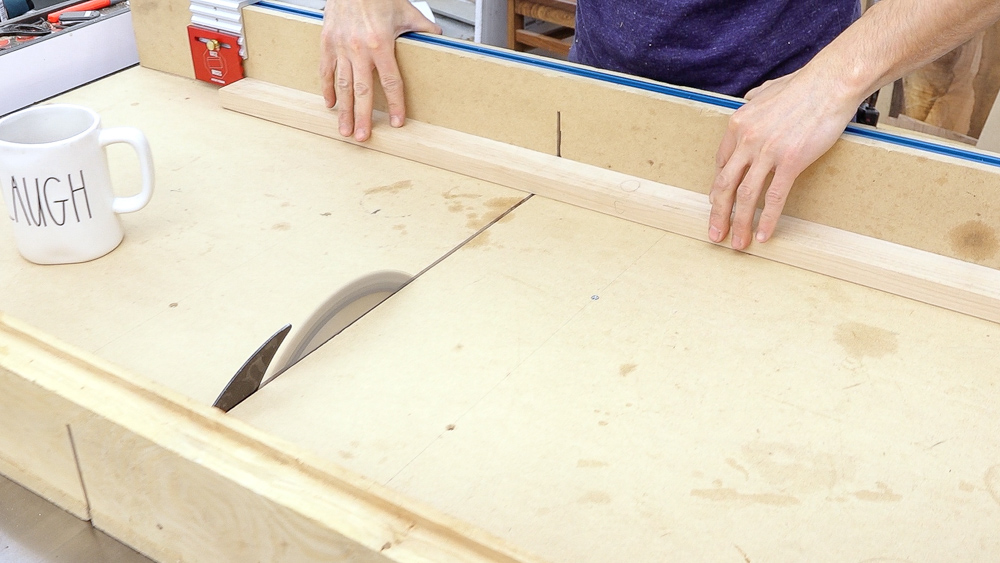
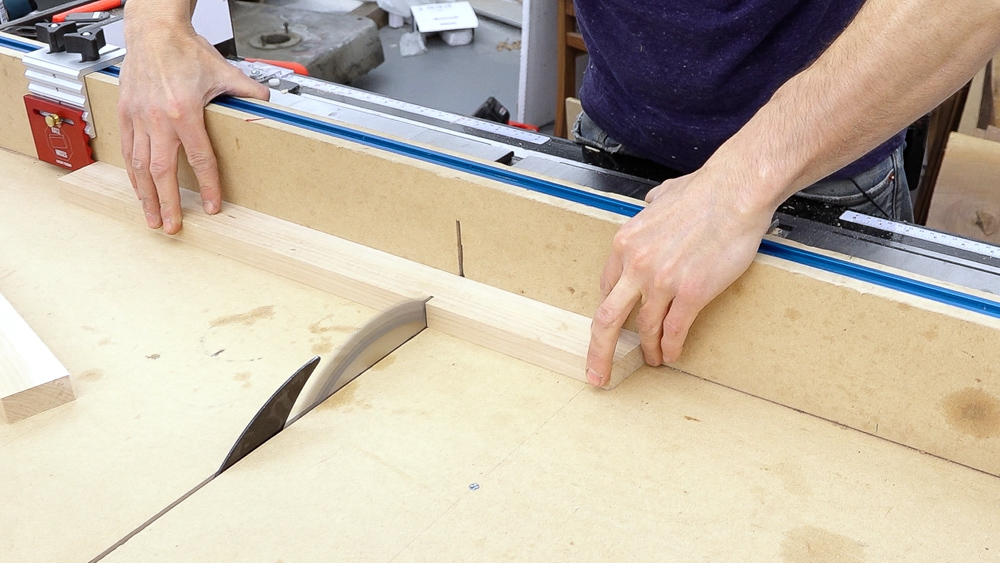
To get started on mitering this bead here, there’s a little bit of prep work to square up the ends and get this extra little bit of waste out of here. I’m going to make a quick saw cut to get me started, then I can remove some of that waste on either side of this groove.
I’m going to just continue this shoulder up around here to get the end of the bead. And that’s it for prep. I’m not too worried about this right now, because I have to flush this up with the case anyway. I just wanted to make sure I’m down to the very bottom, right where the bead is.

Next, we can start working on the miter itself. I made this guide block to help me cut these miters with the chisel. I’m only going to cut a miter right at the very end here, because I only care about mitering the actual bead. We don’t want to be mitering too far back, because we want the shoulder to be there for the dovetail.

Now I can start working this material out of here, using the block as a guide for the actual angle. It’s a little bit of waste here first. I’ll come back to about a 1/2 inch back. I’m going to be a little bit conservative right now, because I can always trim off more later when I fit the vertical piece in here. We can do all of those final tweaks later, once the case is completely glued up.
While I have the dividers pulled out the case, I’m going to cut the mortises in the back. These connect these dividers to the runners, which will support the drawers.
The next big thing will be gluing up the case. We have a few little details to take care of before we’re ready to do that. But the next time I put this back together, it will be with glue.
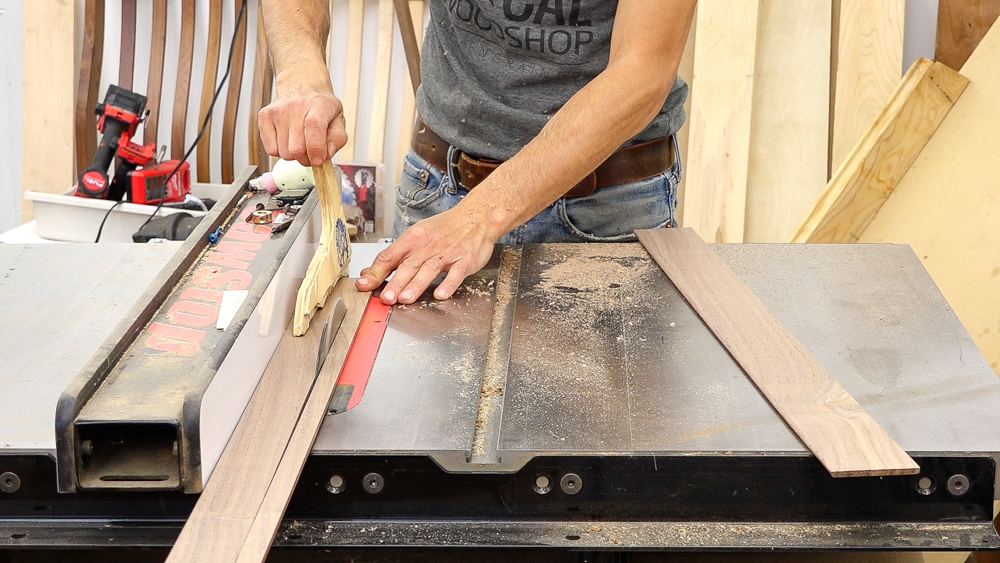
The first thing I want to knock out is cutting the drawer runners, which are going to go from the front to the back. That’s going to be super easy because those don’t need to be very precise either. You want to cut them a little bit short, that way there is a little bit of an expansion gap in there, so that when the case sides expand and contract, there is somewhere for that movement to go.
We’ll have the tenon that’s going to join the front of the runner to the divider and we’ll have that connection fully glued. The connection in back we’ll leave floating so that the tenon can move in and out of mortise, allowing it to be supported for the weight of the drawer, but also move through the seasons.
I have the bead on the front of the case to miter still, and then lastly, I have to cut the rabbit in the back for the back panels. Then I’ll sand the inside stuff real quick, and then it’s going to be time for some glue up after that.
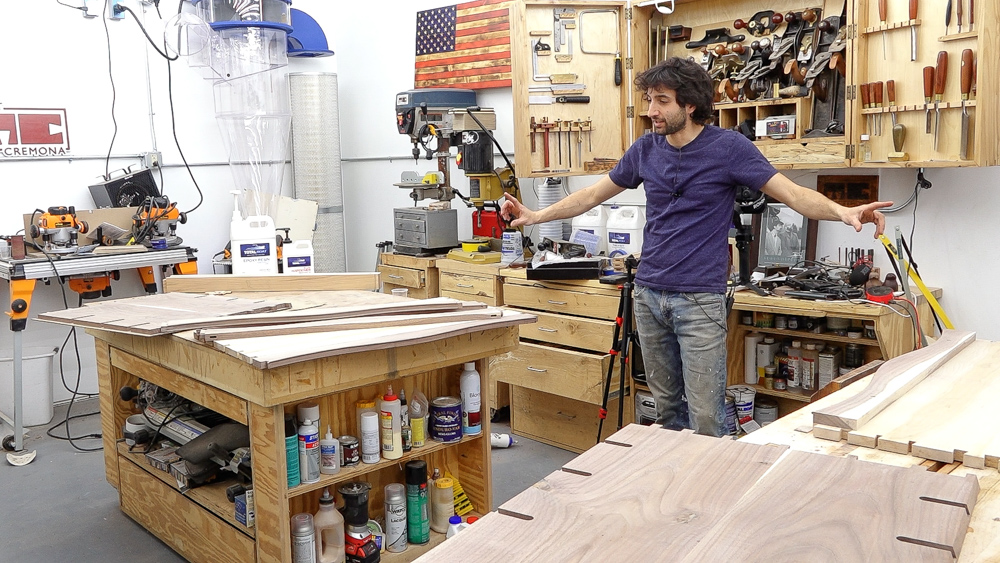
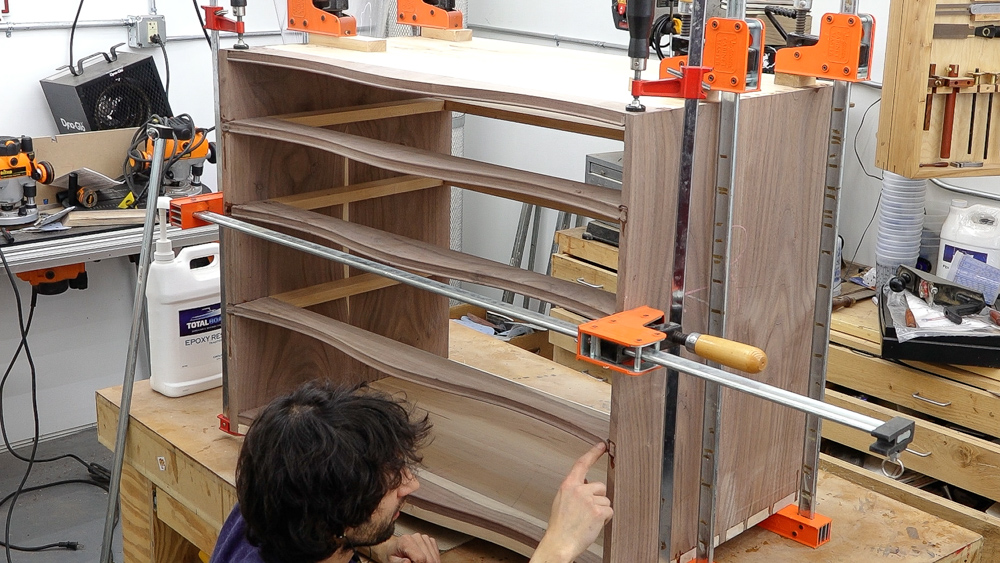
Now is the point in the project when you have to take a step back and make sure you did everything you need to do before this thing goes together and can never ever come apart again. I think I got everything figured out and squared away, and I’m good to start gluing. Right now I have everything laid out. We’ve got some room to work, I’ve got my clamps… let’s get into this.
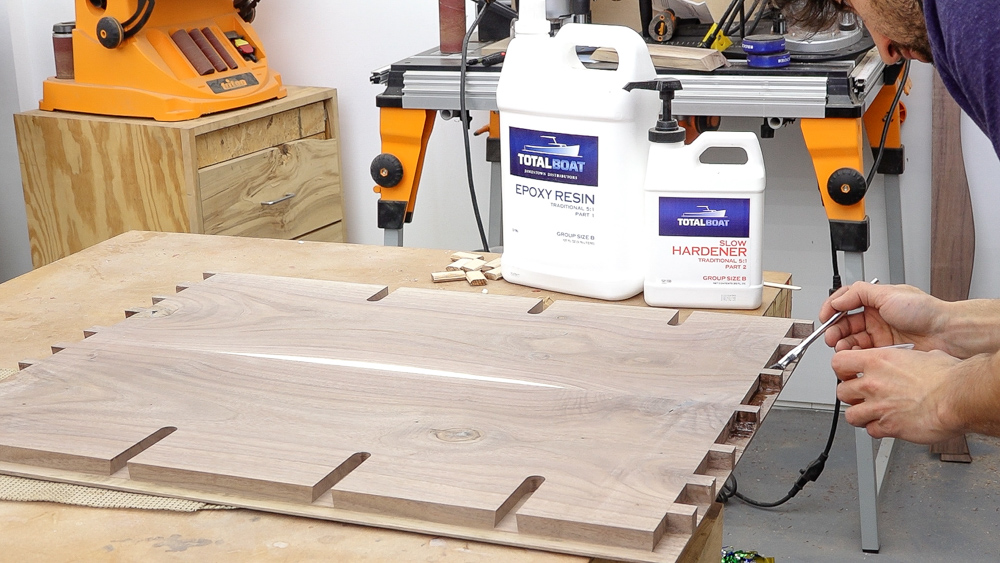
For the glue, I’m using TotalBoat 5:1 Epoxy Resin. I have the slow hardener here. Epoxy is a really great adhesive for this project for a few different reasons. The first reason is the overall working time. I’ve been using Epoxy more and more, and I’m pretty much to the point now where if I’m going to do a case glue up or a furniture glue up, I’m going to be using a Epoxy with the slow hardener. It’s so much less stressful to not have to worry about getting parts together, and if you miss something, with the slow hardener, you have about 45 minutes where things will still come apart if you made a huge mistake. So it gives you plenty of time to work, that’s the biggest reason I like to use it.
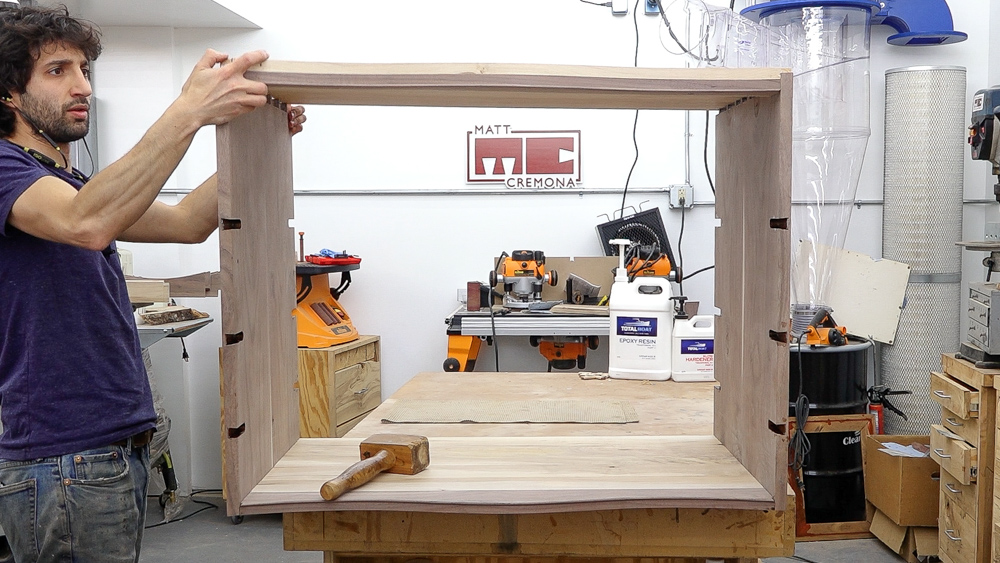
Another bonus reason is that this is not a water-based glue, so as it goes onto the wood, it does not swell the fibers. In a project with some really well-fitting dovetail joints that can help quite a bit. And because it’s not water based, it actually lubricates things, and the joints that were hard to put together before become more of a slip fit. So that is especially helpful on the sliding dovetails. I set those up to be fairly snug in the beginning. If that was glued in with a water-based glue, you would have a few seconds to slap the glue on and slam that divider in before it swells. You end up hammering the living daylight out of it to get it into the socket. With the Epoxy, it’ll be lubed up, and it’ll just slide right in like it’s nothing.
Another more traditional approach to a glue up like this would be to do it in sections. First glue up the four case corners, and then you’d come back and glue up the dividers later on. I like being able to put the whole thing together all in one session, just to make sure everything’s going to come together perfectly.
The last thing to do is make sure that the protrusion of these front dividers is exactly in the right spot. I want the bottom of this grooved area to be flushed with the front edge of the case.
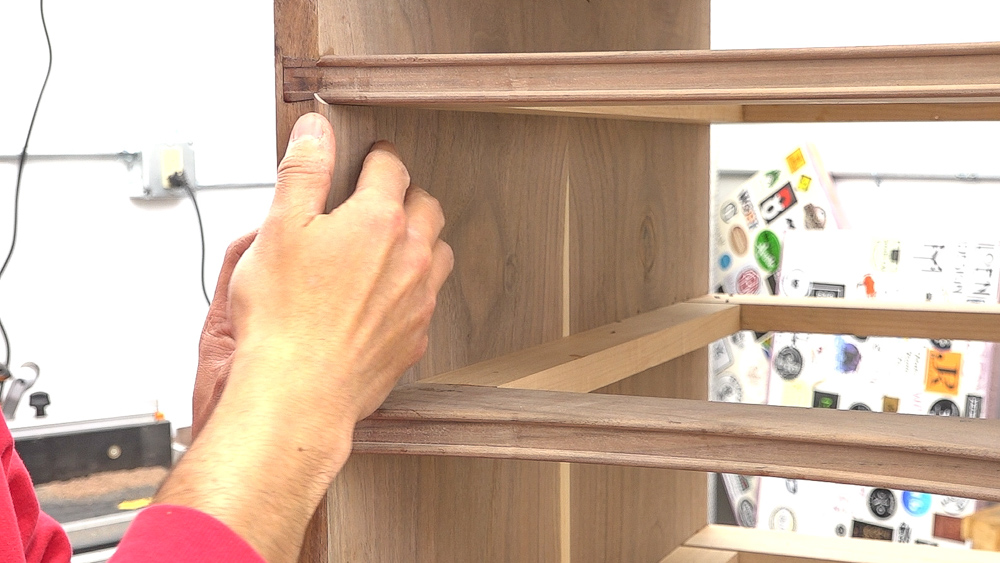
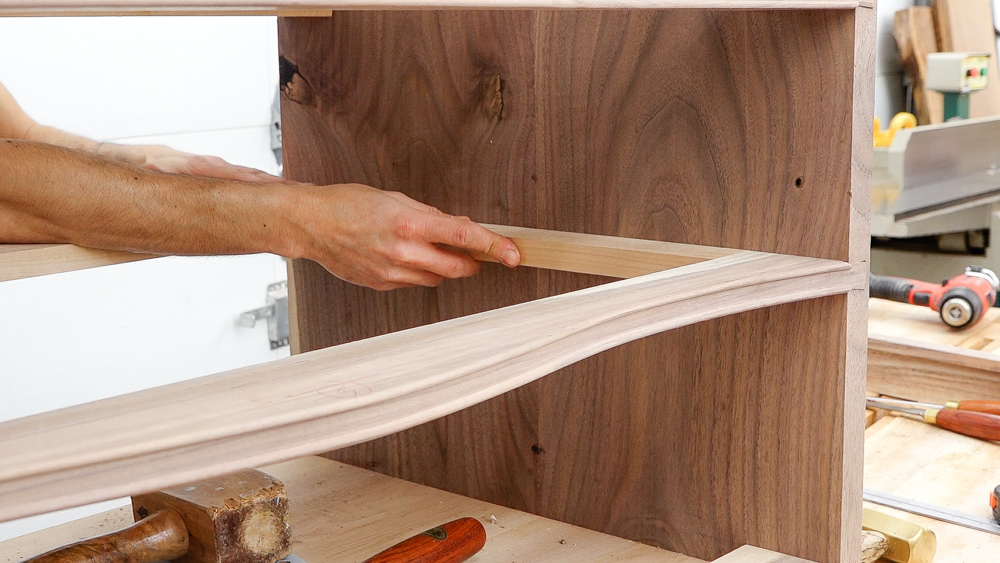
As a quick sanding check, I made a little sample to make sure this is all going to work out as expected. I put a beaded edge and cut some miters on my sample, so this should slide in between the dividers and the mitered area should nest into that little pocket which I created earlier. At least as far as the proof of concept goes, this is good to go. I’m going to start making all of these.
The first thing I’m going to need for that is the stock for all of these pieces. I have an off cut, which is actually an off cut for making the dressing vanity, which is made from the same tree as this piece is.
I’m going to quickly run a bead on there, and then remove that thin section. Then I’ll plane it down and clean it up until that bead doesn’t have any flat area on it. That’ll be our starting stock for all of these things.
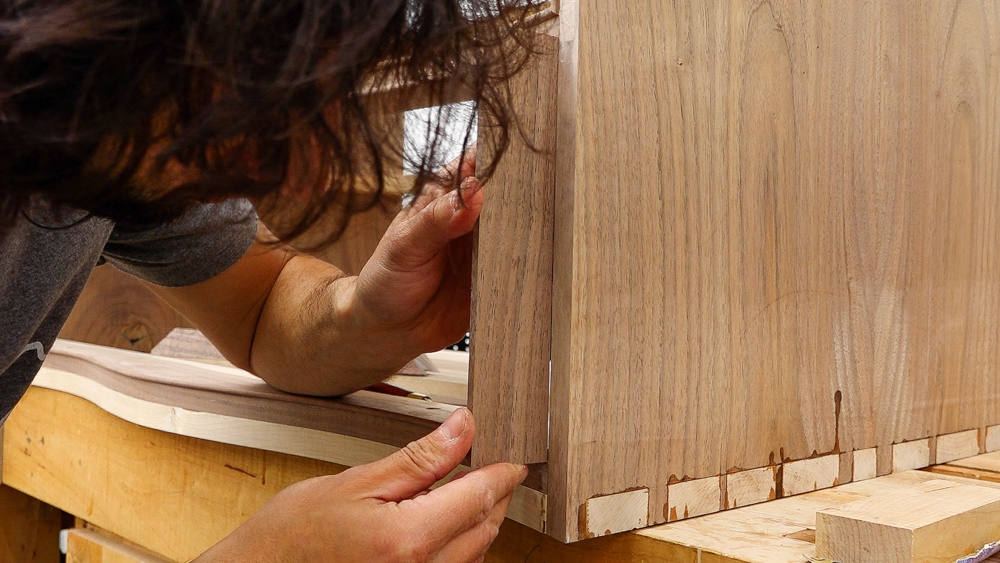
Now it’s ready to glue into the case. I sanded the bead so it has a nice finished sanding on it, the same as the rest of the case. I’m going to apply the glue to the inside of the case, because I don’t want any to squeeze out between the case and the bead. If I put glue onto the piece and then slide it in, the glue is going to be scraped off the piece into this corner. By putting glue on the case, you don’t have to really worry about that.
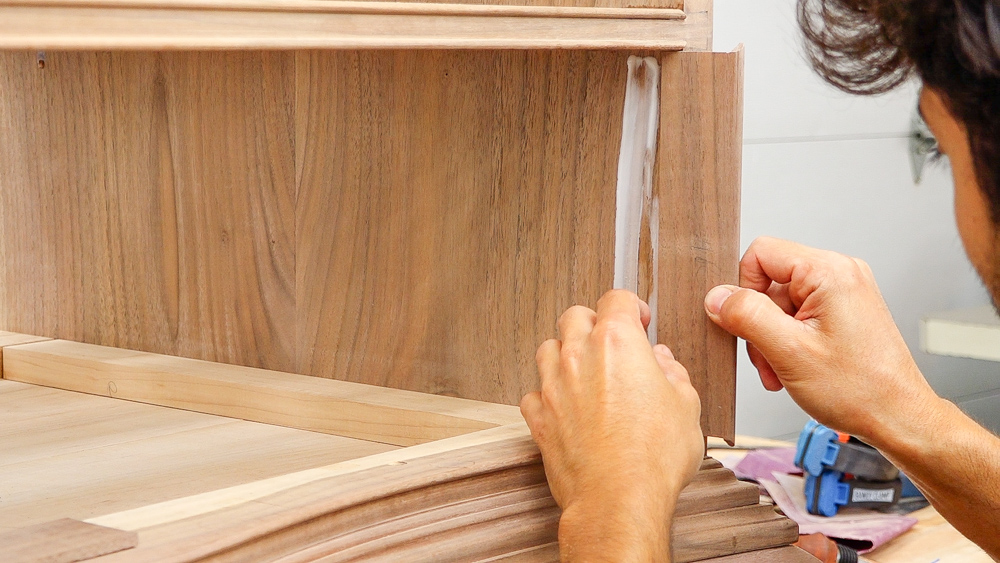
This is another area where you don’t need a ridiculous amount of glue: less is more.
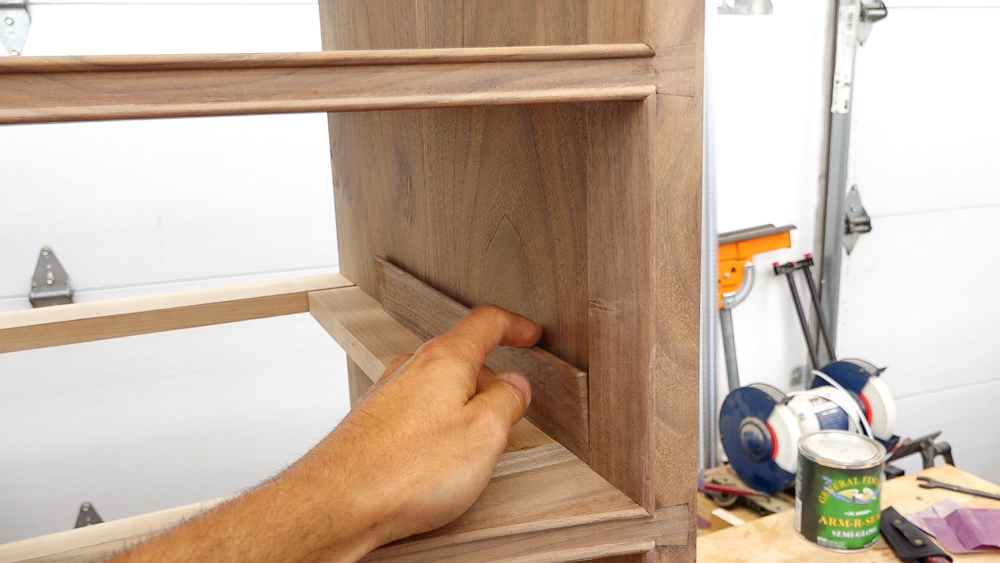
Next, I need a filler in between the case and this bead detail here. I want to use a piece that is going to be oriented with the grain running top to bottom so it matches the side of the case. Then I can glue it to the side of the case, without any issues.
I have some scrap material from the skateboard that Lindsay made, and I’m just going to plane it down in thickness and then make my strips out of that. I don’t need the entire drawer area to be fully filled. I’ll add a strip towards the top and towards the bottom, and I’ll have an open area in the middle.
So that is all the prep work on the case! It’s now ready to receive these serpentine drawers, which we’ll be making next time. If you like more in-depth content like this, definitely check out my classes over in the Guild. I have 150 videos spread out over nine classes that go into a lot of detail, just like this series.
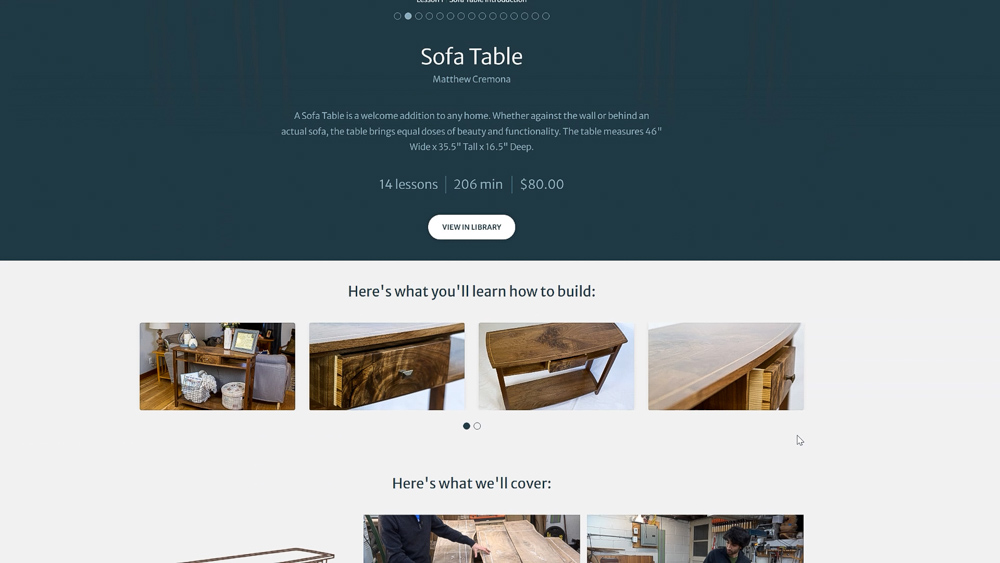
This time I want to highlight my sofa table class. That one is a really great introduction to curved work. That table has a curve that carries through the entire front and sides of the case, including the drawer on the front. There’s also some really good joinery lessons there as well; several different kinds of mortise and tenon. It has a twin tenon, a breadboard end, and a crenelated tenon. It also has a small dovetail drawer, which is a nice introduction to dovetails as well.
And if you want to make your own serpentine chest drawers, I do have a full set of plans available that you can check out on this website. That’s going to do it for this one. Next time, we’re going to get into some wavy drawers and some goofy dovetails. Thank you as always for joining me, I greatly appreciate it. For any questions or comments on the serpentine chest of drawers or anything here in the shop, please feel free to leave me a comment. As always, I’d be happy to answer any questions you might have. Until next time, happy woodworking.
The Guild: https://thewoodwhispererguild.com/
Sofa Table Class: https://thewoodwhispererguild.com/product/sofa-table
PRODUCTS USED
[Affiliate links]
Triton TRA Router: https://amzn.to/32IHRRJ
Triton MOF Router: https://amzn.to/2ZPXhCn
Triton Jigsaw: https://amzn.to/2PedA0a
Triton SuperJaws: https://amzn.to/3xQpYLT
Triton Oscillating Sander: https://amzn.to/3xQqvxn
Triton Track Saw: http://amzn.to/2f2P85l
Finish: https://amzn.to/2xo0Wsn
Dust Mask: http://amzn.to/2y8dl1m
Hearing Protection: http://amzn.to/2yQ0sa3
Push Blocks: http://amzn.to/2yQD24r
More stuff on my Amazon page: https://www.amazon.com/shop/matthewcremona
Total Boat 5:1 Epoxy: https://www.totalboat.com/product/totalboat-epoxy-kits/
10% off your first purchase from totalboat.com with coupon code Cremona
Welcome to my shop! This is a quick update to let you know what I’ve been up to. This big chunky thing is the leg

Welcome back to the home renovation. This time I’m going to be working on the kitchen island. Here is a small model of the island.

Welcome back to our home renovation. Today I am going to be working on this wall. It needs some upper cabinets and the surround for