
Matt's Weekly Shop Update
Kitchen Island, Barn Power – March 2024 Update
Welcome to my shop! This is a quick update to let you know what I’ve been up to. This big chunky thing is the leg
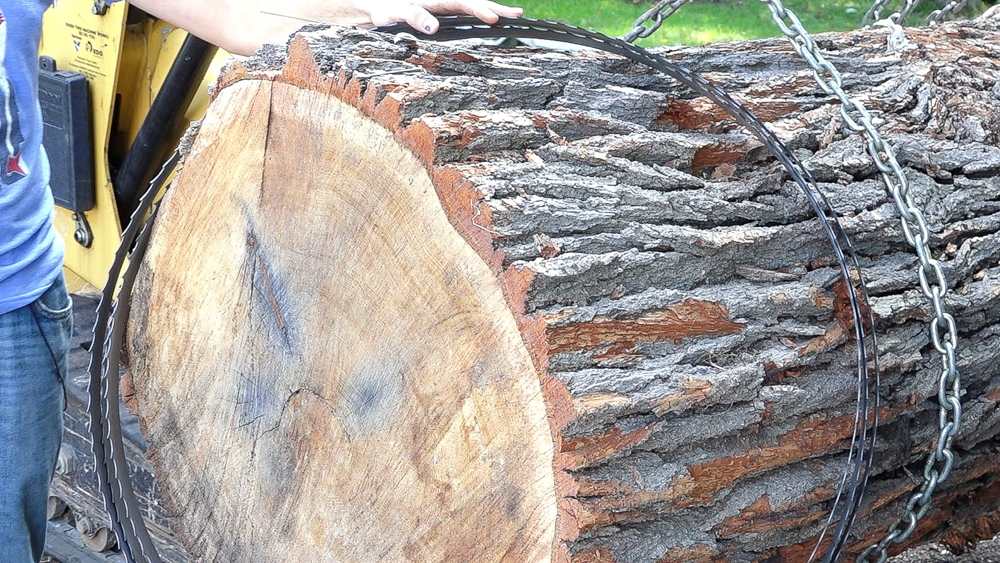
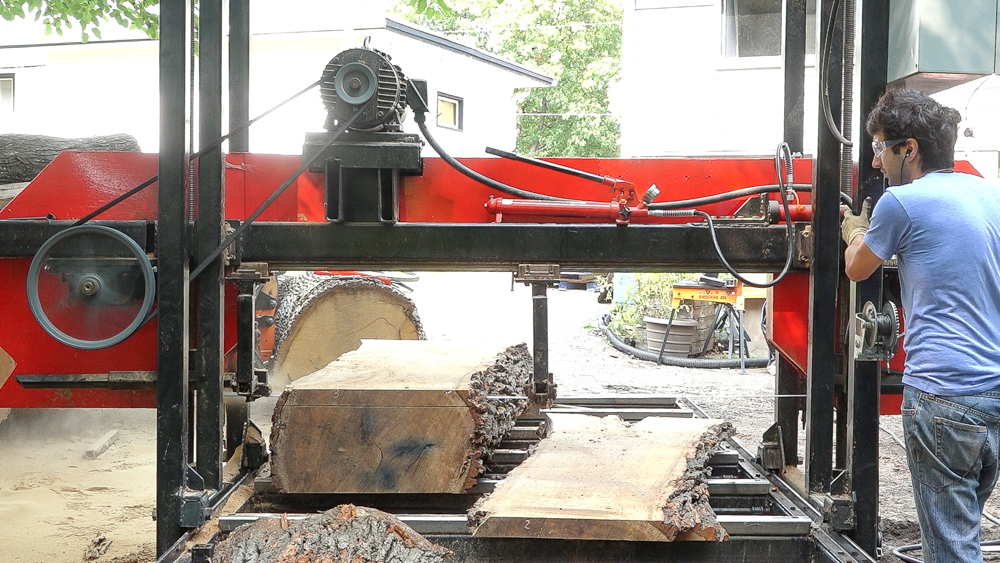
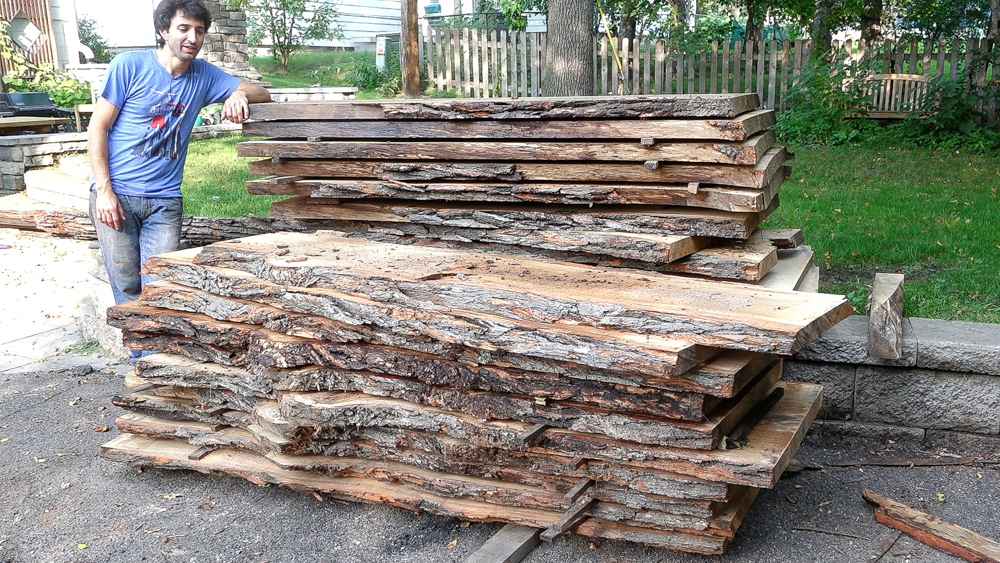
Welcome to my backyard! This time we’re going to be sawing up these two pieces of white oak.
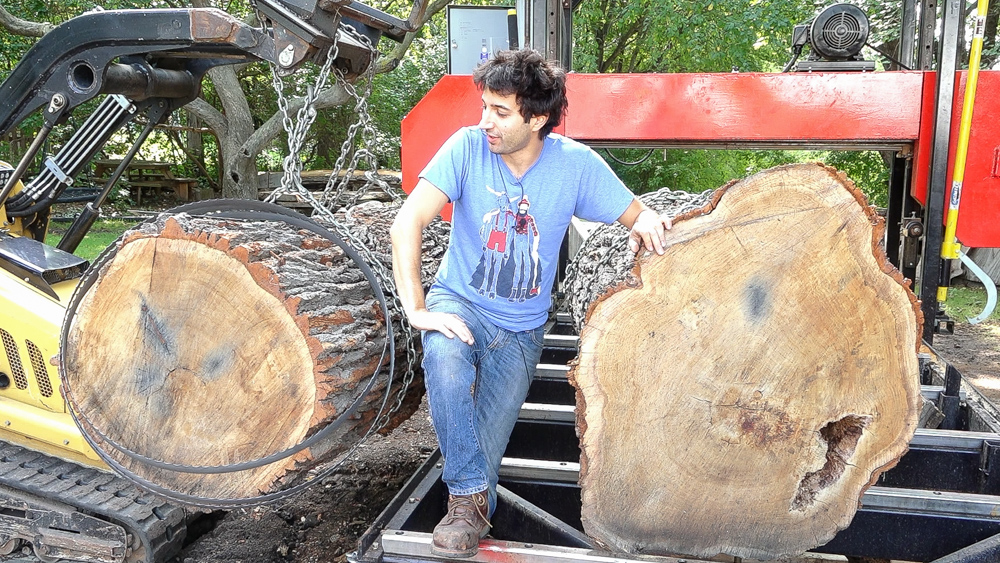
They’re actually two logs from the same tree, and we’re going to be testing out some bimetal bandsaw blades to see how those blades fare against embedded steel.
These logs came courtesy of my friends over at Wood From the Hood. There’s a little bit too much embedded metal in these logs for them to really care about these things, so they gave them to me to deal with. Wood From the Hood reclaims and repurposes city and street trees on a scale that is way more massive than I do here in my own backyard. If you’re in the Minneapolis area, they also have a retail area where you can go and shop their lumber. Definitely check that out if you’re looking for a supplier for material for your next project!
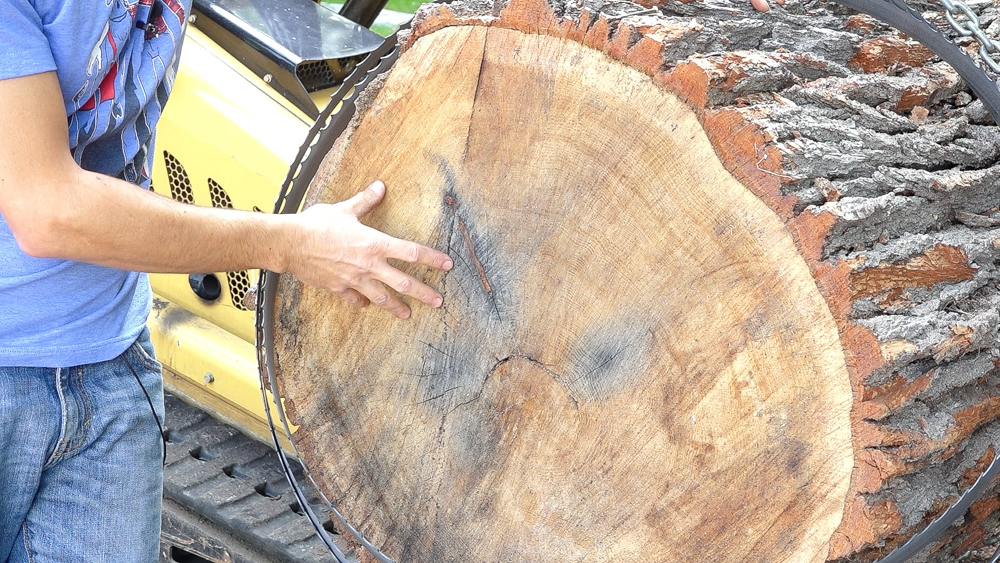
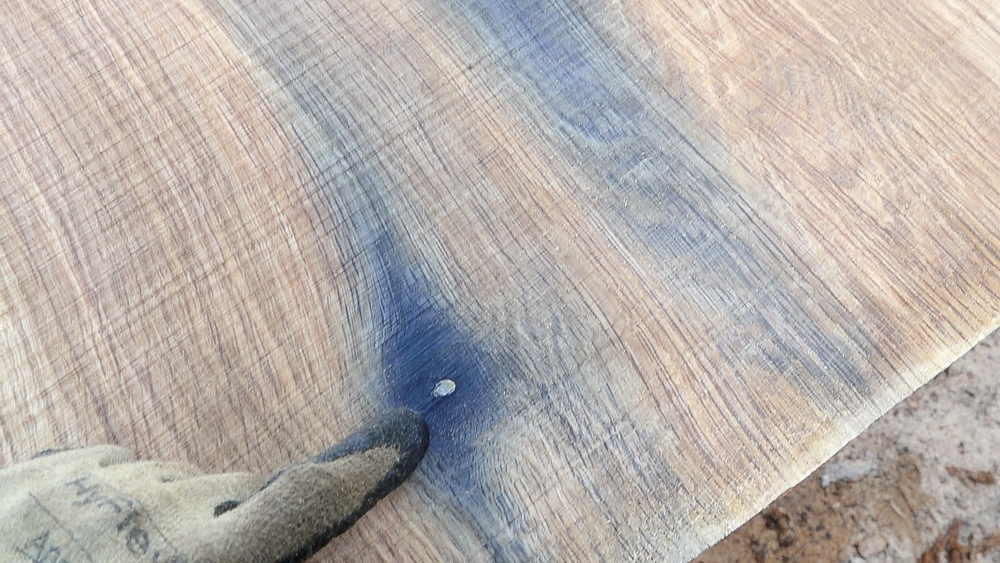
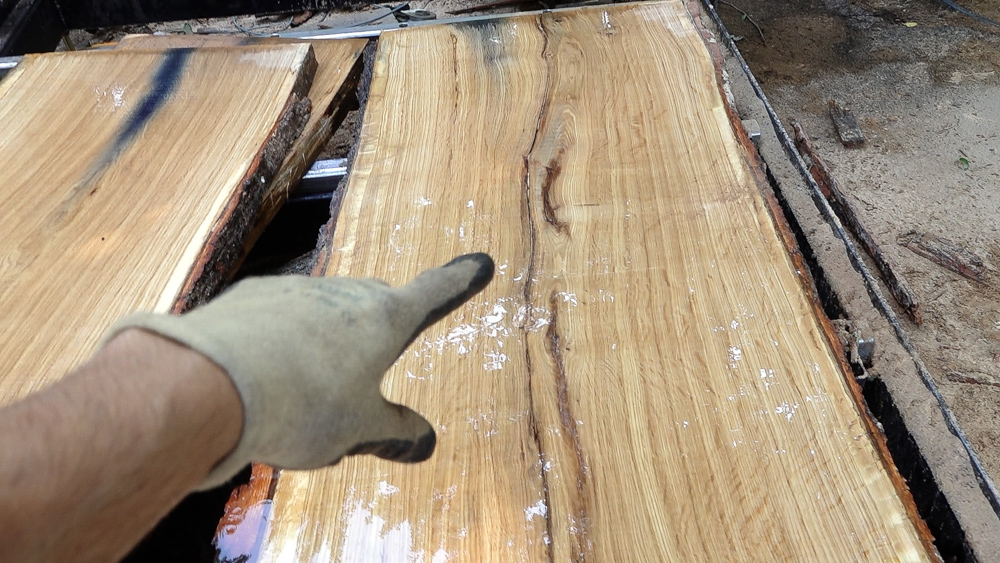
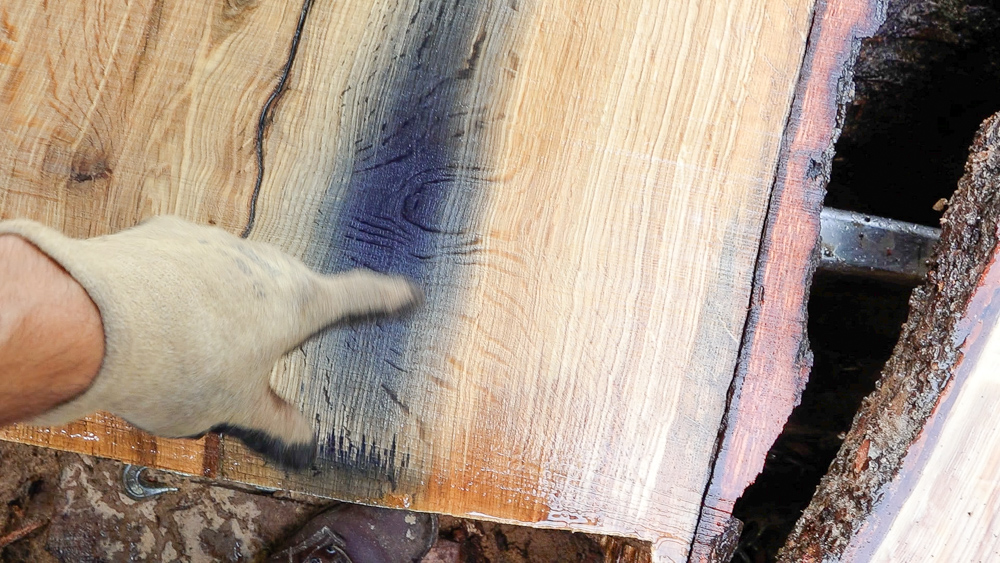
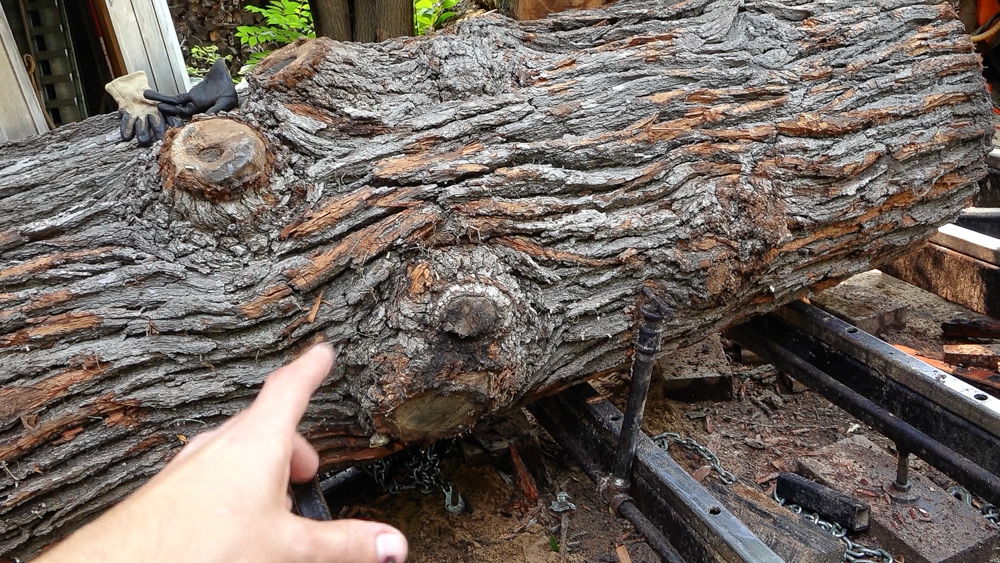
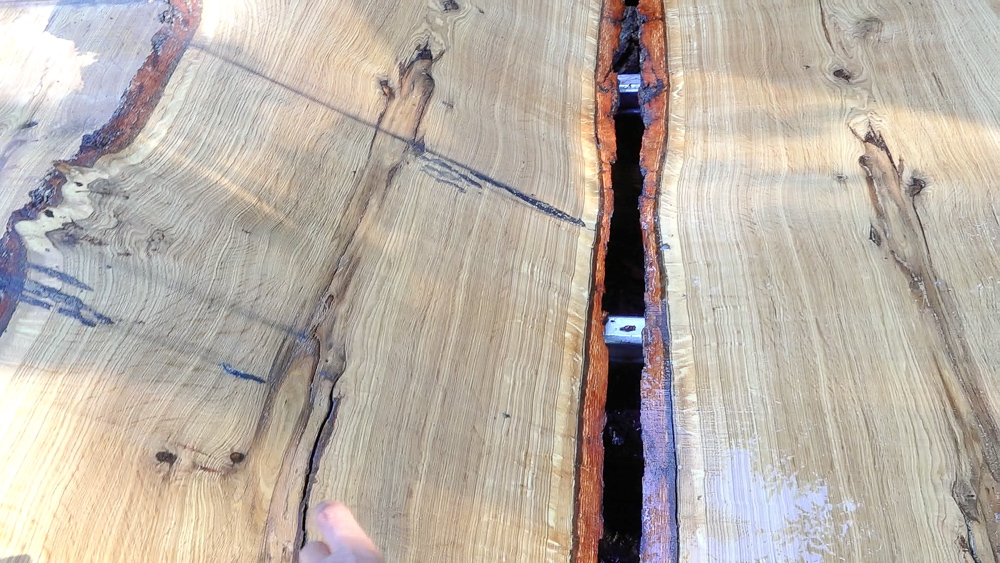
Let’s talk a little bit about embedded metal and take a look at these logs and see what’s going on with them. White oak is very reactive to anything ferrus that gets embedded in it, so anything steel or iron will produce an iron stain. That’s what this blue hazy color is here. That color comes from the tannins in the wood reacting with the iron. It’s a very easy way to detect if there is any embedded metal in a log, or if there was embedded metal in there for an extended period of time.

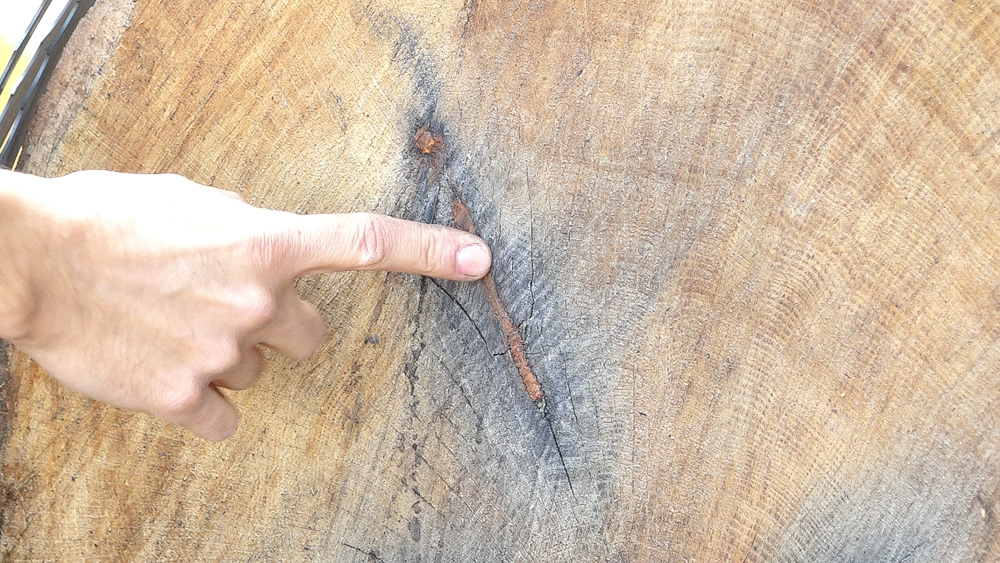
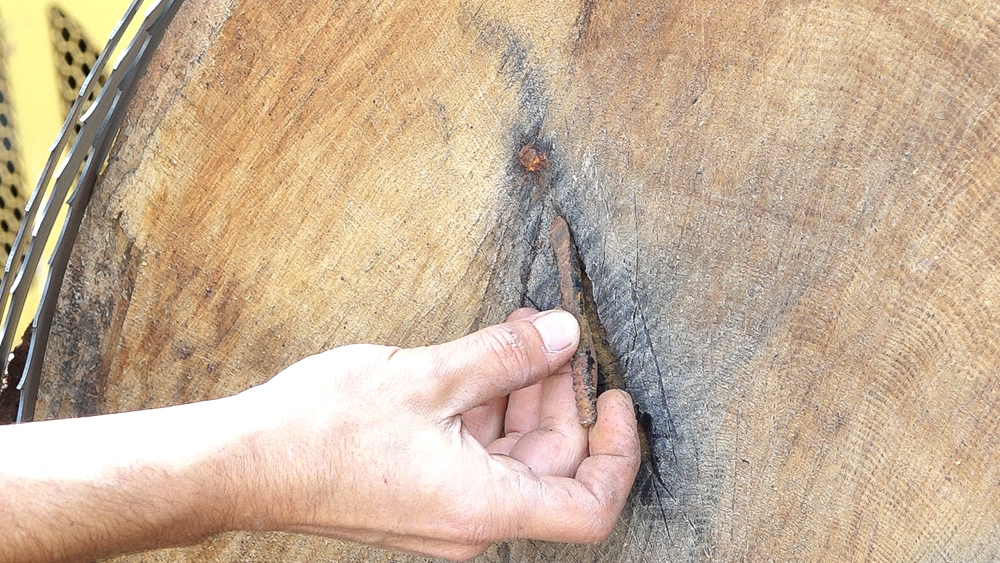
In the case of this log, we have a very good clue. Whoever was bucking this log to length had a bad day as they hit this with their chainsaw. It looks to me like the cross section of an eye bolt or possibly a J hook, which a chainsaw came straight through and cut it longitudinally. That explains the staining in this area. There is still some staining in a couple other places on this log, so there is something else going on in those spots. The staining will travel longitudinally down the log, so we know that there is something embedded in the log, but it could be anywhere down the length of the log.
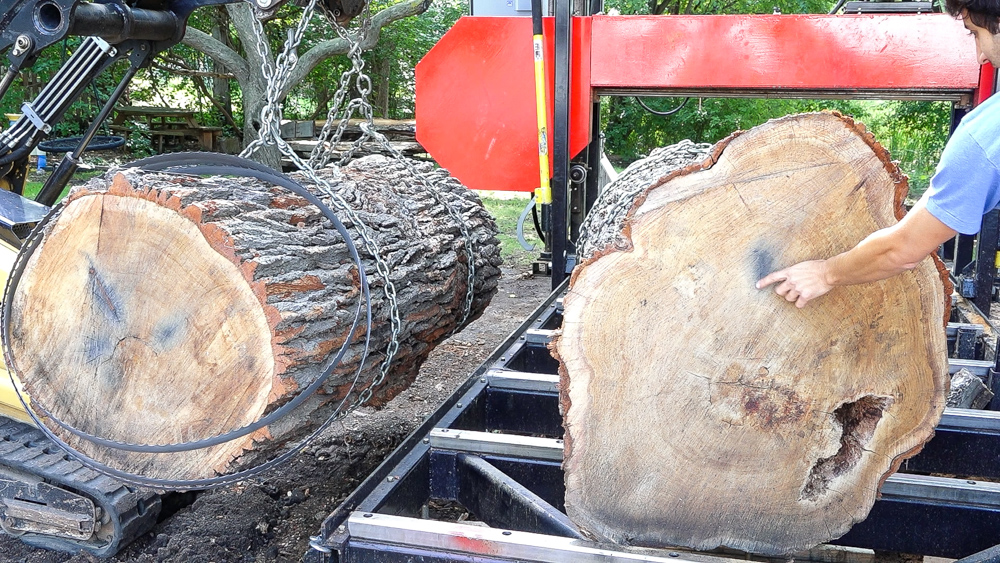
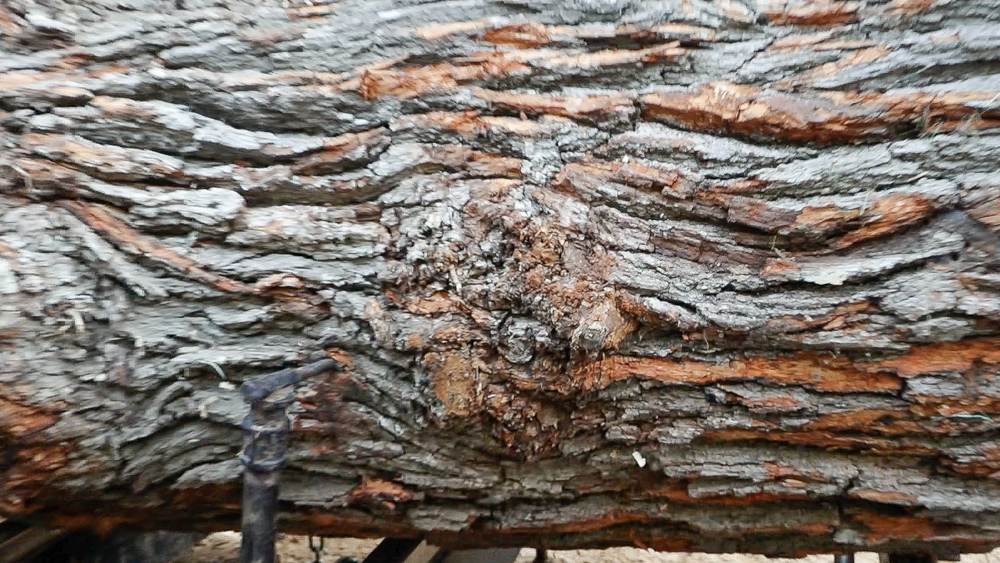
Over on the base of the tree, we also have this stain here, so there’s probably something in this section of log in this area, but further down. I cut a lot of urban trees and because urban trees grow around people, they tend to have things nailed and hung to them over their lifetimes. There’s always a little bit of a surprise when you’re cutting this urban stuff. The trees that I cut tend to have a high enough value that I can consider the blades I’m using disposable, because the value of the lumber is so much more than the value of the blades. I have been using the cheapest blades you can get, just some carbon steel blades. The downside to using those blades is that if you hit something significant, that blade will walk after that encounter with that metal, and you’ll end up with a screwed up cut. Ideally, that blade would make it through the metal it encounters and exit the cut without wobbling and messing up the cut.
And that’s where one of these bimetal blades comes in. These are a lot more resilient than the regular carbon steel blades I’ve been using. The biggest difference is that the bimetal blades tend to have a different material for the teeth versus the actual band. The teeth are usually some kind of high speed steel material and then the backing is something flexible. So you have the resilience in the cutting edge, but you also have the flexibility in the band to keep it flexible. The biggest downside to these blades is the cost is roughly two times the cost of a regular blade. One of the carbon steel blades from my saw, which is close to 26 feet long, runs me about $48 bucks for a standard blade. This bimetal blade is $106.
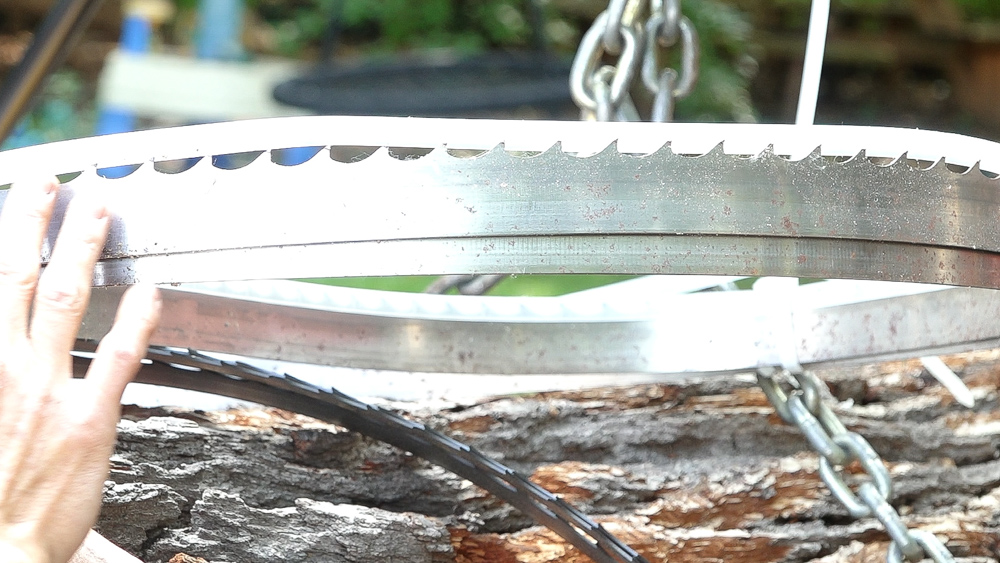
If you want to go up a step from there, you can also get carbide tip blades. Just like a table saw blade, these have little bits of carbide that are brazed onto the tooth and the backing material, and that’s going to do your cutting. Bimetal blades are going to run roughly two times as much as a standard carbon steel blade, and carbide blades are going to run about three and a half times the cost of a carbon steel blade.
Another reason that I don’t normally care too much about signs that there is embedded steel in a log is that most of the things that are embedded in these trees are not significant as far as the blade is concerned.
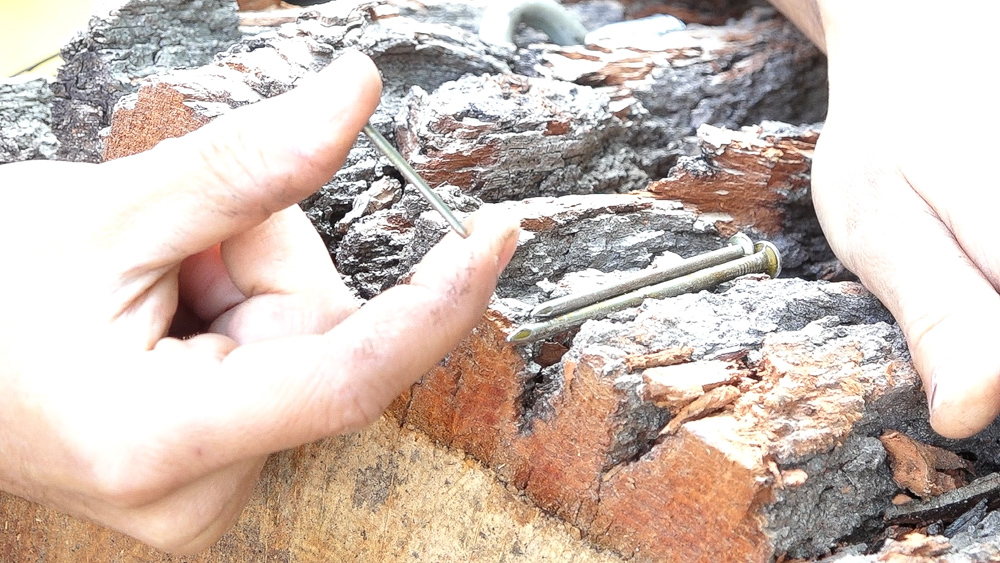
With my sawmill and this size blade, basically anything like a little nail like that would be totally unnoticeable by the saw or by the blade. You’d make that cut and continue to keep cutting, and you probably wouldn’t know you cut through something until you’re really further down the log.
When things start getting up into the 10 penny, 16 penny sinker range, that’s when things start to get borderline. The other big consideration is the angle you intersect this piece of metal at. If you saw through this perpendicularly, that’s the smallest cross section, so you’re going to notice that the least. If the nail is at some kind of oblique angle, the cross section gets bigger, and this becomes a little more destructive.
When you come across something like an eyehook, you can make it through this, but you’re probably not going to be cutting much further than the point where you intersected this bolt.
In my case, most of the things I encounter are going to be tiny things: maybe a staple, maybe small piece of wire or fencing. Those kinds of things don’t matter at all as far as the sawing operation goes. Not very often do I actually run into something like the bigger bolt, which is actually going to stop me. That’s why I don’t really care if the log has staining in it, because the majority of the time, it’s just going to be something small, which I really don’t care about. And if it is something bigger, then I’ll deal with it when I hit it.
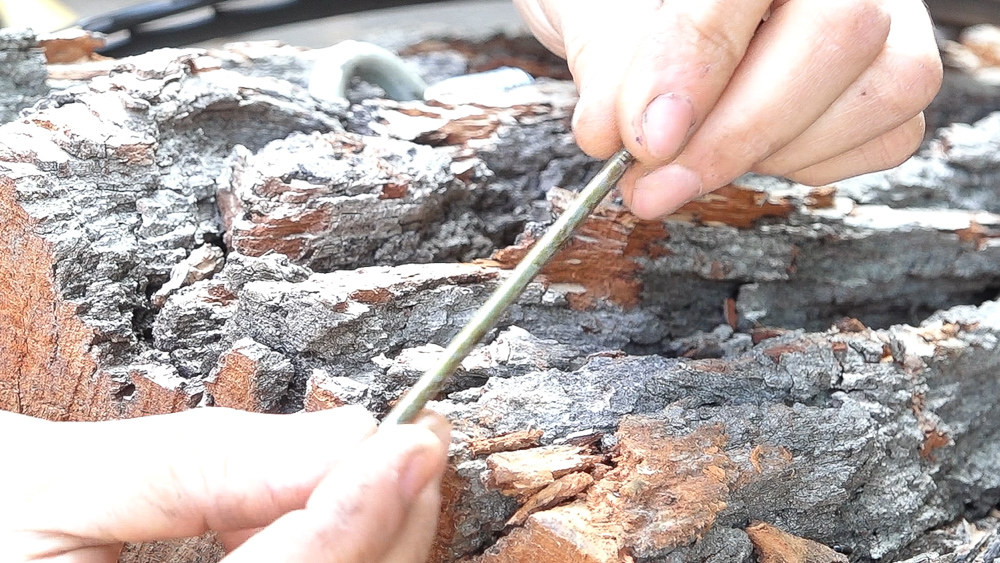
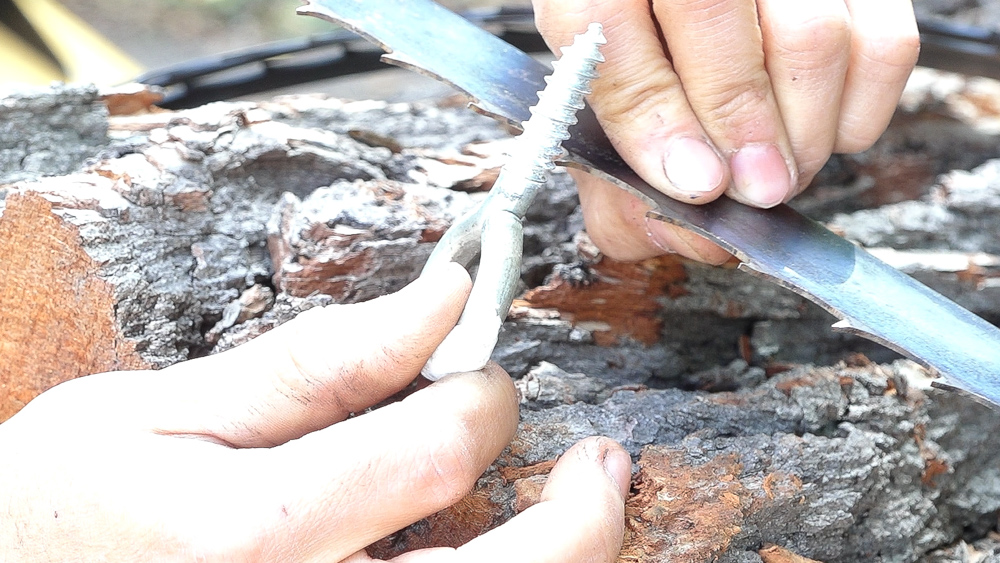
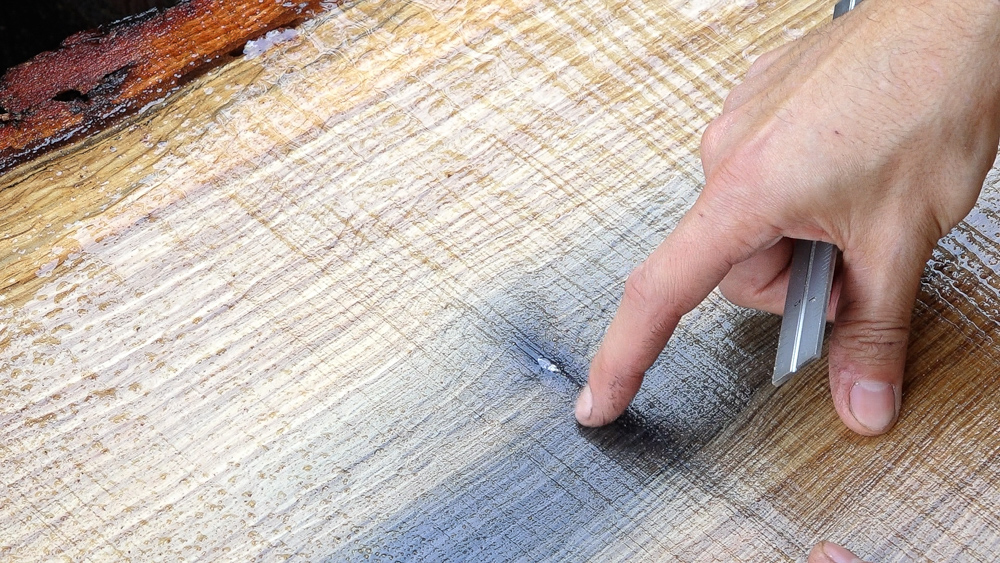
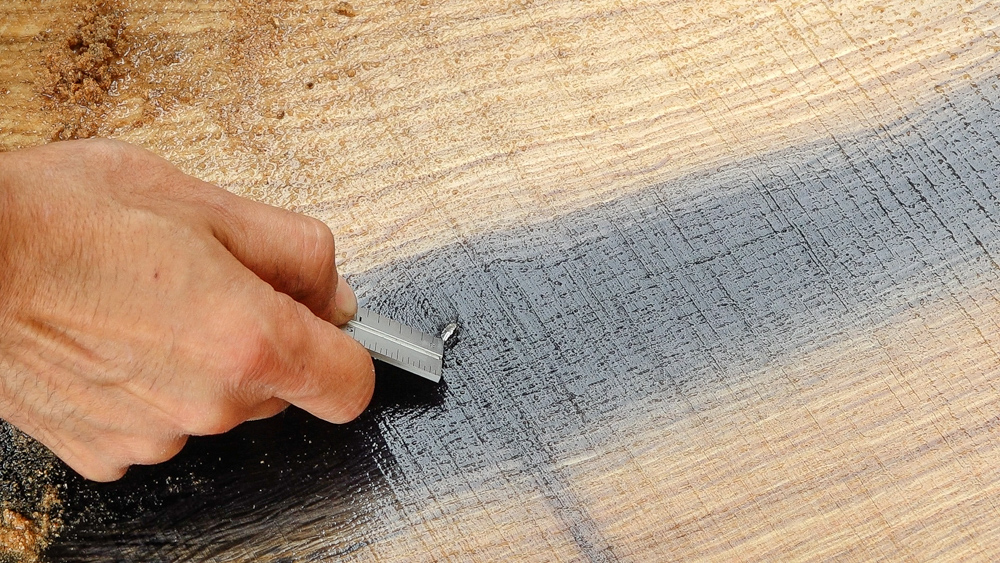
That brings me back to this guy. This would be a showstopper if I hit this with any blade. I am going to pull this out of here because it’s so easy to get out.
While I’m doing this, it’s worth noting that in normal sawing, the cut length or blade longevity is how long you can cut for between switching blades, not how many things can you cut through that aren’t wood. Generally the bimetal blades should give you about two-three times the runtime as a normal steel blade. Carbide should give you five-ten times the run length. If you’re doing a regular sawmill, and you’re changing a blade halfway through the day, a bimetal blade should last you the whole day.
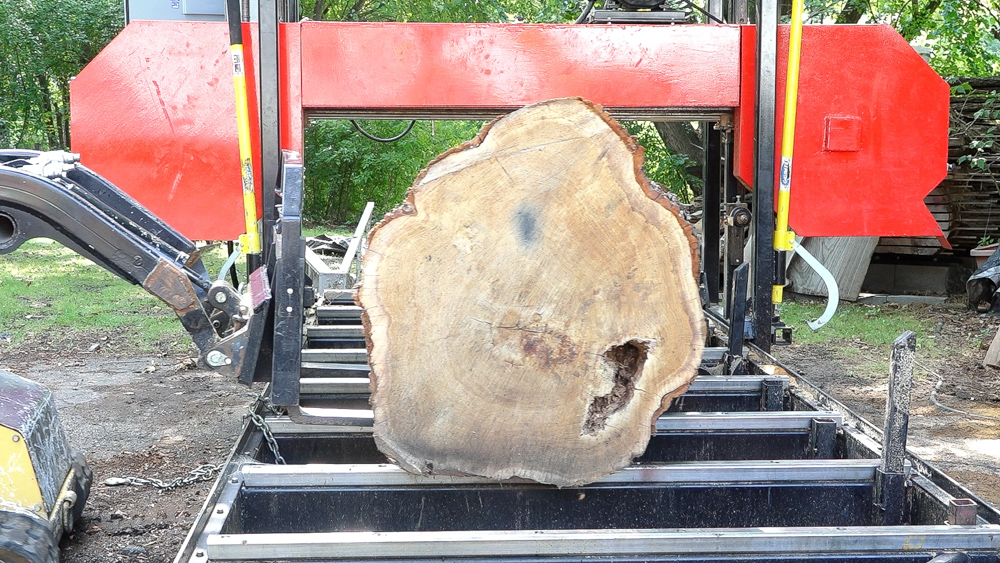
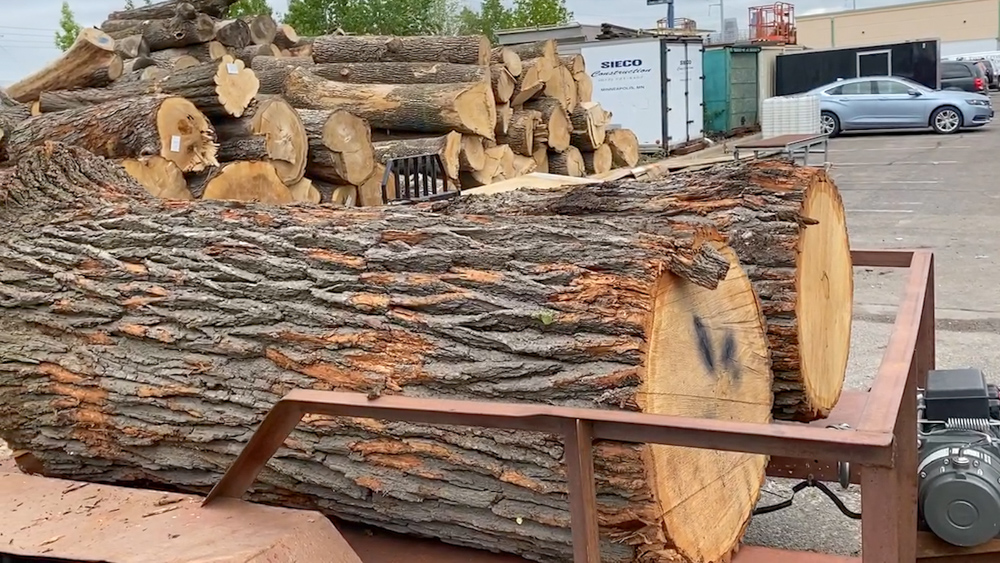
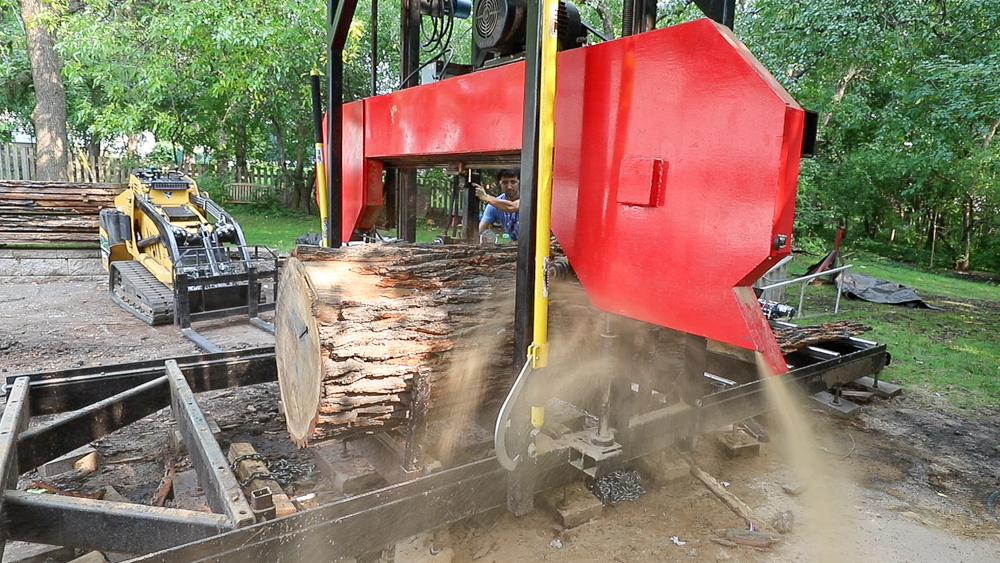
Let’s get the first log ready to go! Real quick, we can take a look around the log.
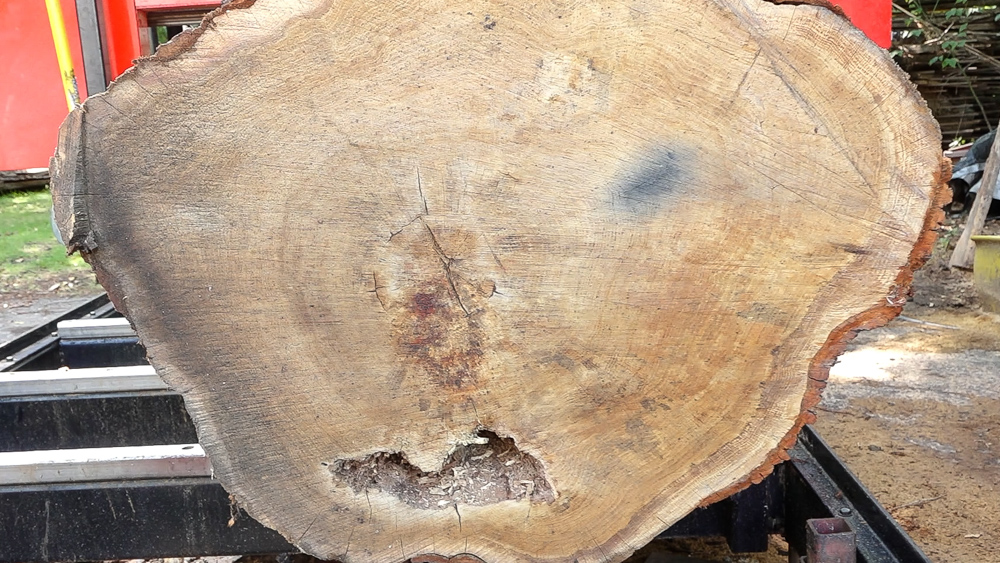
I’ve oriented this rot hole down here towards the bottom so it gets eliminated as we get down to that lower area. Other than that… it’s a pretty straight log. Not a whole lot going on. It is 24 inches on one end.
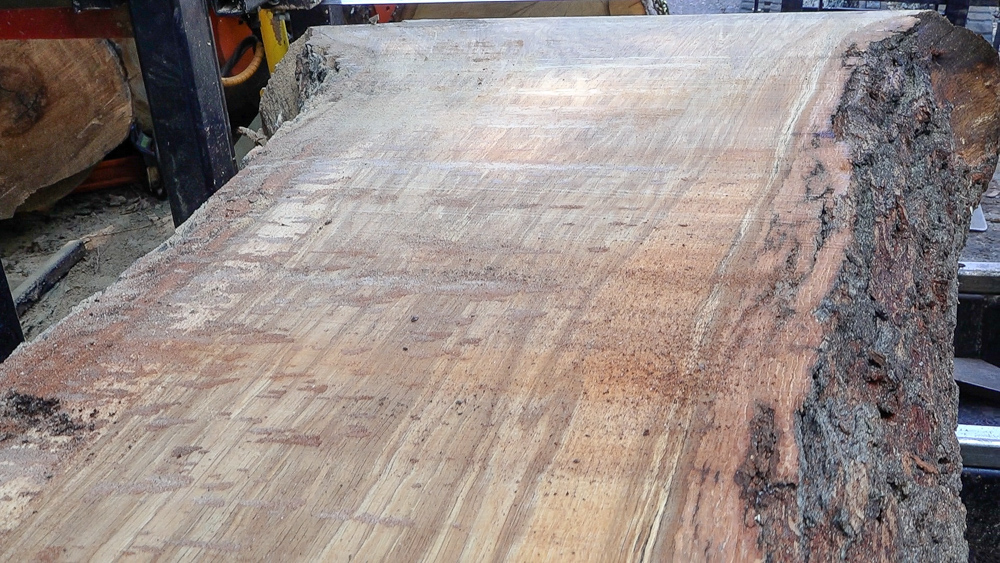
Ooh, wood. It’s looking pretty good. No embedded things so far. I think they’re going to be mostly in the other log, so this should go pretty quickly. I’m going to pull two slabs off of this to lighten up a bit, and then I’ll roll it over and keep cutting it.
We did hit something! There is the piece of steel that I just cut through, and you can see it doesn’t really seem to have done a whole lot as far as the cut performance goes. I didn’t even notice going through this, and the cut stayed perfectly flat the rest of the way. This metal had no impact on the tracking of the blade, which is good. For this example, it’s borderline if that would actually cause something to walk. With a regular blade, I expect to be able to cut through that without a whole lot of walking. This is definitely a lot nicer of a cut, using the bimetal blades. If this was at a greater angle, it might’ve made a difference. This is not conclusive enough for me, but it’s reassuring that this is going in the right direction.
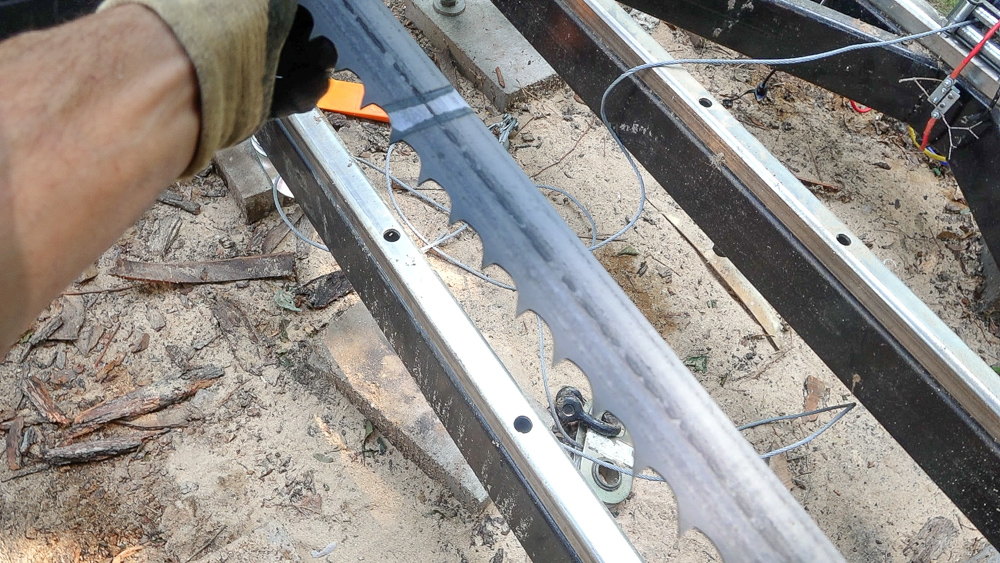
I’m taking a look at the blade real quick. I don’t expect to find anything, based on the quality of the cut after the collision with that steel. I’m not expecting any missing teeth, and that is still really sharp. So the blade is still absolutely fine after going through that. That’s a really good sign. If anything, on a regular blade, I’d probably lose a tooth or two and see some damage to the blade. It’s promising that I see no damage on the actual bimetal blade.
Let’s flip this thing over and continue cutting.
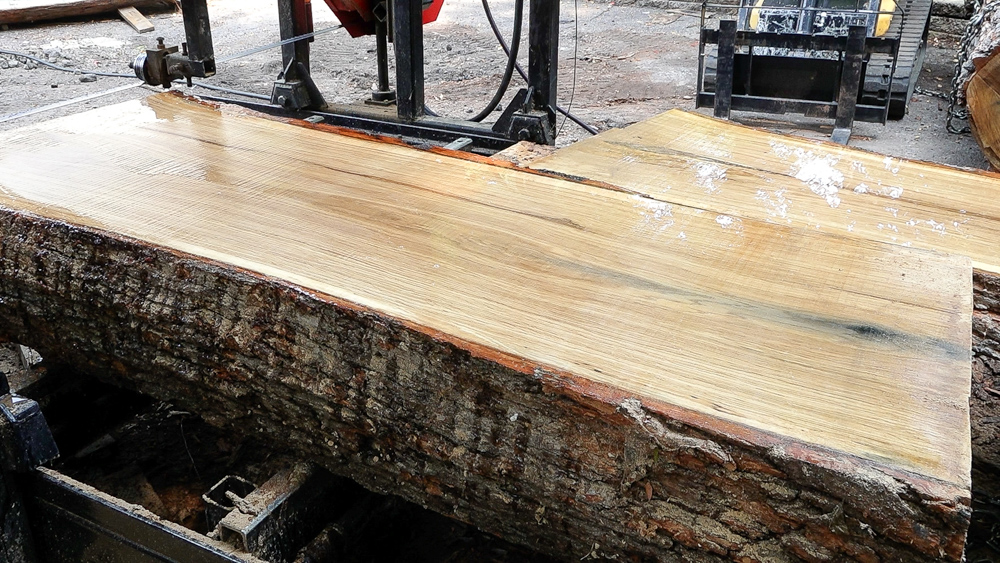
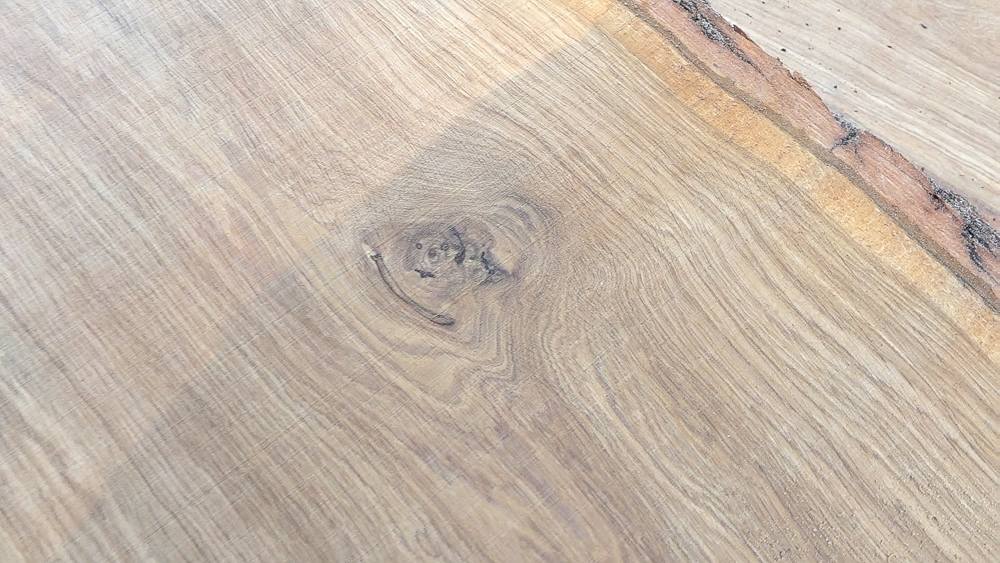
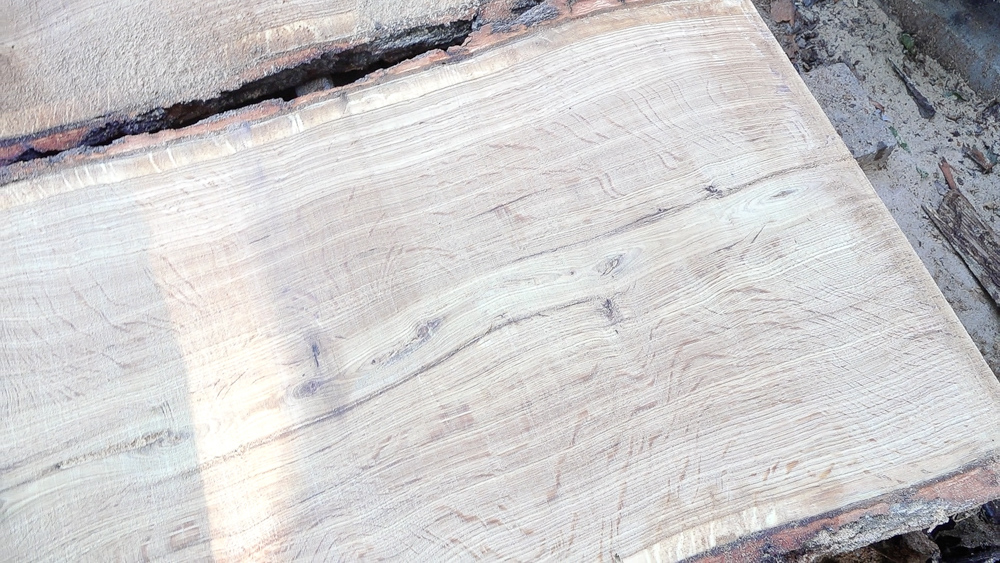
Let’s take a quick look at this stuff, because it’s pretty clear. The water toss is a good way to see any low spots or high spots. It’s a good test for how well the blade was tracking through the cut, because water will obviously pool in the low spots. I’m not seeing a whole lot of pooling with this cut. There’s a little bit, but overall this is well within a reasonable expectation for rough sawn lumber. I think people get a little too obsessed with how nice the finish is off the saw. This is a roughing tool. It’s a roughing operation.
This is some pretty nice straight grain through here. There is maybe a bark inclusion. We’ve got four or five more slabs to go, we’ll see if I hit anything else!
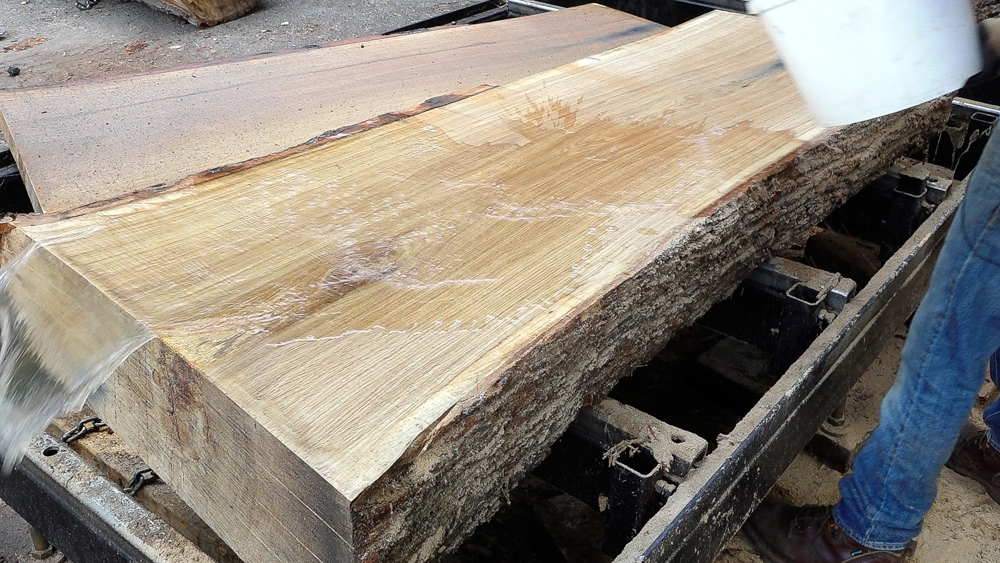
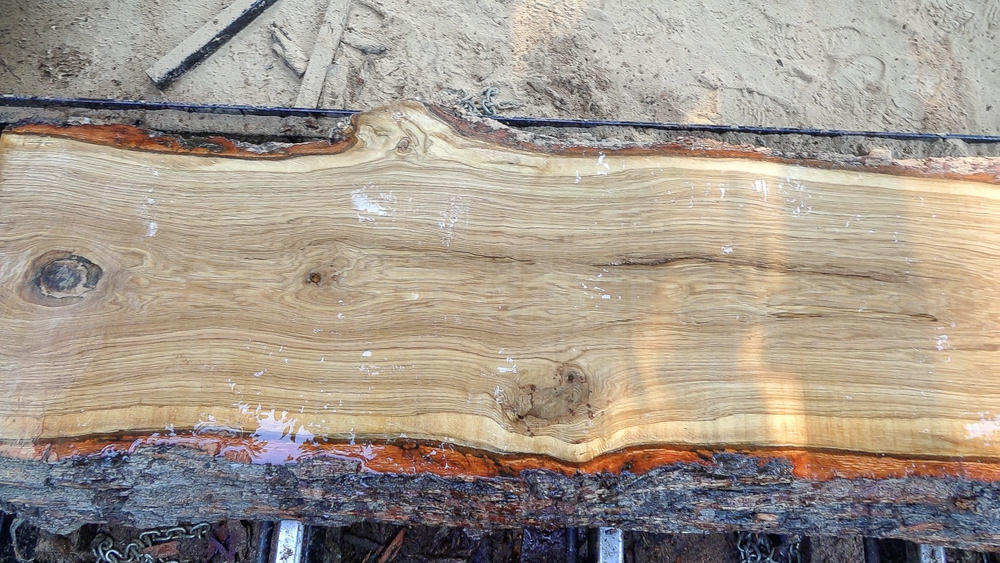
I think I might have felt or heard a few little blips here and there. Let’s take a quick shuffle through here, we’ve got five slabs to take a look at.This one has some pretty good staining, but there’s nothing the blade passed through besides wood.
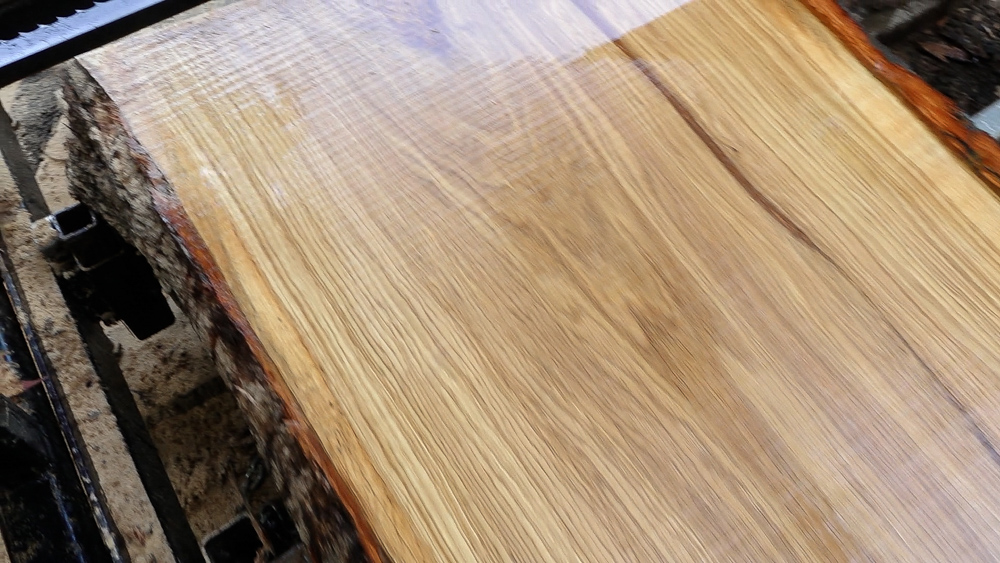
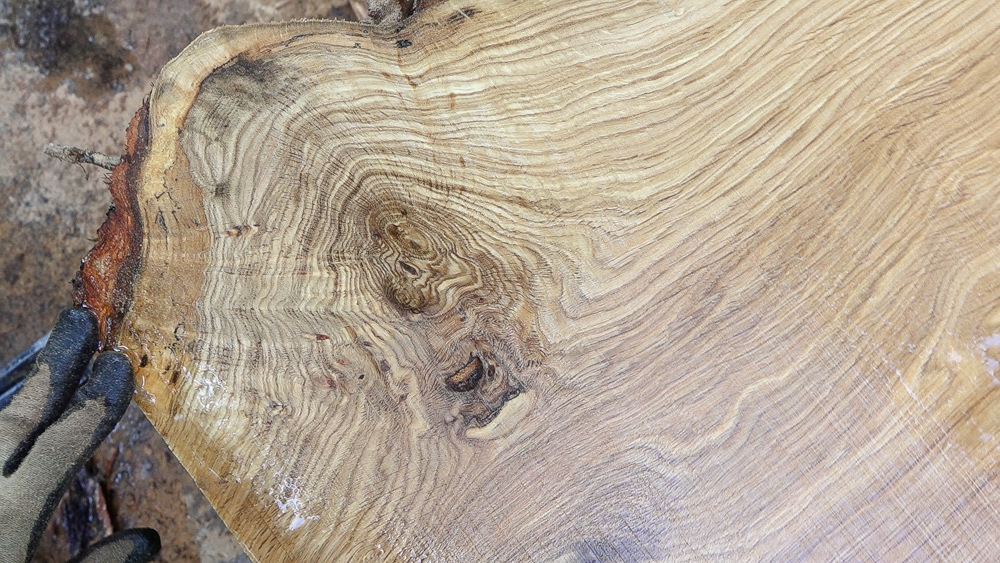
Nothing metal in this slab either. This one you can see the pith, with a structural defect around the pith, and then we have two perfectly quarter sawn halves on either side. No foreign things in this slab though. I like this stuff though, it’s pretty nice looking.
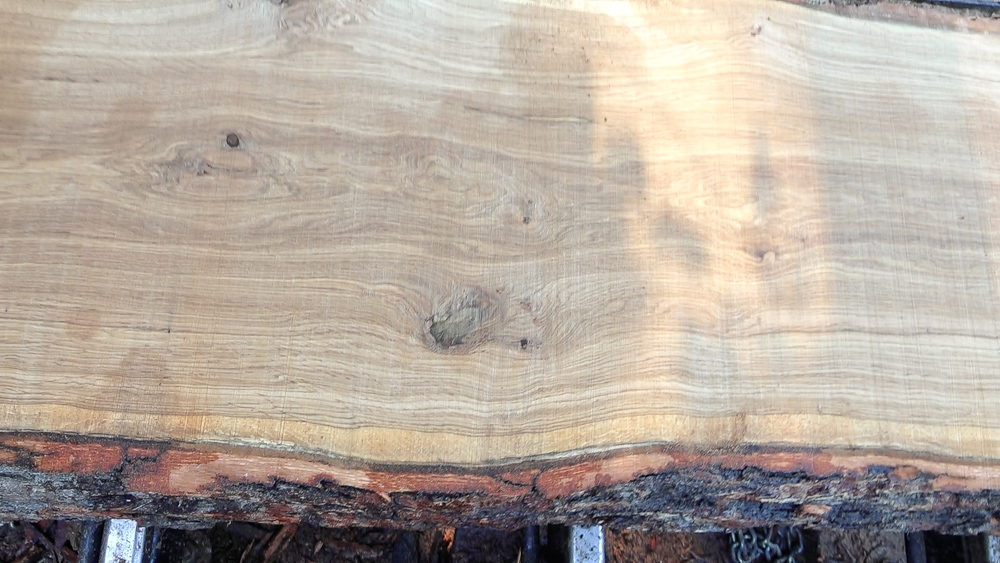
Nothing in this slab we cut through. This staining is really cool though. You can see that ray fleck with this cool stain behind it. I think it was pretty awesome.
There’s a few things we cut through in this next slab. Object number one appears to be a nail, but at a bias angle. It’s about an eighth of an inch wide, but I’ve cut it at an oblique angle, so it’s 3/8ths of an inch wide in this direction. I know for sure that if I did this with a normal blade, after the cut would be a little bit of a dip. With the bimetal blade, this cut stayed very, very true.
This is another nail at an oblique angle, very similar thing. This is only a quarter inch long though, and a little bit thinner, maybe 3/32 wide or so. It’s a little bit smaller, but still a pretty good amount of metal to pass through and then still have a nice, fairly even cut afterwards.
Seems like some pretty promising results based on what I hit and how well this blade is cutting. I am probably leaning towards switching to using the bimetal blades from now on, but let’s cut the other log.
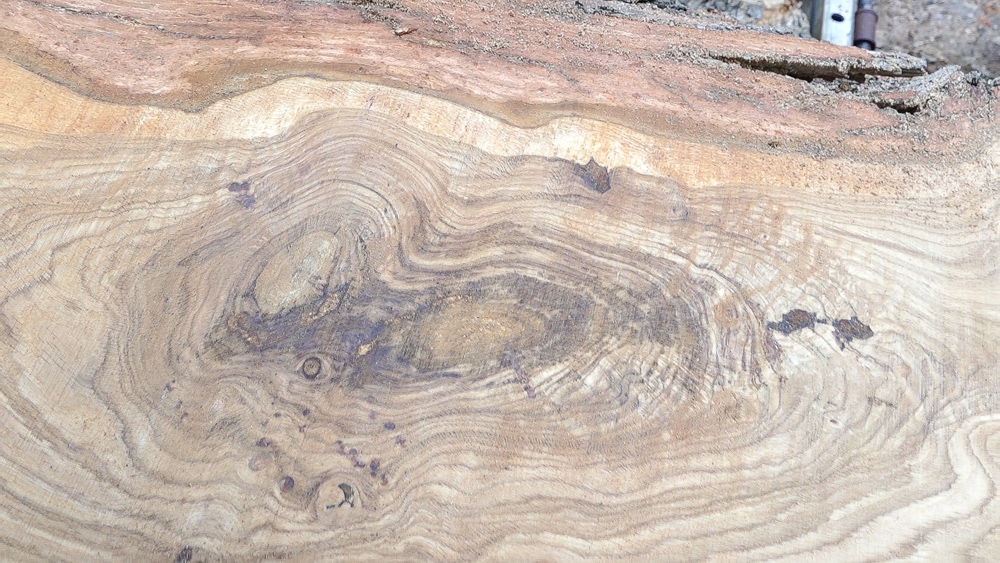
Let’s take a quick look at this guy. I have this oriented so that this limb here is sticking out the side. It’s going to give me some cross figure towards the center here. I’ll have quarter sawn slabs with some crotch figure, which should look pretty cool. The little old limbs on top should produce some bulls-eye patterns in these first few slabs, which should also be pretty cool.
Over here, we have the start of a burl, which should produce some interesting figure and grain. On the butt side there is the iron staining, which we saw earlier. There’s also another burl formation on the other side, which we’ll see in some of the bottom slabs.
Pretty similar process here. I’m going to make a few passes on the top, get a few slabs out of there, and then roll the log over. I’ll stop if we hit anything.
This one has some pretty cool figure with this bull’s eye pattern from those two limbs that were coming up. No metal yet though.
Here’s the next one. Pretty clear down here. There’s some staining, but there isn’t anything the blade cut through.
Check this out. This is cool! Otherwise though, this slab is also pretty clear. No metal either.
This stuff’s pretty cool. I like white oak. Still no more metal though. Let’s do the next one.
This stuff is nice. It’s so clear. Few little knots here and there. We’re starting to get into some crotch figure. Next one should start showing a little more ray fleck too.
Another pretty nice one here. Still no metal though. I thought this tree was supposed to be full of metal!
This stuff has some really big ray fleck going on. You can see the original sapling here through the middle. There’s your quarter sawn slabs out of this guy.
I have all these slabs here to stage for now. I am working on lining up a new slab drying area off site. These are going to be moving over there pretty soon, so that’s why I haven’t bothered to properly stack or sticker them.
Overall I think I’m pretty impressed with the bimetal blades. With those first few slabs that had those pieces of metal in it, I would’ve expected to have the cut quality waiver as we went, but this thing was still chugging along, cutting perfectly well as we got down through the second log. I think I’m probably going to keep using those blades. I did buy a 10 pack, so I should be set for a little while. For me at least, I’m interested in the least amount of fussiness possible, so the extra money that I’m going to spend on blades is going to be worth it for me, because I value not having to worry as much.
As far as the metal in these logs, I thought there was going to be a lot more. We didn’t really hit anything super big, but the few things we did hit should have done a little bit damage to the blade, but it didn’t. I think that’s a decent testament to the difference between the bimetal blades and the regular blades. Hopefully that helps a little bit if you’re looking for different blades for your sawmill, or just trying to understand why I don’t really care about if there’s metal in a log. Most of the time, it’s something small that doesn’t really impact anything. I don’t want to spend my time digging through a log, trying to find what a metal detector caught, when all it was was a staple or a tiny little nail.
That’s going to do it for this one. Thank you as always for joining me, I greatly appreciate it. If you have any questions or comments on the sawmill or anything back in the shop, please feel free to leave me your comment. As always, I’ll be happy to answer any questions you might have. Until next time, happy woodworking.
Welcome to my shop! This is a quick update to let you know what I’ve been up to. This big chunky thing is the leg

Welcome back to the home renovation. This time I’m going to be working on the kitchen island. Here is a small model of the island.

Welcome back to our home renovation. Today I am going to be working on this wall. It needs some upper cabinets and the surround for
2 Responses
Where do you get your bi-metal blades for your sawmill from? What is the pitch? A friend has a smaller mill and has been ruining blades hitting small nails.
Thanks,
Michael Eckes
I’ve moved on to carbide now but the bi metal blades are these ones at 7 degrees: https://woodmizer.com/store/Shop/BiMetal-Bandsaw-Blades