
Kitchen Island, Barn Power – March 2024 Update
Welcome to my shop! This is a quick update to let you know what I’ve been up to. This big chunky thing is the leg
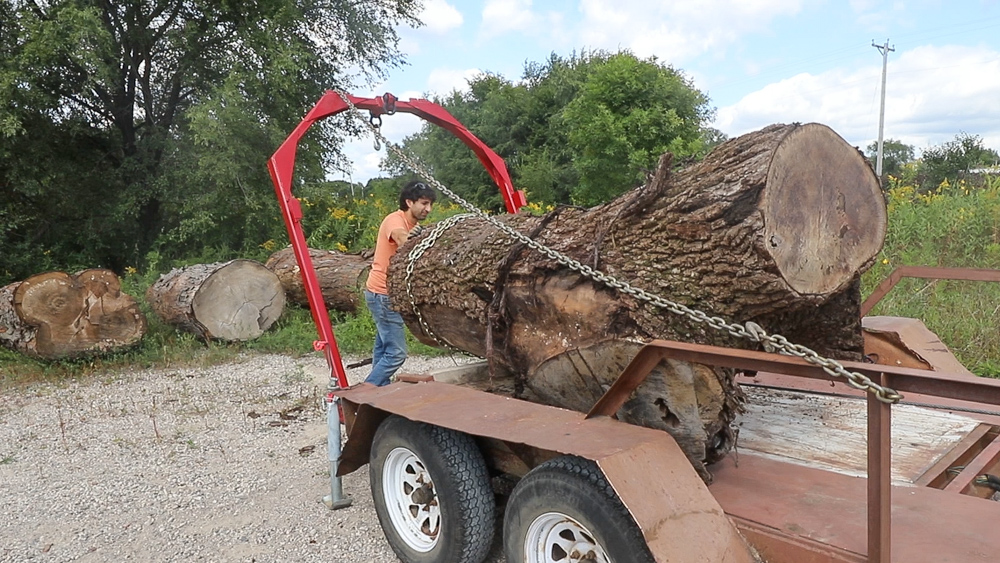
This walnut log came from my friend, Eric, who I’ve been working with on this thin slab concept that we’re calling Slab Skins.
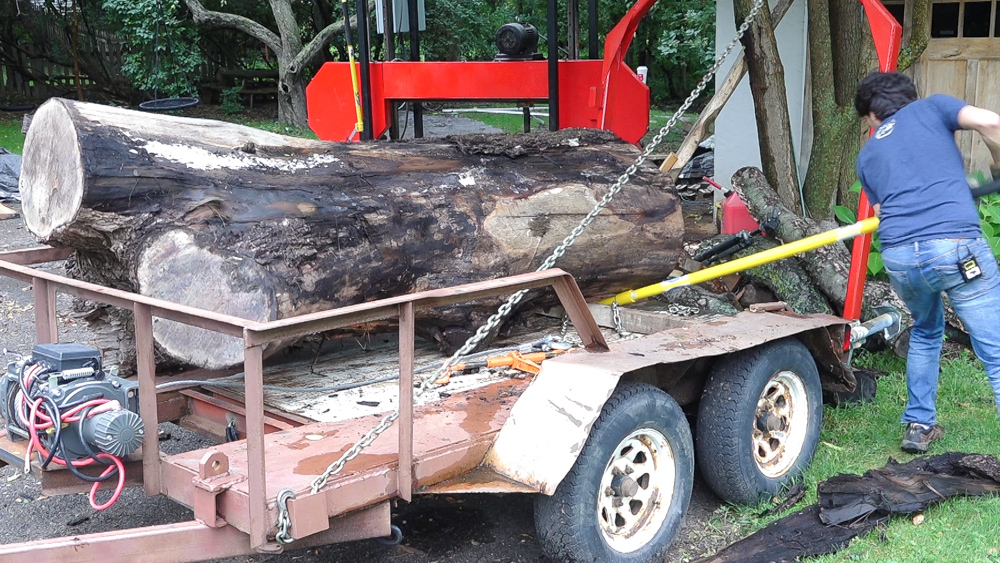
I decided that I wanted to cut in the plane of the pair of limbs that were facing up on the trailer which means rolling the log. I scooted the log over with my long cant hook on the trailer so it would come off onto the mill in a bit better position.
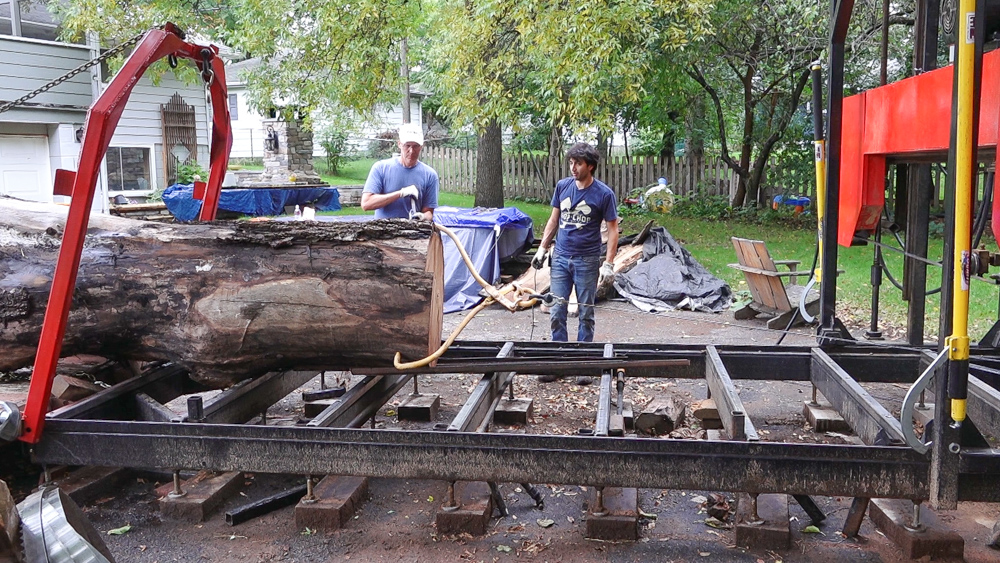
This log was a bit smaller than what I normally cut so I was able to use my log tongs to grab the log instead of chaining it to winch it onto the sawmill bed.
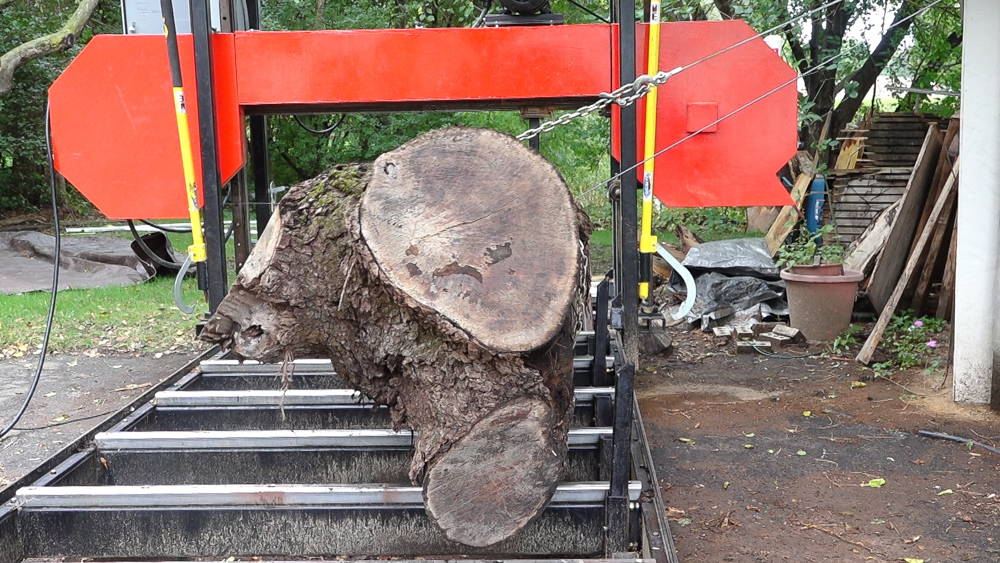
Now to roll the log. A snatch block is hung in a tree redirecting the cable from the winch on the sawmill. A chain is wrapped around the log and hooked to the cable.
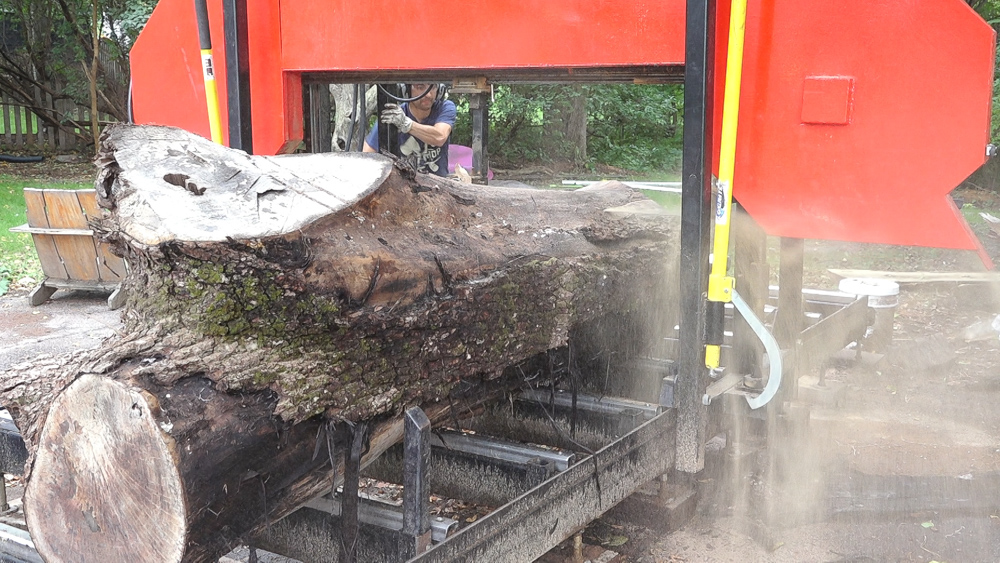
Now for the first cut. We made this one aggressively as we wanted to get to what we were really interested in – width.
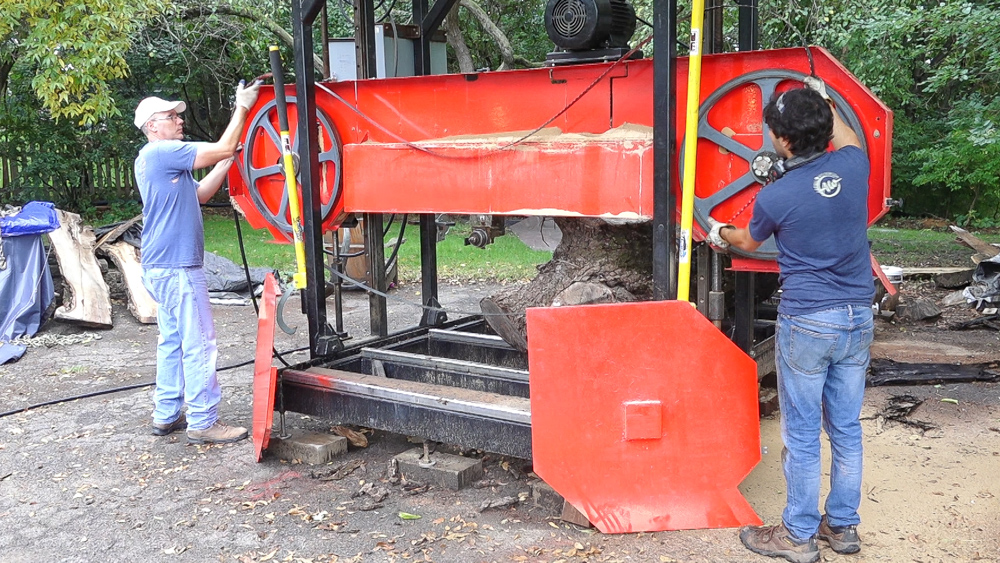
After that first cut, we put a new blade on so we could continue sawing without having to worry about the blade being dull.
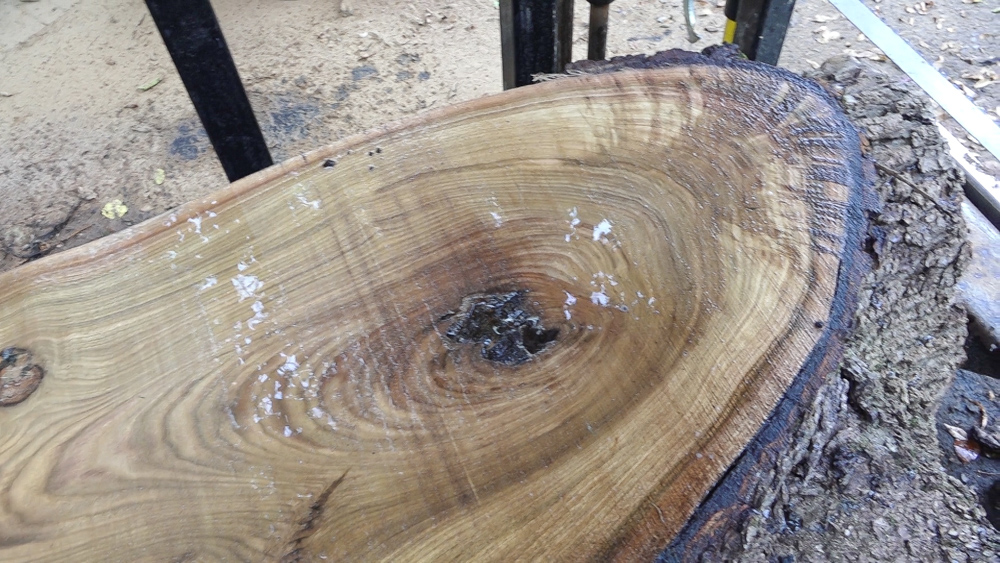
Here’s a look at the figure on the first cut. Since we’re cutting perpendicular to this crotch, we’ll see a bulls-eye with figure above it.
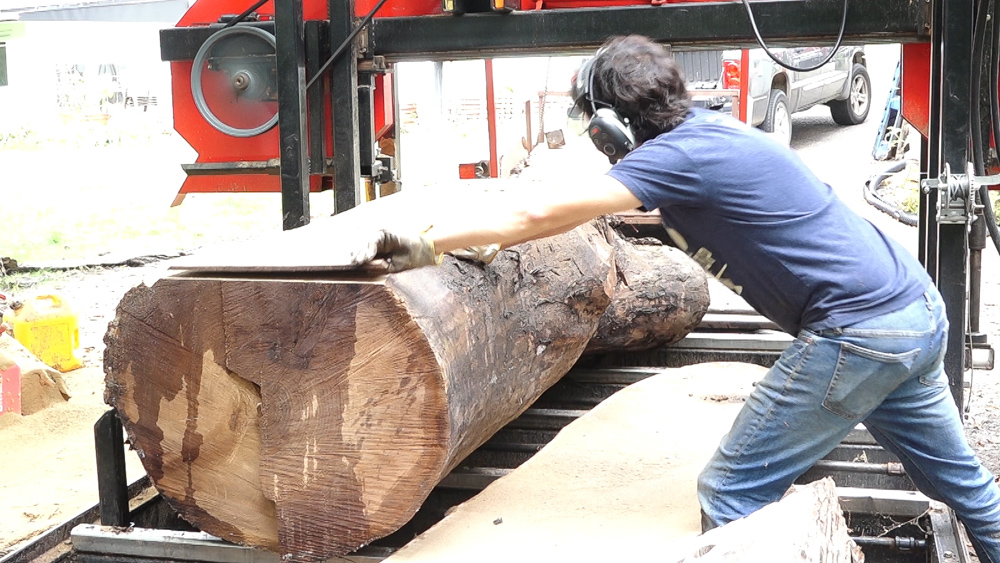
Now we can begin our first batch of cuts. We cut these at 1/2″ thick giving us a good amount of extra thickness since we were still figuring out the process. In the future we’ll cut closer to the finished thickness of 1/4″.
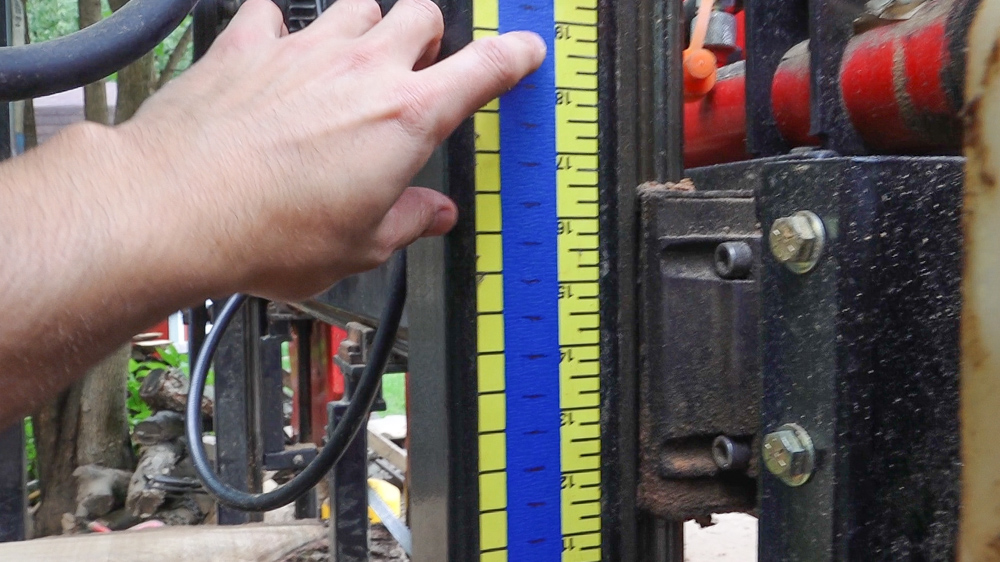
To make the sawing more efficient, Eric made a quick lumber scale. These marks are spaced .6″ apart – .5″ for the board thickness plus .1″ for the blade’s kerf.
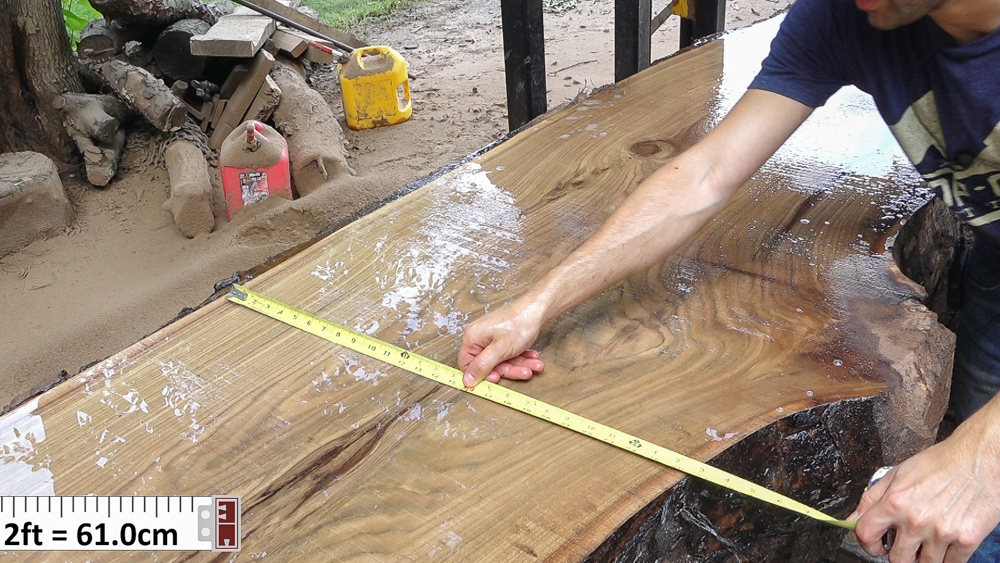
After a few slices we were into slabs that were 2′ wide.
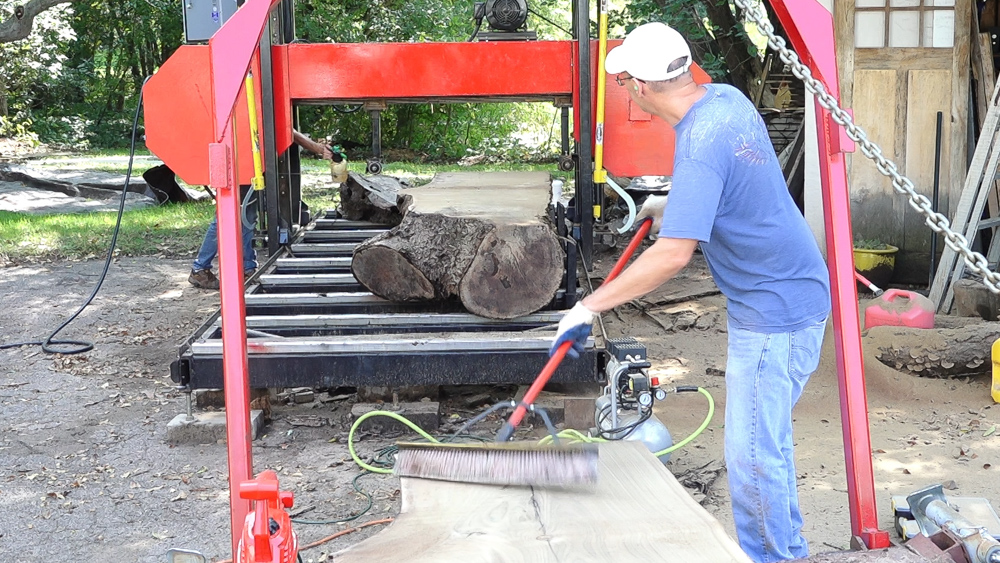
After a quick break, it was back to slicing. We developed a good system of working. I’d be running the saw continuously while Eric removed the cut slices, stacked, and cleaned them off.
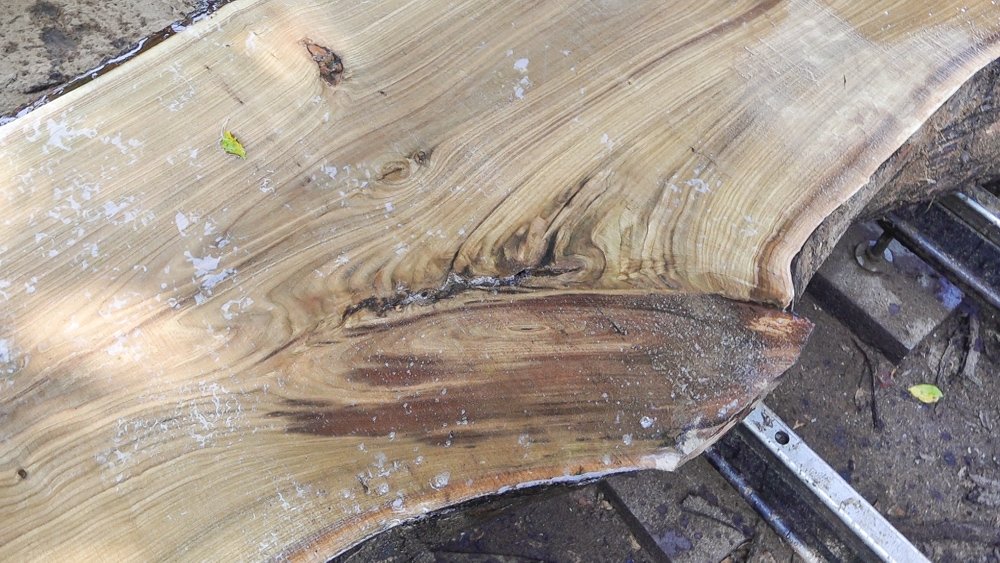
About mid way up was this small limb which produced some really awesome figure.
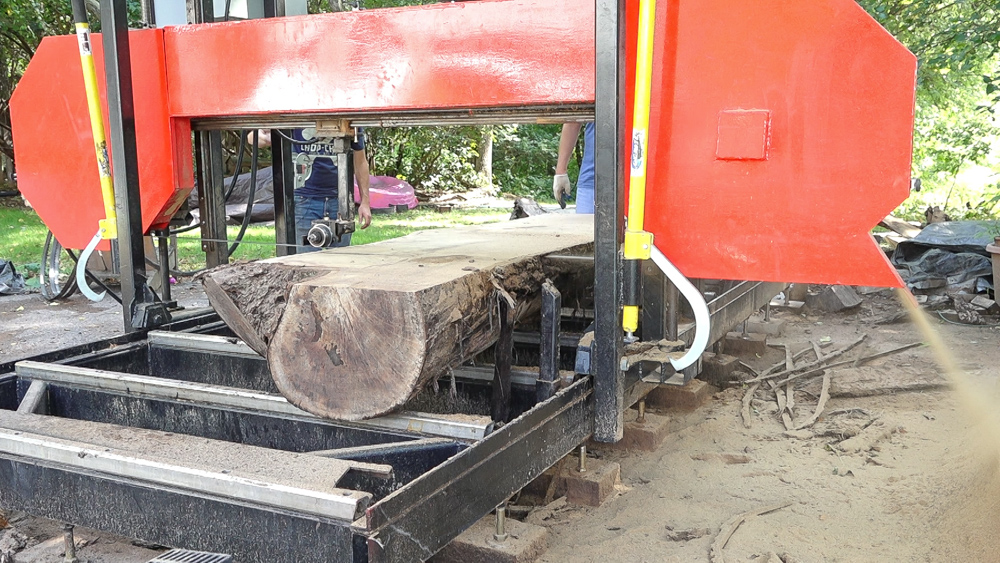
More sawing!
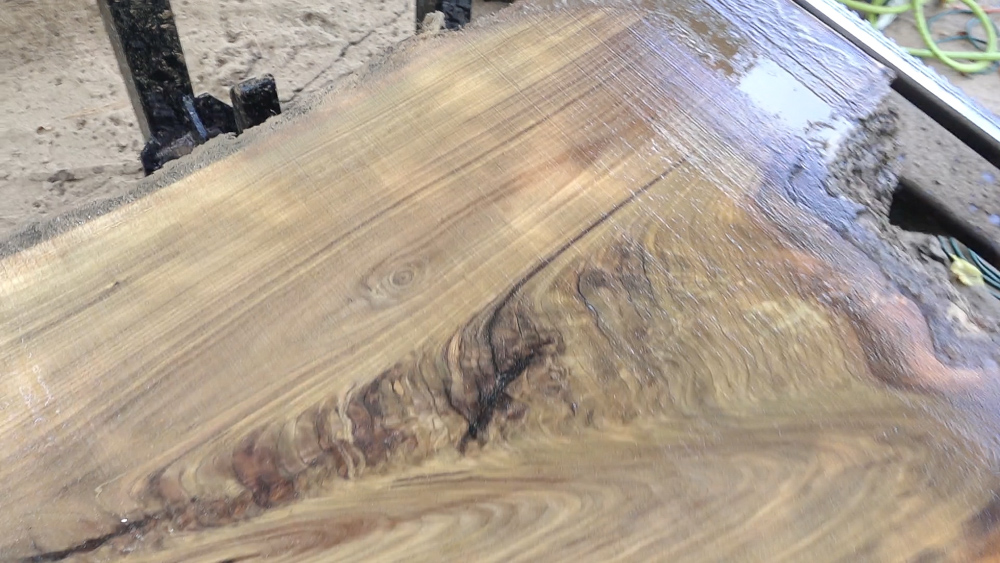
Now we’re getting into the area we were really after. This early cut shows a large band of crotch figure which will only grow as we get deeper into the log.
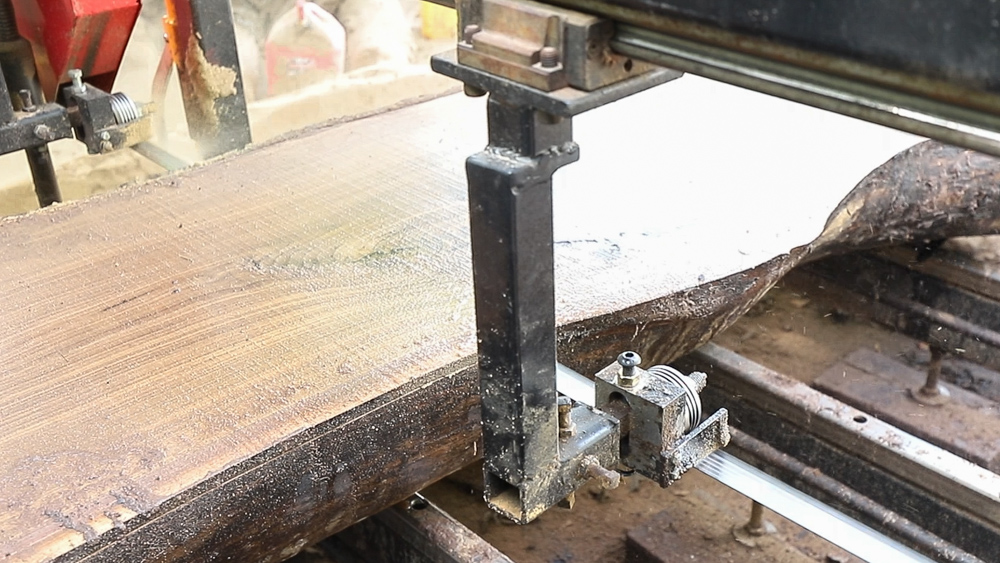
Once again, more sawing!
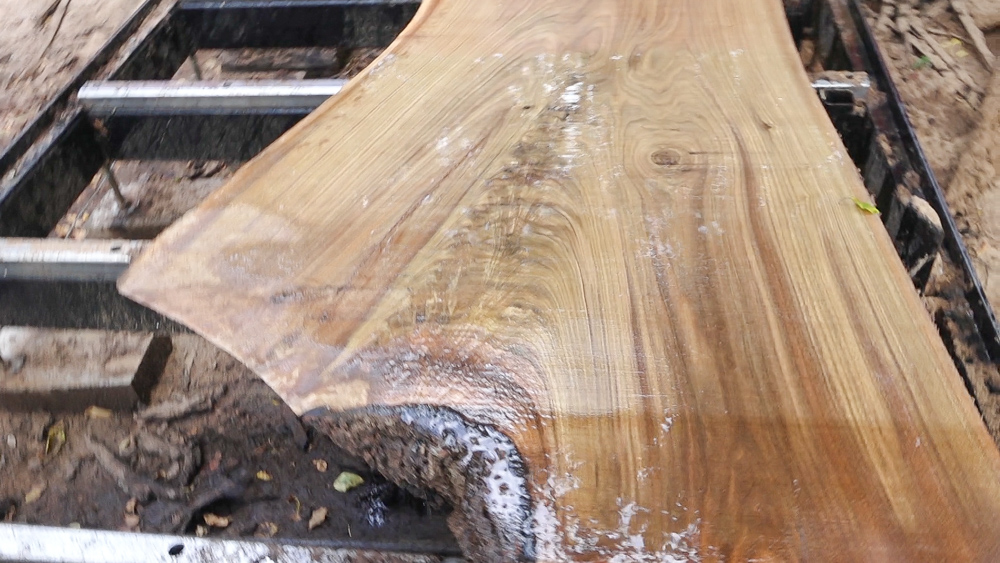
Deeper into the log and the figure is growing.
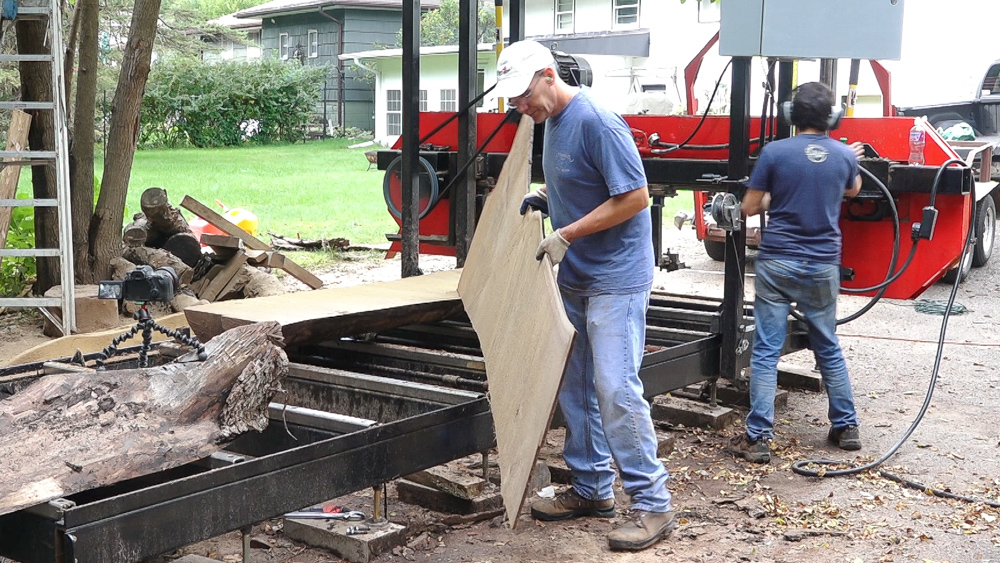
We kept sawing until there wasn’t much left on the deck of the saw.
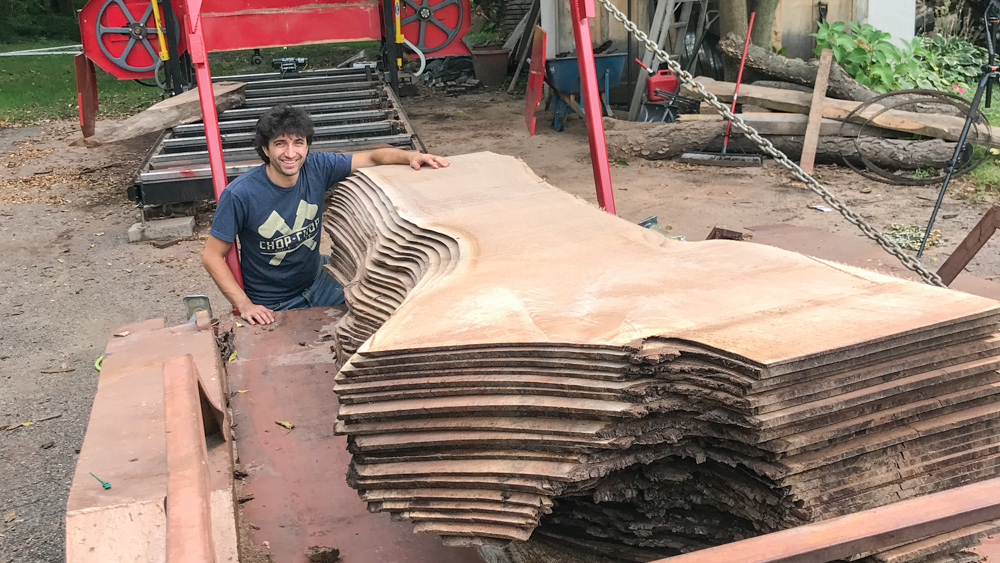
And there we go. One log sliced into 37 1/2″ thick slabs. Towards the end the blade was getting a little dull to be cutting 36″ wide crotch but was cutting fine through the base area of the log which wasn’t nearly as wide.
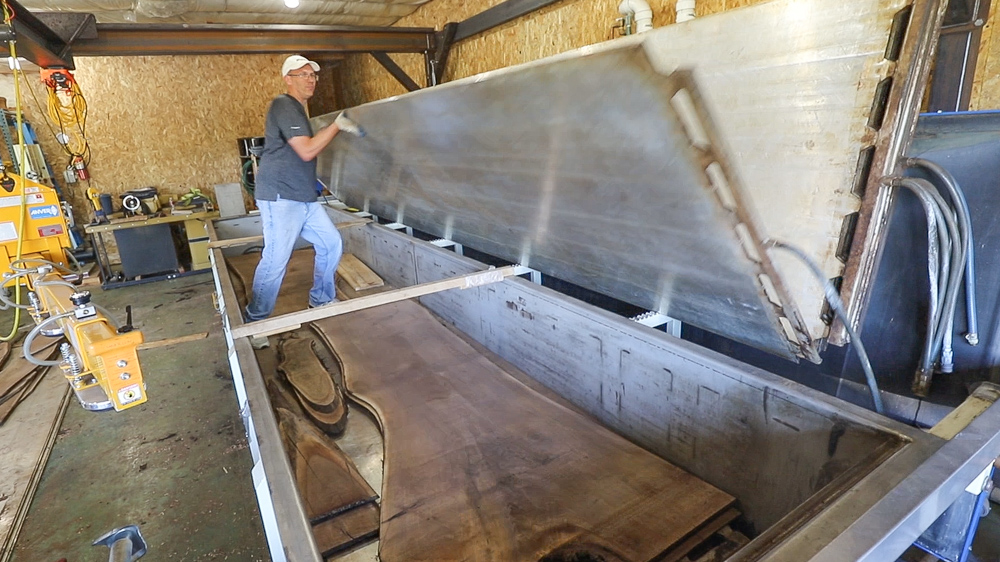
These got hauled to Eric’s shop to be loaded into his vacuum kiln. The slices are layered between hot water plates and when the lid goes on, the vacuum causes atmospheric pressure to compress the entire stack. This holds this thin slabs flat as they dry so they don’t become potato chips. Dry time on these was 2 days.
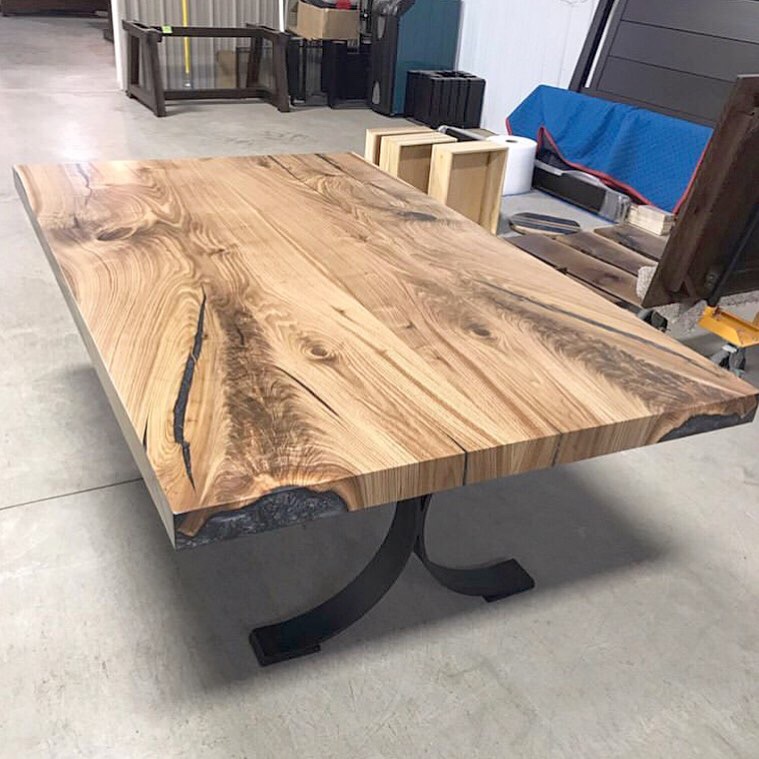
Once the slabs were dried, they were cleaned up on a wide belt sander and then laminated to plywood. This provided a lot of stock to make sample projects out of such as this conference table. It’s made from a pair of bookmatched skins and features a 3″ fold around the perimeter which which gives the appearance of a thicker slab. This fold was done with the Miter Fold Blade available at Rockler.
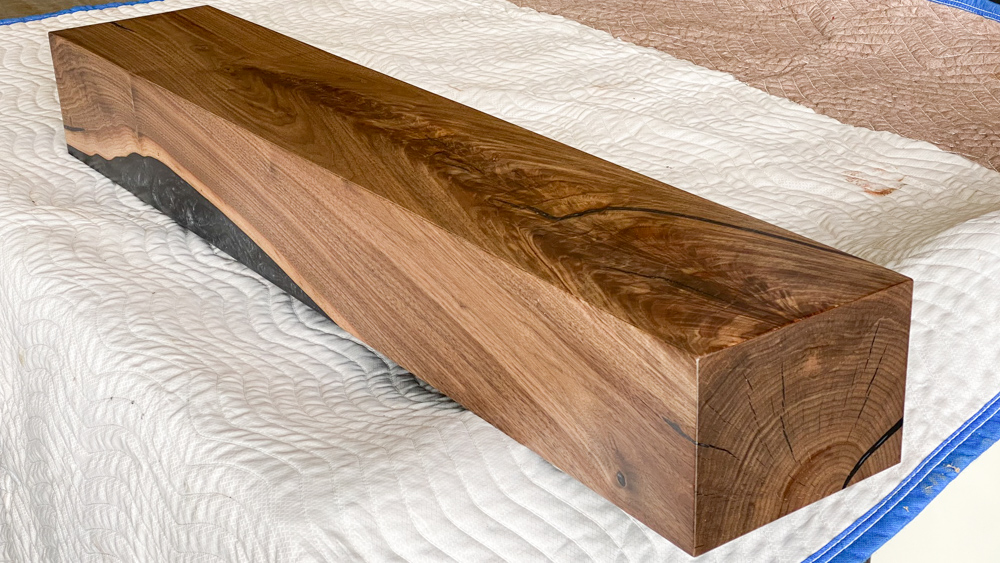
Taking that fold concept one step further, we can replace the end folds with end grain veneer to make something very realistic.
Eric and I are both really excited about this concept. We’ve produced several finished projects in the past 6 months and have worked through most of the details. Look for more about Slab Skins in the near future!
Check out Eric
https://www.instagram.com/epoxybyamishshowroom/
https://www.amishshowroom.com/
Log Tongs: https://amzn.to/2KXxJZR
60″ Peavey – https://amzn.to/2X8WtS9
78″ Cant Hook – https://amzn.to/2Is0RY1
Hi-Lift Jack: http://amzn.to/2nwL9Nq
Hearing Protection: https://amzn.to/2xysd8q
Miter Fold Blade: https://www.rockler.com/rockler-miter-fold-dado-set-plus


Welcome to my shop! This is a quick update to let you know what I’ve been up to. This big chunky thing is the leg

Welcome back to the home renovation. This time I’m going to be working on the kitchen island. Here is a small model of the island.

Welcome back to our home renovation. Today I am going to be working on this wall. It needs some upper cabinets and the surround for