
Kitchen Island, Barn Power – March 2024 Update
Welcome to my shop! This is a quick update to let you know what I’ve been up to. This big chunky thing is the leg
This time we’re slabbing up a sugar maple with a lot of limbs clumped towards the middle of the log. The tree was also tapped for maple syrup during its life so we see the results of that.
Background and Loading the log – 0:00
Sawing Strategy – 3:00
First Cuts – 7:20
Rolling the Log and Second Cuts – 12:15
Checking out the Slabs – 17:21
I picked up this hard maple log with my son back in early summer. My chriopractor had cut it down and offered it to me since he knew I liked trees with some character. It was one of those “if you don’t want it, I’m cutting it for firewood” sort of things. It’s about 11′ long and about 2′ at the butt. There were a lot of limbs coming out of the trunk about half way up the log. Classic low branching yard tree.
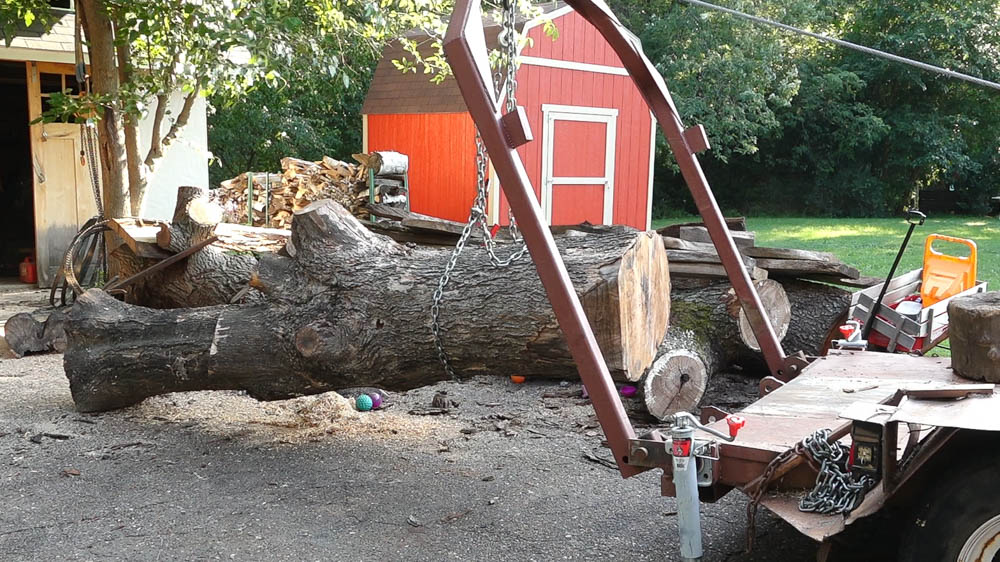
First step in getting it onto the mill is getting it back onto the trailer with my log lift.
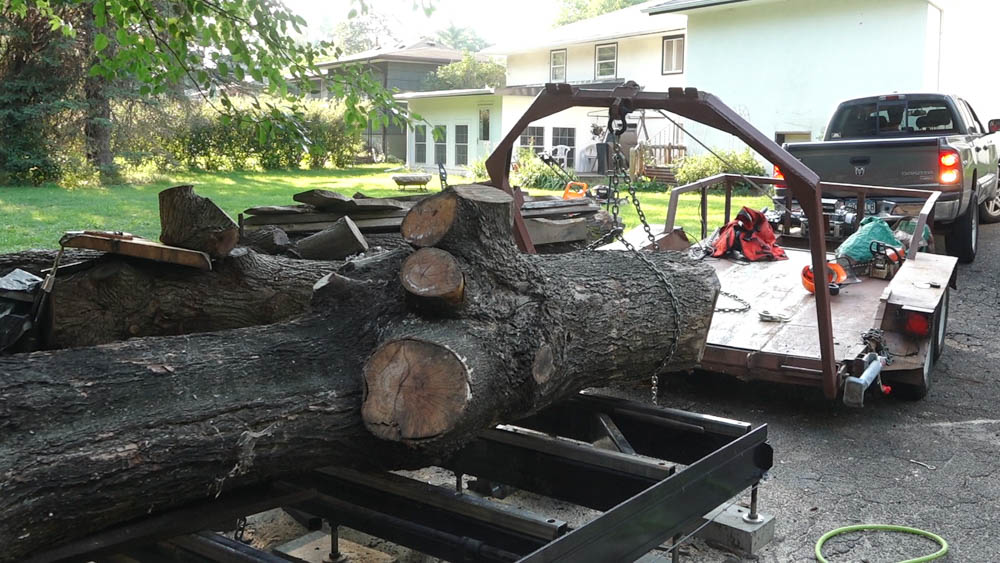
The log can then be driven over to the mill and pushed on. I drop one end of the log onto the bed and then pull the trailer out from under it. Next I can pick the end up with the arch and back up the trailer. This will push the log the rest of the way onto the mill.
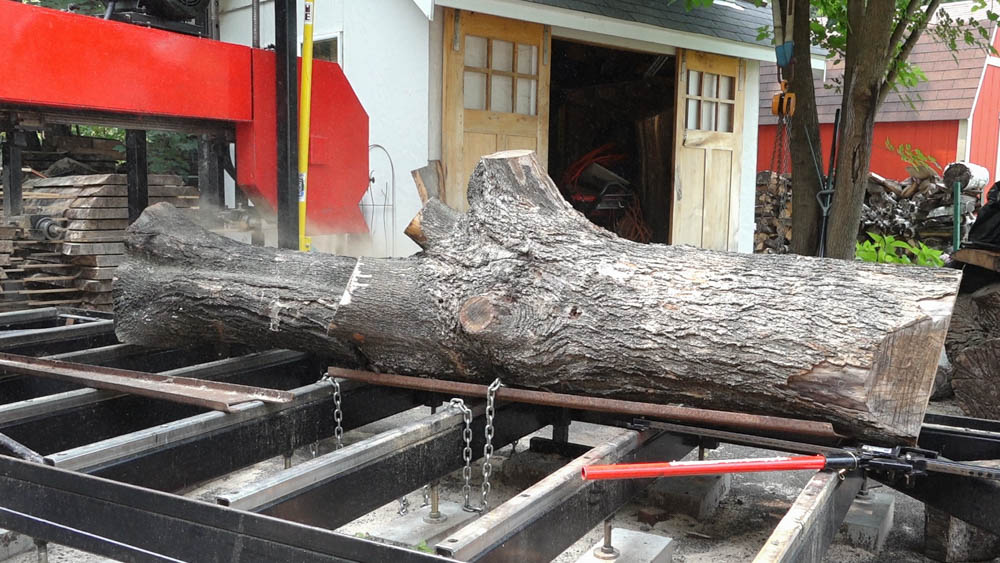
I chose the bottom side for the cuts because it was mostly flat already. There were two larger limbs oriented at about 90 degrees to the back which should contribute some crotch figure to the slabs. Other limbs coming out of the top almost vertically will contribute compression figure (curl) to the slab. The lower section of the log as a wider diameter so the first couple cuts will make short slabs just consisting of the lower section.
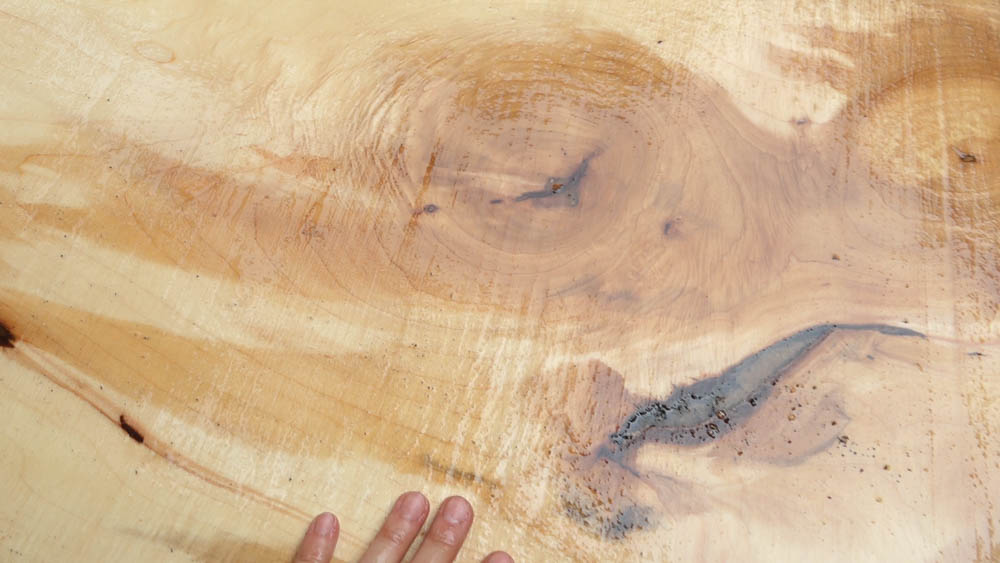
Here’s a look at the first cut. Some compression figure below where the vertical limb was.
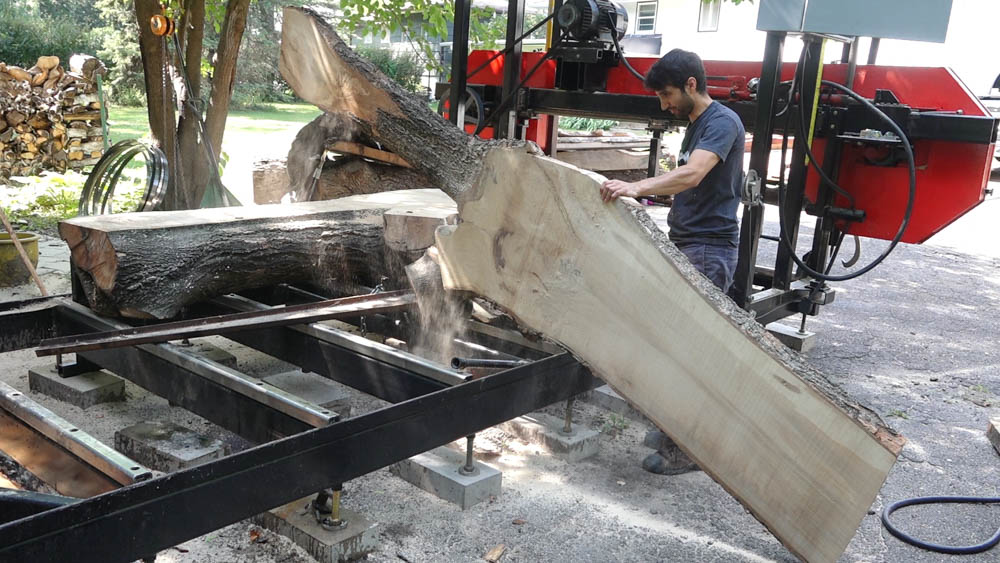
I made two cuts to create two partial length slabs.
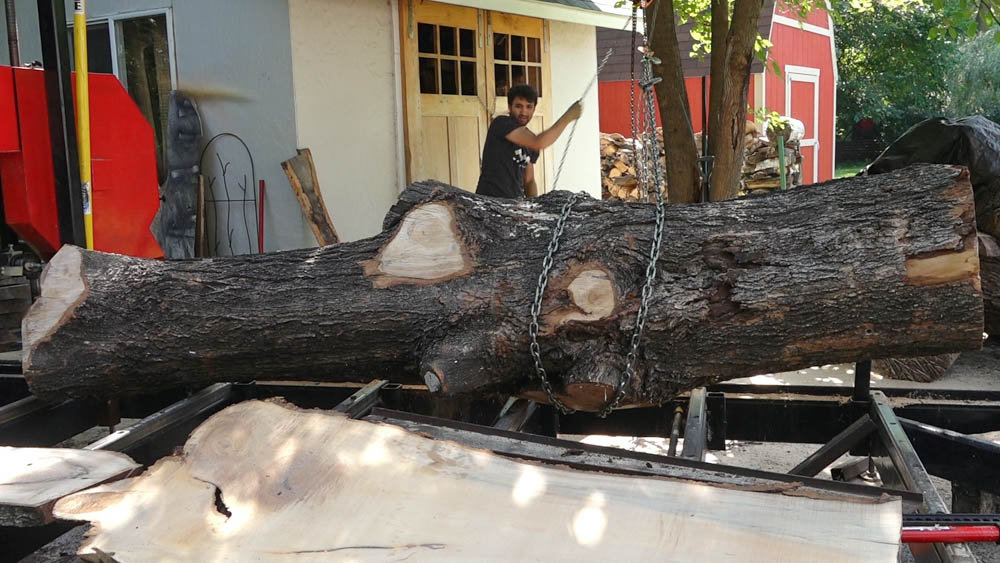
With a flat reference, I can roll the log over so I don’t have to worry about it rocking and can keep slicing down to the bed.
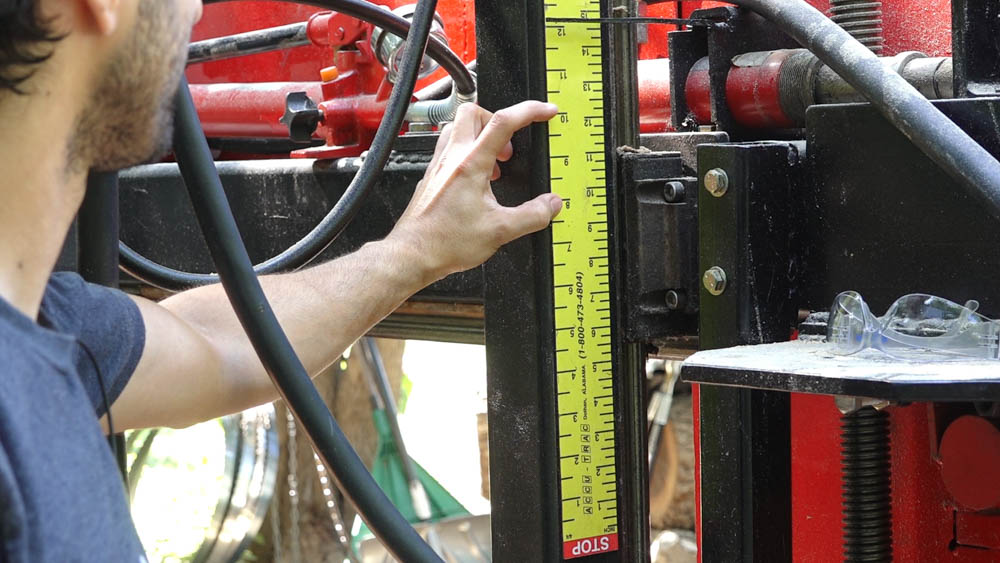
With the flat side down on the bed, I can easily use the lumber scale to cut the remaining log into evenly thick boards. The scale I have is for 4/4 so every increment on the left will produce a board that is 1-1/8″ thick and will include the kerf of the blade. By moving two increments, I can produce 9/4 lumber.
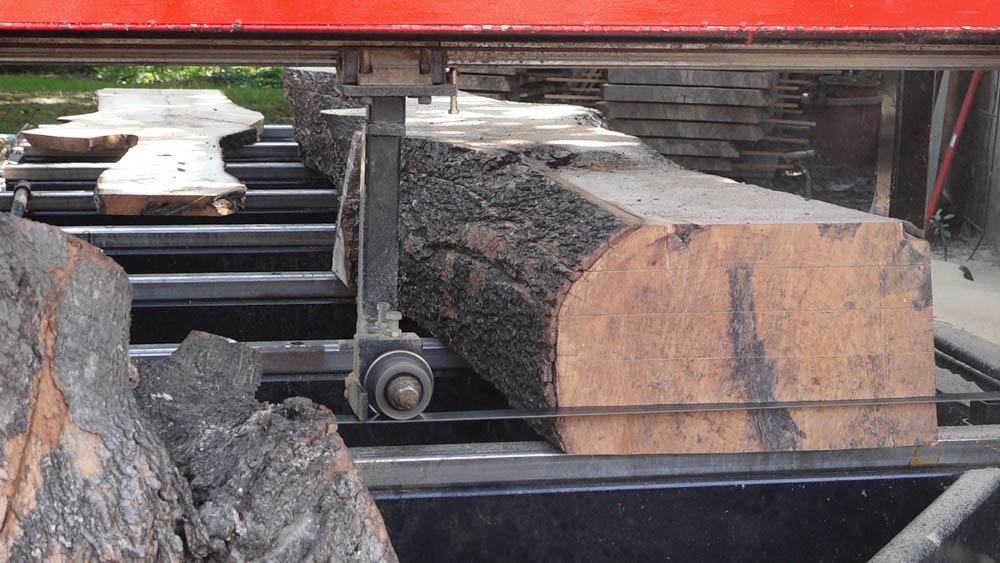
Now I can step the saw height down every even increment on the 4/4 scale to produce 5 slabs at 9/4.
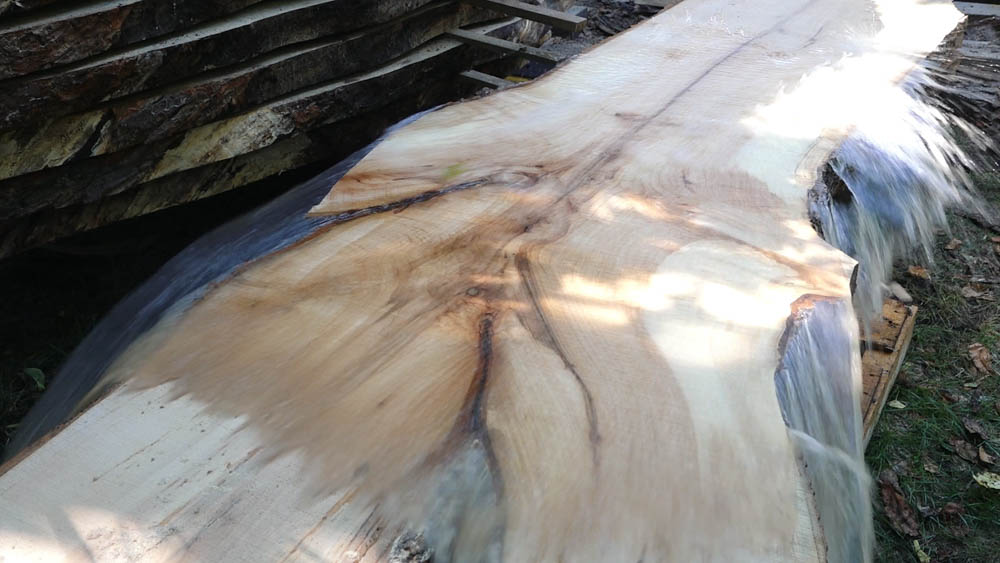
Now the fun part. Digging through the slabs and checking out all the awesome grain!
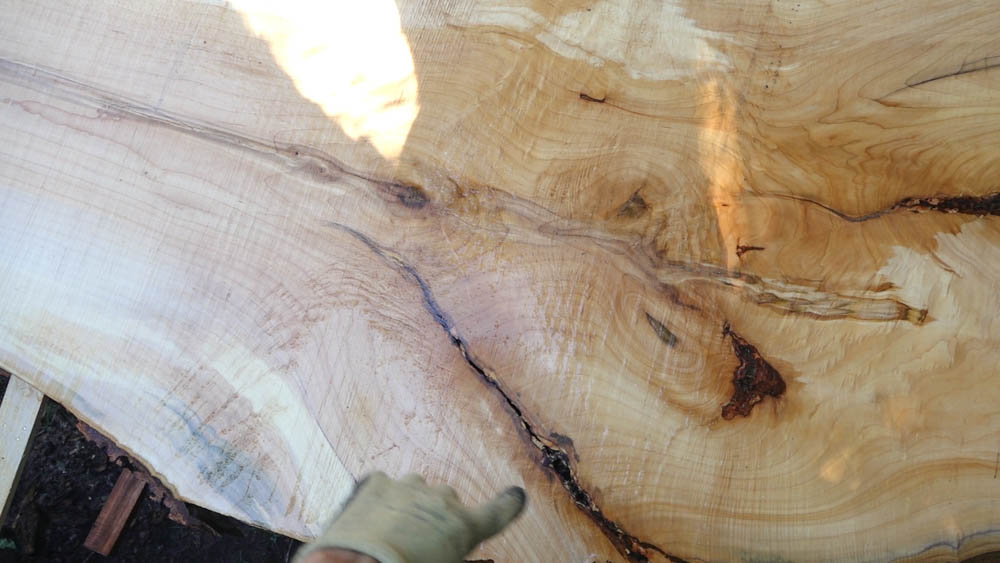
Here’s probably one of the best spots. Hints of crotch figure, curl, and some bark inclusions.
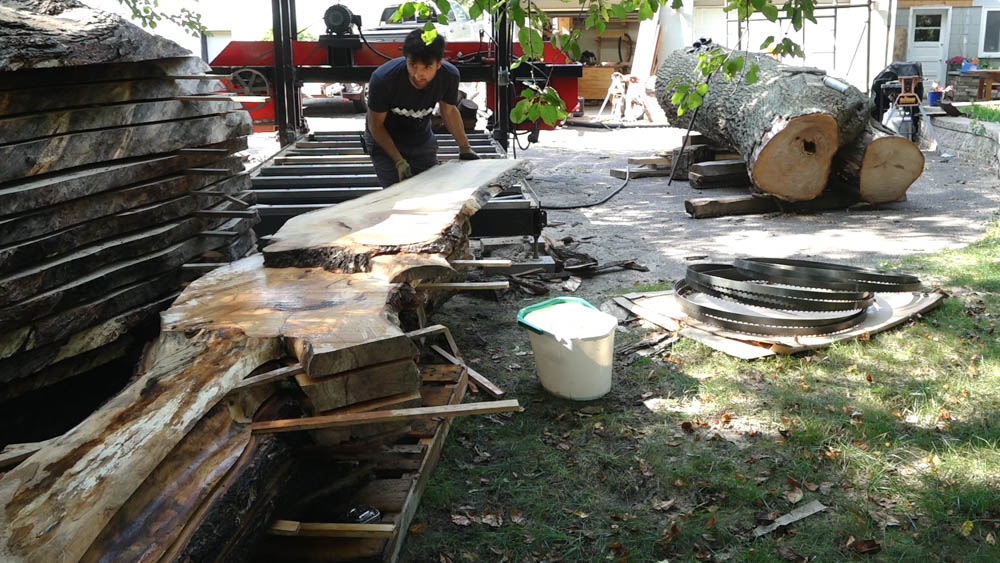
With the full length slabs out of the way, I can throw the first couple partial length slabs on top.
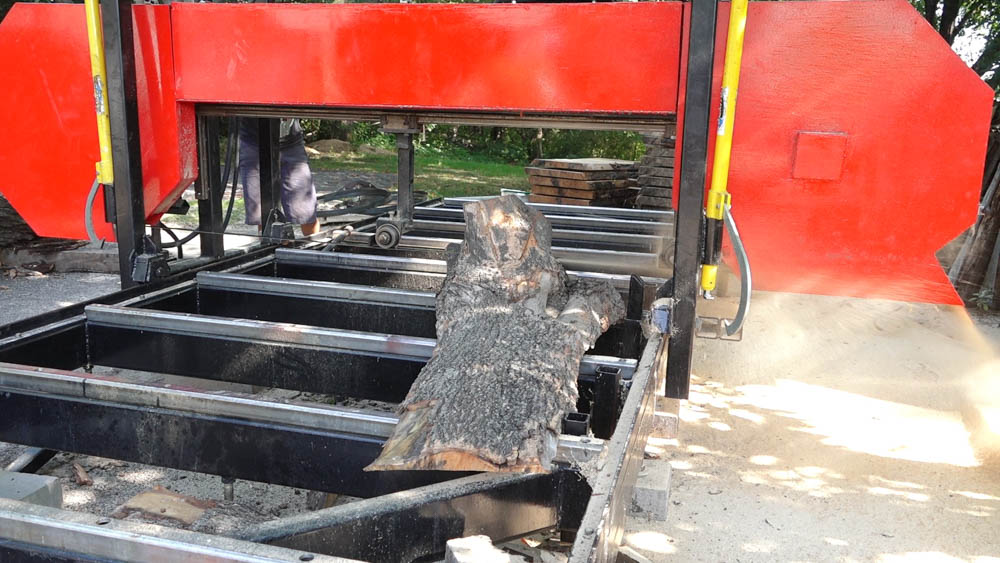
Lastly is the cap piece that I will use as a roof for the stack while it dries outdoors. It was a little big and awkward so I cut away the larger limbs and since there was still a lot of material, I also cut a cookie.
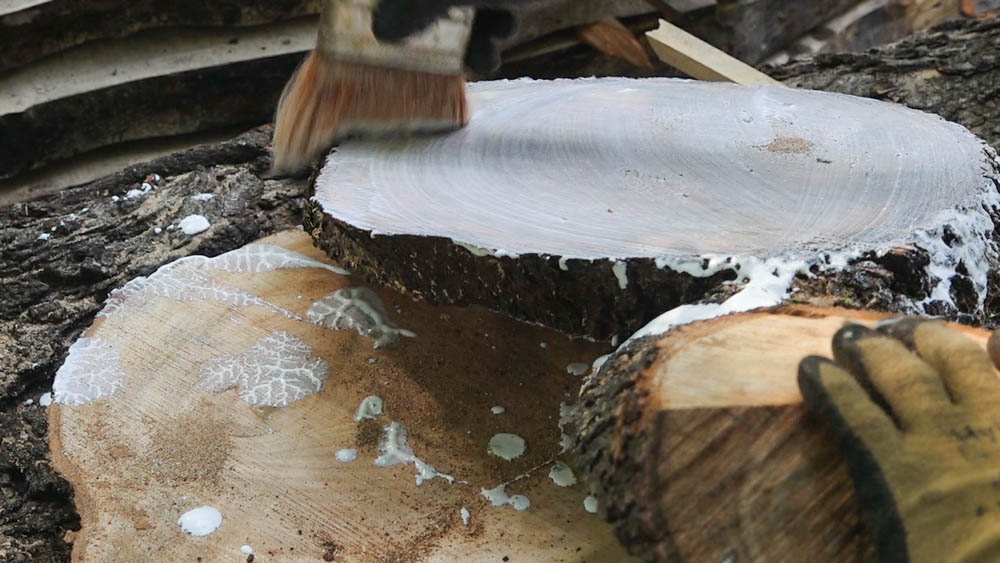
I sealed up the cookie with some anchorseal which will help slow and even out the drying process to keep the checking to a minimum.
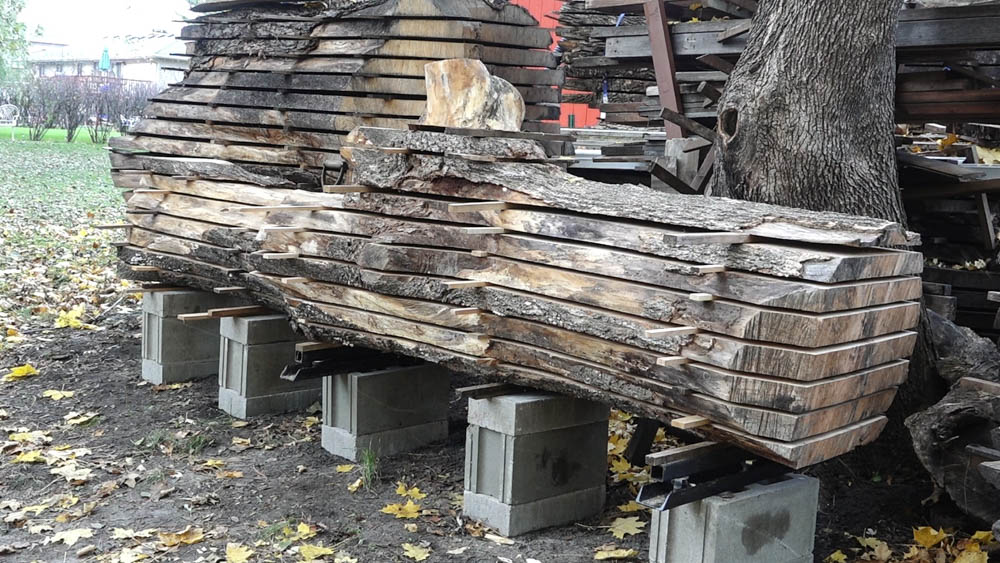
The log reassembled. I only had two of my levelers to use for this stack. I need to make more of those. At least having two made the process of getting all the bases co-planer a little easier.
https://www.mattcremona.com/shop/plans/wide-cut-bandsaw-mill-plans
Long Cant Hook: https://amzn.to/2DqOjPV
Hi-Lift Jack: http://amzn.to/2nwL9Nq
Anchor Seal: http://amzn.to/2rTQdAD


Welcome to my shop! This is a quick update to let you know what I’ve been up to. This big chunky thing is the leg

Welcome back to the home renovation. This time I’m going to be working on the kitchen island. Here is a small model of the island.

Welcome back to our home renovation. Today I am going to be working on this wall. It needs some upper cabinets and the surround for
4 Responses
Do you edge boards on your sawmill?
Yes, when I’m making boards.
I haven’t seen many of your videos yet just found out about you the other day. Do you have a jig made or a good way of holding the boards vertical. I use the dogs and can’t seem to find a decent way of holding them without them chattering a little bit
if you’re just doing one, it’s going to chatter. When I’m edging, I’ll do a whole stack at once and I’m usually edging while sawing boards out of a cant so the cant helps supper and clamp the boards being edged.