
Matt's Weekly Shop Update
Kitchen Island, Barn Power – March 2024 Update
Welcome to my shop! This is a quick update to let you know what I’ve been up to. This big chunky thing is the leg
Welcome to my backyard. Today, we’re going to have a little fun with the sawmill.
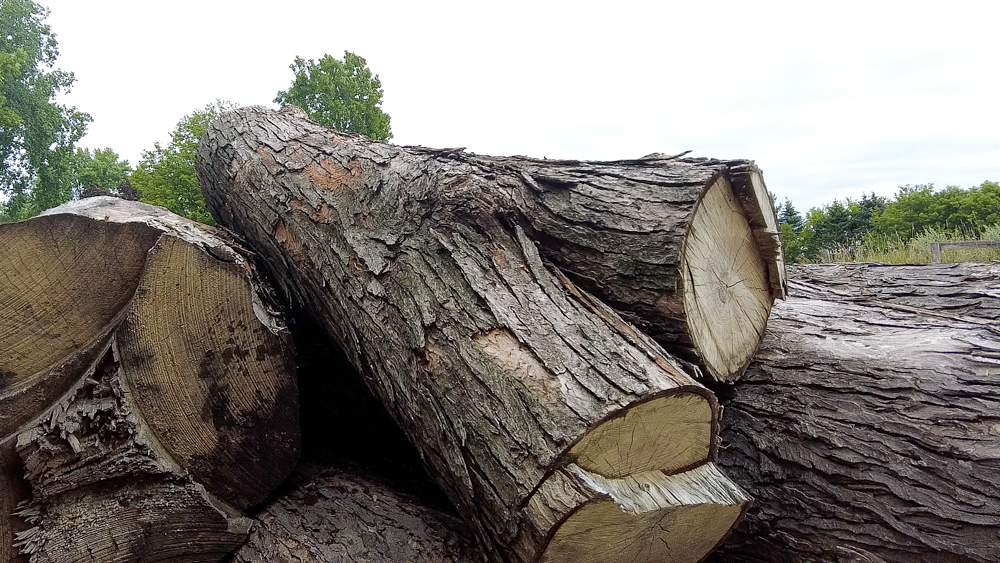
I’m looking for something quick and fun, and there is some silver maple up in here in the log pile. It looks small in the pile, but I get the feeling it’s not quite as small as it looks. The log that this chunk came off of has been sitting here for about nine months now, and I’m going to let that log sit until next year so it has plenty of time to stain and discolor. This crotch chunk should have some staining, should have more of a blue shift. But if I let the main log sit for a year, I’m hoping it will shift fully to reds, yellows, and oranges. It’ll be an interesting comparison to see what this chunk looks like compared to what that log looks like with that time difference.
That log is all nicely leveled out on the sawmill. There’s not a whole lot to note on this. We do have a nice crotch bulge going on here. So I’m thinking we’ll have a nice crotch feather inside the wood as we get down into that spot. There’s also one small limb on one of the sides of the log, but that’s about it. It’s about 24 inches in diameter at the bottom, and splaying to about three feet at the crotch section. Pretty simple log.
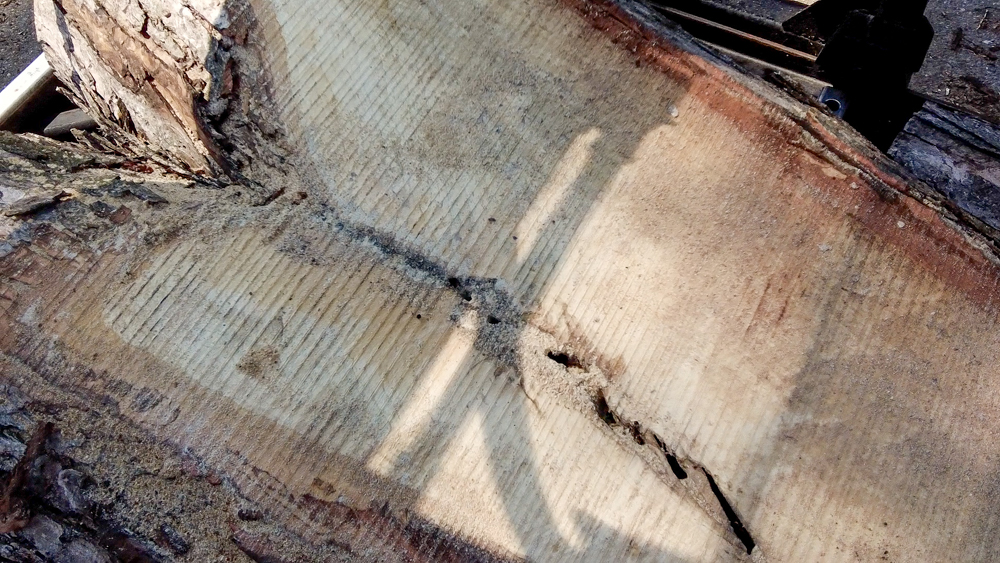
We have lots of ants. It looks like this is actually more of a bark inclusion, so there might not actually be any crotch figure. This void is pretty big, and especially with these ants in here, I’m guessing this is all bark inclusion and a void and not that sweet crotch feather.
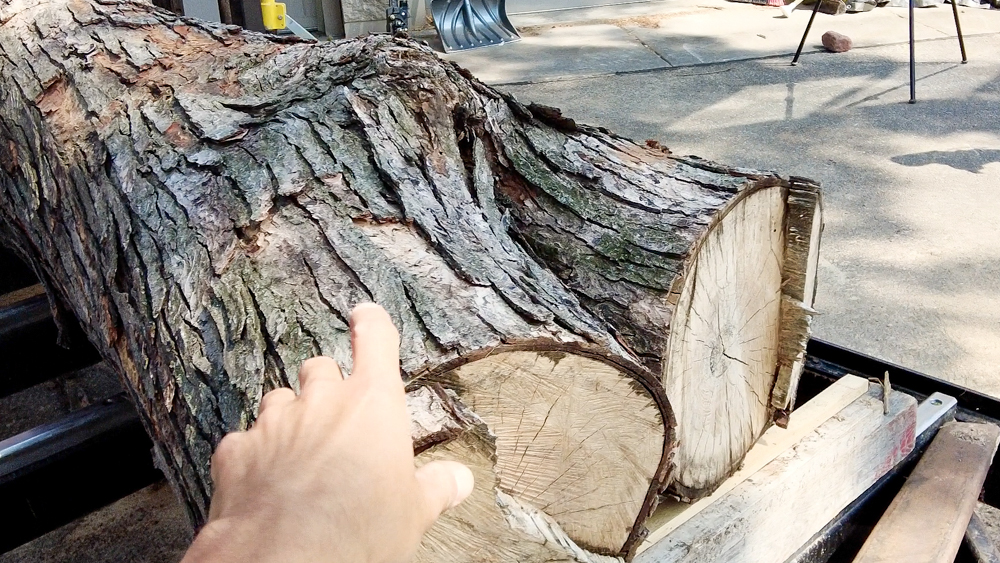
Here’s a quick look at some color. This one still has quite a bit of white, but you can see some of the blues and grays starting to come in. This log actually has quite a bit of moisture still in it, which is surprising for how long it sat.
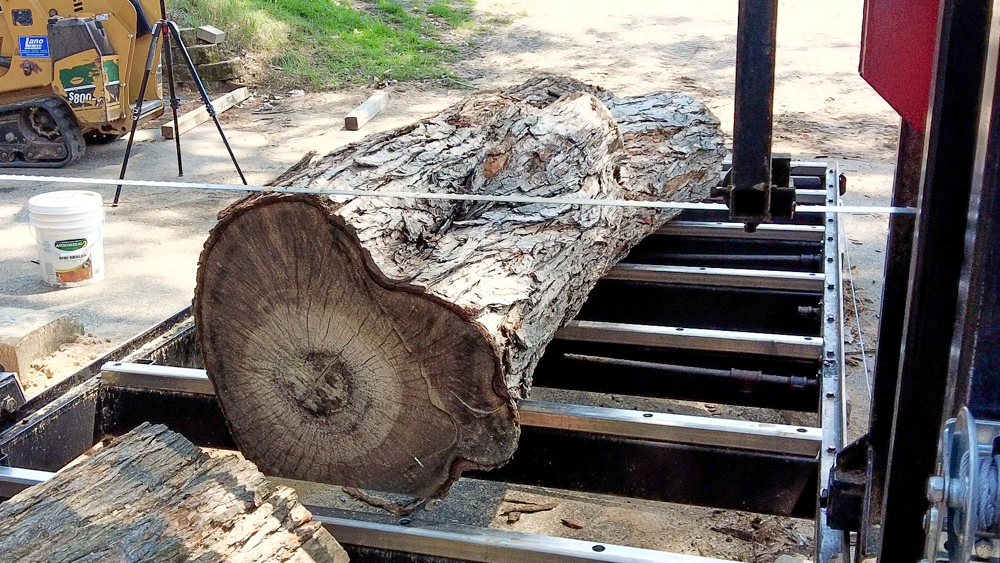
On this log, I’m going to use my log scale and cut everything at two pieces of 4/4, which is basically 9/4. Normally, on the bigger stuff, I’ll cut 10 or 11, but this is a little smaller, so 9 is pretty good. So this is a 4/4 scale, meaning that every number on the left side of the scale is one board that’s 4/4 thick. So if I go by even numbers, that’ll give me two pieces of 4/4, plus the blade curve that would’ve been in there. That takes it to approximately 2-3/8 inches thick.
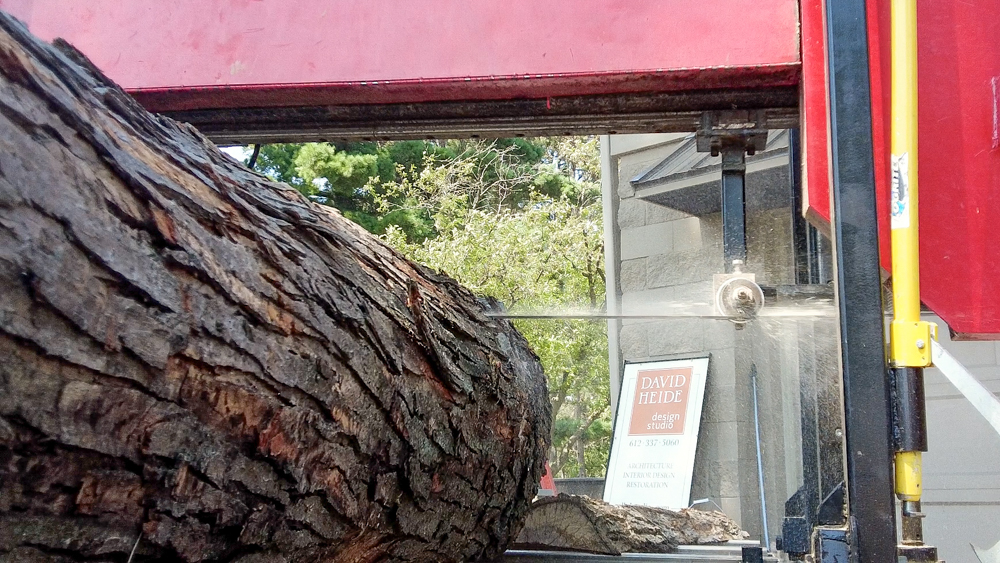
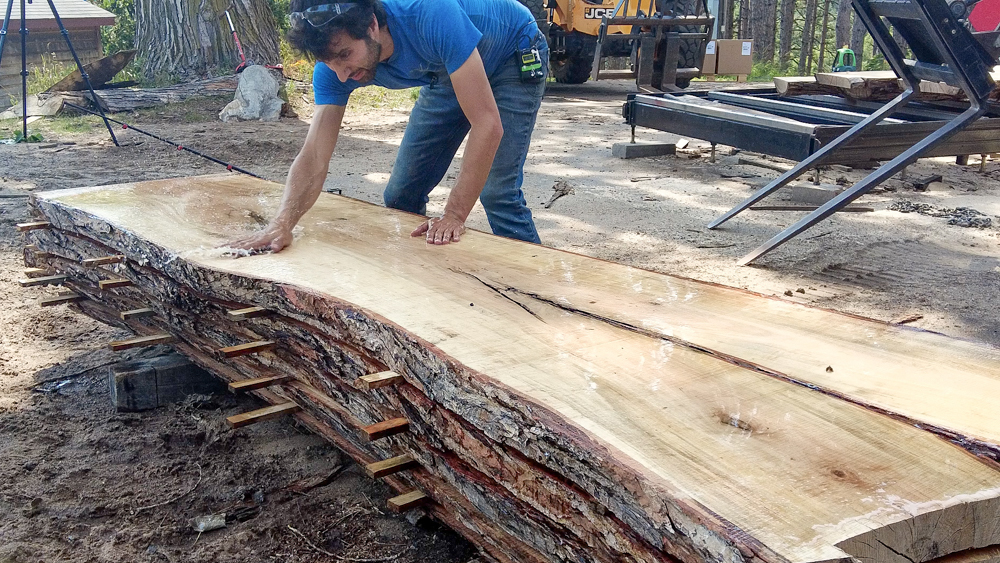
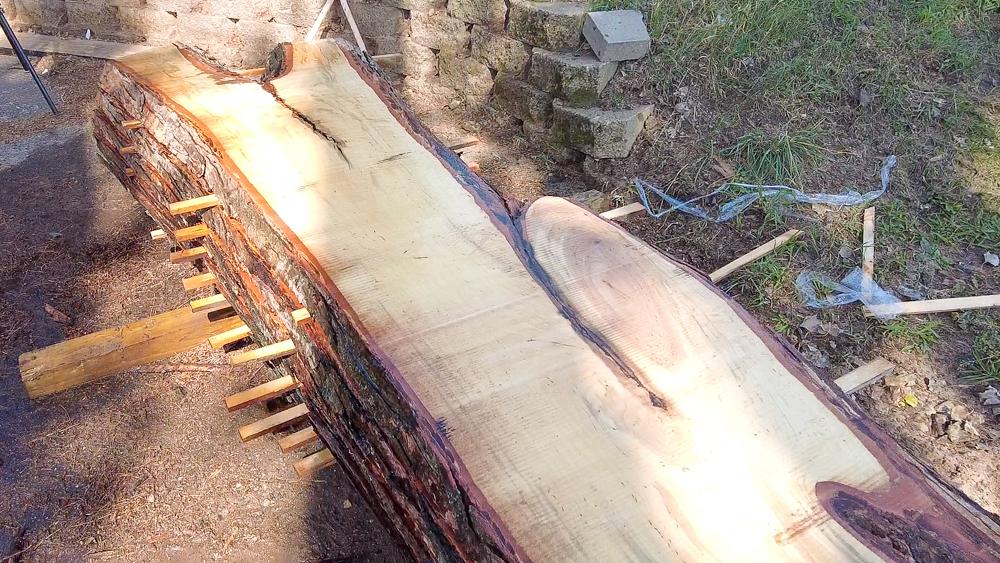
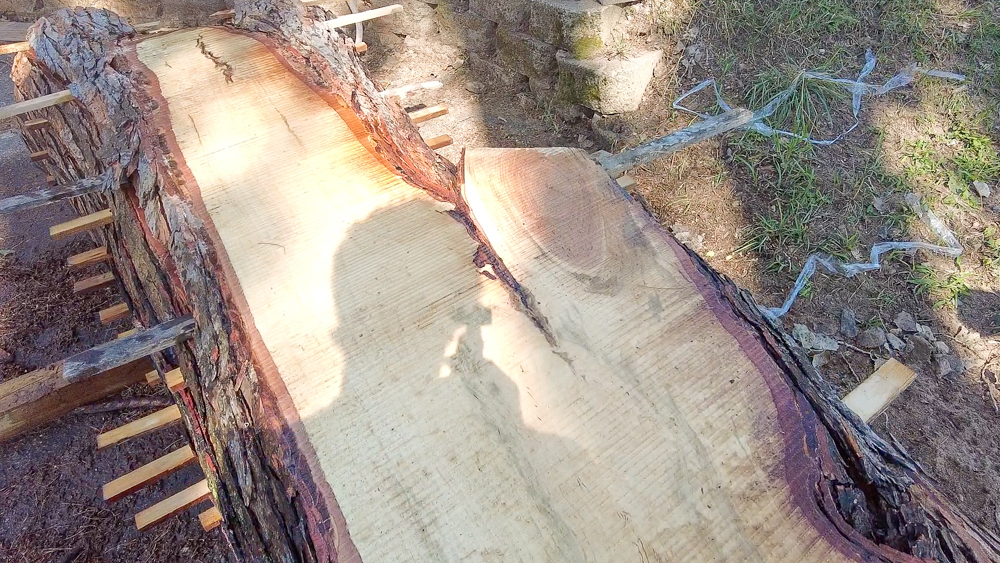
Let’s start slicing it up!
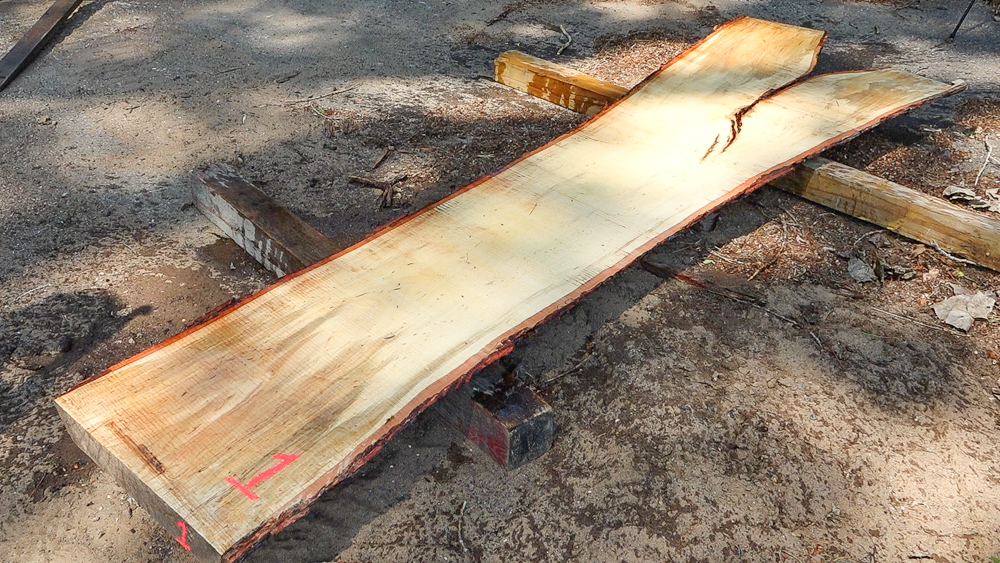
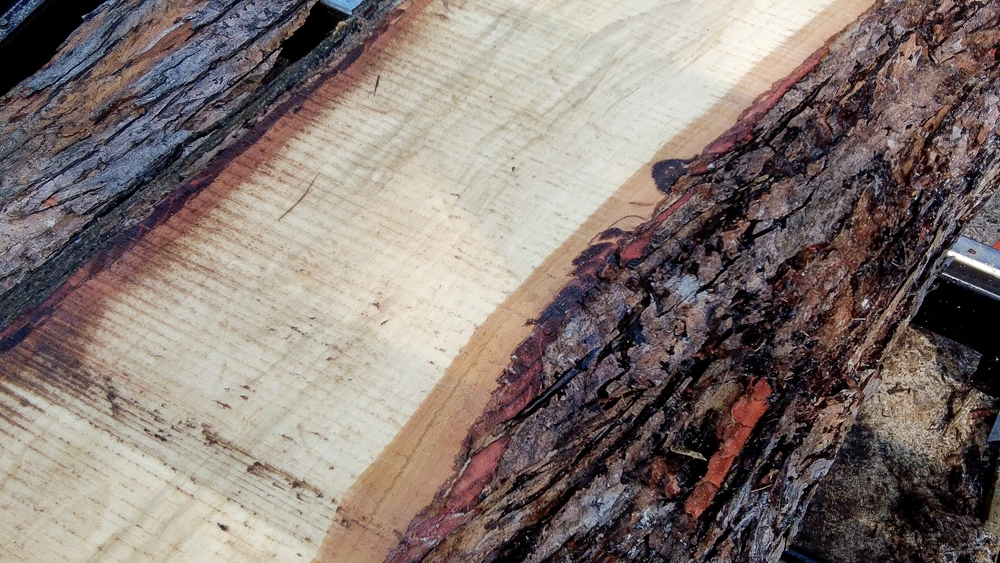
Let’s see what we got. Slab one, pretty uneventful. Some staining coming in from the end grain with clear white sapwood through the middle. Then we have a pretty cool void with this bark inclusion on the other end.
This looks a little better, a little more interesting. We are getting into a bit of the heartwood here. You can see a little bit of color shift to red, which I prefer to the stark white sapwood. The bark inclusion is looking pretty cool.
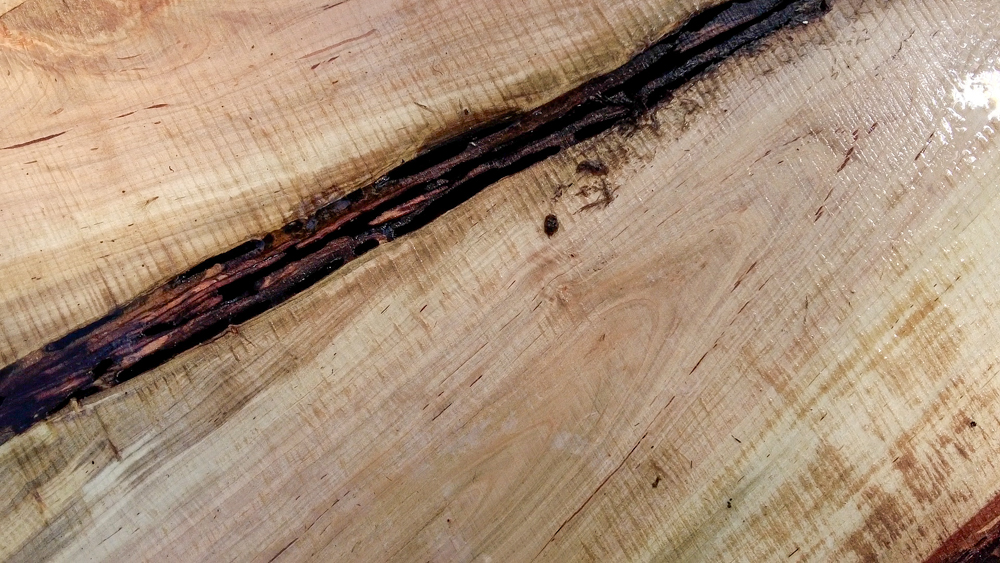
I’m liking this bark inclusion. I know it’s not crotch figure, but it’s cool with the ant cavities in there.
This is cool. There’s some beautiful figure here in this bark inclusion, where the other limb is starting to come through.
We do have a structural defect that goes all the way up and into our ant caverns. And there’s a little bit of figure around those caverns. You can also see the colors are starting to get a little more exciting.
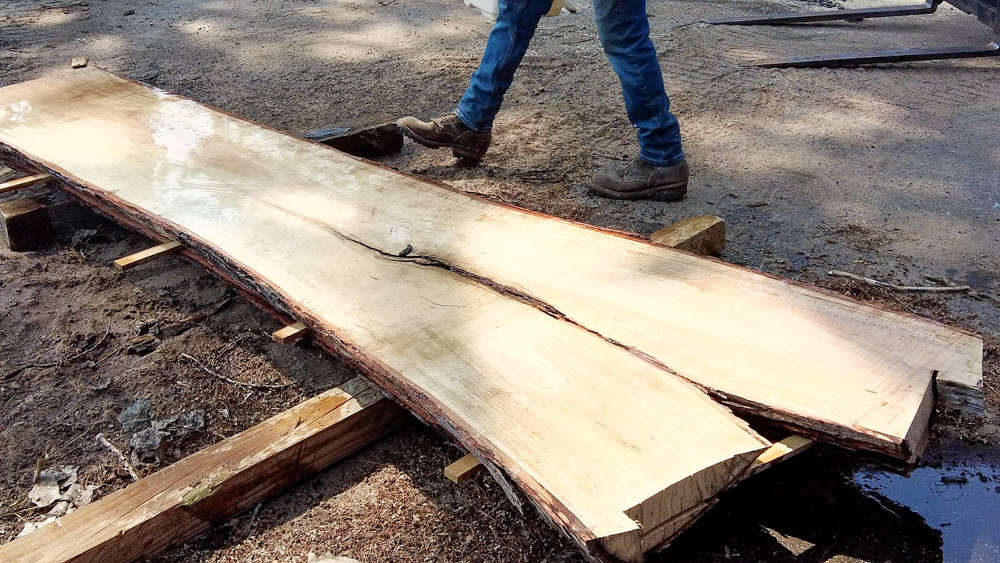
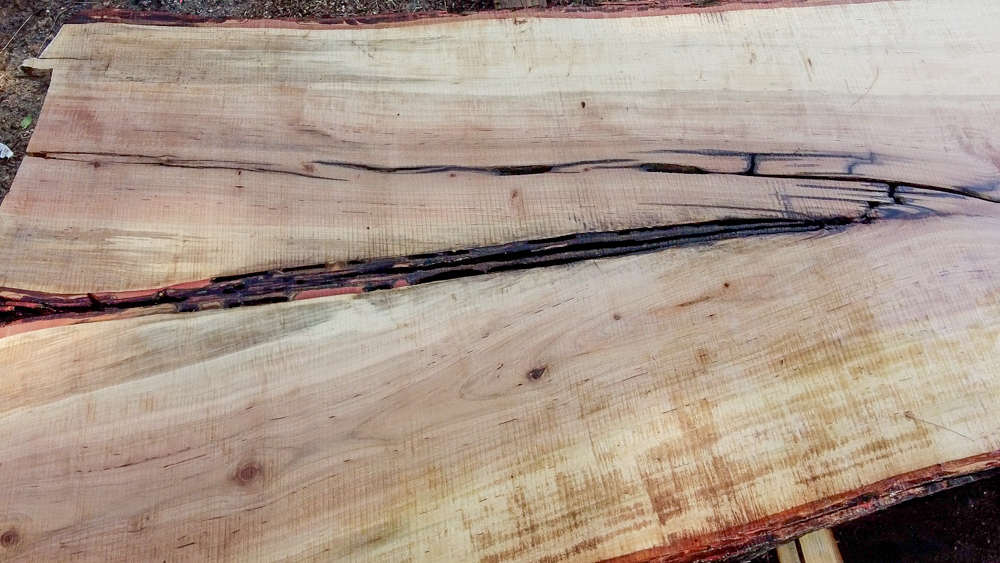
Yeah, that is pretty. We have the really nice bark inclusion with all the figure that surrounds it. And then the colors are starting to come to life. Very nice. I’ve been so excited that I have neglected to get any measurements here. I have exactly 24 inches down at one end, 25.5inches at the bulge, and 34 inches at our splay. And it’s a 9 foot slab.
This is kind of an odd shape overall, but pretty cool.
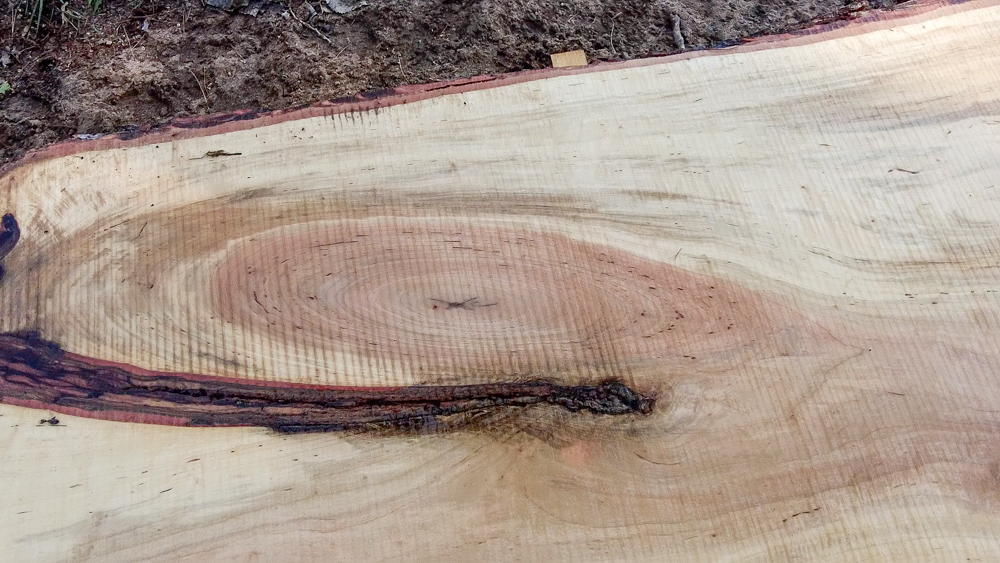
There’s that bullseye effect with this bark inclusion. That is cool, I love the reds.
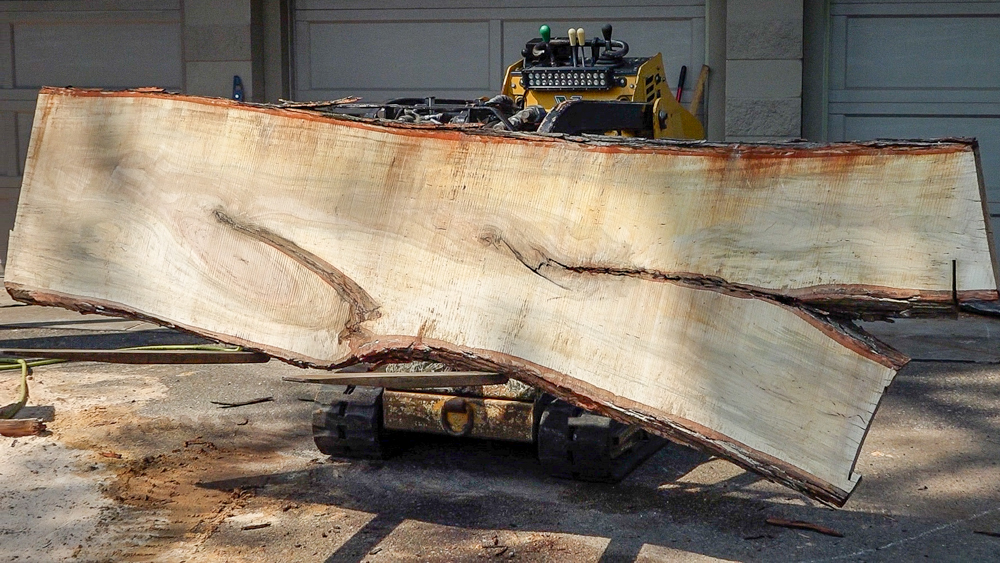
Okay, slab number seven, show us what you got! We’re getting back towards the outside of the tree, so there’s a lot more the whitish sap. Down here at our bark inclusion, we have a little bit of bird’s eye here and there.
Here’s number eight. Again, some staining creeping in from the end.
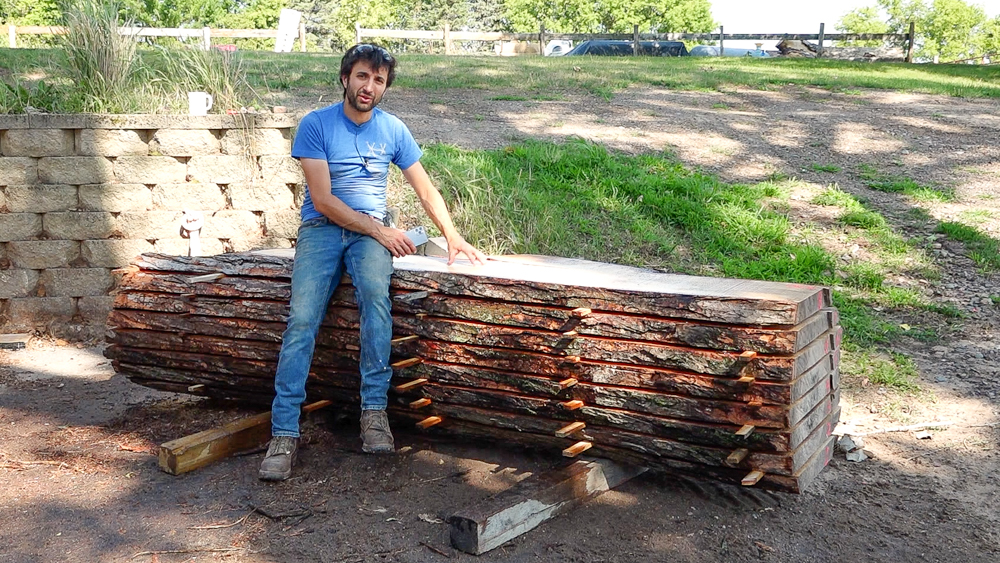
So that’s it for this log. It’s definitely cool to see how that staining starts at this phase and only gets crazier and wilder from there. A lot of the silver maple I have cut in the past has been sitting for an extended period of time, and that’s what gives it that really awesome vivid color and depth. With maple, you need to cut it fairly soon if you want to keep that traditional commercial grade quality with the very white, blonde wood. The longer you let it sit, the more it blues, and the more it degrades from a commercial sense. But for me, I actually like that degradation. I think it’s actually positive.
So we’ll compare how this looks to how the actual trunk of the tree looks in the future, and I’m expecting it to look all like it does on the ends here where that staining is starting to come in. That is going to do it for this one. Thank you as always for joining. I really appreciate it. If you have any questions or comments on sawing or anything back in the shop, please feel free to leave me a comment. As always, I’d be happy to answer any questions you might have. And until next time, happy woodworking!
Welcome to my shop! This is a quick update to let you know what I’ve been up to. This big chunky thing is the leg

Welcome back to the home renovation. This time I’m going to be working on the kitchen island. Here is a small model of the island.

Welcome back to our home renovation. Today I am going to be working on this wall. It needs some upper cabinets and the surround for