
Matt's Weekly Shop Update
Kitchen Island, Barn Power – March 2024 Update
Welcome to my shop! This is a quick update to let you know what I’ve been up to. This big chunky thing is the leg
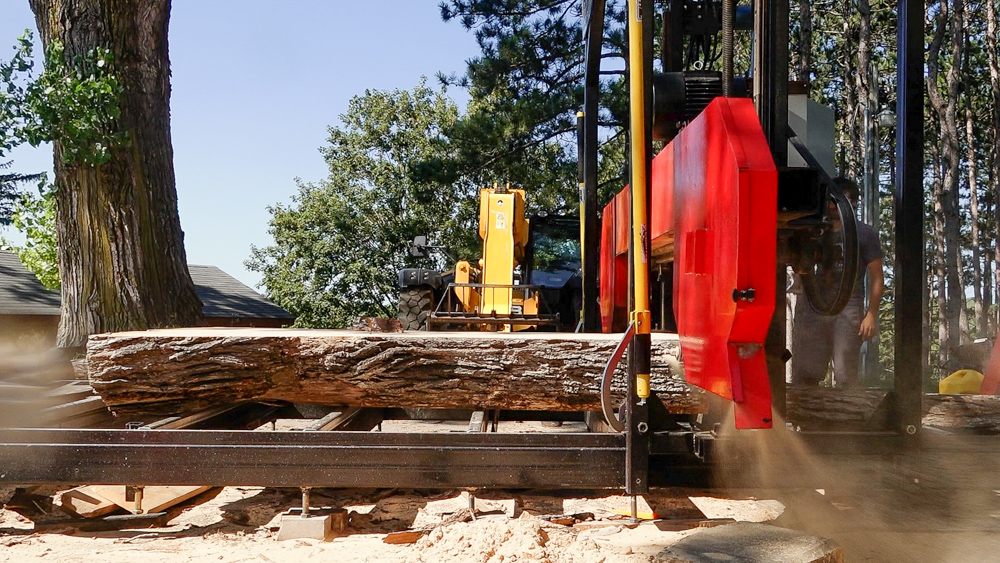
Welcome to my backyard! Today we’re going to be cutting up some crotch, which shouldn’t surprise anyone, because that’s almost always what we’re cutting. S
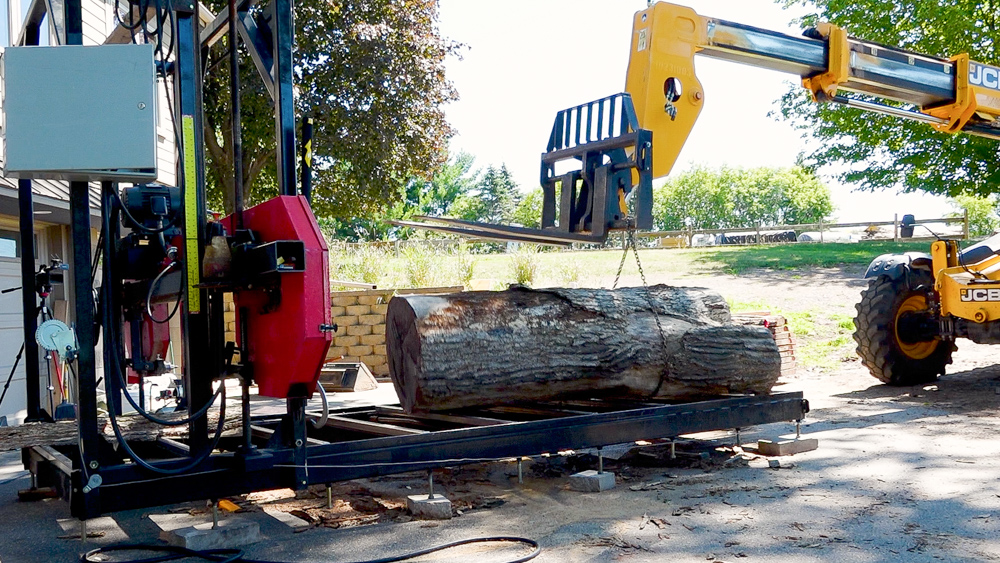
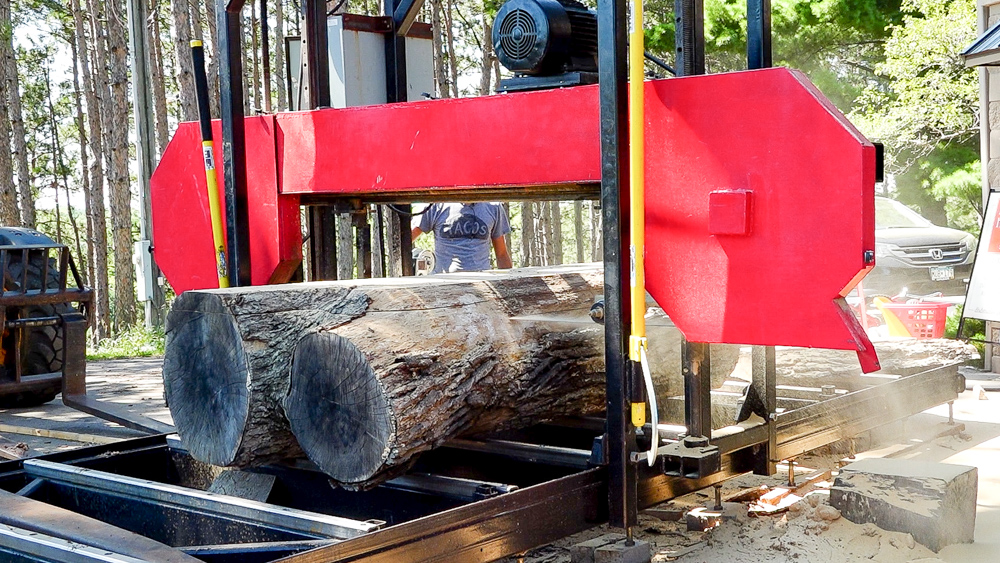
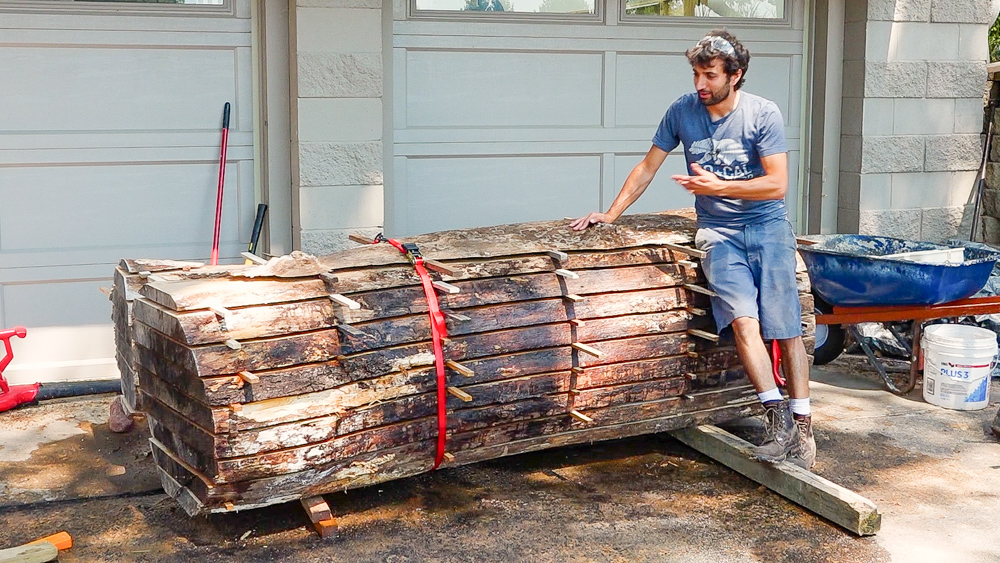
Today we’re going to cut up a piece of white oak, a crotch section. This is from the first load of logs that I ever brought directly here to this property after we bought it. That means they’ve been sitting here for almost two years now. Crazy how time flies. That load had a base section, a goofy crotched limb, and this crotch log.
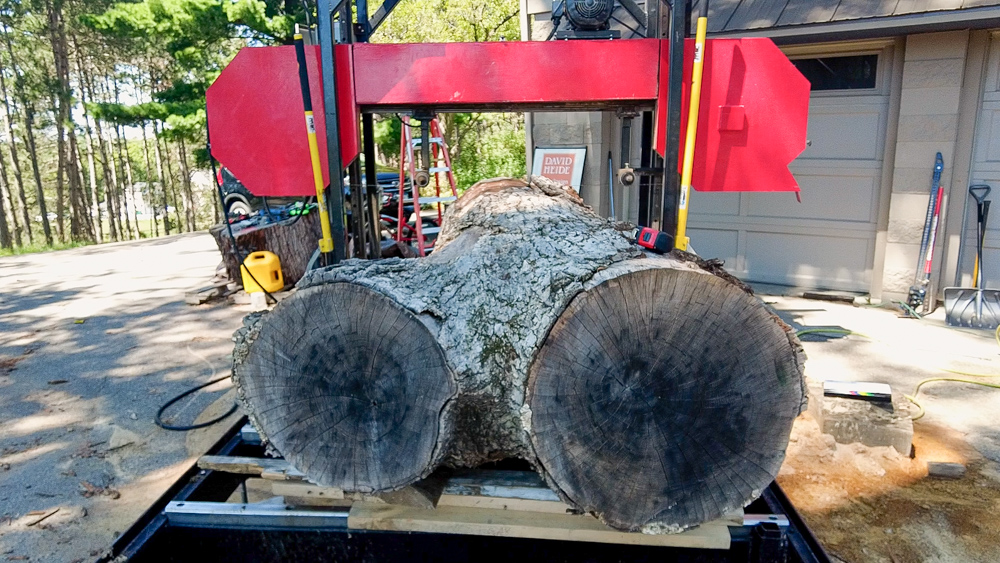
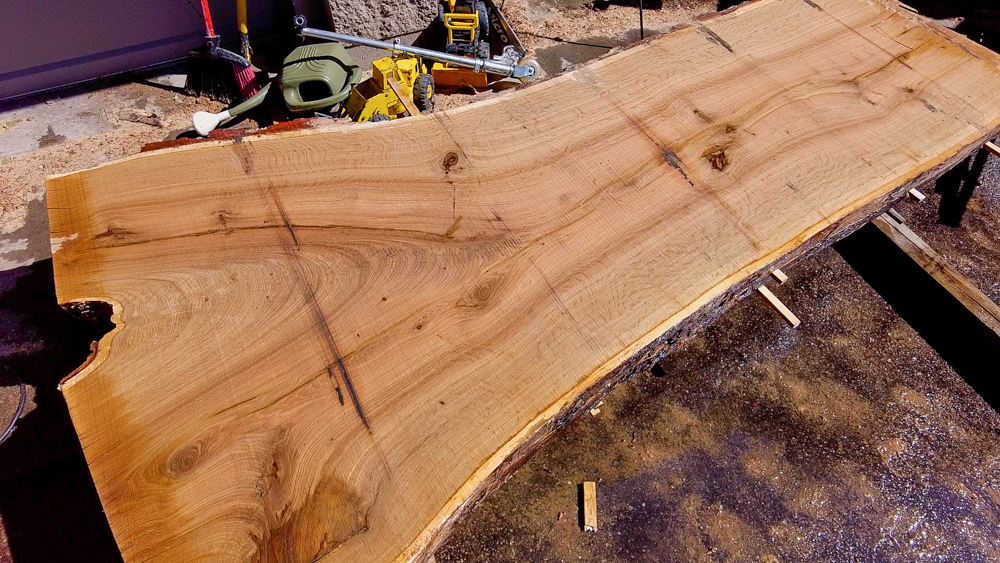
I got this end leveled out so that the piths of the two crotches are pretty close to the same height. So I’m happy with that position. For some dimensions, the splay down here is 52″, our total length is 8′ feet long, and then the butt end is 32″ in diameter. So that’s actually a bit bigger than I thought it was going to be.
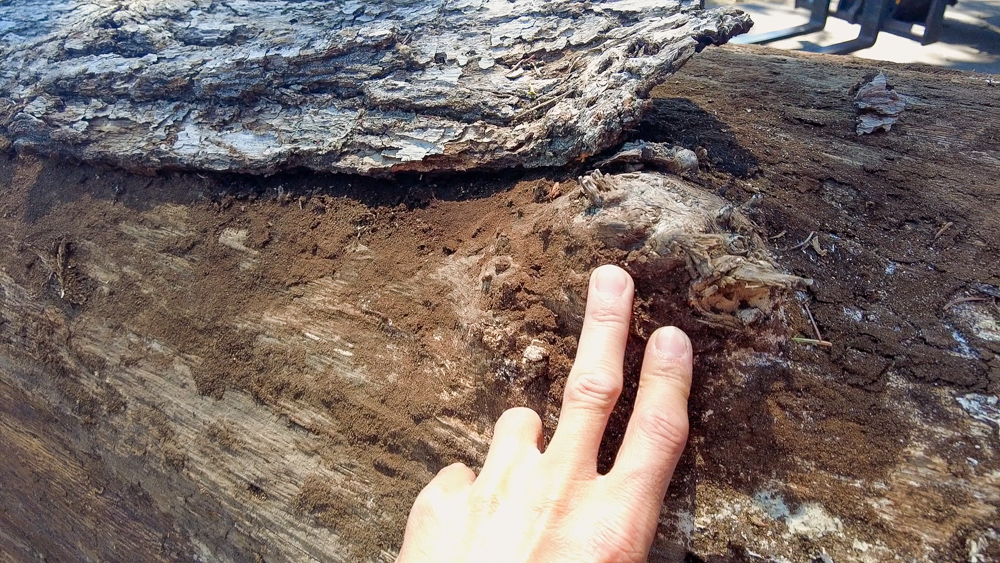
On here we got a little burl action going on there, but that’s in the path of our waste cut. That’s about it for interesting features. It should have some good crotch feather. We shall see!
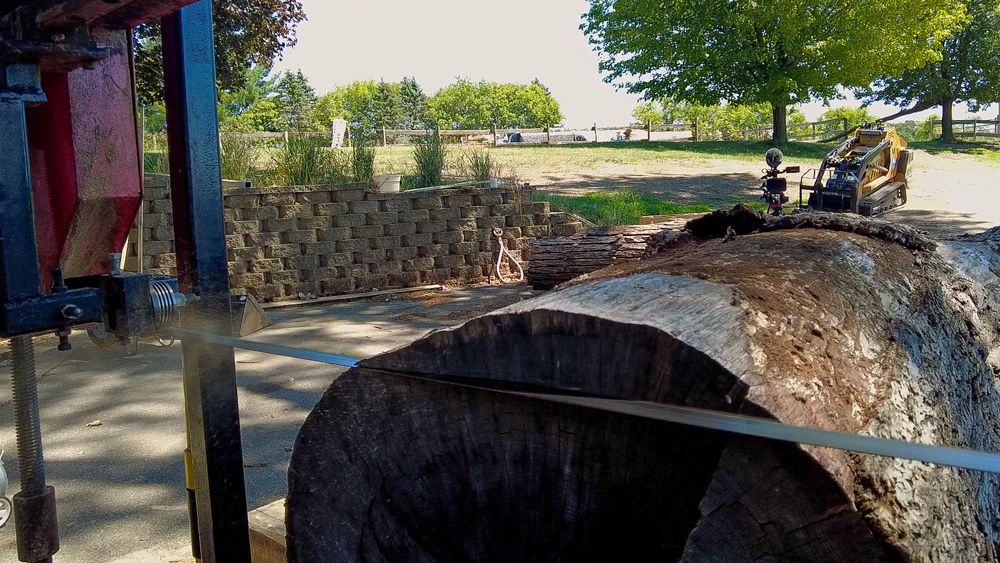
I will make a surfacing cut to give myself something more flat and stable to reference off of, then we’ll flip the log over, and we’ll make all of our cuts.
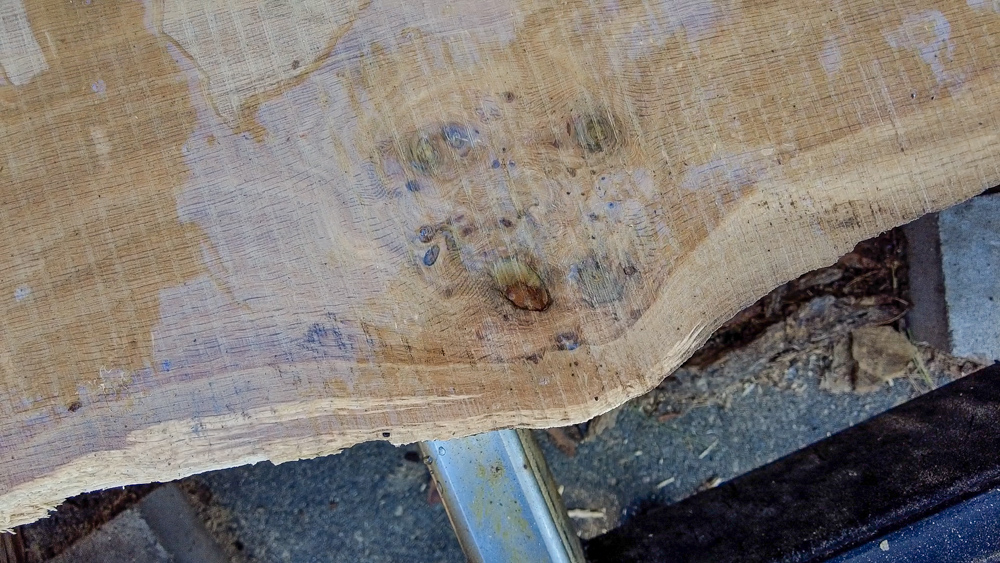
Let’s take a look at that burl. Some fun stuff going on around there, but nothing particularly super-duper crazy.
Let’s get this thing rolled over and start making some slabs.
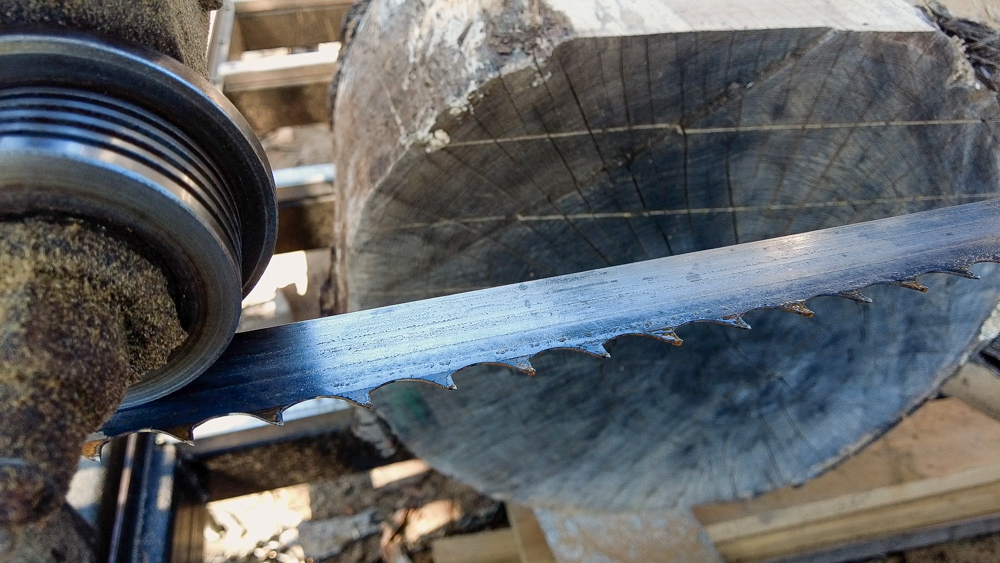
I’ve gotten a couple questions about the blades on here and if I’m still using the carbide blade. And I am still using that blade. I think I put it on last fall sometime, and it’s still cutting. It’s not in the best shape though, because there’s a section where it’s missing a few teeth. It’s not cutting as well as it used to as far as speed goes, it’s still cutting perfectly flat and fine. So I plan to only use carbide going forward. I’ll probably put a new blade on soon when I cut some bigger logs, but I’ll keep this blade for cutting smaller stuff.
Let’s see what slab #1’s got going for us here. Pretty clear grain here. You can see the start of some of the burls, but otherwise not a whole lot going on here.
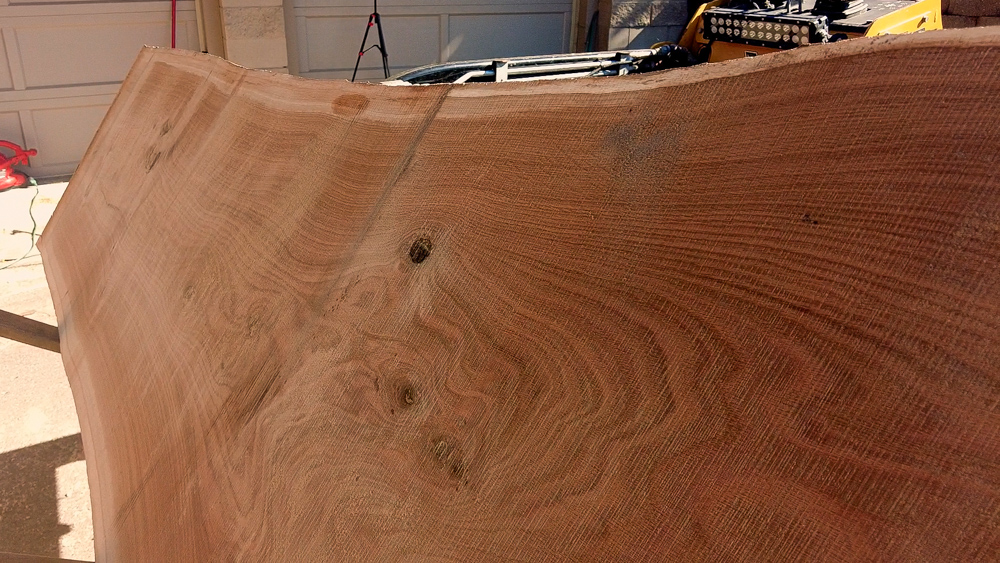
I also sometimes get asked if throwing water on these slabs is harmful for the wood. Well, take a look at this. Look how much moisture is still in here. Throwing a bucket of water on here and getting the surface a little wet is going to do absolutely nothing to this, because it is still so saturated with moisture, even after that log sat for 2 years.
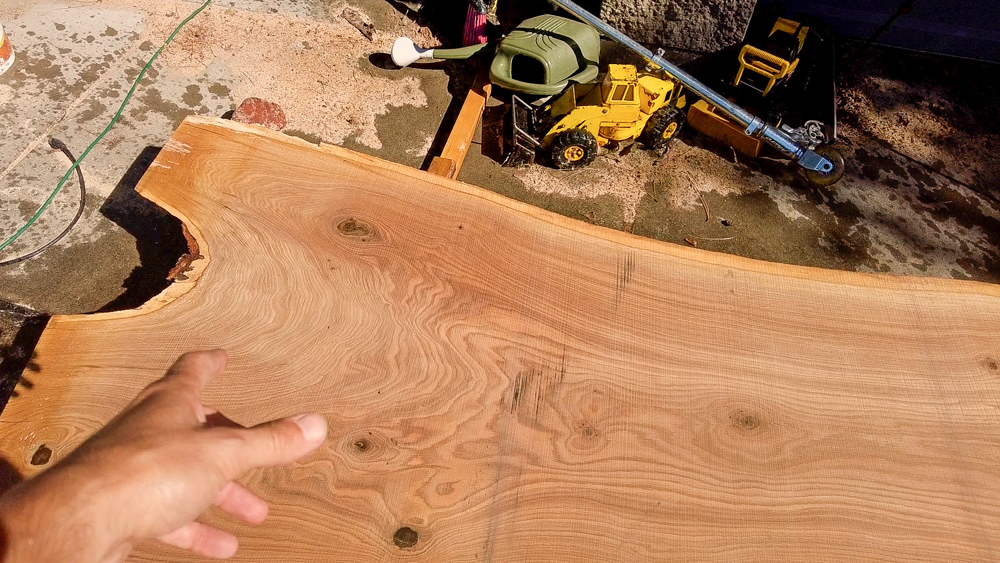
Let’s see what this one’s got going on. We’re getting into some swirly stuff as we get to some crotch, which is exciting. You can also see some of those burls that were starting again.
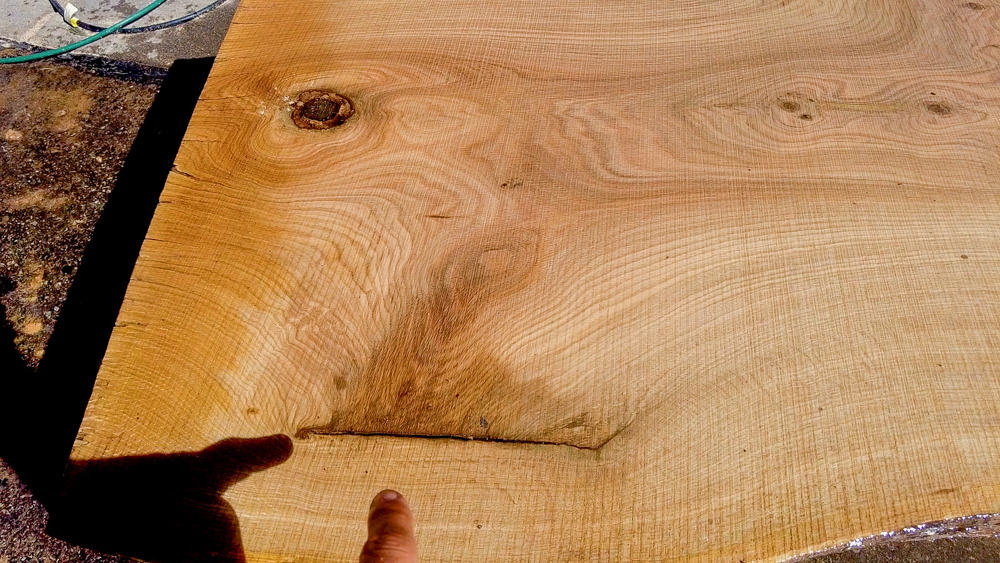
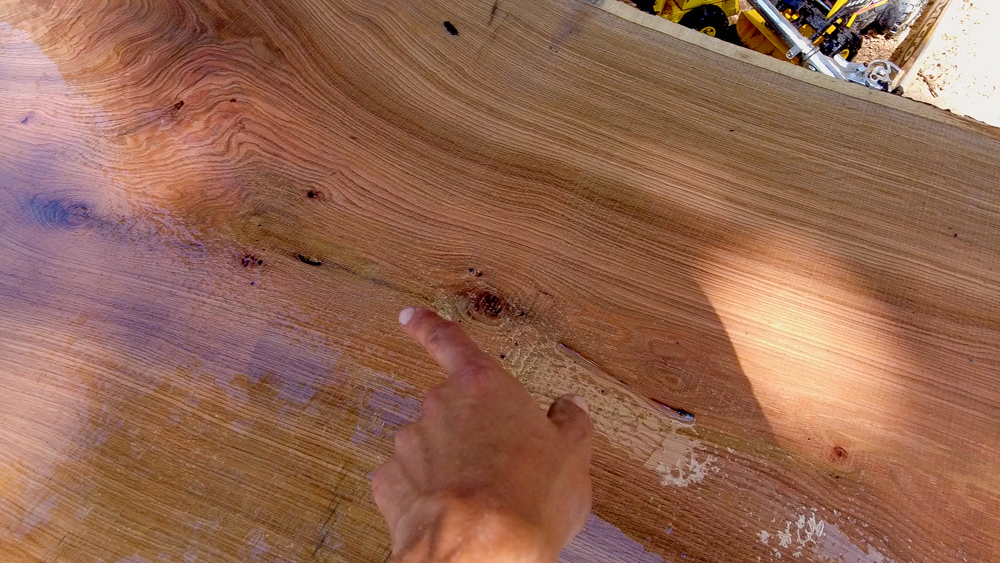
Let’s see what #3’s got going on. This is cool, you can see that this one has had a fairly large limb pruned off of here and the tree grew back around it. It’s always cool being able to see the history of the pruning. We’re also starting to get a little more into crotch figuring.
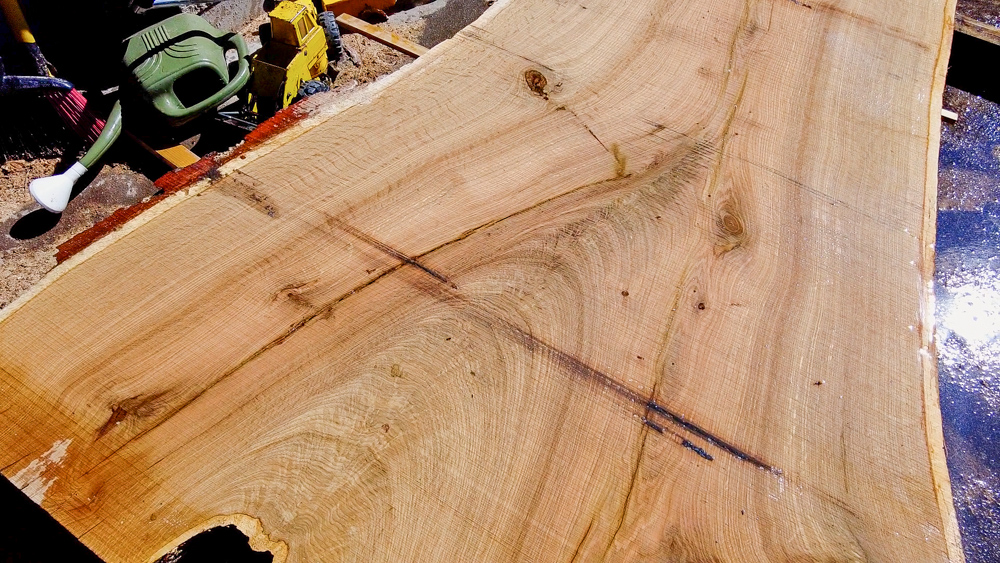
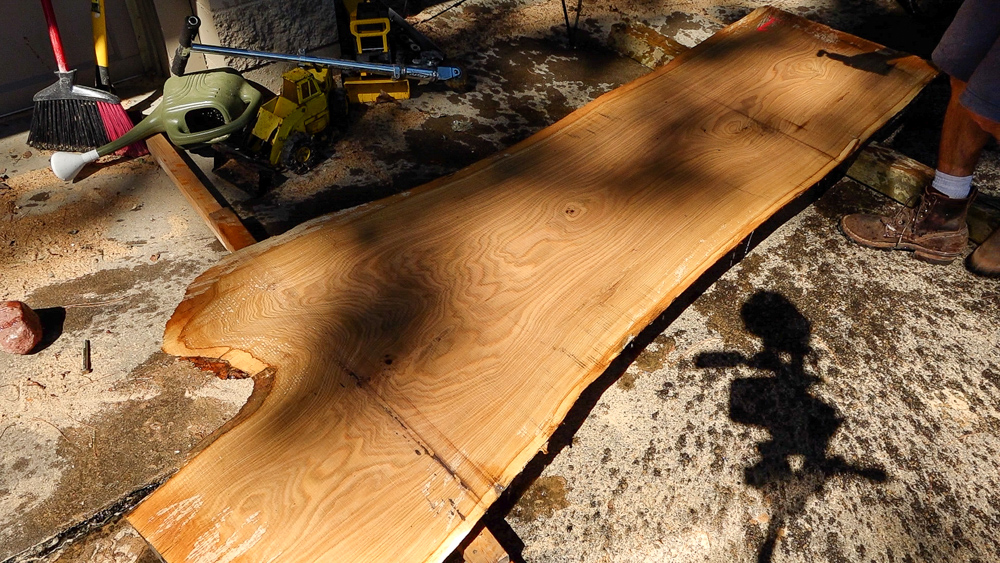
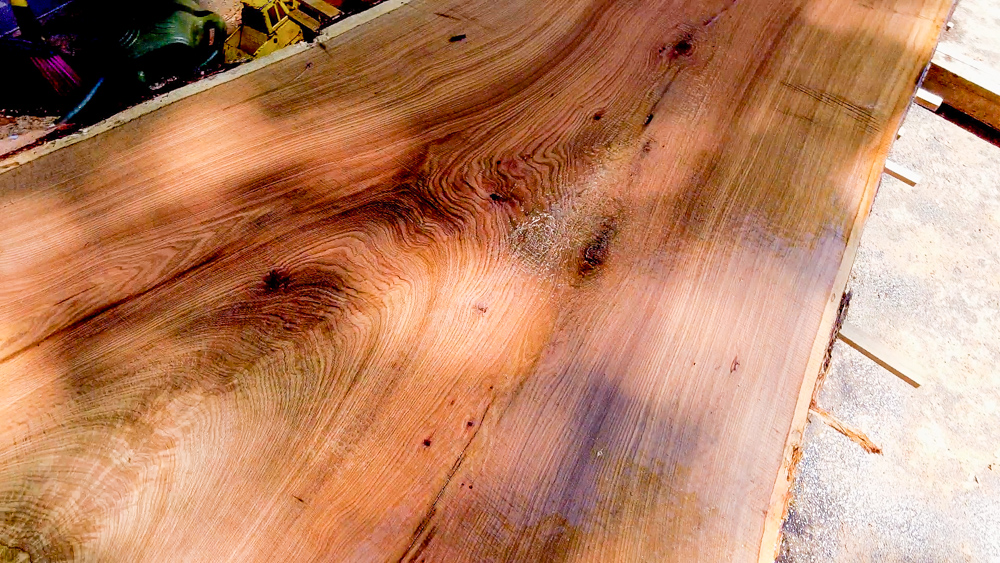
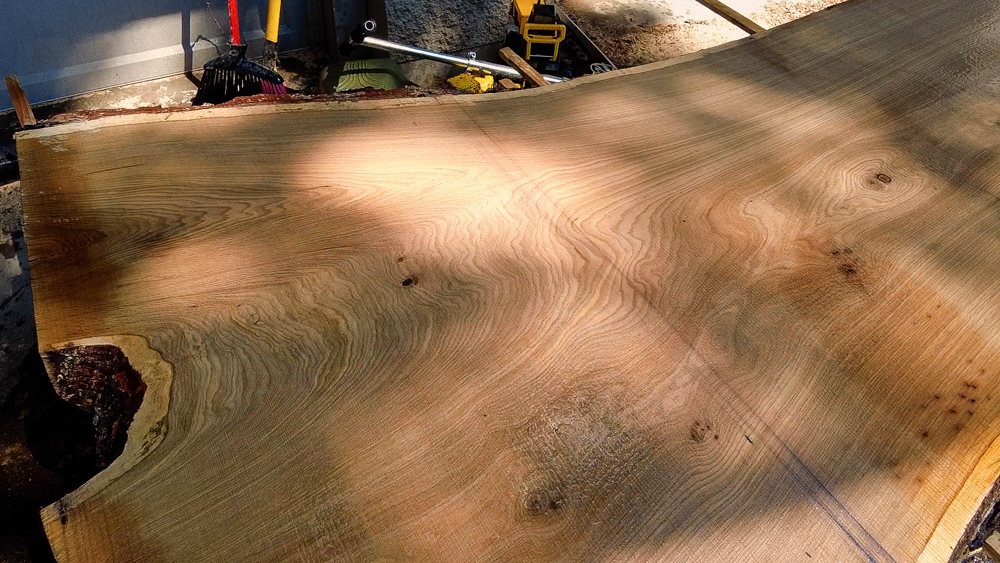
We are starting to get into some crotch figure with this next slab. There’s a pretty good chunk of crotch feather, which is super exciting. You can also see this line split, which is the pith, the very center of the tree, running all the way down.
Down in here we’re into quarter-sawn, so we’re exposing those medullary rays and getting our ray fleck. I’m loving this bit of ray fleck
Time to cut the rest of these slabs. I think we should have one more slab which has some pretty good crotch figure in it, and then we’ll start getting away from the crotch figure again.
All right, #5, let’s see what you got. We’re getting out past the pith area, so we’re getting out to the early limbs here. So you can tell that a long time ago, this tree had a lot more limbs.
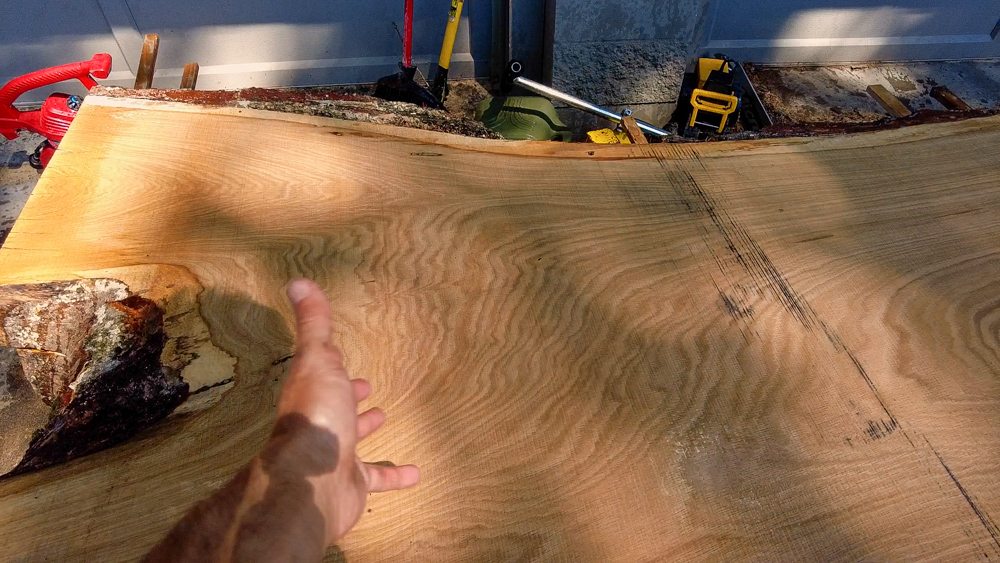
And this slab also has a pretty significant amount of crotch figure, which is super awesome. For some dimensions: the splay is 50 inches, then it narrows down into a uniform width at 30 inches.
Here’s #6. We are past the crotch figure now, and we have this wavy grain without a whole lot of depth to the figure. Some burls or beginning of burls as well, but mostly clear down at the end. Quite, quite nice.
Slab #7: back to swirly cathedral grain here. Otherwise mostly clear with some knots throughout.
![]()
Again, pretty clear cathedral grain. And that’s it for the slabs!
So another log saved from the chipper! When I mention that these logs were going to go to the chipper, I will sometimes get comments about how strange it is to think about something like walnut being used for wood chips in someone’s garden, let’s say. However, it’s very rare that these would get chipped for that use. Typically, with bulk chips like this, they’re going to be sold as a biofuel, so they will be burned in a boiler.
That’s going to do it for this one! Thank you, as always, for joining. I greatly appreciate it. If you have any questions or comments on the sawmill or anything back in the shop, please feel free to leave me a comment. As always, I’d be happy to answer any questions you might have, and until next time, happy woodworking!
Welcome to my shop! This is a quick update to let you know what I’ve been up to. This big chunky thing is the leg

Welcome back to the home renovation. This time I’m going to be working on the kitchen island. Here is a small model of the island.

Welcome back to our home renovation. Today I am going to be working on this wall. It needs some upper cabinets and the surround for