
Kitchen Island, Barn Power – March 2024 Update
Welcome to my shop! This is a quick update to let you know what I’ve been up to. This big chunky thing is the leg
My new wallhanging tool cabinet has plenty of space of all my handtools and room for more! It features two pairs of double doors which adds a lot of additional surface area to hang tools. There is a bank of drawers for storing smaller items and cubbies for storing additional plans and taller, narrow tools.

Before jumping into the build, I wanted to make sure I spent enough time working through the design. I started with measuring out the biggest the cabinet could be and then pulling all my tools out and playing with the layout.
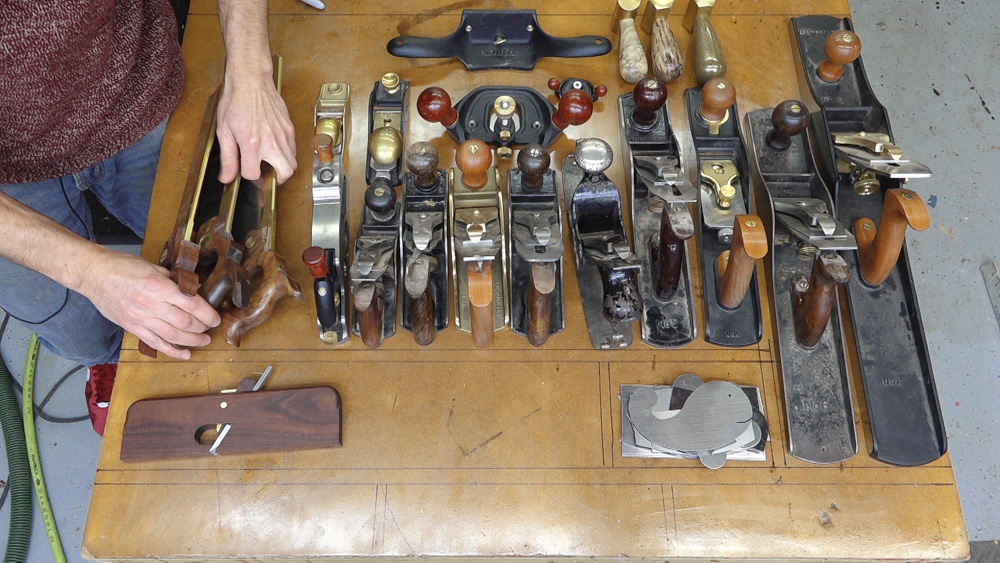
I decided on a layout for the main case with a bank of drawers and cubbies along the bottom and saw and plane tills as the main focal point of the main case. Next, I could lay out the doors. Since I wanted 2 pairs of doors, I had 3 pairs to lay out. At this point, I was mostly concerned with grouping tools together and taking a better visual inventory of things. I knew I wanted my most frequently used tools on the inside doors and my secondary tools would live inside the door pairs. After a good amount of thought and planning, I came up with a design I was really happy with and could start building.
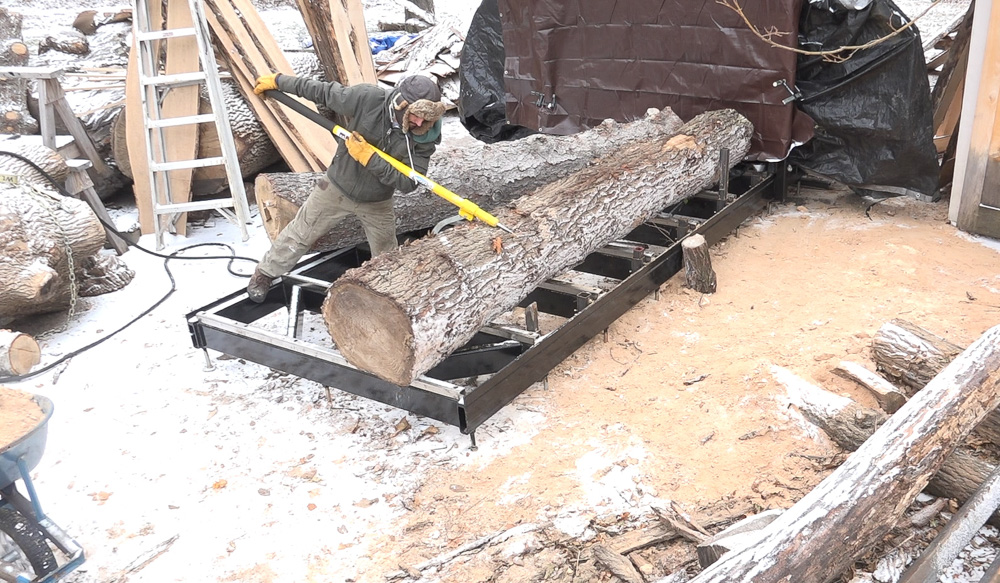
For the case and doors, I decided to use a pair of elm boards. These came from a log I salvaged in Inver Grove Heights here in the Minneapolis area back in 2016. This was one of the logs that sat in my driveway while I was building my bandsaw mill and was one of the earlier logs that I cut. To spice things up, I decided to use a slice of birch crotch that I’ll turn into veneer for the front panels. This tree came from my next door neighbors yard. I was growing next to my shed, where his shed is now and was also one of the logs that were sitting in my driveway while I was building my sawmill. With all my material selected, I could start laying out parts.
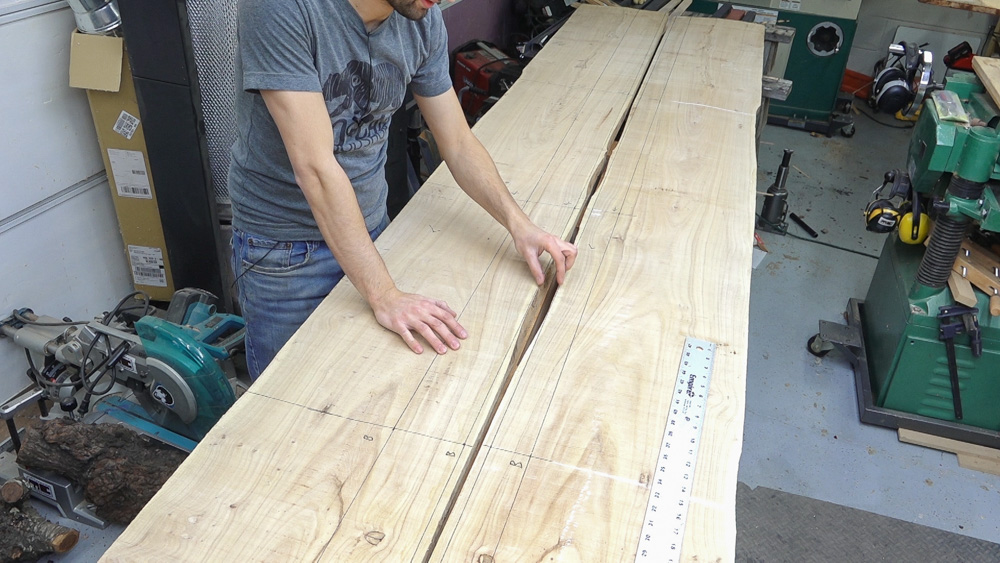
Because I have a pair of boards wide enough, I can lay out the main case and doors so I have continuous grain between the case and inner door and a bookmatch between the two doors. Ill also have enough stock left over to get the inner parts of the doors and the shelf and divider for the case. I’ll break down the stock, keeping everything labeled and then roughly mill the parts. Once they’re cleaned up, I’ll leave them to rest for a few days and in that time, I’ll fill any defects with tinted epoxy.
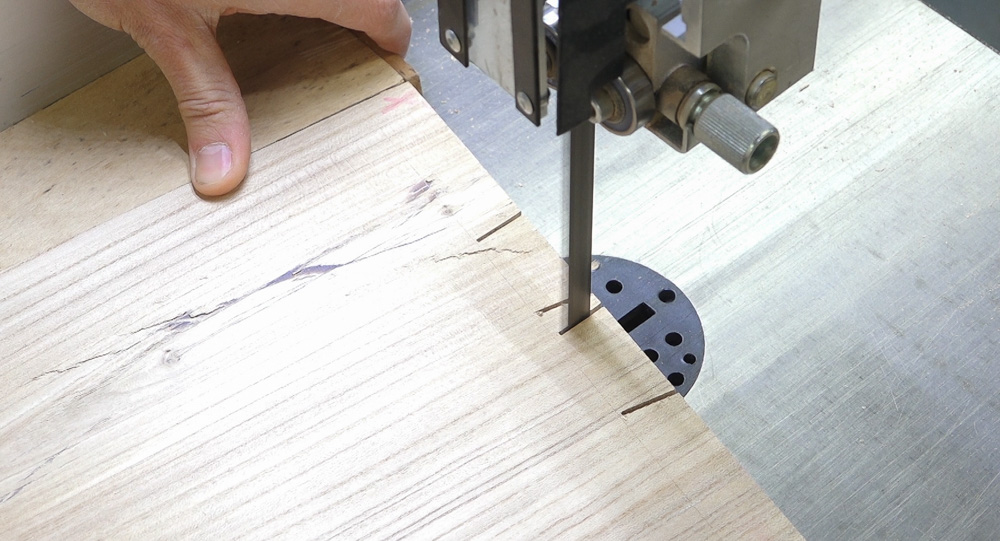
A few days later, I’ll run the boards through the milling machines again and start dimensioning the stock for the case and doors. I’ll start the joinery by working on the main case. This will be joined with through dovetails but with the front edge being mitered. I’ll use the bandsaw to create the tails on the case sides but I’ll avoid making the cut towards the front edge which will be where the miter will be and will need to be done by hand. I’ll clean up the waste from between the tails and start working on the mitered area.
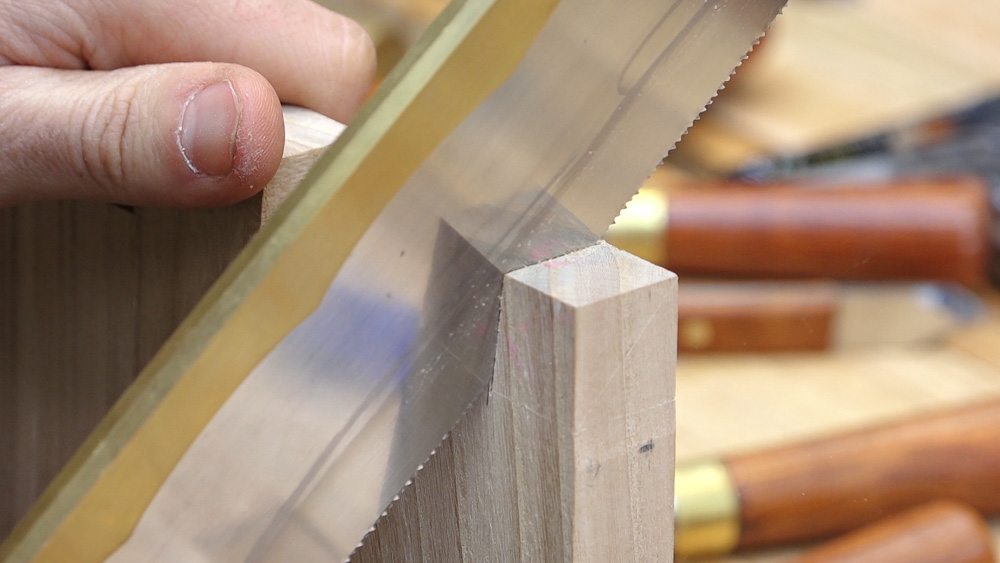
I’ll use a handsaw to create the wall of the tail, sawing from the inside then cut the miter. To refine the mitered area, I’ll use a guide block and chisel to pare away the waste until the block is right on the scribe line along the base of the tails.
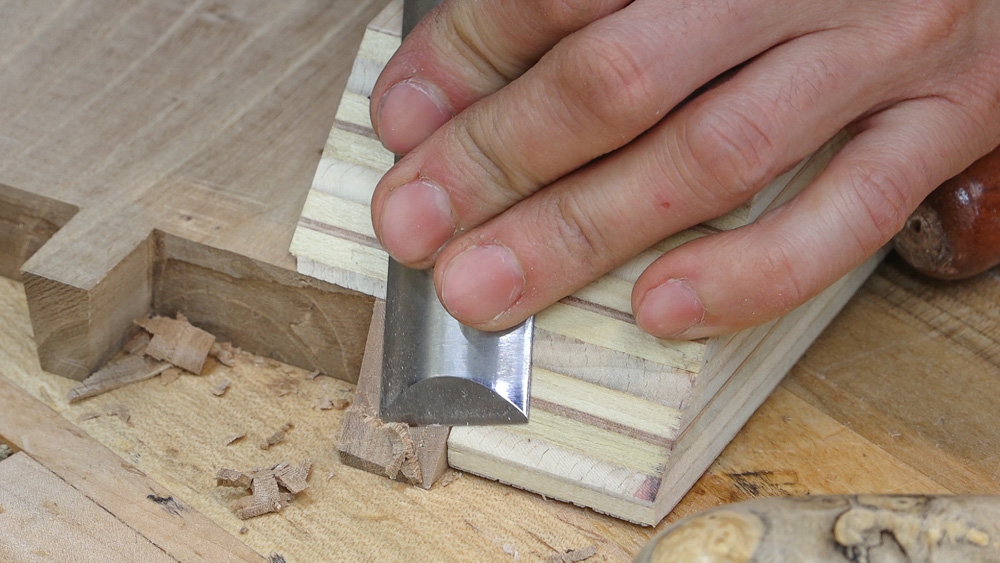
With the tail board all cut, I can transfer the tail locations onto the pin board and start cutting the pins. I’ll scoop out the waste, chop back to the scribe line, and lastly pare the pins to final size. Before putting the joint together, the front pin is mitered and cleaned up. The same process is repeated for the other 3 corners and that takes care of the case joinery.
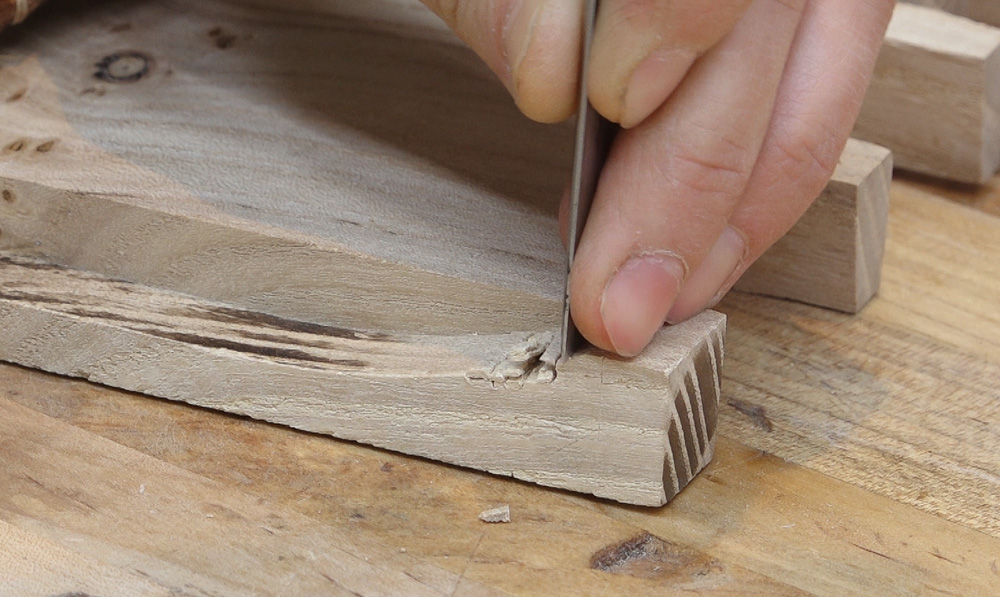
Next I’ll add the rabbet along the back edge of the case which will receive the back panel. The rabbets on the top and bottom are stopped so I’ll finish those up with some chisels.
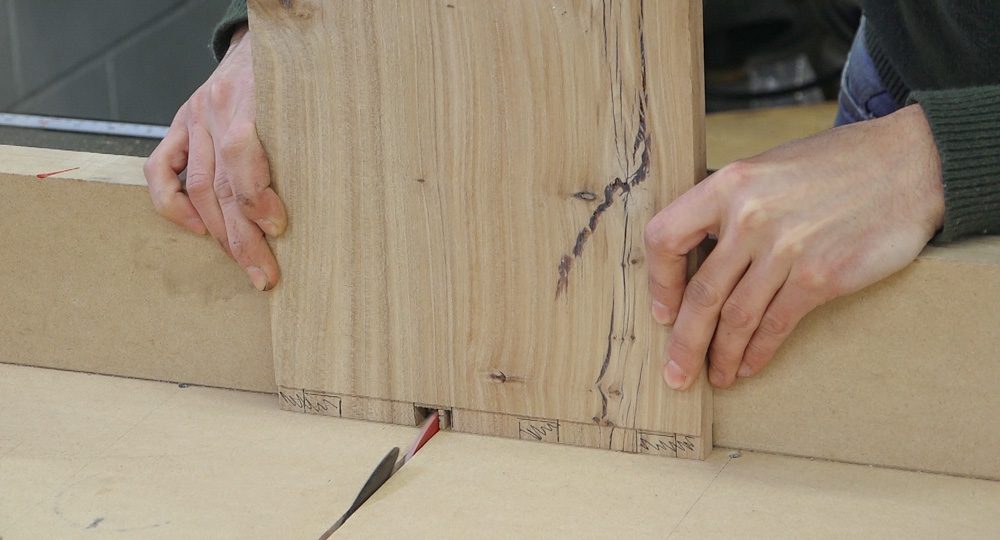
Once those rabbets are out of the way, I’ll start working on the horizontal divider. I’ll dimension it and start forming the joinery on the end. This divider will join into the case sides with a crenelated tenon to create more long grain to long grain glue surface, essentially finger joints in the middle of a board. The shoulders are cut to they are the perfect distance apart to fit between the case sides and then a tongue is formed to the thickness that the mortise will be. The crenellations are laid out and cut into the tongue.
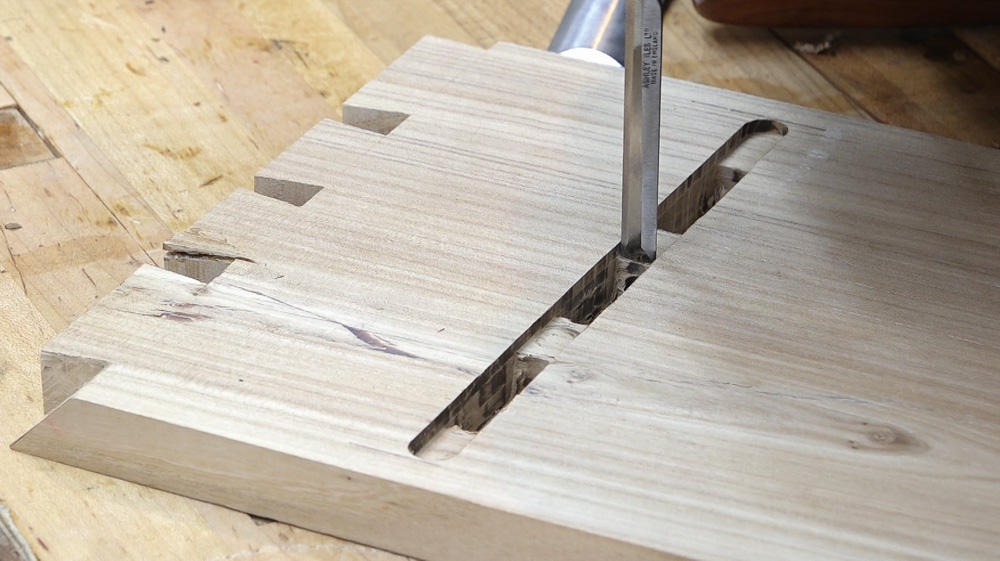
A shallow dado is cut into the case side for the base of the tenons and then the divider is set into place and the start and stop points of each tenon is transferred to the bottom of the dado. Those start and stop points are further defined with a knife and the router is brought back in to create the individual mortises. A little chisel work to square up the corners and the divider slides right in.
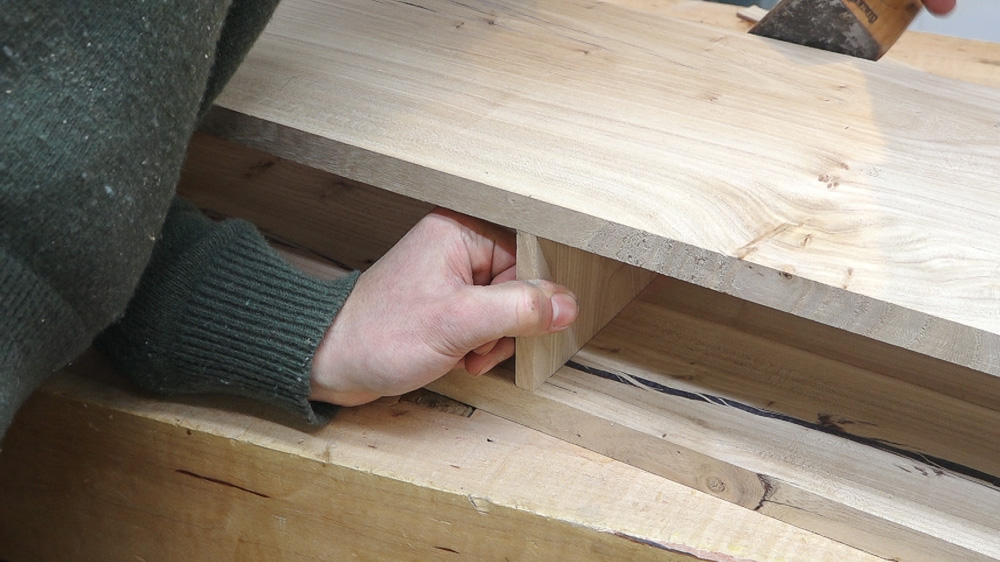
Next the vertical dividers can be added. They will slide in from the back in dados. The locations are found and a spacer is used against the case side to guide a router to cut these dados. The divider stock is planed and sanded to thickness and then cut to fit top to bottom. They will be lapped over the case bottom and horizonal dividers so those cuts are marked and the notches are cut.
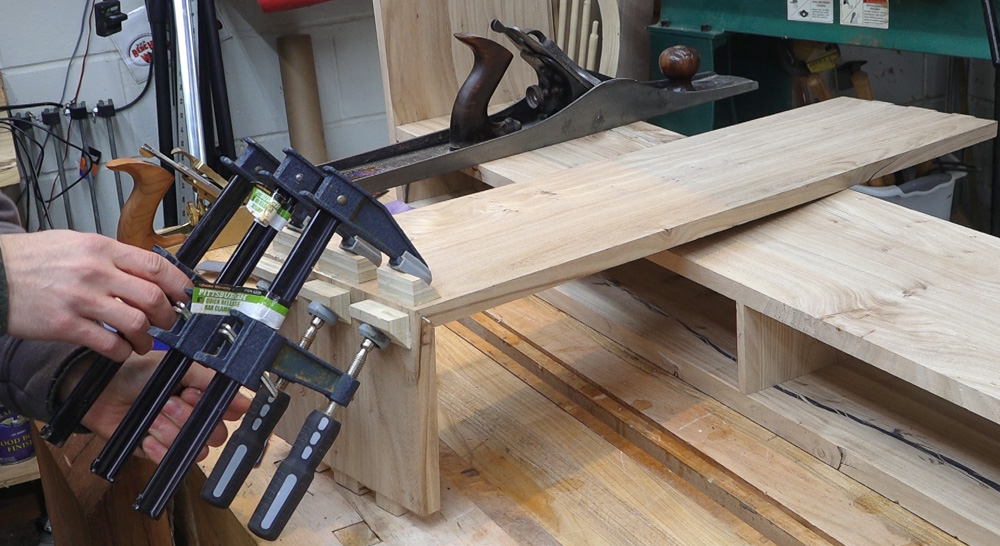
Next I can move on to the cubby area which is framed out by an L shaped shelf. This shelf will join to the case side and horizontal divider with the same crenelated tenon joinery. Those tenons are formed first before I turn the stock into it’s L shape which I’ll do with a waterfall joint so the grain flows seamlessly over the corner. I’ll cut a 45 degree bevel in each direction making sure to remove only a kerf-width worth of material. These cuts were pretty close off the saw, but I’ll further refine them with a plane, using a straight edge to check my work. The joint is reinforced with a few dominos and some plywood clamping cauls are glued to the parts. Some glue on everything and clamps can be used to bring everything together.
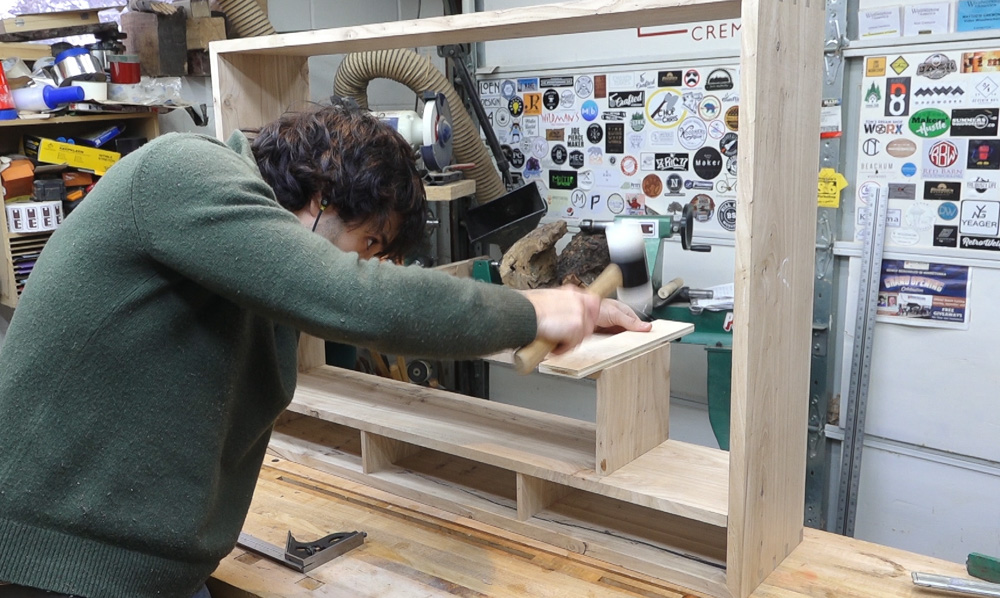
Once the glue sets, the cauls can be removed by splitting through the plys and the remainder can be sanded away as the joint is cleaned and flushed up. Now the mortises can be laid out and cut into the side and divider to receive the shelf. Same process here using a spacer with a router to keep everything positioned correctly. A little chisel work to square things up and the shelf is in.
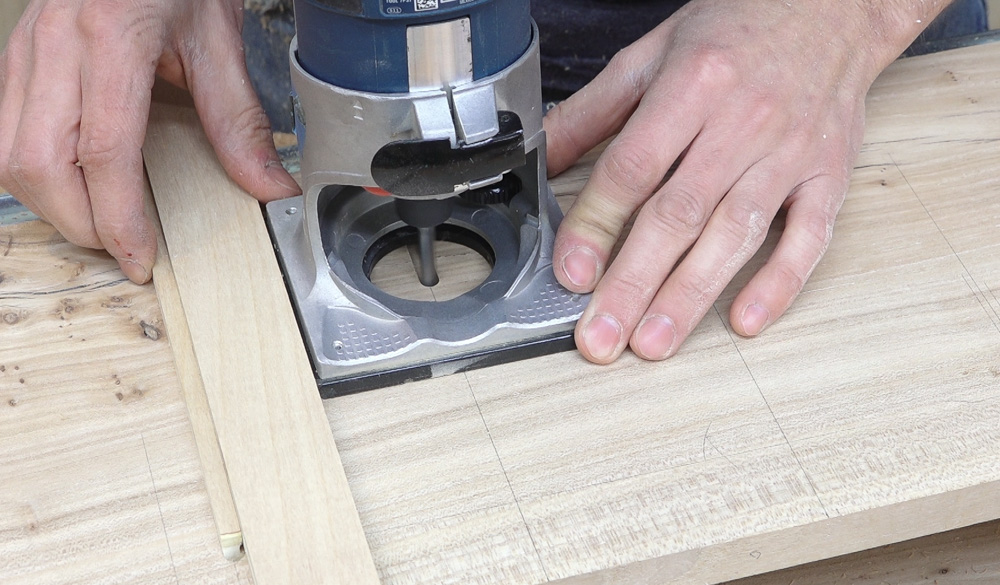
Next I’ll add the dados for the cubby dividers. These slide in and are lapped over just like the vertical dividers in the bottom area. I’ll use a router with a spacer to keep the spacing consistent. After a dado is cut, a filler is placed into the dado to serve as a reference for the next dado. I can step down the length cutting all the dados and then repeat the process on the underside of the shelf.
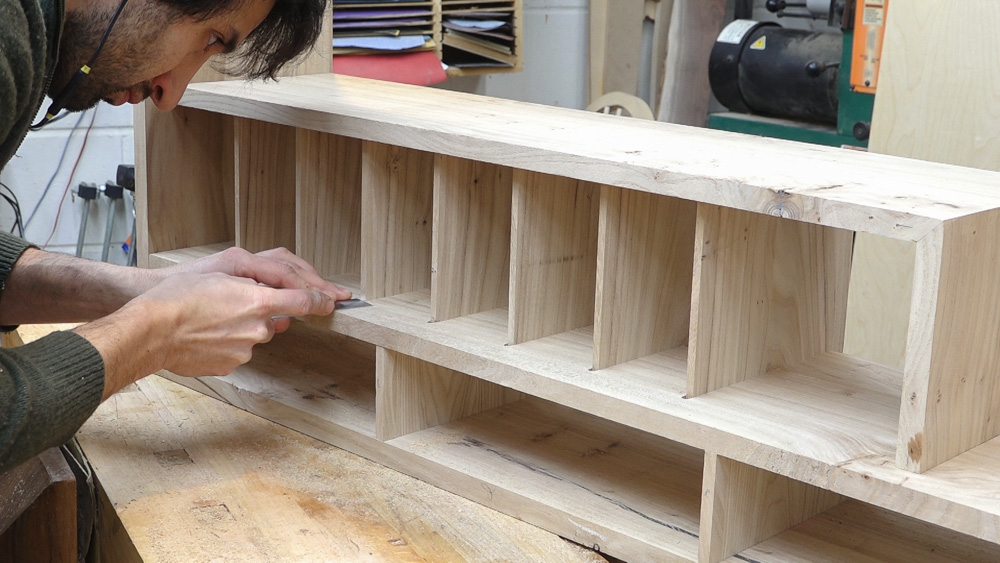
I glued up some scraps for the cubbyhole divider stock, resawed it, planned, and sanded it to the correct thickness to fit into the dados. The stock is cut to fit between the dados, slide in from the back, lap locations marked, and laps cut.
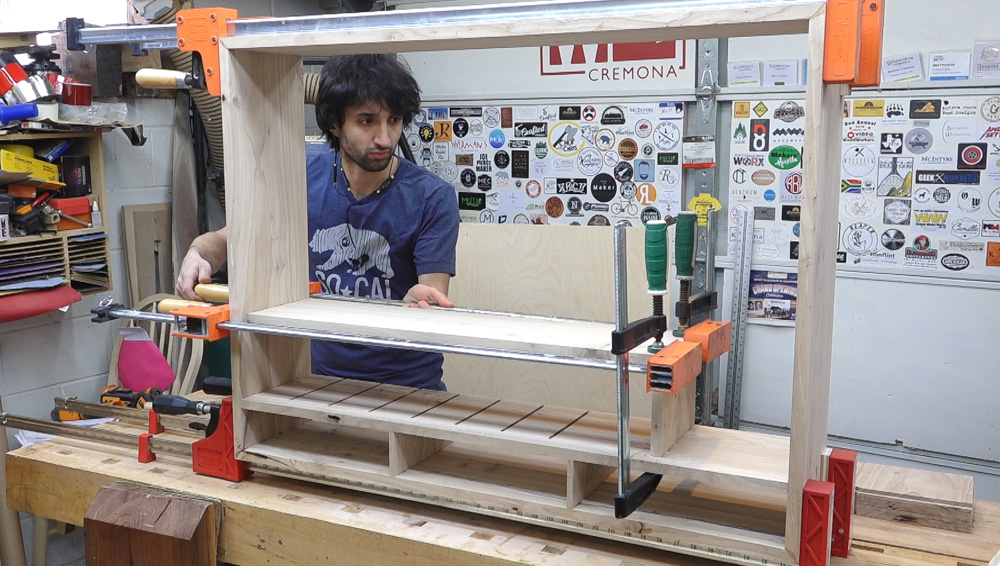
That takes care of the joinery on the case. All the interior parts and surfaces can be finished prepped and the glue up can begin. I used epoxy for this glue up so I could put the whole case together in one go. Once the epoxy cures, the clamps can be removed and the dovetails can be flushed up.
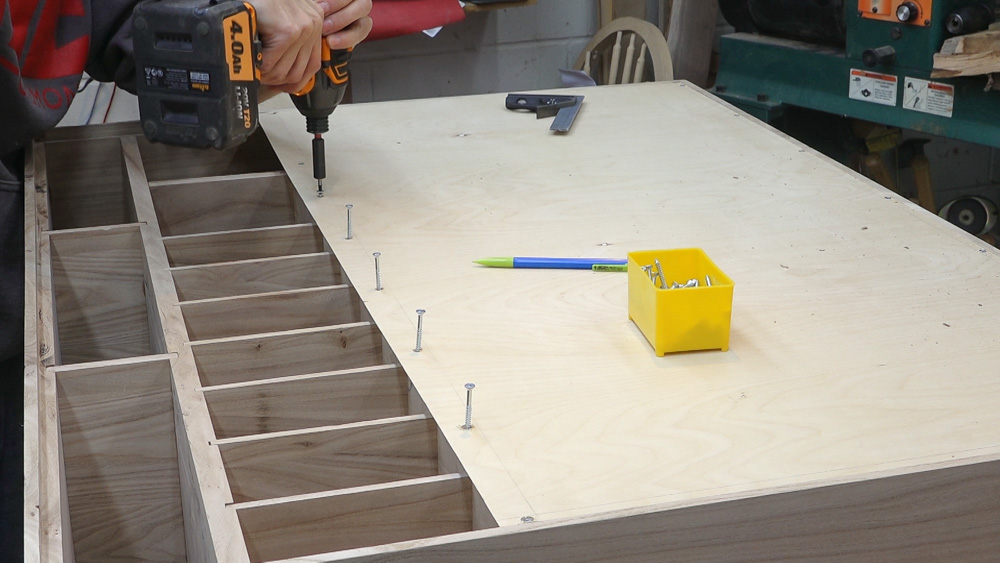
The back panel can be cut and installed. It’s a two piece back with the lower section acting as a French cleat. The upper section is screwed to the case.
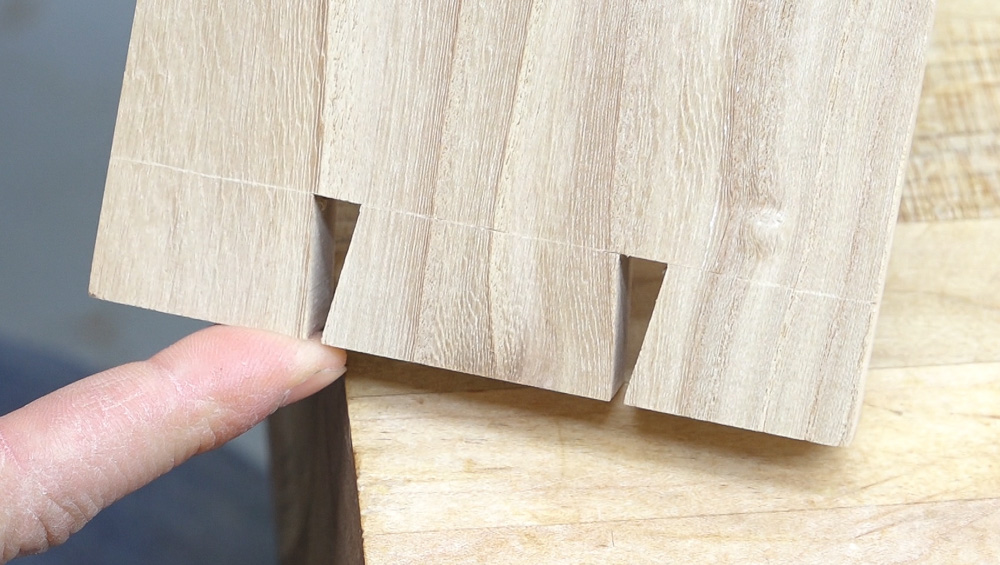
Next I can move on to the doors. I’ll separate the top and bottom into left and right parts and start on the joinery. I’ll use a mitered through dovetail on the doors as well but in this case I’ll miter both the inside and outside edge since both will be visible in the finished piece. I’ll make the inside tail cuts on the bandsaw and then clean things up back at the bench.
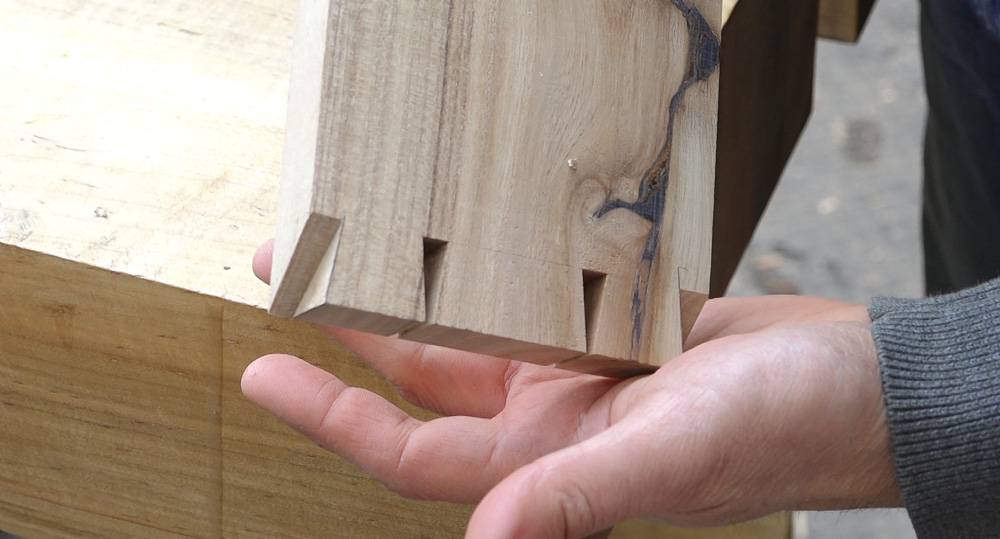
Next I can add the miters so again sawing from the inside face, the wall of the tail can be formed. The bulk of the miter waste is sawn away and the paring guide can be brought back in to clean up the mitered area. Once the tail board is all ready, it can be transferred to the pin board.
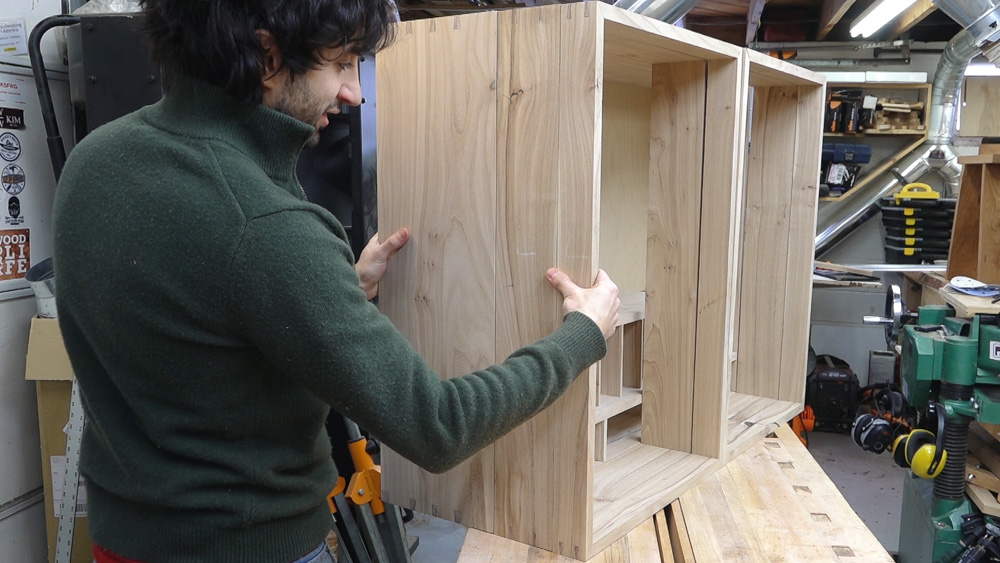
The pins can be cut, the waste removed, the pins can be cleaned up, and lastly the miters cut onto the outside pins. And it’s the exact same process on the other 3 corners of this door and for each of the four corners of the other 3 doors – that’s 16 of these mitered through dovetail joints to join the doors together. Now with all the door done, I can arrange them with the case and breathe a sigh of relief that I didn’t mess something up and each side’s continuous gain and bookmatch is still correct.
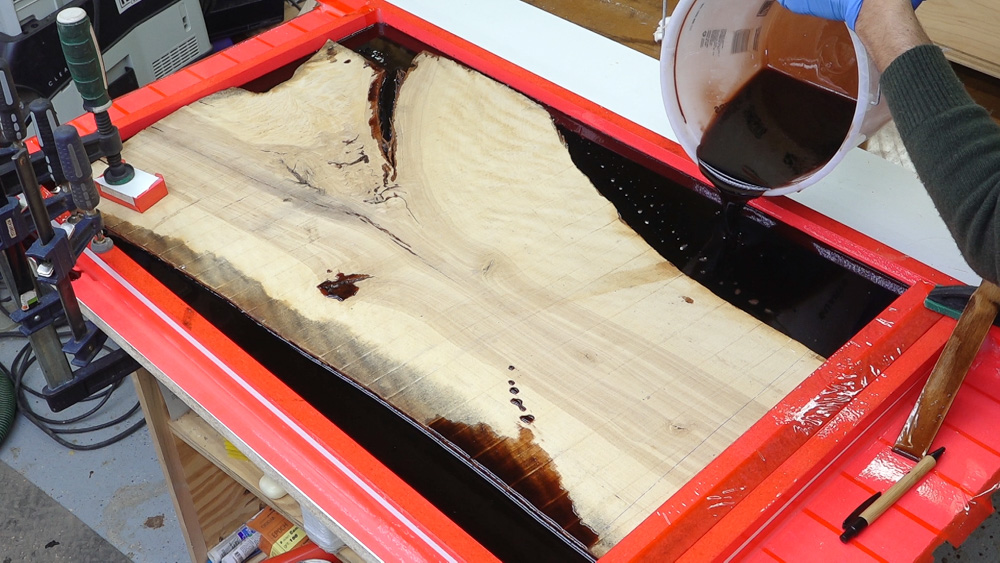
Now I’m going to start working on the custom plywood panels for the front doors. I’ll rough cut the birch crotch and then make a mold for it. I didn’t want to surface the crotch because there are a lot of small delicate looking fibers that I wanted to preserve in the final encapsulation – I didn’t want to risk damaging those with cutting tools. The mold is sealed with silicone and once that has cured, the mold is filled with a casting resin tinted brown. This stuff takes several days to cure so I poured this before I went to Texas to help April build her bandsaw mill.
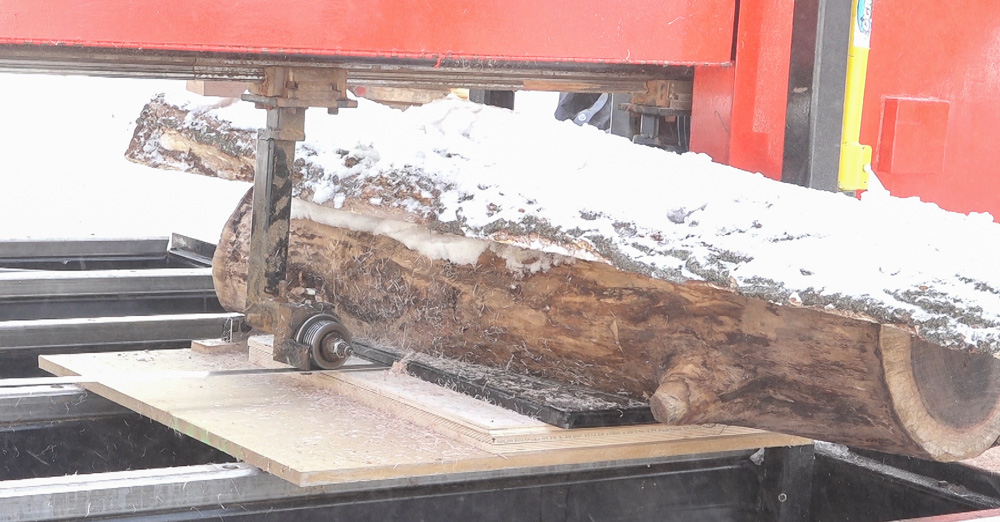
When I got back a week later, I could demold the slab. I gave it a few passes with my router sled to clean up the top face and flatten it so it would be ready for the next step: resawing. At a bit over 20” wide, this blank is too big for my indoor bandsaw so I set up my sawmill to slice the pieces of veneer out of it. I wasn’t too sure how well this would work but I was relieved to find out that it worked just fine.
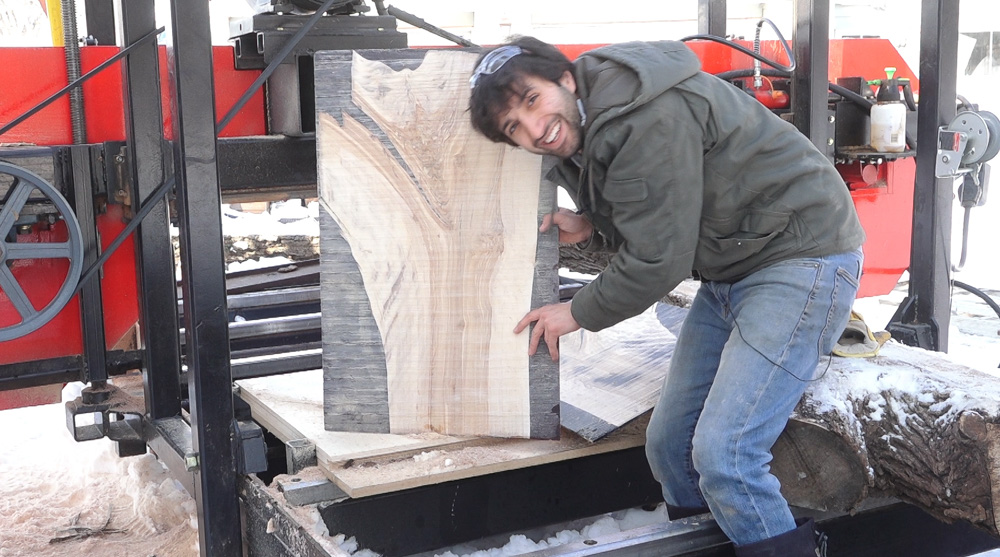
With a bit more confidence, I reset things and made a second slice. These veneers were cut around ¼” thick and then run through the drum sander to remove the saw marks. The final thickness on the veneer was a bit under 1/8”.
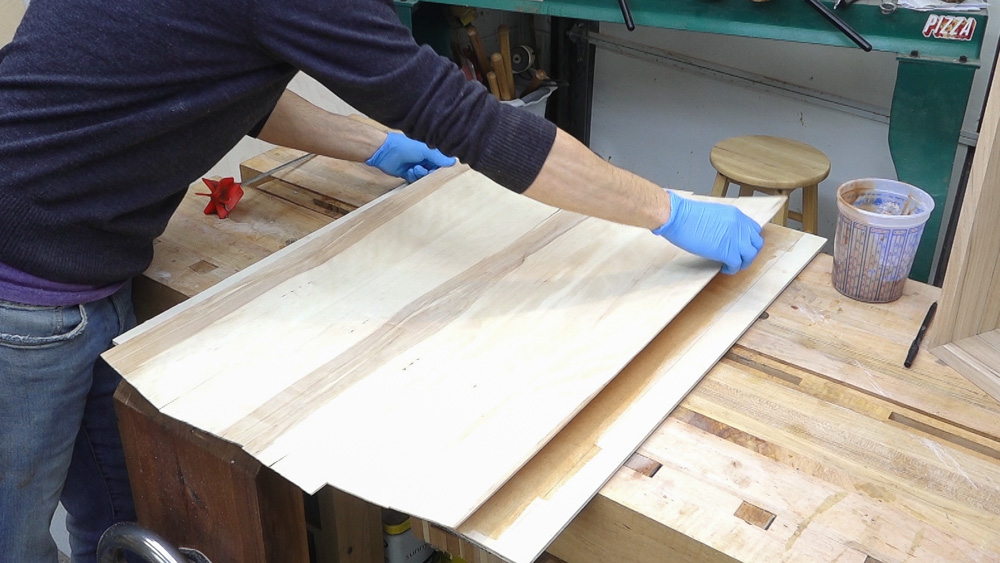
Next I can adhere them down to a substrate. I used epoxy as an adhesive and ¼” Baltic birch plywood as the substrate. The plywood and veneer went into a vacuum bag to clamp them together and were left under vacuum for about 18 hours while the epoxy cured.
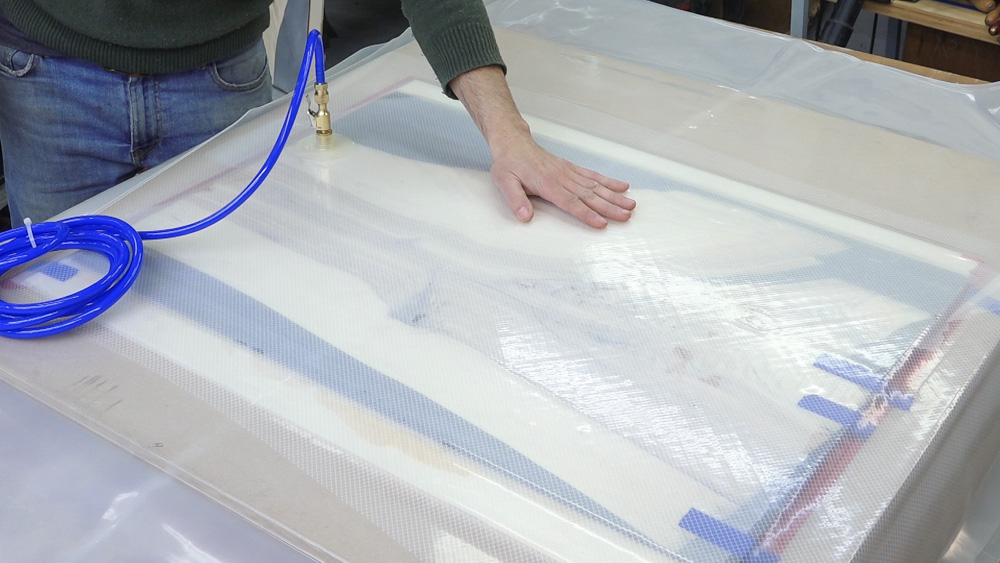
Next I needed some veneer for the backside of the panels to balance them out. I used another slice of birch from the same log and broke it down and resawed it into strips of veneer. Each slice went through the drum sander to bring it to the same thickness as the crotch veneer then I could joint each seam in preparation for making these into sheets. I added some glue to the seams and used tape to hold the slices together. The sheet went into the vacuum bag to keep all the seams flush while the glue cured. Now these sheets can be veneered to the back side of the panels.
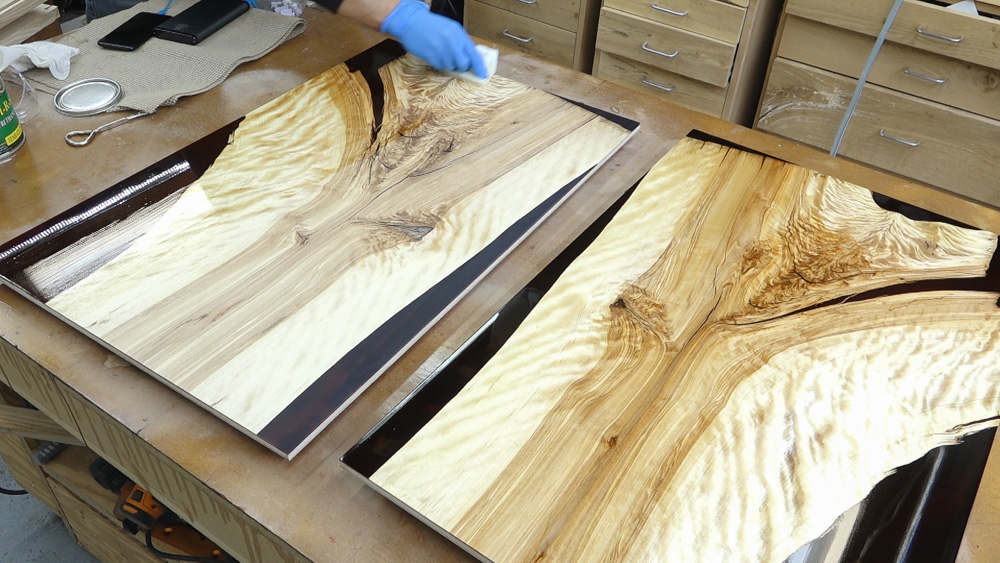
Because it’s going to be a lot easier to finish these panels before they’re glued into the doors, I’ll trim them down to rough size and bring them through the finishing process. The crotch epoxy veneer is sanded up through the grits starting at 80 and finishing at 1000 to bring the luster back to the epoxy. The surface is cleaned and three coats of wiping varnish are applied sanding between the coats with 1000 grit paper. The back side is also finished with 3 coats of wiping varnish but since this side is just wood, it’s just sanded to 180 grit before finish.
With the panel stock out of the way, I can turn back to the doors frames and create the grooves that will receive the panels. The grooves in the sides are stopped so those are finished up with come chisel work.
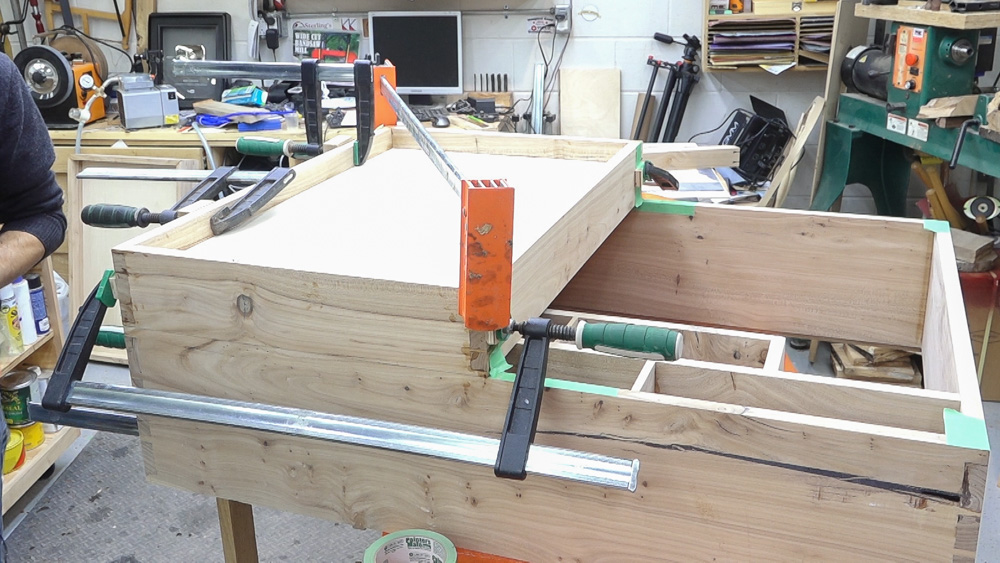
Now the doors can be glued up. The inner doors have a piece of ½” Baltic birch installed into the grooves. This plywood will match the stock I’ve used for the back of the cabinet. Again I’m using epoxy so I have all the time in the world to get the door assembled and I’ll use the case as a clamping form so I can ensure the doors have the same geometry as the case. I can use a clamp on the diagonal to rack the door until it matches. The outer doors are assembled in a similar way. I prefinished the inside of the doors so I won’t have to get near the panels with a finish applicator. I’ll use the inner doors as a clamping form this time. Again I’ll rack the door until it matches and leave it to cure.
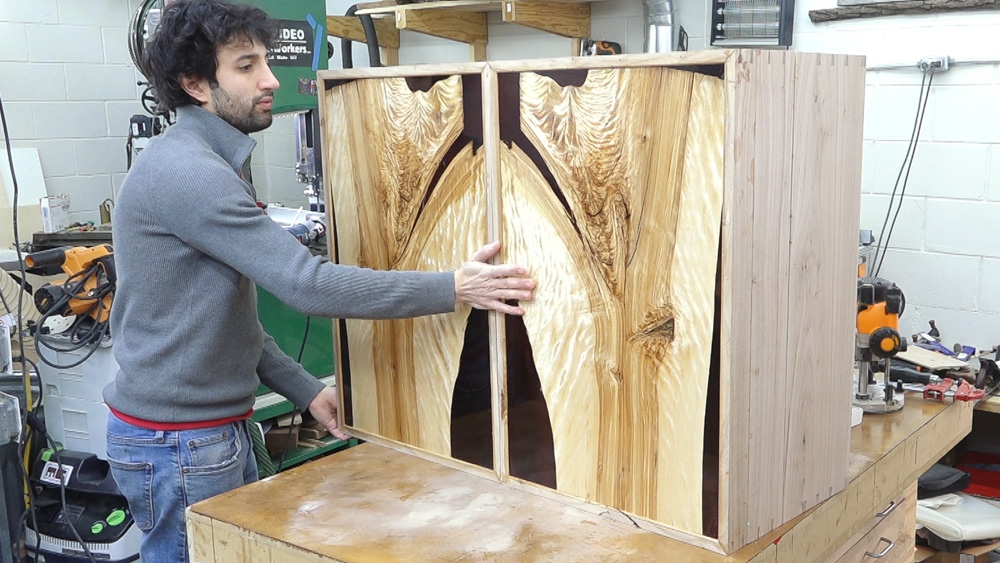
And there’s the case and doors.
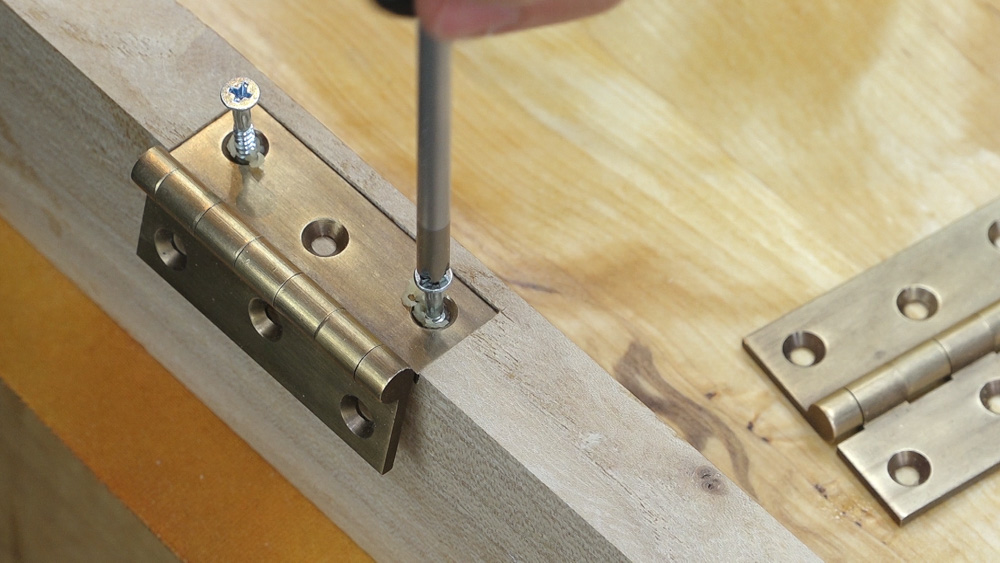
Next I can start hanging the doors on the hinges. I’ll lay out the extents of the hinge mortises and use a router to remove the bulk of the waste. Chisels are used to clean up the remaining waste. With a bite of care the hinges will slide into their mortises with no slop. I decided to use Precision Butt Hinges from Horton Brasses on this build. I’ve used this hinge on numerous furniture projects in the past and they’ve always worked out wonderfully. They’re well made, have minimal slop, and don’t break the bank. And most importantly, they’re plenty strong to support the weight of the loaded doors. Once the mortises are cut, I’ll install the hinges with the temporary steel screws that are included. These will compress the fibers in preparation for the softer brass screws and they’re easier to get in and out as the doors are hung and removed during the rest of the build.
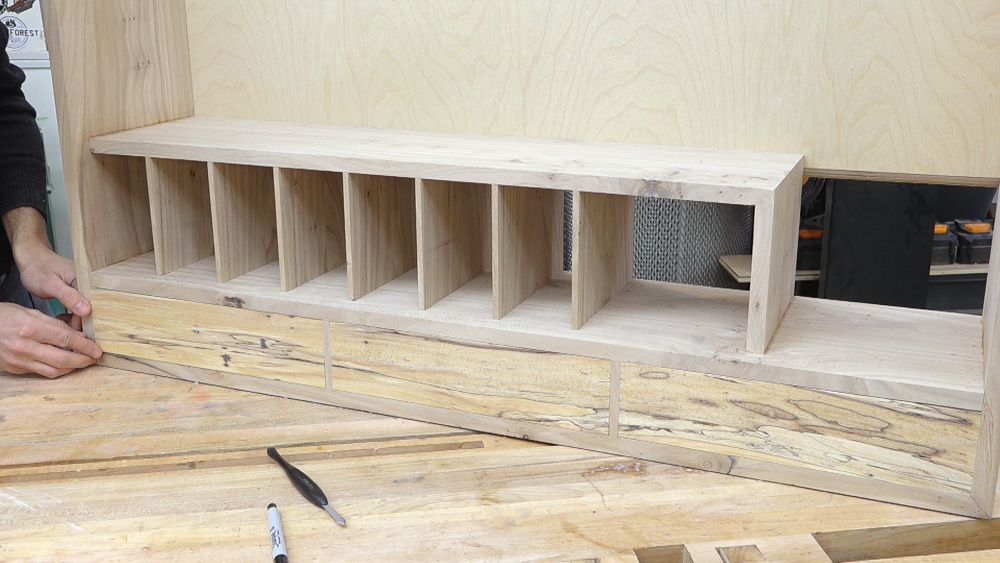
With the doors out of the way, next I can make the drawers. I’m starting with some spalted birch for the drawer fronts that I’ve had for a long time. It’s beautiful but pretty mushy so before moving forward, I’ll stabilize it with some penetrating epoxy. Once the epoxy cures, the drawer front stock is much firmer and can be milled to final size and the individual drawer fronts can be cut and fit to each respective opening.
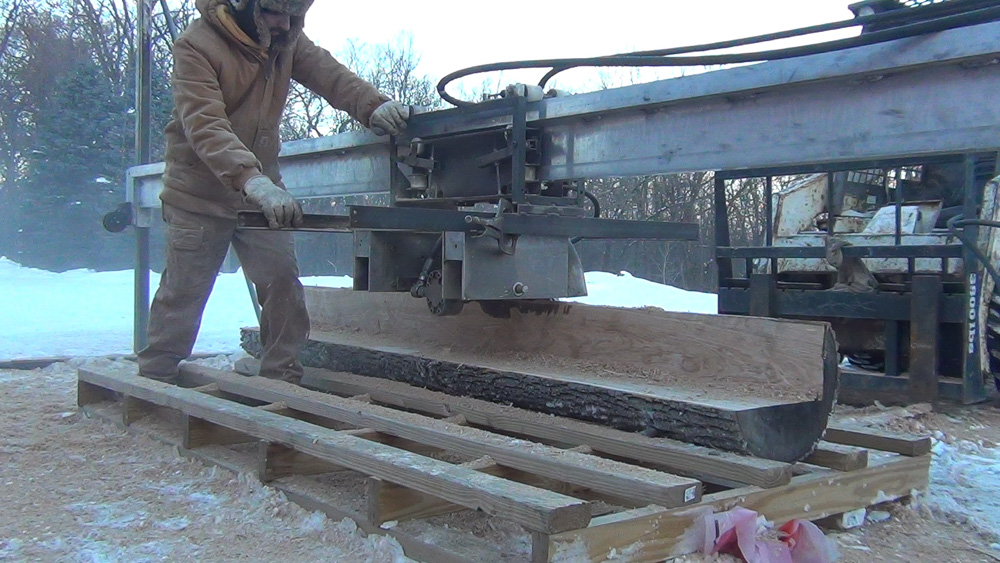
Next I’ll need some stock for the drawer boxes. I grabbed a piece of ash that I cut on my friend, Jim’s, homemade swing blade mill several years ago, and broke it down into the stock for the drawer sides, backs, and bottoms. The drawer sides are joined to the front with half blind dovetails. The tails are cut at the bandsaw, cleaned up, and transferred to the drawer front. I’ll drill out the bulk of the waste with a forstner bit at the drill press and work back to the lines with chisels.
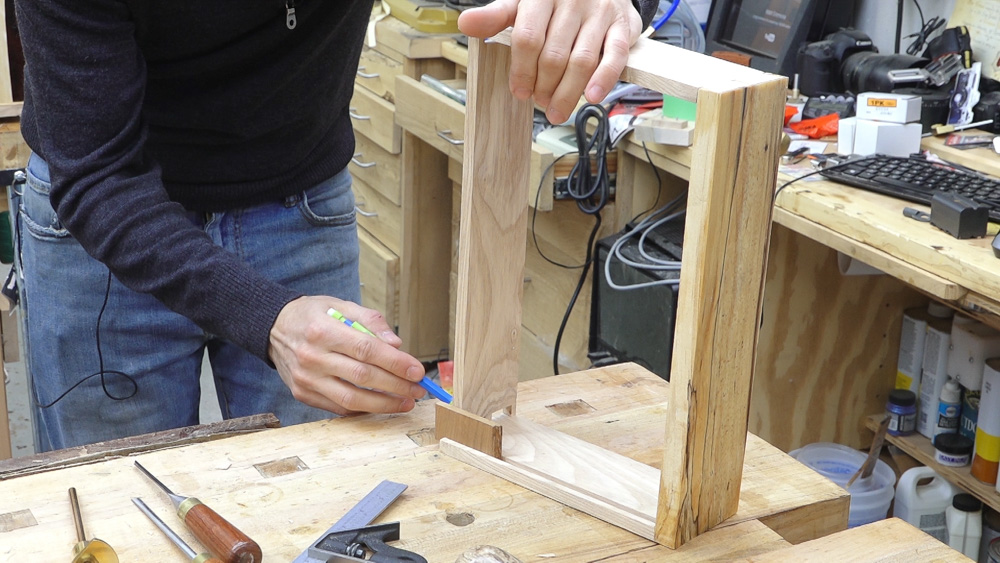
Next I can add the drawer back which are cut pins first. The pins are sawn and the waste cleaned up. The back can be placed into the partially assembled drawer and the locations can be transferred. The tails can be saw, the waste removed, and just like that, the drawer box is complete. The finger pull can be drilled into the drawer front and the drawer can be glued up. I’ll apply glue and place the drawer into the case to dry. Next I can make the drawer bottom with is just a panel beveled to fit into the grooves. The bottom is secured to the back with a screw in a slot.
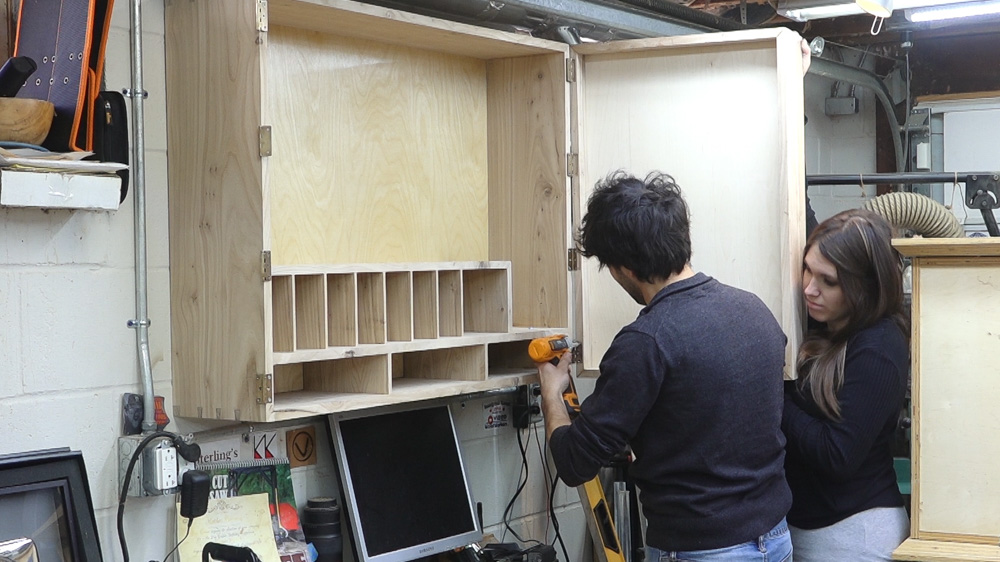
Now it’s time to get the cabinet up onto the wall to do the final fitting of the doors which means it’s time for my old cabinet to come down! I’ll mount the lower section of the back to the wall with lag bolts in shields and with two bolts installed, I’ll try the old try to rip it off the wall maneuver. Satisfied that the cleat isn’t going to come off the wall, I’ll throw the cabinet onto the cleat and try to pull it off the wall by hanging from it. Lindsay helped me hang the doors and then I could flush everything up and take it all back down again for finish. The finish on the rest of the project is the same as the panels. I used 3 coats of wiping varnish to provide a moderate amount of protection without going too far as to have a significant build.
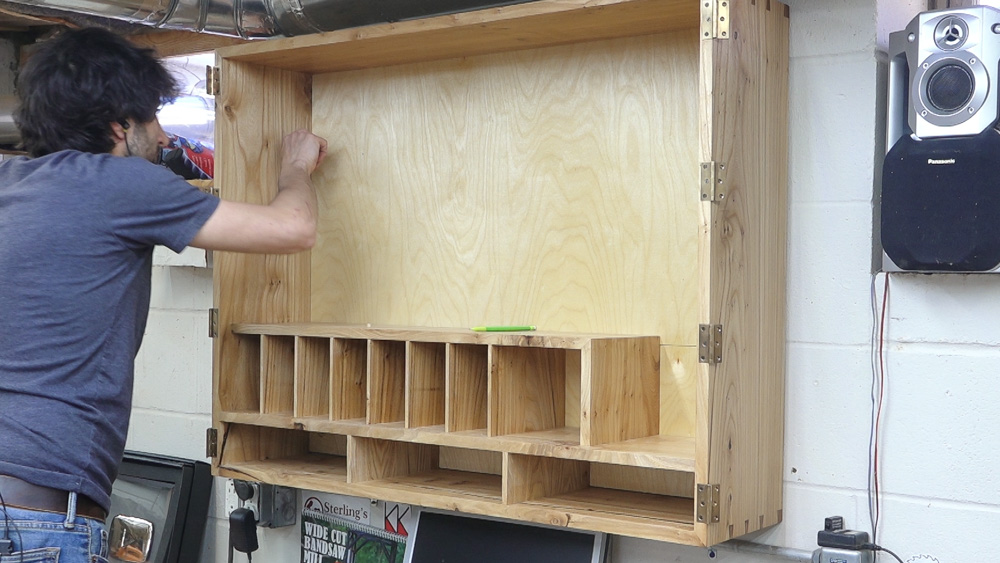
Once the finishing was done, the cabinet can be mounted back on the wall and I added a couple bolts to the upper section of the case which allowed me to bring the cabinet into plumb so the doors wouldn’t swing on their own.

The last thing to do was create tool holders for everything and load this bad boy up. The main focal point of the cabinet is the plane till or rather tills. These are made with a couple plywood panels which are beveled on the top and bottom. Small strips of wood frame out the planes and the tills are held in place with a pair of dowels. The saw till next door consists of a block that rests on the shelf and a block mounted to the back of the case with kerfs to hold the sawblades.

The right doors are the domain of the chisels. The chisels racks are simply strips of wood with holes drilled and slots cut to hold the various chisels.

The squares and bevels just mount on small rabbeted shelf type things and in various places in the case, I’ve sleeved a brass screw with a brass rod to create studs to hang various tools.
[Amazon links are affiliate links]
Hinges: http://bit.ly/handtoolcabinethinges
Router: http://amzn.to/2hXj5AC
Router Table: http://amzn.to/2sbcLLt
Jig Saw: https://amzn.to/2PedA0a
Table Saw: http://amzn.to/2hXj5AC
Bandsaw: http://amzn.to/2HISAf0
Finish: http://amzn.to/2FFWlVG
Dust Mask: http://amzn.to/2y8dl1m
Hearing Protection: http://amzn.to/2yQ0sa3
Triton Track Saw: http://amzn.to/2f2P85l
West System Epoxy Resin (Gallon): http://amzn.to/25TYH7y
West System Epoxy Slow Hardener (Quart): http://amzn.to/25TYKAr
West System Metering Pumps: http://amzn.to/1qicuEr
Ecopoxy Liquid Plastic: https://amzn.to/2JH5ezw
Sheathing Tape: https://amzn.to/2GbIsyL
Transtint Medium Brown: http://amzn.to/23nL4Ps
Push Blocks: http://amzn.to/2yQD24r
Interested in leaning how to build a wall-hanging tool cabinet for your shop? Check out my 18 step by step videos (8+ hours) and plans!


Welcome to my shop! This is a quick update to let you know what I’ve been up to. This big chunky thing is the leg

Welcome back to the home renovation. This time I’m going to be working on the kitchen island. Here is a small model of the island.

Welcome back to our home renovation. Today I am going to be working on this wall. It needs some upper cabinets and the surround for