
Kitchen Island, Barn Power – March 2024 Update
Welcome to my shop! This is a quick update to let you know what I’ve been up to. This big chunky thing is the leg
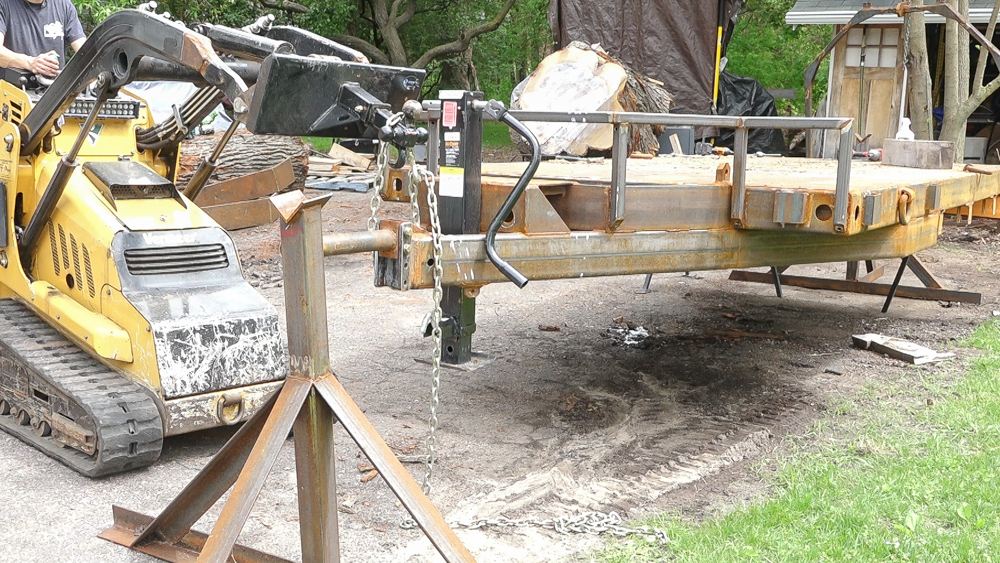
The first step is going to be stripping the trailer down and getting it back up onto the stands. This is a pretty easy task with the mini skidsteer.
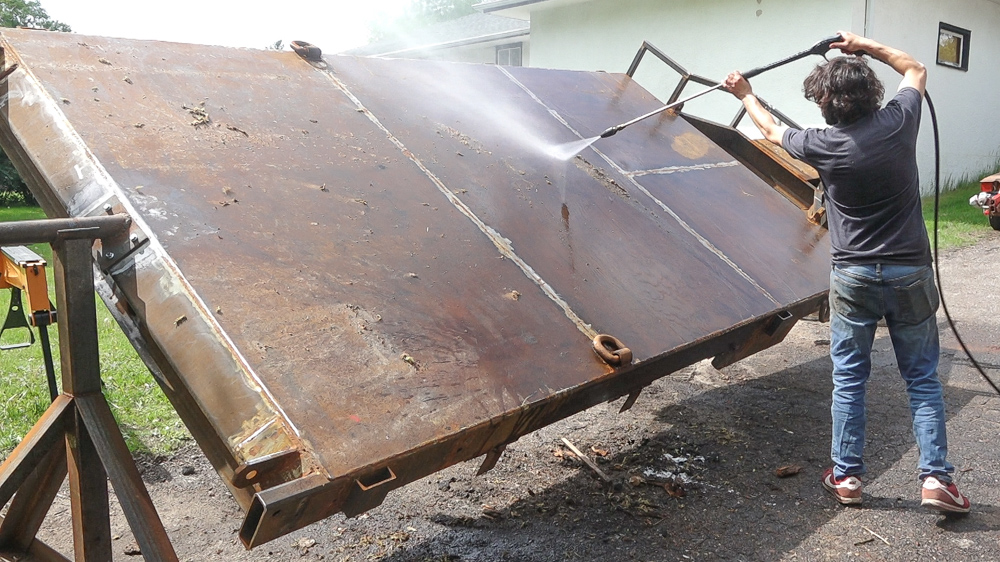
I’ll start out by giving the trailer a quick pressure washing to remove any loose dirt or other organic material.
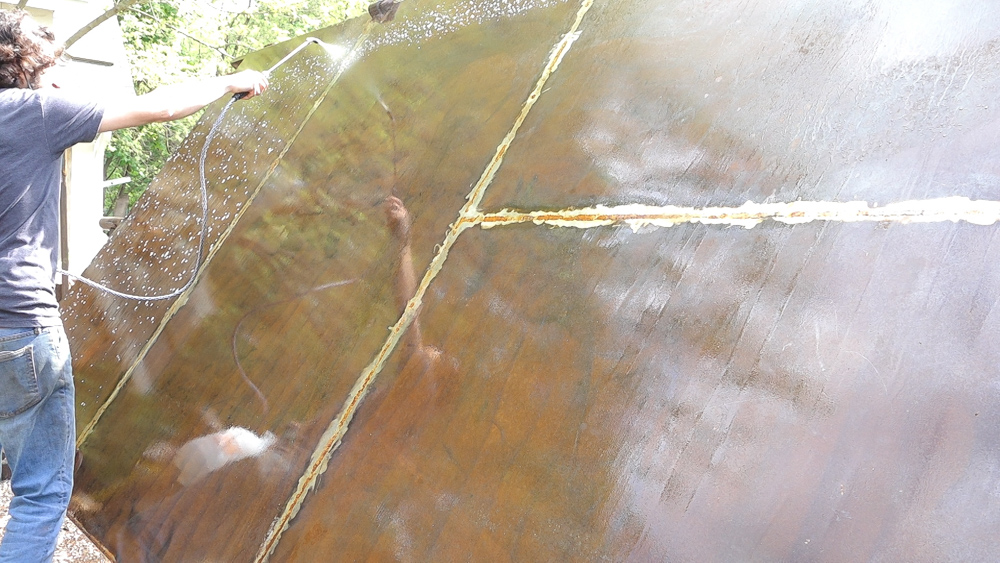
Next I’ll spray a degreaser onto the trailer and let it work for a half hour. This will further help to clean the surface of any oils. Once it’s had some time to sit, I’ll rinse it off.
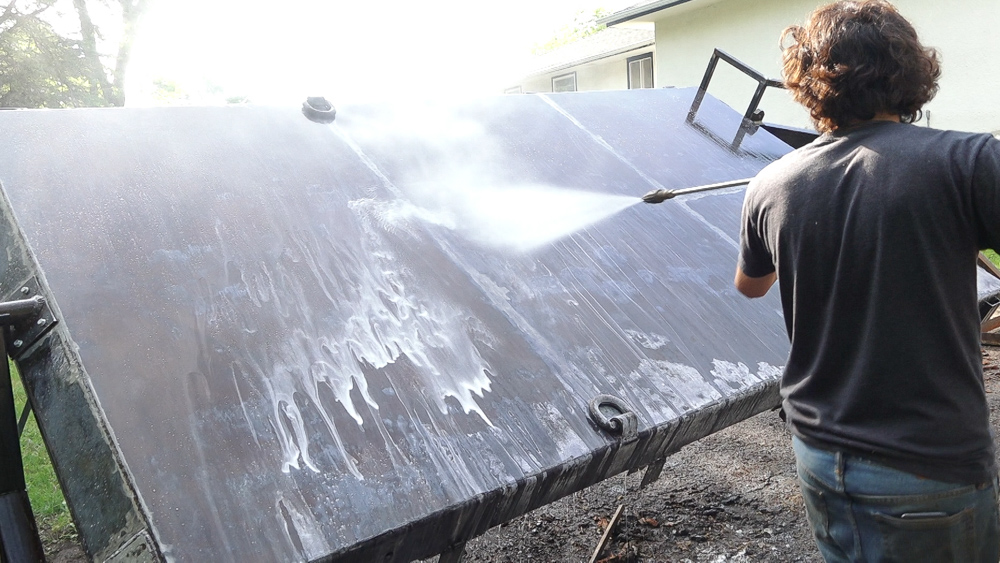
Next is an etch wash. This is sprayed on and left to sit for a half hour. during that time, I’ll continue applying the etch to keep the steel wet. The etch reacts with any rust neutralizing it and creates a strong base for the first coat of paint. Once it’s had time to sit, I’ll rinse it off and dry the trailer with a leaf blower. I’ll leave it overnight to dry further.
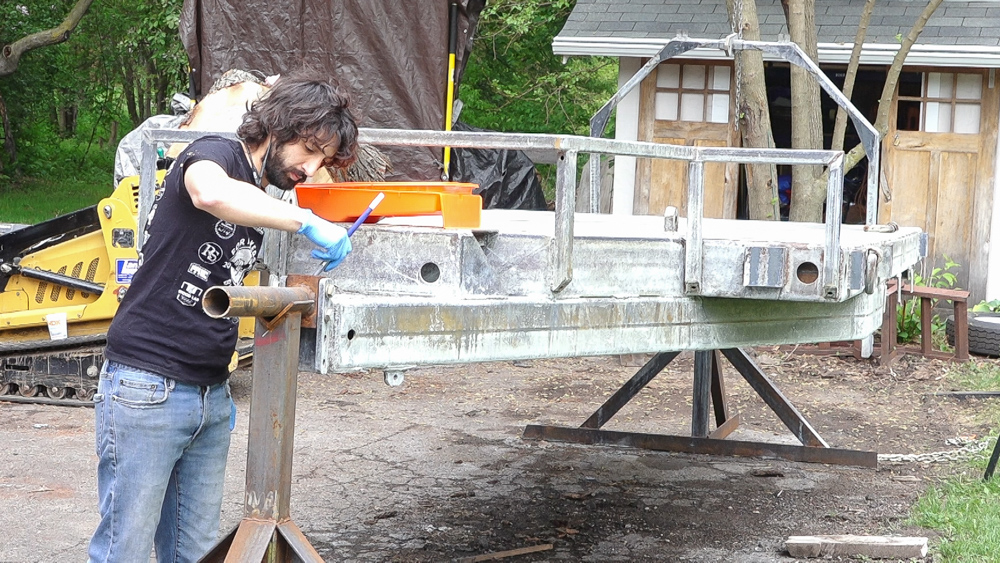
The etch has zinc in it so the next day, the trailer has a silver appearance. It is similar in appearance to a galvanized steel.
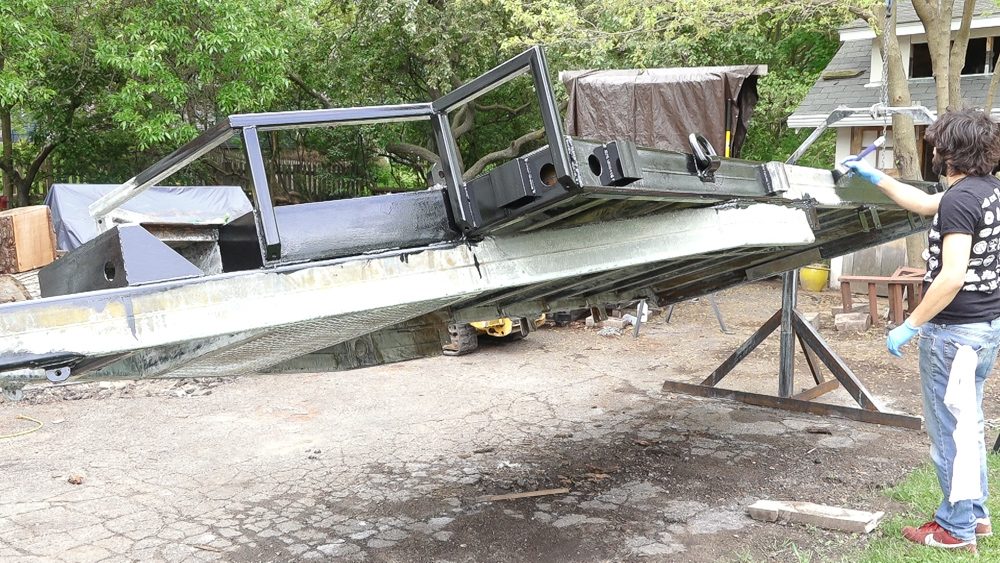
The first coat of paint, I’ll apply with a brush. This allows me to massage the paint into every seam to ensure as complete coverage as possible.
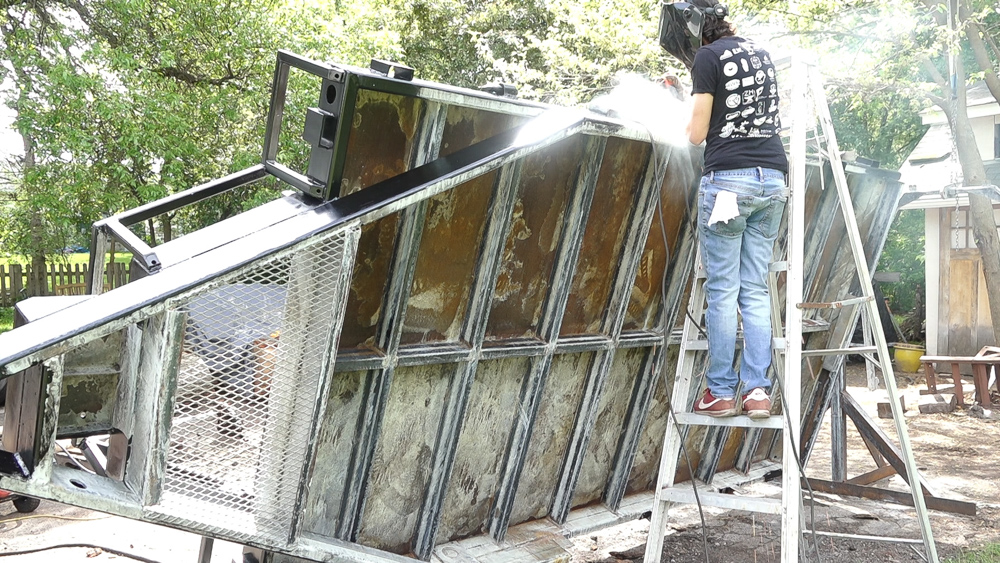
Here was a nice surprise. As I was getting into the groove of painting, I noticed that I had forgotten to weld one side of a stake pocket. I thought I was done with welding on this trailer, but I was wrong. I quick bead and it’s back to painting!
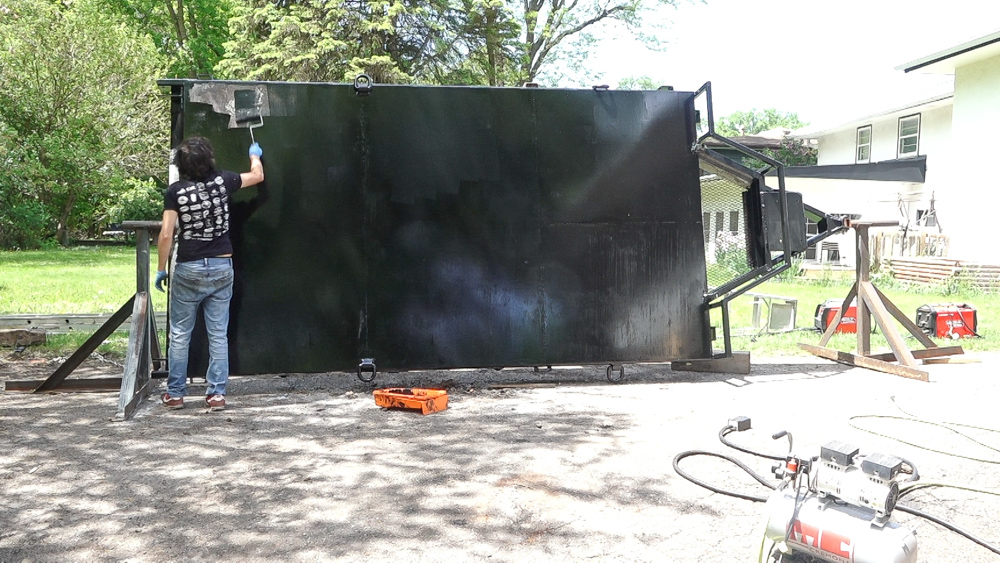
After taking care of the complex areas, I can break out a roller and cover the flat areas which mostly consists of the top and bottom of the deck panels.
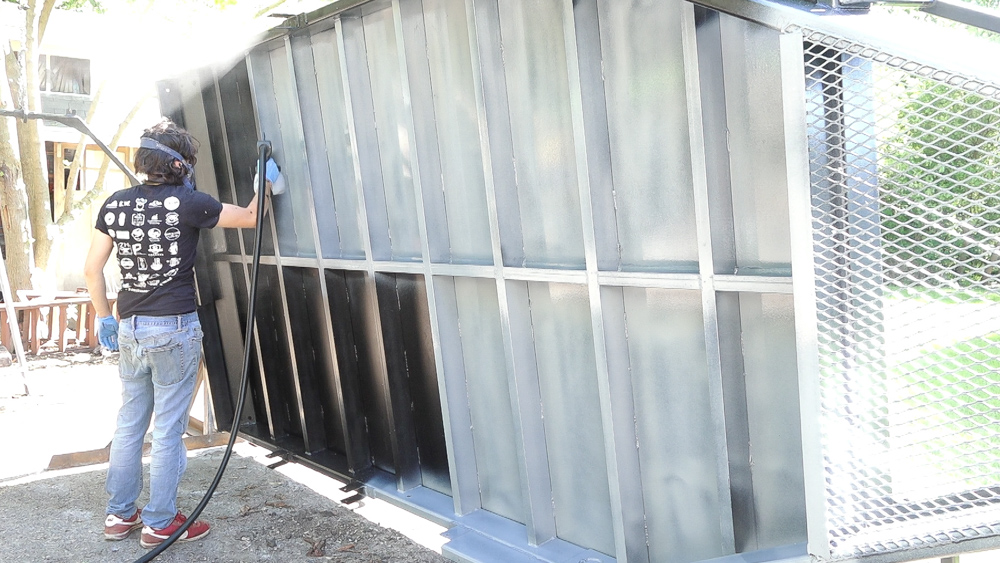
Later that day, I can apply a second coat. This coat is the same product as the first coat but tinted gray. This will be an easier color to top coat and will also make it easy to see where I have applied it to and where I haven’t. It’s also a cheaper color so that’s a plus!
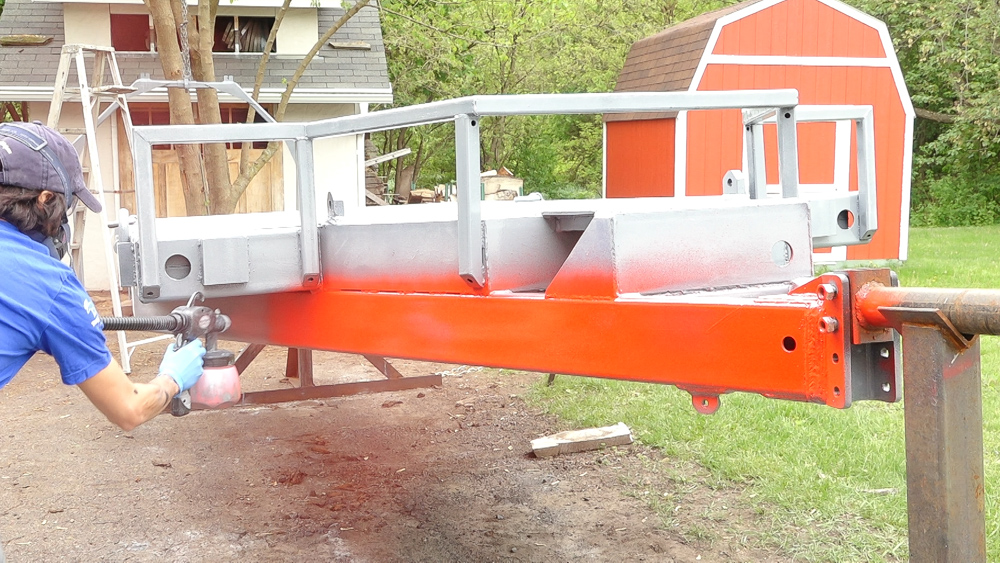
Day two of painting! Time to switch to a top coat. This is a two part urethane in safety red. nice and bright.
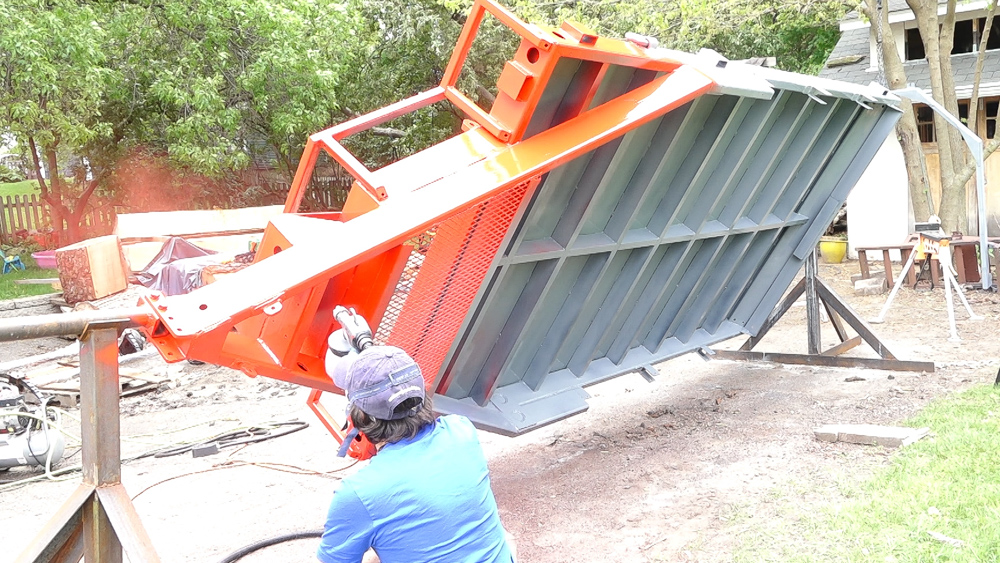
Having the trailer on the rotisserie is super nice for painting. I can turn the trailer as I’m working to ensure I can easily access anywhere that would be difficult to get at otherwise.
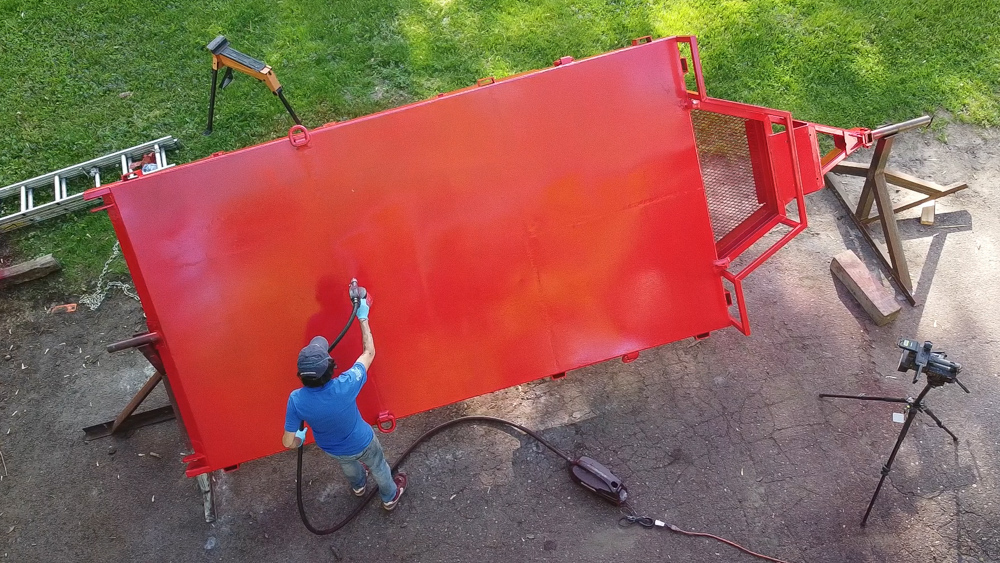
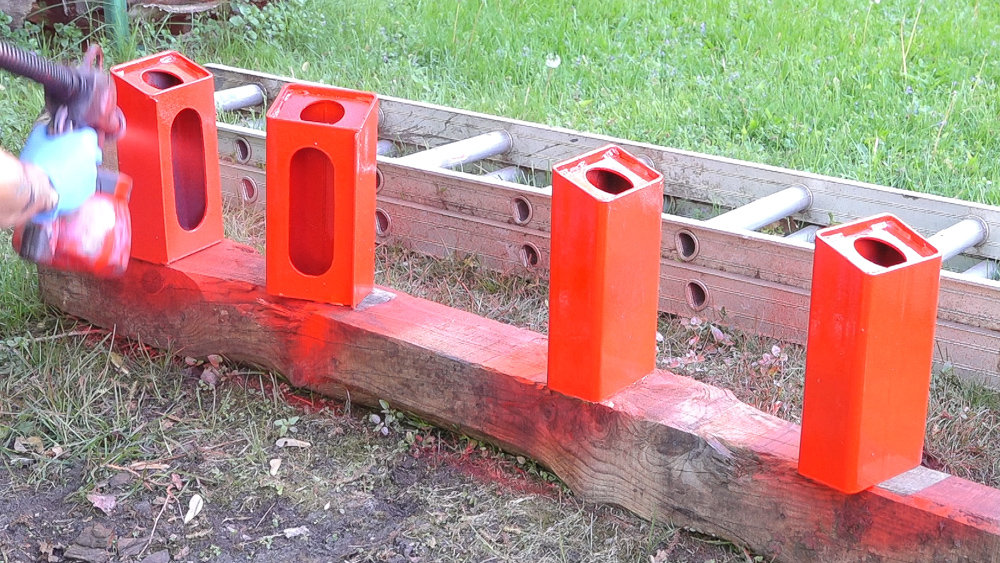
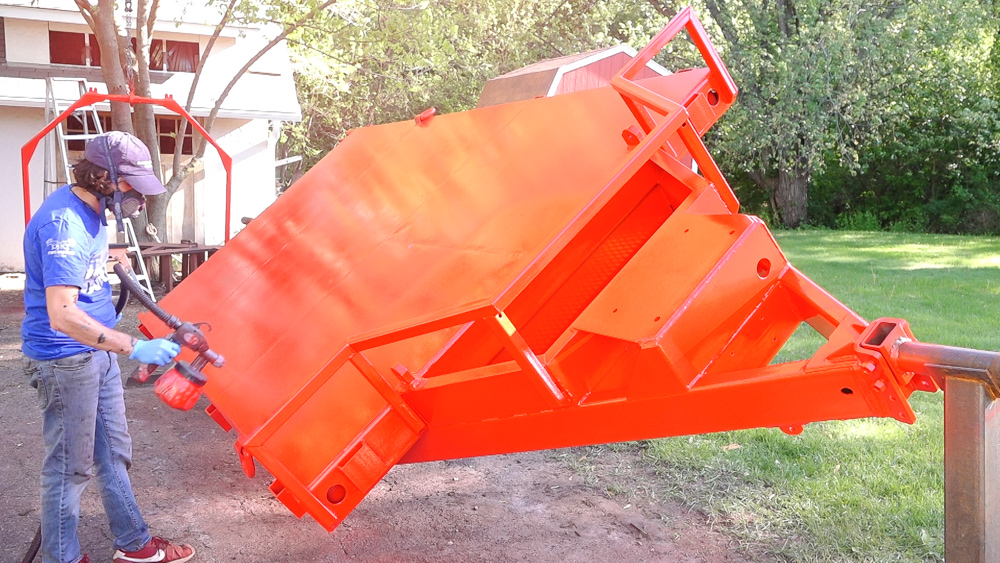
Later that day, I can spray a second coat. This evened out the coverage and made it full red and less grayish-red
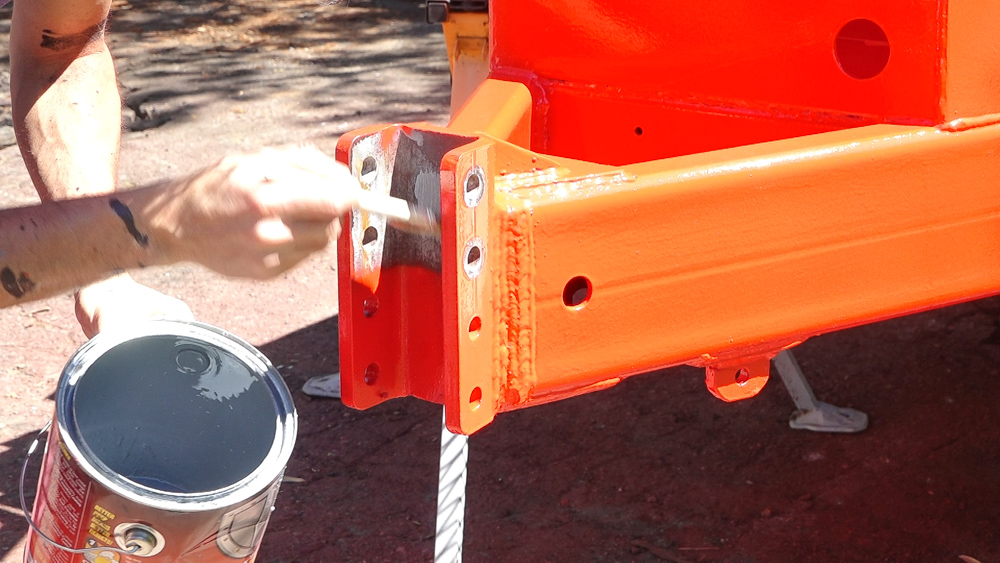
After the second top coat had a day to cure, I dropped the trailer off the rotissaire and onto my Super Jaws so I could remove the rotisserie mounts and paint behind them.
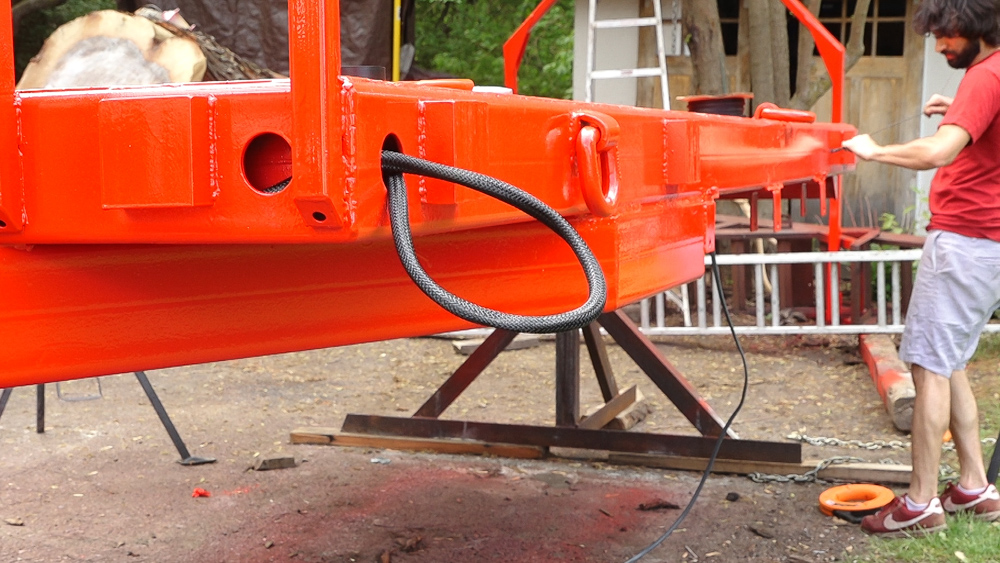
After a few days, I put the trailer back onto the rotisserie so I could easily pull the wiring. I’m doing an independent left and right wiring scheme. The driver’s side has a light line that runs from the junction in the front to the rear light box and has a brake line that runs from the front to the brake junction box. The passenger side is similar but just has the light wire running to the rear light box.
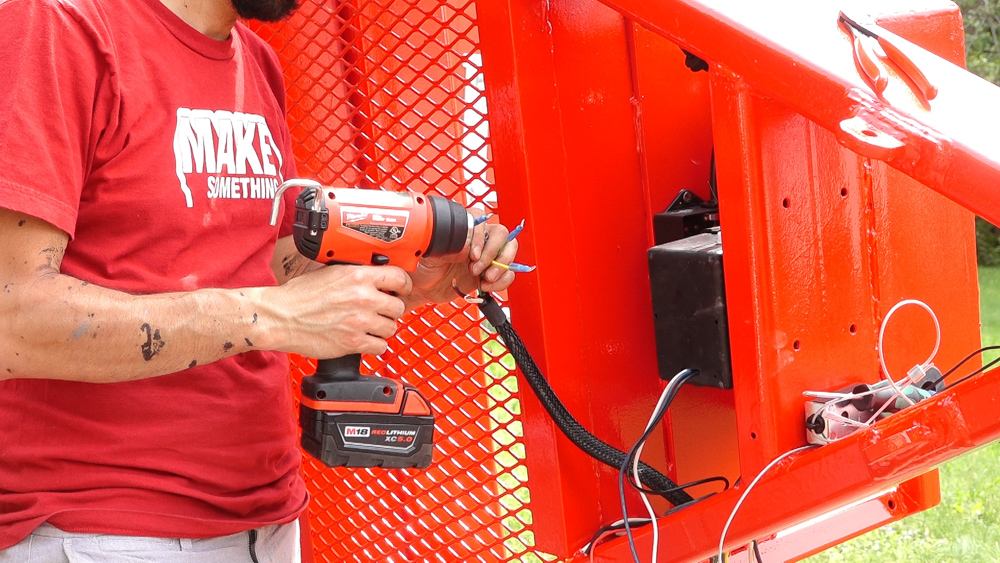
Since it’s easily accessible now, I’ll mount the junction boxes and brakeaway battery. I can also put ring terminals on the wires and bring them into the boxes.
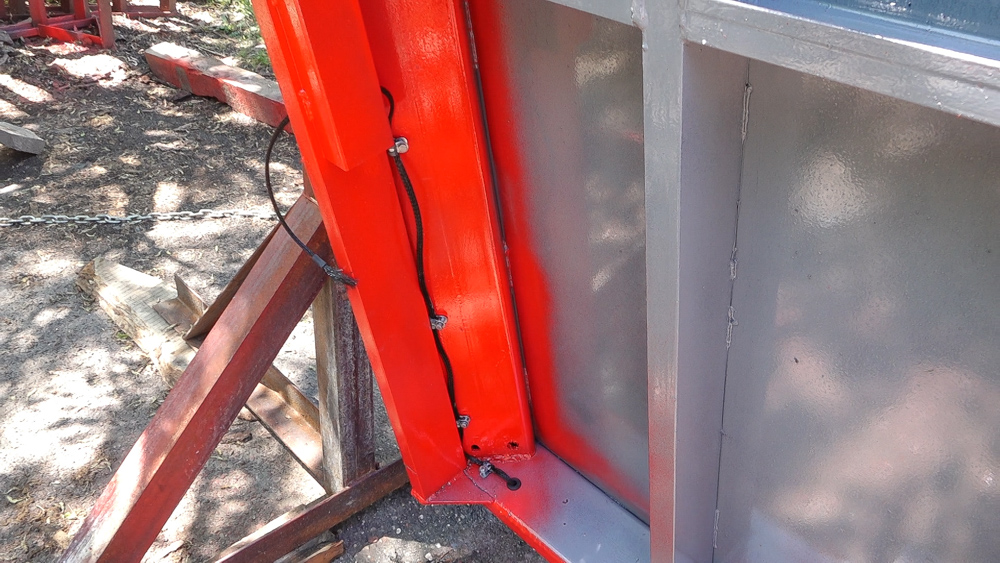
At the rear, I’ll pull and route the wire for the rear marker lights. This wire connects inside the rear light box.
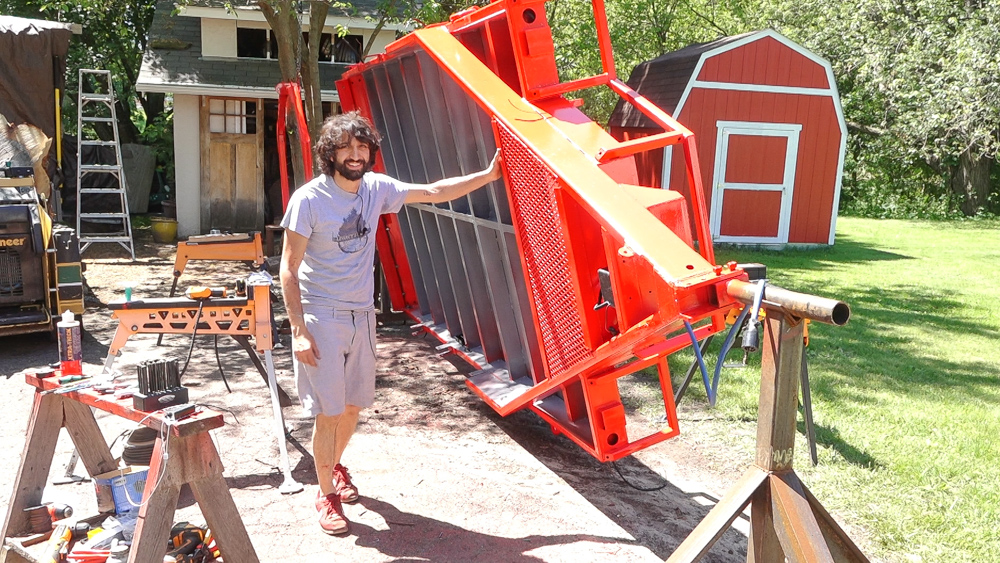
And that’s it! All the prep work is done and the trailer is ready to come back down to the ground.
[Amazon links are affiliate links]
Lincoln Electric 210MP Welder: https://amzn.to/2TkYlWf
Lincoln Electric Viking Welding Helmet: https://amzn.to/2UrIEwJ
Impact Wrench: https://amzn.to/2RKGCrK
Super Jaws: https://amzn.to/3fxgUBR
Degreasing wash: http://amzn.to/2e4E5TA
Metal prep wash: http://amzn.to/2e6ZnkR
POR15: http://amzn.to/2e71uoE
POR15 2K Top Coat: http://amzn.to/2dO5YBH
Cordless Heat Gun: https://amzn.to/390L2TJ
Sprayer: https://www.rockler.com/rockler-hvlp-finishing-sprayer


Welcome to my shop! This is a quick update to let you know what I’ve been up to. This big chunky thing is the leg

Welcome back to the home renovation. This time I’m going to be working on the kitchen island. Here is a small model of the island.

Welcome back to our home renovation. Today I am going to be working on this wall. It needs some upper cabinets and the surround for