
Matt's Weekly Shop Update
Kitchen Island, Barn Power – March 2024 Update
Welcome to my shop! This is a quick update to let you know what I’ve been up to. This big chunky thing is the leg
Today I’m going to take you along with me as I put together a slab order, get it dried, and get it shipped out.
I get a lot of questions about what happens to the slabs after the cut and after they’ve been sitting, so this will answer some of those questions.
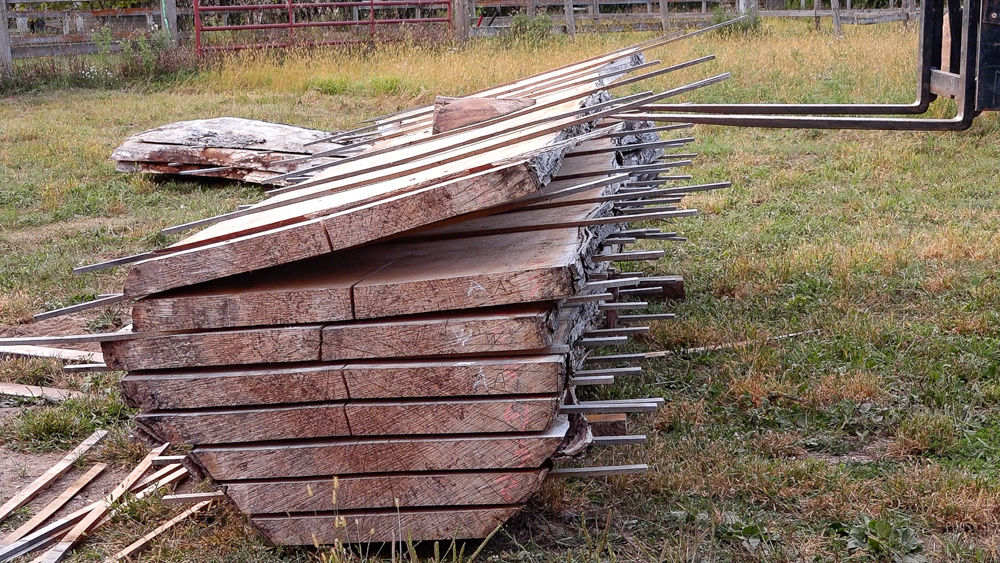
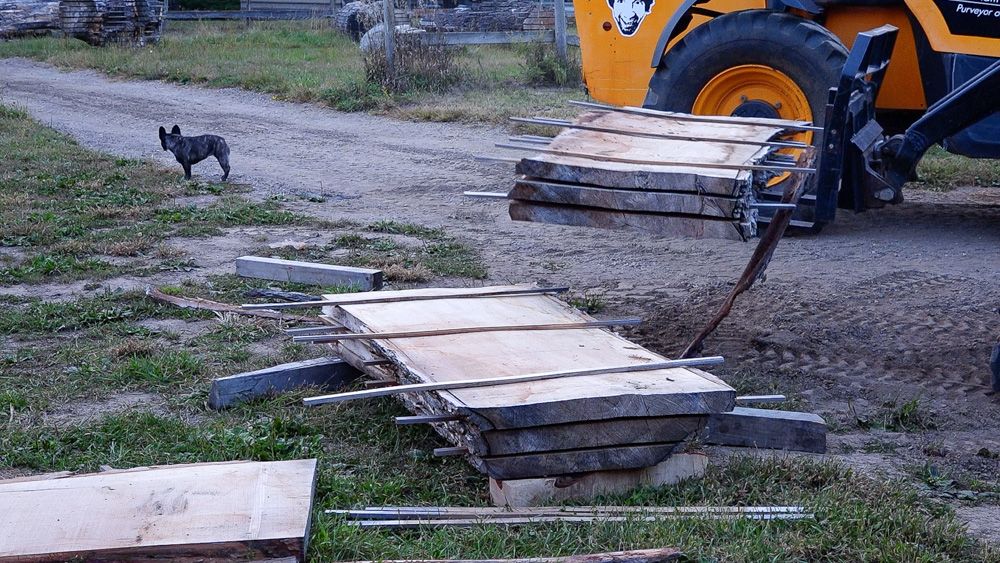
All of my inventory is stored in boule form outdoors, as they come off the saw. I typically do not dry anything until there is a buyer lined up for that slab. When someone is interested in a slab, I will take a deposit to reserve a slab, and as soon as I have enough slabs with deposits on them, I pull those slabs and have them dried as a single batch. Then the customer can either pick them up or they can be shipped. I do it this way because I have limited indoor, conditioned space to store things after they have been dried.
The first slab I’m digging out is from the log I cut after I made the bed extensions on my saw. It’s silver maple, and that log was 36 inches in diameter and a little over 14 feet long, so these are some big slabs.
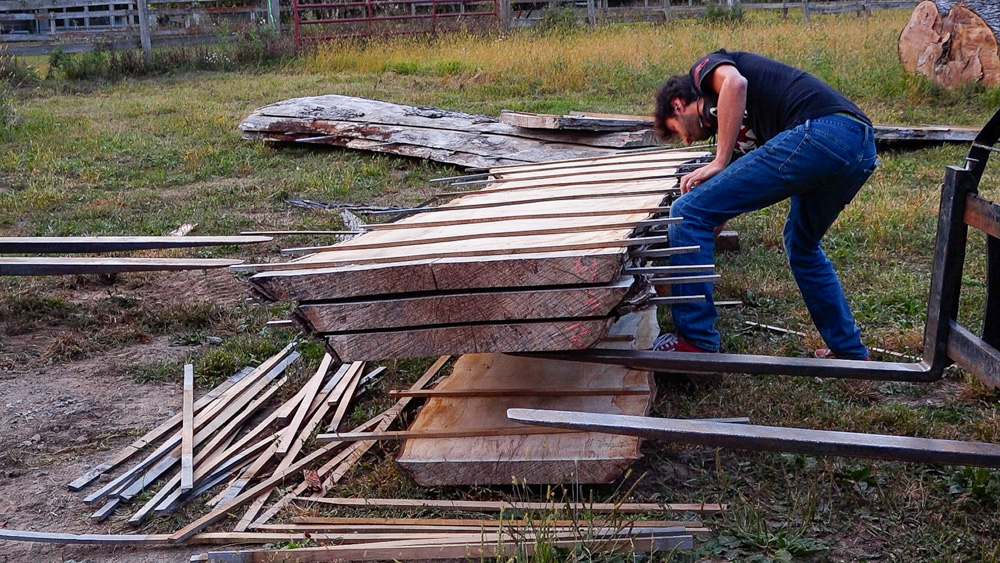
As I’m going through the stacks, you can see some initials on the ends of the slabs, which are the initials of the buyer. So I’m getting those out, and I’m also making sure I bring enough to fully fill the kiln chamber. I’ve shown my friend Eric’s vacuum kiln in the past, and one of the caveats of using a kiln with plates is that every layer needs to be fully filled. Each row of that kiln is 18 feet long, and these are 14 feet long slabs, so I need to fill about four feet of empty space at the end of each row.
The next log I’m digging through is an elm that I cut through in the video “Short Logs, Long Weekend.” Four of these are for a customer, and I will also pull a couple of these for some filler for the kiln.

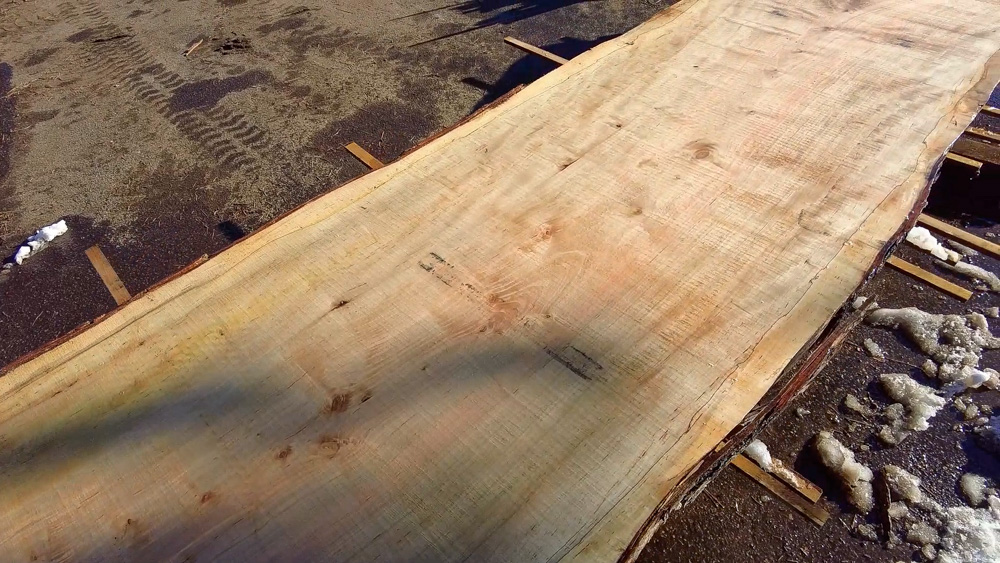
The last thing for this order is a slab of live oak that I cut that Phil brought me all the way from Mississippi.
First we need to empty the kiln. This is a load of six inch thick silver maple that Eric sourced and dried for me for workbench kits. That full load is pretty close to a thousand board feet of material.
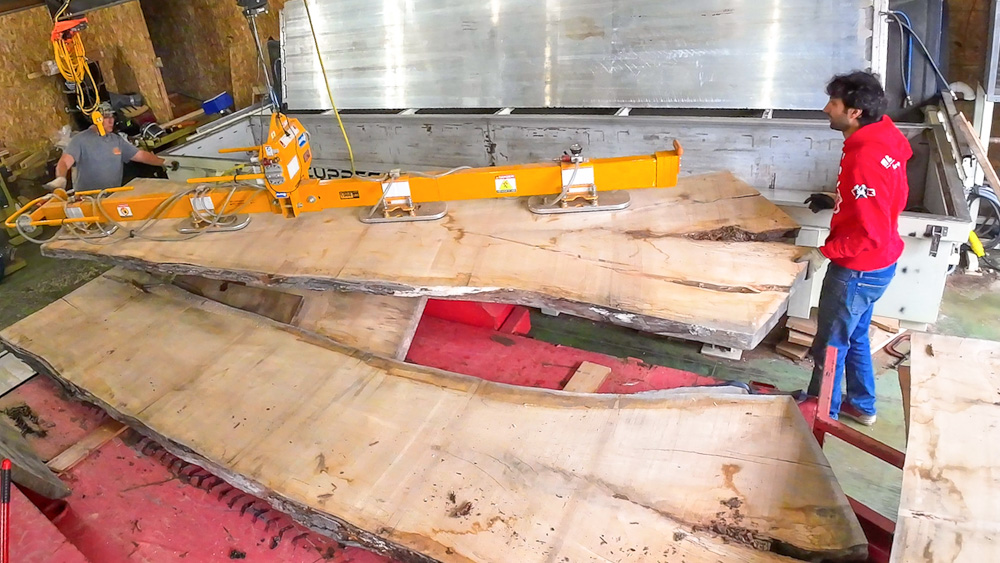
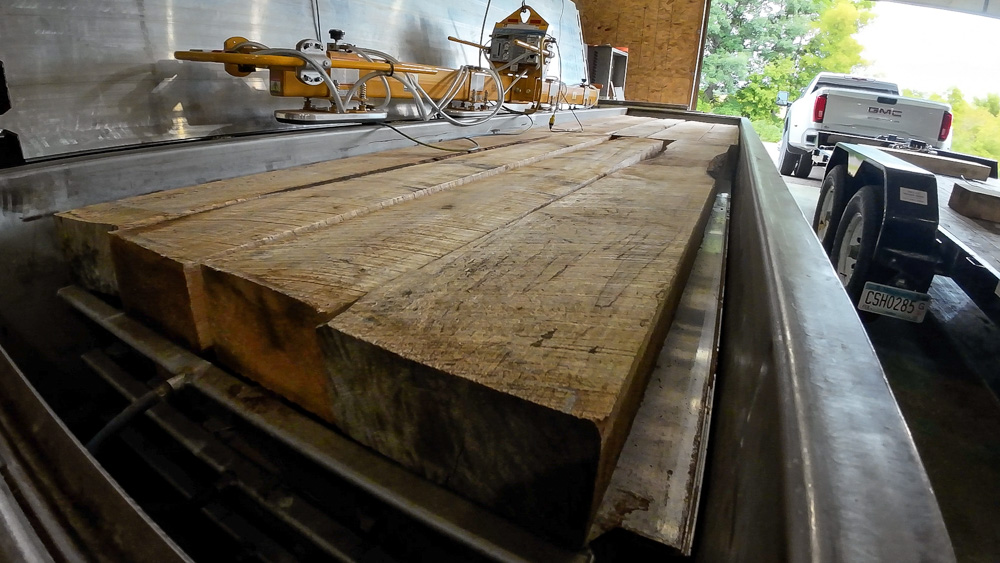
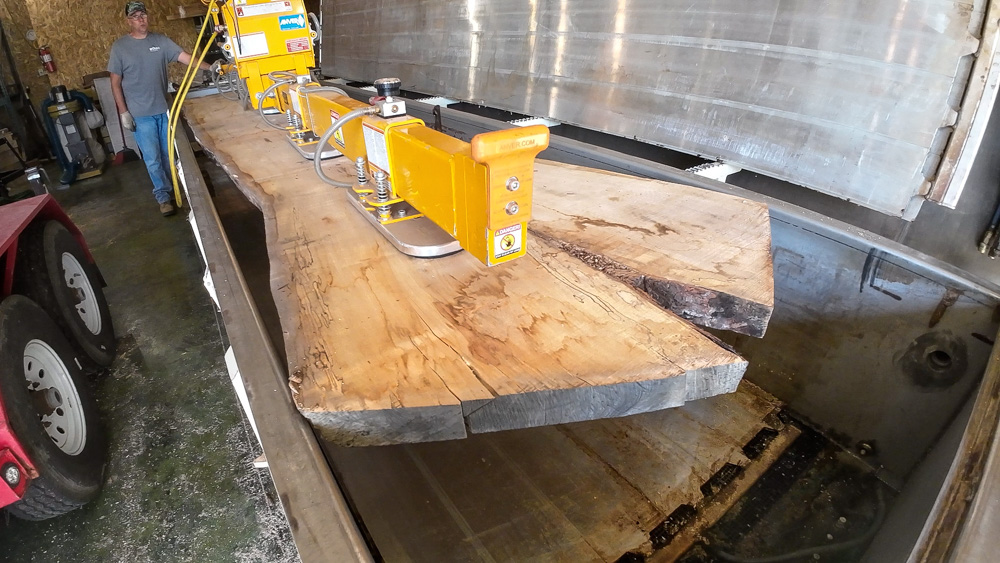
And now we will reload the kiln with the new stuff. These slabs look huge in the kiln! I have done a video and blog with Eric in the past talking about the kiln, but I will do a quick review. The wood is loaded into this tube, and aluminum plates are stacked in between the layers of wood. The machine has a rubber membrane lid that gets put on top of the stack when it’s all filled up. Vacuum is applied to the chamber, and that vacuum lowers the boiling point of water, causing the moisture in the wood to leave much more quickly and readily than other methods. Now, since the wood is under vacuum, air can’t be used to introduce any heat to the stack. So that’s what the aluminum plates are for. They’re hollow, and hot water is pumped through them. That heat will transfer directly into the wood, heating it and causing the moisture to come out of the wood. One big benefit of the vacuum kiln is the faster dry time. The other huge benefit of this machine in particular is that because the lid is a rubber membrane, it will collapse and press the whole stack down into the bottom of the chamber when it’s under vacuum. This puts a huge amount of uniform pressure on the stack, and holds these slabs perfectly flat the whole time it’s drying. That’s a really huge plus because you end up with a lot less waste due to warpage. I’ve had people ask when I am going to get one of these, and the short answer is that I don’t have enough business to justify the outlay of capital.
It’s been six days since I dropped off the slabs at Eric’s, so today I am going back to pick it up.
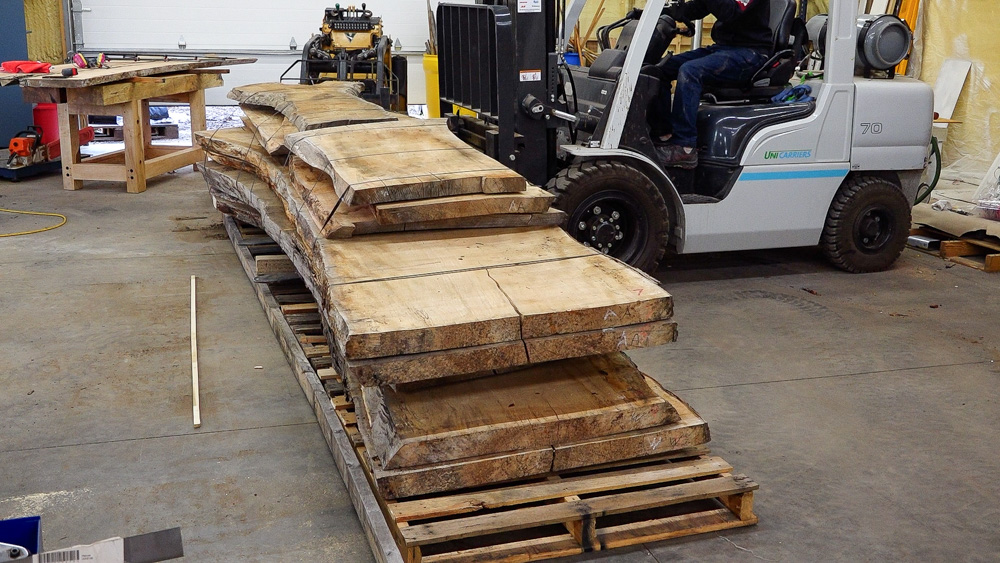
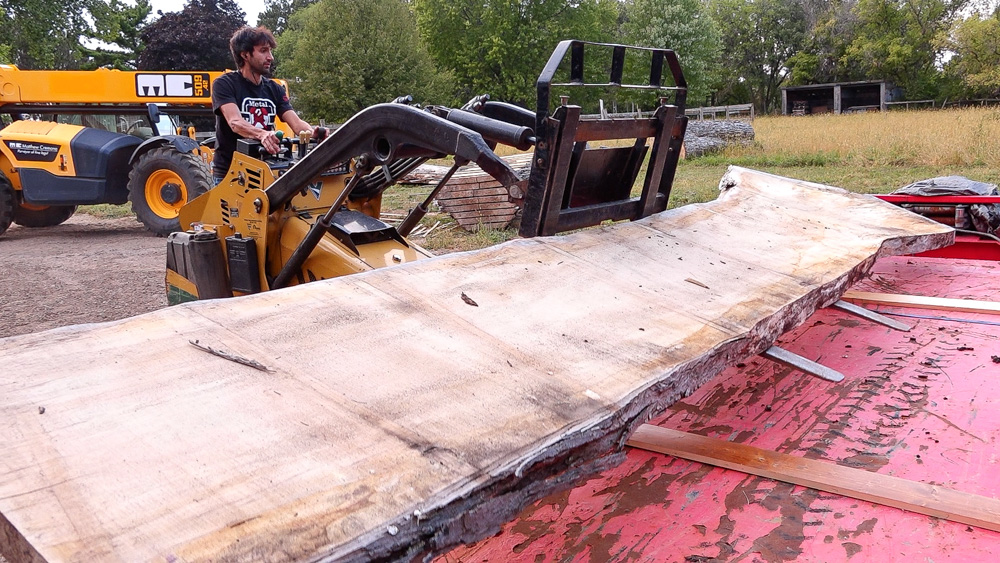
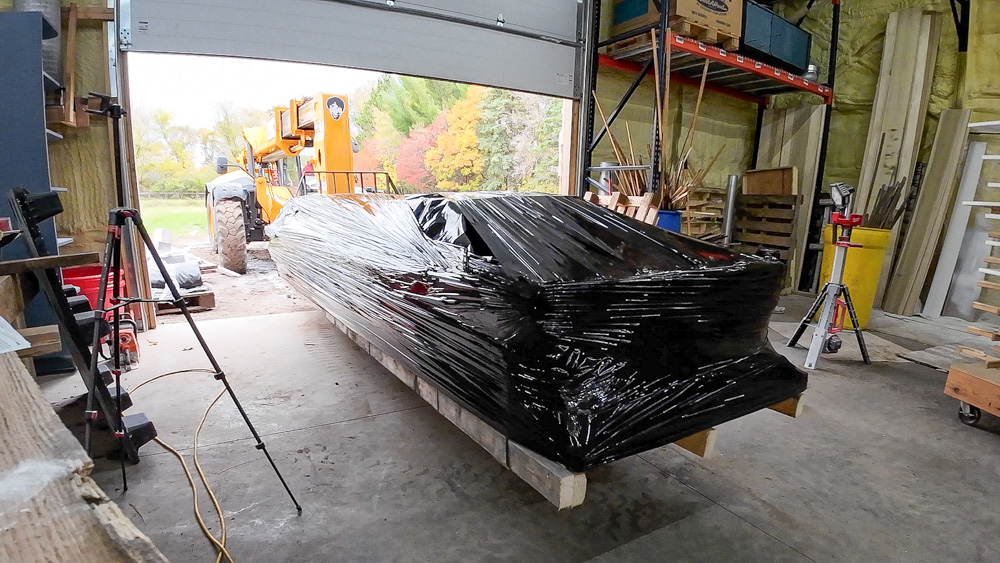
It has been about a month since I’ve gotten these dried, and the customers are ready to receive the shipment, so I’m going to get these slabs out of here. This shipment will have to be end-picked to be loaded onto a truck, so I’m going to bias some weight onto one end so that it balances out on the forks a little bit easier.
After I get the final dimensions and weight for this shipment, I can book it to go out on a truck. They really get you on this extra-long oversized stuff, because this shipment was significantly more than previous orders, even orders that weighed more. This shipment cost $2,600 to send to the customer, and it is going from Minneapolis to the Bay Area in California.
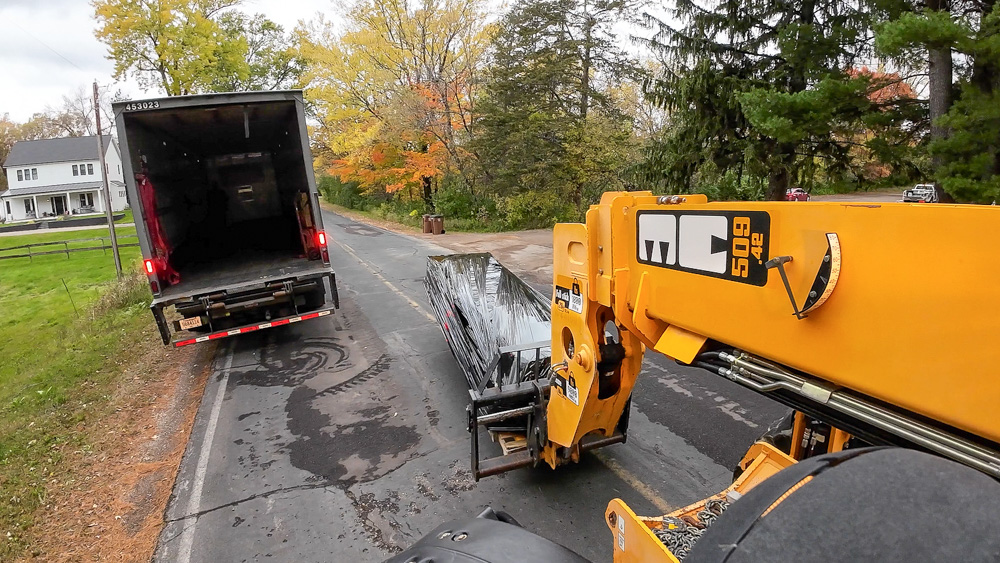
I use a 3PL, a third party logistics company, to do the shipping. With a 3PL you get to enjoy the rates that a volume buyer gets, because it’s basically collective bargaining. Normally when I get rates for shipments like these, I’ll get rates back from 6-8 different carriers. WIth this shipment, I only got rates back from 2. Fortunately the carrier that I went with had a really nice driver, and it went really smoothly. Finding carriers that are easiest to work with is the biggest thing I have to deal with on my end in terms of freight shipping. Shipping from my home is a little more inconvenient compared to when I was working out of the warehouse, because I have to be there for the pickup, and I have to load the shipment. They’re always super happy and surprised when I show up at the end of the driveway with a telehandler.
And that’s the general process of going from a slab out in the yard to a fully dried piece of material that’s headed off to a customer! That is going to do it for this one. Thank you as always for joining. I greatly appreciate it. If you have any questions or comments on slab stuff, please feel free to leave me a comment. As always, I’d be happy to answer any questions you might have. Until next time, happy woodworking!
Welcome to my shop! This is a quick update to let you know what I’ve been up to. This big chunky thing is the leg

Welcome back to the home renovation. This time I’m going to be working on the kitchen island. Here is a small model of the island.

Welcome back to our home renovation. Today I am going to be working on this wall. It needs some upper cabinets and the surround for