
Matt's Weekly Shop Update
Kitchen Island, Barn Power – March 2024 Update
Welcome to my shop! This is a quick update to let you know what I’ve been up to. This big chunky thing is the leg
Welcome back to the build! Today should be a pretty action-packed day. Our trusses are going to be delivered. We have all of our purlins to cut, and those will go between all the trusses. And we have all the hangers to nail onto the trusses. So there’s a lot of prep to happen before we start flying trusses into the actual structure. So last week, we got the two side walls and one far end wall stood up and plumbed, so they should be ready to start receiving trusses.
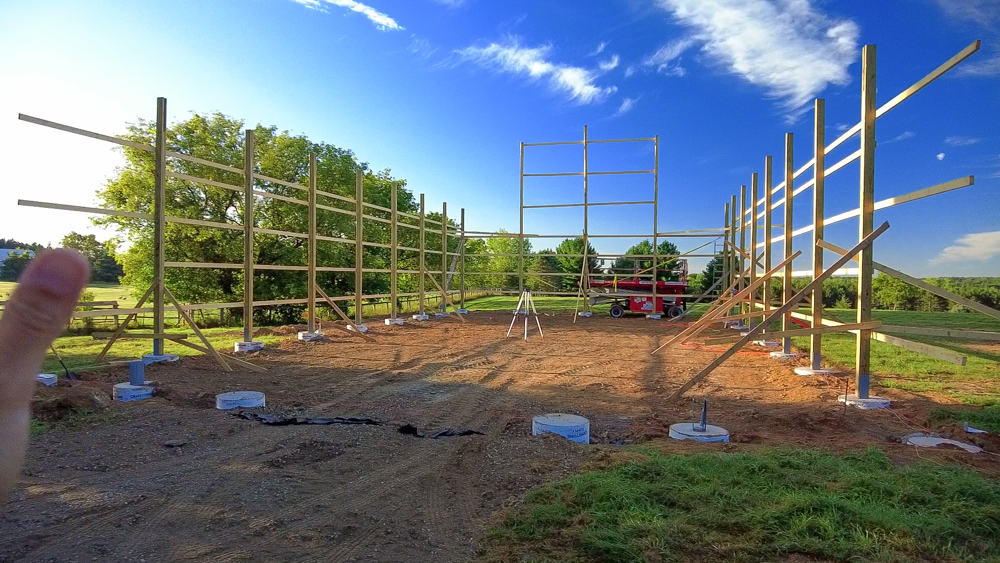
We left one end wall completely off so we can very easily bring the trusses in and set them. The mid-span trusses get slipped into the posts, and the end trusses get bolted on to the front of the end posts.
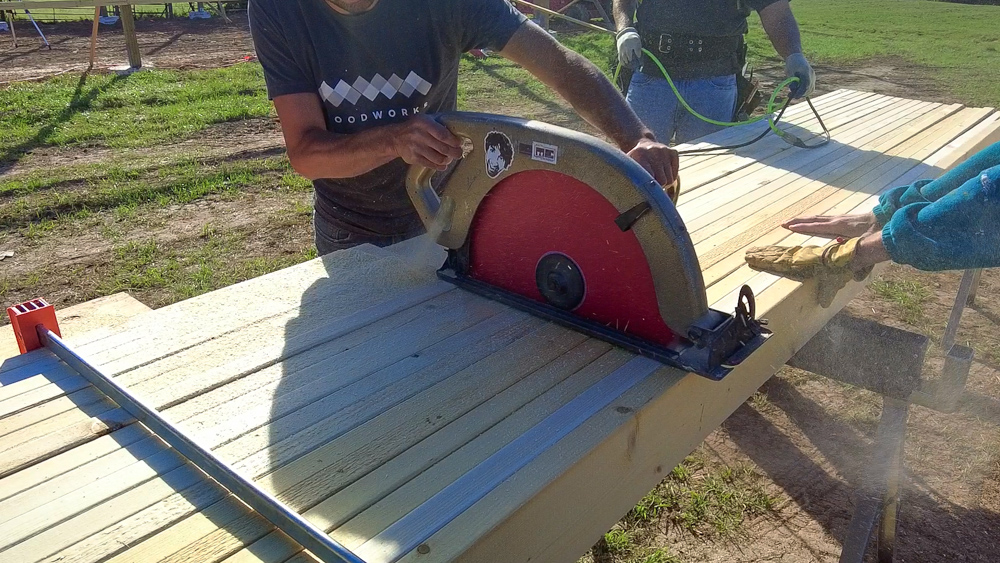
The first thing we’re doing today is cutting the purlins, and this table Donavan made allows us to gang cut all of them at once with the beam saw.
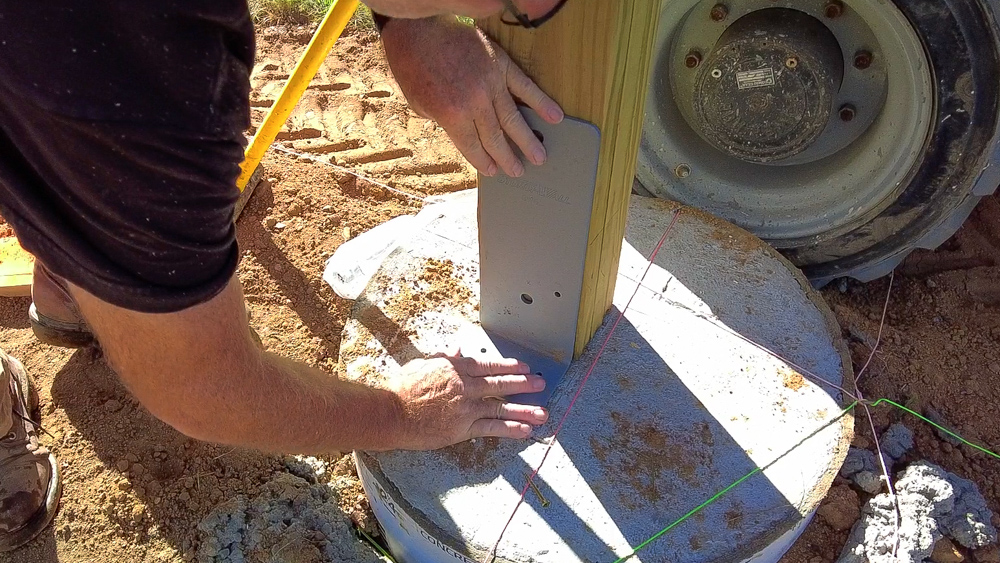
We are also getting the corners all figured out. We got some questions about why we screwed the corners instead of nailing them. It’s so we can make any adjustments here as needed. Once the walls are up, we are making our final tweaks on the plumbing in both directions of the corner, and having the screws gives us some flexibility. We also get some questions asking why don’t the corners get the same U brackets that the wall posts are in. The corner posts have these L brackets which get installed after the building is all set and you get these posts dialed in exactly where you want them
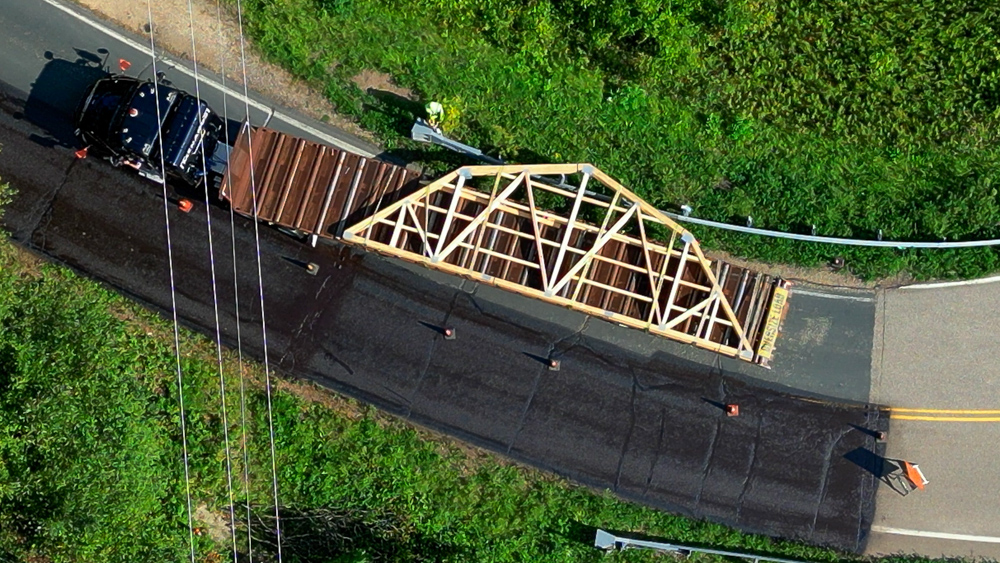
All right, trusses are here! Donavan and I are going to start getting the purlin layout done and come up with a plan with the trusses. We’re going to do three of these at a time, because I don’t think we’re going to be able to get all nine trusses aligned to do all of it at once.
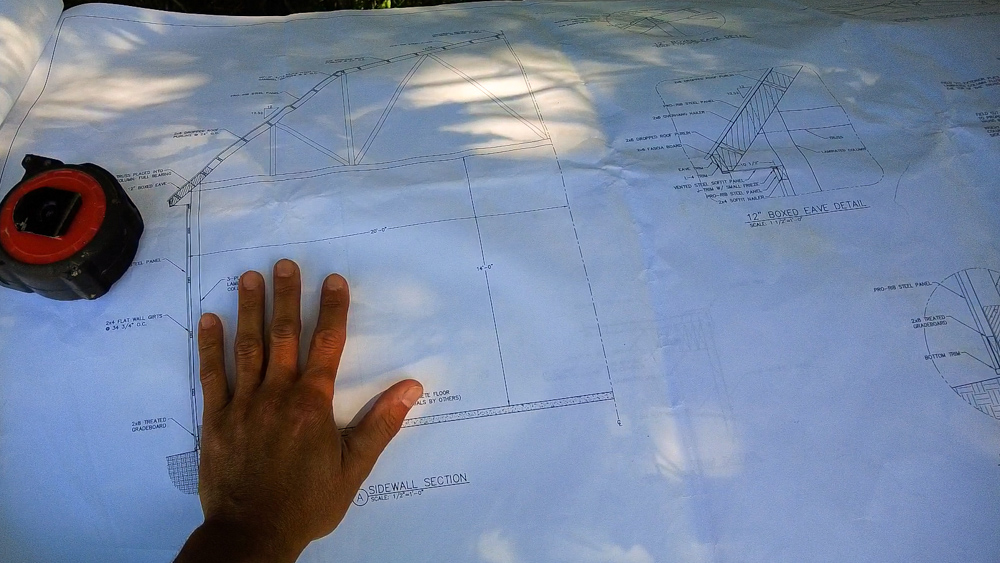
I also got some questions about the plans for this building, asking if it was a kit, etc. So this is a modified kit following plans from Menards. These are the general plans that they provide with the building. I’d say the only downside is that, unlike a kit, the parts aren’t labeled, so you get a stack of lumber and you have to figure out what it’s for. But it’s also not that many parts. We also found that Menards had that best lead times, and we are trying to get this up before winter.
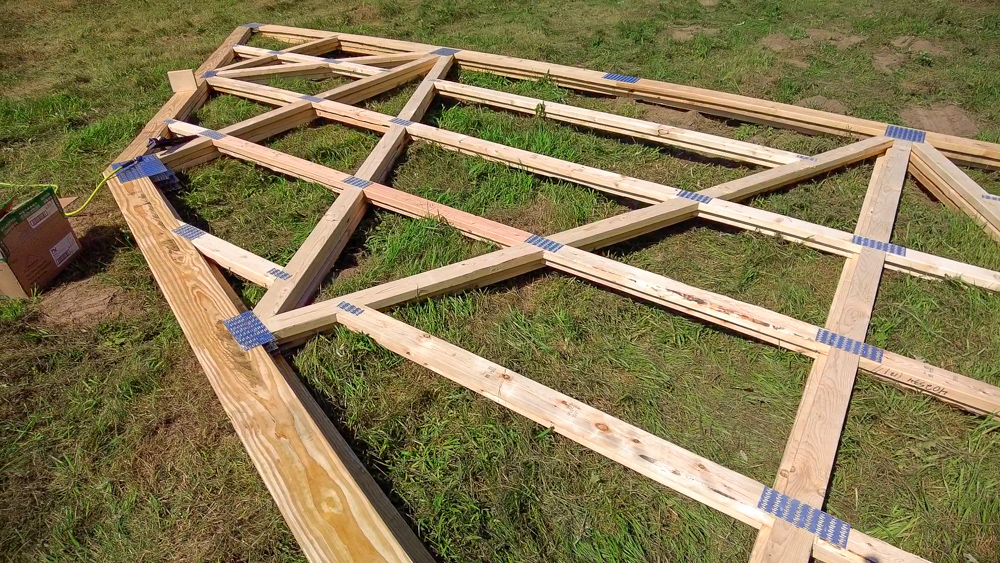
As we’re doing the layout on some of the trusses, Eric and Jack are going to start doing the hangers for those purlins. We have two styles of hangers on the end trusses. These get hung just like joists, so these are just standard old joist hangers. On the mid span trusses we have saddle hangers. After getting those hangers on, we’ll set the end truss in the field until it’s ready to set in on the structure.
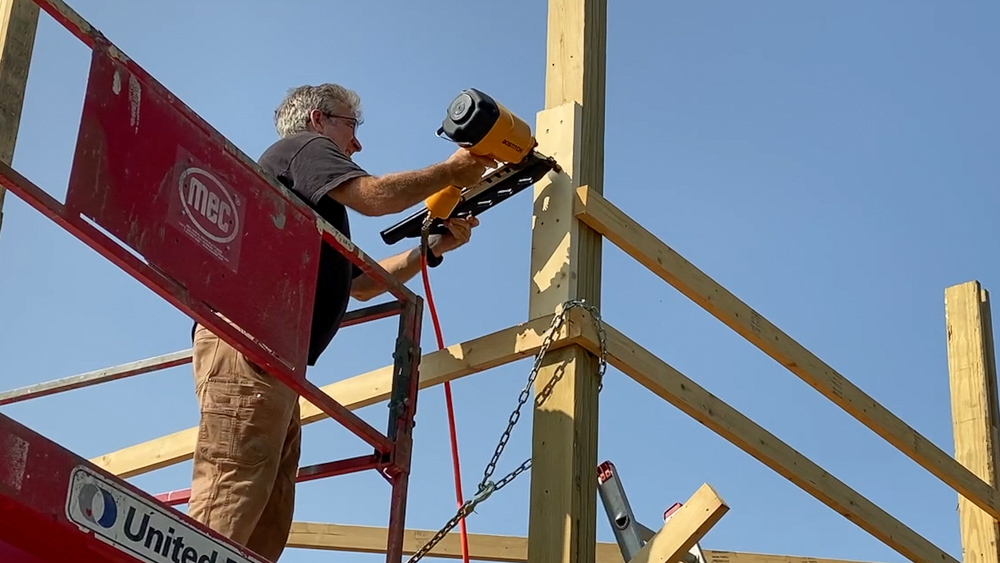
Now we’re working on prepping the end wall to receive the truss. We’re adding some blockings to the top of the post where the truss is going to rest, so we can set it on the blocking and it’ll be at the right height. The end trusses get bolted to the outside of these end posts, meaning that they end up being part of the girt system going all the way up.
With those three blocks up there, we’re ready to put this first truss on. We’re going to set it on those blocks and then screw it into the post.
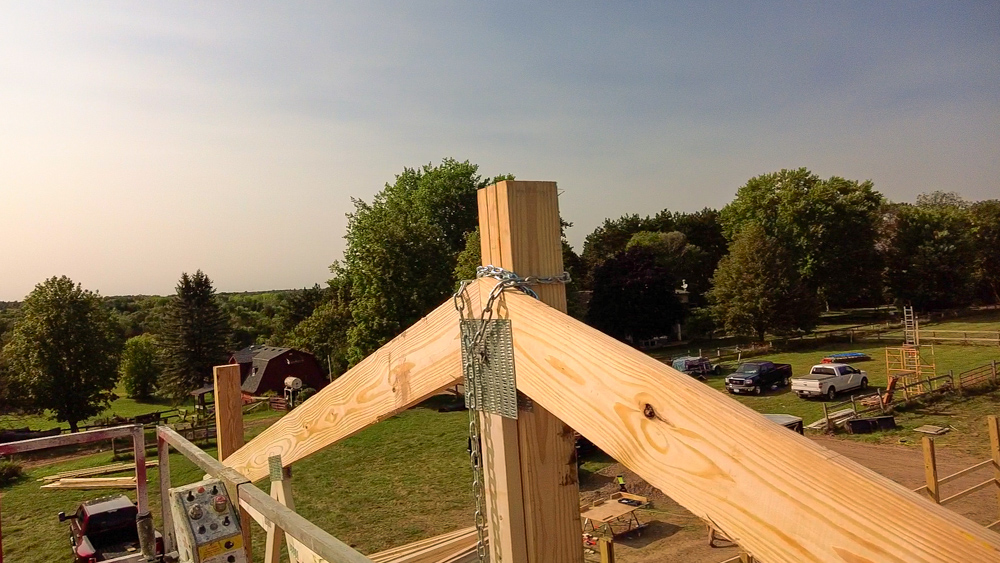
Last little thing up here for now is to set these chains, which are going to allow us to rack and square the building and support everything as we keep going.
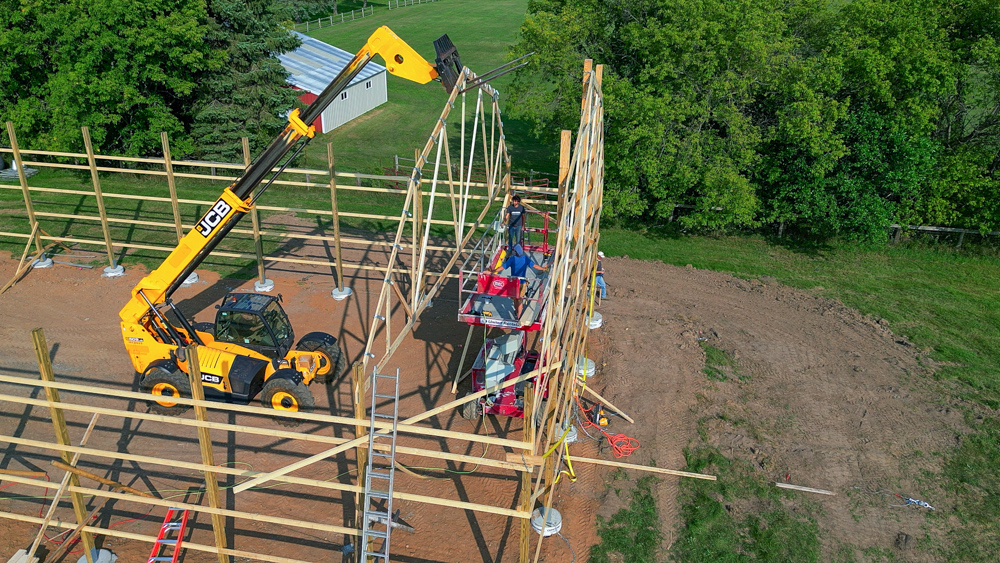
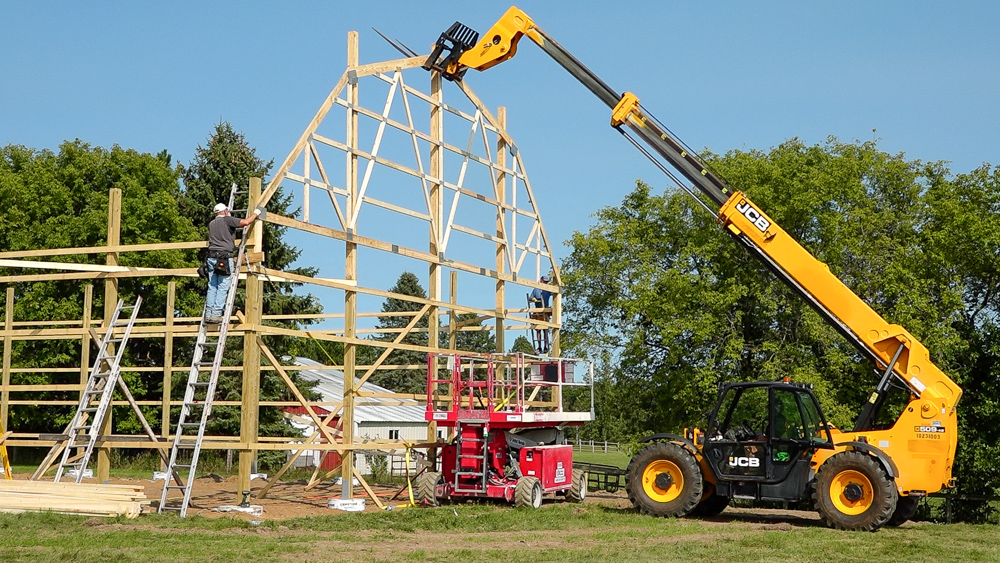
We’re going to start setting some of the interior trusses. We’ve got Eric and one end and Jack on another, guiding the truss into the fork. Then I’m on the platform to drip in some of the purlins.
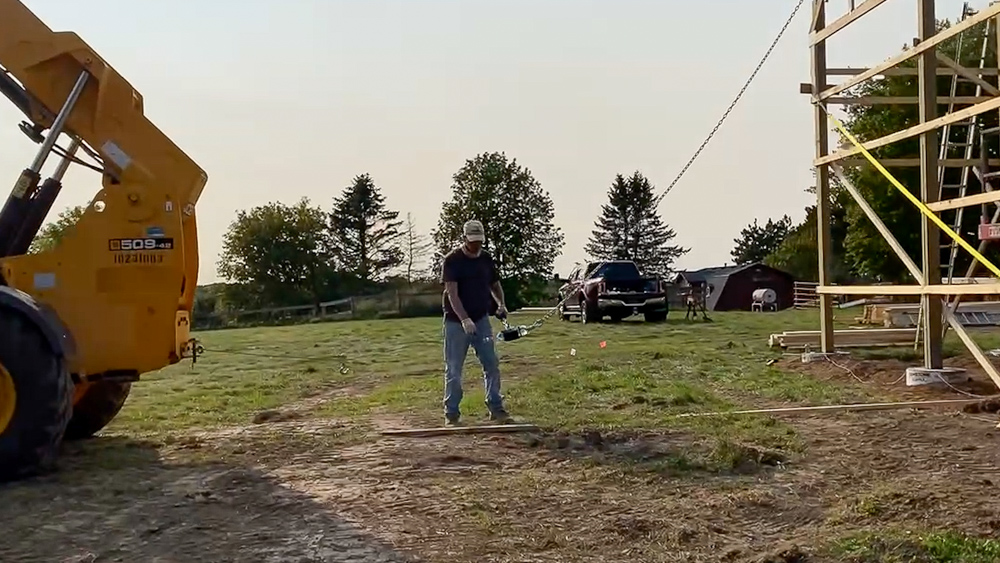
We’re going to chain the building up for the night, with the telehandler as our anchorpoint. This will hold it steady overnight, so it doesn’t blow over.
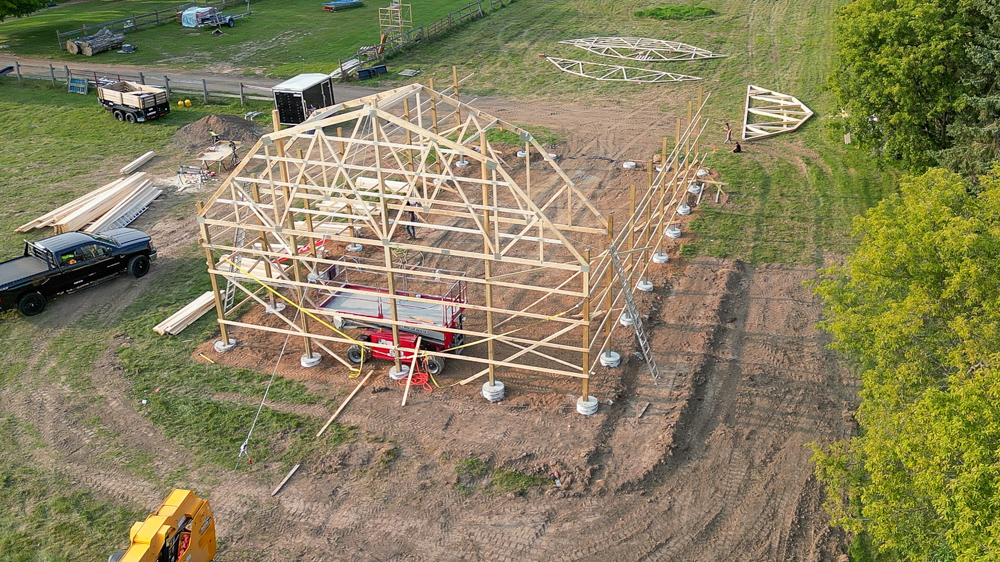
Two trusses up today, pretty decent start! Tomorrow we’ll start getting this back intersection between the end wall and the side walls squared up and locked in. Then we’ll start working down the whole side wall structure with the rest of the trusses.
So that is going to do it for now. Thank you as always for joining, I greatly appreciate it. If you have any questions or comments on the build, please feel free to leave them in the comments As always, I’ll be happy to answer any questions, and until next time, happy woodworking.
Welcome to my shop! This is a quick update to let you know what I’ve been up to. This big chunky thing is the leg

Welcome back to the home renovation. This time I’m going to be working on the kitchen island. Here is a small model of the island.

Welcome back to our home renovation. Today I am going to be working on this wall. It needs some upper cabinets and the surround for