
Matt's Weekly Shop Update
Kitchen Island, Barn Power – March 2024 Update
Welcome to my shop! This is a quick update to let you know what I’ve been up to. This big chunky thing is the leg
Welcome back to the build.

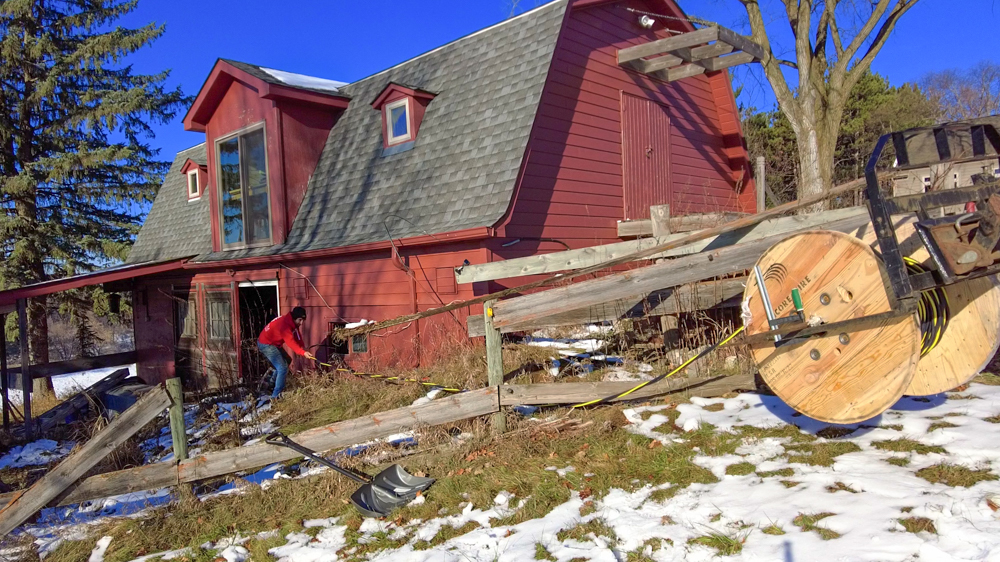
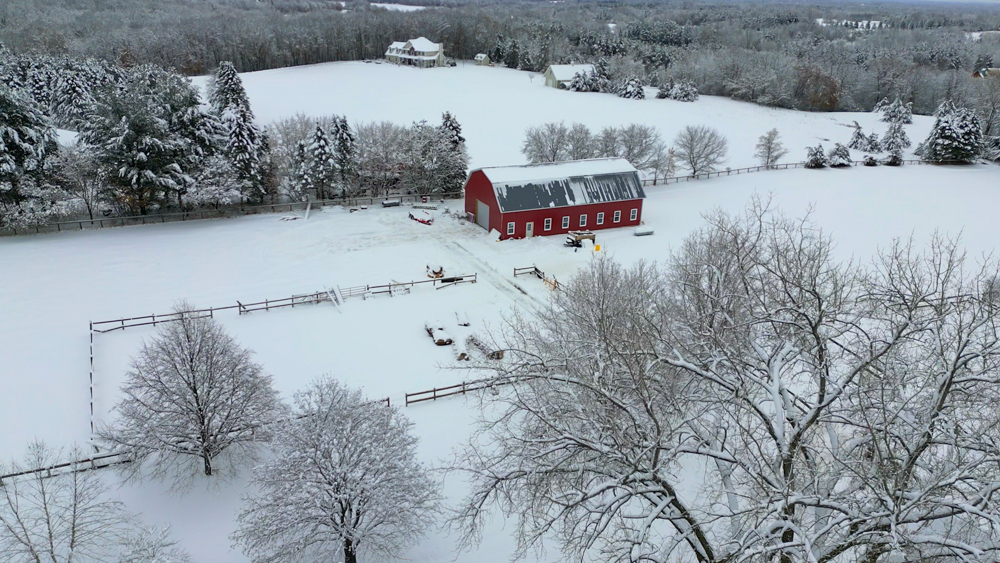
We’re starting to get to a point where the barn is actually going to be a functional and useful building, which I’m pretty excited about. Today I am getting started by running our temporary power feed from the other barn to the new barn. If you missed the last update, our utility company is going to run a dedicated 400 amp service to this barn, but that’s not happening for a while. So I am stealing the feed from the horse barn and just bringing it up to this barn over here.
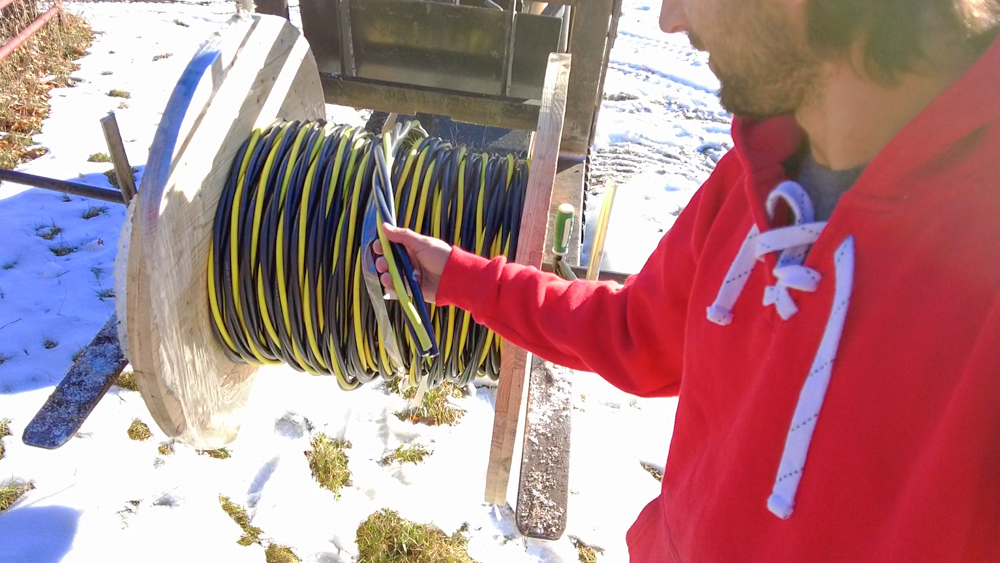
We have 225 feet from the corner of the new barn to the corner of the old barn. My electrician ordered me up some direct bury service wire, and we are going to get this pulled through the building to its panel.
This is a temporary install, so I don’t really care how pretty it is. Just have to be connected, and then I can move on.
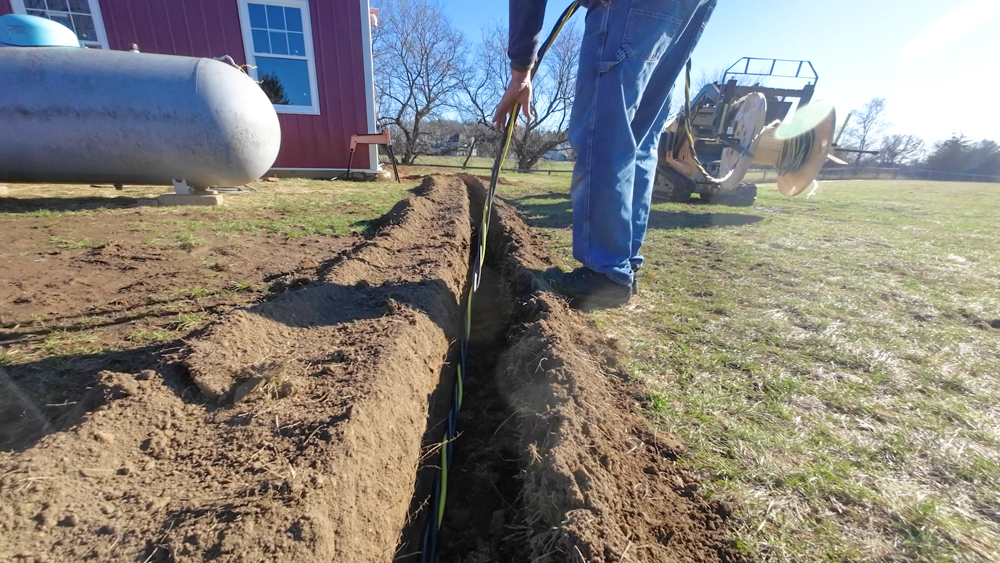
I also have to dig a trench for the wire. I won’t be digging it very deep, about six inches down, because it will be coming back out eventually.
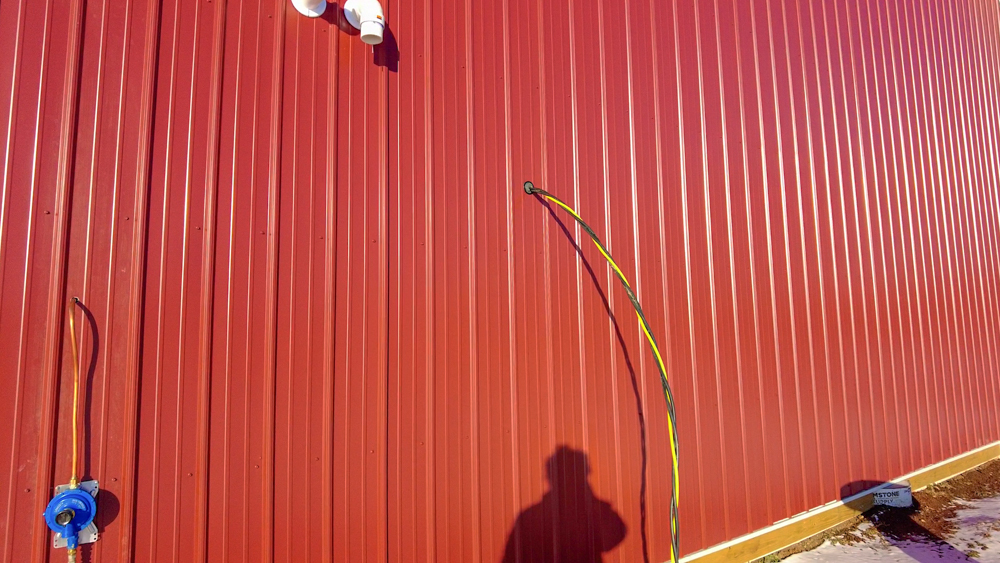
10 days later, and in that time, the electrician stopped by and got that temp wire into the building and one circuit installed. And that is the same place our service entrance should be in the future, so we won’t have any extra holes in the building.
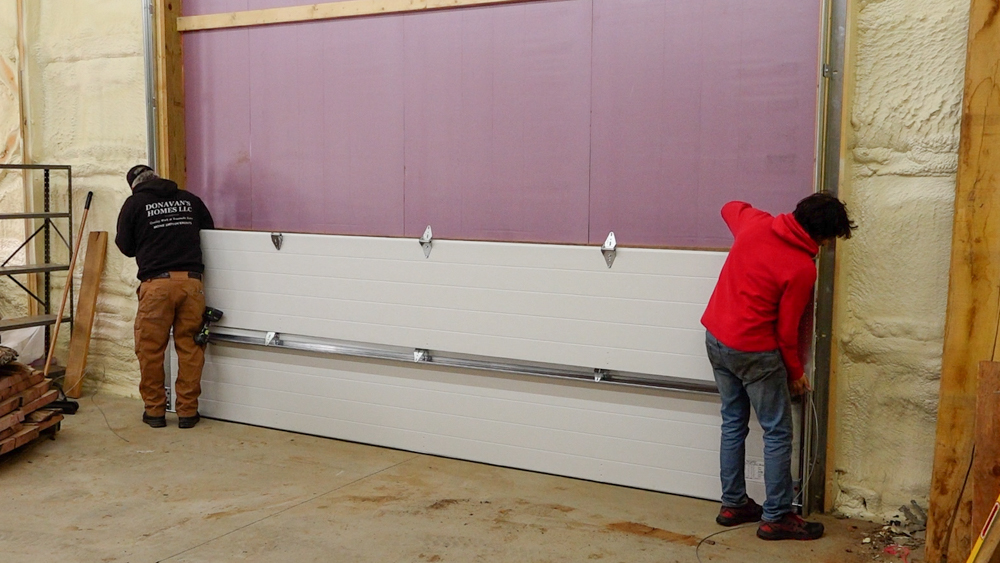
Look who’s here, ready to install a garage door. We have a 14 foot wide opening that is 12 feet high. So we have six panels to install.
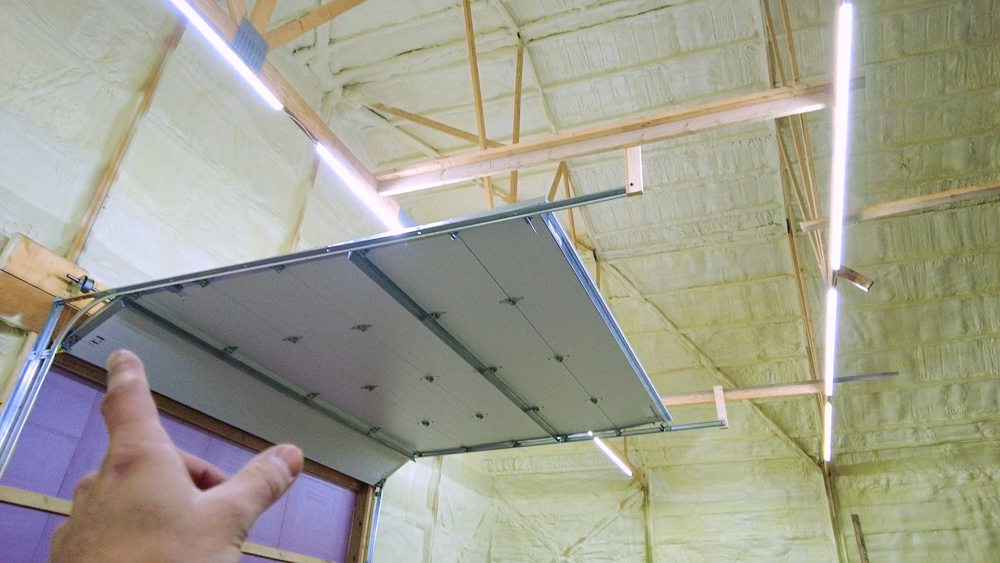
There is the door. It’s functional, which is nice. It still needs a little bit of tweaking though. We want to put some more bracing up, but that’s for some other time. But now that this door is installed, we can get the floor sealed.
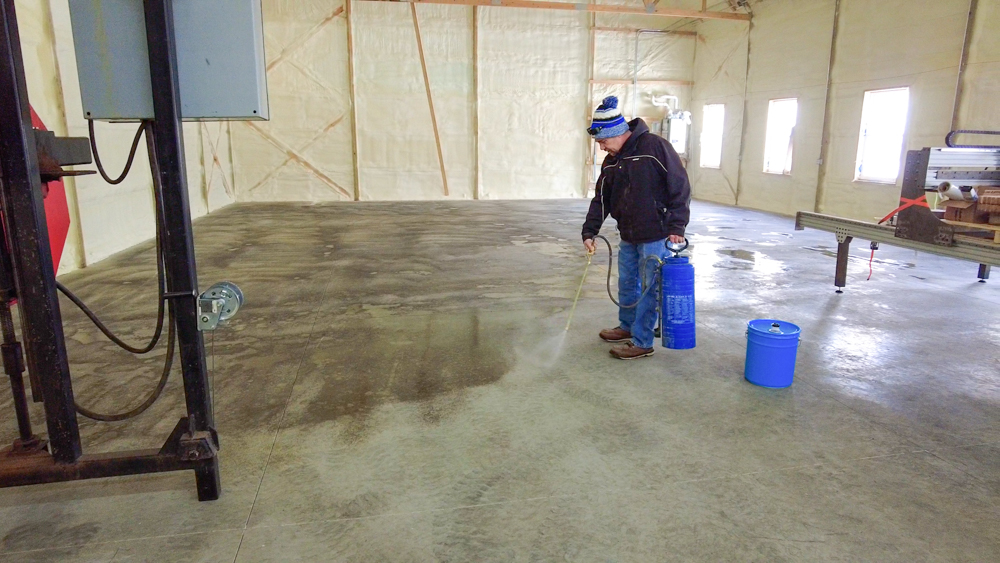
The floor is getting sealed today so I’m super excited about that. Yesterday I spent most of the day getting ready by pulling just about everything out of the barn. Sealing the floor shouldn’t take too long, from what I hear. About 20 minutes to apply and 2 hours to dry.
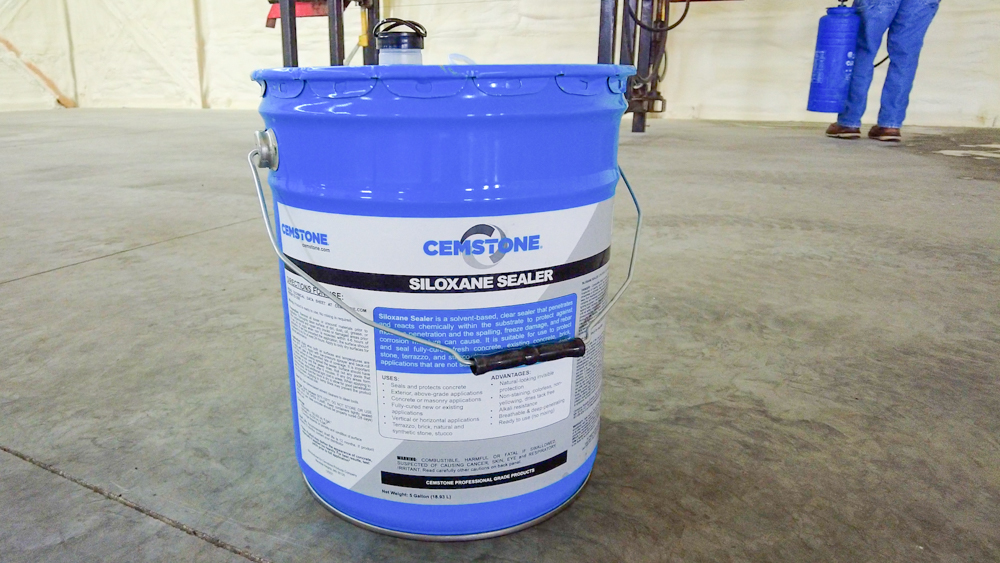
Rusty is out here today to get the sealer down. This is the product he’s using. It’s the Siloxane sealer, which is a solvent based sealer that penetrates and soaks in, and it gets applied with a garden sprayer type device. This sealer doesn’t really do anything to the surface, so the look of the concrete now is what it will look like when it’s sealed. It won’t look wet or polished, it will maintain the dry concrete look.
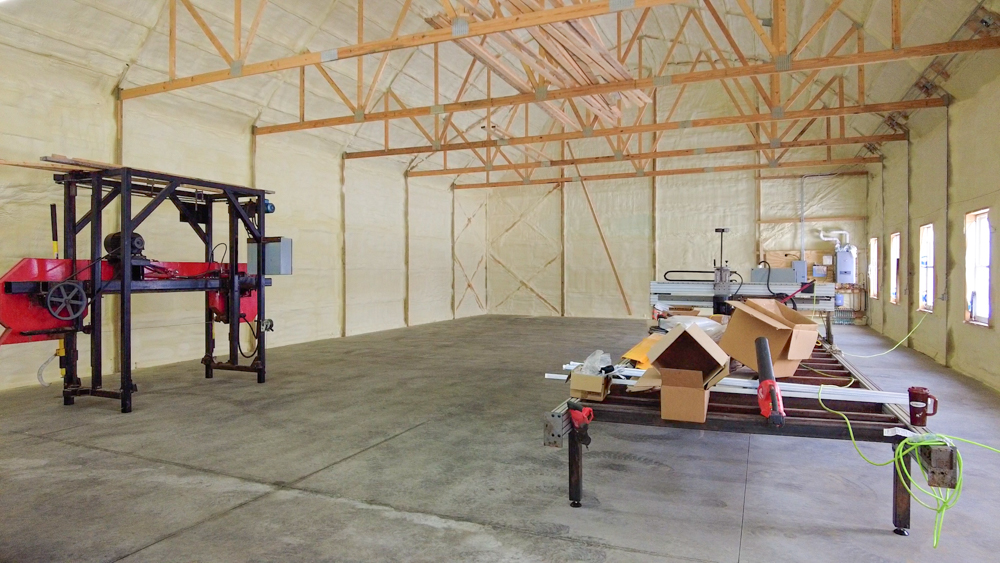
It’s been about an hour and a half since Rusty finished the full project and about two hours since he started it, and you can see that the floor looks basically like it did before the sealer was applied. But now, it repels water.
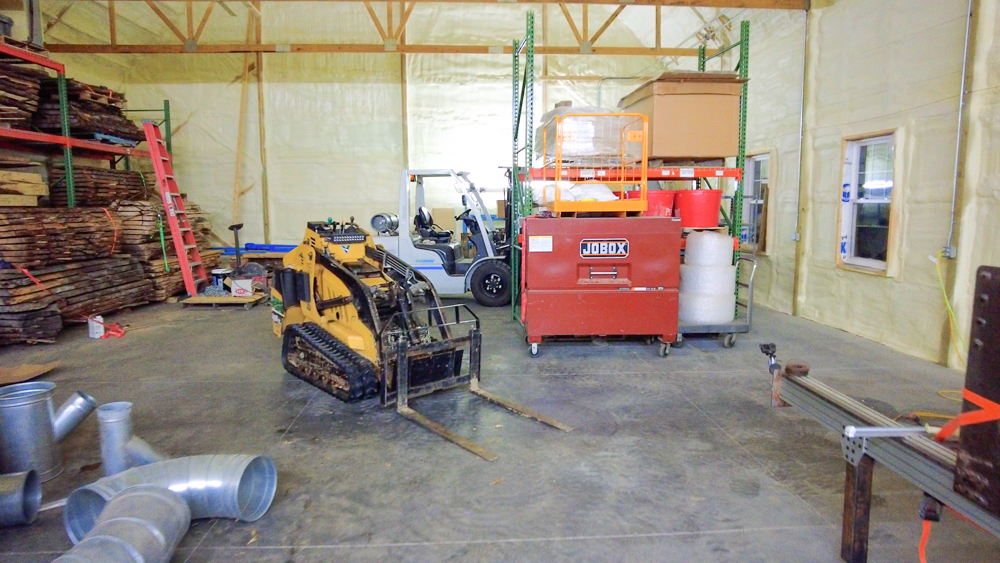
Racing against the snow, I got everything put back in here, and this is what it looks like for now. It was a long day to get everything back in here. I started at noon and didn’t get done until about seven o’clock, and I still have to get things set up, but it’s cool to have this space be functional now.
So that is going to do it for this one. Thank you as always for joining. I greatly appreciate it. If you have any questions or comments on the barn, please feel free to leave me a comment. As always, I’ll be happy to answer any questions you might have. And, until next time, happy woodworking.
Welcome to my shop! This is a quick update to let you know what I’ve been up to. This big chunky thing is the leg

Welcome back to the home renovation. This time I’m going to be working on the kitchen island. Here is a small model of the island.

Welcome back to our home renovation. Today I am going to be working on this wall. It needs some upper cabinets and the surround for