
Matt's Weekly Shop Update
Kitchen Island, Barn Power – March 2024 Update
Welcome to my shop! This is a quick update to let you know what I’ve been up to. This big chunky thing is the leg
Welcome back to the build!
Yesterday we got those two trusses up there, and today we’re to continue on with making a building. We have Jack and Eric helping us again today. They are going to be getting the last little bit of truss prep done, while Donavan and I get the corners squared, and then we can go from there. While we have people here helping us out, it’s a better use of labor to have help setting the trusses and not necessarily setting all of the purlins. Setting those purlins takes a good amount of time, but once a couple are in there, the rest just drop in.
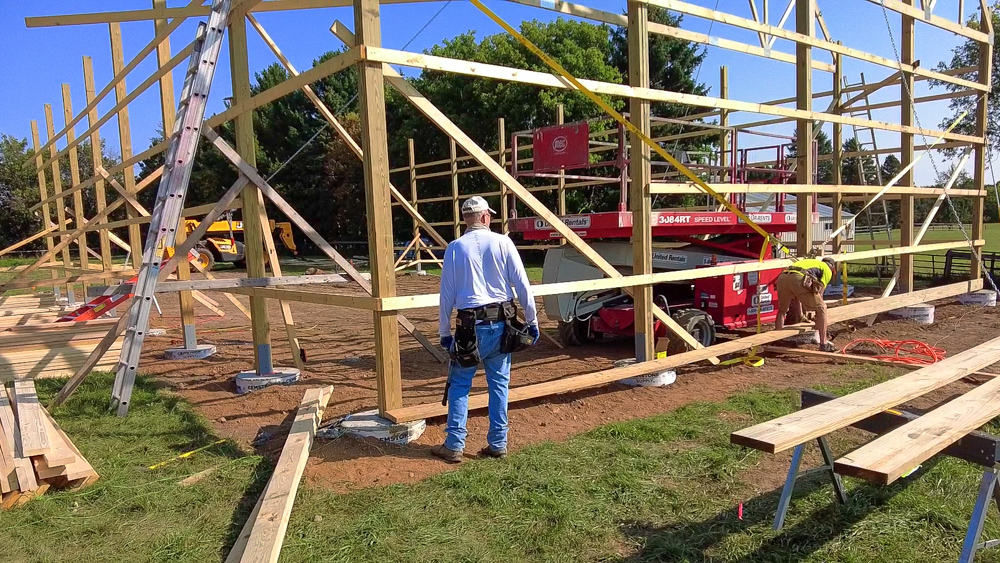
We’re installing the grade board, which goes along the bottom as a lower girt. We need that installed because the X brace is attached to the grade board.
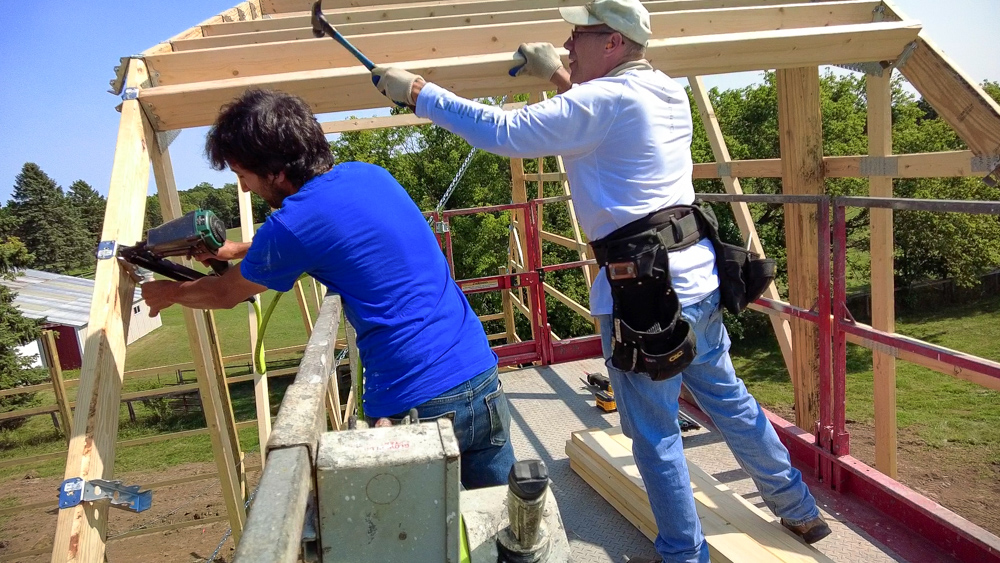
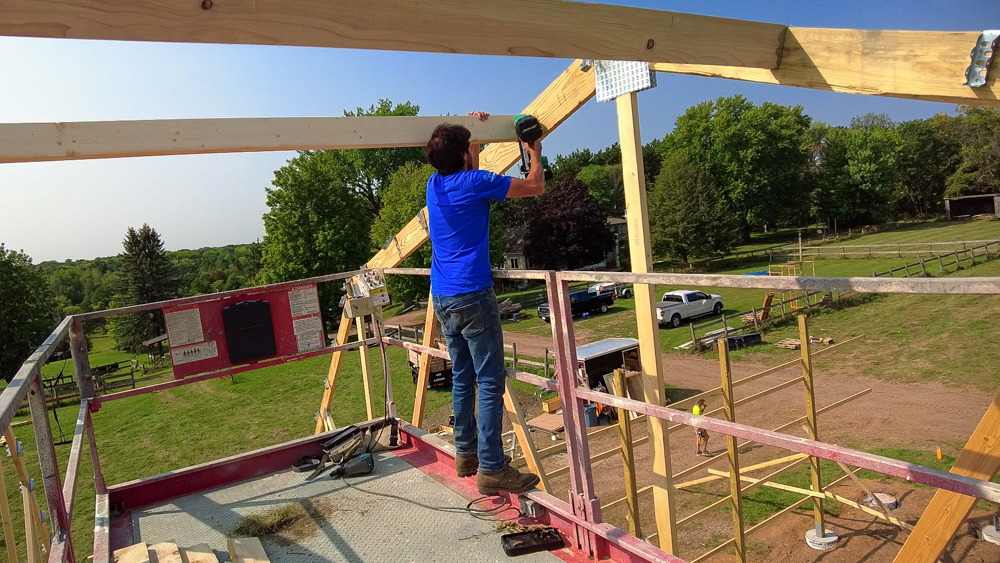
Now we’re heading back up and getting these purlins set in the first bay. Being up in the air with the air gun takes a lot of strength, I’m going to have some Popeye arms after this.
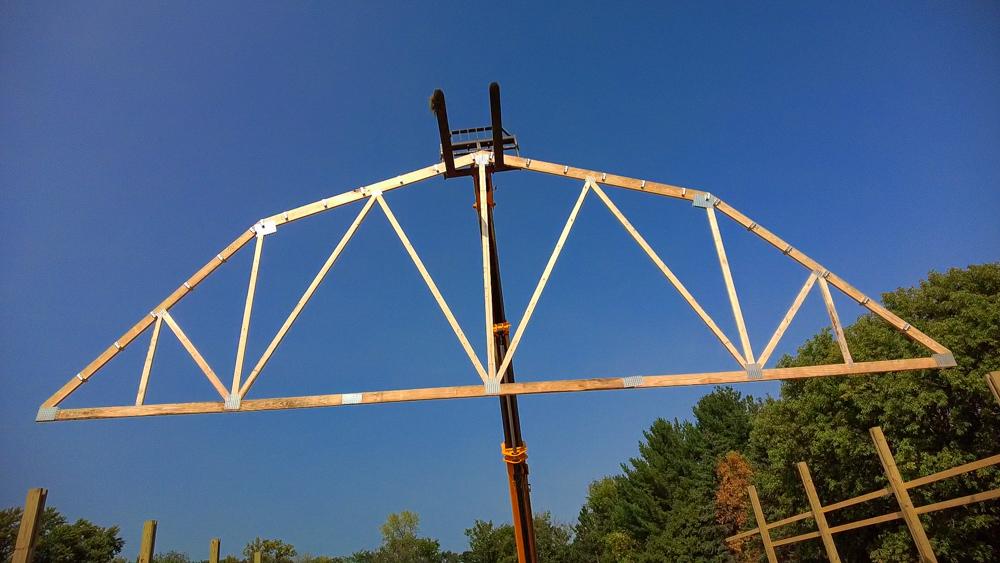
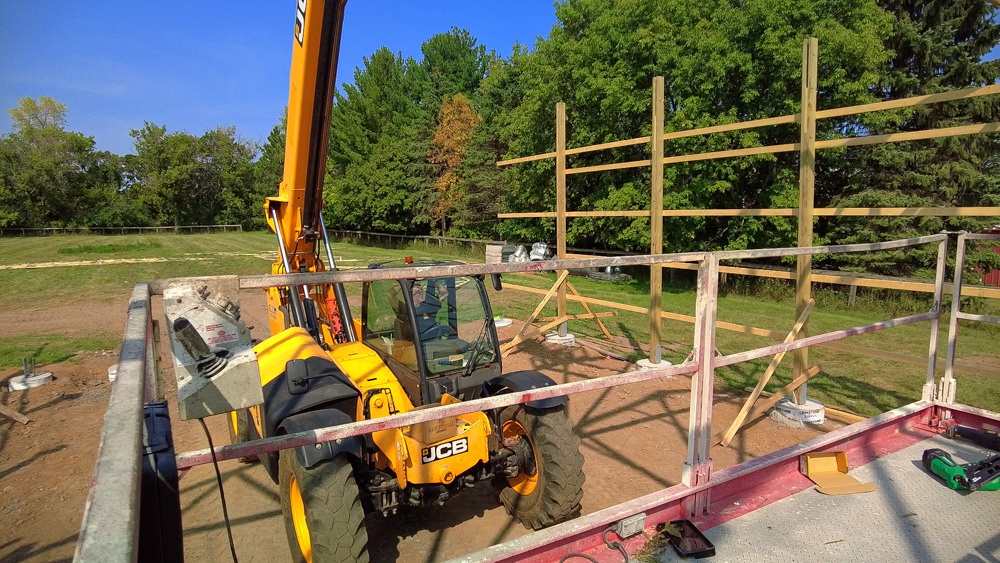
Here comes the next truss.
I’m just dropping in a couple purlins so we can set in as many tresses as possible, and we’ll come back to do the rest of the purlins later.
Three more trusses to go. It’s going to start feeling like a building pretty soon.
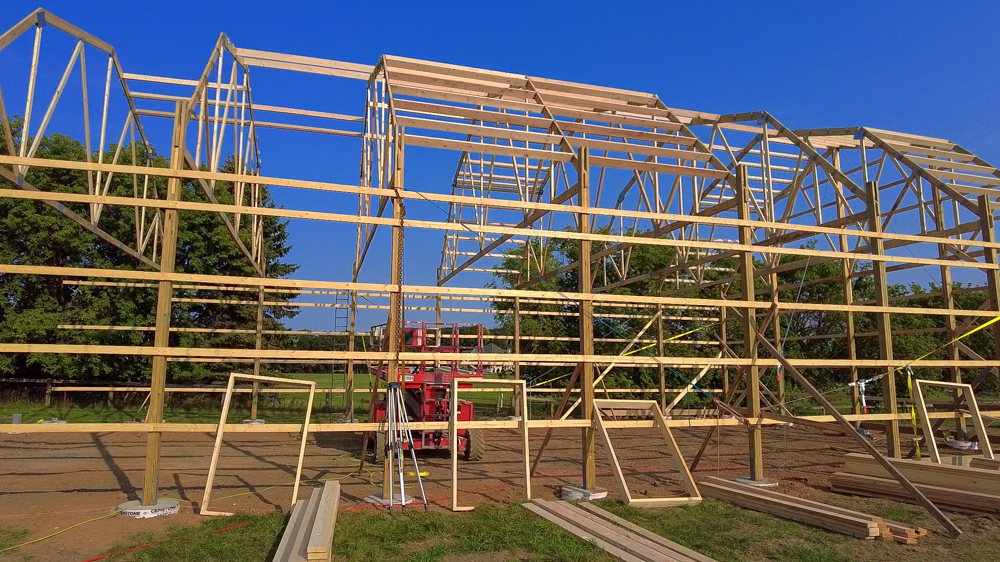
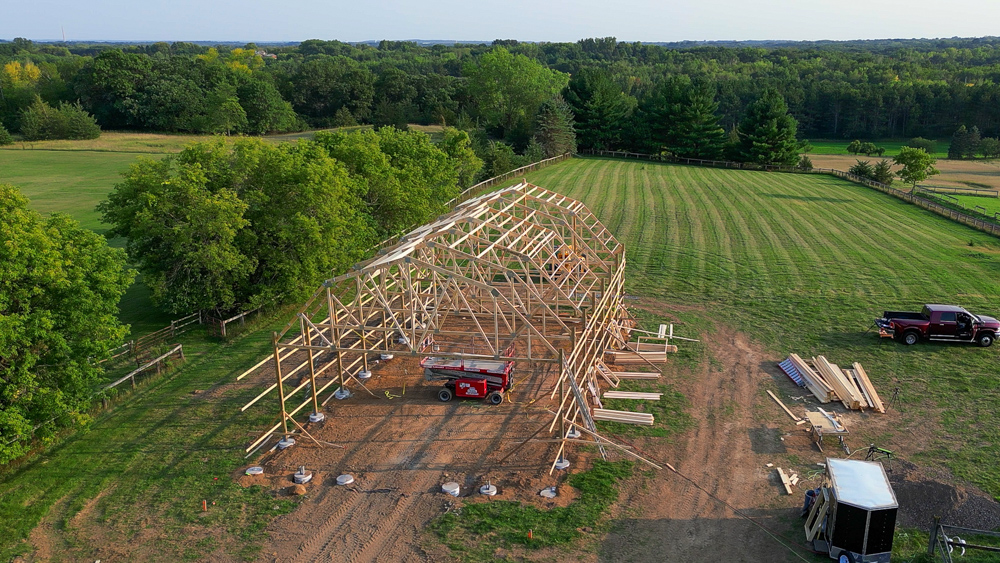
We have one end truss and seven of these midspan trusses in. Next we’re going to work on squaring the whole building up and setting a lot of purlins.
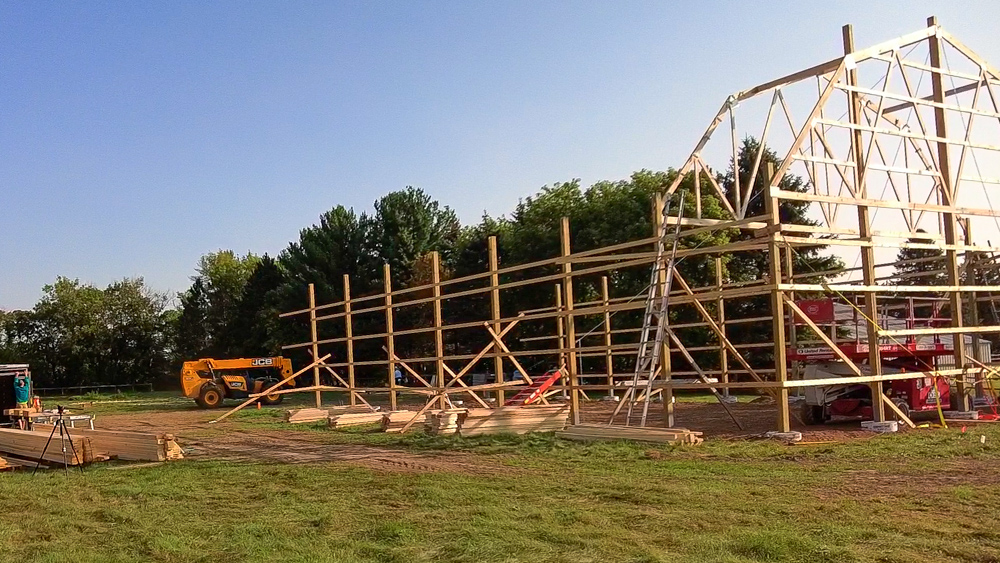
As we come in here, it’s starting to feel like an actual space and an actual building.
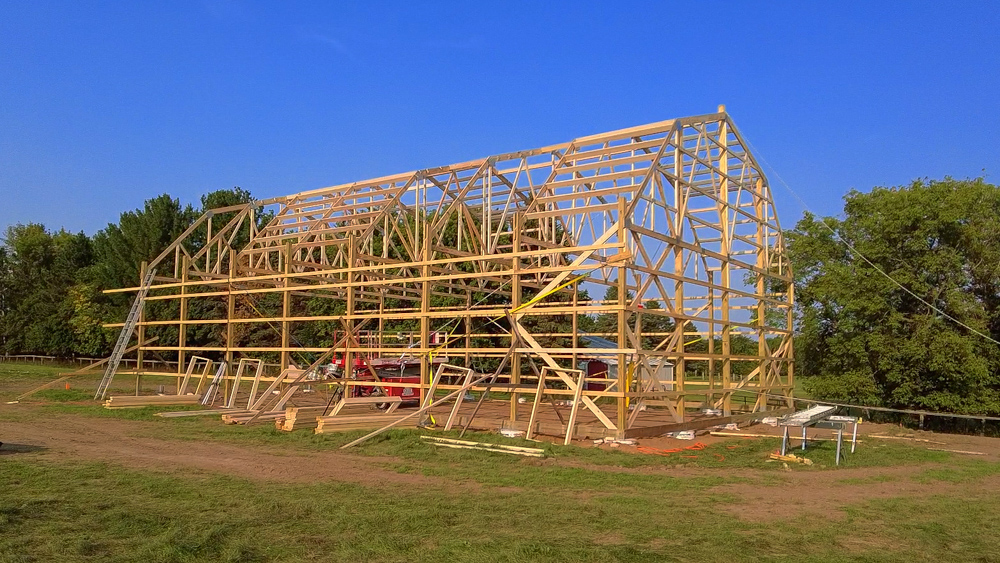
Here is the building as it stands now. Man, it takes shape really quickly.
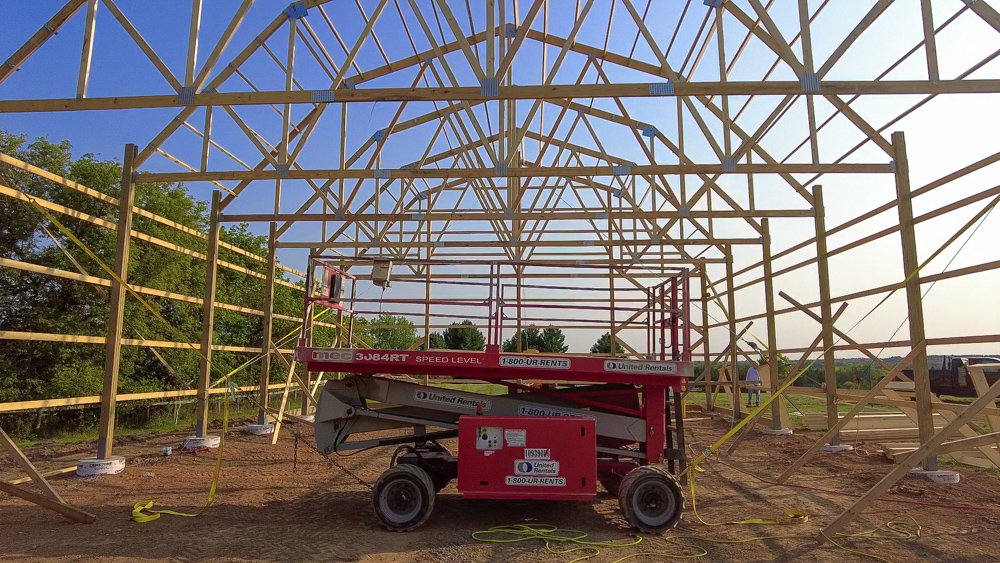
I got a lot of questions about the trusses on the last video, and people were wondering why I didn’t go with storage trusses. The reason we went with the gambrel truss instead of a simple pitched roof is that Lindsay’s only requirement was that it looks like a barn, and this way it matches the barn that’s already on the property. So with the gambrel style, there’s also the option of making a second story up in the trusses. We did look into that, but if you do that, the trusses are spaced significantly closer together. There would be three more trusses in each bay, which adds a lot of cost, and I didn’t really know what I would do with the space anyway because it couldn’t hold lumber or slabs. So the cost wasn’t worth it for me.
But I did realize that if I just insulate up and around the roof and not put a lid on the trusses, I would have full access basically up to the roof, which is about 28 feet of head space. Also, if I put a pallet rack in here, I can go up into the trusses a little bit and get a little more height. In the ceiling, I could put fans, air scrubbers, all the duct work, and the dust collection up into the ceiling, so that none of it’s hanging down into the actual usable space. So leaving that space completely open is just more useful for me given what I plan to use the building for.
So another great day of progress! At this stage, things happen real quick and there’s noticeable, measurable changes by the day, which is nice. That’s going to do it for today. Thank you, as always, for joining, I greatly appreciate it. If you have any questions or comments, please feel free to leave me a comment. As always, I’d be happy to answer any questions you might have, and until next time, happy woodworking.
Welcome to my shop! This is a quick update to let you know what I’ve been up to. This big chunky thing is the leg

Welcome back to the home renovation. This time I’m going to be working on the kitchen island. Here is a small model of the island.

Welcome back to our home renovation. Today I am going to be working on this wall. It needs some upper cabinets and the surround for