
Matt's Weekly Shop Update
Kitchen Island, Barn Power – March 2024 Update
Welcome to my shop! This is a quick update to let you know what I’ve been up to. This big chunky thing is the leg
Welcome back to our home renovation and remodel project. It is Monday, February 14th, and I am alone today because Donavan is off at one of his other jobs. He’ll be back on Wednesday, and we’ll finish removing our two load-bearing exterior walls when he’s back.
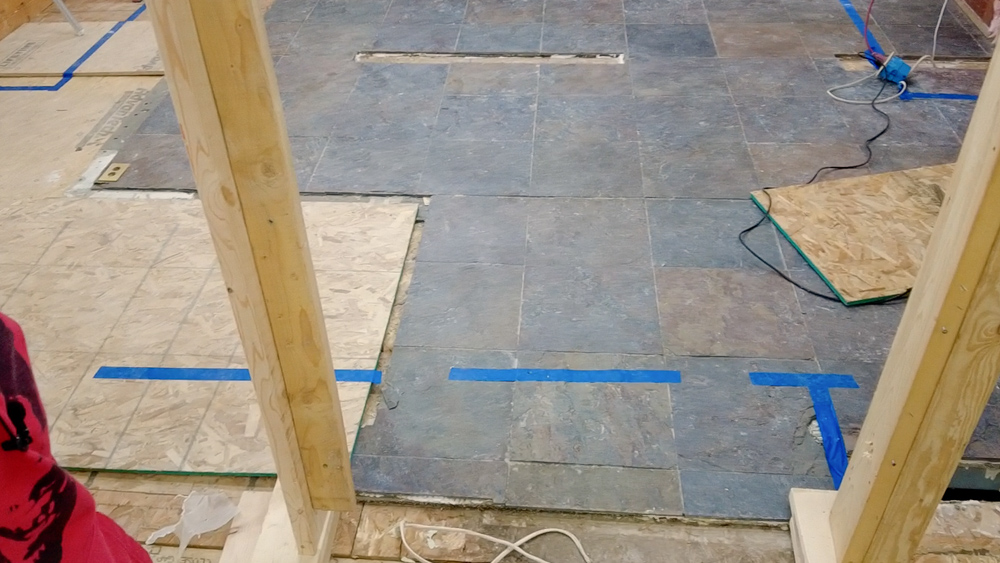
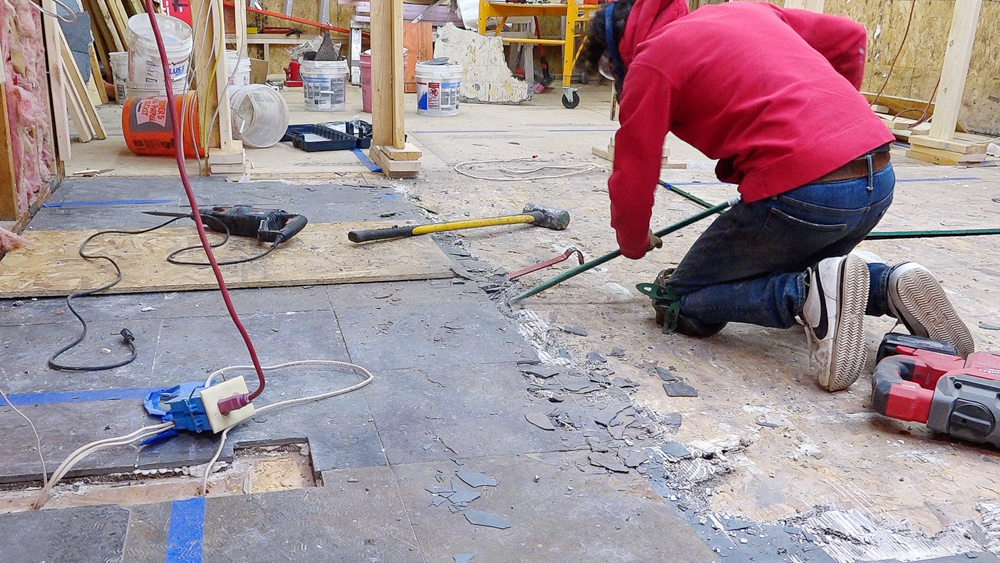
In his absence, I have been tasked with removing this floor. Donavan had hoped that the floor would come up in sheets, but that’s not the case at all.
So we have a slate tile on top, which is set down to a piece of cement board. The tricky part is that the cement board is then adhered to the subfloor. The hope was that getting a pry bar underneath the cement board would allow you to pull the whole cement board up in one big piece. But the cement board will not come up without completely disintegrating, so I spent the morning going around to a few different stores looking for a wide floor scraper, which would be really nice for this.
The widest thing I could find is a two-inch scraper, so I’m going to see where this gets me. At the very least I can get the tile out of here, and then we’ll have to deal with the cement board later.
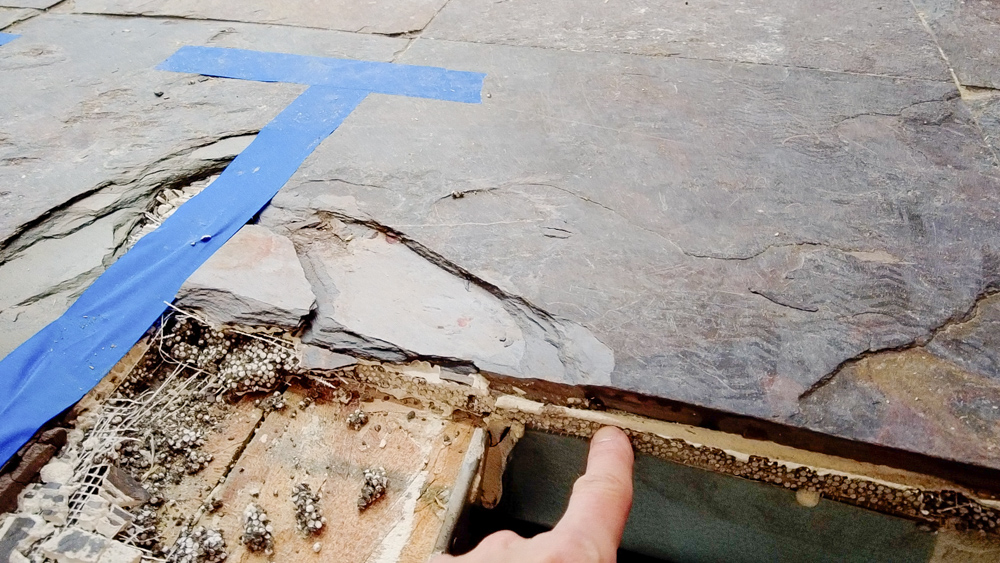
So after about an hour and a half, this is how far I am. And I have come up with a little bit of a different strategy. Instead of using the chisel and trying to get underneath the cement board and prying it up, I am coming down from the top and basically jackhammering this into bits and pieces. Then I can come in and remove whatever’s left with the pry bar and hammer, which seems to be going faster a little faster. It’s been an hour and a half and I’ve removed nine tiles.

Here is the progress so far. Definitely a very slow going thing, and I still have a lot to go. But our plumber Mike is here. He’s been installing the in-floor heat out in the sunroom, so we’re going to go take a look at some of that real quick before getting back to tearing up this floor.
![]()
Mike is back today working on getting the floor of the sunroom tied into the in-floor heat. We talked about it a little bit in the last video Mike was in when we were doing the floor of the basement. But to recap, the subfloor has transfer plates on it. So instead of the whole concrete floor having an embedded tube in it, now we’re into essentially a radiator that radiates into the subfloor, then radiates into whatever the actual flooring is on top of that. As far as the goes, it’s the exact same PEX, with fewer loops, spaced a little wider. On the floor, we did six inch spacings, but up on the joists, we’ll be doing eight inch spacing.

Mike is putting in two channels or two transfer plates per joist cavity. The transfer plates are aluminum. Aluminum’s the best heat transfer material out there, because it absorbs and transfers heat really well. Most transfer panels or transfer plates are aluminum. Because the subfloor is made out of wood, which is not a good conductor of heat, the big thing is insulating the bottom side. So we will have an aluminum foil pan to help direct the heat up. Underneath that, we’ll have some sort of fiberglass insulation. The trick is to get more insulation on the bottom of the tubes to drive the heat up. So we need to have a higher R-value in the insulating factor on the bottom side than the flooring has. Plywood is a R1 or R2; it’s not very resistant to the cold. So we don’t have to get too much insulation underneath there, but more is better.
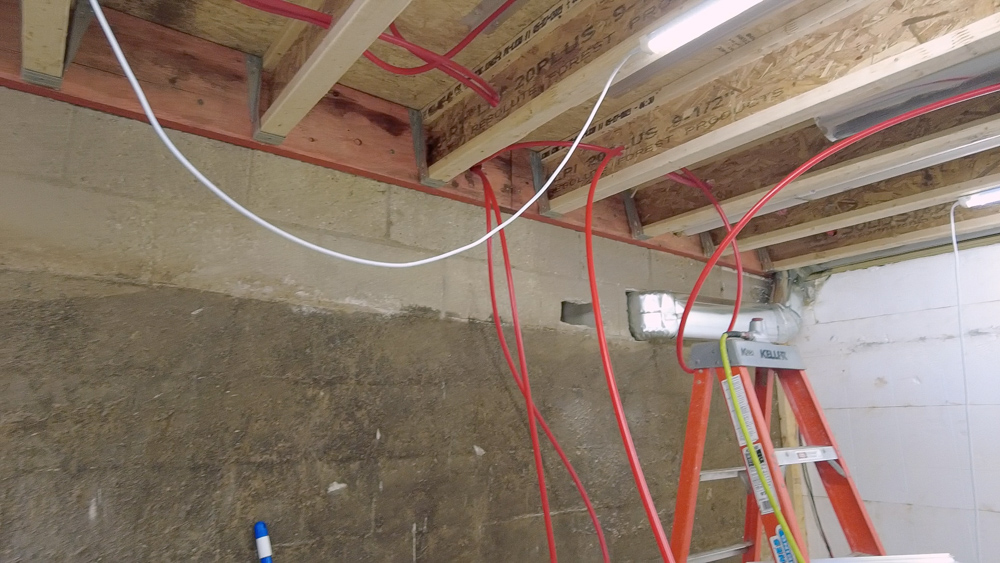
So we have the floor loops coming up over here (which survived the floor installation, by the way), and then we’ll tie in everything into the utility room on the other side of this wall. There’s going to be a furred out wall here, and then all the tubes are going to be hidden inside that wall. So that takes care of all of the PEX in the floor in the addition. We still have more in other places to do, which Mike will come back and do later. He will also be doing some rerouting of lines that got revealed during the demolition.
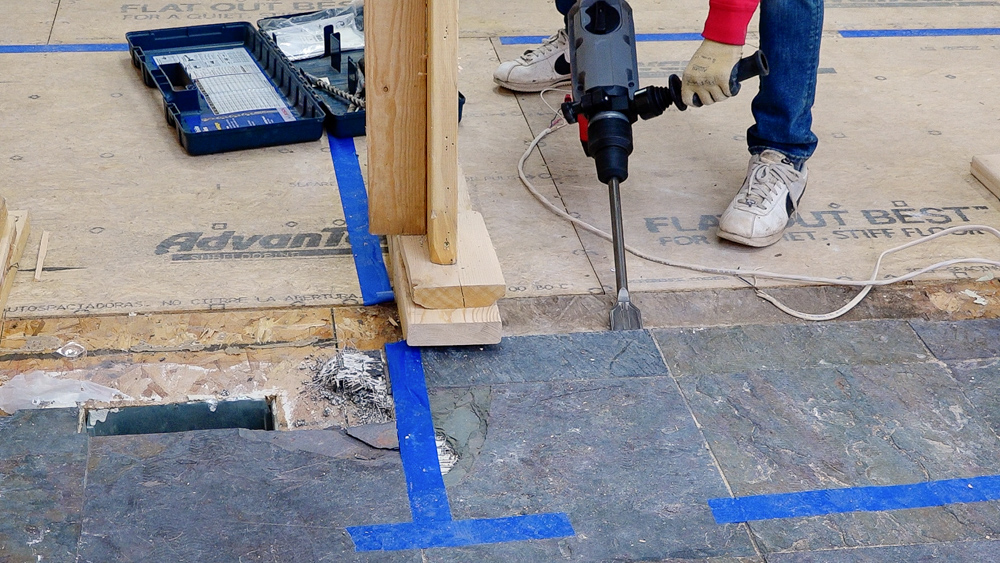
Another evening, another time out here to keep working at removing this floor. I found that doing a little bit at a time makes this a little more manageable and approachable. The new strategy that seems to be working the best has been primarily using the pry bars and not using the hammer so much. So I can use a small bar to get started and get under there, and then come in with the bigger bar and drive that even further. That seems to be taking out slightly bigger pieces. Everything still leaves in a bucket, but at least the pieces are a little bigger. This wasn’t really designed to be removed.
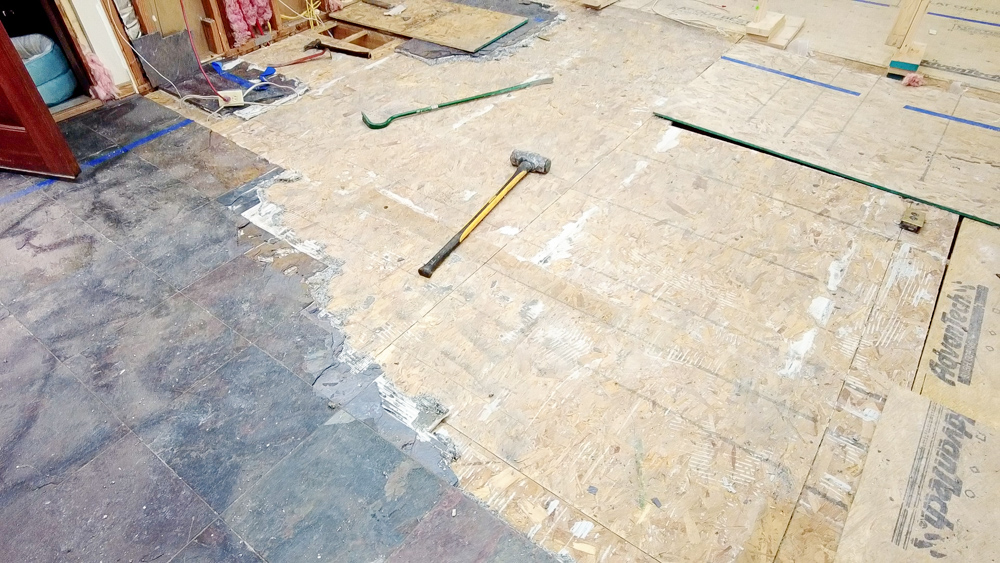
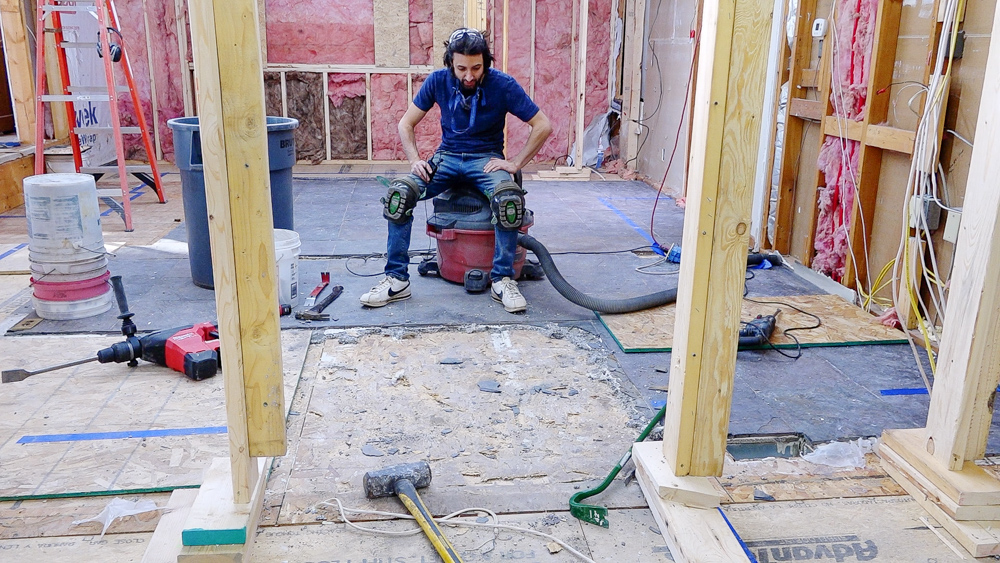
Here’s the progress on this for now. This is about seven hours of work, getting this to being almost halfway done. When Donavan gets back, we are going to try the floor scraper and see if that’s more effective.
Thank you, as always, for watching. I greatly appreciate it. If you have any questions or comments on the home addition, please feel free to leave me a comment. As always, I’d be happy to answer any questions you might have. And until next time, happy woodworking.
Welcome to my shop! This is a quick update to let you know what I’ve been up to. This big chunky thing is the leg

Welcome back to the home renovation. This time I’m going to be working on the kitchen island. Here is a small model of the island.

Welcome back to our home renovation. Today I am going to be working on this wall. It needs some upper cabinets and the surround for