
Matt's Weekly Shop Update
Kitchen Island, Barn Power – March 2024 Update
Welcome to my shop! This is a quick update to let you know what I’ve been up to. This big chunky thing is the leg
Welcome back to our home addition/remodel project.
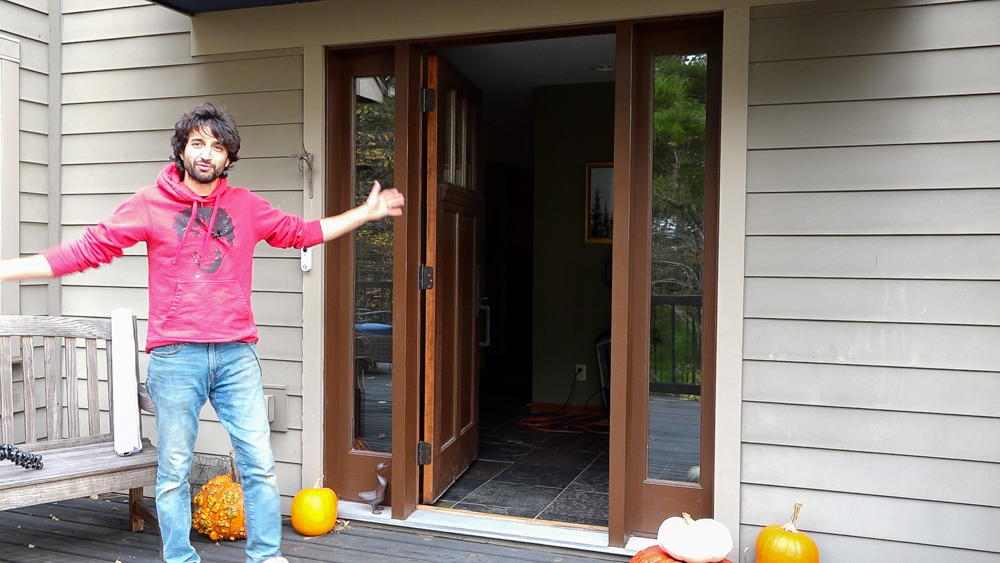
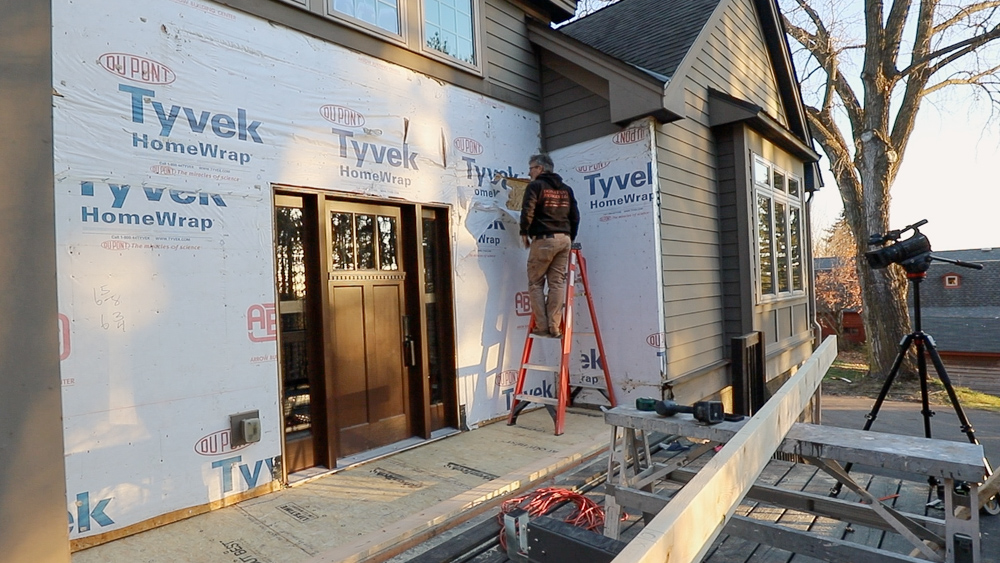
Today is demo day on the front of the house, and Donavan is very eager to get to that part, but first let’s take a look at the plans to see what we are going to be doing here.
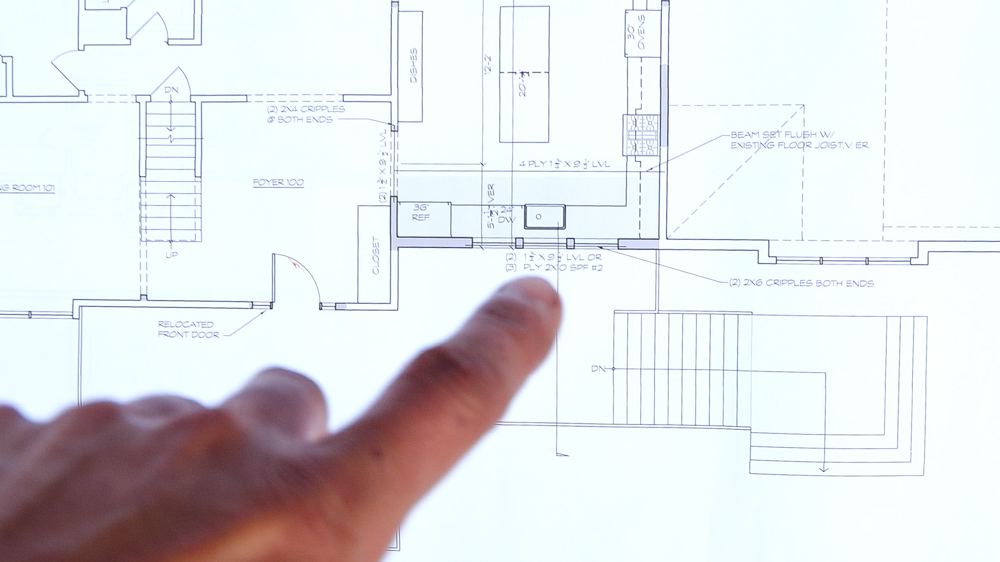
We are taking the current exterior wall from the front of the house, and moving it forward so that it is flush with the exterior wall of the great room. In the future, this area is were the kitchen sink and refrigerator will go.
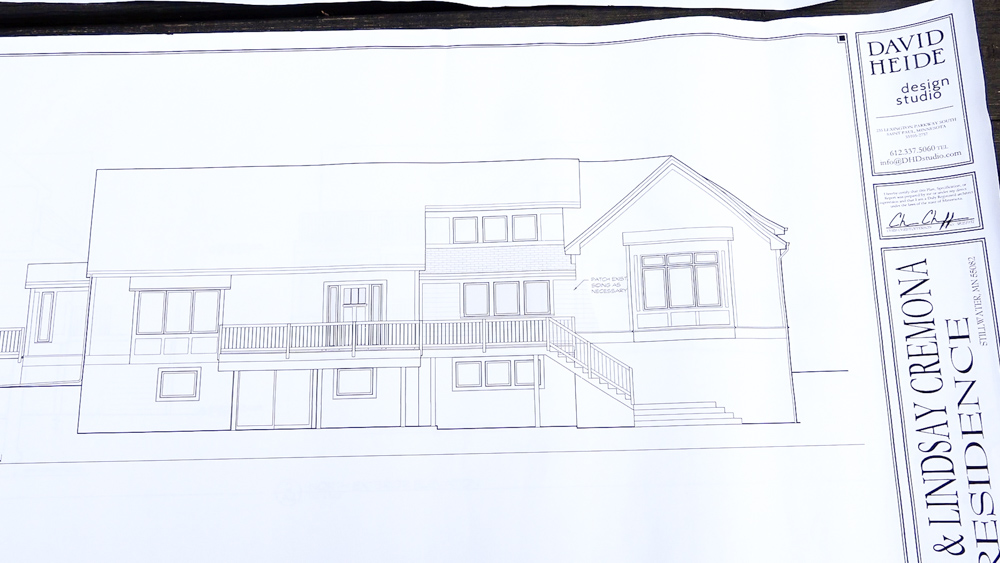
Here’s what the exterior will look like when it’s finished. It’s a new bumped out area with a little roof on top, and really nothing going on below except those two support posts.
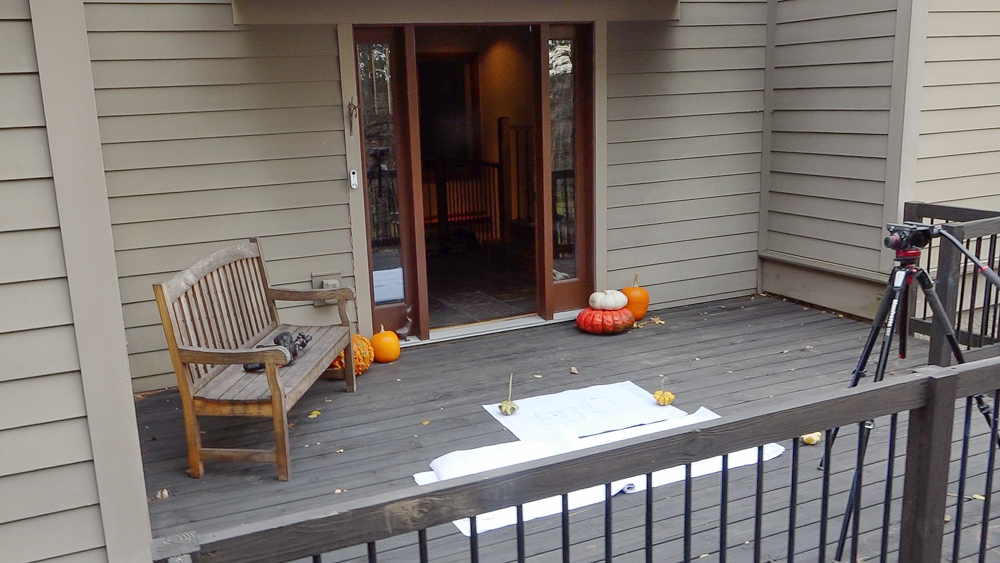
The general plan is to leave the current wall in place for now, so we’ll be working around it. We’ll separate the deck from the house and reattach it to our new addition. We’ll put a beam across, frame out the sides, and build the roof.
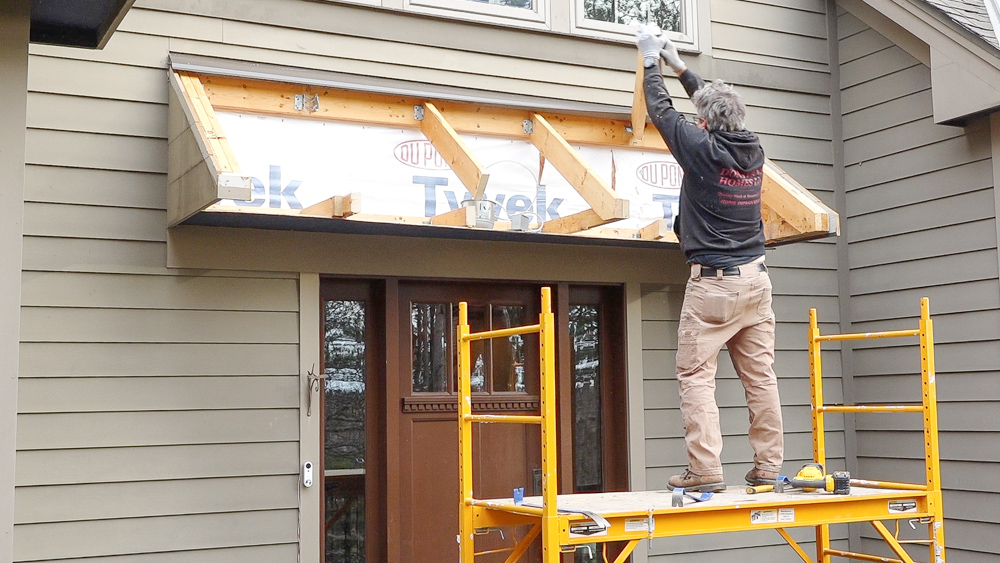
To start with, we are going to take the little roof off and remove the siding.
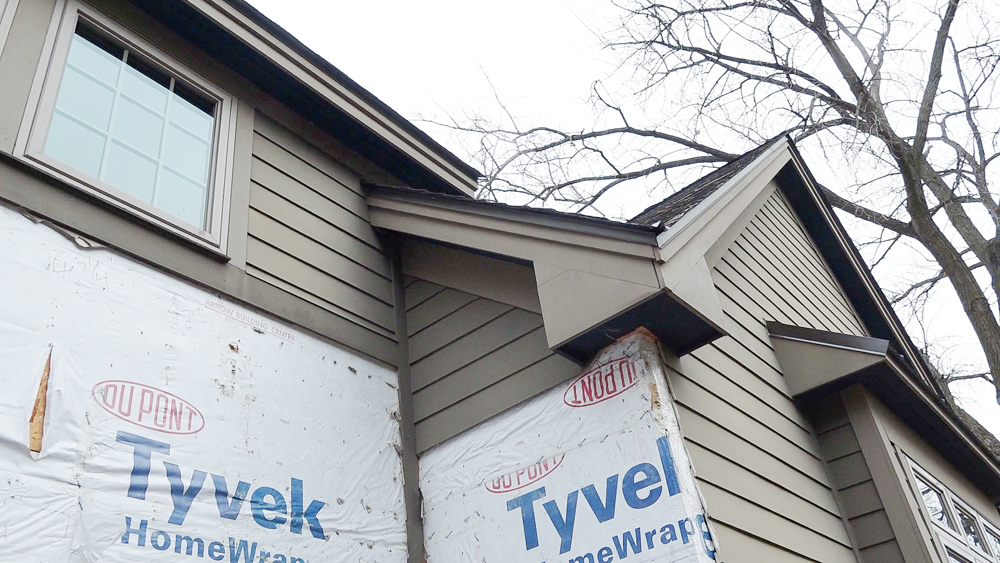
Once again, on this side of the house, we have a similar situation with the water planning which we encountered in the back of the house. All the water from the valley falls down, hits the deck and splashes back, and rots out the house. So our trim boards are a little mushy.
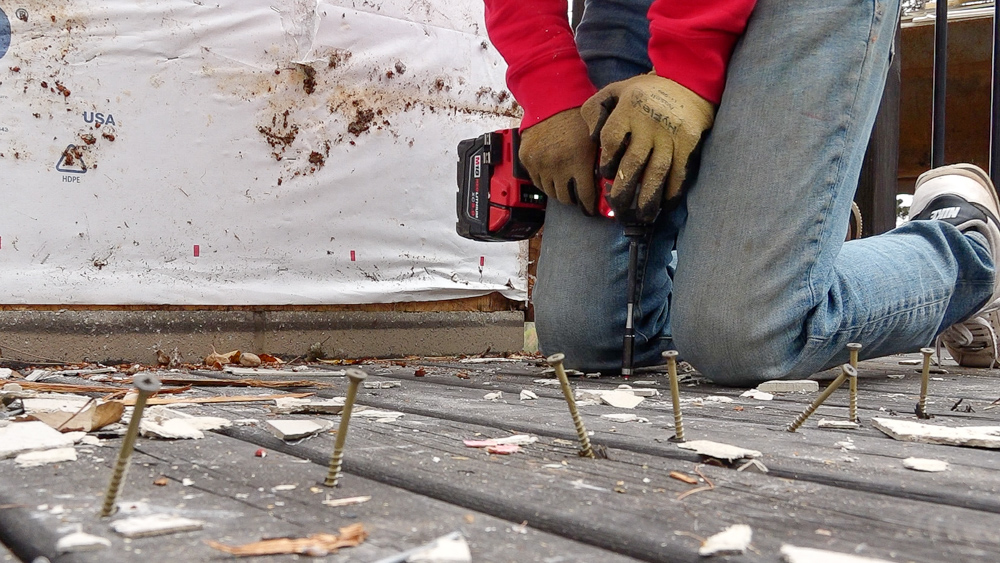
The majority of these screws are not coming out so this is going to be a less graceful deck removal than the backyard.
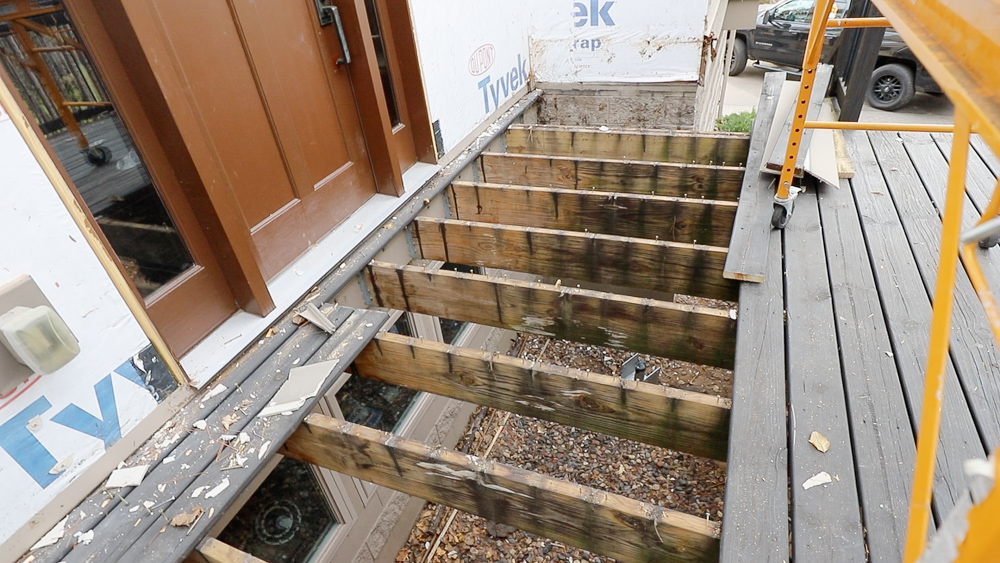
Good morning, everybody, happy Tuesday, November 9th. Here’s our roughly demolished opening. Now we’re getting ready to remove our floor joists from the deck. That’s the last little bit of demo to do before we start framing our new stuff, which is super exciting.
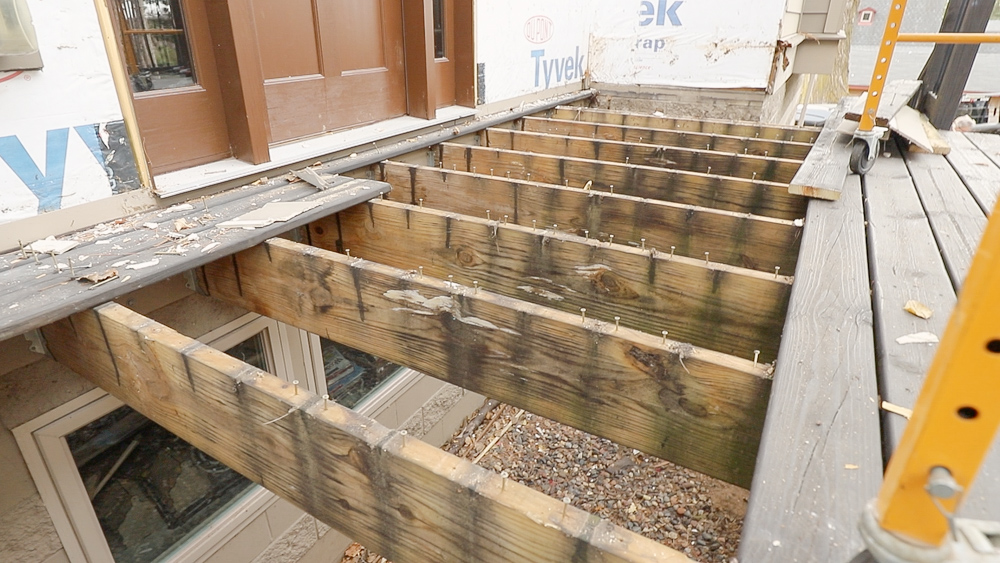
You can see a lot of these joists aren’t in great shape anyway. You can see the drip line where the old awning dropped water onto the deck and damaged a lot of that stuff. So it’s nice we’re going to remove it anyway. And of course we had that mushy corner from all the rain coming off the valley.
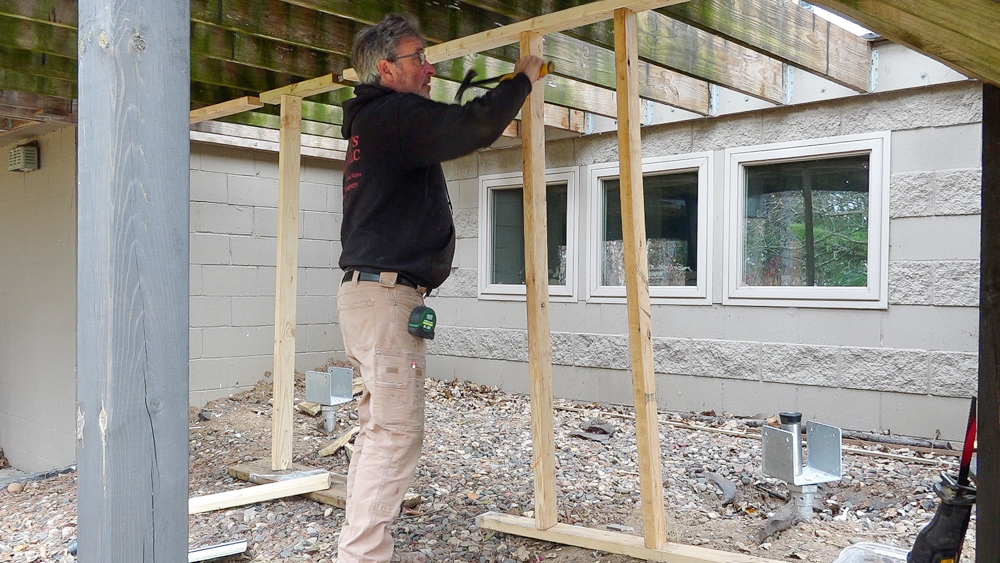
Donavan is erecting the support wall underneath the deck right now.
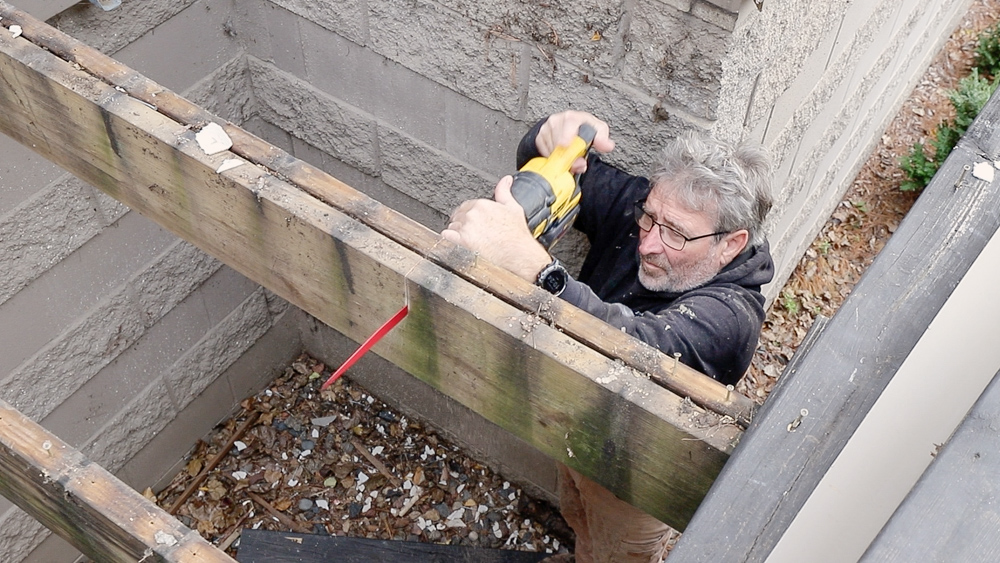
Now we are ripping out the deck joists.
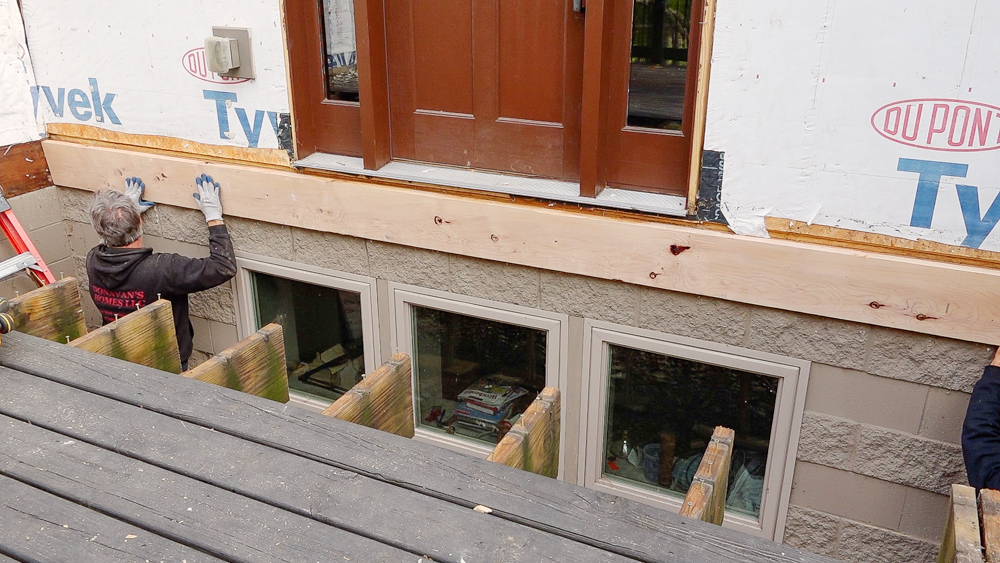
After getting those out of the way, we can install a new rim.
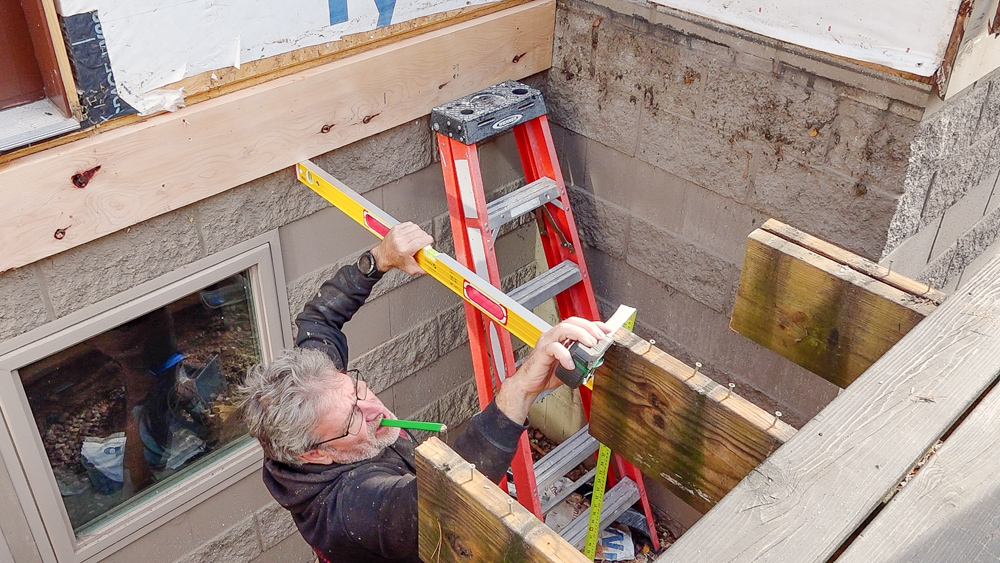
Next up, Donavan is measuring for our structural posts.
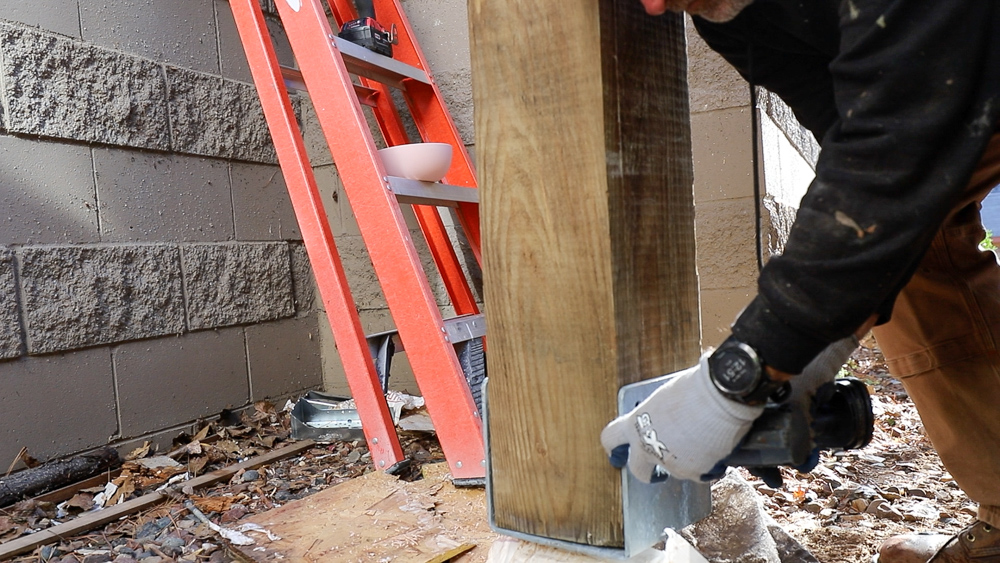
And getting those installed.
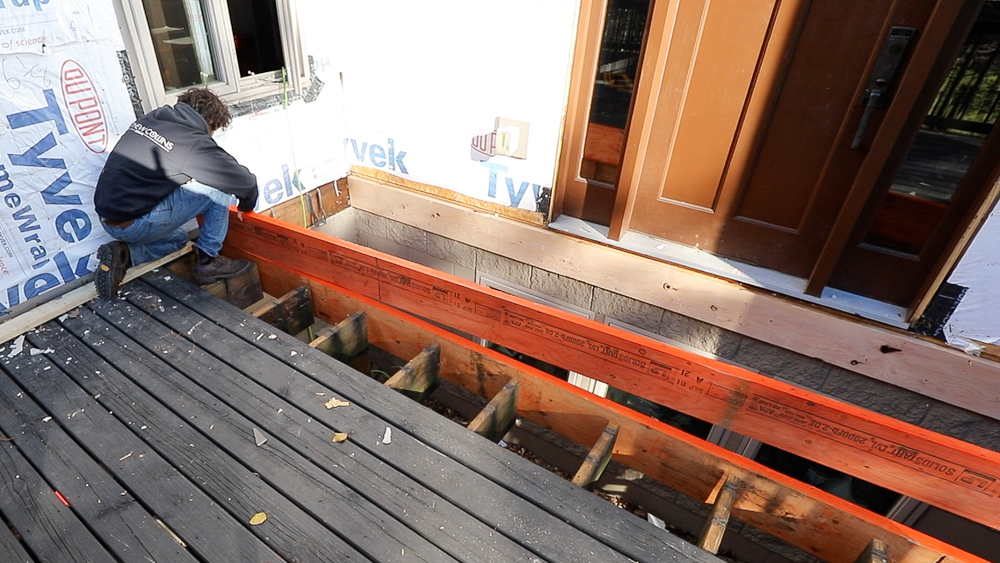
Then we are getting our pair of LVLs set and bolted together.
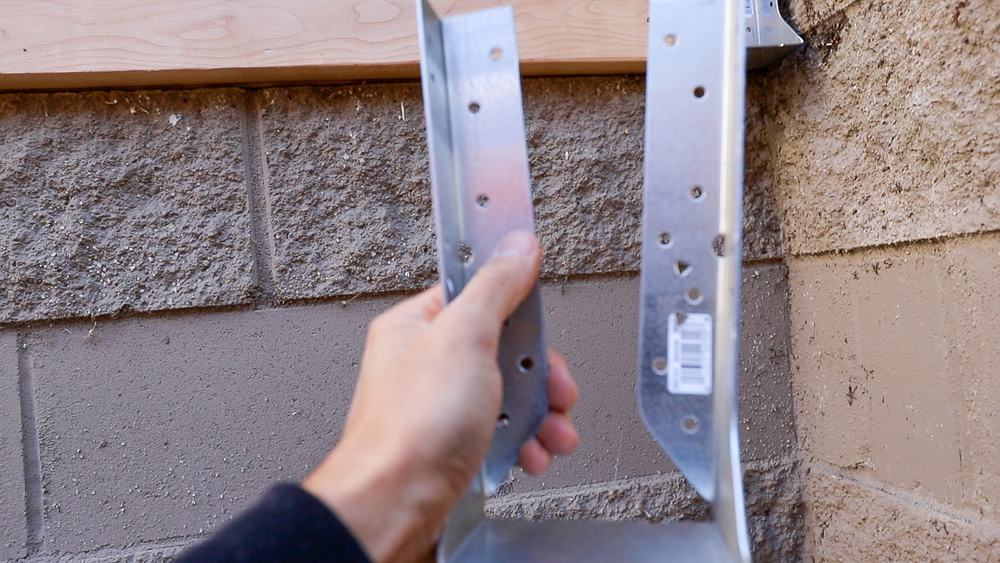
Now we’re working on a second double thing. So this is the hanger we’re installing. With it being a blind hanger, the fasteners that attach it to the ledger are hidden behind the joist of the beam that is supporting.
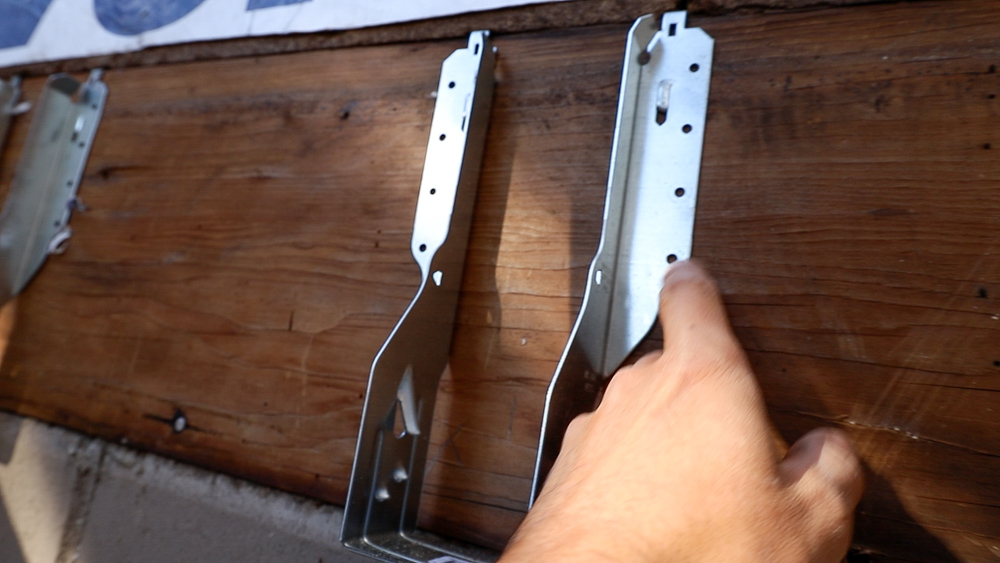
Whereas the ones that we used so far have been this style, where the hanger fasteners are accessible from the outside. And these ones you can see have those little tabs, which allows them to have a set height, which makes them far less annoying to install compared to the blind hanger.
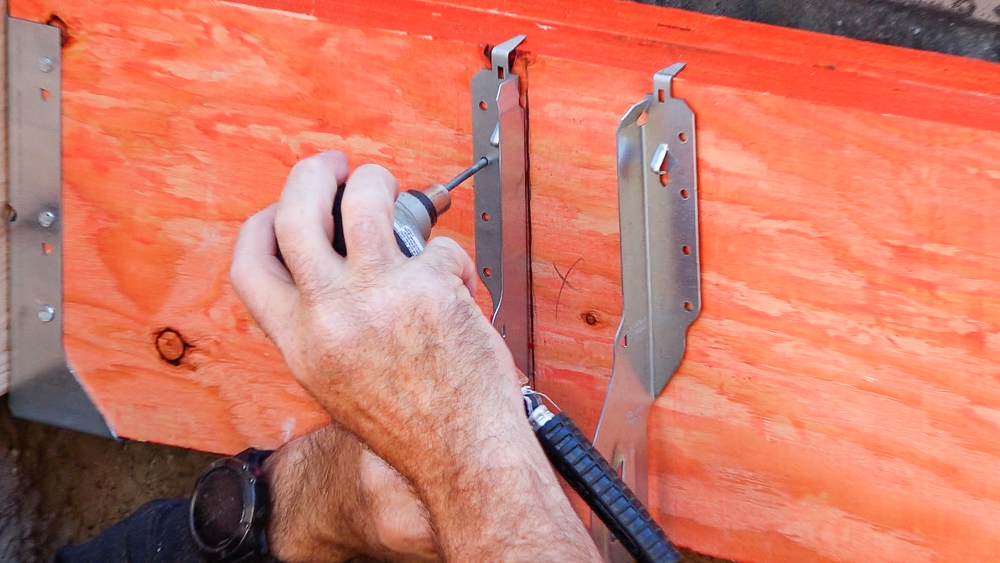
Now that those blind hangers are installed, we can get the LVLs set in there.

Next up, we can start setting the floor joists in.
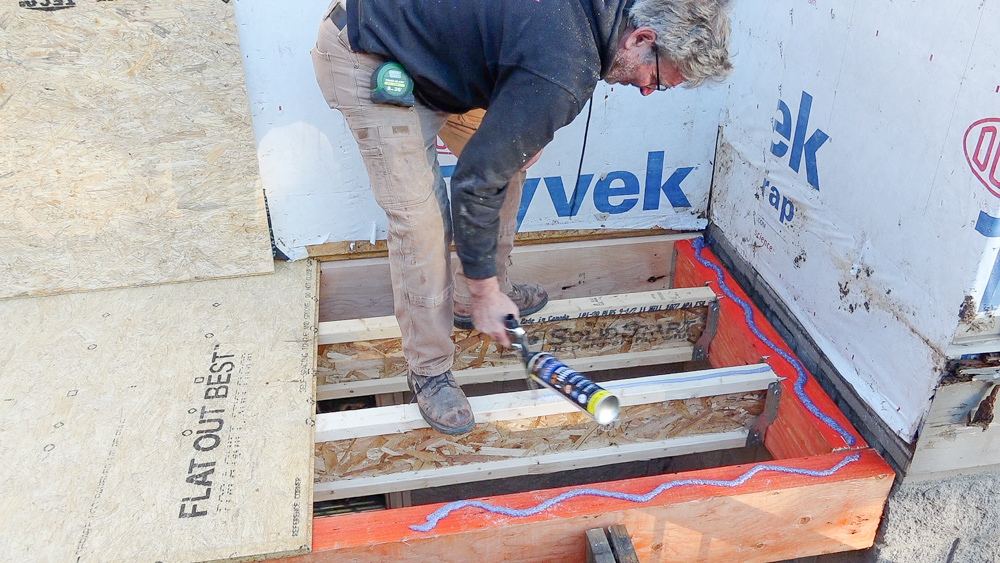
Then we glue and screw down some flooring.

Some of you were interested in the glue that’s in here. This is some kind of proprietary polyurethane foaming glue in a spray foam gun. You can also buy the cleaner that you can run through the gun as well.
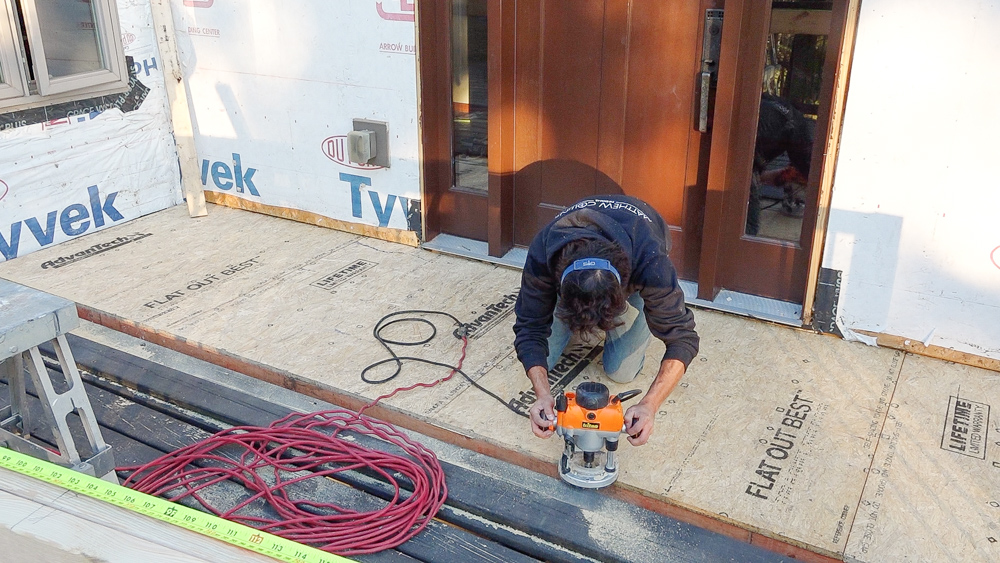
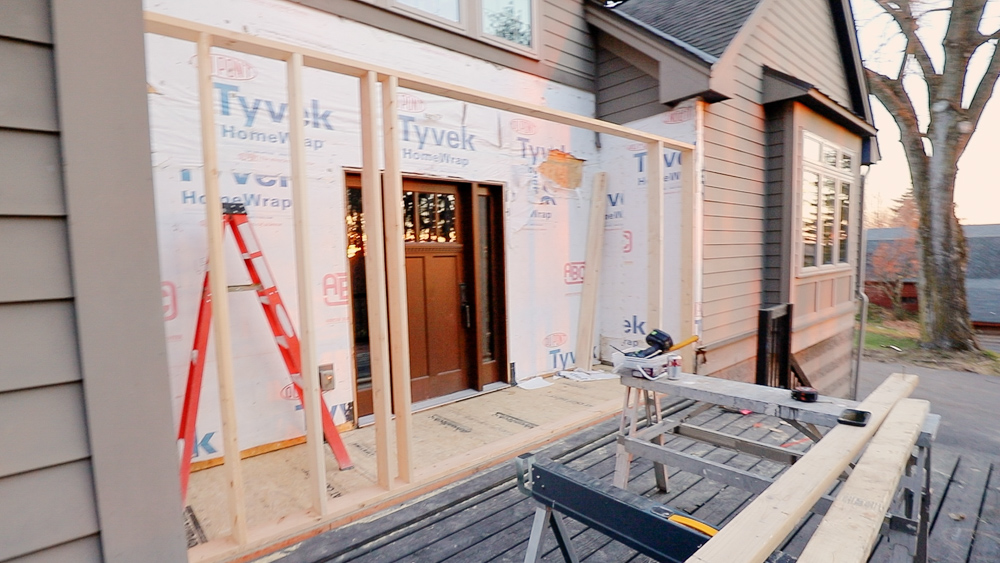
Our floor is all in place now, so it’s time for some walls. On this wall, we have three windows.
Before we start framing the wall, Donavan is checking the actual ceiling height on the house to make sure we end up at the right location. This is an important step for home remodels, in order to make sure things line up correctly.
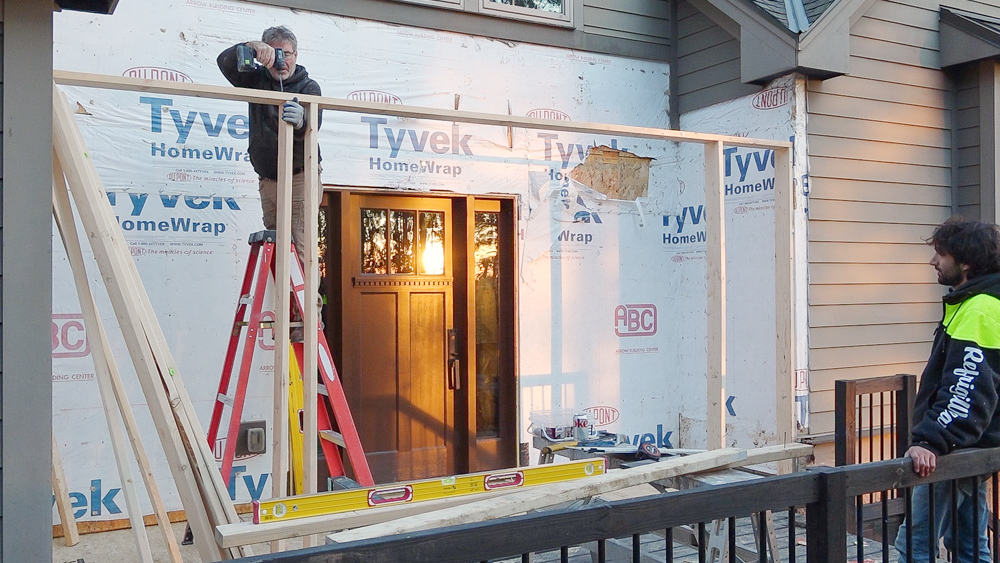
Then we can start framing the walls.
The sun is setting pretty quickly, so that’s going to be it for progress today. This is where we’re at, getting ready to finish up framing some walls. Tomorrow we’ll pull the window out and start putting our roof on here. So that is going to do it for this one!
Thank you as always for watching, I greatly appreciate it. If you have any questions or comments on the home addition, or anything back in the shop, please feel free to leave me a comment. As always, I’d be happy to answer your questions. Or I’ll just ask Donavan and he’ll answer your question. Until next time, happy woodworking!
Welcome to my shop! This is a quick update to let you know what I’ve been up to. This big chunky thing is the leg

Welcome back to the home renovation. This time I’m going to be working on the kitchen island. Here is a small model of the island.

Welcome back to our home renovation. Today I am going to be working on this wall. It needs some upper cabinets and the surround for