
Matt's Weekly Shop Update
Kitchen Island, Barn Power – March 2024 Update
Welcome to my shop! This is a quick update to let you know what I’ve been up to. This big chunky thing is the leg
Welcome back to our home renovation. We are getting started on some cabinets today!

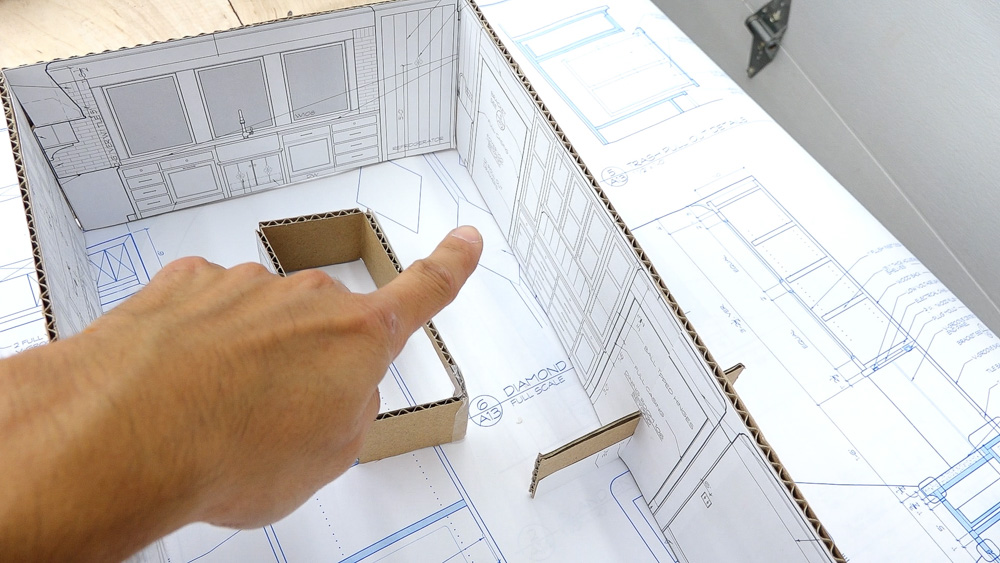
There’s a lot going on with the kitchen and the cabinetry, so I figured that I’d start with a quick overview today. I made this a little model to better illustrate the overall layout of the kitchen. There is a main L-shaped path, which has the sink and the range, and then there is an island in the middle.
On this wall, there is a dishes cabinet, which is flanked by the two doorways. Because this is a fully custom kitchen, there aren’t a lot of areas where I can hide errors. I’m doing the face frames first because then I can take them into the space, verify that the whole cabinet is going to fit once it’s assembled, and then start building the boxes onto the actual face frames.

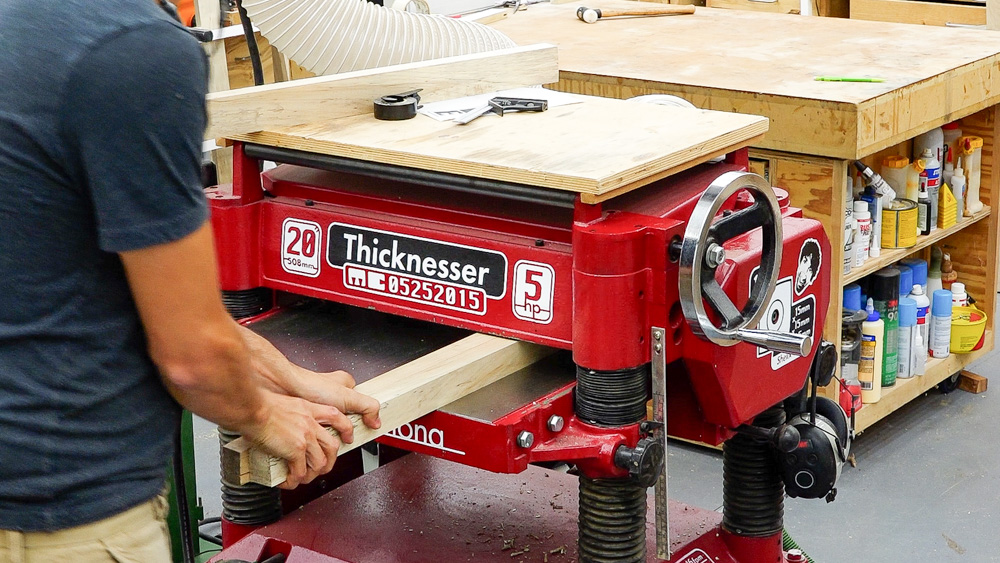
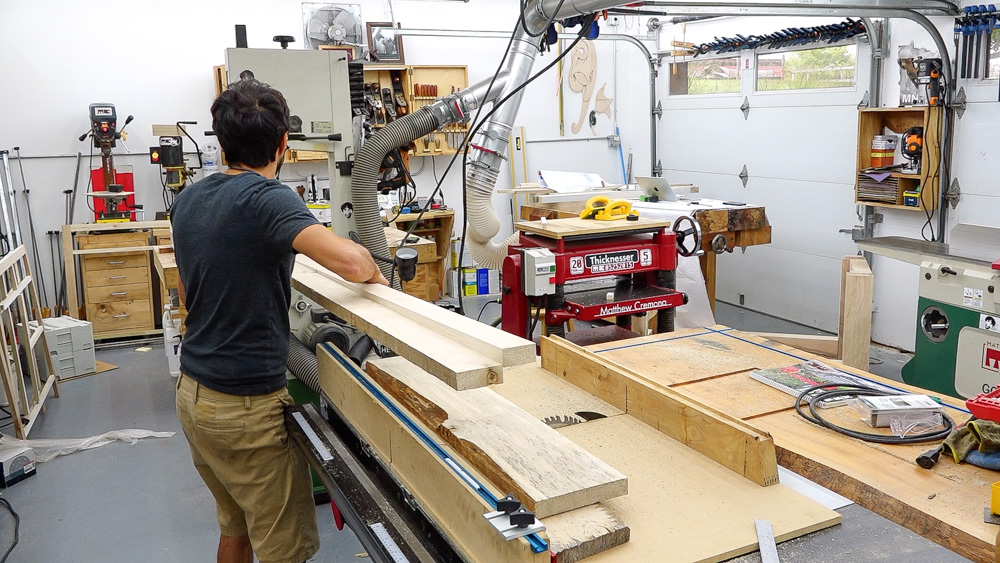
Today I’m going to be prepping stock, and I’m starting with the face frames for the base units that wrap around the kitchen. I want to get the base cabinetry installed and in place so the countertop folks can come in and hopefully get that installed while I’m working on the upper cabinets. So taking inventory, there are basically three pieces of stock I’ll need. I need two inch strips for the outer sides of the cabinets; I need the inch-and-three-quarter piece that goes under the countertop and above the drawer or door; and I need one inch stock for all of the little pieces in between.

Awhile ago, we made the trim for the great room, and I have a whole lot of rips and things left over from that, which will become some of the one inch stock.
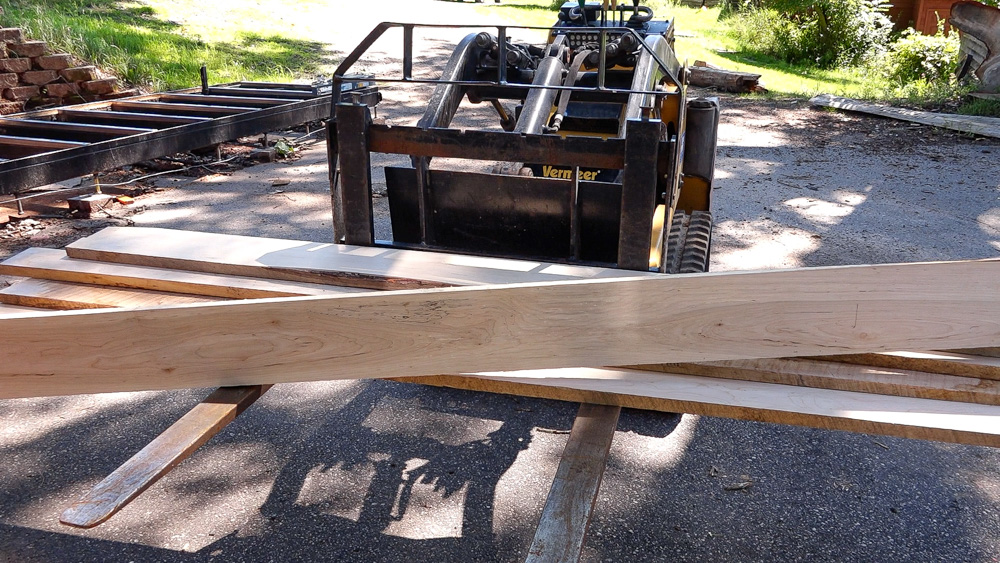
I have a whole bunk of maple which I’ll use for all my other pieces. It’ll also be my drawer fronts and door parts. So I’ll start by processing this maple into some blanks.
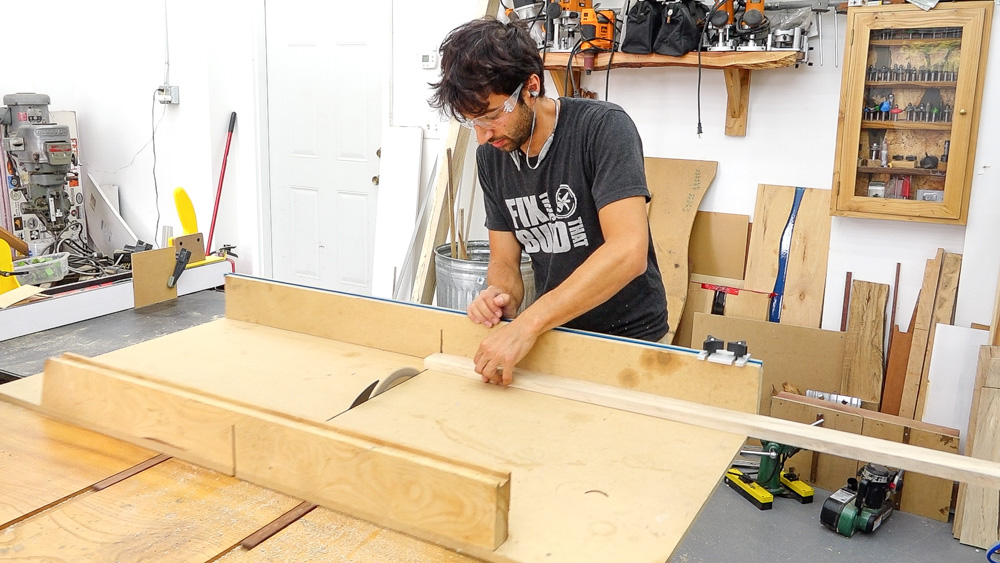
So I’ve cut inch-and-three-quarter, two-inch, and one-inch stock, and I’m going to start making some face frames. There’s not a whole lot that I can batch cut, but the sides of the cabinets are all the same length, so I will start there. Because these pieces go all the way down to the floor, I’ll make them a half-inch longer than they need to be, so that when I go to install them, I can scribe them to the floor and take care of any unevenness in that floor.

I’m going to start with this cabinet, so I need two one-inch pieces and an inch-and-three-quarter to go across for my rails.

Once I have those cut, I will cut and start filling in the drawer divider pieces.
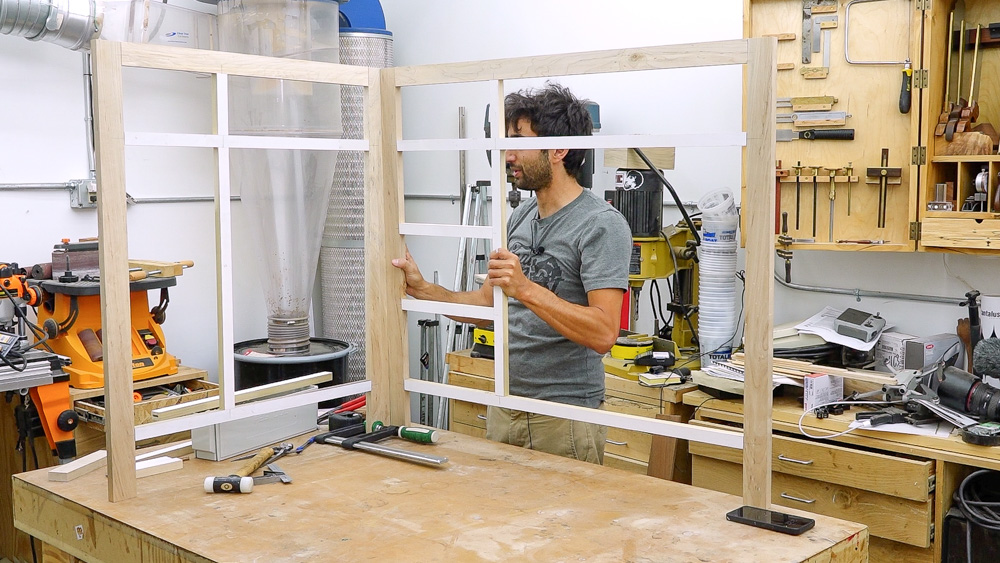
I just finished up a couple more, and I’m feeling a lot better about this now. One of these is the cabinet that’s going to go to the right of the range, and one is the first cabinet on the west wall, so you can kind of see how they will fit together.
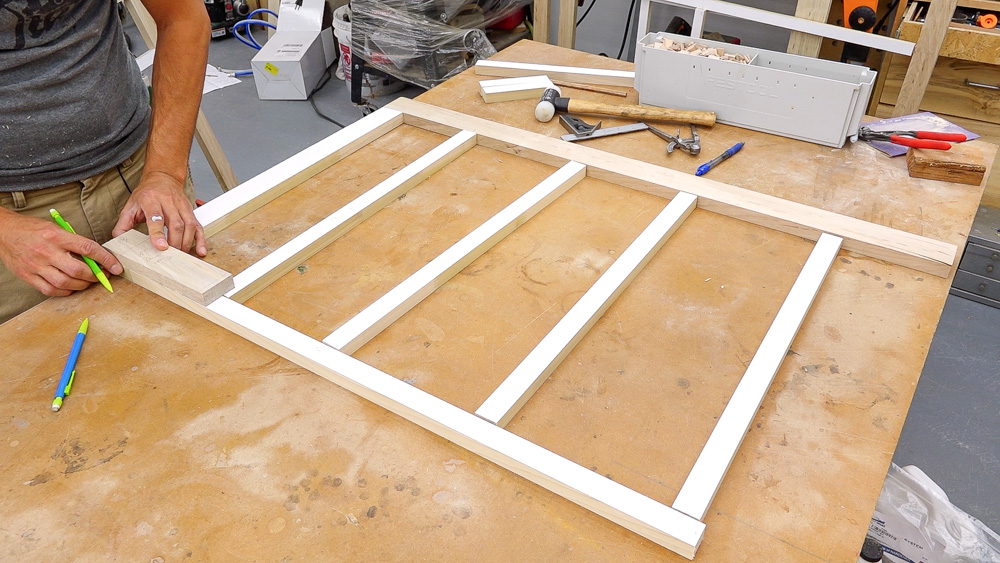
I made a template jig because every single one of these face frames has a five inch top drawer, so I can use this block to set the center line for all of these pieces. I can also use some of my already made face frames to copy my layout, when the layout matches the one I am currently working on.
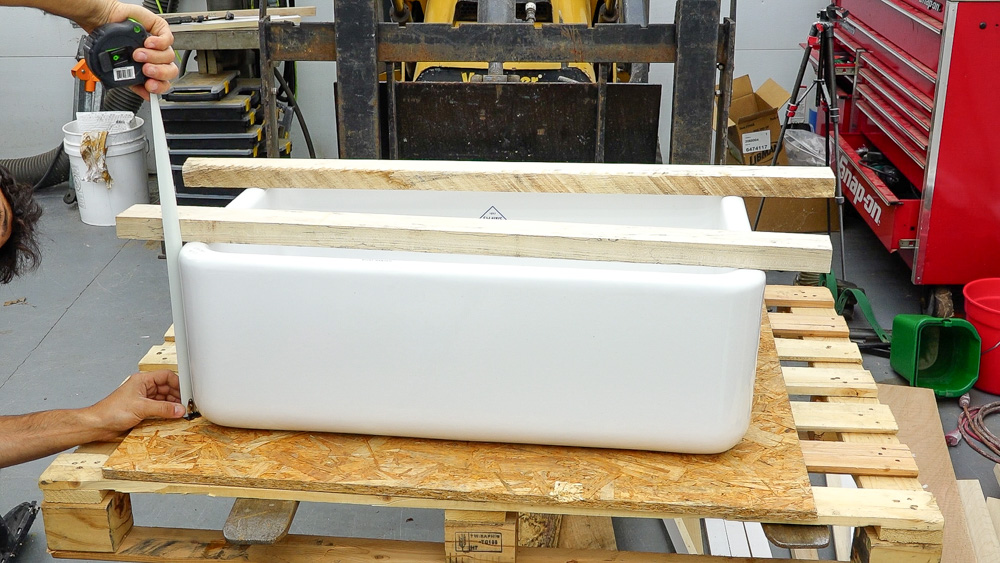
I want to get the size of the sink base cabinet finalized, so I need to take a look at the sink. These sinks aren’t completely uniform, so I need to get some actual measurements on it to ensure that I’m making my sink base to the right height.
Now that I have my dimensions, I can make the actual face frame. One difference with this frame is that it’s an inch-and-an-eighth thick. This cabinet will be set forward from the two that butt into it, so that extra thickness on the face frame will give me an area where the other two can butt into without exposing the plywood box.
The last face frame I have to make is for the tall cabinet, and I’ve been putting it off because the styles are 94 inches long. This cabinet is four pieces: two styles and two rails. The door and drawers will be continuous from top to bottom, with no interruption for a rail anywhere in that case.
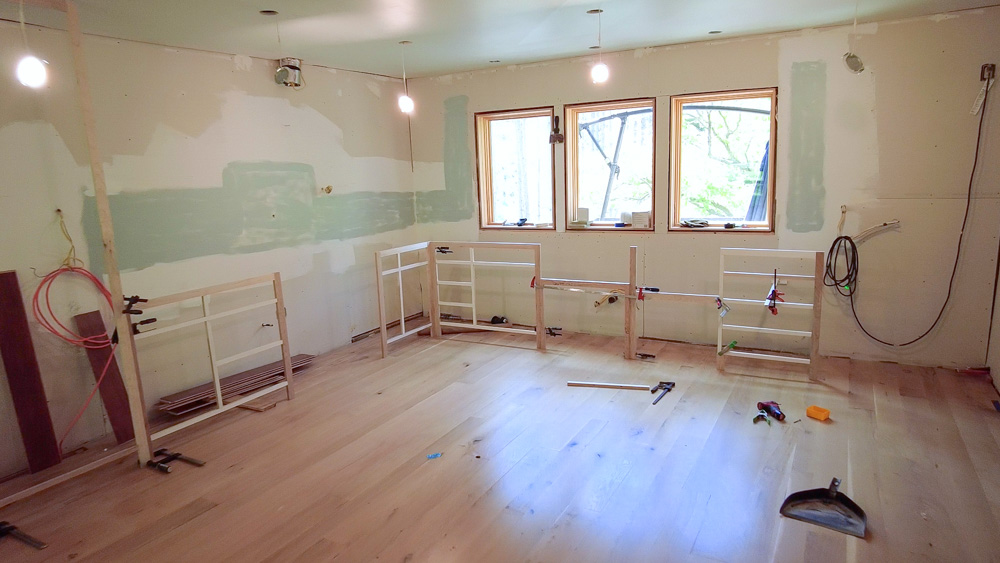
Here are the face frames all laid out upstairs, which allows me to see if everything will fit right. I need to make a few small tweaks. After I fix those, I can start gluing up my frames.
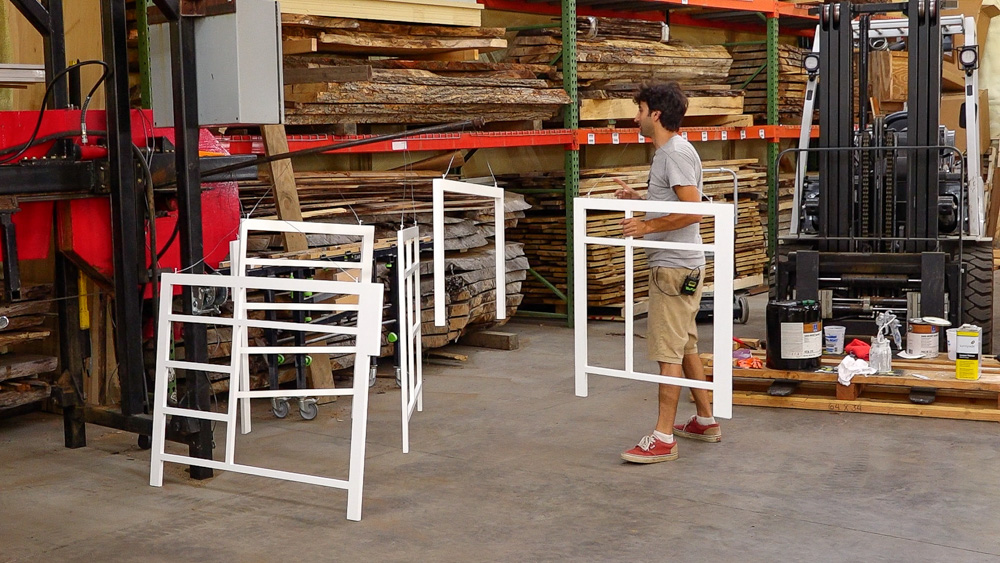
Here are all of the face frames painted and ready to go. (Except the tall cabinet, which will be painted as a single unit). The finish turned out really nice. Doing a painted finish was one of my biggest worries, because that is the most difficult form of finishing. But it turned out great, and the surface is really smooth and level.
Next time we’ll get into adding boxes onto those face frames! Thank you, as always, for joining. I greatly appreciate it. If you have any questions or comments on the home renovation, please feel free to leave me a comment. As always, I’d be happy to answer any questions you might have. And until next time, happy woodworking!
Welcome to my shop! This is a quick update to let you know what I’ve been up to. This big chunky thing is the leg

Welcome back to the home renovation. This time I’m going to be working on the kitchen island. Here is a small model of the island.

Welcome back to our home renovation. Today I am going to be working on this wall. It needs some upper cabinets and the surround for