
Matt's Weekly Shop Update
Kitchen Island, Barn Power – March 2024 Update
Welcome to my shop! This is a quick update to let you know what I’ve been up to. This big chunky thing is the leg
Welcome back to our home renovation-remodel-addition series.
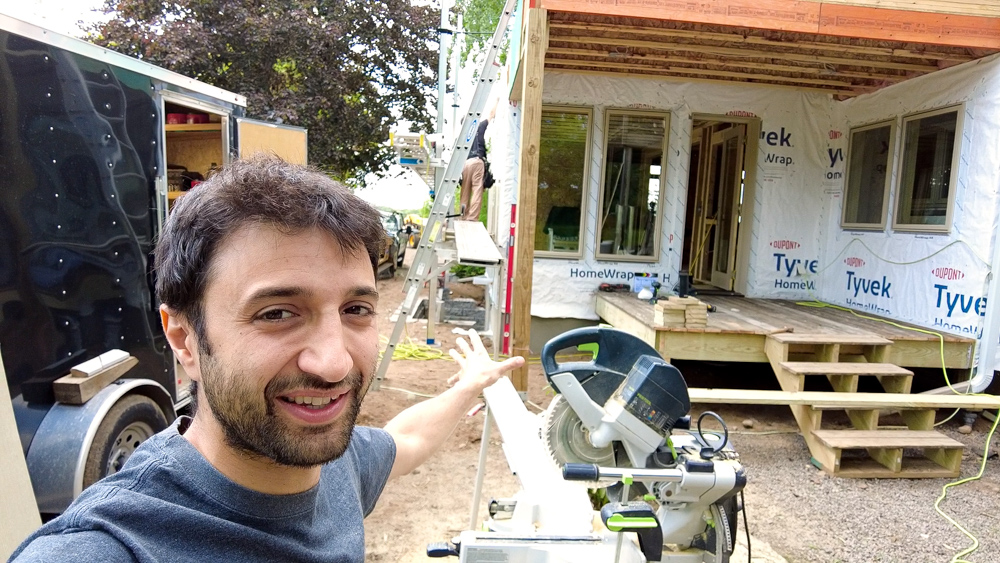
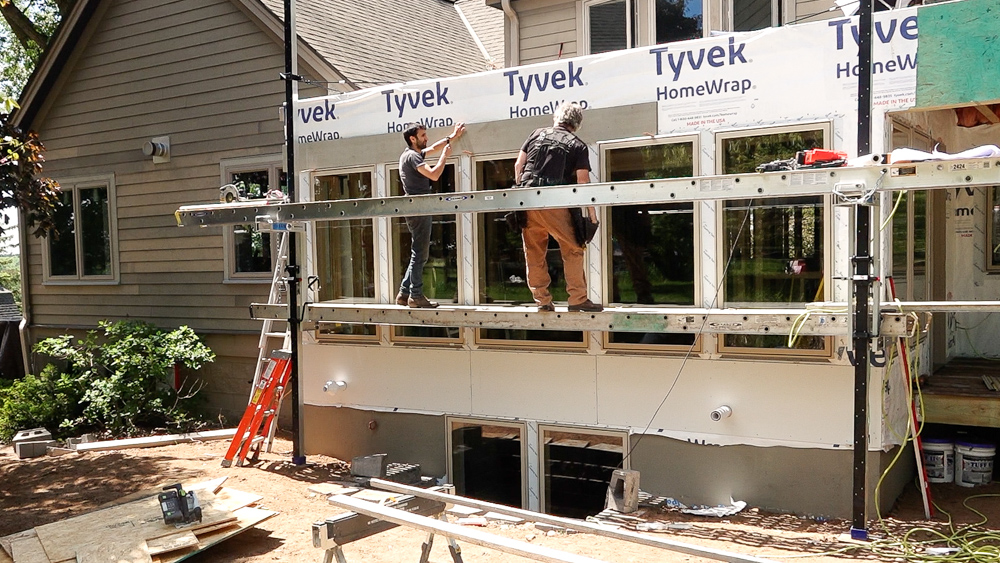
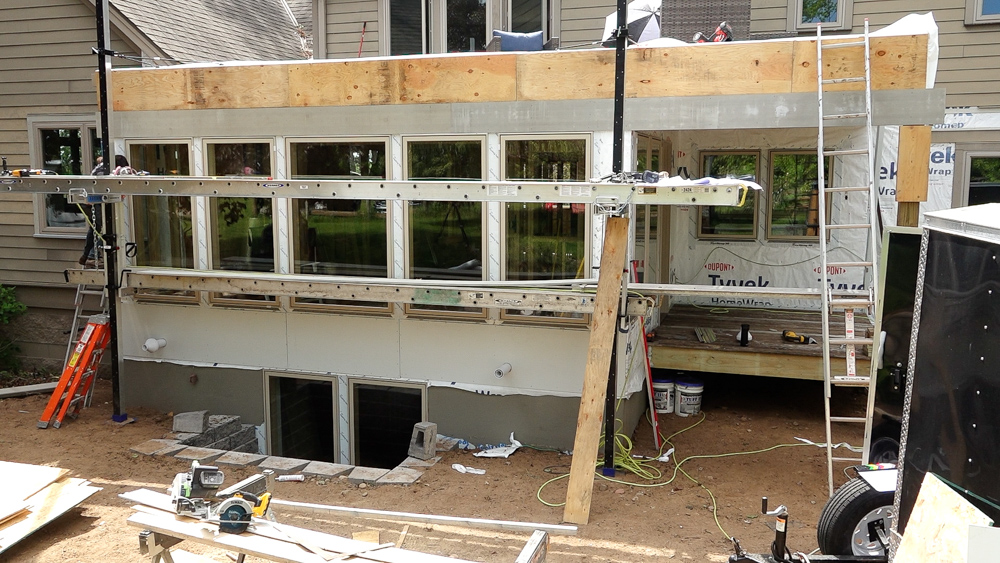
We’re back outside again today, working on the exterior, and getting into the trim details. It’s going to start really coming together. This morning we are adding this ladder frame, which is going to wrap in the porch, which allows us to do one pretty interesting detail for us.
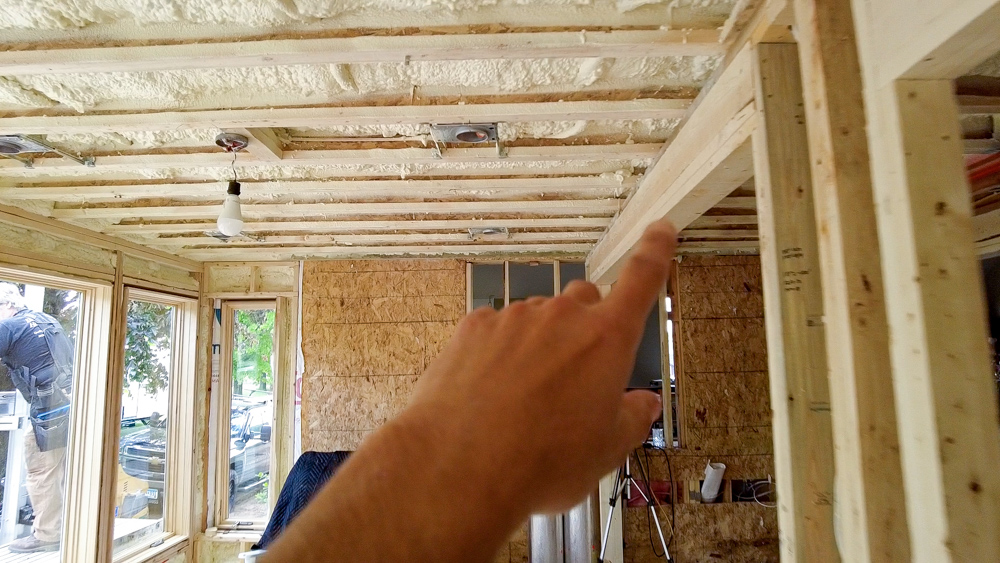
Inside the house, in the sunroom, we have a drop in the head height, and the interior gets wrapped in the band board, and it’s a crown molding. So it’s kind of like a big coffered ceiling.
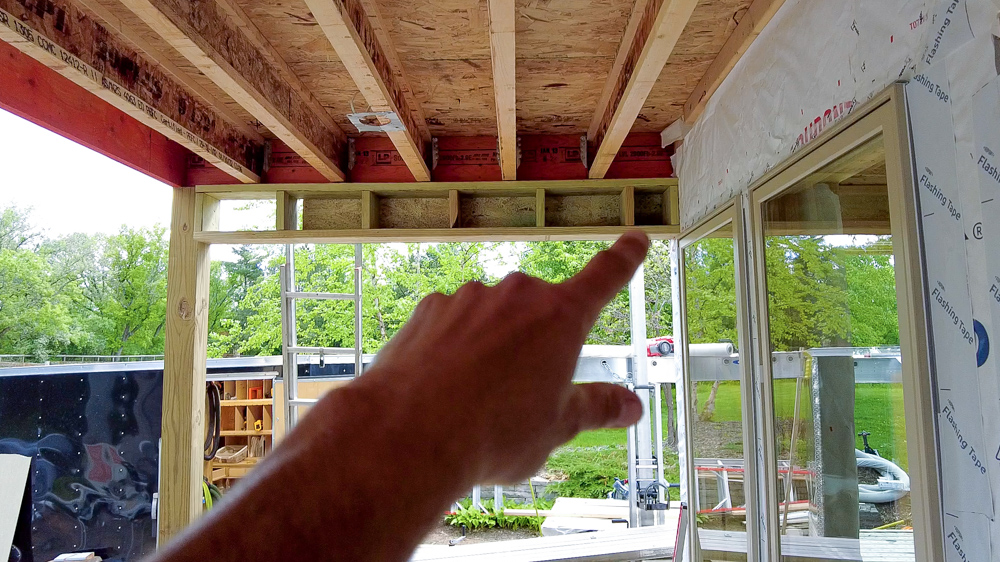
As you come outside onto the porch, you experience the exact same detail. The band board wraps along the ceiling here, and we’ll have some crown in here too. This becomes essentially a cased opening into this post, which is going to get built out to a 12×12. So this deck will feel like a room, or at least a natural extension of the sunroom, which has the exact same details.
This is our way of segmenting spaces, and this detail carries through the entire project. So every room which is its own space is established by a drop in the head height, a band board, and fully cased openings.
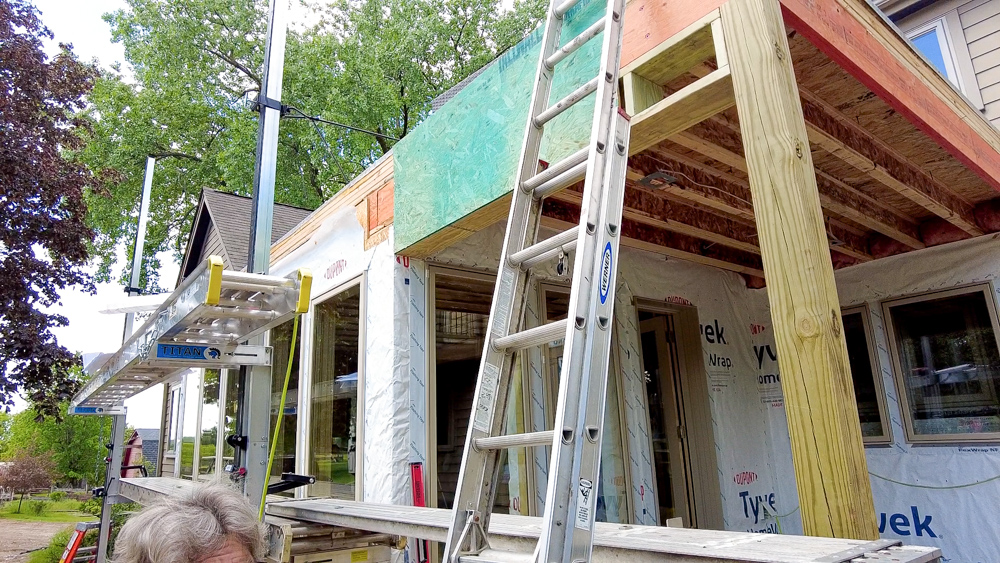
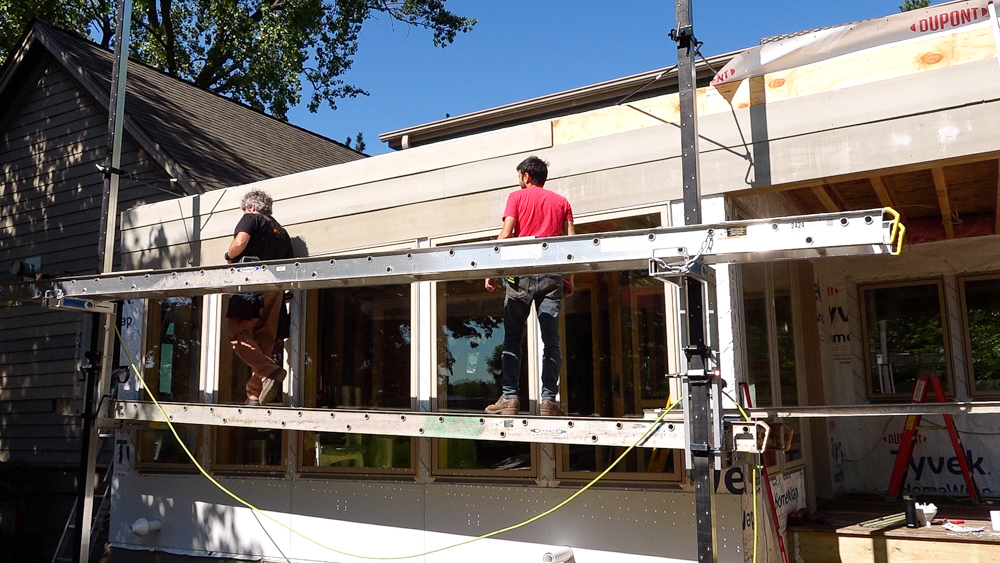
First thing on the list today is finishing up the front area here. Then we’re going to get the trim on here.
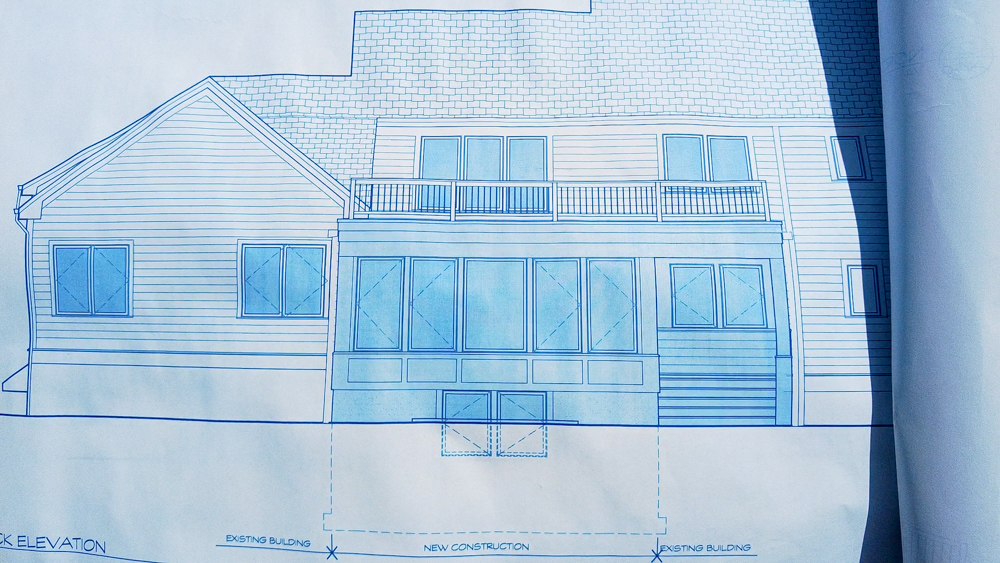
Once again, here is a drawing of the exterior, which we’re working towards. Basically, this is all trim
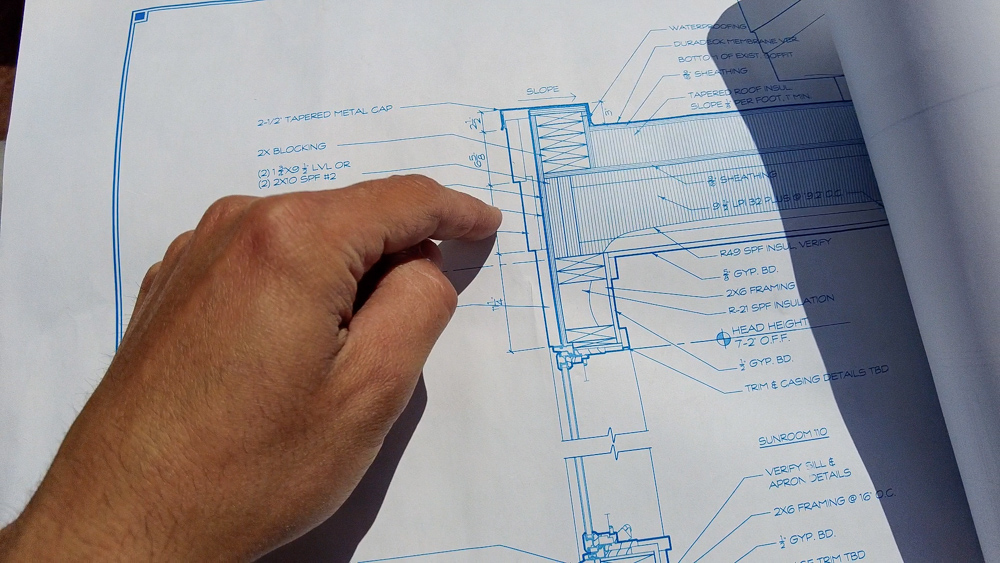
In the cross section view, you can see we’re going to have this nice build-out of the trim work as you work up. So a lot of this is figuring out what piece goes on first and how the stacking goes. From the top of the windows to the top of the parapet is 28 inches, and that’s all trim up there.
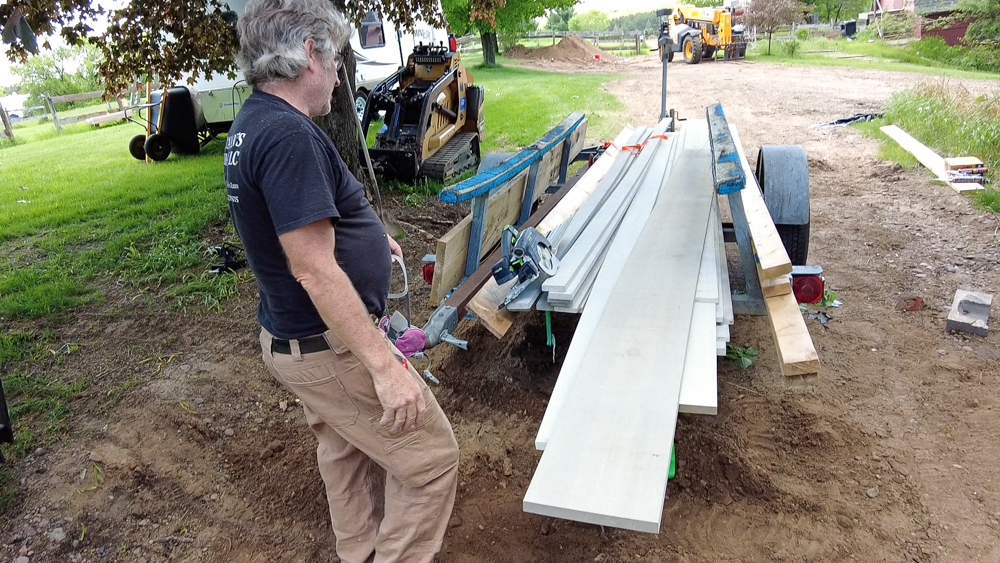
We’ve talked about quite a few times now, but this is Boral made from fly ash, so it’s completely inorganic. It’s insect resistant because there’s nothing for them to eat. It’s rot resistant, it can be in contact with ground or moisture, and it takes paint. It’s the perfect exterior trim product. You’ll see that when we trim out the egress window, some pieces will be in contact with our block and one will be below grade, and it’s all not a problem.
First piece of trim is up there.

And here’s our first band of trim along the top. Like always, the first course gives you the most heartache, and then everything just gets stacked up from here. Next we can start working on our build out, and start stepping out every layer. We’re going to use the temporary roof decking plywood that we had up there all winter. We’re going to rip them into the strips we need, get them up onto the wall, and then we’ll put the actual Boral on top of that.
That takes care of our filler piece for our next course.
We’ll put another piece of Boral on, another filler, another Boral, etc.
That takes care of the top band. Triple-stack detail up top.
Now we’re going to get the sill board installed.
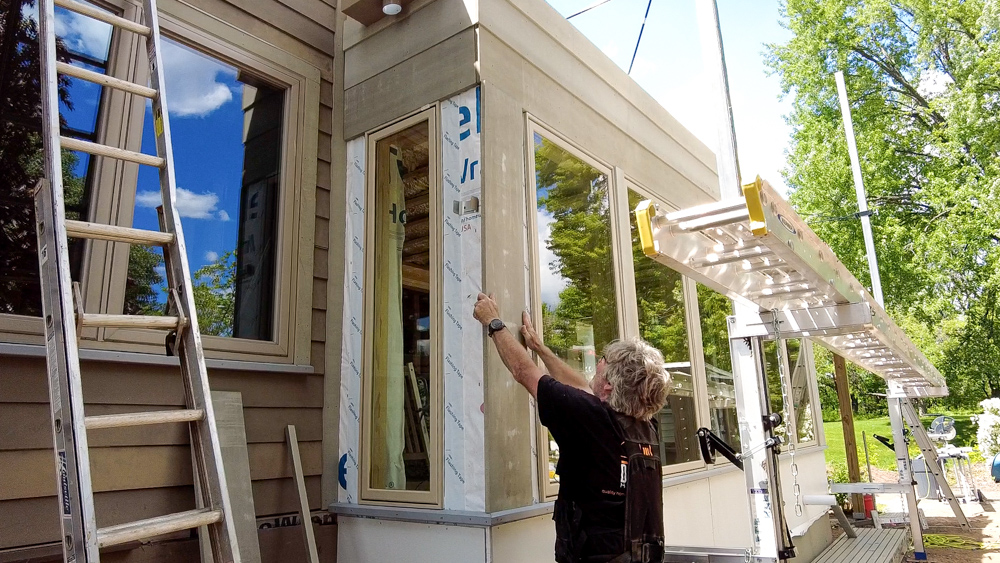
Next, we’re going to cut and prep all the vertical pieces and the corners. After that’s all done, I can cut the domino mortises into the tops of the vertical pieces, install them, and get that scaffolding out of the way so we can see the beauty behind it.
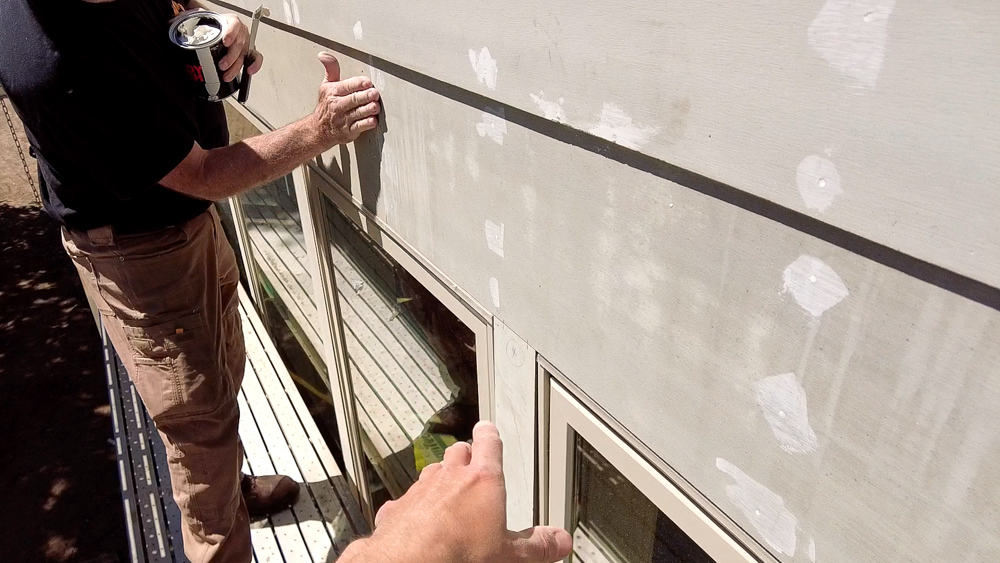
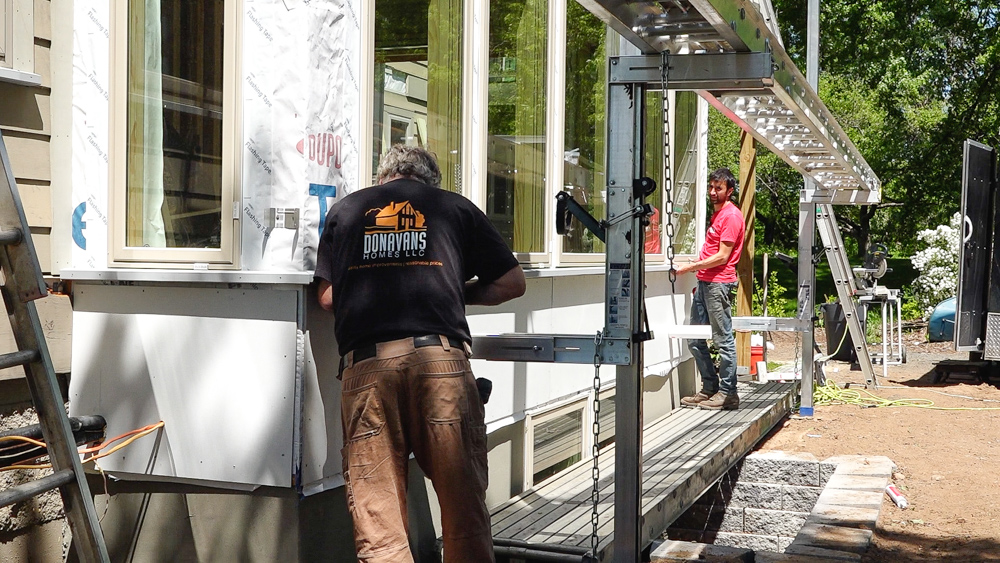
Those dominos make this nice and flush. Especially where we have the nailing flange hidden behind the windows, which kind of messes things up a little bit. The dominos make sure that things end up nice and flush in this plane. We’re using the Sipo dominos that are for alignment. They’re not glued in or anything. And Donavan’s going back with the filler, getting all of our screw holes filled in with some Ready Patch.
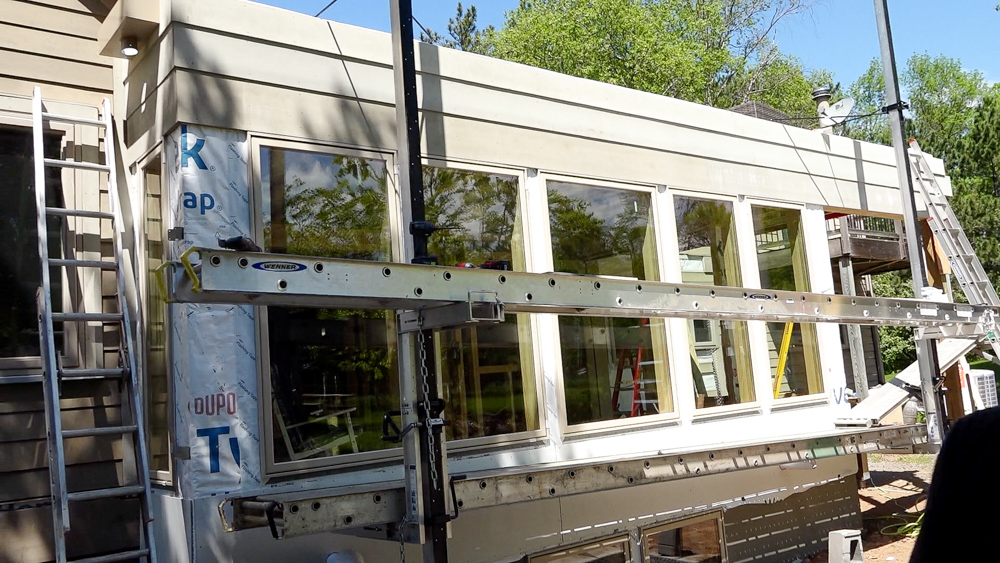
Here is the wall without that scaffold in the way.
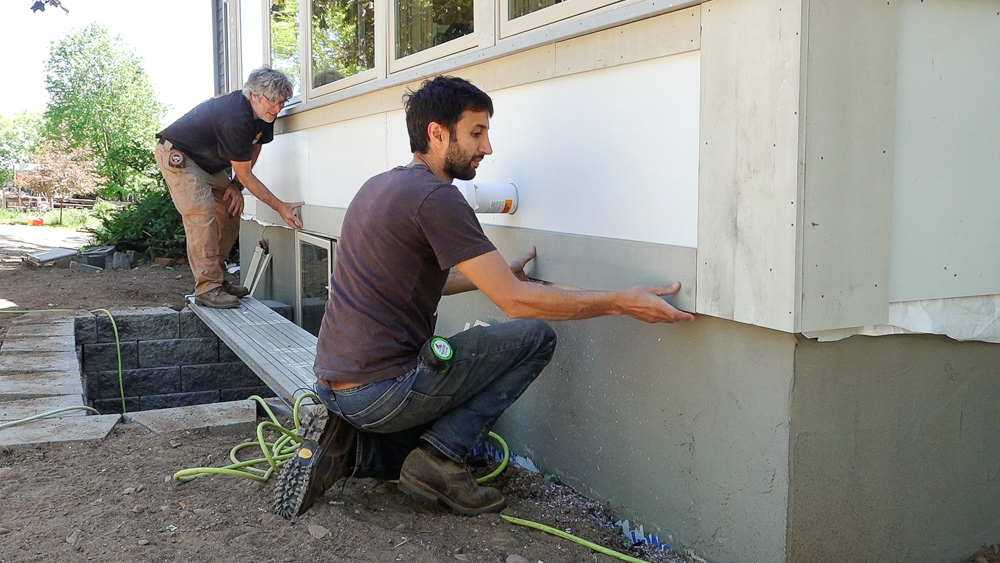
We’re going to try to finish the lower framing panel next. The bottom band has a bevel on top so that any water coming off will be more likely to shed off the panel onto the band.
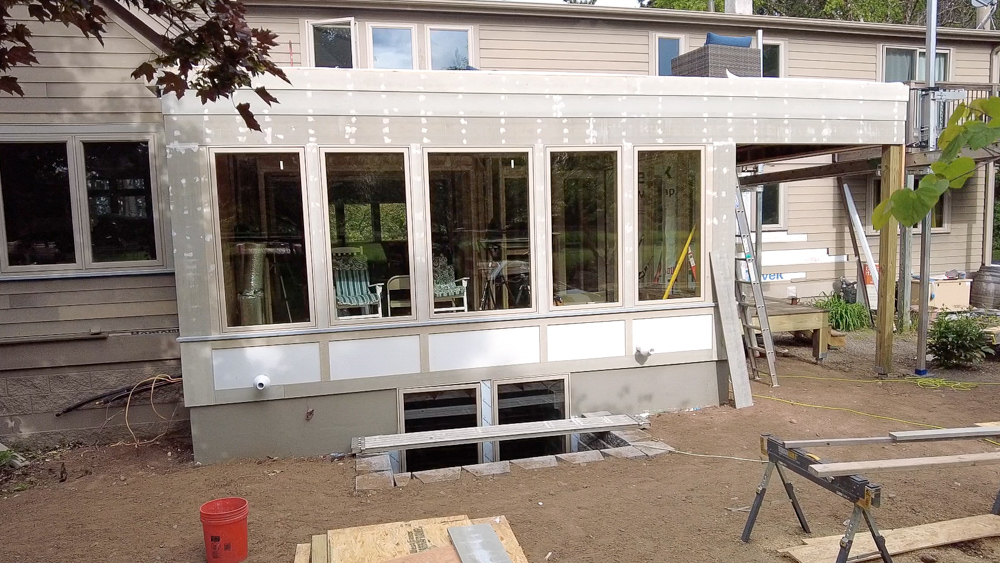
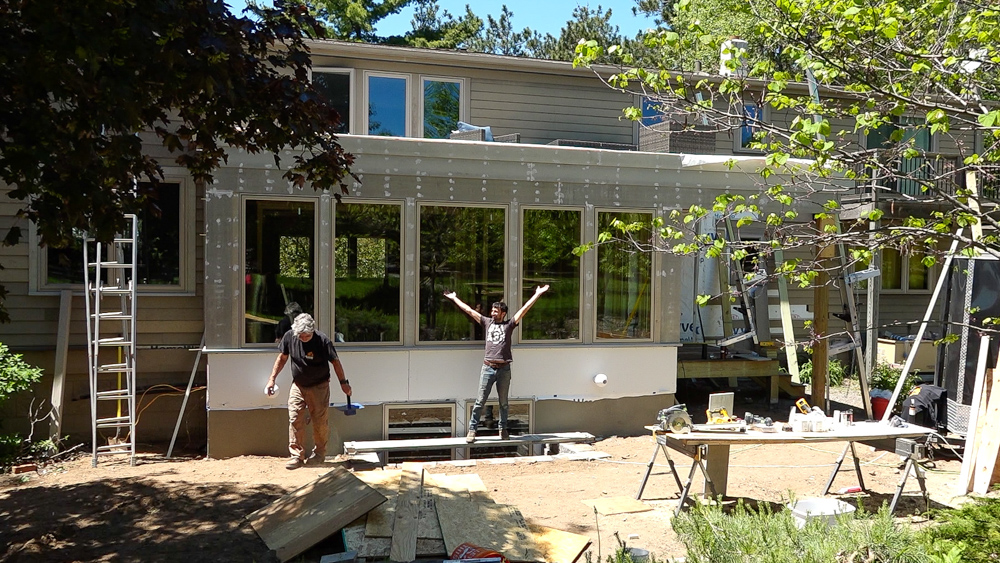
So there we go! There is the east wall, pretty well done. There’s still a few details left on the basement level. We need to get some trim around these windows and finish the parge coating. But it’s starting to look like something!
So next time we’ll go around the corner and start filling in the porch area. So, thank you as always for joining, I really appreciate it. Any questions or comments on the home renovation-addition-remodel, please feel free to leave us a comment. As always, we’ll be happy to answer any questions you might have. And until next time, happy woodworking.
Welcome to my shop! This is a quick update to let you know what I’ve been up to. This big chunky thing is the leg

Welcome back to the home renovation. This time I’m going to be working on the kitchen island. Here is a small model of the island.

Welcome back to our home renovation. Today I am going to be working on this wall. It needs some upper cabinets and the surround for