
Kitchen Island, Barn Power – March 2024 Update
Welcome to my shop! This is a quick update to let you know what I’ve been up to. This big chunky thing is the leg
Welcome back to our home renovation remodel project. Today, December 1st, it’s in the mid-40s, so it’s a perfect day for some roofing.
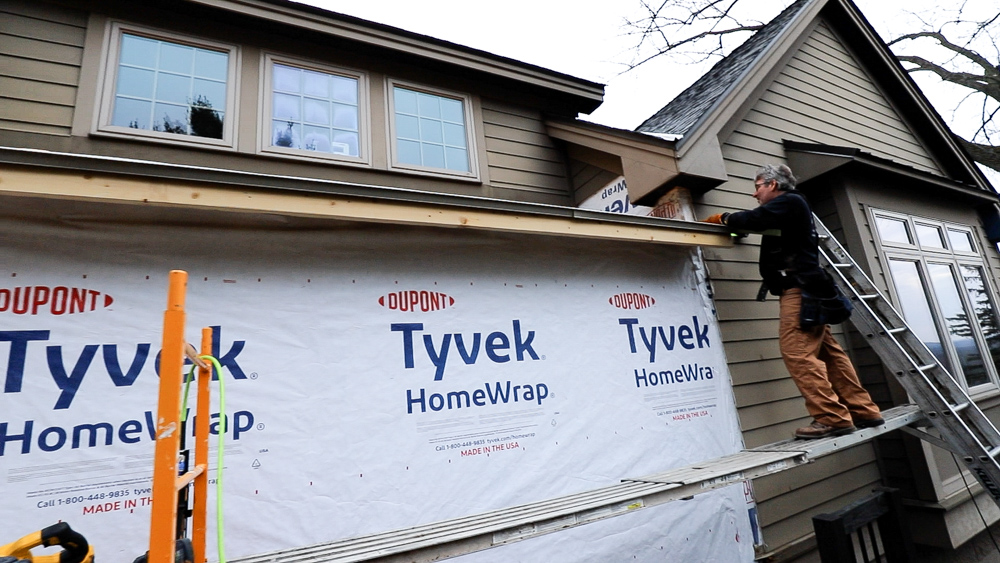
We’re back here on the front addition, and we’re going to put a roof on top of it today.
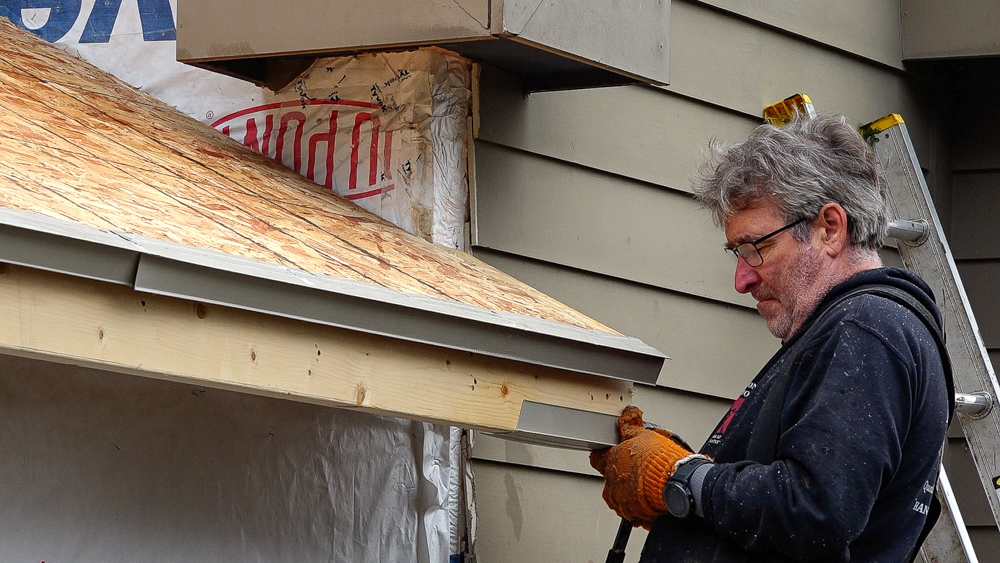
In November, we left the fascia running long so we could just turn it back later, so Donavan’s getting that return on there this morning.
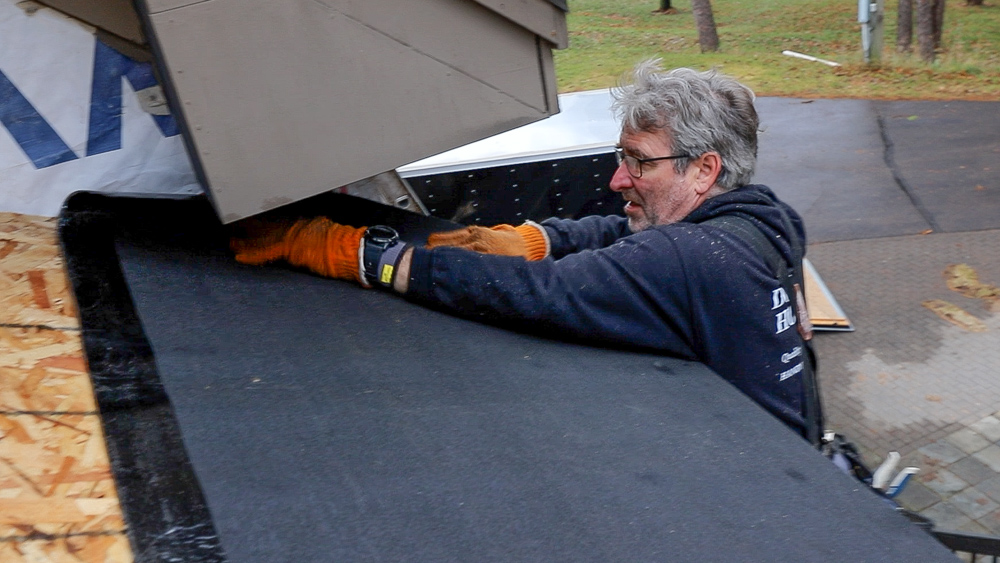
This ice and water shield is supposed to be sticky. It has an adhesive backing, which is supposed to stick down to whatever you put it on. But that didn’t work in this case. In theory, as soon as this part of the roof gets some direct sunlight, it’ll melt the adhesive and it will stick down.
This shield is basically a fail safe underneath the shingle systems. Because if they do leak, you’ll have ice dams, which would typically be towards the facia. This shield protects the fascia. Typically, in Minnesota, Donavan puts at least two rows of this shield on most roofs, but it does depend a bit on the slope and how far the overhangs goes.
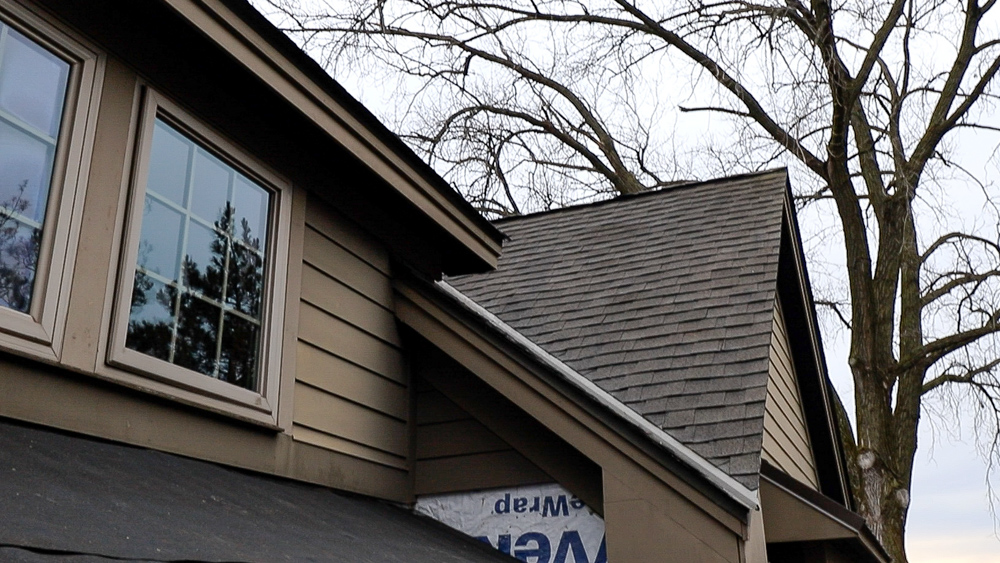
Now we are going to go and get some shingles. We’re going to try and match what is on the house now. Right now, the three structures on our property have different shingles. On the house, we have this grayish brown, architectural style shingle, and then on the barn, we have a gray, architectural shingle. And then on the shed, we have a three tab shingle, which is all gray. But the goal is to find something that matches the house. We’ll see.
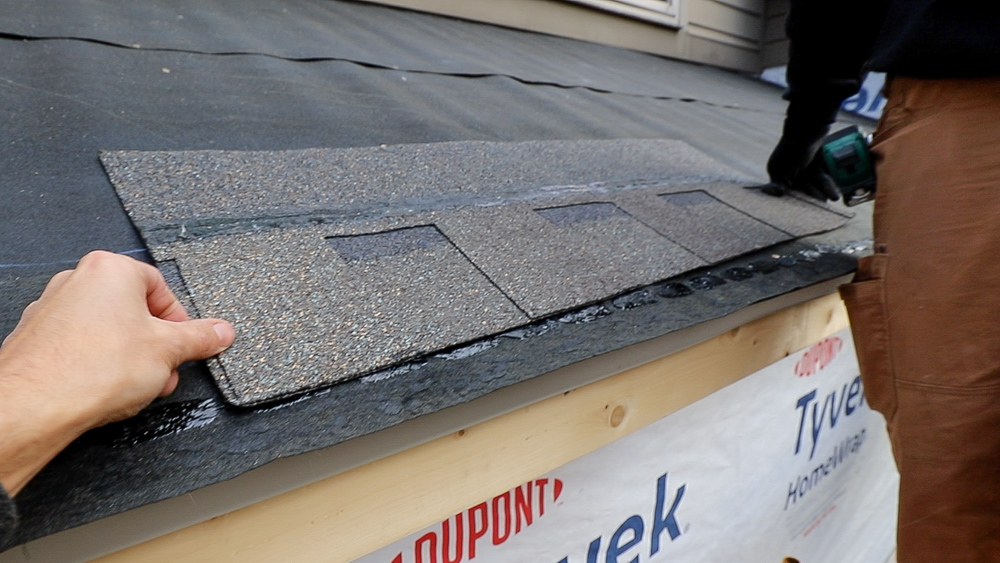
We put in our starting strip. That’s the first course which goes underneath the shingles. So we will have the first layer of singles on this side, which then comes up into a wall.
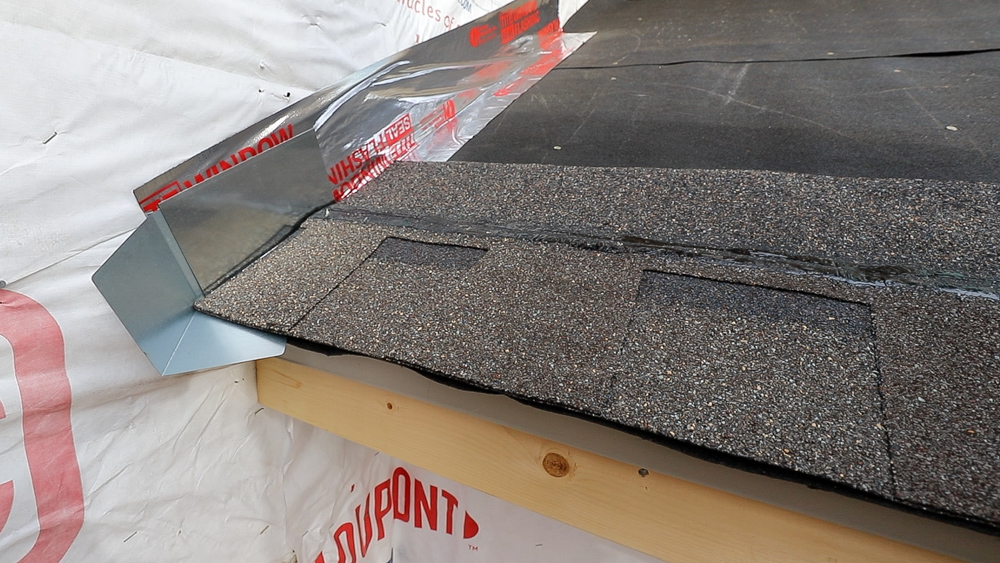
We put a kick out flashing here, so that as the water’s coming down, it comes away from the wall, runs down the wall and pours out. As the shingles go up, we’ll do a step flashing on every course. So that gives us some flashes where the shingles meet that wall. You can also see the shingles we picked out, and they look like they’re pretty close.
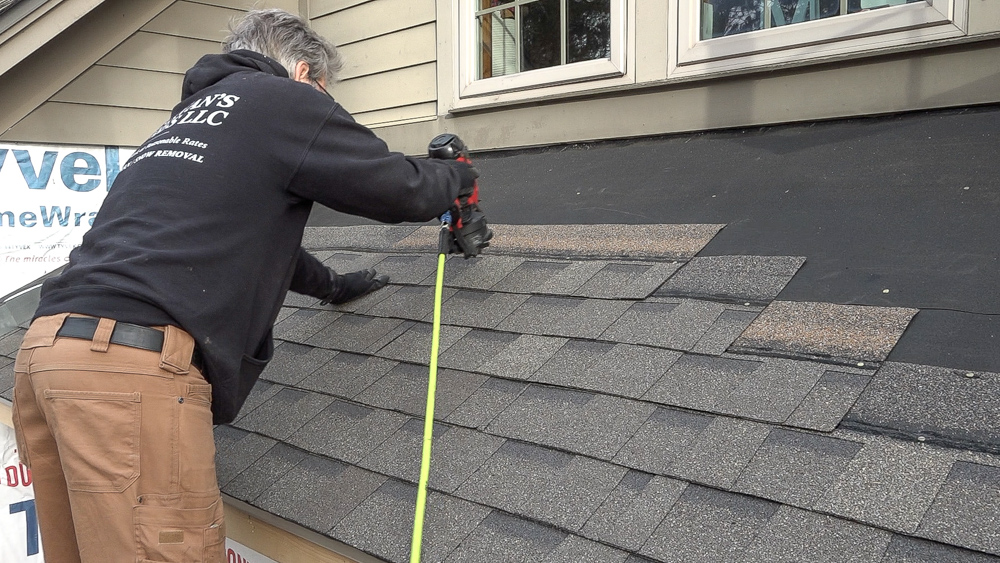
And 10 years ago, Donavan said he was done with roofs… The things he does for me.
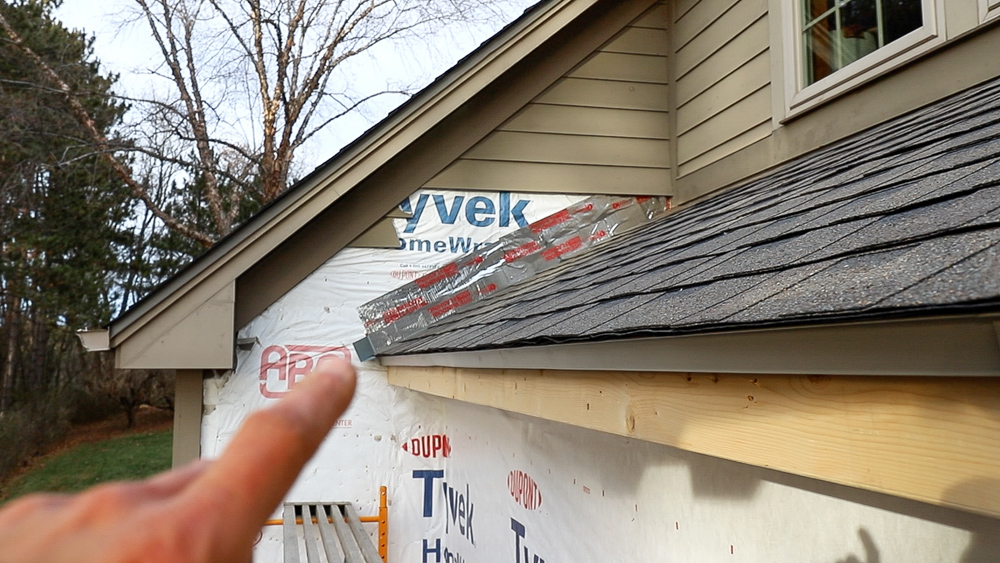
All right, so that’s what we’re going to leave this for now. Just enough to get us through the winter, and then in the spring, we’ll properly do the sides. We’ll also install a piece of flashing that runs all the way along the bottom of that window up there and finish that last course. But at least we had some shingles on the roof, so that when it snows, it won’t be snowing on OSB.
Thank you as always for joining me, I greatly appreciate it. If you have any questions or comments on the home addition/remodel or anything back in the shop, please feel free to leave me a comment. As always, I’d be happy to answer any questions you might have. Until next time, happy woodworking.


Welcome to my shop! This is a quick update to let you know what I’ve been up to. This big chunky thing is the leg

Welcome back to the home renovation. This time I’m going to be working on the kitchen island. Here is a small model of the island.

Welcome back to our home renovation. Today I am going to be working on this wall. It needs some upper cabinets and the surround for