
Matt's Weekly Shop Update
Kitchen Island, Barn Power – March 2024 Update
Welcome to my shop! This is a quick update to let you know what I’ve been up to. This big chunky thing is the leg
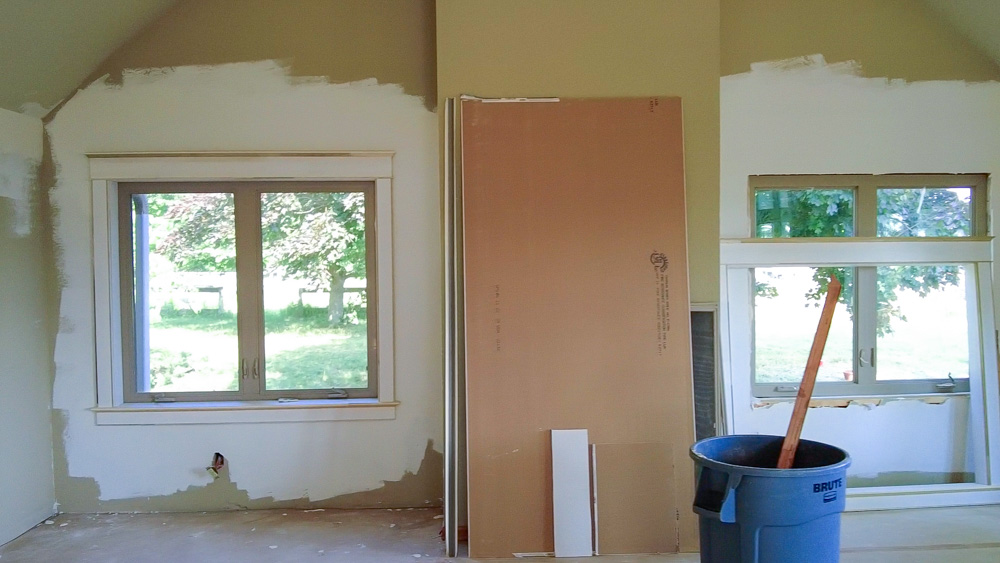
Welcome back to our home renovation and remodel project! This time, we’re working on getting the great room and the office finished up to completion.
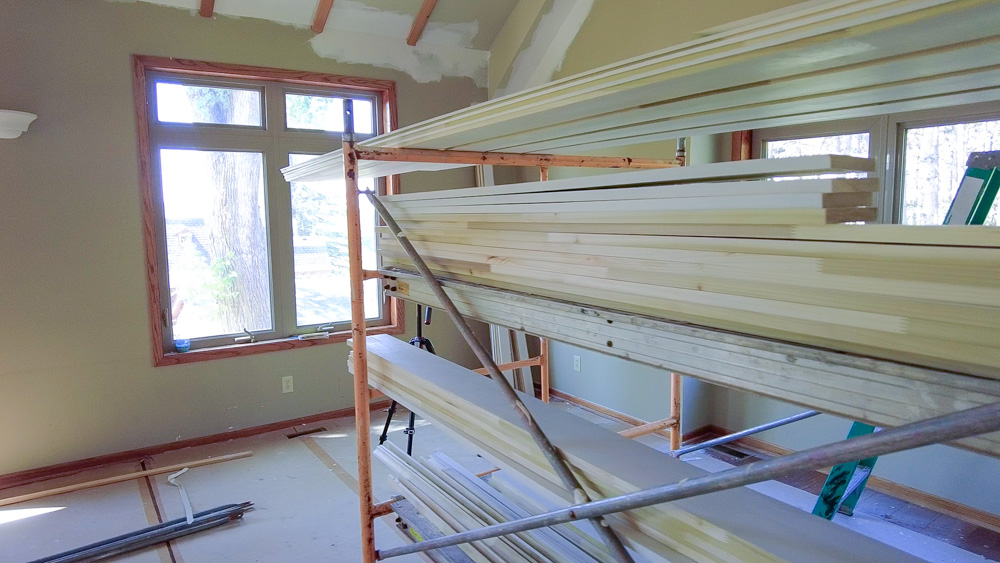
Last time, we made all of the trim, which includes the window trim, the jambs, and the baseboards. Those will be getting installed here in the great room as well as in the office, which is beneath the sunroom.
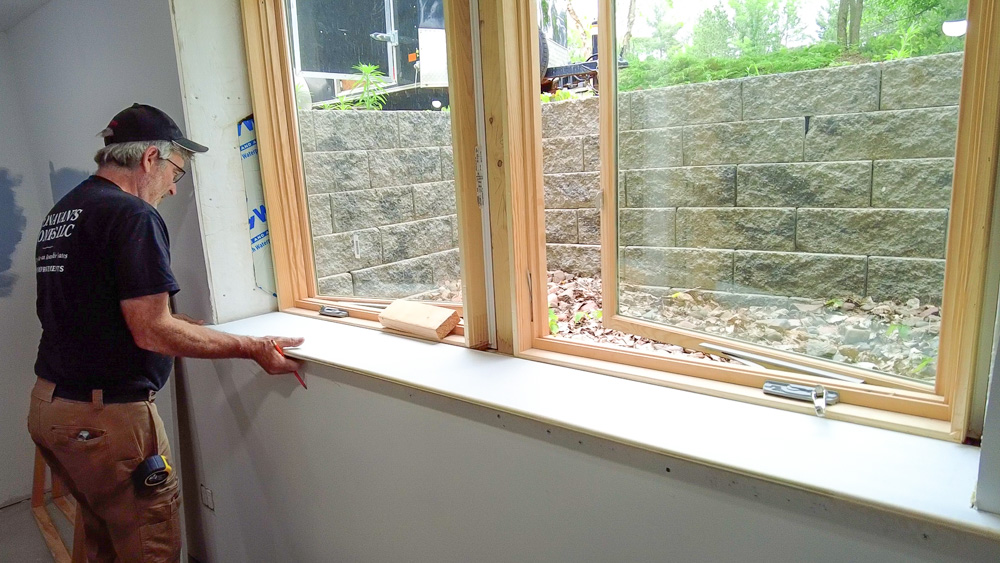
We’re starting off with the windows in the great room, which we will make as a single unit that can be slid into place after they’re assembled. The sills go in first, and we did a little layout here to make sure everything’s going to work out. The sills do need to be cut down a little bit, but luckily we have a whole mill shop right below here.
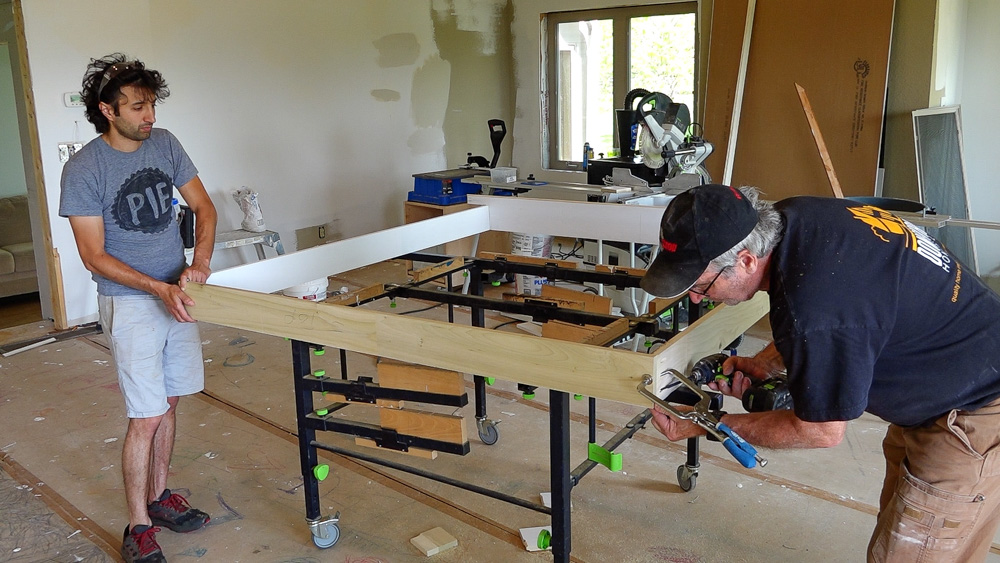
With those cut to the right length, now we can assemble the units.

Our jamb assembly is fitting in here really nicely, but we are having a problem with our final depth. The windows have a conjoiner thing here, which sticks out a little bit. So I went to the shop and made a little notching jig, which will guide a pattern bit to clear out a little notch to accommodate that conjoiner piece.
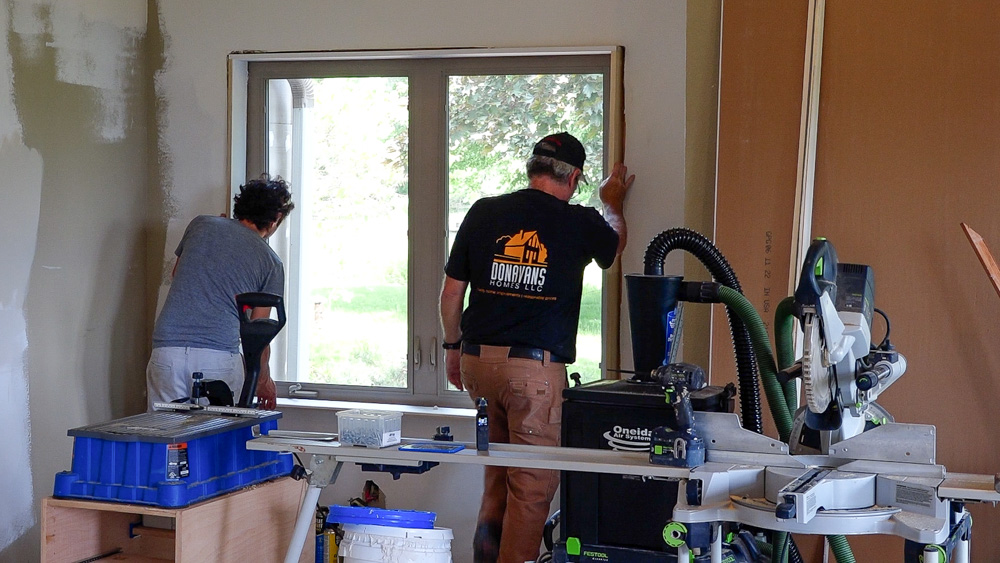
With those notches cut, we can install the assembled trim units!
Now onto the window in the office, which is going to be built in place because it’s kind of a crazier one.
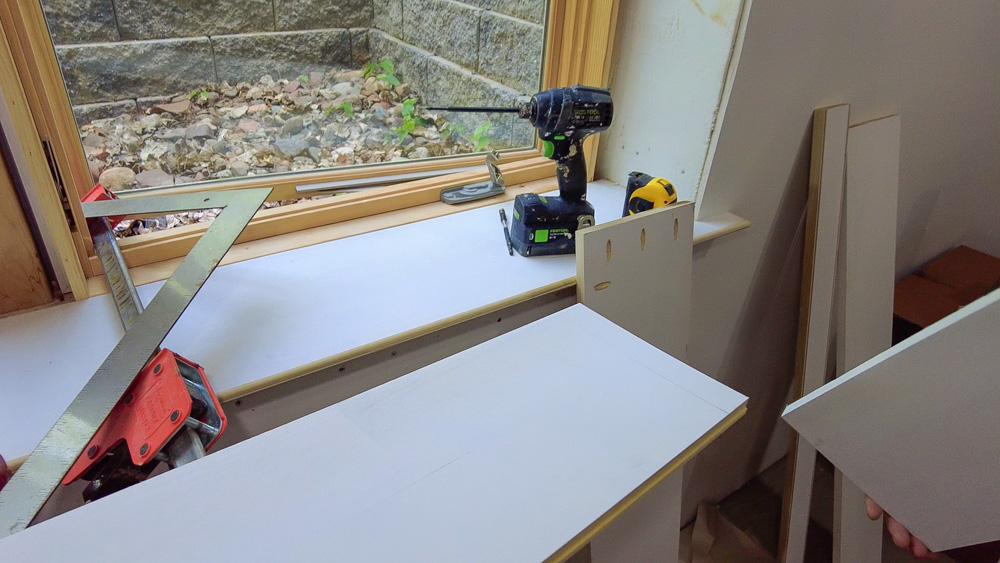
We’re starting to get things mocked up. The sill is in place, and now we are working on the extension jambs. These will get pocket screwed into the existing jambs around the window.
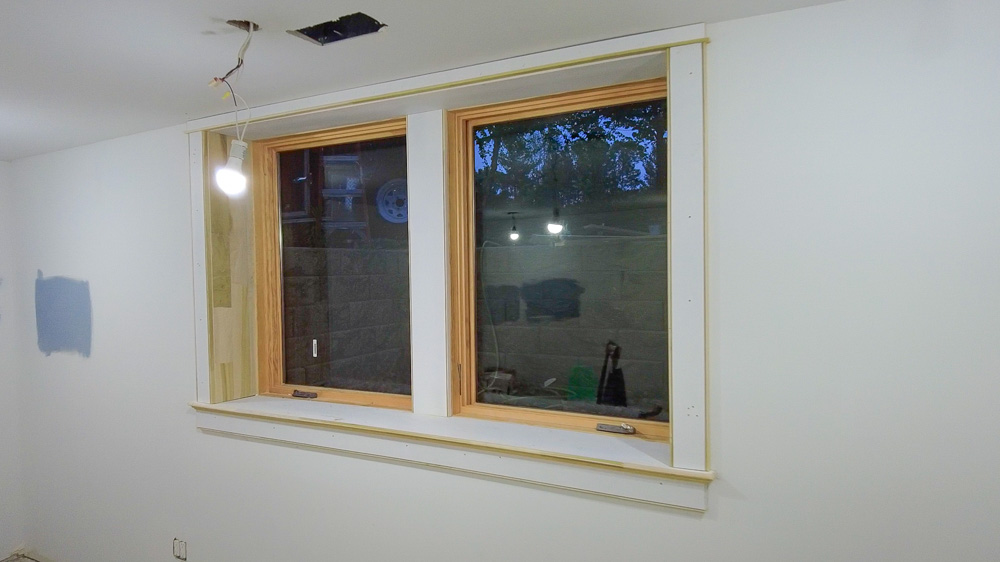
Here is almost all of the trim details installed. The last thing we have to install is the cap molding that’s going to go on top of the head casing.

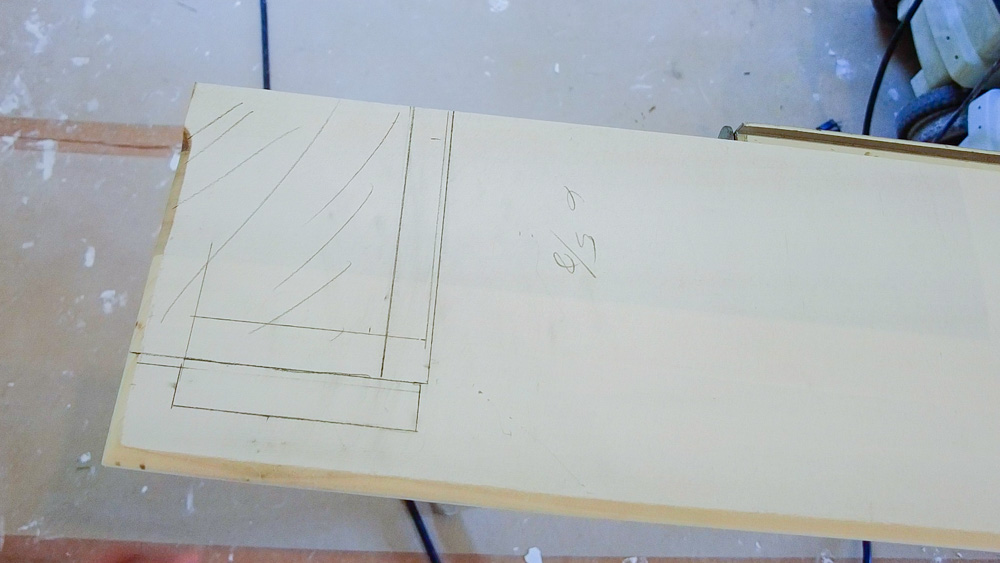
We used this one upstairs, but this is going to be a little too tall because we have this very short head casing. So I’m going to go to the shop and make something a little less significant than this.
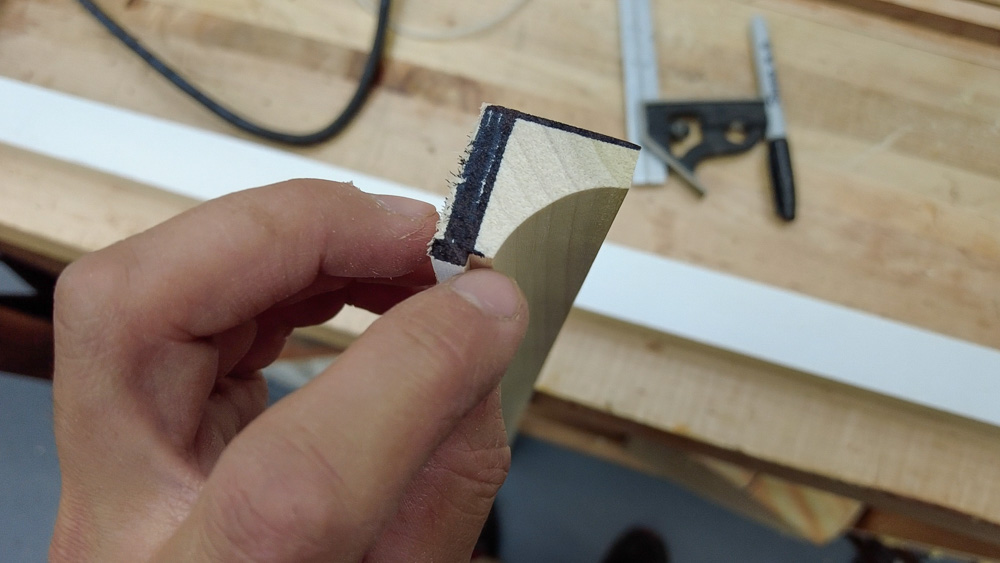
Here is what I’m thinking: first I can get rid of the step detail, and then I can play around with the height and shave a little bit off of there. This would leave me with a seven-eighths by 1 inch profile for the cove.
So here is that window all framed out and ready for paint prep.
And up in the great room, all of these window units are assembled and ready for paint prep as well. It’s crazy how much these window casing details add to the windows, because they look a lot bigger now. It really elevates things and makes the room look that much better.
Next time, I’ll be doing some painting. All of the window trims need to be painted, plus the whole great room and the office. After that, baseboards go in. So we are getting pretty close to having these two rooms wrapped up and usable again.
Thank you as always for joining, I greatly appreciate it. If you have any questions or comments, on the window cases or anything with the home renovation, please feel free to leave a comment. As always, I’d be happy to answer any questions you might have. And until next time, happy woodworking!
Welcome to my shop! This is a quick update to let you know what I’ve been up to. This big chunky thing is the leg

Welcome back to the home renovation. This time I’m going to be working on the kitchen island. Here is a small model of the island.

Welcome back to our home renovation. Today I am going to be working on this wall. It needs some upper cabinets and the surround for