
Matt's Weekly Shop Update
Kitchen Island, Barn Power – March 2024 Update
Welcome to my shop! This is a quick update to let you know what I’ve been up to. This big chunky thing is the leg
Welcome back to our home renovation and remodel! Today I taking a break from the kitchen, and start working on the trim for the sunroom.
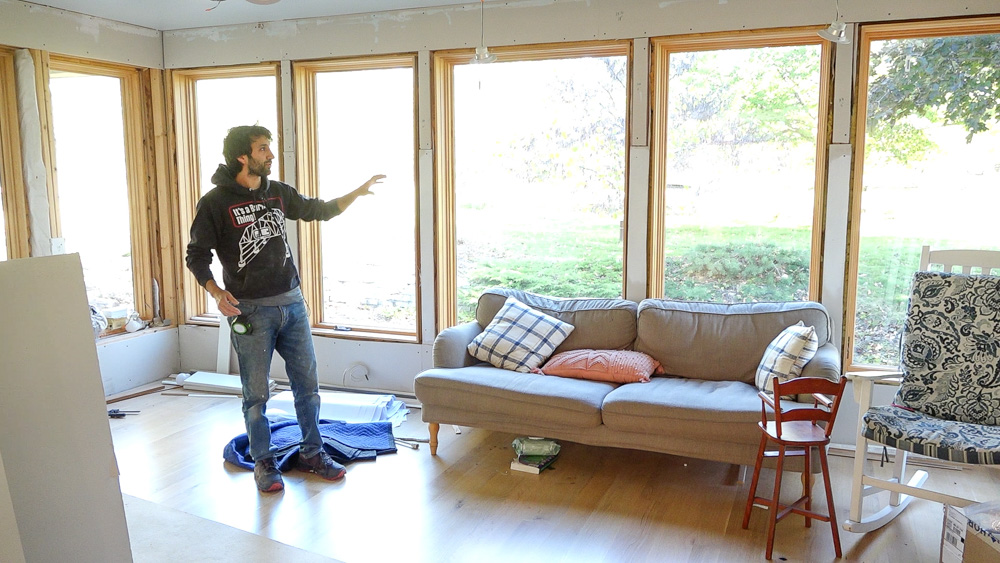
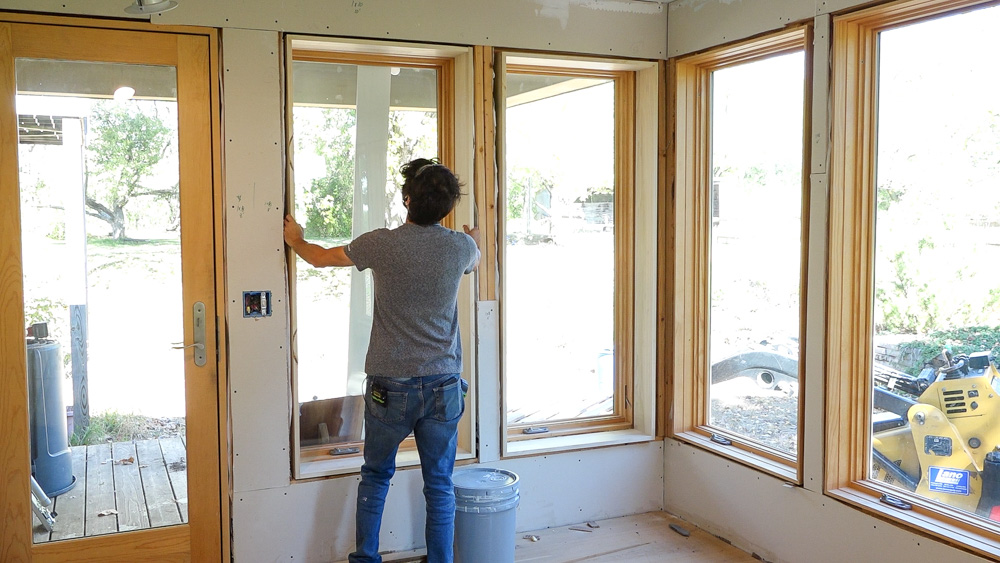
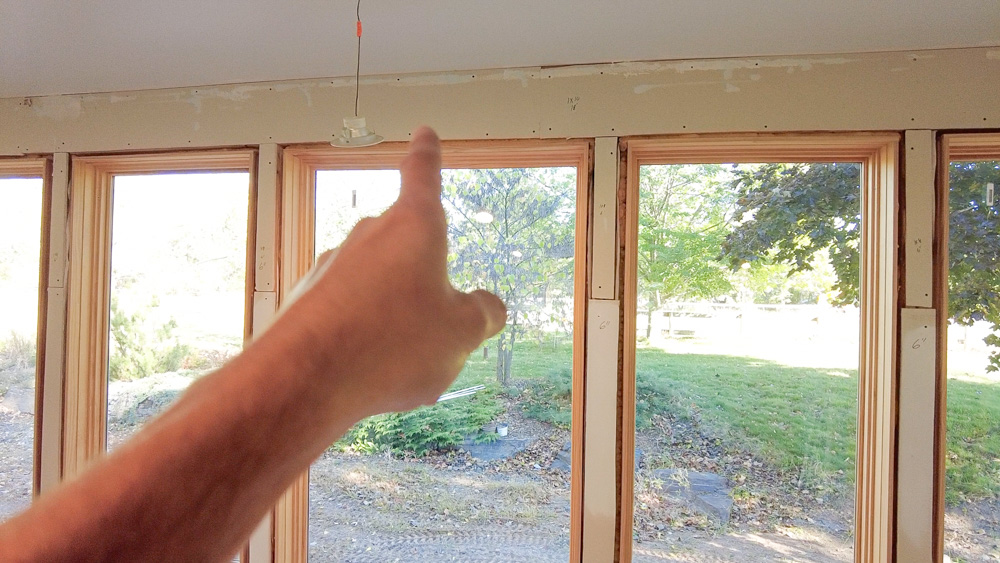
I want to work on getting all of the trim laid out in here, because I want to paint these windows before it gets ridiculously cold out in winter. This room is 100% trim; there is no finished drywall surface anywhere. It created an interesting challenge during the framing phase, because we had to get everything dialed in just right so that when it came time to trim it out, it would be easy and look correct. We are going for a uniform head height across the door and the eight windows in this room, as well as an even casing between all of the different windows in here. I have to take care of some little things before I can start getting into the trim that goes flat on the wall.

The first thing on this list is jamb extensions. This window, and two others, needs to have its jamb extended so that it’s flush with the inside of the building.
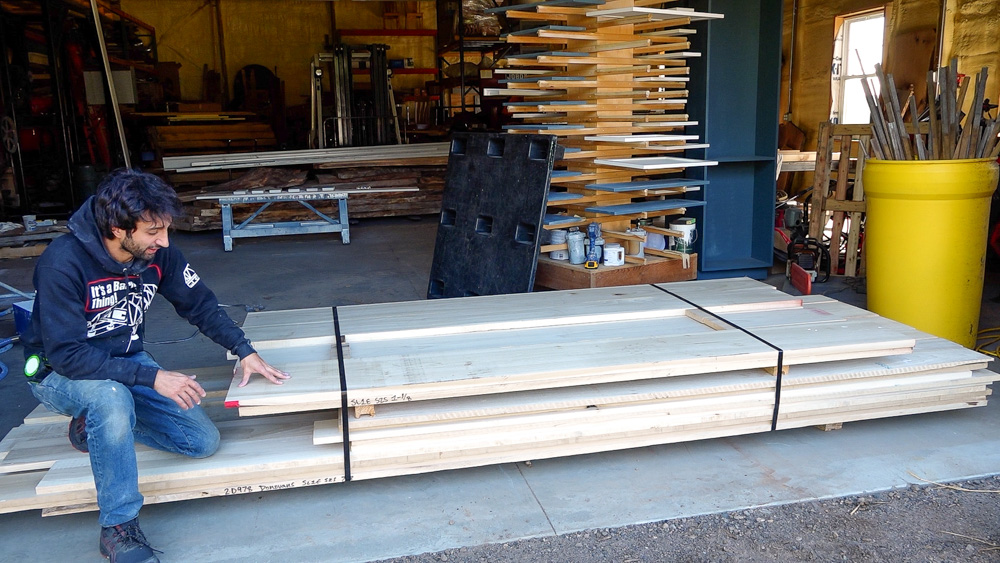
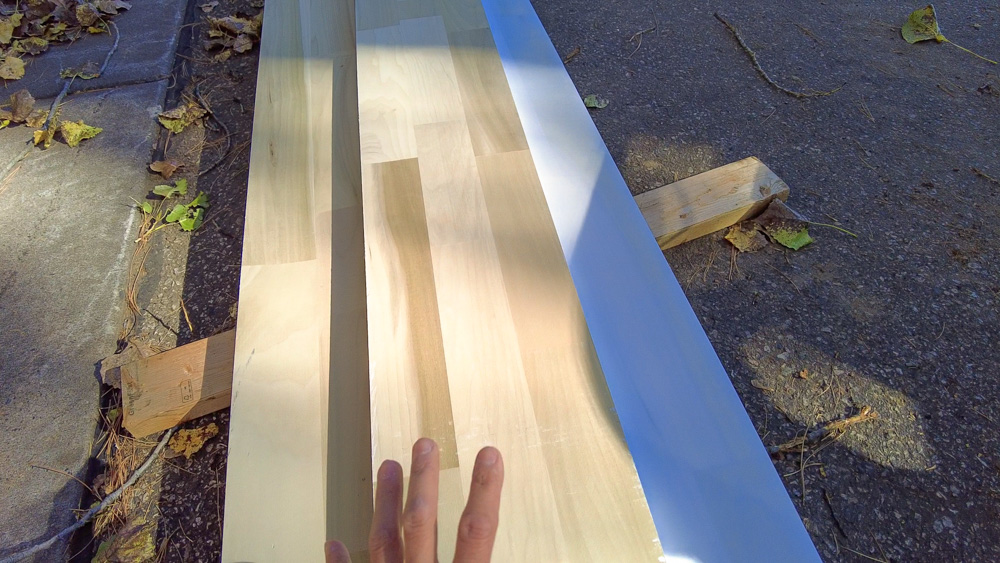
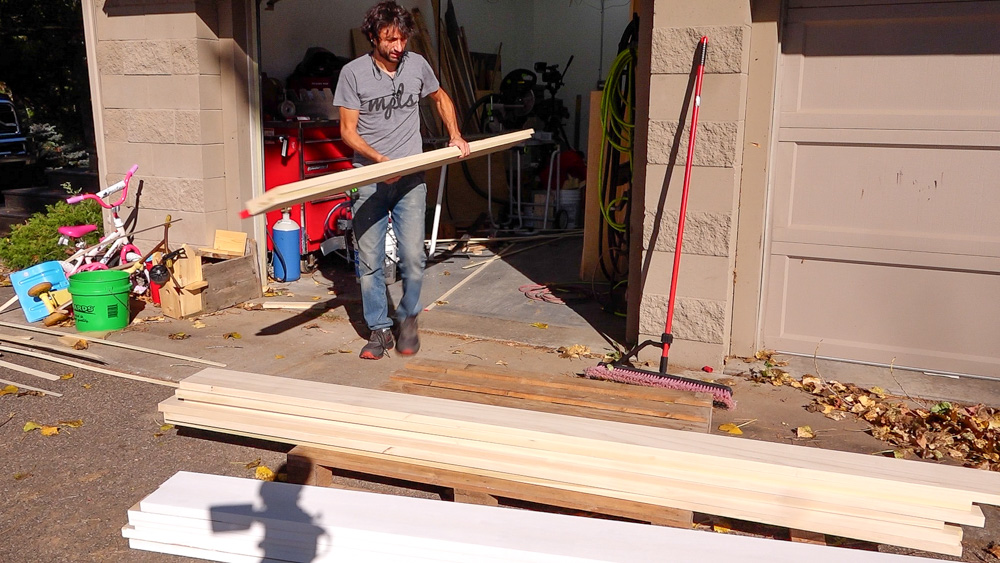
Here is some of the material I’ll be using for the trim. I’ve got 5/4 sitting on top, which is for the bigger stuff we will be getting into later. Then I have some 4/4, which are eight footers, which will be for the casings, these jamb extensions, baseboards, etc. The twelve footers at the bottom of the stack will be the crown molding. Then I have longer stuff coming tomorrow. So I’ll grab some of this and take it over to the shop, so I can make the jamb extensions.
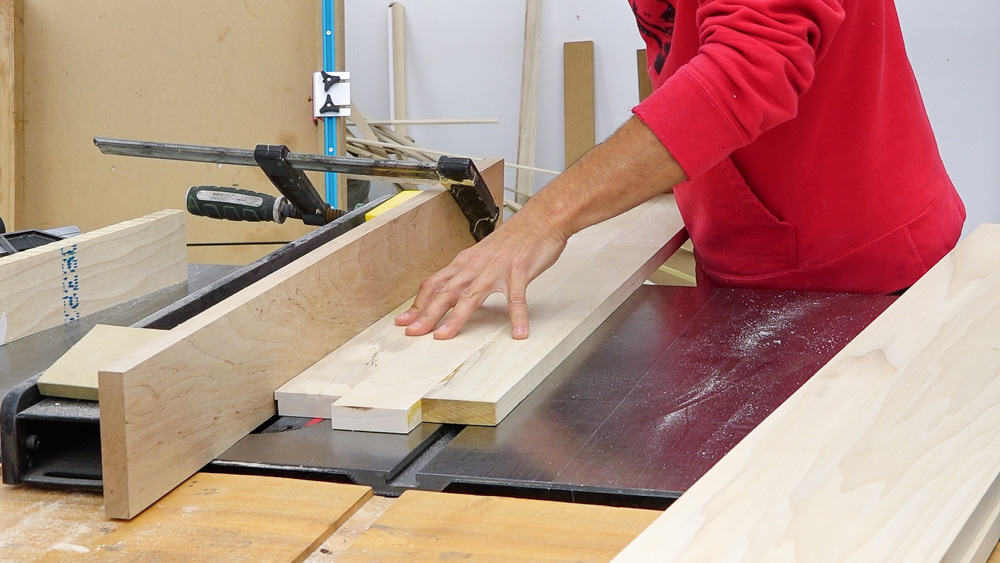
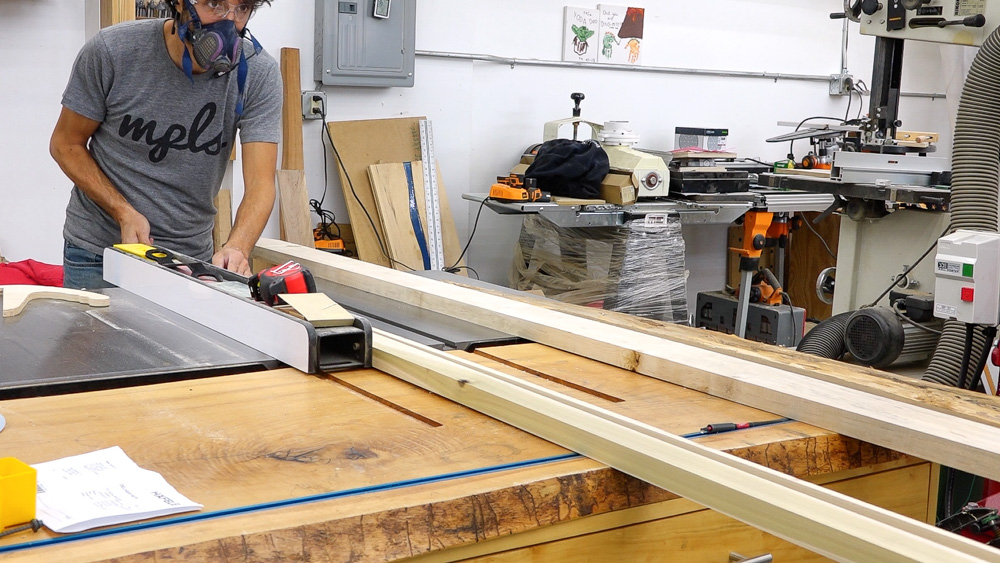
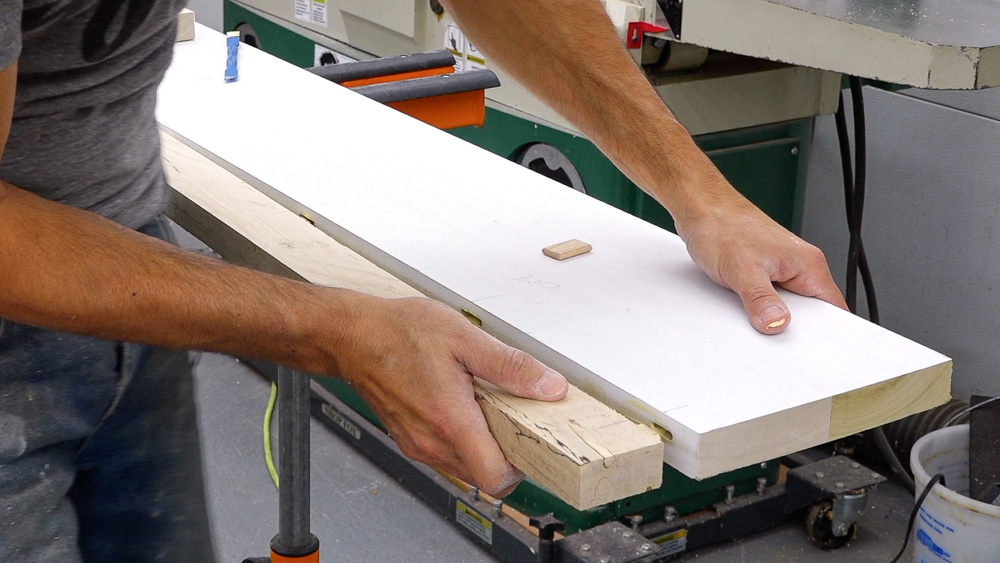
I have to put a rabbet onto the edge of these jamb extensions, which will cause the cause the extension jambs to step out. The windows are set up so that every later, the next piece steps and and the whole thing gets a bit wider. So I’m cutting a 1/2 tall by 1/8 deep rabbet.
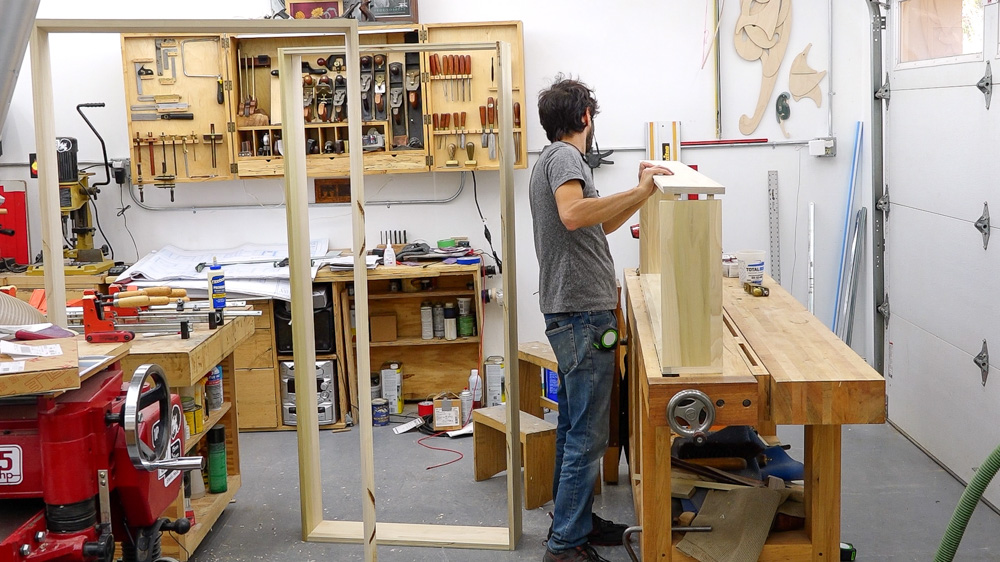
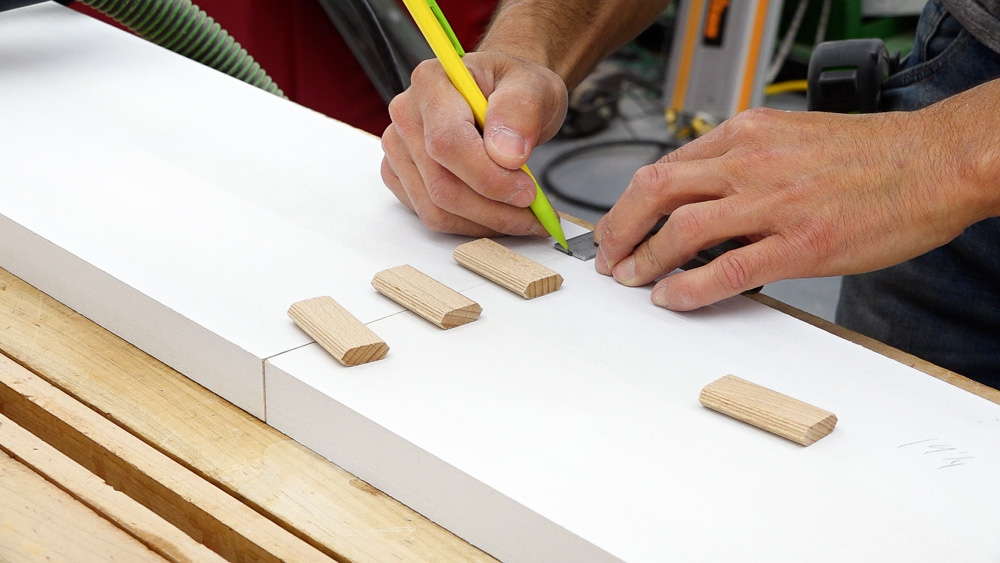
After getting the windows measured again, I am getting the jambs assembled.
And they fit! It’s going to look nice to have all the framing covered up soon.
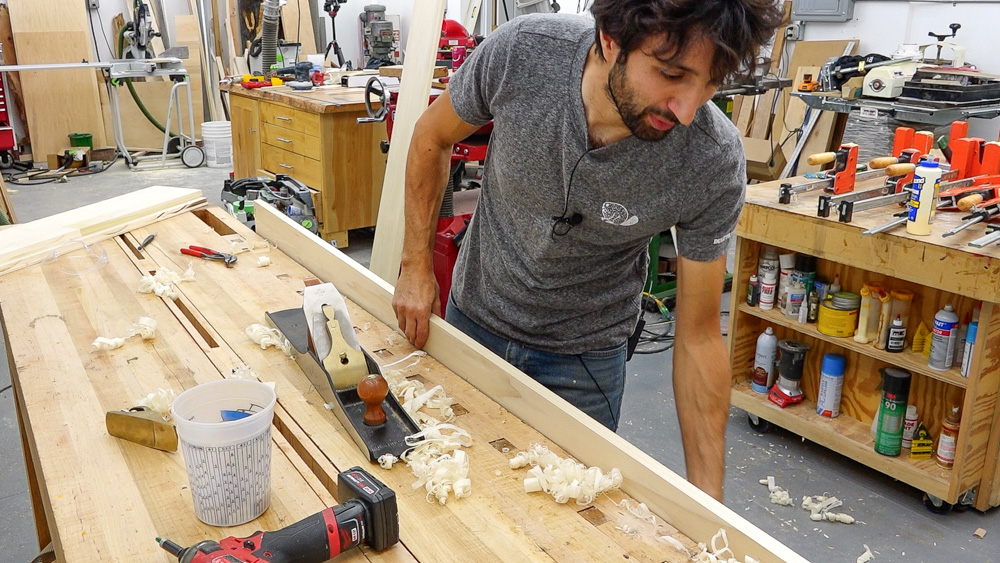
After some finessing with the handplane, these are ready to go for paint. Just like everything, especially with paint, it’s so much easier to get a nice finish if the pieces aren’t on the wall. But I am going to get some more parts ready, so that I can have a larger batch of things to paint all at one time.
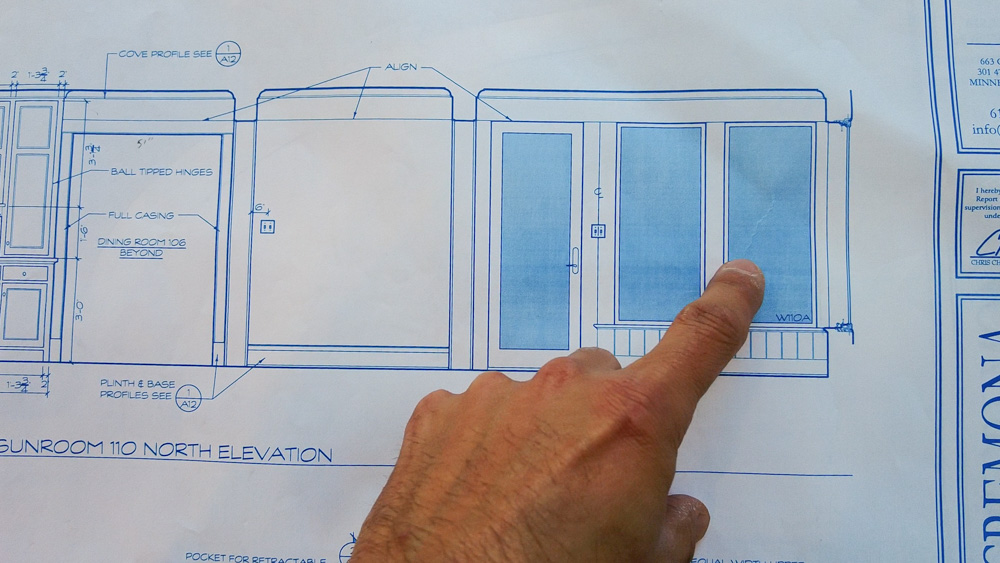
Let’s take a look at the plans again so you can see what I’ll be doing next. You can see how there is casing that goes straight to the wall, the double casing, window, casing, window, half casing to the corner. And you can see the band board detail up top, which links the tops of the windows and the door, and that band board will run around the whole room.
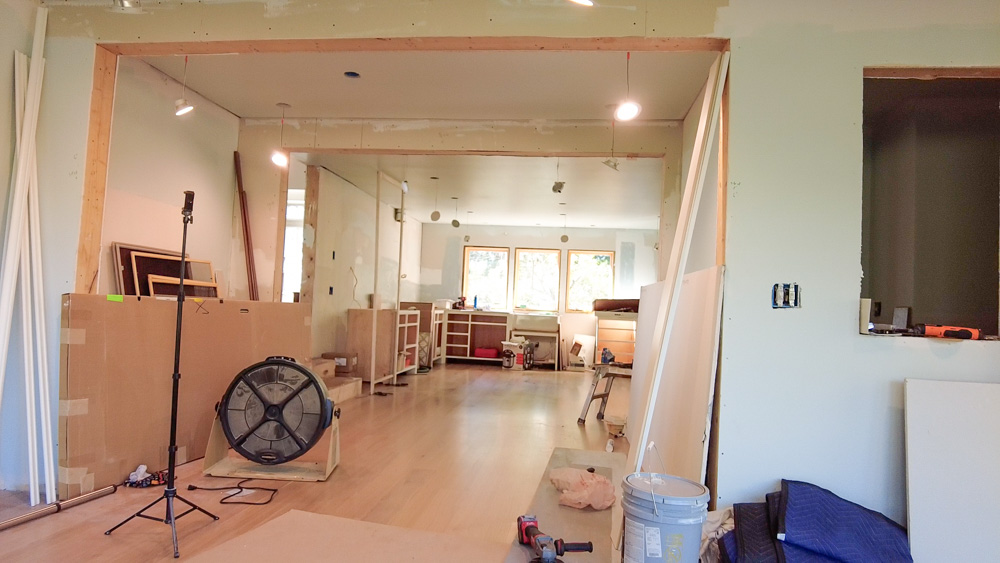
That band is going to be continuous along this wall as well, and that band will set the height of this beam
I’m going to start with the band board over here. This is an 18 foot run, but I only have 16-footers, so I’ll have to attach an extra two feet to that board so that when I install it, it’s all one piece. I’m also going to work on the vertical column details on the entry to the sunroom, which will come out of 5/4 boards and be about 6 inches by 7 feet. And I will also work on the column for the pantry. But my main focus is the band board, because I need it first.
Here are the boards I will use for the band board. These are finger-jointed poplar, which is the same material we used in the great room for all of the trim.
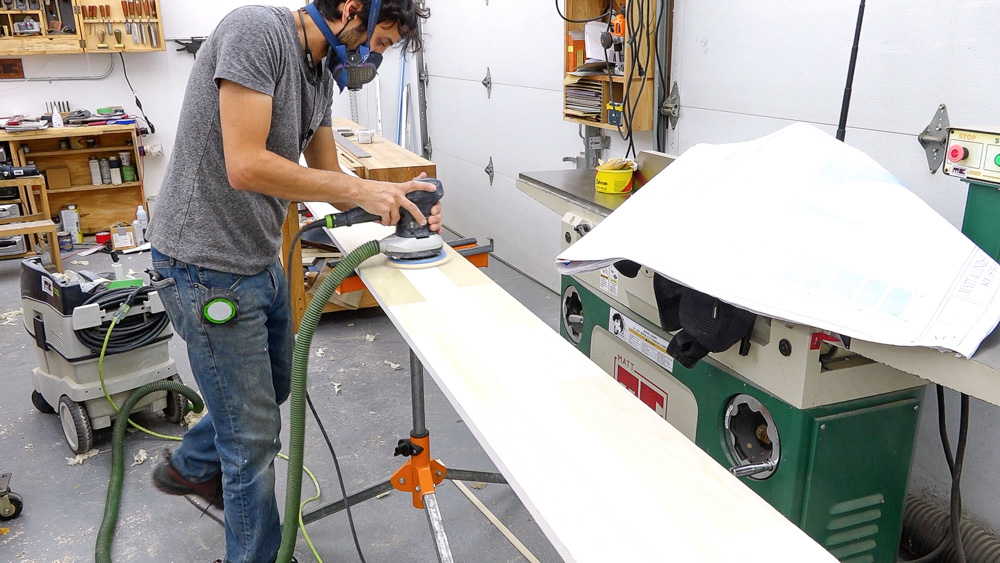
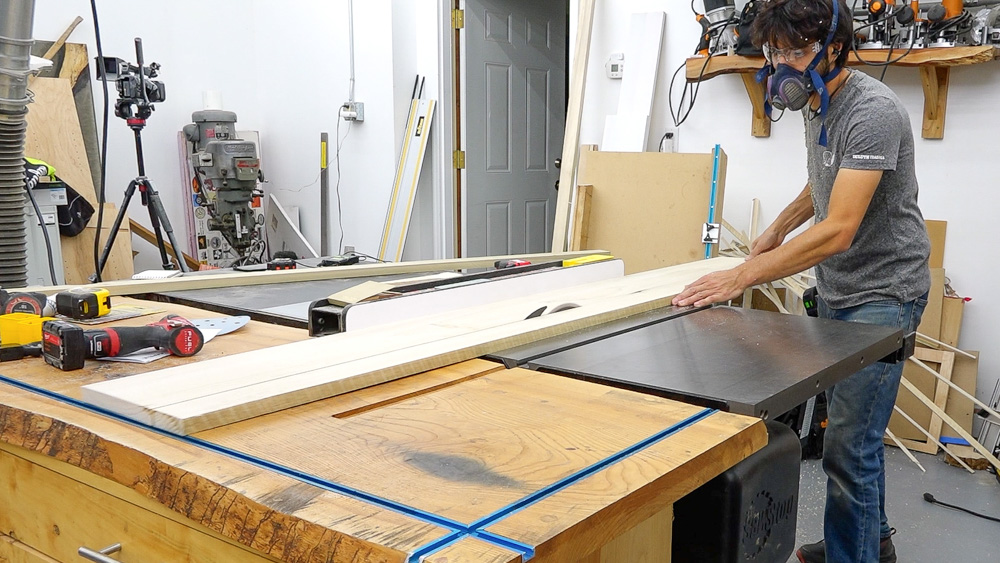
I’m already running out of space to bring in other things to machine and mill given the length of this board. I already sanded everything else I made today, and I just have this guy left to sand. It’s already at its final length for install, so it just needs to get painted and then it can be installed. So I’ll get it sanded so it can get out of the way.
This makes eight pieces of pillar stock. On to the next thing!

These will be the jambs for that column detail.
This was one of the more productive days I’ve had in a long time. All stock for everything I pulled this afternoon is all prepped and waiting. Tomorrow I can dimension everything for the final size, and then I will spray everything in the afternoon when it warms up a little bit.
This takes care of the columns. Next I’m going to take care of the jambs, and then I want to get going on that band board, because the 16-foot 5/4s showed up today.
I have to make these boards 2 feet longer first, and then add another two inches to the entire length to make it wider.
While that is setting up, I’m going to mill the strips that will go onto the band. I need 18 linear feet of two-inch strips that are one inch thick.
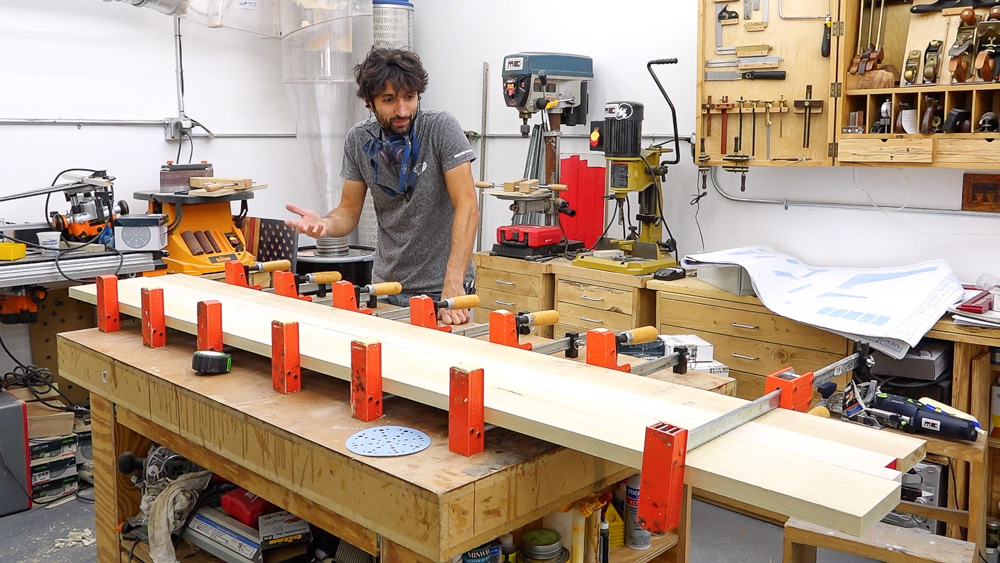
And now I can attach the strips and make the board wider.
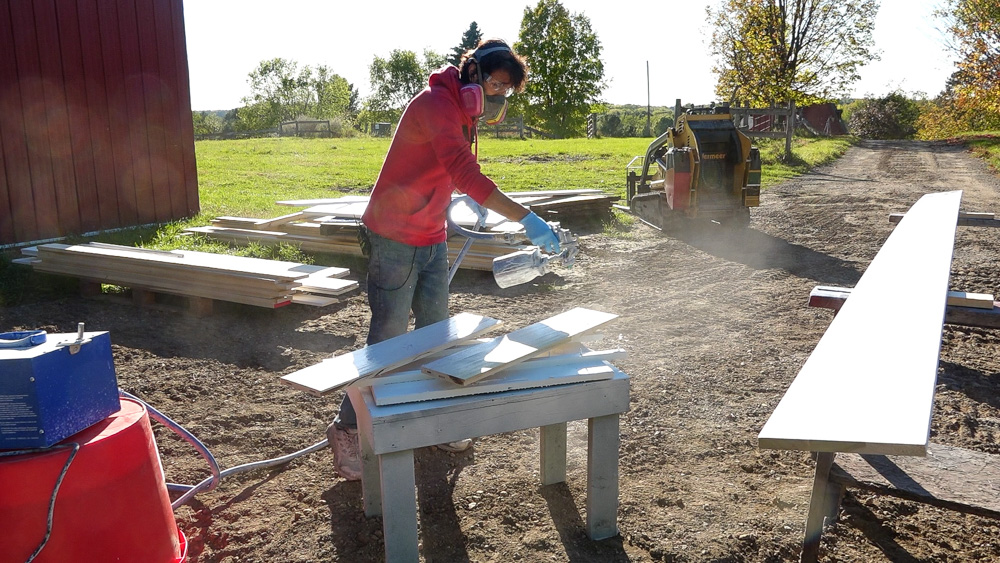
Now it’s time to paint! I’m going to start by priming the backs of everything, and then move onto the actual show-face. This is definitely the woodworker in me coming out, because I want both sides of the board to be sealed to prevent warpage. So after I prime the backs, I can flip everything over and do two coats of primer, sand between those coats, and then put on a topcoat. And then the last coat of topcoat will be in pace once everything is actually assembled to the wall.
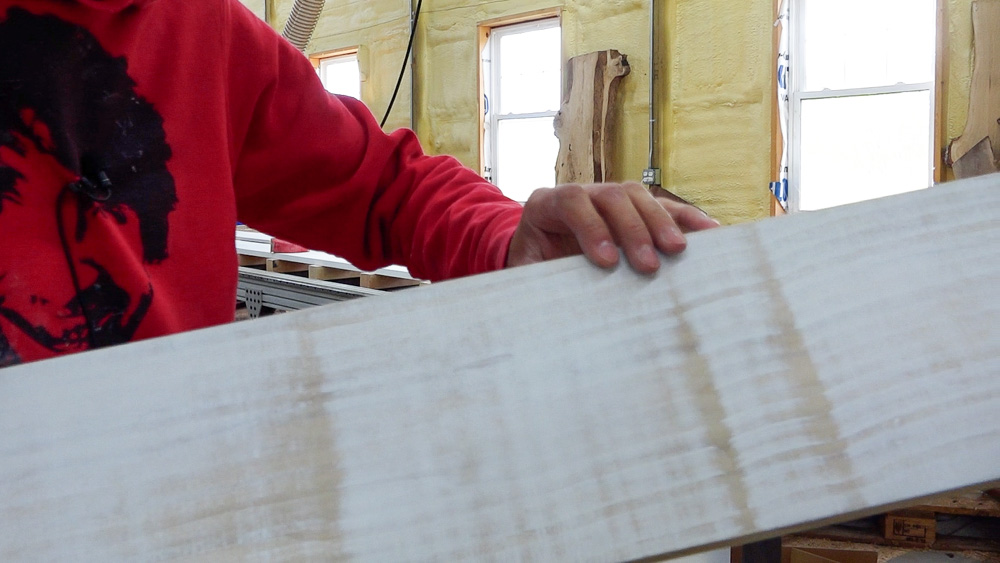
I just finished getting everything sanded, and I wanted to show you what it looks like. The primer is almost more of a filling step. You can see all the machine marks on my board, so the sander’s going to knock off all the high stuff and leave the paint down to the low areas. A lot of this first step is getting everything level to the surface, getting it nice and smooth so that it gets smoother and flatter as you build.
These are sanded again and ready for a topcoat. This time the surface is still level, but there are still some areas where you can see through the coating. But it’s all nice and smooth and ready to go for another coat.
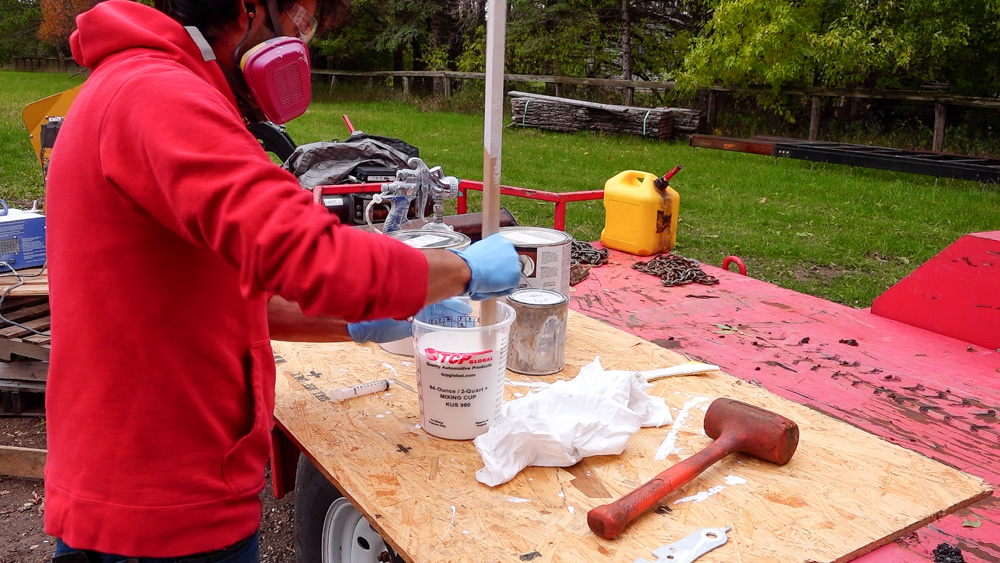
For the topcoat, I am using a conversion varnish, which is a two-component paint. The main component does not cure or do anything until you add the catalyst to it. So this is a post-catalyzed product that you catalyze yourself.
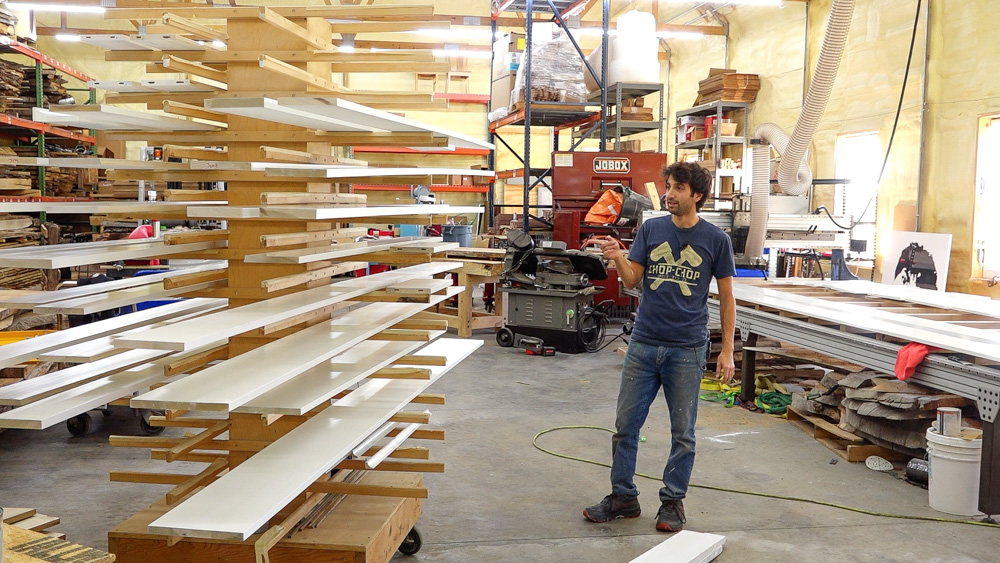
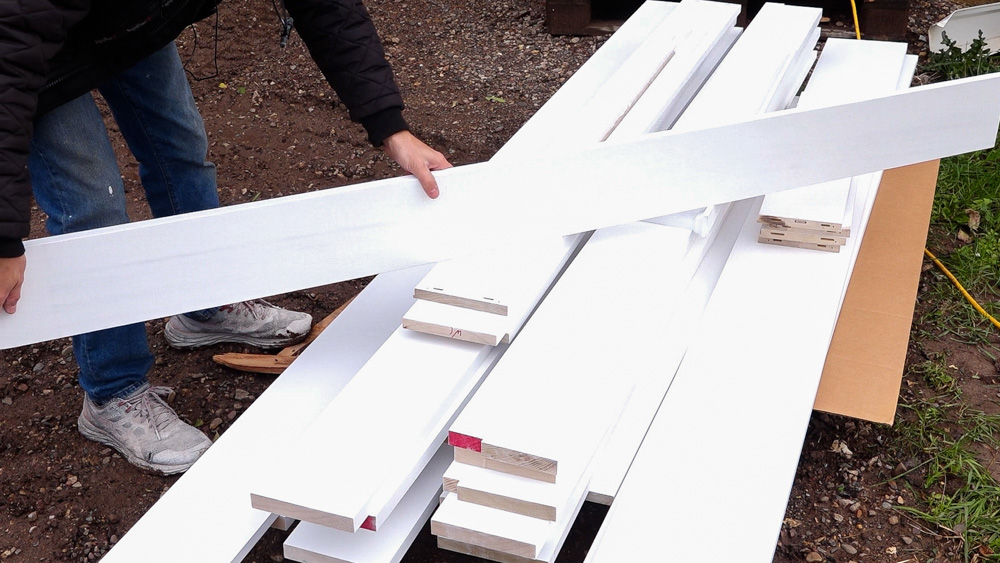
So here is the first batch of trim for the sunroom! I’m going to let these sit and harden up for a few days. When I’m ready to take them inside, I’ll give them a quick sanding with 400 grit to knock down any inconsistency in the surface.
But that’s it for now! Thank you, as always, for joining. I greatly appreciate it. If you have any questions or comments, please feel free to leave me a comment. As always, I’d be happy to answer any questions you might have. And until next time, happy woodworking!
Welcome to my shop! This is a quick update to let you know what I’ve been up to. This big chunky thing is the leg

Welcome back to the home renovation. This time I’m going to be working on the kitchen island. Here is a small model of the island.

Welcome back to our home renovation. Today I am going to be working on this wall. It needs some upper cabinets and the surround for