
Matt's Weekly Shop Update
Kitchen Island, Barn Power – March 2024 Update
Welcome to my shop! This is a quick update to let you know what I’ve been up to. This big chunky thing is the leg
Welcome back to the home renovation!
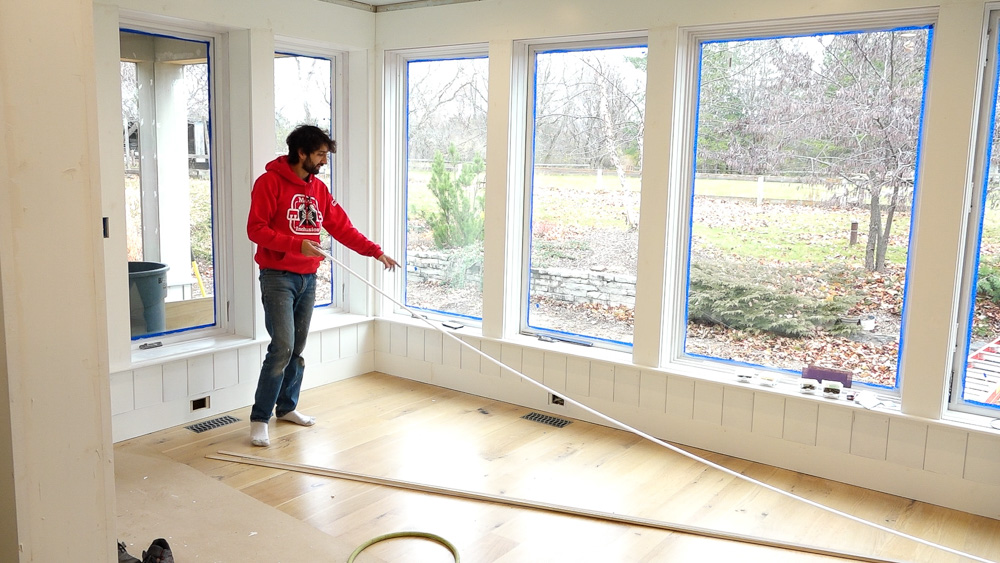
The paint is still curing on the crown, so I want to finish up a few little details in the sunroom. I have the shoe molding that goes down to transition the baseboard to the floor, as well as the half-inch cove molding that goes underneath the sill to transition the sill to the paneling.
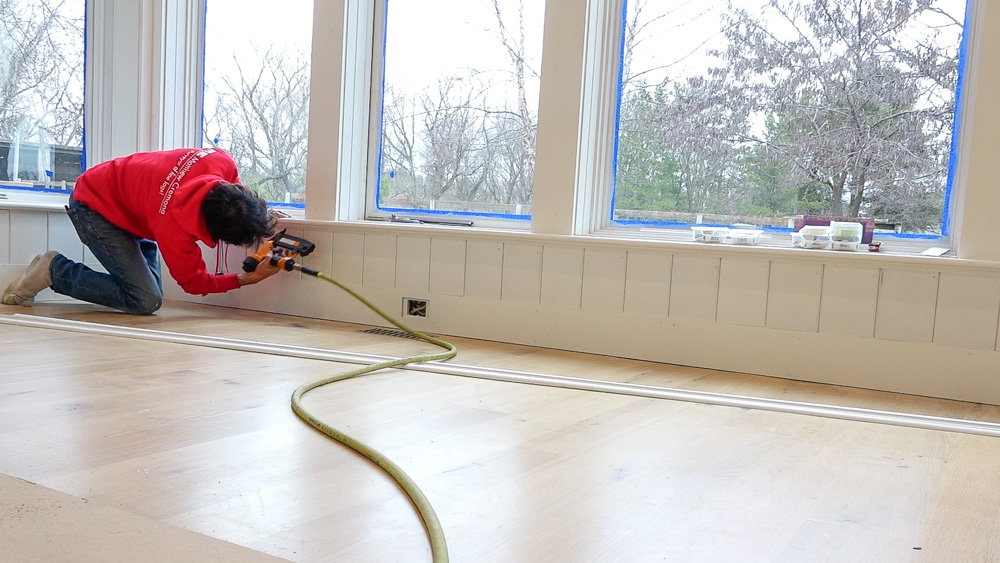
I’ll get that cove molding in first.
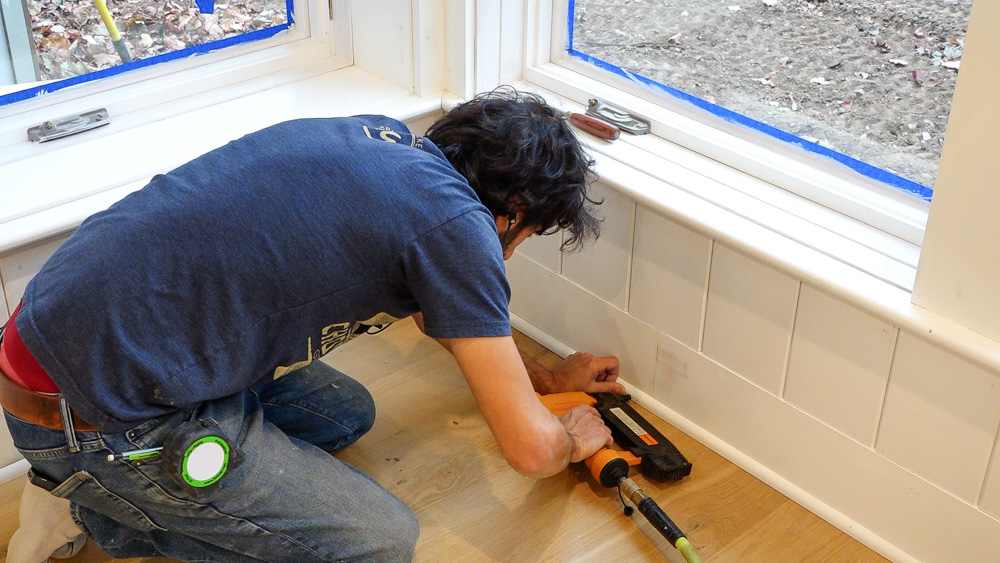
Then I can get the shoe molding installed.
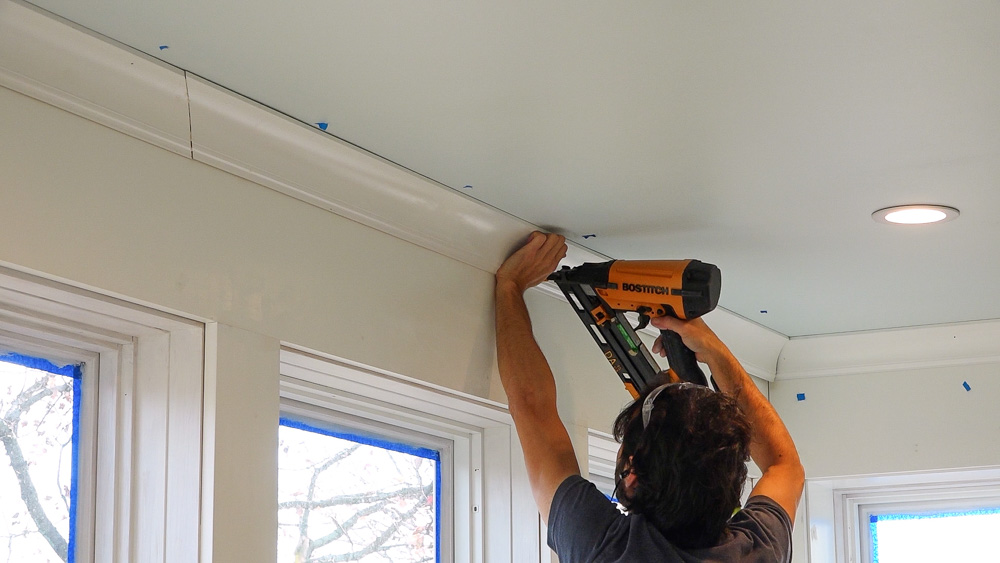
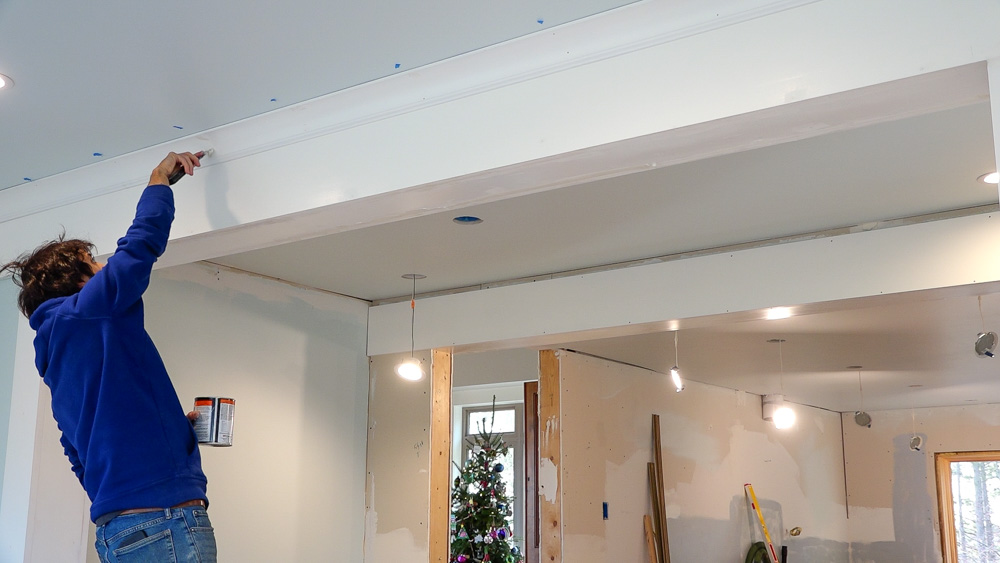
I’m ready to move onto the crown now. The shorter walls will be full pieces, so I’m starting with those. My ceiling joists are running the same direction as the crown molding on the shorter walls. If I had planned ahead for this, I would have put some blocking in the ceiling, but I didn’t think of it. So I made up some blocking, and this is going to go up onto the wall and give me a place to attach the top of the crown to.
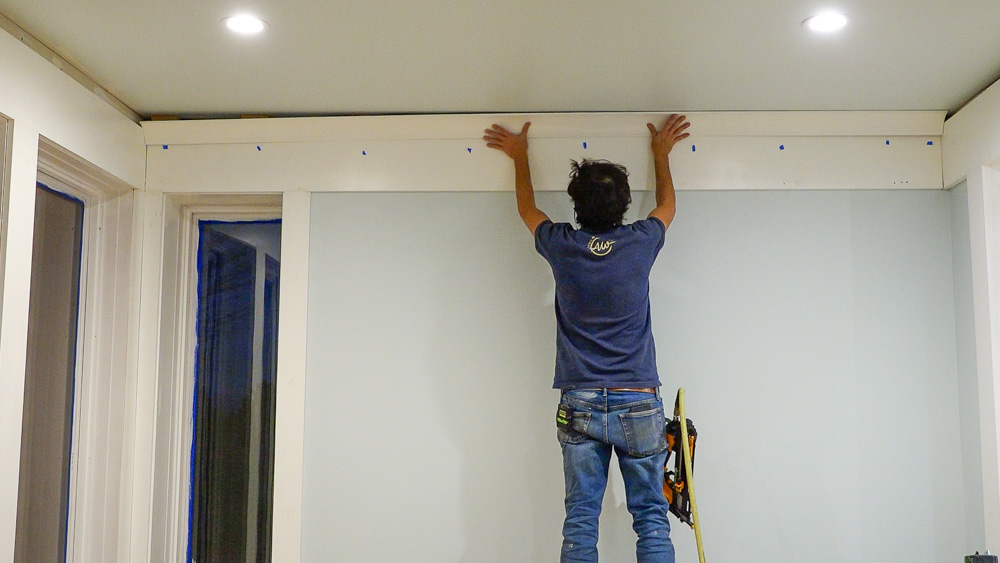
I will put these at the stud locations so I will have a place to attach the crown.
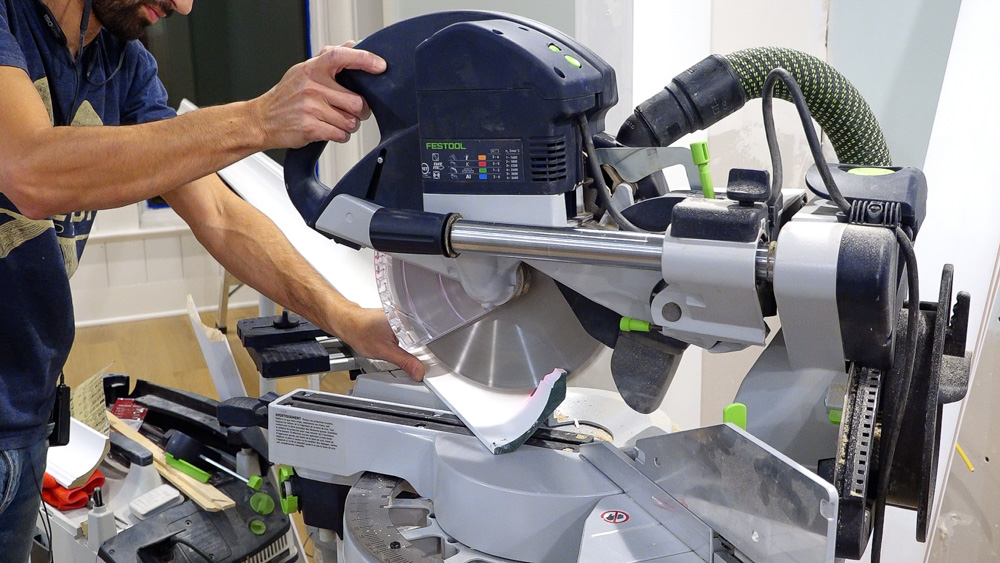
For the longer walls, the corners are going to be coped. I have my saw set up with the crown molding nested, the blade is set to an outside miter, and I can make the cope.
After cutting the scarf on the other end, this is ready to go in.
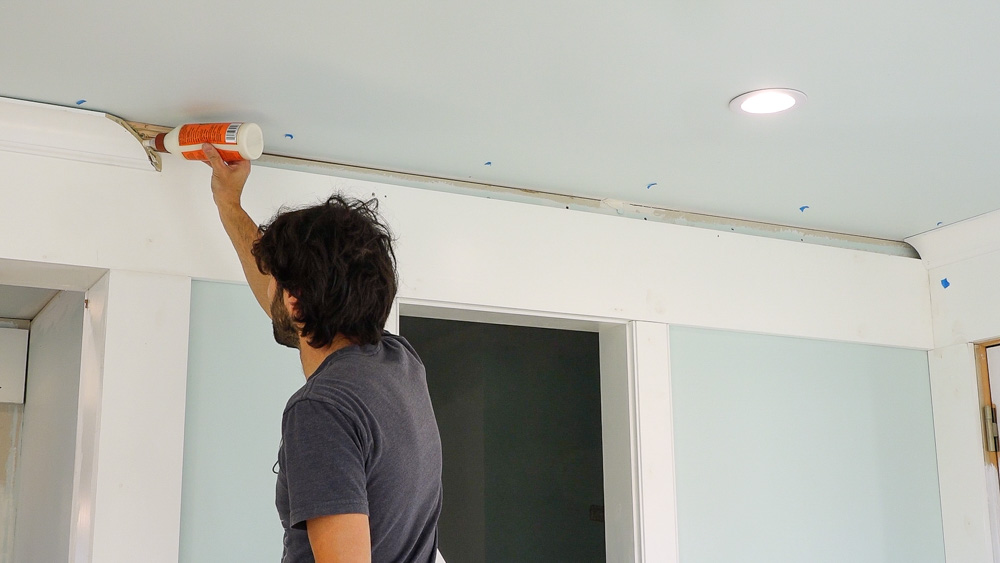
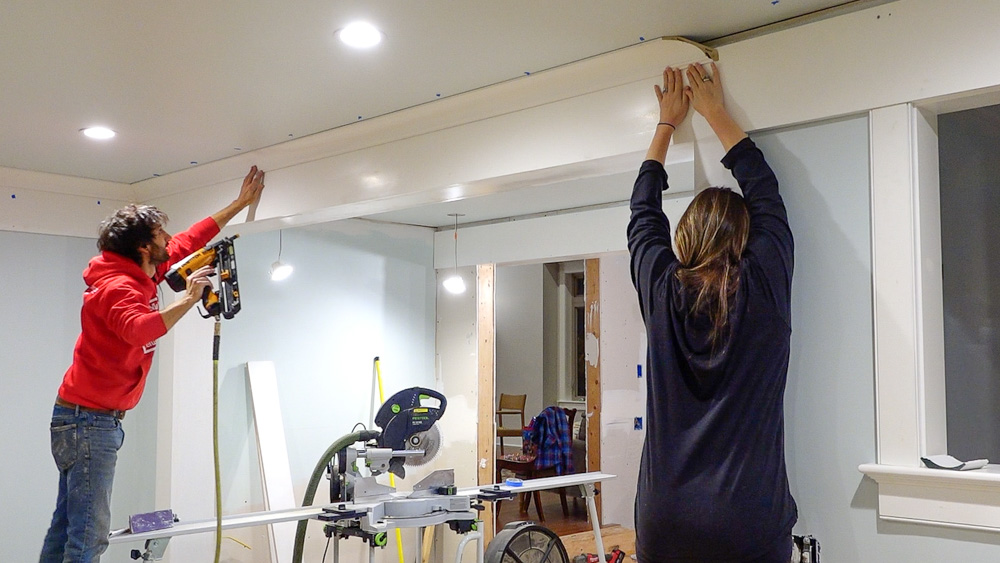
As far as the set-up goes on the scarf joint, I have a couple dominoes in here to help align the profile. I also have one of the blocks behind here for extra support across the whole joint. There is also some construction adhesive behind there to further reinforce the connection and keep it from moving apart over time. After it’s installed, I’ll get some putty in the joint and blend it out so it’s like it’s not even there.
That is it for the crown in the sunroom. And the sunroom is fully installed, as far as trim goes. Before I can prep and paint everything, I have to finish the east wall of the breakfast nook.
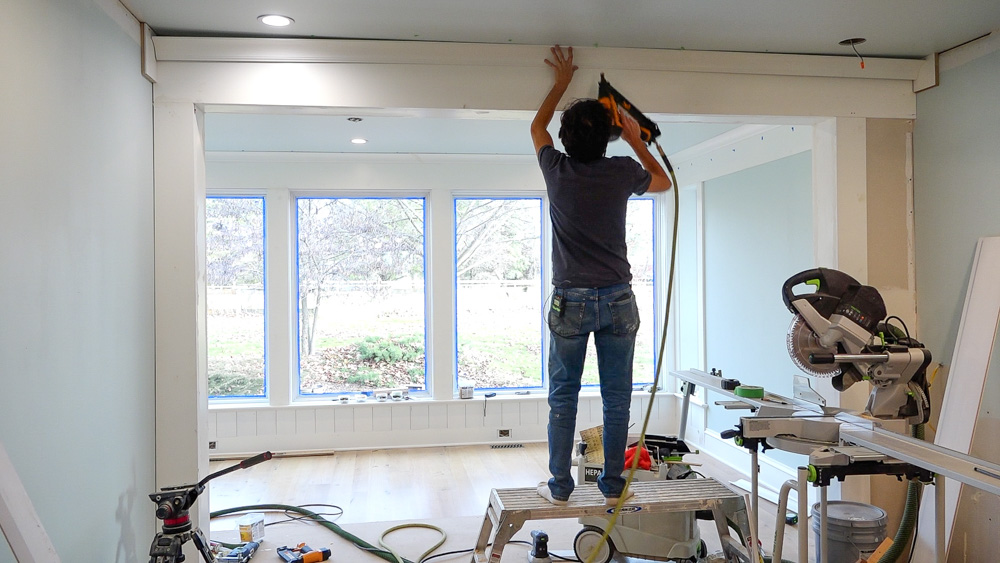
There is a piece of crown that goes up top, and then two pieces of V paneling tha and a rail which will be above the breakfast bench.
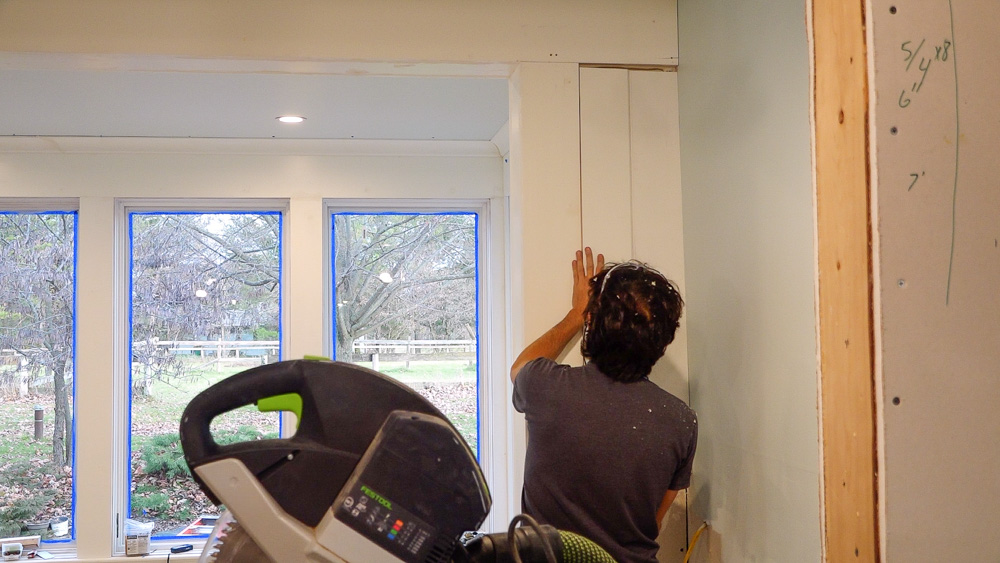
Here is the V paneling for the breakfast nook area.
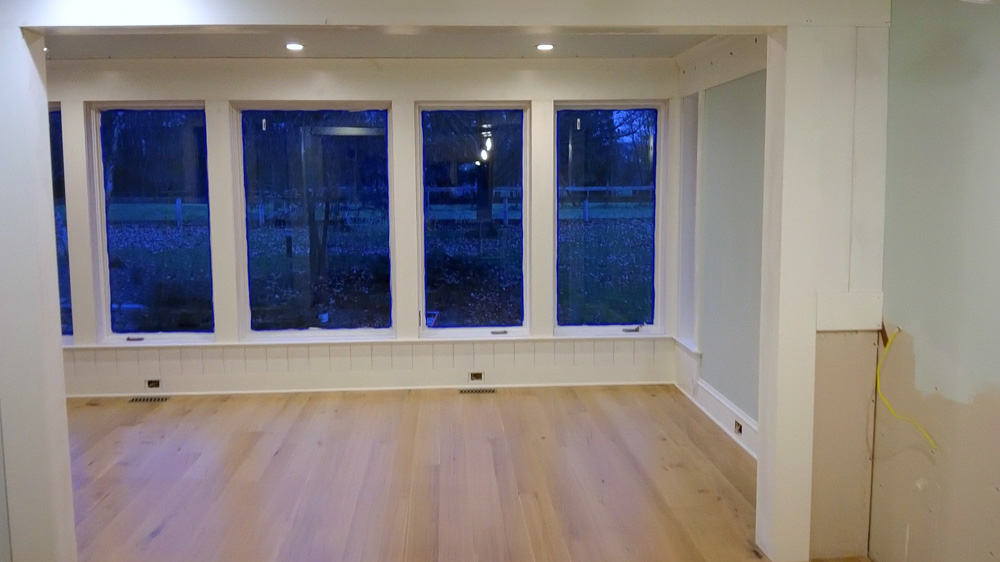
Here is everything installed and cleaned up a little bit. It’s weird seeing it all up there. It has a lot of detail, but it looks really nice. Next up, paint prep.
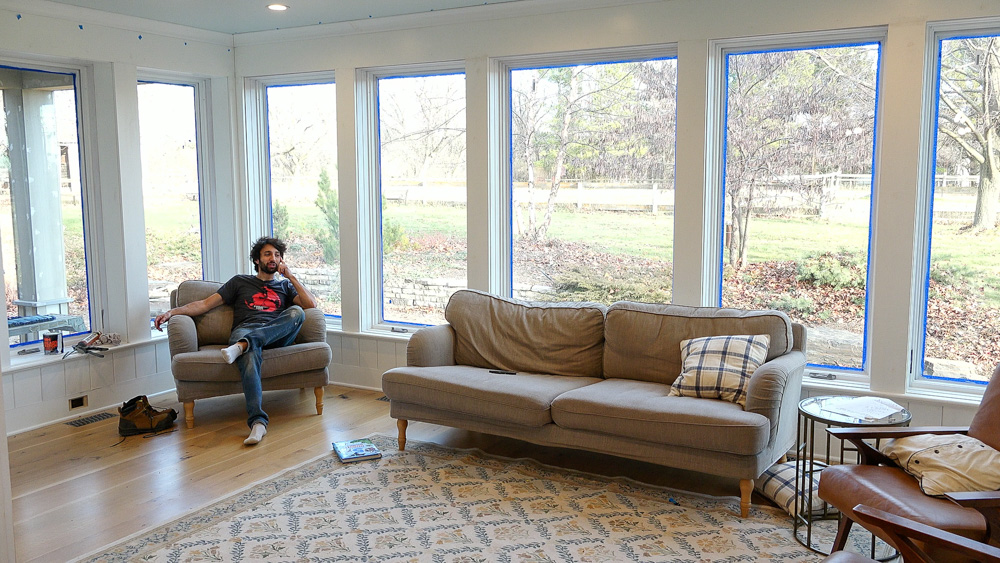
We staged some furniture in here to get a feel for the space and layout. What surprised me so far is that the casings on the windows almost disappear and make the windows look more like framed pictures. The casings almost disappear into the background, allowing you to see more of the view. It’s nice to get a feel for it.
I have a lot of paint prepping to do. First off is filler, which goes on the nail and screw holes. I also have to fill any area that comes into flush. Any area that has been spliced together also needs some filler. I am also filling any large gaps in the inside corners with filler, which gives some backing for the caulking. After all that filler is done, I have to sand everything. The flat surfaces have already been pre-sanded before I brought them in here, but I will go over everything again just to knock off any extra filler from the screw holes, etc.
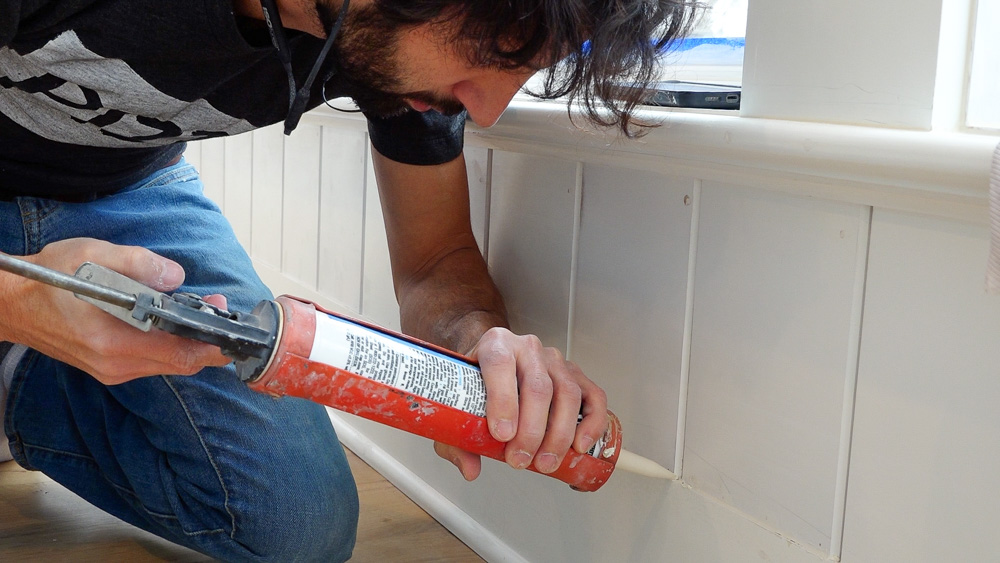
After that comes caulking. I will caulk every single inside corner seam. It doesn’t matter how tight that seam looks, any inside corner gets some caulking to fill any gaps as well as give a little bit of a radius for the paint to take and give a little bit of flexibility underneath the paint.
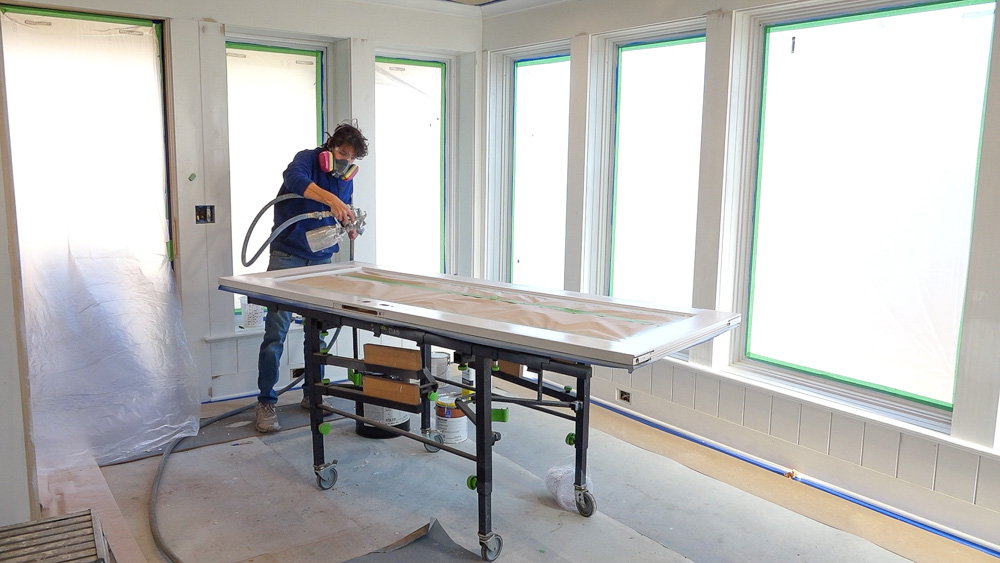
All of the surface prep and surrounding prep is just about done. I’m going to get started on the door. I’m going to pull the door out first, mask it off, prime the door, and prime the remainder of the door jamb. I want to get that drying as quickly as possible so that it can be ready for the topcoat. The door will be the first thing getting a topcoat so that I can move it out of the way to start curing so it can be ready to reinstall this evening.
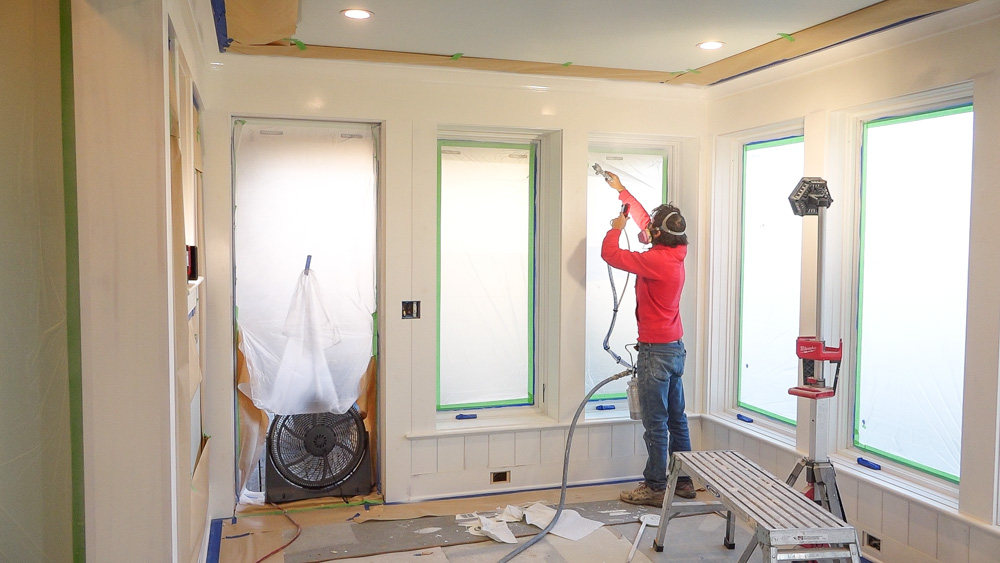
The topcoat is the same stuff that I already applied a coat of to all of the parts. It is that conversion varnish that needs to be catalyzed. I’m going to catalyze a full gallon today, and see how far that takes me. I am also using the pressure pot set-up for the sprayer. That gives me three benefits: I can put more into the gun at once so I don’t have to refill as often, it takes the weight of the produce off of my wrist which makes it easier to hold and maneuver, and I can spray at any angle because there is no pickup or gravity feed on the gun itself.
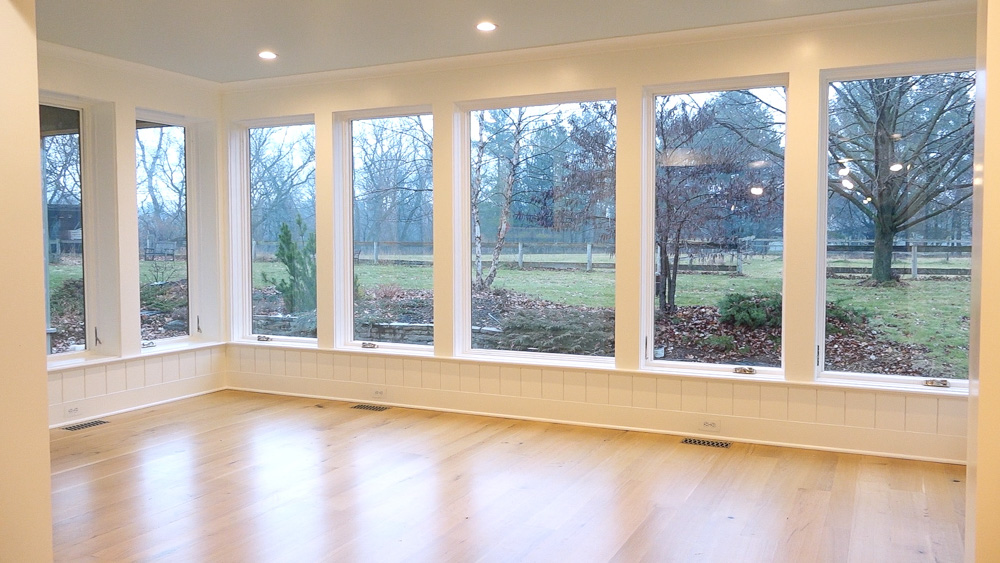
Here is the sunroom, fully trimmed out, and basically complete at this point. And we absolutely love it. There is so much detail in the walls and the trim, but at the same time, that detail fades to the background and makes the windows the focal point of the room. This is a pretty big milestone in this project, and it feels pretty incredible.
Thank you as always for joining. I greatly appreciate it. If you have any questions or comments on the home renovation, please feel free to leave a comment. As always, I’d be happy to answer any questions you might have. And until next time, happy woodworking!
Welcome to my shop! This is a quick update to let you know what I’ve been up to. This big chunky thing is the leg

Welcome back to the home renovation. This time I’m going to be working on the kitchen island. Here is a small model of the island.

Welcome back to our home renovation. Today I am going to be working on this wall. It needs some upper cabinets and the surround for