
Matt's Weekly Shop Update
Kitchen Island, Barn Power – March 2024 Update
Welcome to my shop! This is a quick update to let you know what I’ve been up to. This big chunky thing is the leg
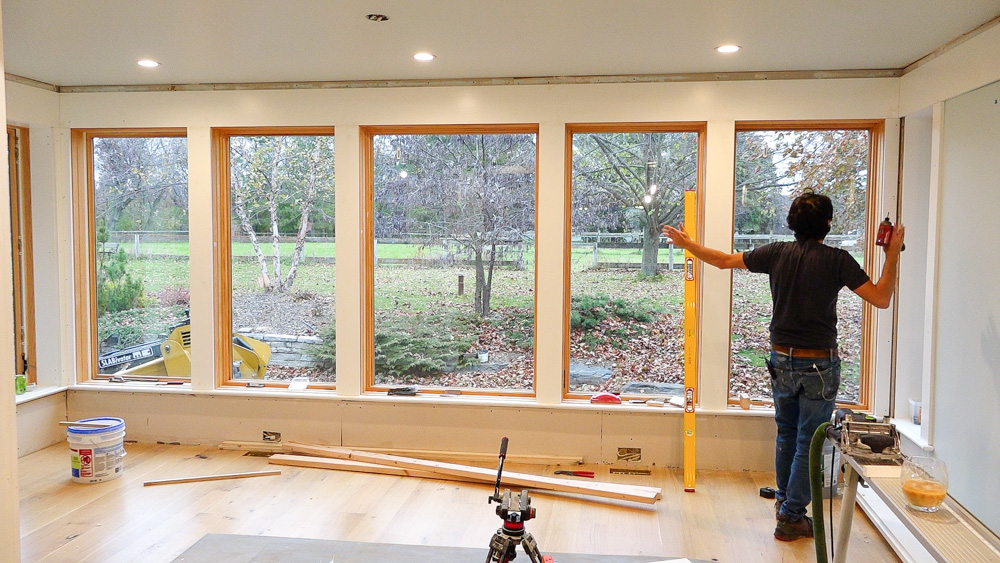
Welcome back everyone! Today I’m hoping to finish up all of the trim for the sunroom, with the exception of the crown molding.
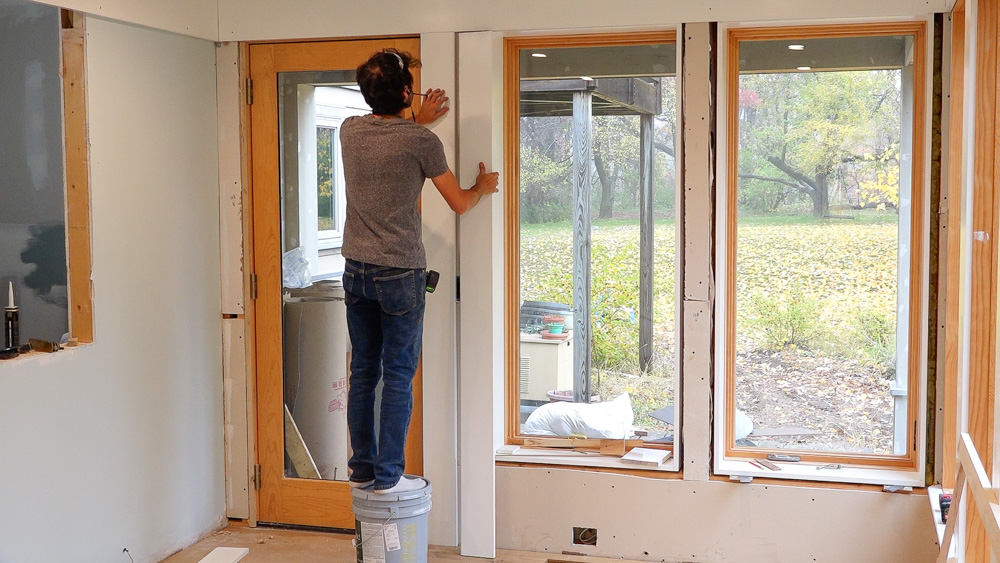
First up, I’m going to get the door casings installed.
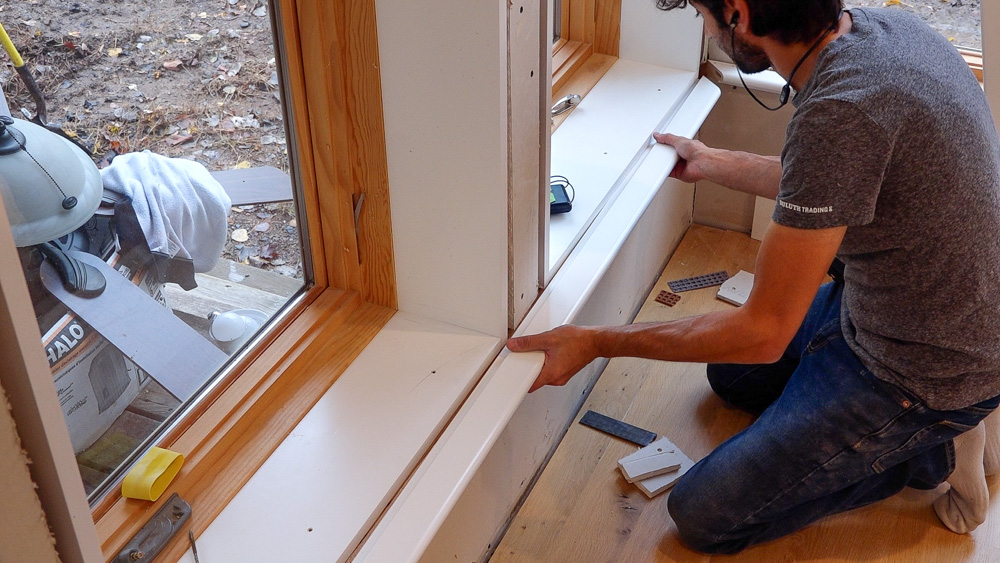
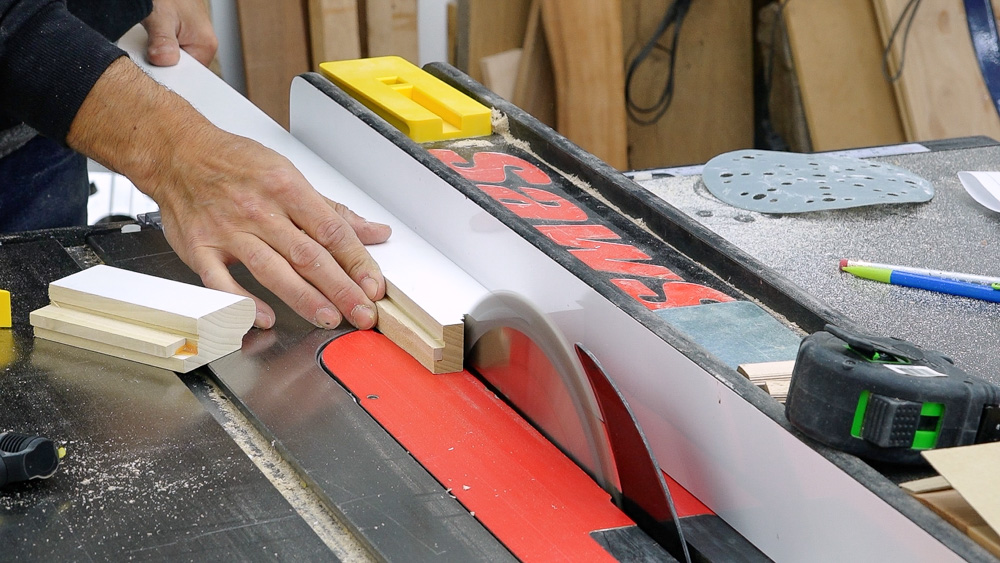
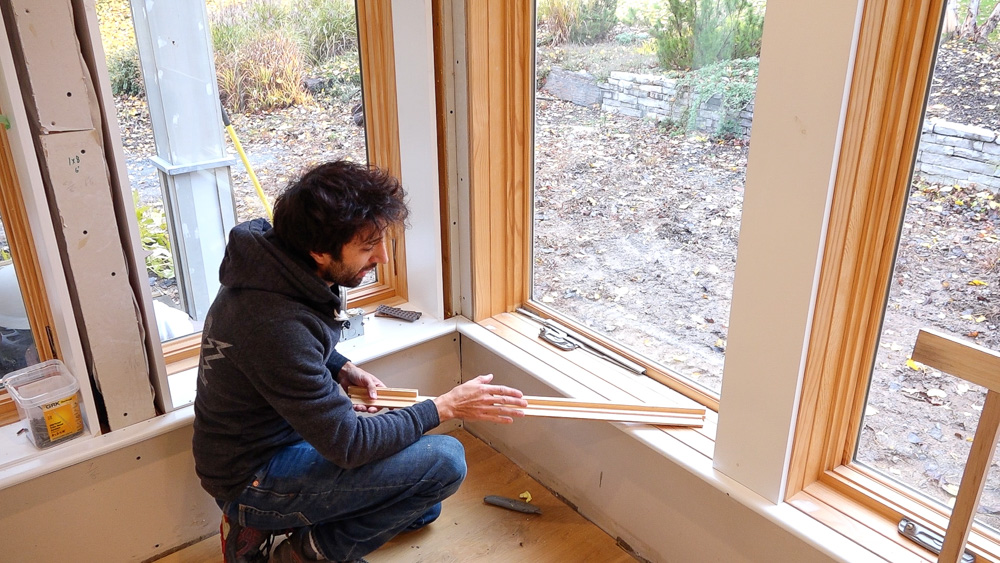
Next up, the sills. One of the things that I have to tweak on these sills is the position of the rabbet. My extension jambs are thicker on these windows (the ones that I made) compared to the ones that came stock. These are an 1/8th of an inch thicker, so I just just have to remove 1/8th of an inch in my rabbet.
Before I get this sill installed, I have to figure out where it’s supposed to end, because it needs to get mitered, returned, and notched around the thickness of that casing. But I don’t know exactly where that is, so I’m going to give it some thought.
I ended up installing these two window casings first, and set the sill afterwards.
Now back to the sill, I have to remove the thickness of the casing from the part that overlaps the sill. Once that notch is set, I can figure out where my miter needs to be for my return.
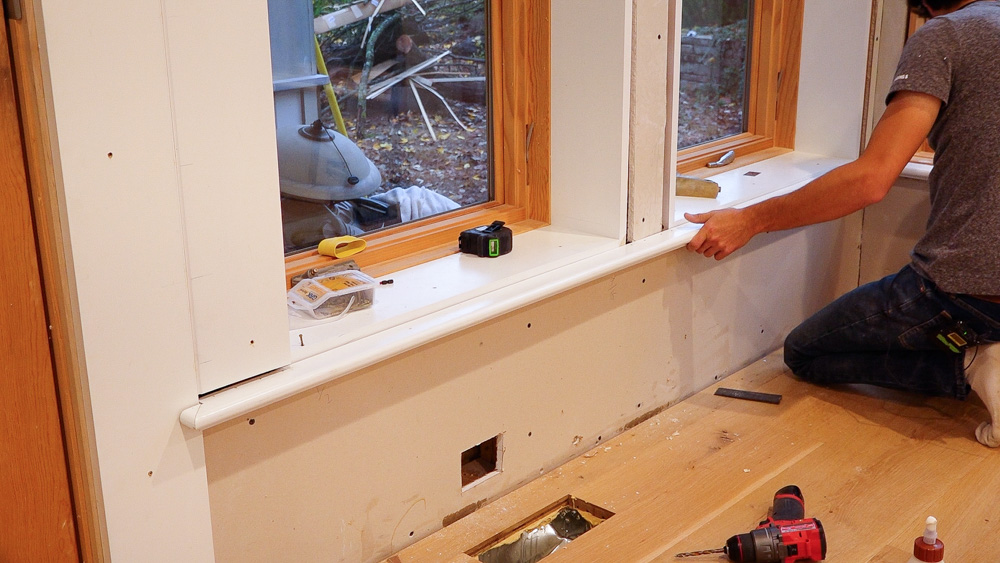
After figuring out the return, this is ready to go on, finally.
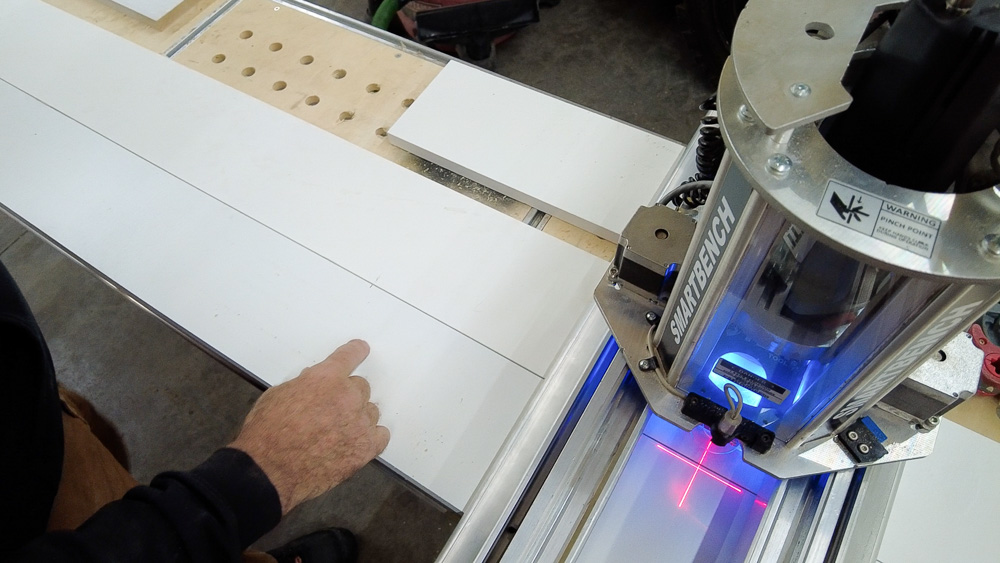
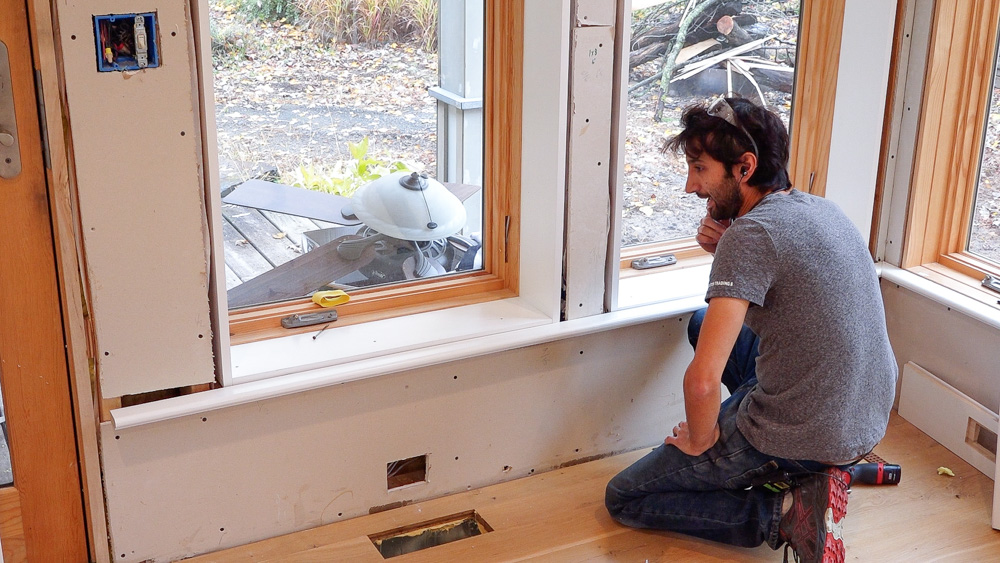
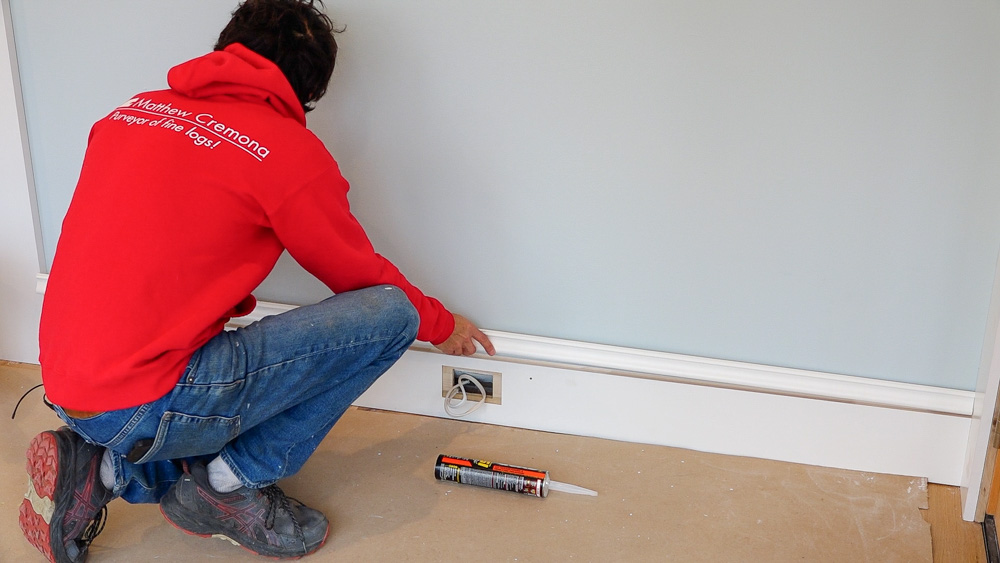
Donavan is here with his portable CNC, and we are cutting these pockets for the receptacles into the baseboards.
We are basically just making a little pocket, centered between the top of the baseboard and the top of the shoe mold.
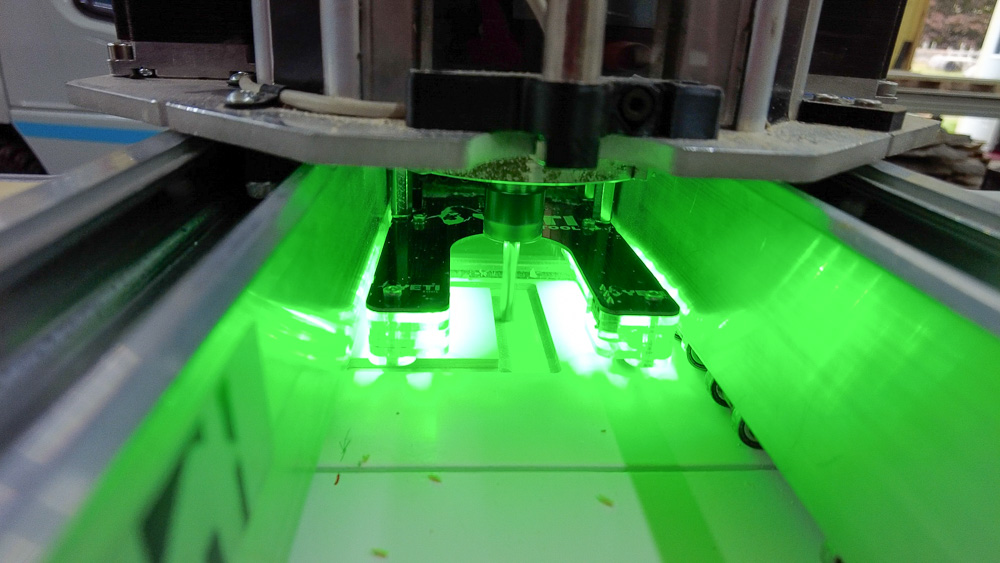
With the CNC, we got it all set up and basically just hit go. It took about three minutes to get it cut.
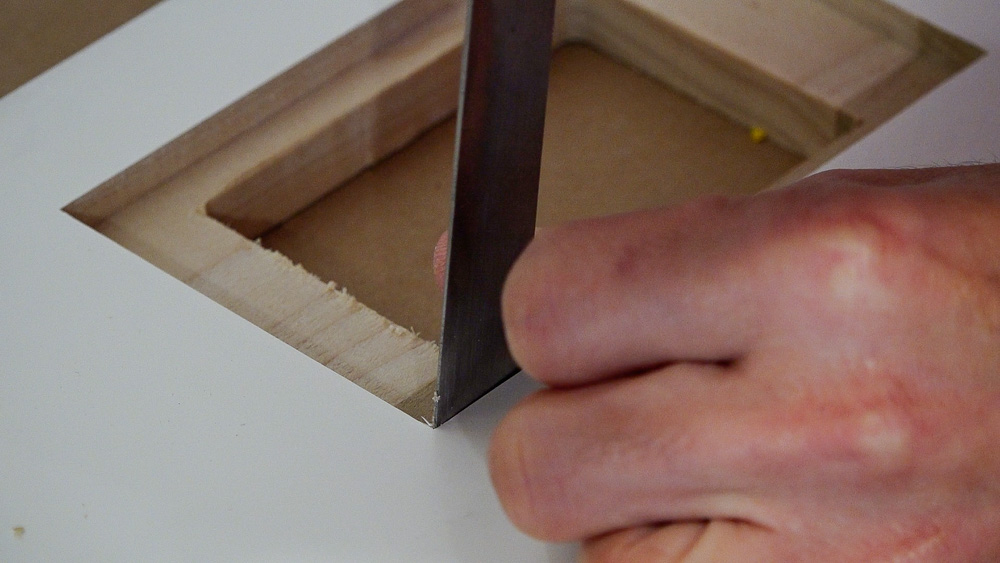
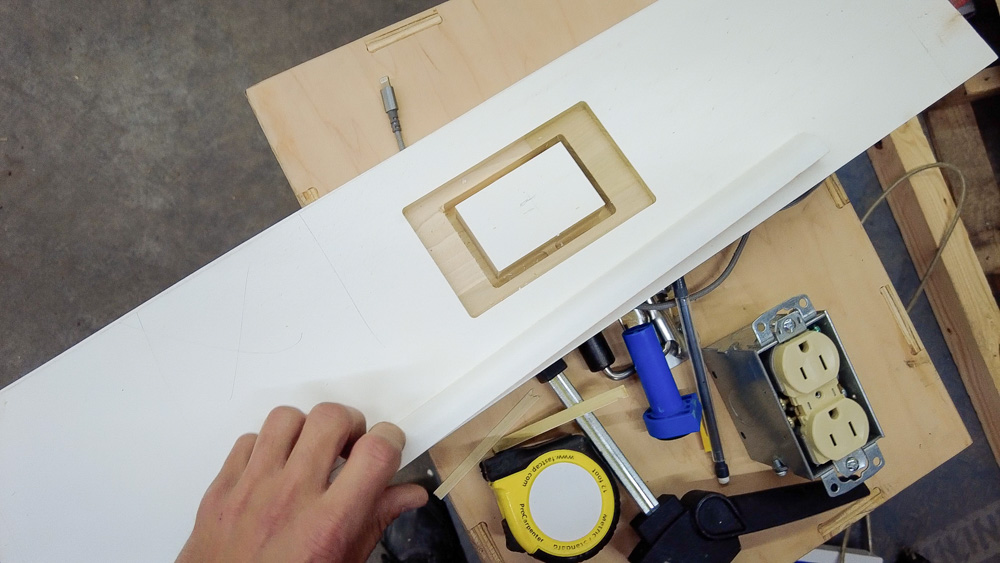
Now I just have to square up these corners. I could leave them rounded and round the cover plate, but I’m not going to do that.
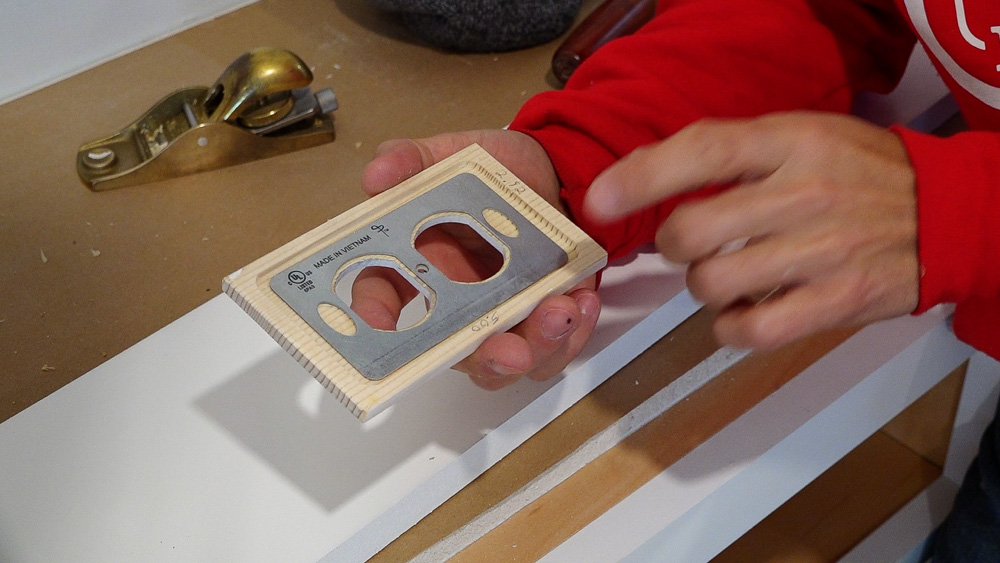
These cover plates are off the shelf. They’re a pine cover plate that’s supposed to look rustic. I sanded the top down, and this has some primer on it. I cut it so it will fit in that pocket. The stock one comes with a bevel on the side to make it more decorative, so I just ripped that bevel off.
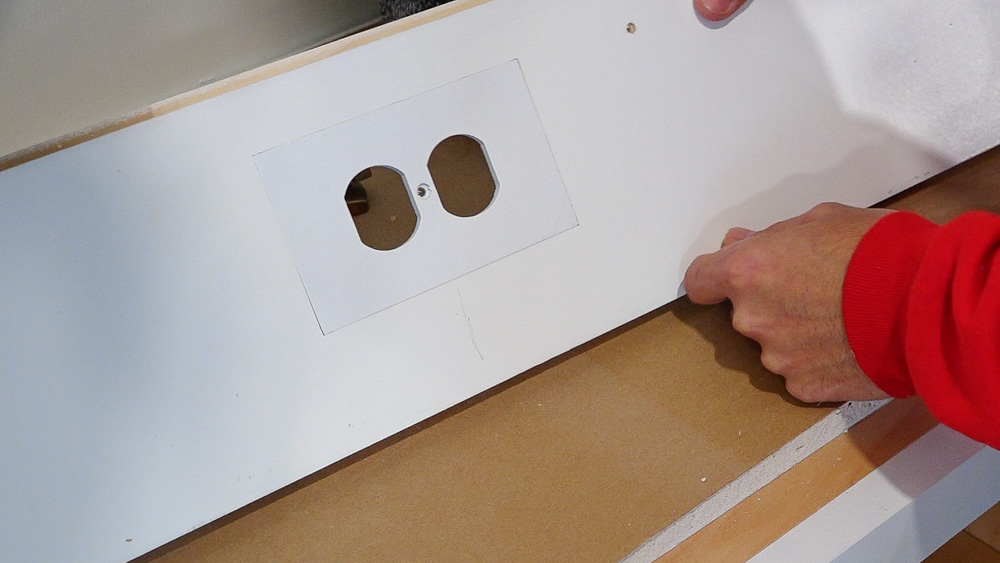
There’s the finished look, it’s in there pretty well flush. Of course the color will match once it’s actually painted.
Let’s get this installed, with the cap mold on top. I’ll do the shoe mold when I do the rest of the room, but I want to see how this is going to look.
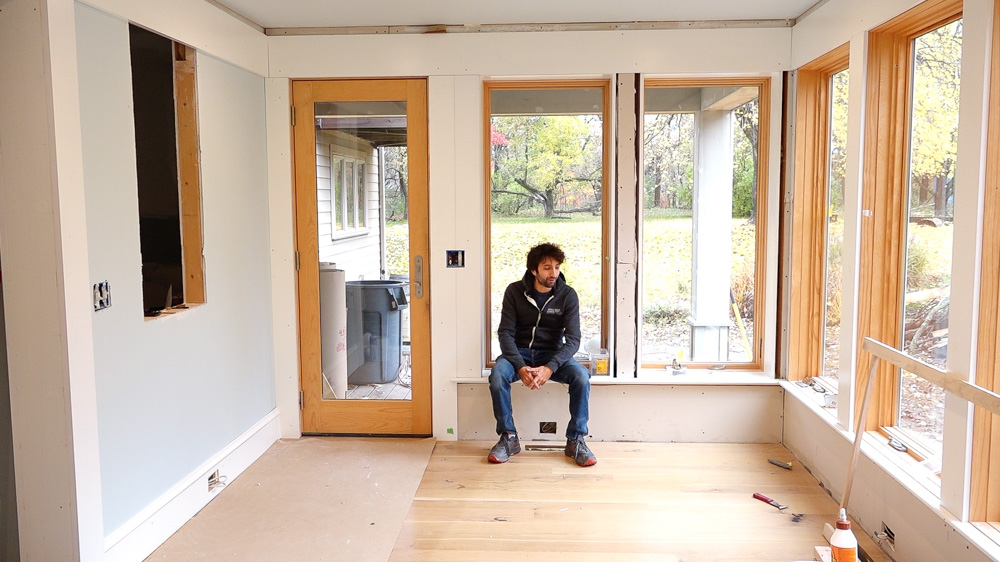
At this point, I have either installed everything I can or everything I have. I have the rest of the baseboards, but those can’t be installed until I cut the pockets for the plates. So… I’m going to make more trim. I have more window casing to make; the sill, the jamb, the apron, and the casing for the window in the pantry; corner casings for the corner windows; and the most interest thing to make is all of the V-board paneling which will go underneath all of the windows.

In this area, I need to make the jamb through this opening, as well as the band for both sides to complete that beam detail. I can’t do the column over here until I have the staircase into the great room installed, and that can’t go in until the appliance garage cabinet is built and installed.
With this round of painting and prep, I want to get the windows further along and ready for paint. I want to remove these trim stops, which hold the screens in the window. I’m going to take these out so I can get these fully painted on the inside. With that out of there, I can also paint the windows that are covered by these stops.
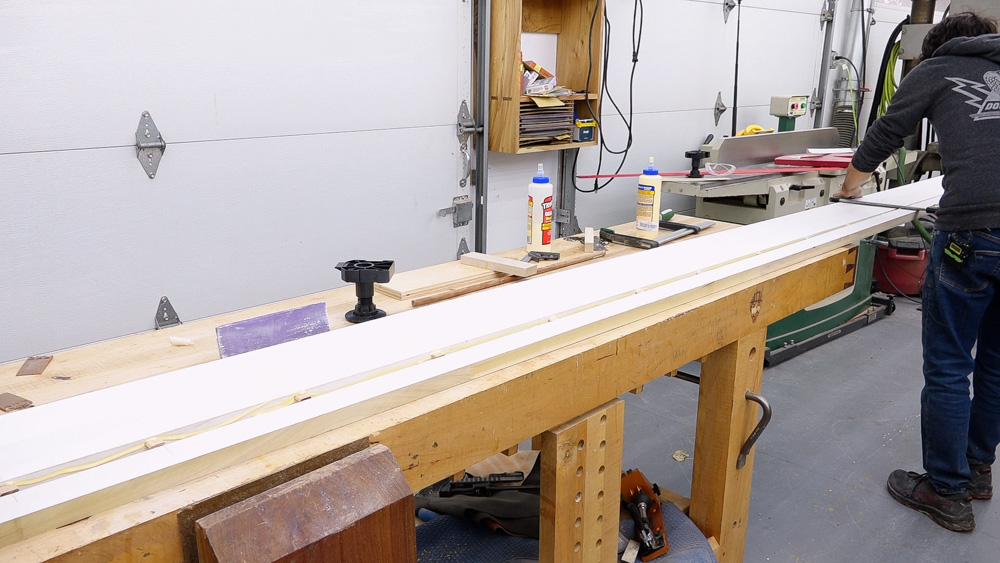
I’m going to start with the 16 foot band board first. Just like the other band board, I need to add 2 inches to the entire length to turn this 8-inch board into a 10-inch board.
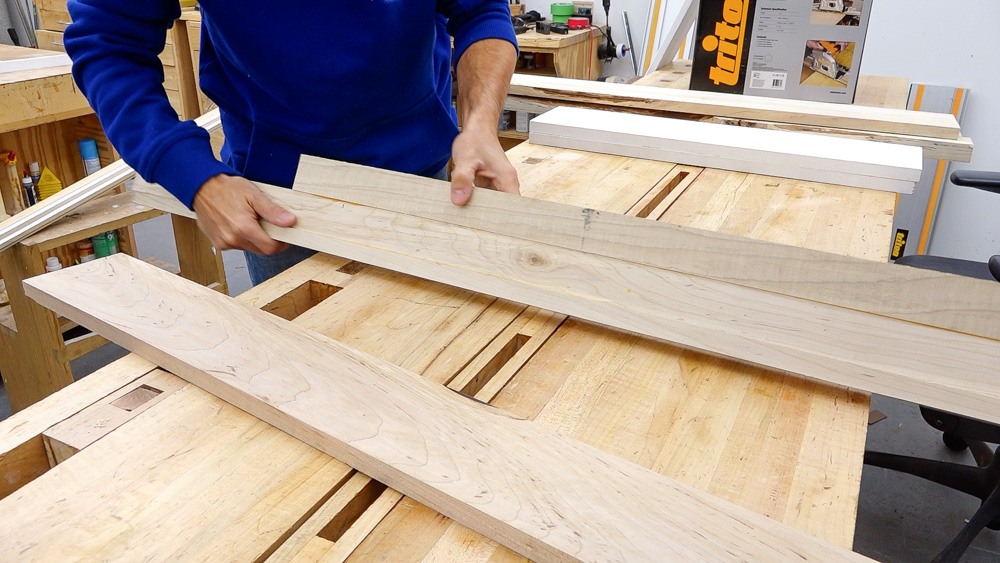
I knocked out the big window casings and jambs, got it sanded and out of here. I have my window stock prepped, and I’m going to do some pre-assembly in the shop.
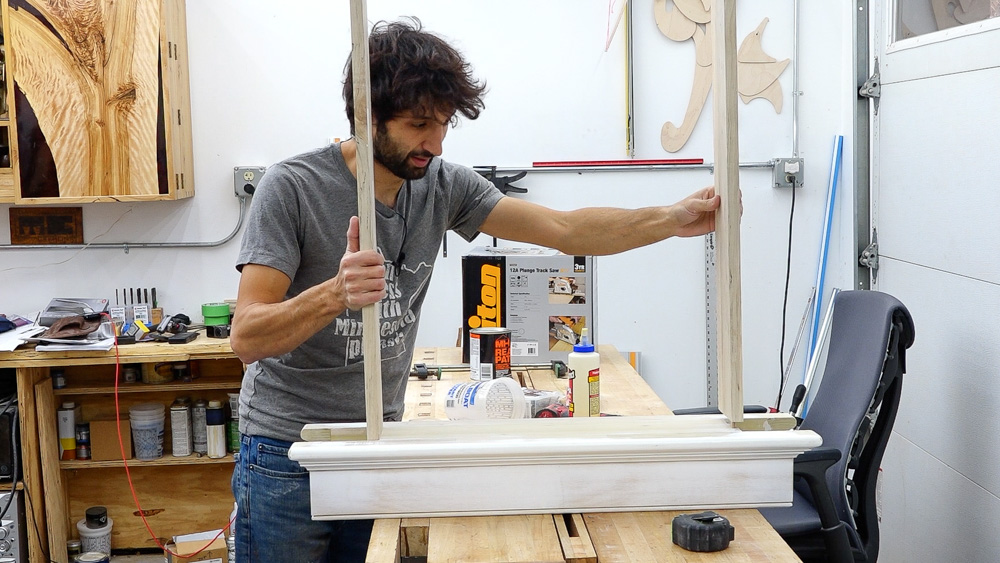
I took this a little further than I was originally planning, but this is much easier than trying to do all of this on the wall. I made this so that it looks good as just an opening, because we don’t know what’s going to be going in it yet, if anything. So this is going to go off to paint, and I will go back and install more trim.
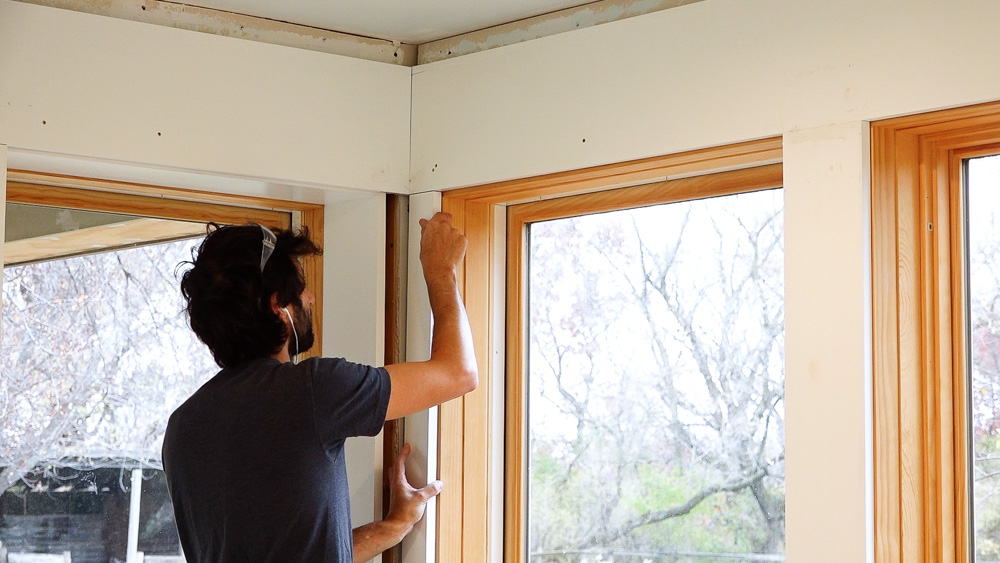
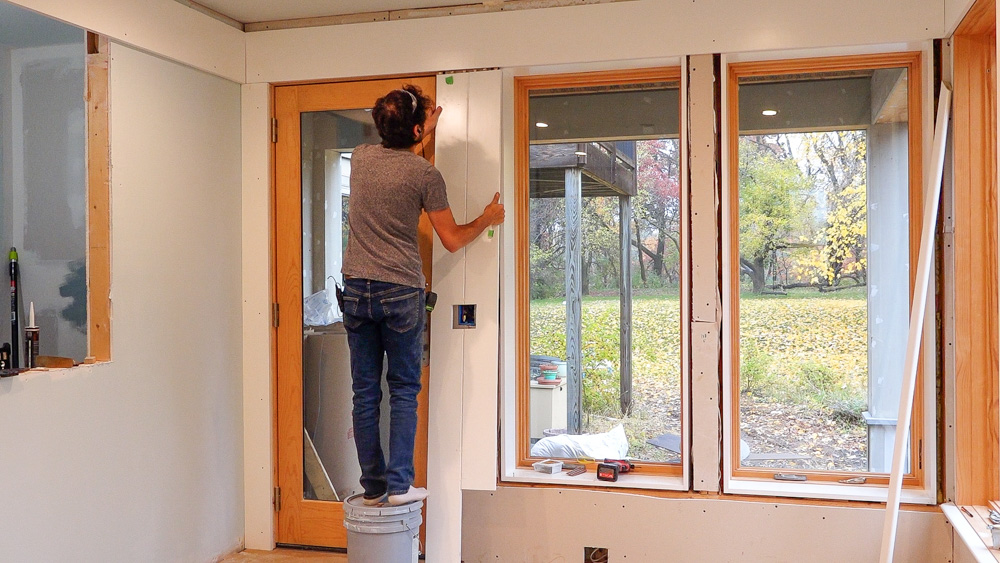
Getting the corner casing installed now.
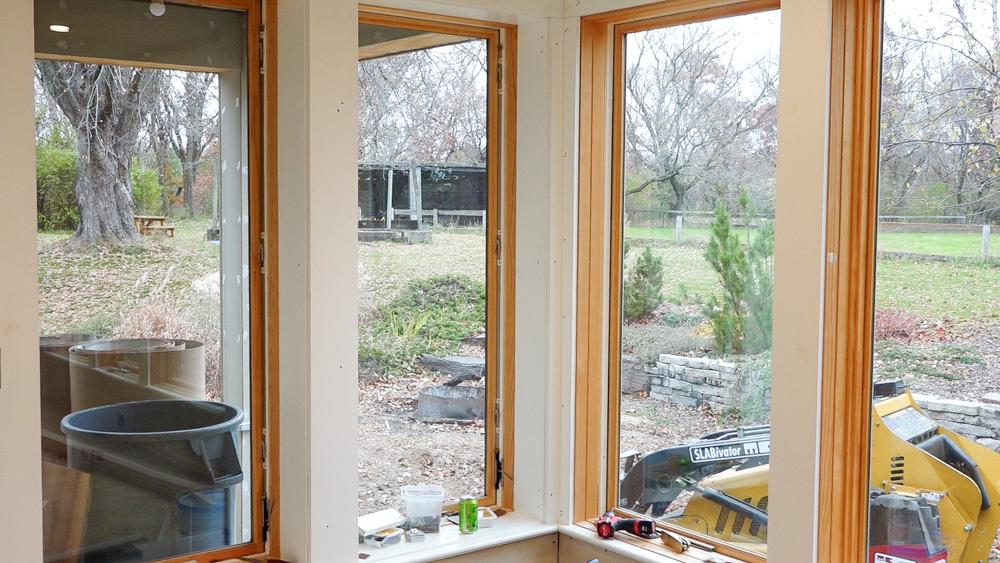
Here’s that corner all done and complete. So those three casings are there, meaning no more exposed framing on this side of the room! Now to the other side of the room.
All right, that looks nice. Yay!
That’s where I’m going to call this one. I think I made a pretty good amount of progress. I was hoping to have all the casings done so I could say, “Hey, I got all the windows and doors cased.” But… I’m getting closer. Thank you as always for joining. I really appreciate it. If you have any questions or comments on the home renovation, please feel free to leave me a comment. As always, I’d be happy to answer any questions you might have. And until next time, happy woodworking!
Welcome to my shop! This is a quick update to let you know what I’ve been up to. This big chunky thing is the leg

Welcome back to the home renovation. This time I’m going to be working on the kitchen island. Here is a small model of the island.

Welcome back to our home renovation. Today I am going to be working on this wall. It needs some upper cabinets and the surround for