
Kitchen Island, Barn Power – March 2024 Update
Welcome to my shop! This is a quick update to let you know what I’ve been up to. This big chunky thing is the leg
Welcome back to our home addition/renovation/remodel/demolition project. Today we’re working on load-bearing walls again.
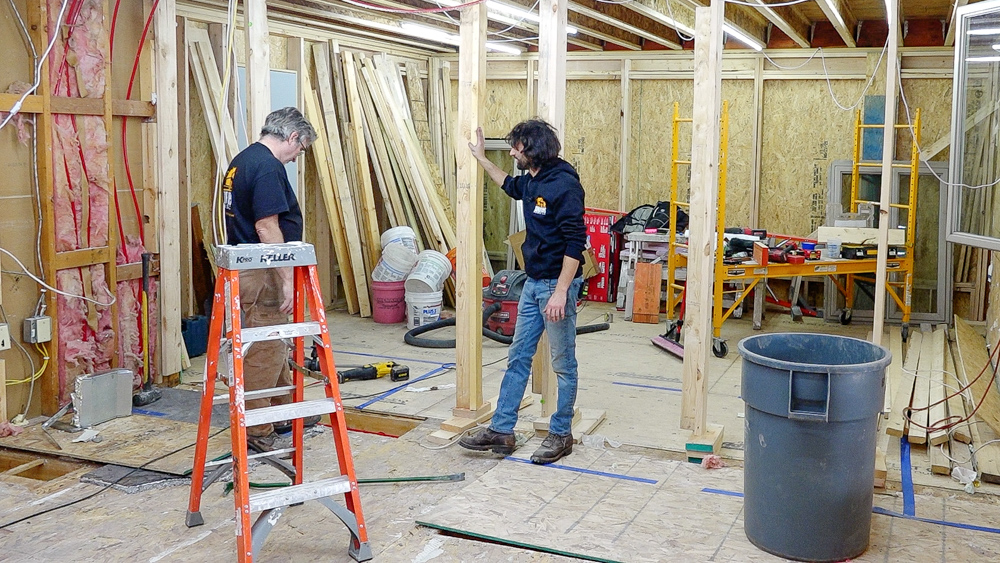
We are going to finally finish up the removal of this wall and get the beam fully set. This morning we have some early wins, which feels good. Let me show you what’s going on with the hole that Donavan just cut into my floor.
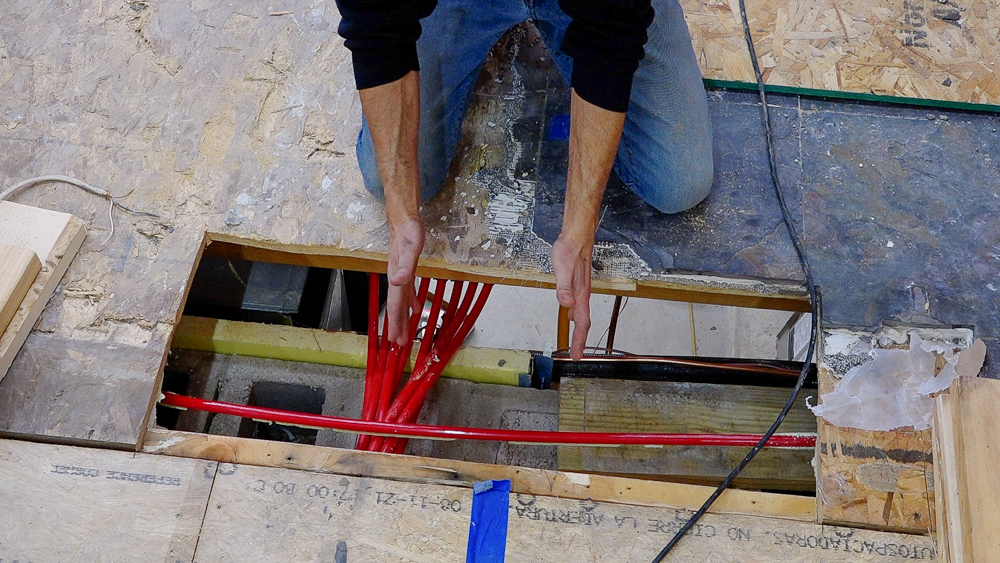
As we talked about last time, part of the bearing of the load is having the transfer go down to something solid. So we have the foundation wall under here, and one of the exciting things is our bearing point is directly onto our foundation onto a core fill. So we’re blocking up the area here, inside the rim, so we have a solid footing into our post area. That way the load from our beam hits our post, which is sitting on something super solid.
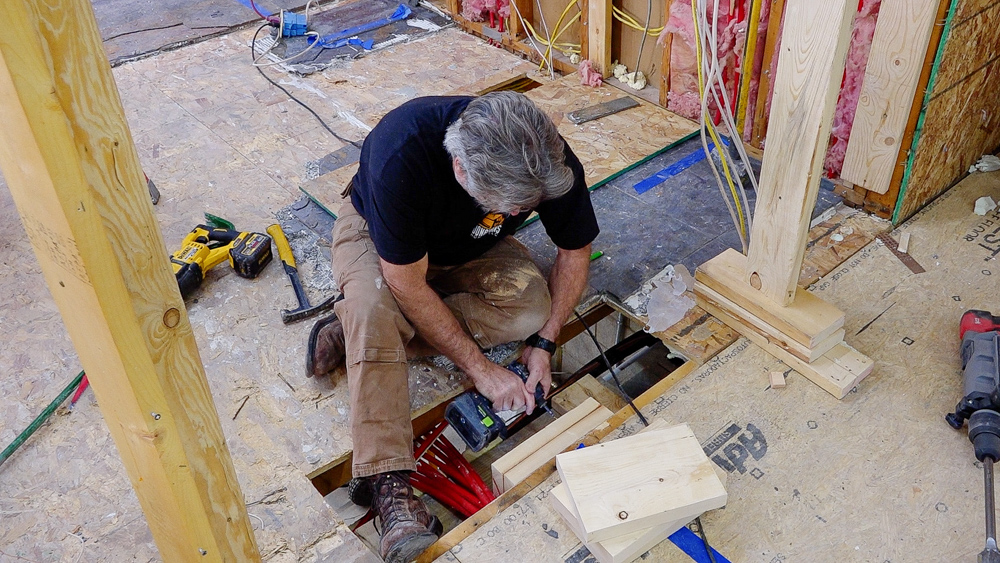
So that’s how we’re starting things out today: blocking.
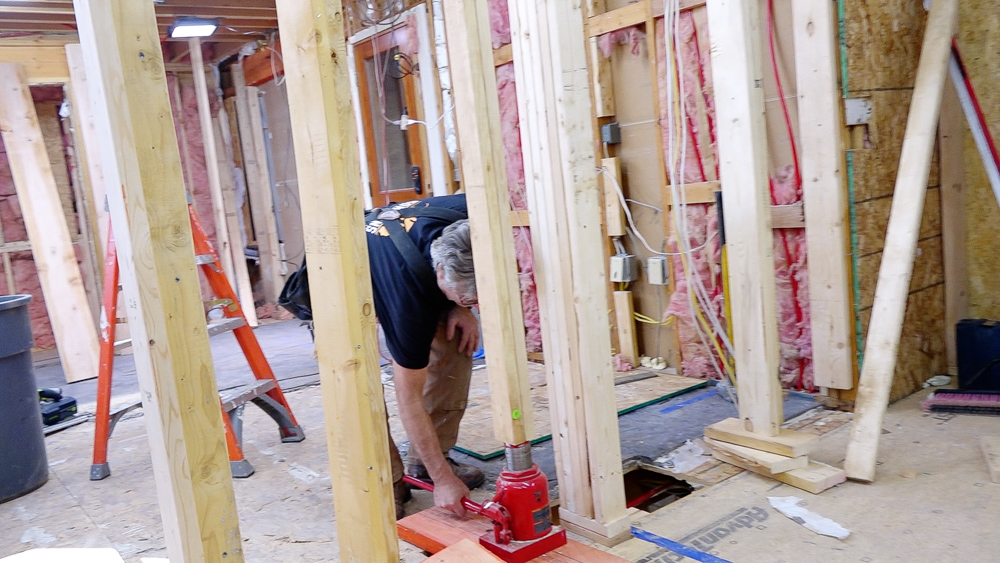
Now we got our five member post, and we can start opening up the space.
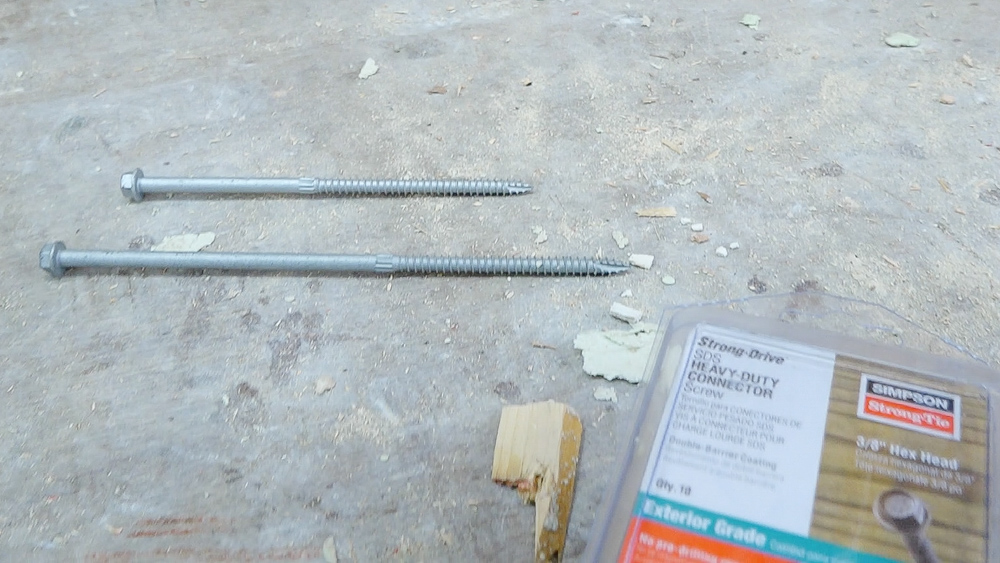
Many episodes ago, we were talking about how we didn’t have the right fasteners or a fastening schedule. Now we have one. We have these eight-inch and six-inch bolts or lags and six-inch, and we are going to be screwing two every 16 inches, alternating lengths.
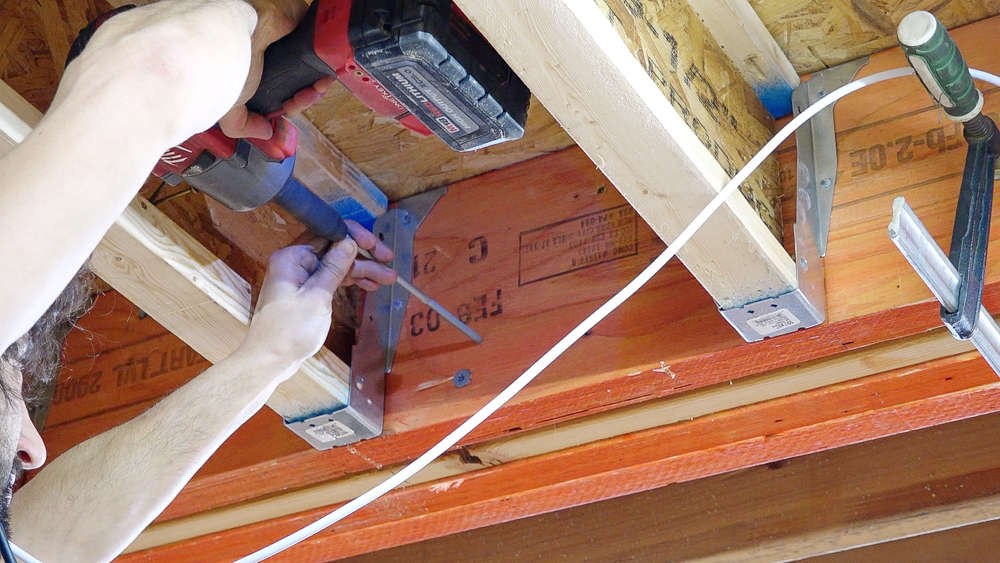
I have been tasked with screwing these in. These LVLs are super dense, like stupid dense, so getting the screw started is the hardest part.
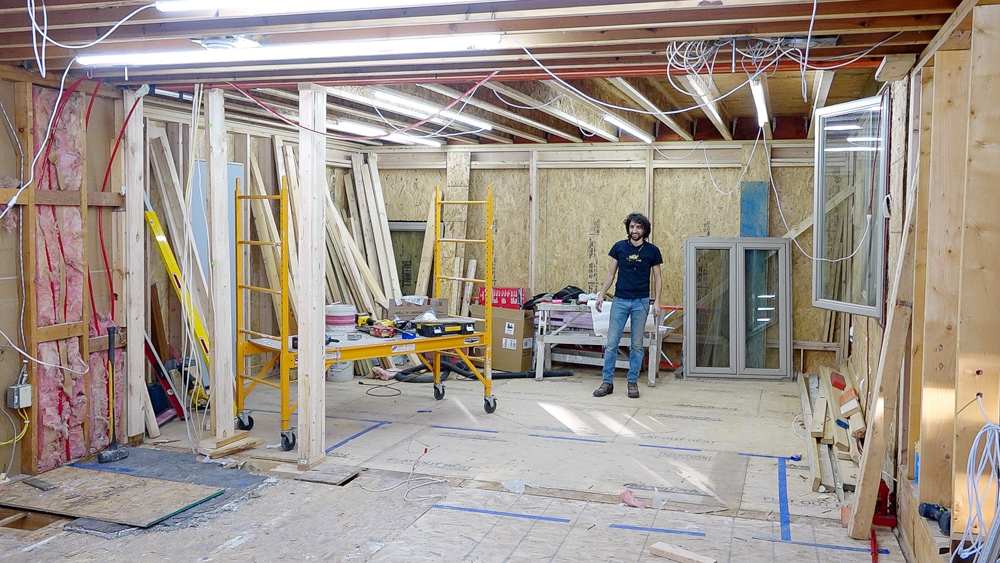
While I was doing that, Donavan was taking down the old exterior wall. It’s just open now, which feels very weird. It’s quite the corridor.
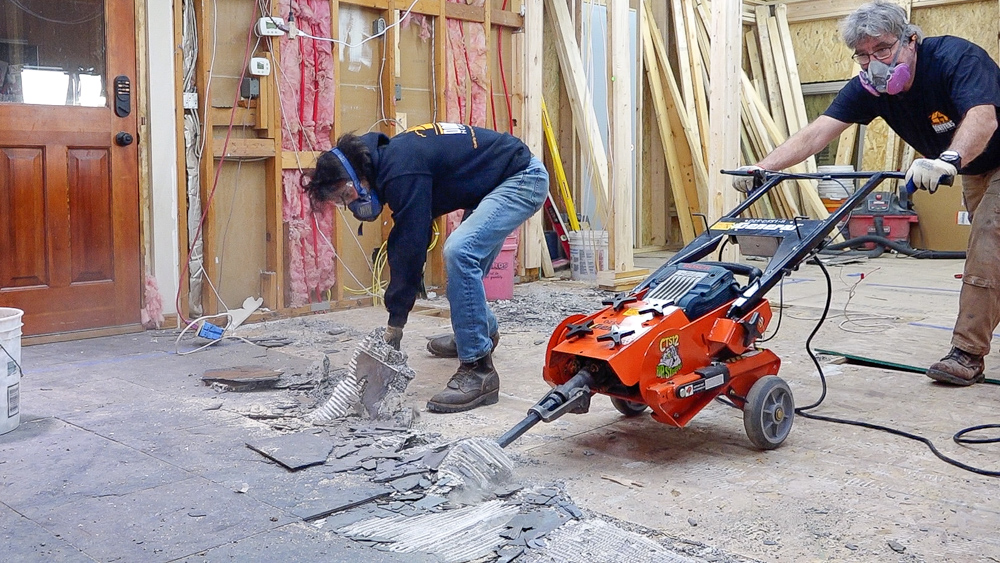
Good morning everybody, it’s the next day. Today we’re going to be trying to get this corner of the floor finished up. Donavan went to the rental center and picked up this thing, and we’re going to see how this does against this cement board.
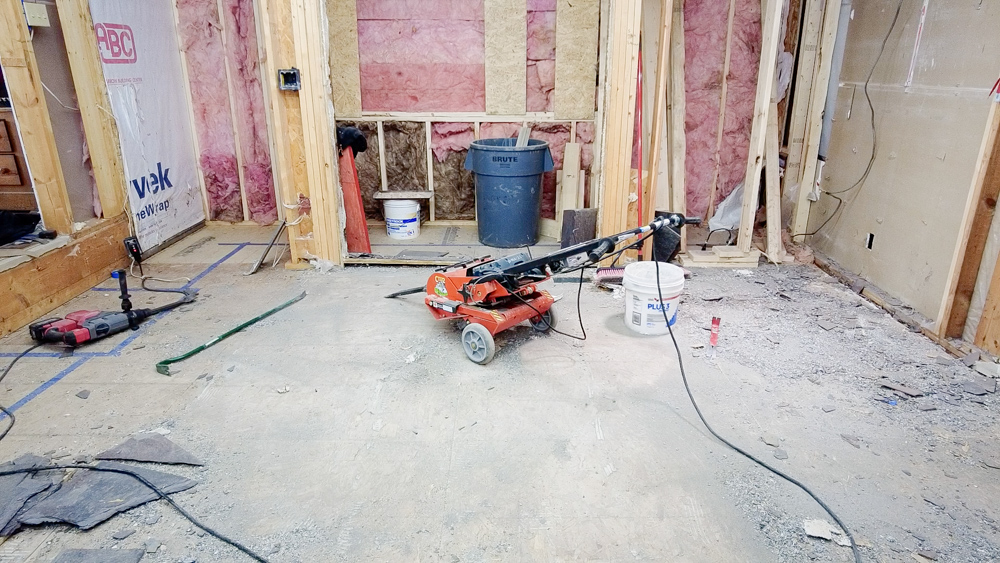
We still have a little bit left over here, but otherwise it’s all cleared out of here. With the machine, it’s faster, but it’s a lot of work. It took us about two hours to get to this point, which is more efficient than when I was doing it myself, but I feel it a lot more. So we’re going to finish breaking up this last little bit, do a nice clean up job, and then reassess our subfloor situation. We have some patching to do obviously, but we also have a few little chisel holes. We also have an elevation change.
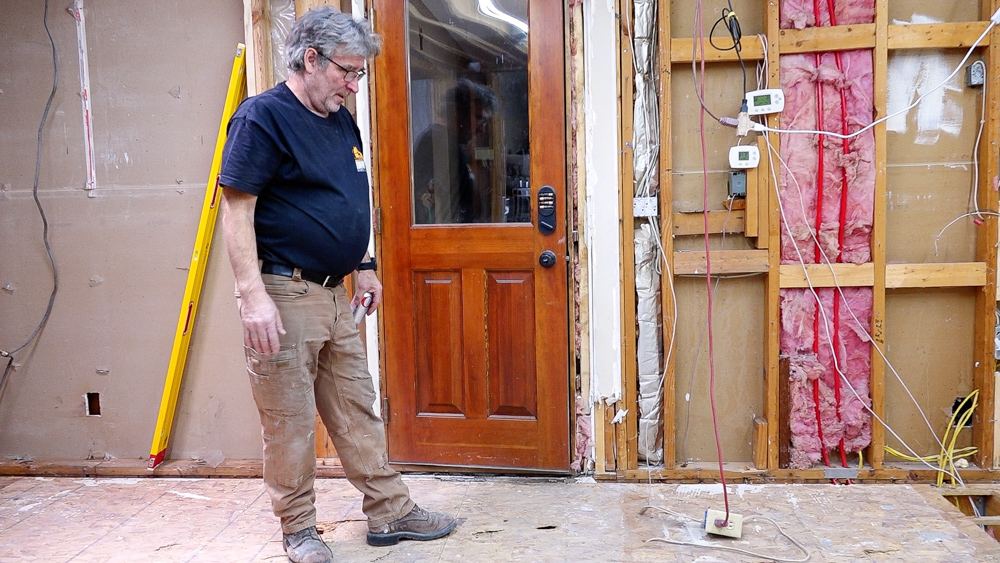
After some investigating, we have found out that we have a pretty significant dip in the floor here. Where Donavan’s standing is the high-ish spot, and it drops off pretty quickly. So we will be fixing some dips and some holes.
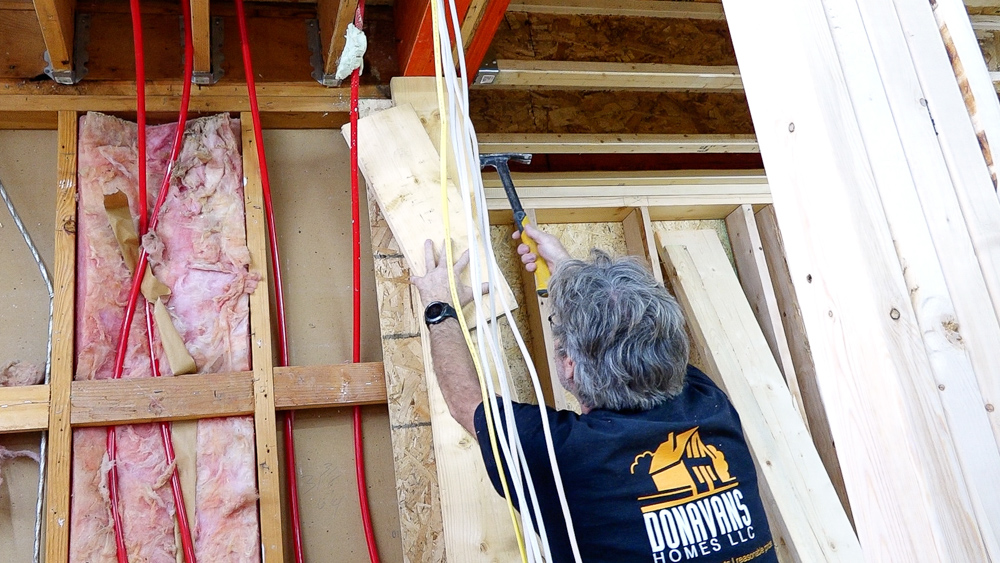
For now though, we’re going to finish up the beam install. So, pretty similar to what we did with the other one: open up the floor, block down to the foundation, and put one member running all the way up to support the end of the beam. And then that beam is fully installed!
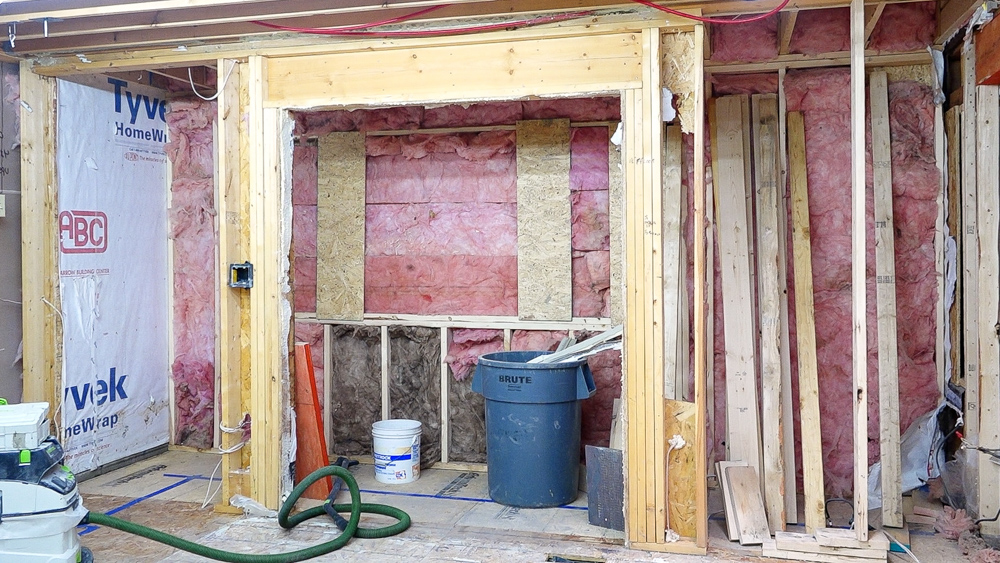
Now we’re going to turn our attention to this situation over here, which should be basically the same. So we’re going to start cutting our temporaries, and then we’ll cut out our header.
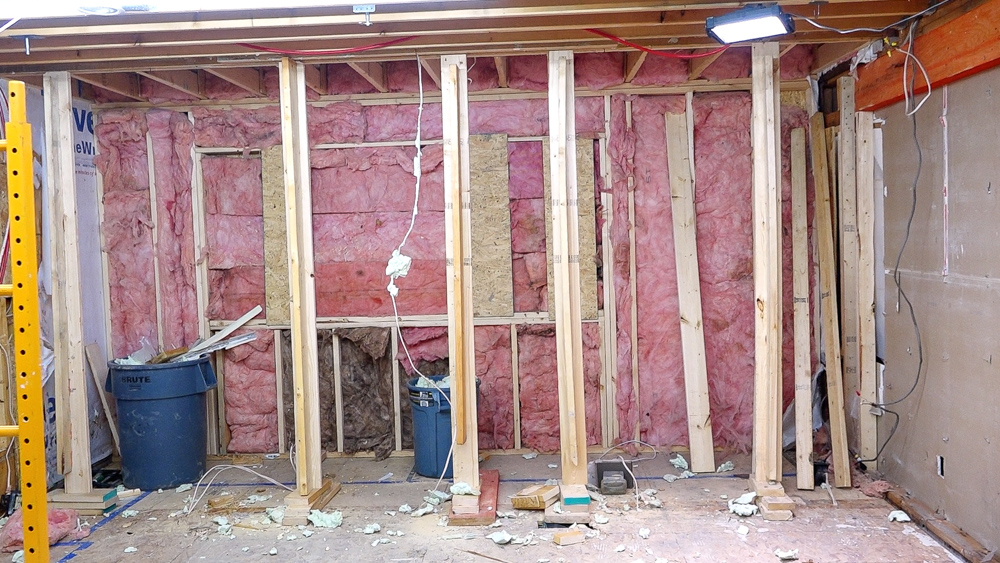
So that is this week’s progress! It is Friday, so on Monday, we’ll go back to doing this, but this wall is all ready to receive the members, which will carry to the span over here. Next week we’ll install our LVLs up into this cavity, but things are starting to look a lot better and way more open. It’s very weird seeing the floor out of here and having most of this room opened up and out of the way. It’s definitely feeling a whole, whole lot more open than it was just a few days ago.
So that’s going to do it for this one. Thank you as always for watching. I greatly appreciate it. If you have any questions or comments on our home renovation and remodel project, please feel free to leave me a comment. As always, I’ll be happy to answer any questions you might have. And until next time, happy woodworking!


Welcome to my shop! This is a quick update to let you know what I’ve been up to. This big chunky thing is the leg

Welcome back to the home renovation. This time I’m going to be working on the kitchen island. Here is a small model of the island.

Welcome back to our home renovation. Today I am going to be working on this wall. It needs some upper cabinets and the surround for