
Matt's Weekly Shop Update
Kitchen Island, Barn Power – March 2024 Update
Welcome to my shop! This is a quick update to let you know what I’ve been up to. This big chunky thing is the leg
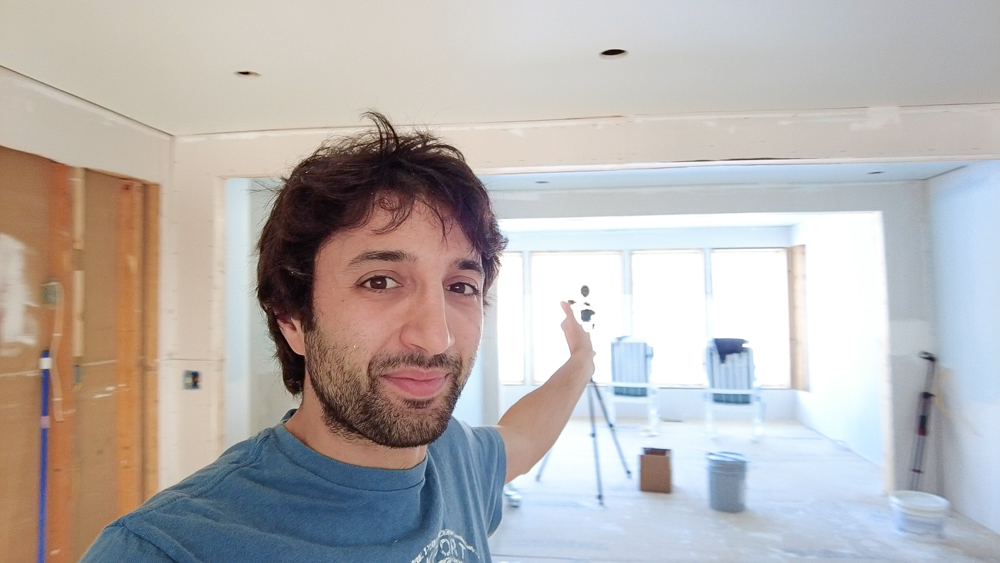
Welcome back to our home renovation project.

It has been eight months since there’s been any progress in here, but this episode is going to be dedicated to taking care of all of the prep work that needs to happen before I can get the hardwood flooring installed.
Last July, we finished up the taping and mudding of all of the drywall in here, and then in August I did the prep work on the flooring. In November, I had the flooring dried, and then in February I ran all the flooring and got it all ready to go.
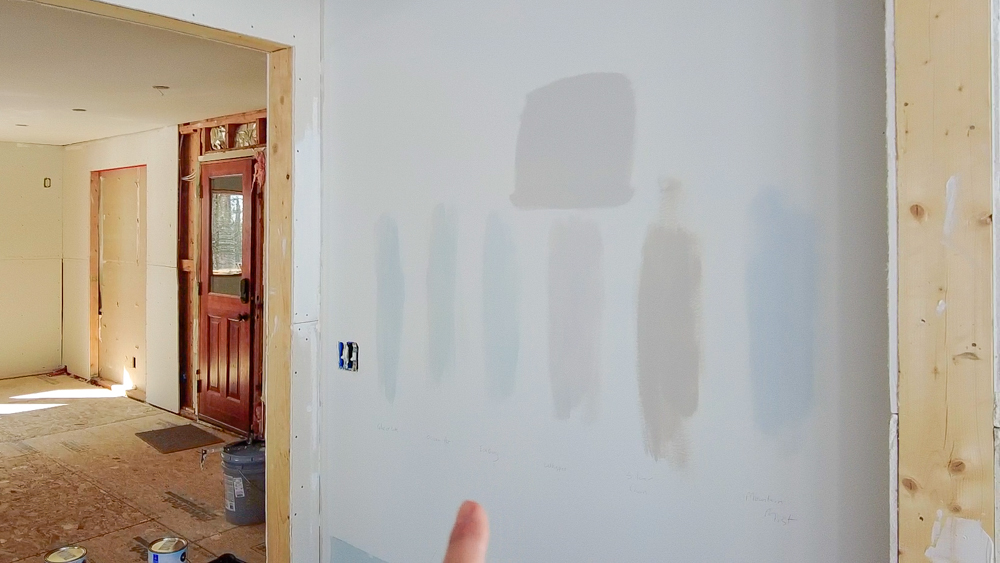
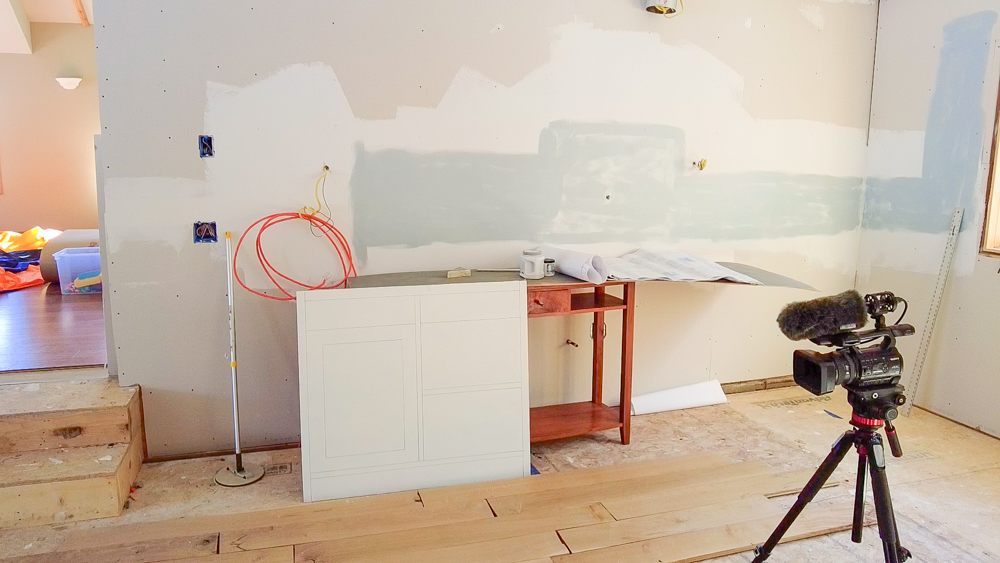
So the prep work that I’m going to be working on today is painting the walls and the ceilings and getting the subfloor ready for the flooring. These are our paint samples, and we decided on the third sample from the left, but I accidentally bought the second from the left. Because these colors are pretty similar, we’ll just see if that works out. Because most of the finish work is trim, there isn’t really a whole lot of wall to paint. However, the ceiling is going to be painted with 50% of the wall color, so I need to have the wall color picked so that I can paint the ceilings.
I did a little mockup with the white oak flooring, a panel from the cabinets, a larger swatch of the paint, and the samples from the stone countertop and backsplash. This has been helpful in getting a better idea of what the palette of different materials all stacked together will be like.
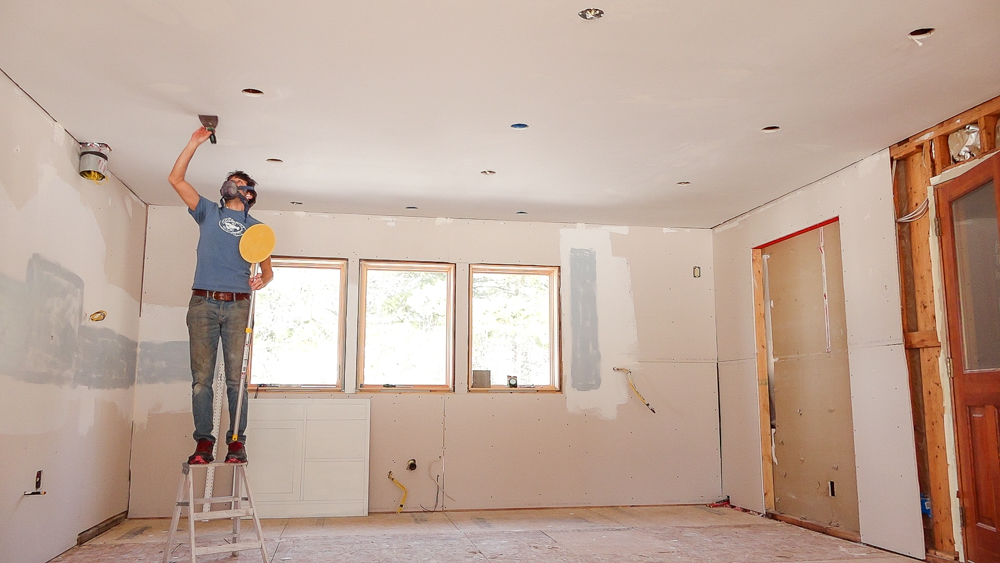
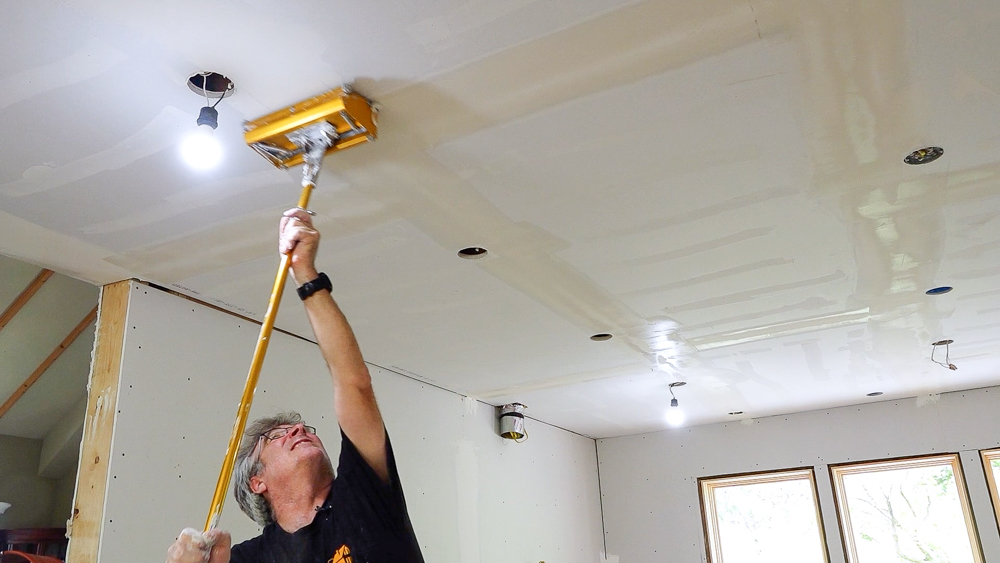
I’m going to give this ceiling another sanding and look for any more defects, and then it’ll be time to paint.

We have 625 square feet of ceiling to paint and 160 square feet of wall, so I’m going to start rolling.
I put three coats on the ceilings, and two coats on the walls, and that seems to be doing pretty well. So that’ll dry overnight, I can pop the lights back in, and then tomorrow I will start on the floor prep.
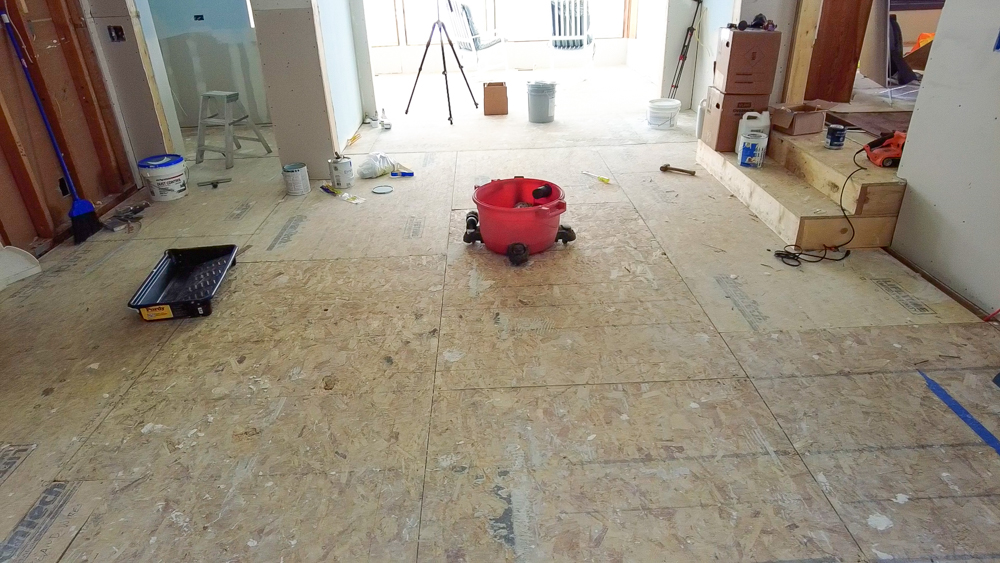
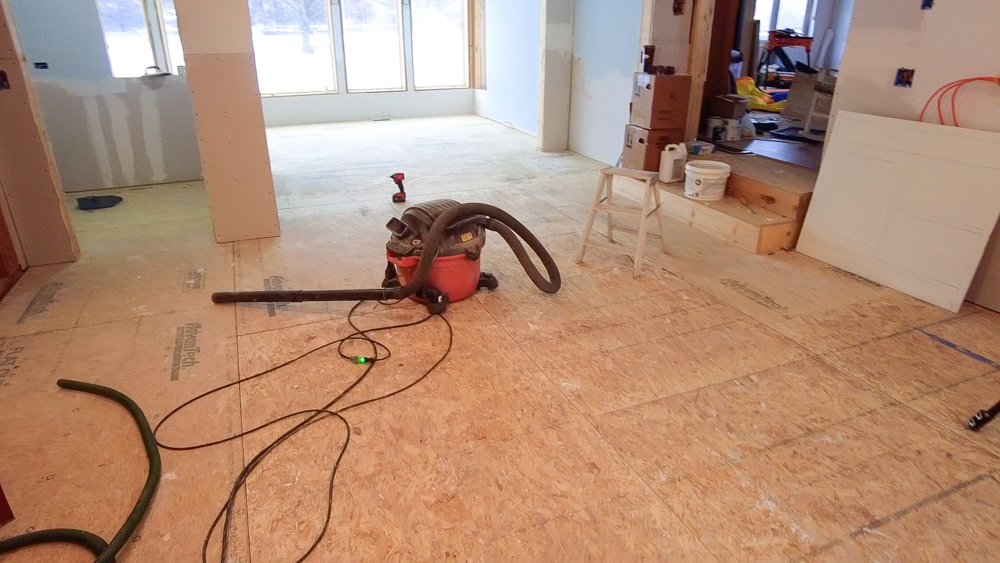
It’s the next day, and time to start on subfloor prep. First I have to clean the floor and get all the globs of crap off of here. It’s got a nice patina of drywall mud, leftover thin set from when this was a slate floor, screwheads, etc. Then I have to go through and make sure all of the seams are even.
This used to be an exterior wall, and you can see that where our new sheathing meets it is a high spot, so I have to feather that out.
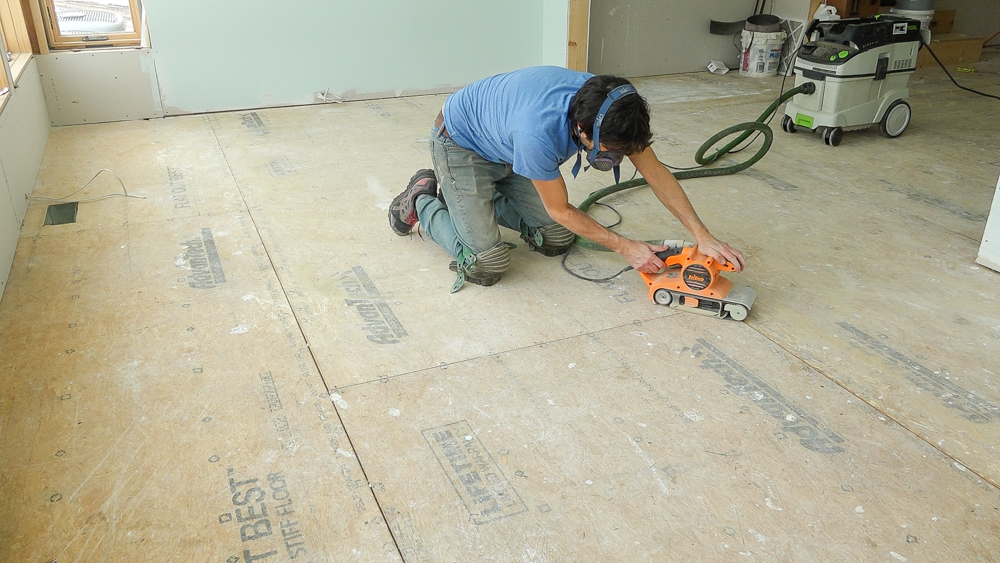
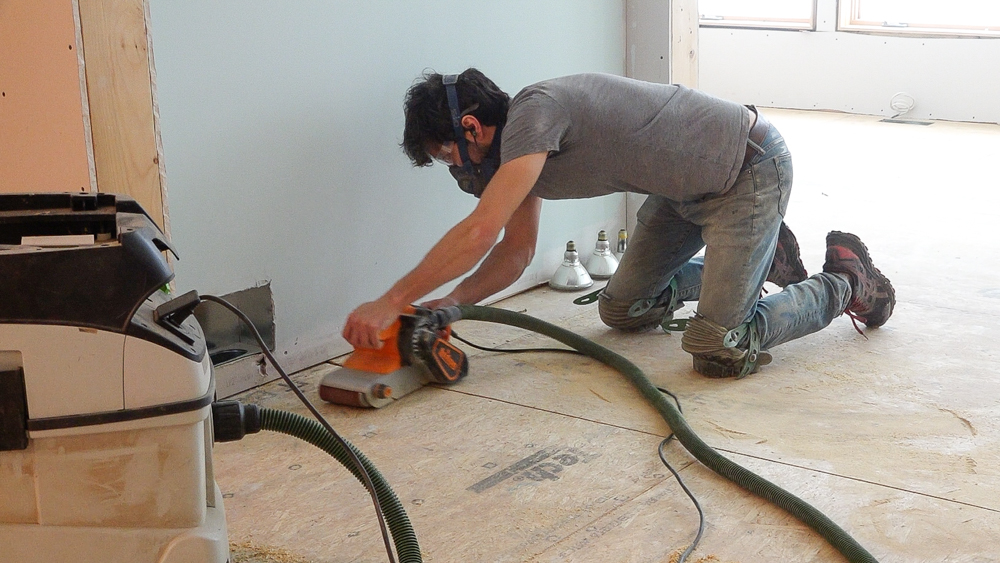
I’m going to use a belt sander over the whole surface to try to find any high spots where the seams meet as well as any screws that are seated too high.
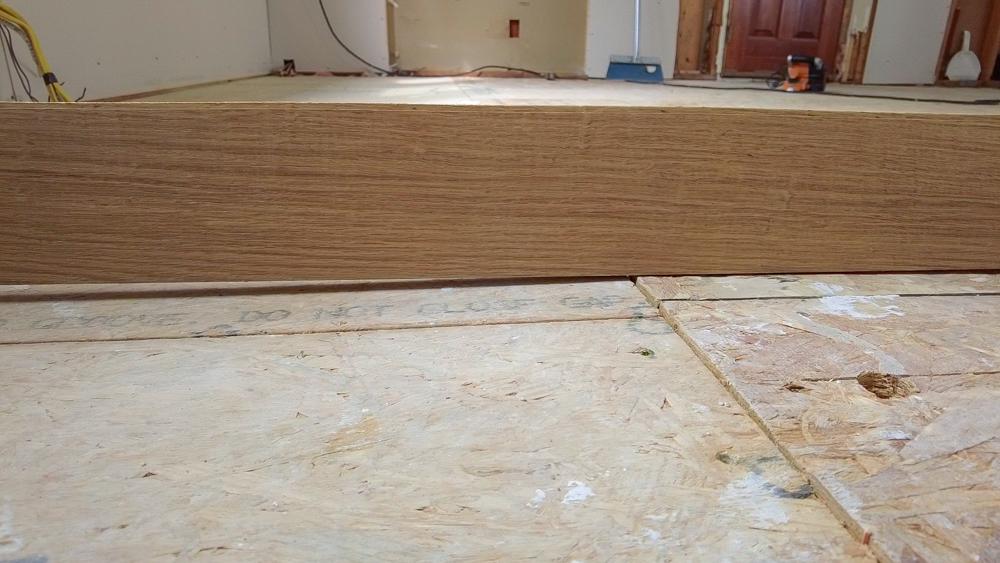
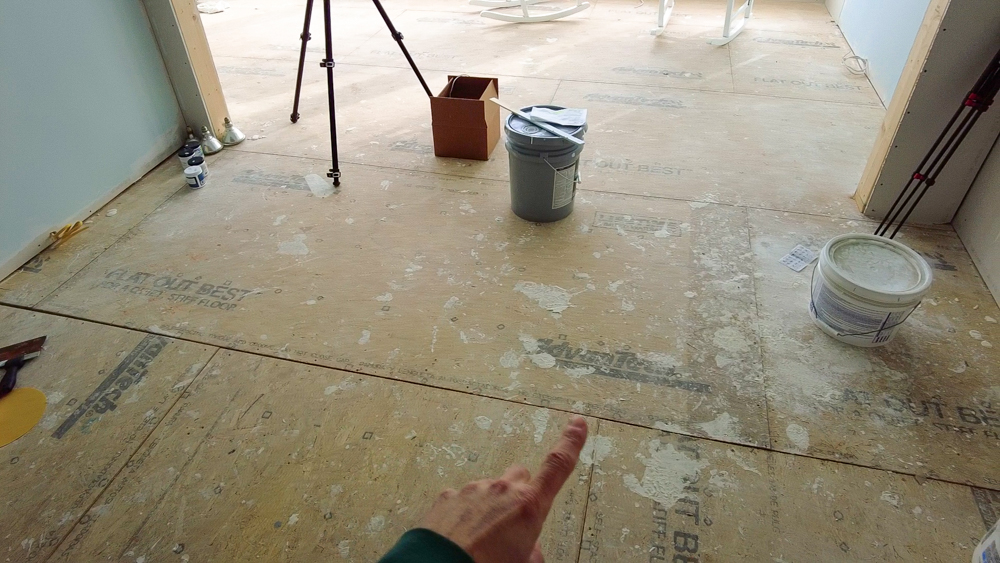
Next I need to do some feathering on some of the bigger seams. I will need to do that in both places where the addition meets the former exterior walls, so both in the and the back. The more challenging of those two seams is from the front addition. You can see with my straight edge, there is a pretty significant hump here in the floor. It’s not a huge deal, I just need to come in with the power planer to feather it out, but the annoying thing is that they used nails to secure the OSB on the original house, so I have to go through and pull out all of those nails before I can use the planer.
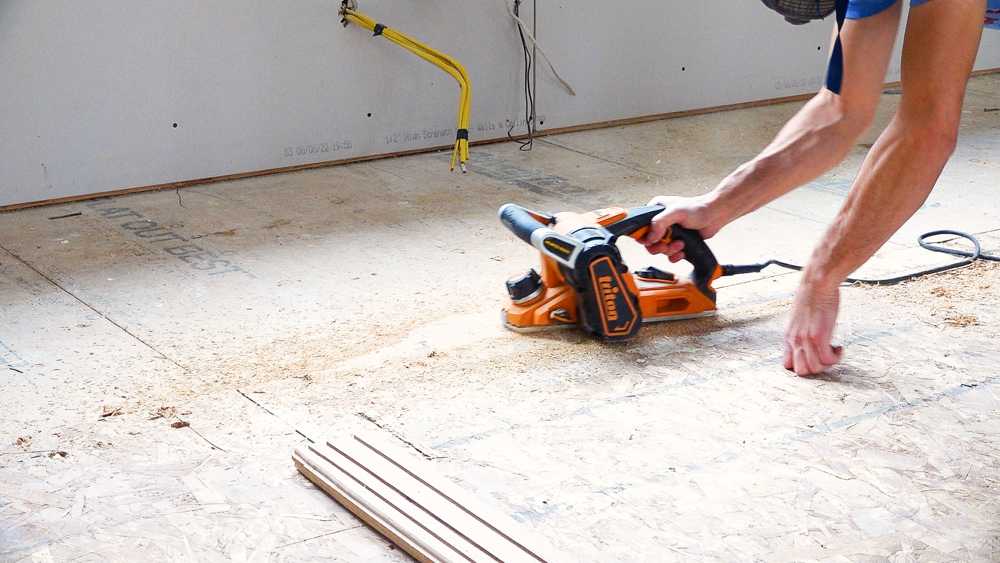
That done, I can bring the planer out and get this hump out.
I just did this one little section here so you get a feel for how much has to come off. It’s a lot, but it’s significantly better now. Now I just have to do the rest of it.
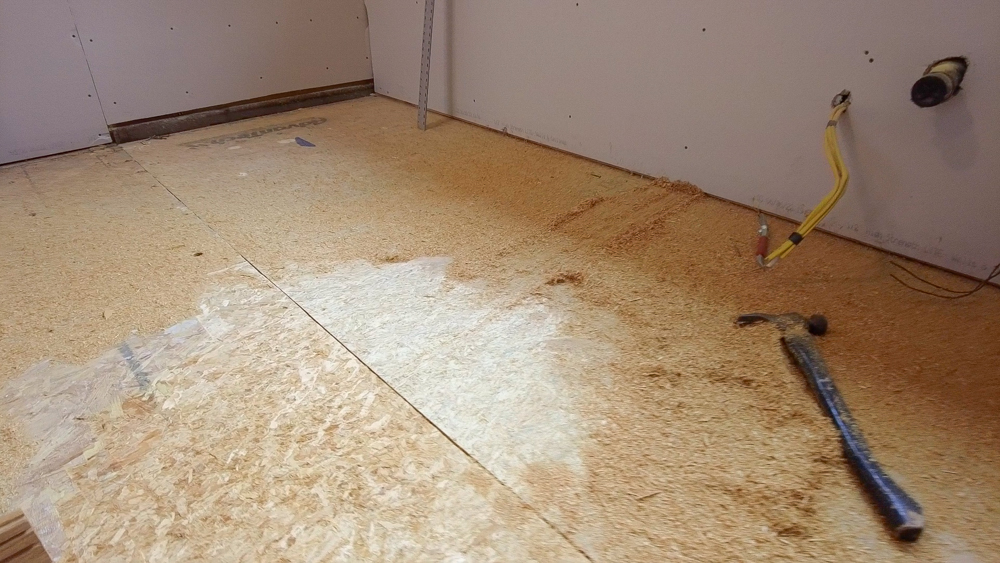
Next up is the other seam where the addition met the original house, but that one is not nearly as bad. As we get to the pantry wall, we have a pretty good hump, but as you can see, it’s not that big. So I’ll get that skimmed down and feather it out.
This space is looking really nice now, and the last thing on the list before I do the sealant is to bring the wires for the island up through the floor. Once that is done, I’ll do another clean-up, and then I’ll be ready to seal the floor.
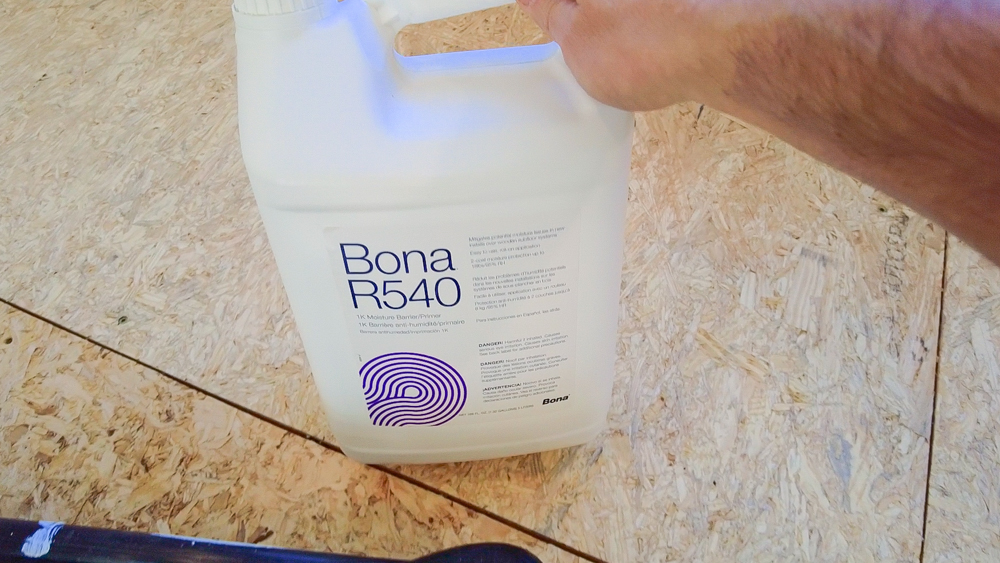
This is a sealer I’ll be using. It is a moisture barrier and a primer for the adhesive we’ll use during the actual installation. This just rolls on, and it says it should take about 16 hours to cure.
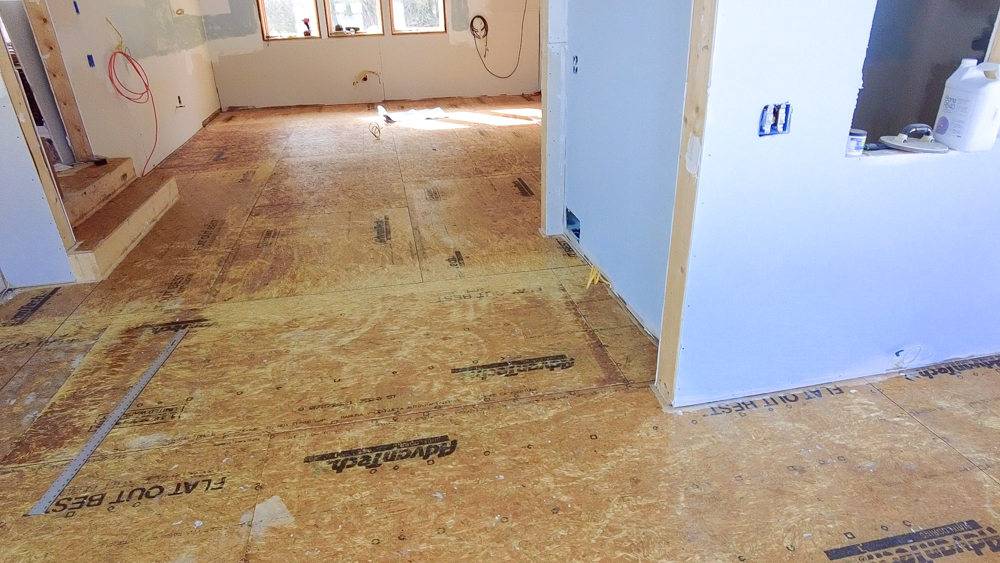
The sealer has dried overnight, and it’s very weird that this feels like such a finished space with just sealer on the floor. I started drawing out the layout for all of the things that are going to be covering up the floor, so I’m all ready to go when it’s time to install the floor. So next time we’ll get into the flooring install, which I’ve been waiting for for a long time.
That is going to do it for this one. Thank you as always for joining, I greatly appreciate it. If you have any questions or comments on the home renovation or anything back in the shop, please feel free to leave me a comment. As always, I’d be happy to answer any questions you might have. And until next time, happy woodworking!
Welcome to my shop! This is a quick update to let you know what I’ve been up to. This big chunky thing is the leg

Welcome back to the home renovation. This time I’m going to be working on the kitchen island. Here is a small model of the island.

Welcome back to our home renovation. Today I am going to be working on this wall. It needs some upper cabinets and the surround for