
Matt's Weekly Shop Update
Kitchen Island, Barn Power – March 2024 Update
Welcome to my shop! This is a quick update to let you know what I’ve been up to. This big chunky thing is the leg
Welcome back to the kitchen cabinetry building part of the renovation.
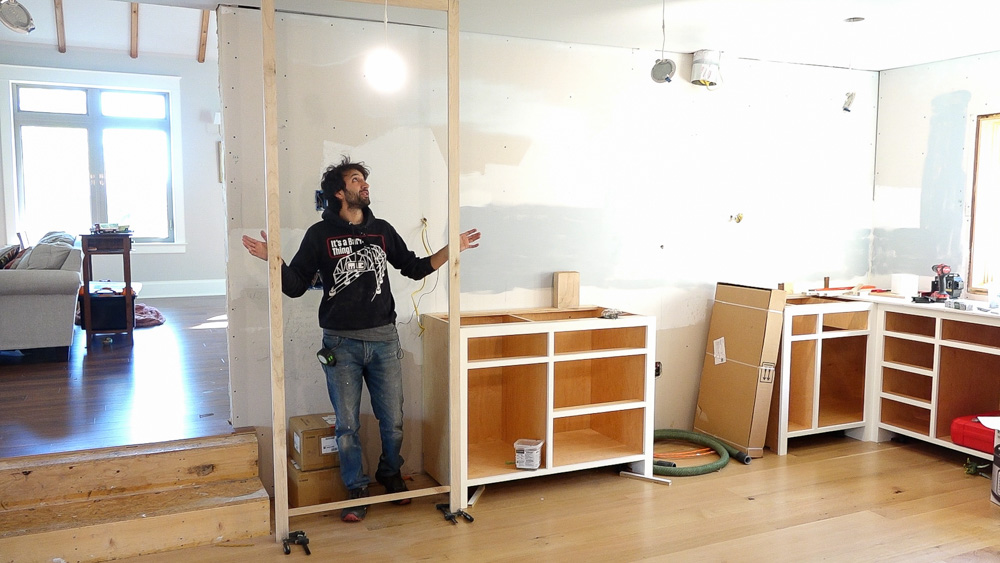
This time I’m going to be working on this giant cabinet here, which is one of the end pillars of the run, with the refrigerator being on the other end. This is a full height cabinet with drawers and a retractable pocket door, and this will be the appliance garage. The countertop will continue through this cabinet, and there will be some receptacles on the lower section for countertop appliances. The idea is that all of those appliances will be hidden out of the way when you’re not using them.
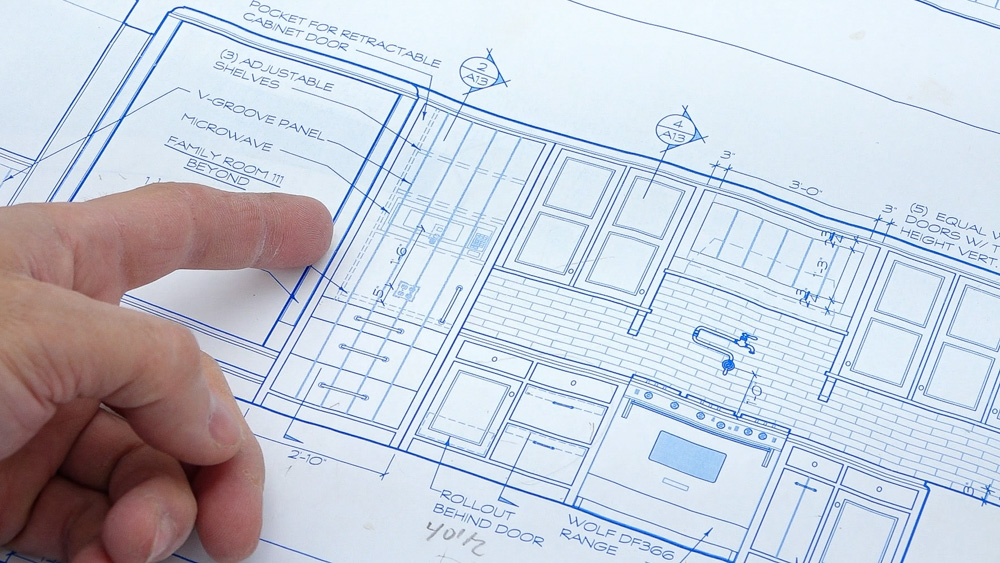
Let’s run through what’s going to happen with these side panels. Here is an elevation view of the front of the cabinet. It has a pocket door, so when it opens, it goes into a pocket on the left side. The drawers are continuous with the door stock, which is V-groove paneling, and that’s why the face frame only has the lower and upper rail with the two stiles.

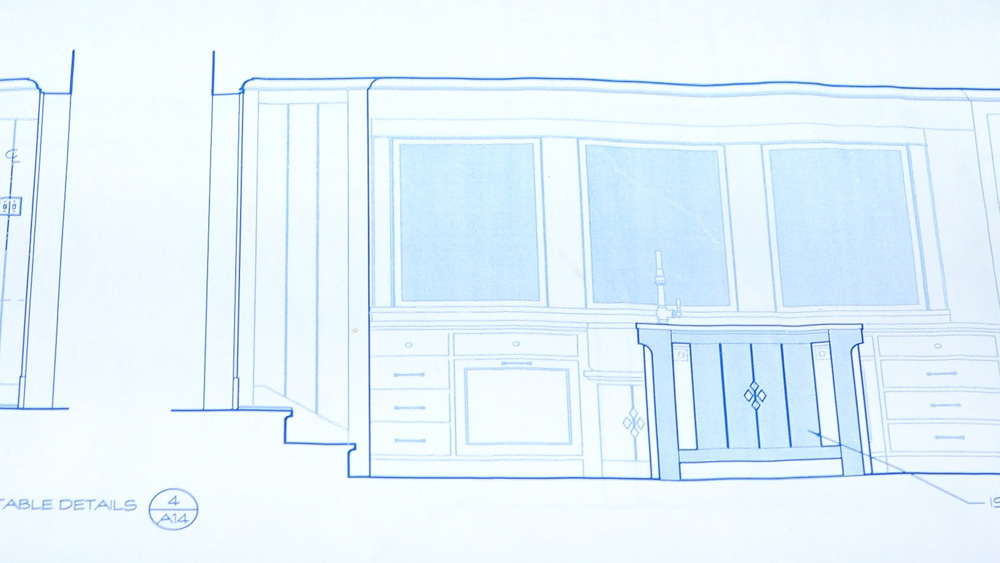
Here is a view of the side panels of the face that is touching the other cabinets. The only thing I need to consider here is the show. The front one is going to be lapped, so I’m going to take away the thickness of the face frame to get a four-inch show. So the stile on this panel is going to be three and quarter wide. The back has a tile backsplash, which has a little bit of thickness, so I will also compensate for that. I also have to figure out where the countertop is so that it also has a four-inch show. Up top, the crown will be covering everything, so I have to make sure I have a four-inch show after the crown goes onto the cabinet.
This is the other side of the cabinet, and it goes right into those steps there. Similarly, I have to make some calculations with those stiles.

First, I’m going to make the V-groove paneling stock, using water-resistant MDF. I’m using my chamfer and smaller bearing technique, because it’s just easier for me.
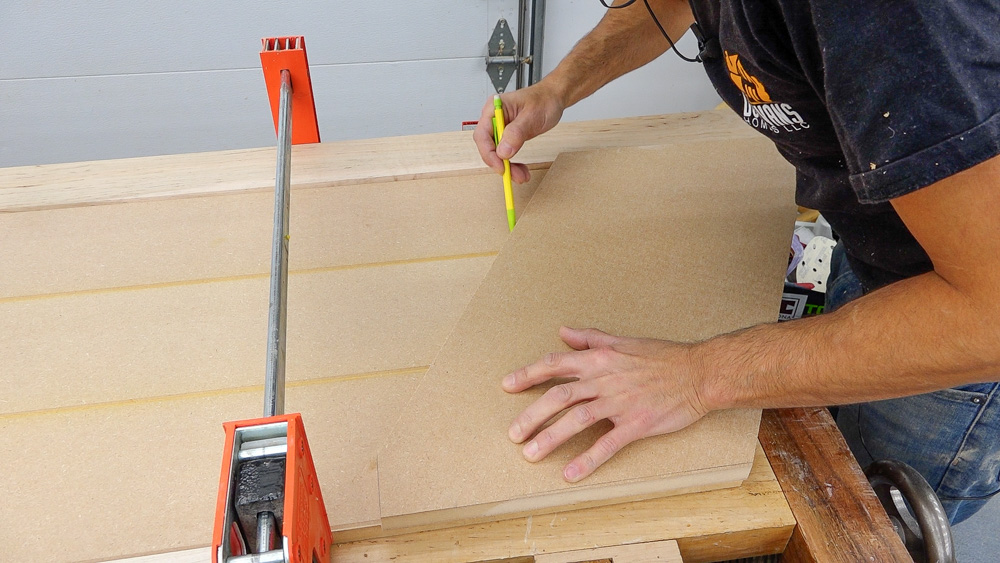
I’m trying to figure this side panel out, because this one has the skirt board for the stairs, which needs to be at the right angle and location. I made the skirt board, but left it a little long because I will trim it once it’s attached on three of the sides. But now that I have that figured out, I can trace my cut line on the panel.
So here is this side panel, all ready to go. I just took this upstairs to make sure it fit, and fortunately it is all correct.
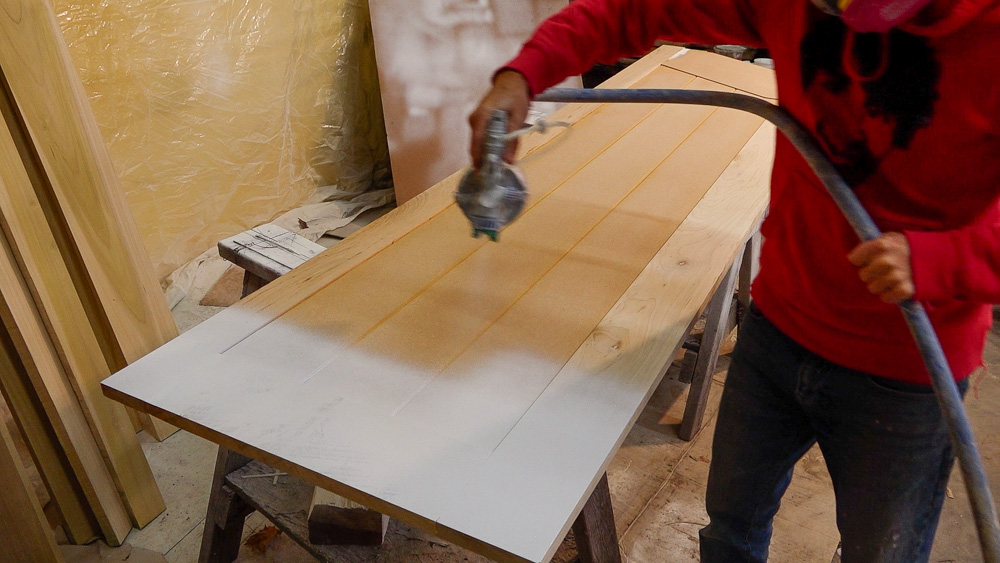
Off to the paint shop!

Next, I have to figure out the pocket door mechanism. I have a 64 page instruction manual that came with the mechanism. With this mechanism, when the door is opened and hits 90 degrees, it gets pulled into the pocket automatically and then it’s in its spot. The mechanism I got is intended to work a little differently. The way it’s supposed to work is that the panel that the mechanism is attached to is the false side of the case, and then the actual side of the case gets clipped onto the mechanism. That way you can get to the mechanism in case something breaks. That won’t work for my situation, so my solution is to put the mechanism onto a removable panel that then gets slid in and attached to the real partition in the case. That makes the partition twice as thick as was intended, so we’ll lose a little bit of interior space.
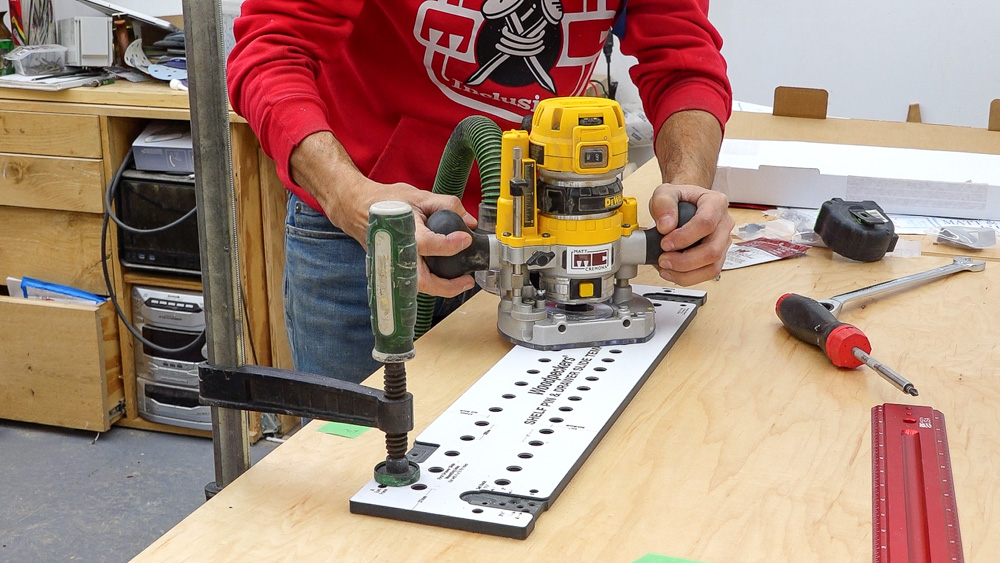
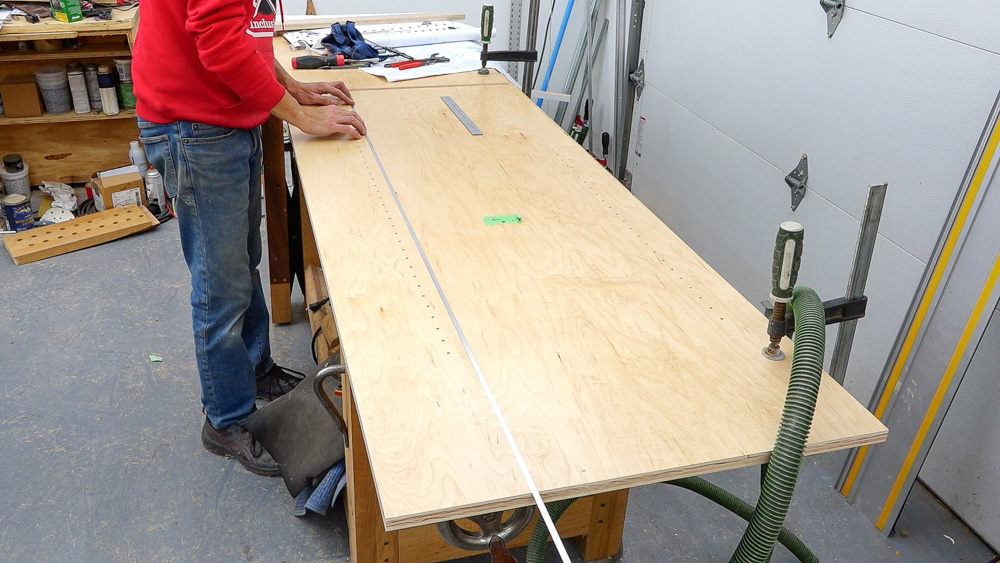
After puzzling over that for a while, I am going to start making the box. I bought this shelf pin template, and I’m half inch deep holes with 32 millimeter spacing, using a five millimeter bit.
Next up is the bus bar, which is a piece of aluminum that gets inlaid into the side of the case, and it will provide power for the lights that’ll be on the underside of all of the adjustable shelves. The shelves will have a light bar that touches the bus bar and gets power from it.
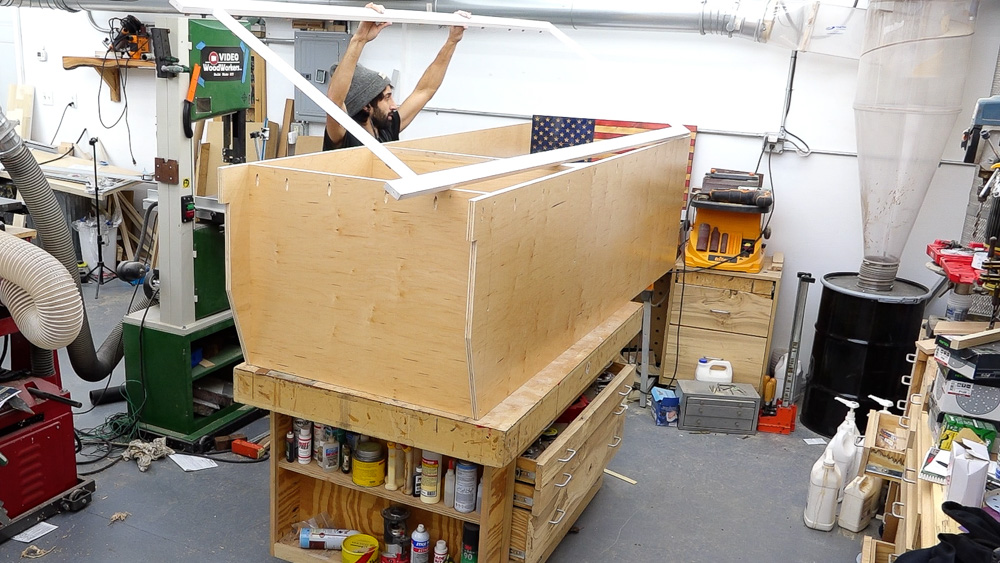
Now I’m going to start some assembly and get this thing looking like an actual cabinet box.
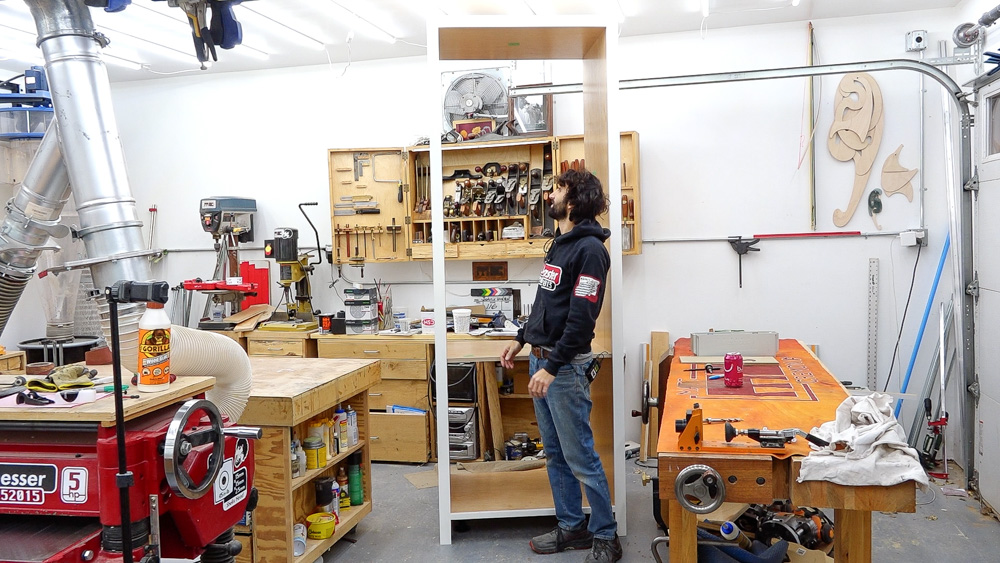
That’s a big cabinet! Next, it needs a partition, which will set the final pocket size for the hardware.
With that partition in there, I can go back to figuring out this pocket and cut all my pieces down to final length.
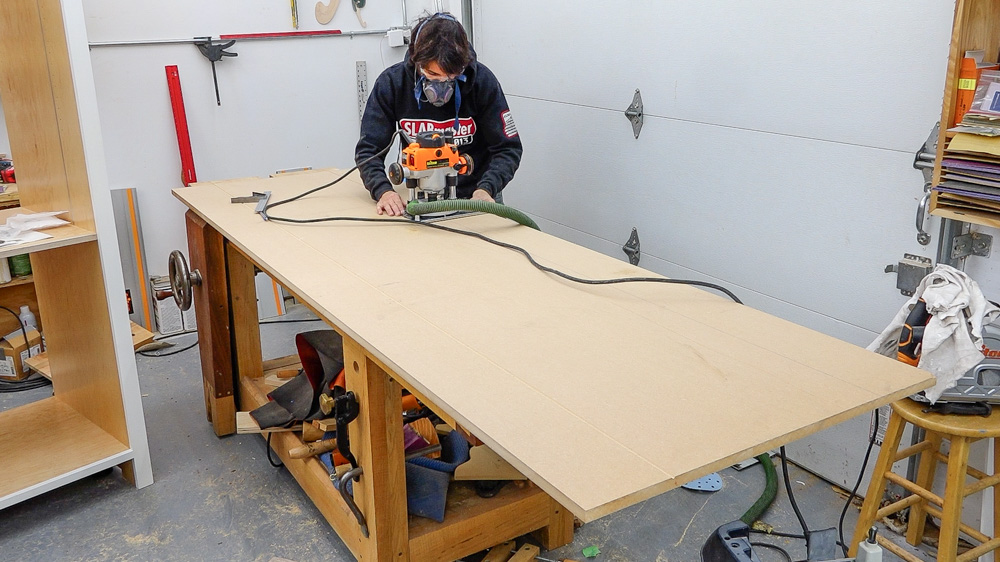
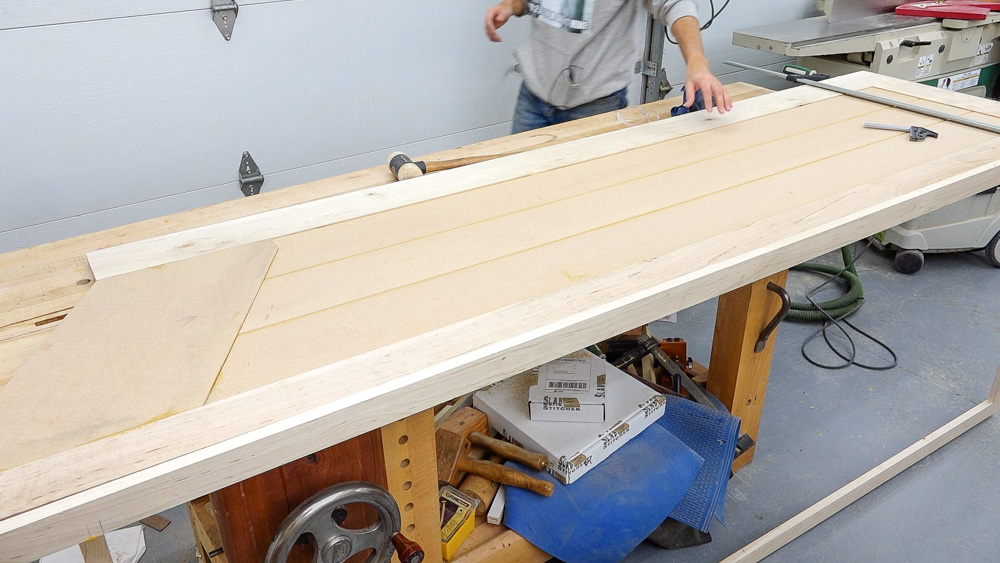
Next up, I’m going to make the door, which is one big panel that goes from the bottom rail all the way to the top rail. Because the drawer fronts are continuous V-board paneling, I’ll make one big panel and then slice the door out of it.
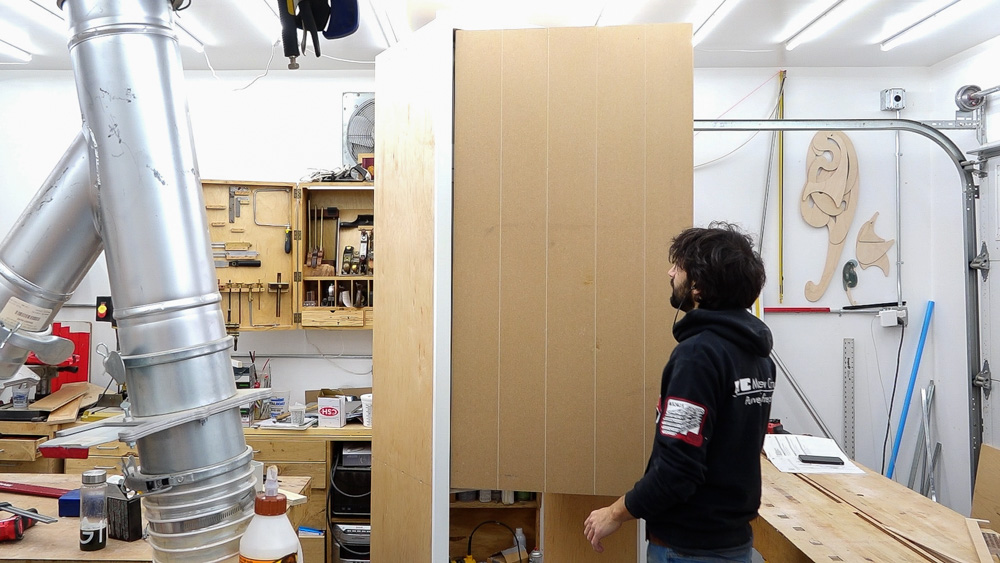
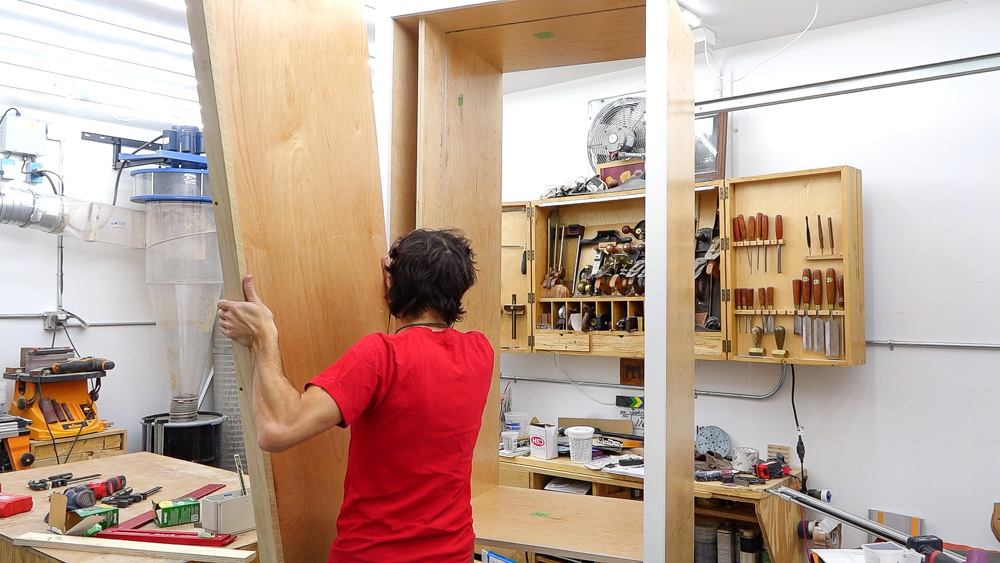
This is about as good as I can get it right now. But for right now, I need to put the back on here, install the side panels, the door needs to get painted, and then I can get it set into the kitchen.
Here is the big, giant cabinet, which is ready to be set. I’ll have to mess with the pocket door some more to get that finalized, but at least this box can be set and I can move onto the next thing.
That’s going to do it for this one. Thank you as always for coming along with me; I greatly appreciate it. If you have any questions or comments on this giant box, please feel free to leave a comment. As always, I’d be happy to answer any questions you might have. And until next time, happy woodworking!
Welcome to my shop! This is a quick update to let you know what I’ve been up to. This big chunky thing is the leg

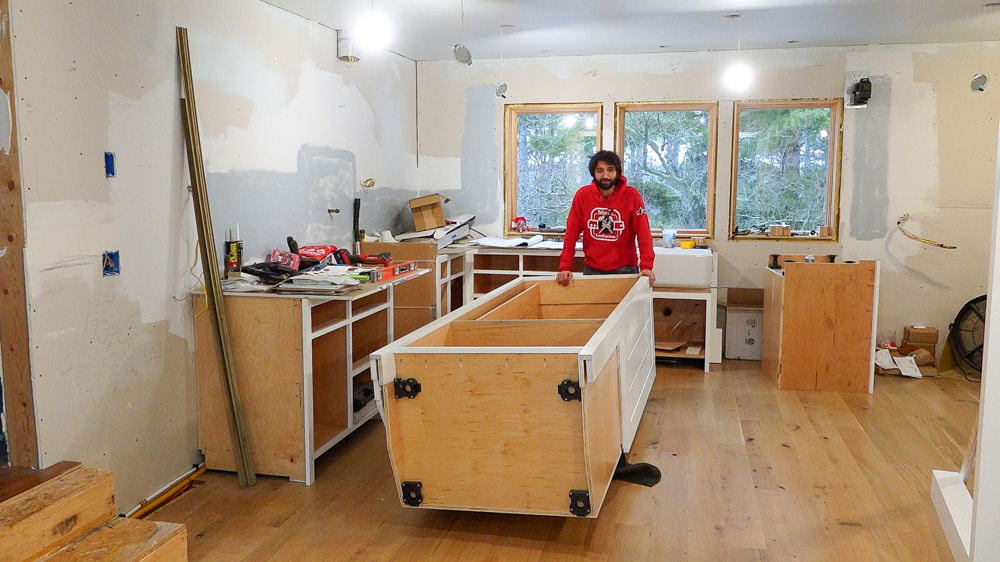
Welcome back to the home renovation. This time I’m going to be working on the kitchen island. Here is a small model of the island.

Welcome back to our home renovation. Today I am going to be working on this wall. It needs some upper cabinets and the surround for