
Matt's Weekly Shop Update
Kitchen Island, Barn Power – March 2024 Update
Welcome to my shop! This is a quick update to let you know what I’ve been up to. This big chunky thing is the leg
Welcome back to our home addition and renovation project. Today, we’re continuing on with our interior work. It’s been a heck of a week so far. On Monday, we prepped the area and started demo. Tuesday we finished the demo.
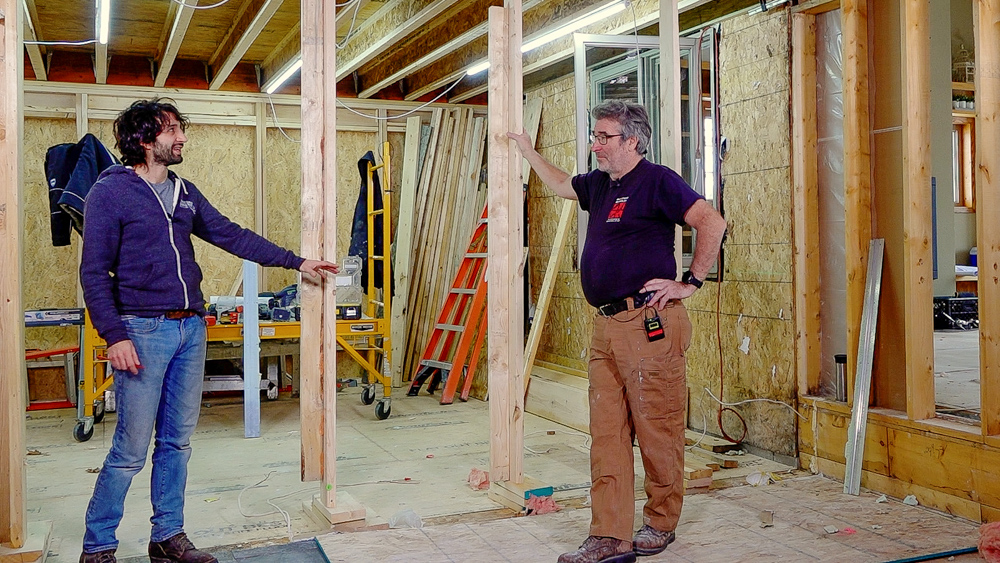
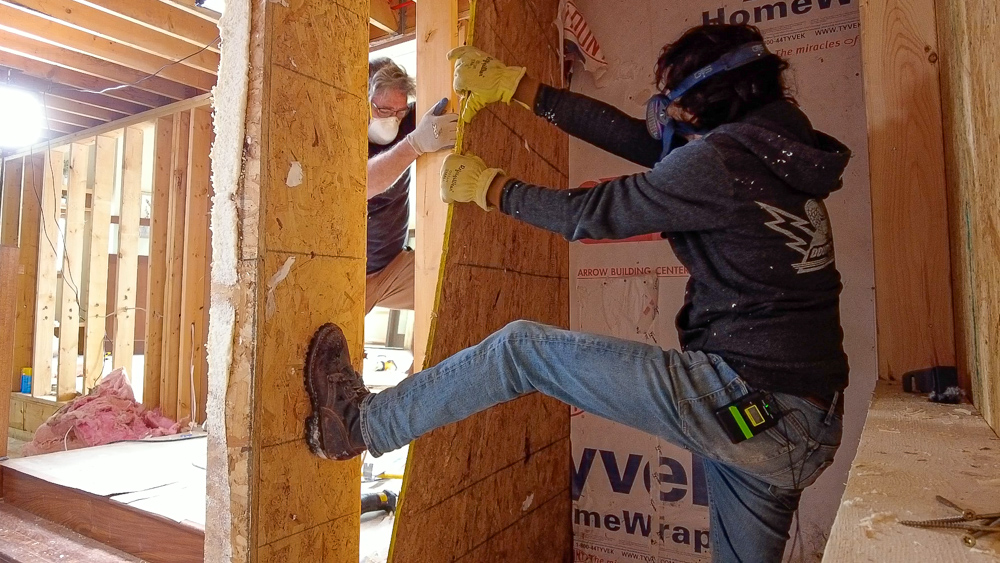
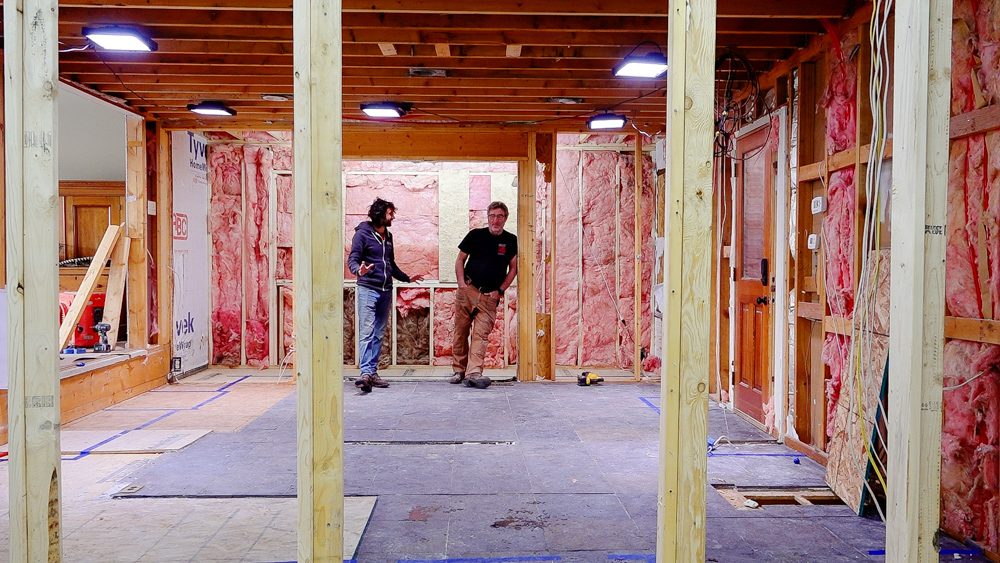
Wednesday we removed most of this wall and got the two LVLs in here. Today, we were going to pull all this temporary wall stuff out of here, but we’re having a problem with fasteners, so we’re putting that on hold, because the screws we have are not enough to go through all of our pieces and hold them together. So we are waiting for the engineer to get back to us with a solution. In this 16 foot span, there’s 72 of these screws needed. There’s a lot of load on this thing and it’s a big span.
So instead, we are now going to extend into our front addition. This is the addition we put on in November, which comes out four feet.
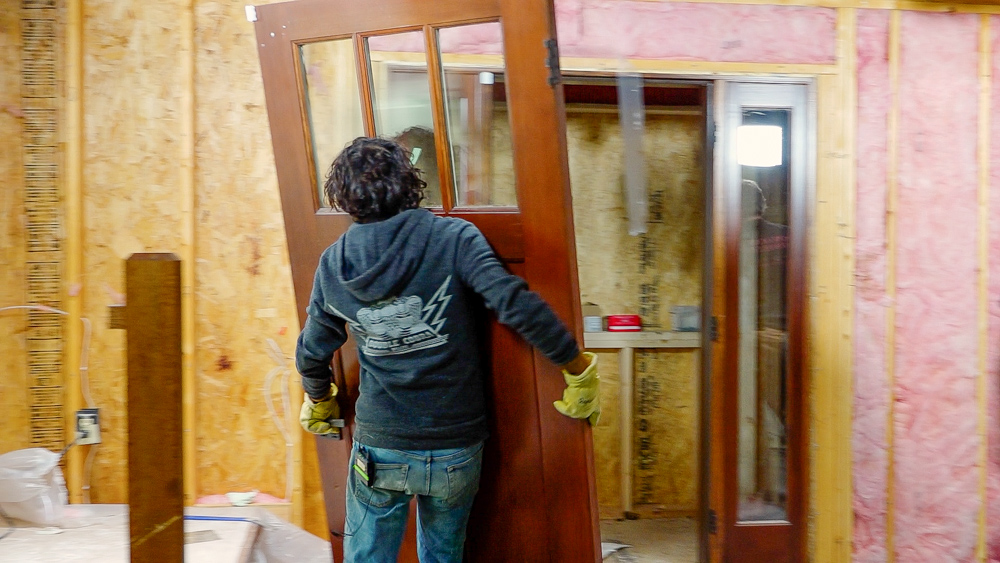
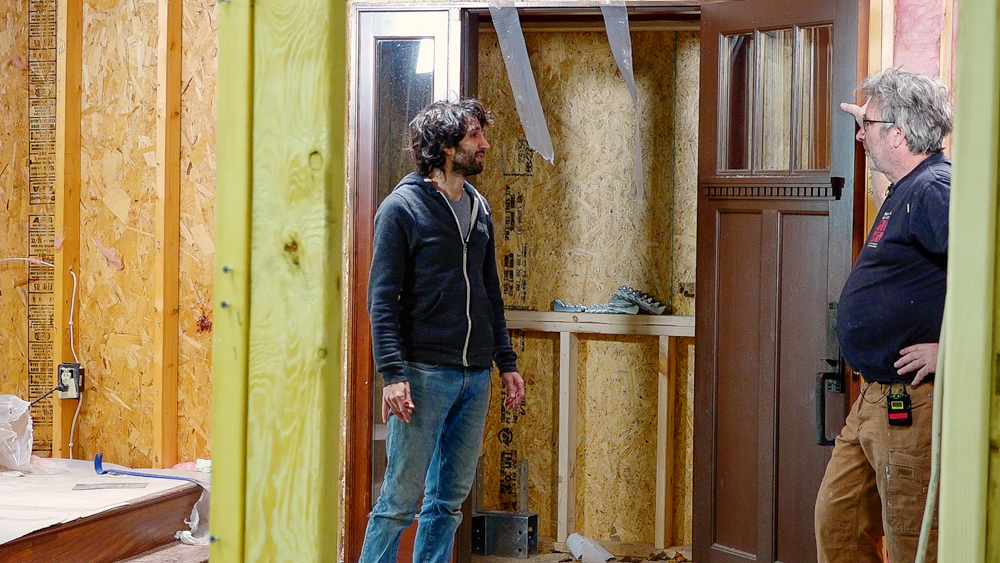
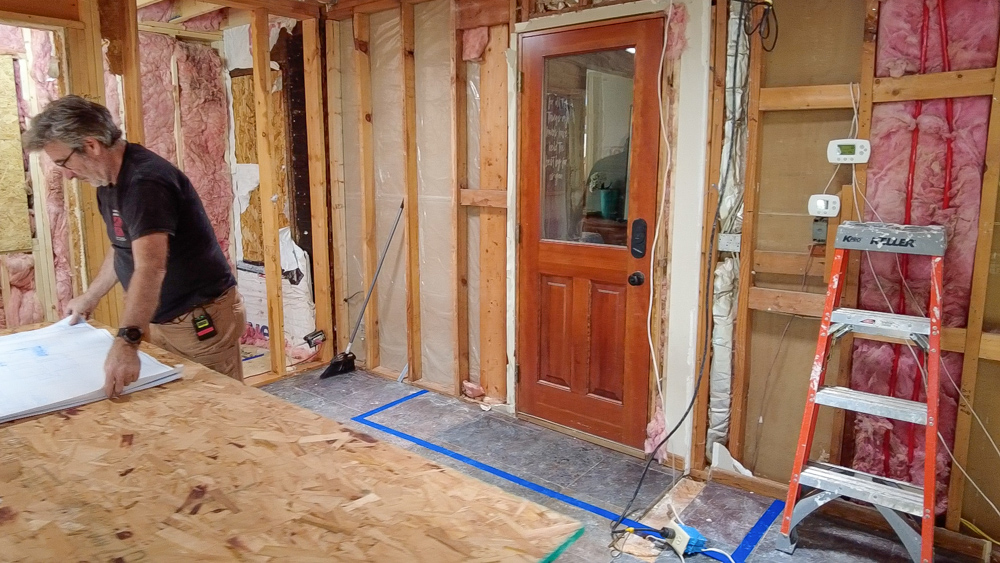
We’re going to remove this wall, and we’ll see how far we get with that. First we’ll pull out this door, which we will reuse as our front door.
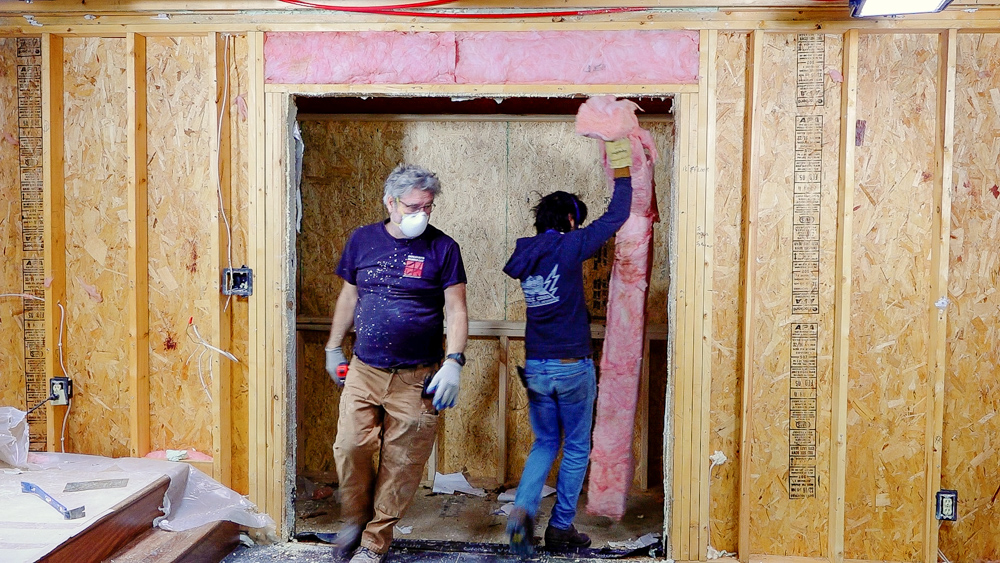
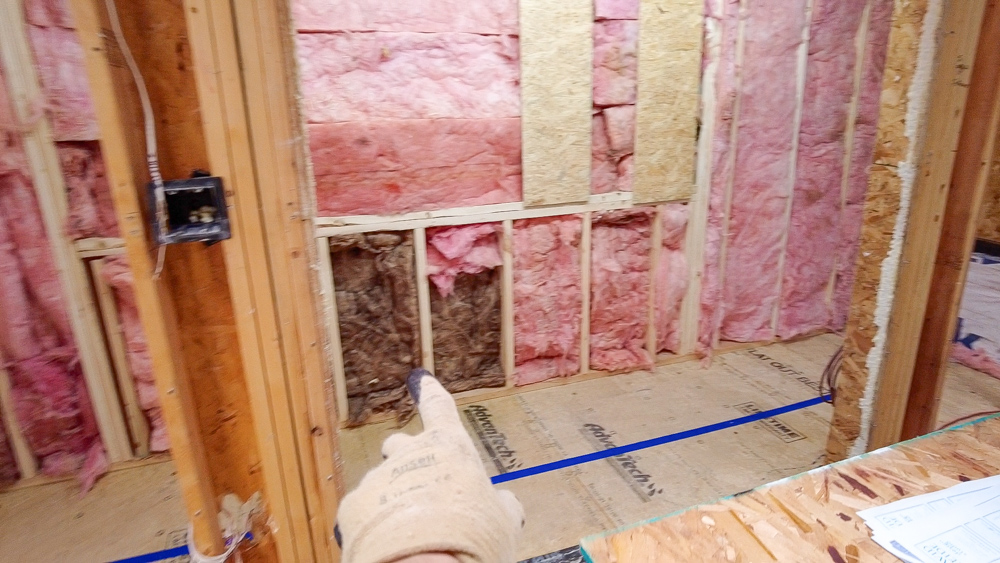
We are temporarily putting the insulation in here, just enough to keep us warm while we’re working. Because we can’t do the spray foam until the windows are here, and we can’t do the windows until the door is here, and the door has one of the longest lead times.
Now we can start the demolition of this wall.
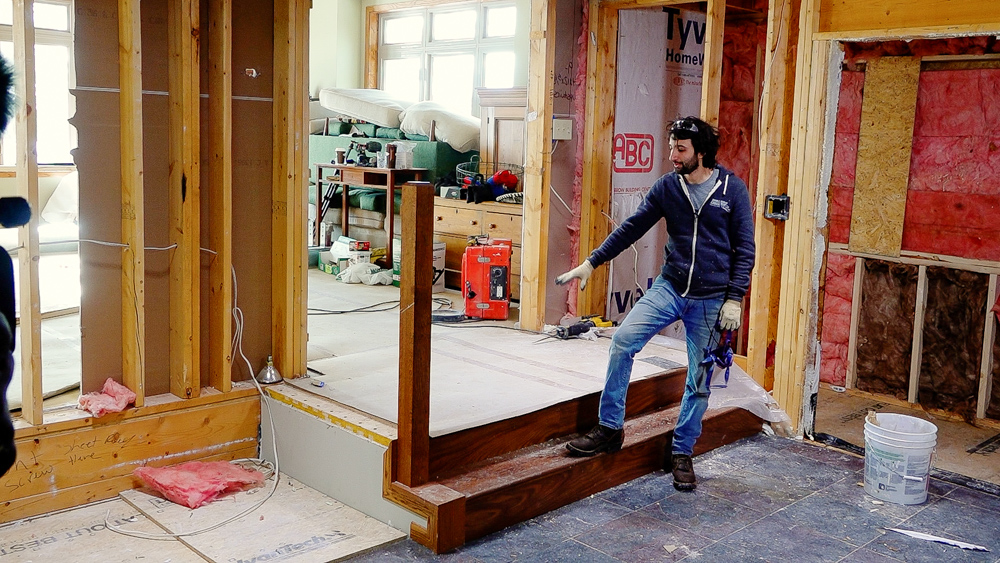
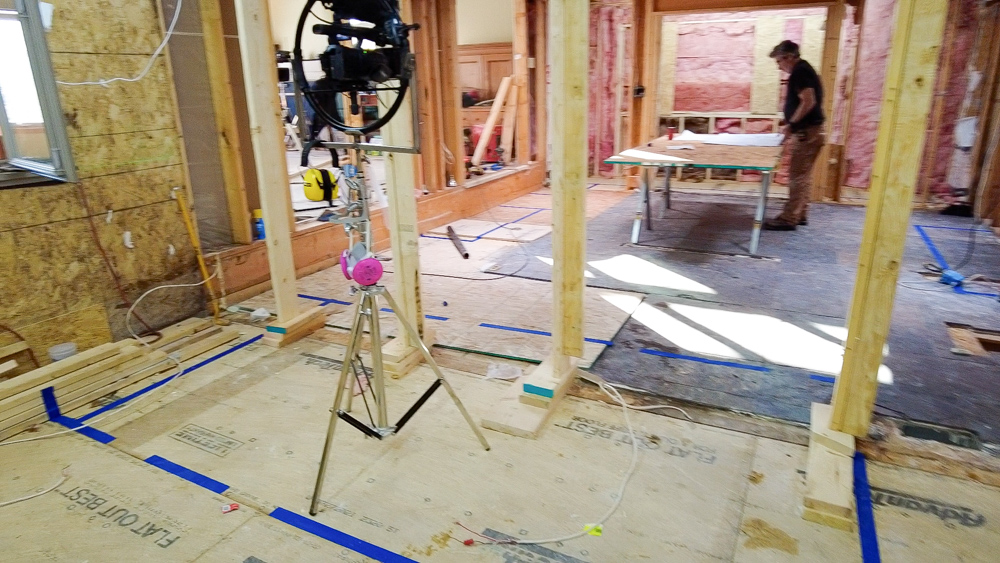
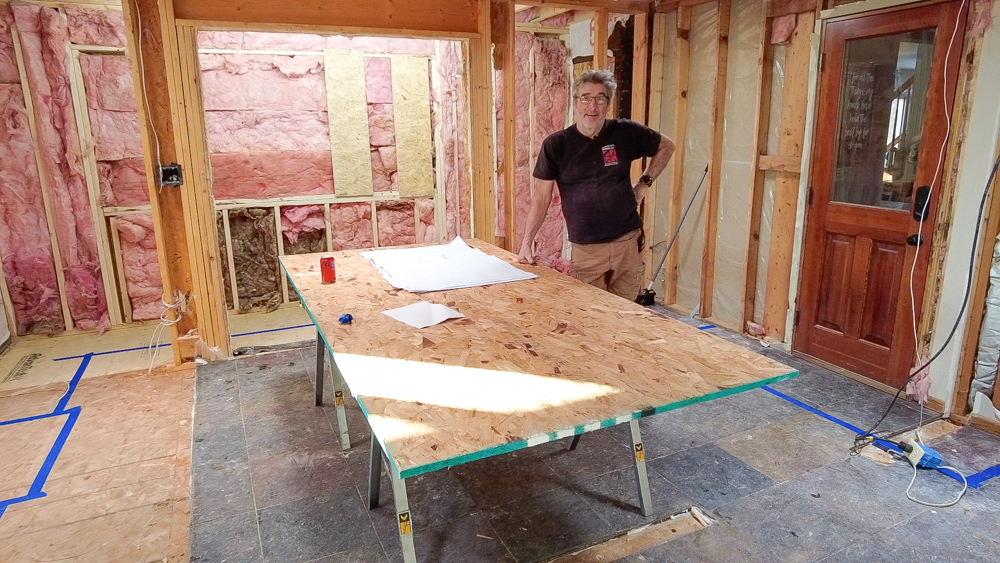
We have a design meeting today, which is the first time we’re going to be in the space and get a better vision of what’s going to be happening here. In order to kind of make that meeting easier, and the design easier to visualize, this little staircase and landing needs to be removed.
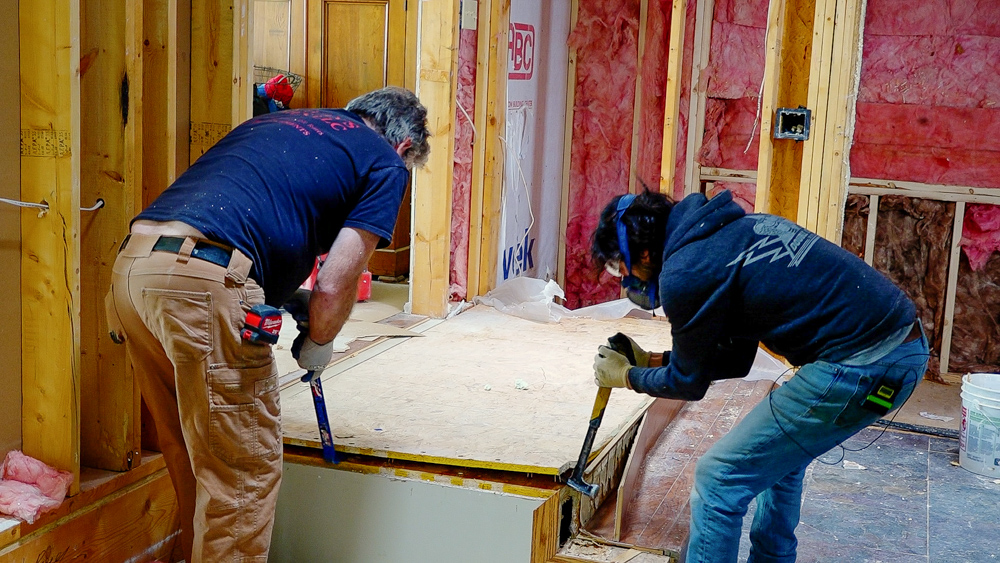
So for the rest of the day before this meeting, we’re going to remove the staircase, get things cleaned up, and do some of the rough layout on the floor.
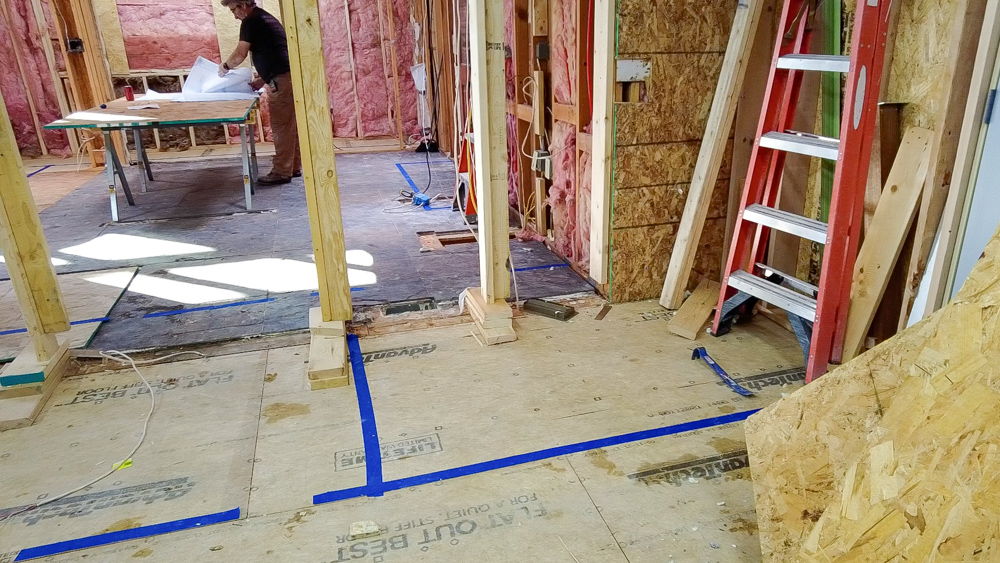
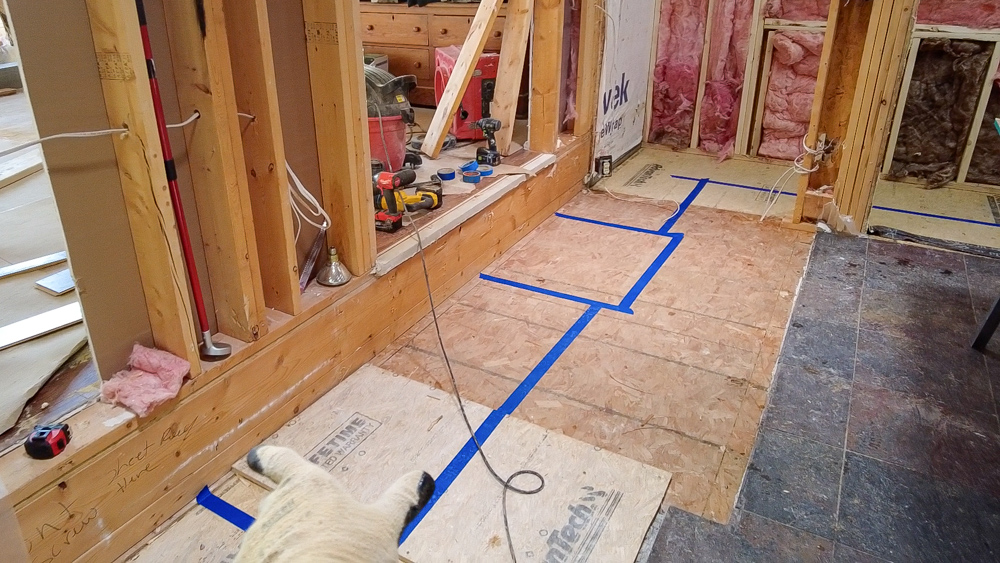
We just took some time to do some of the layout on the floor. I’m in the sunroom right now, and we have the pantry space here laid out on the floor.
This is our breakfast nook area, with the breakfast nook bench also laid out.
We have the dishes cabinet along that wall, and there is going to be another opening next to that.
And then along the front wall of the house, the refrigerator will be in the corner, then the kitchen sink will be in the center.
The cabinets come around the corner, then there is the range with the hood, and another small counter space.
And then smack down in the middle of there, we got our personal chef where the island will be.
We’re going to have our design meeting this afternoon, but I wanted to show everybody how it looks now because it’s exciting.
The meeting we had was actually one of the more fun ones. As you get further down the design process into some of the final finishes and design decisions, it becomes a lot more real, a lot more tangible, and a little more fun.
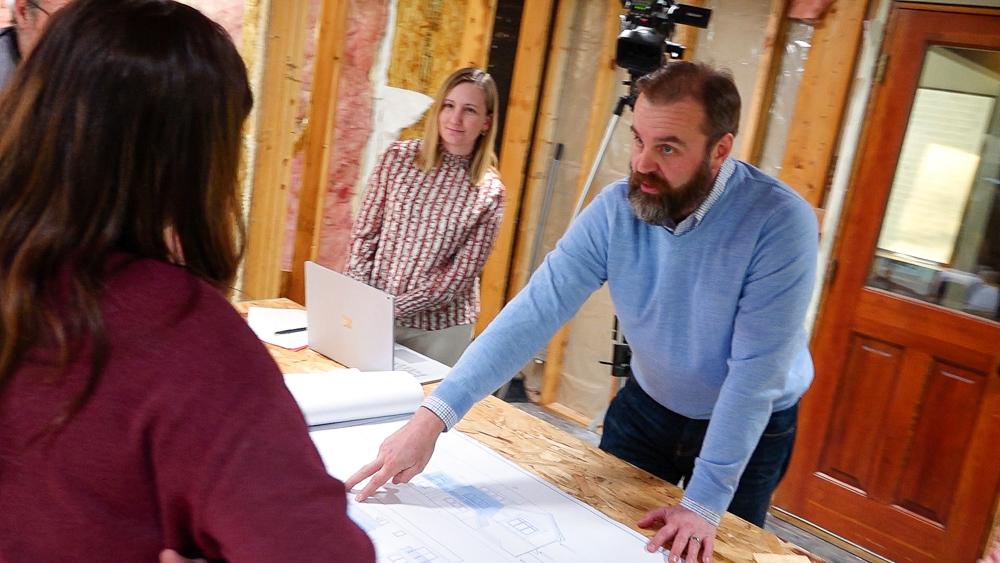
We had a two-hour meeting with our design team, which is Chris and Leanna from David Heide Design Studios. They’ve been designing for the whole project, which comprises architecture and design. At this point, we already had our layout finalized, so we were working through a lot of the final nitty gritty details of things.
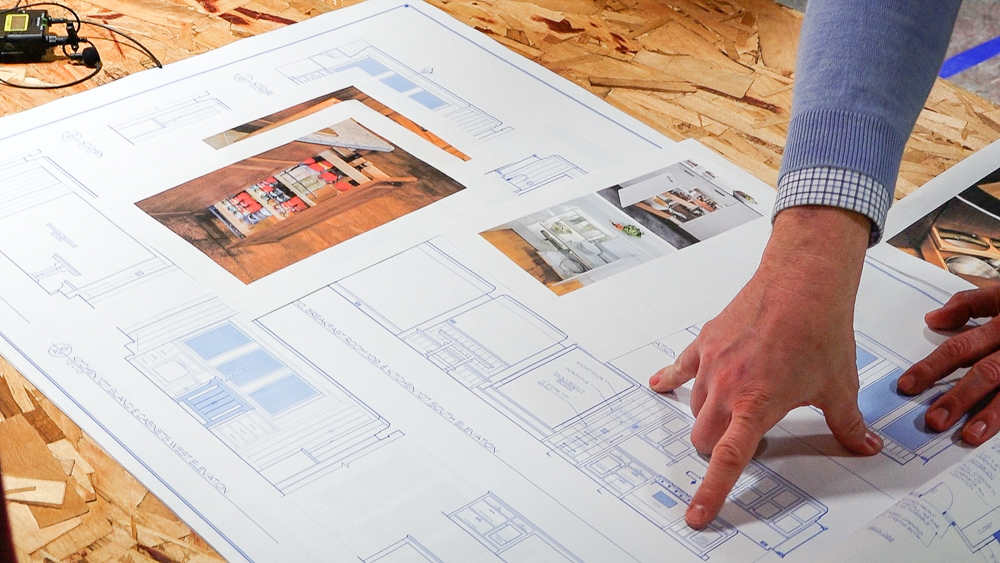
As far as the kitchen goes, we talked about things like what all the different cabinets are going to have, what they’re all going to contain, what all the layouts inside of those boxes are going to be. Very specific, very interesting if you are thinking about it for your own kitchen, but two hours of that would be a little bit much to show on a video. So I thought we’d go through the overall plans, because I haven’t really shown anything other than the floor plan so far.
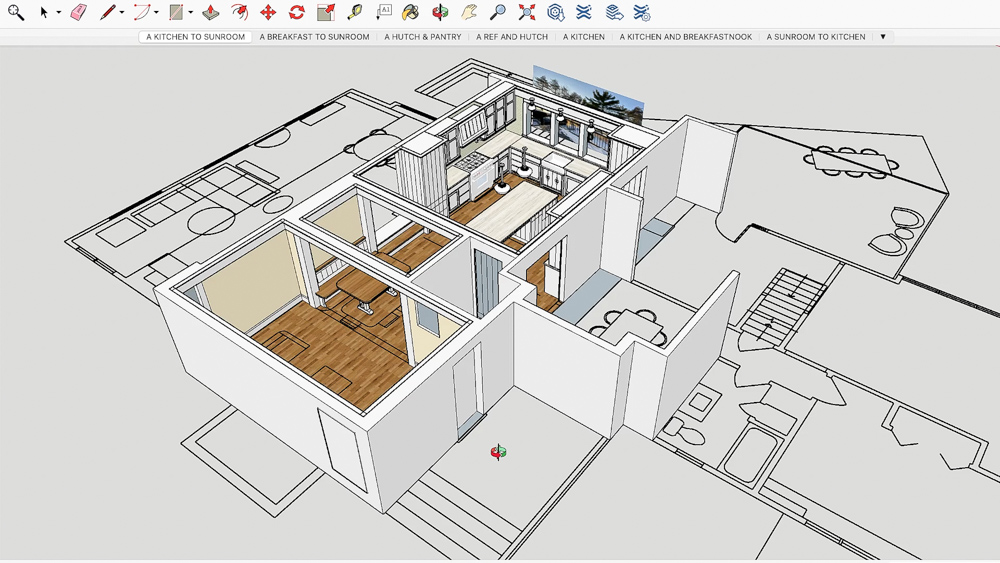
So first, to get a better feeling of the whole thing, take a look at the 3D model. The model isn’t all that detailed, but it gives you a good feel for the layout of the space.
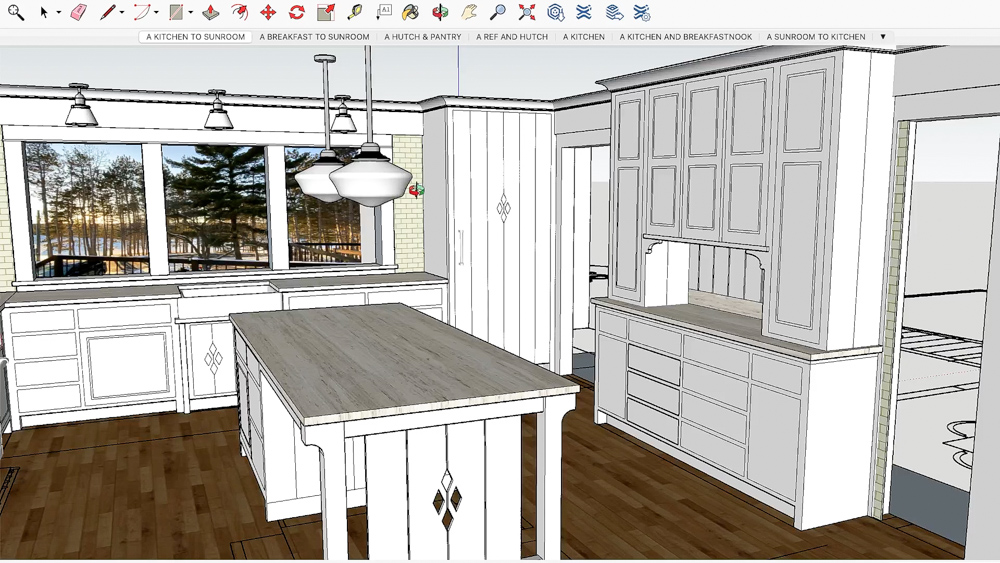
Let’s drop in here and take a look at the layout of the kitchen. We have the island there in the middle, and we have a dish cabinet over on the right. With that dish cabinet, we went back and forth between two different concepts. One was more of a built-in cabinetry style, and the other one was more of a furniture style. In the end, we went with a built-in cabinetry style because we liked the idea of just having the piece really just tie into all the trim details in the rest of the room.
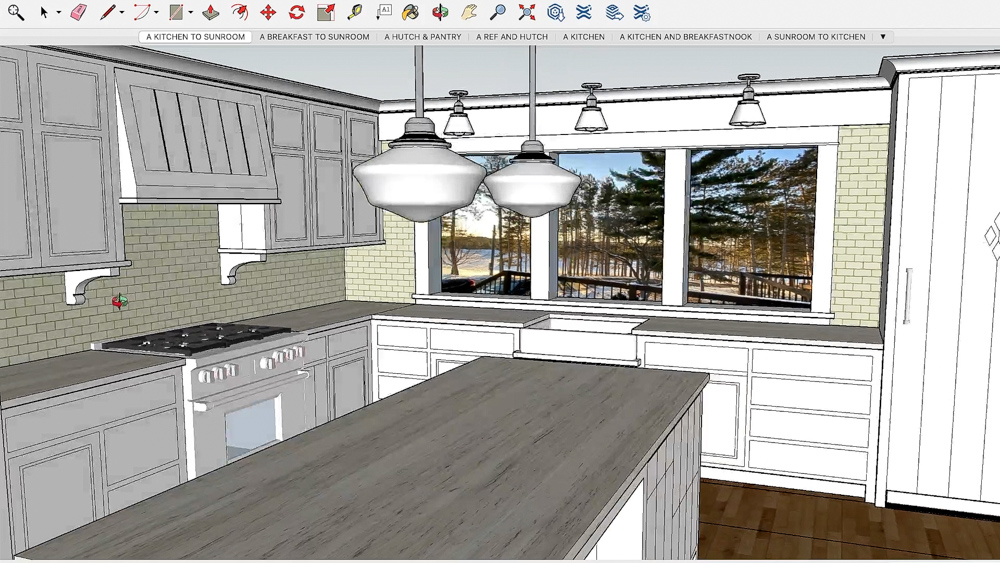
On the front wall of the house, we have the refrigerator and the front window with the sink. Along the left wall, we have the range and stove area with the hood on that wall.
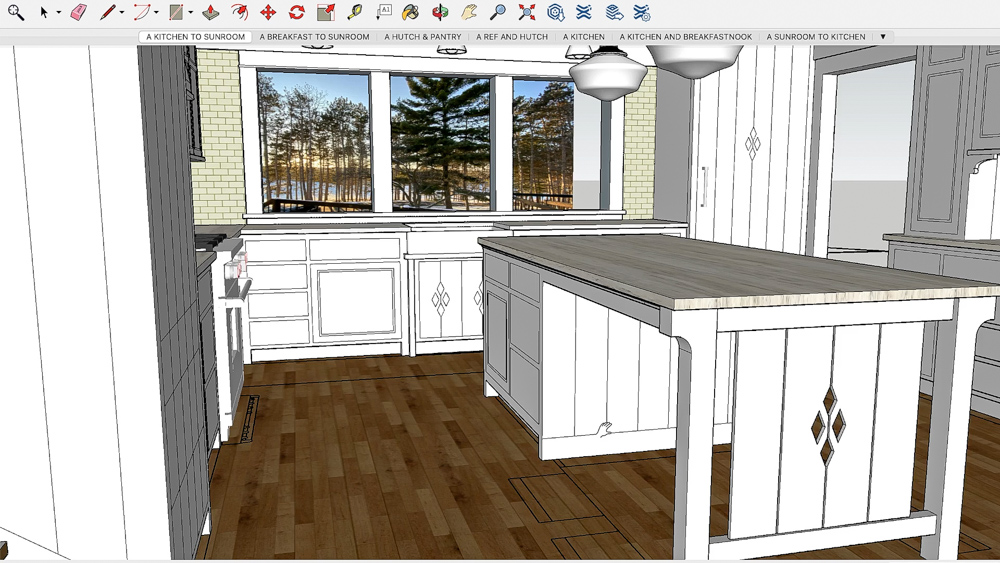
On the island, we have cabinetry on one half of it and then seating on the other half.
So we finally have a real idea of what the space is going to be. Having that meeting and having a really clear idea of the vision was absolutely incredible. If anything, it reminded me of how much we are still in the beginning.
Next time, we’ll be finishing up the structure in here, and going on from there. So thank you as always for joining us, we greatly appreciate it. If you have any questions or comments on the home renovation addition and remodel project, please feel free to leave us a comment. As always, I’ll be happy to answer any questions you might have. And until next time, happy woodworking.
Welcome to my shop! This is a quick update to let you know what I’ve been up to. This big chunky thing is the leg

Welcome back to the home renovation. This time I’m going to be working on the kitchen island. Here is a small model of the island.

Welcome back to our home renovation. Today I am going to be working on this wall. It needs some upper cabinets and the surround for