
Kitchen Island, Barn Power – March 2024 Update
Welcome to my shop! This is a quick update to let you know what I’ve been up to. This big chunky thing is the leg
Welcome back to the renovation project! We’re going to start digging today. We’re a little ahead of schedule. I got everything cleaned out of here, but the excavator is going to be delivered tomorrow.
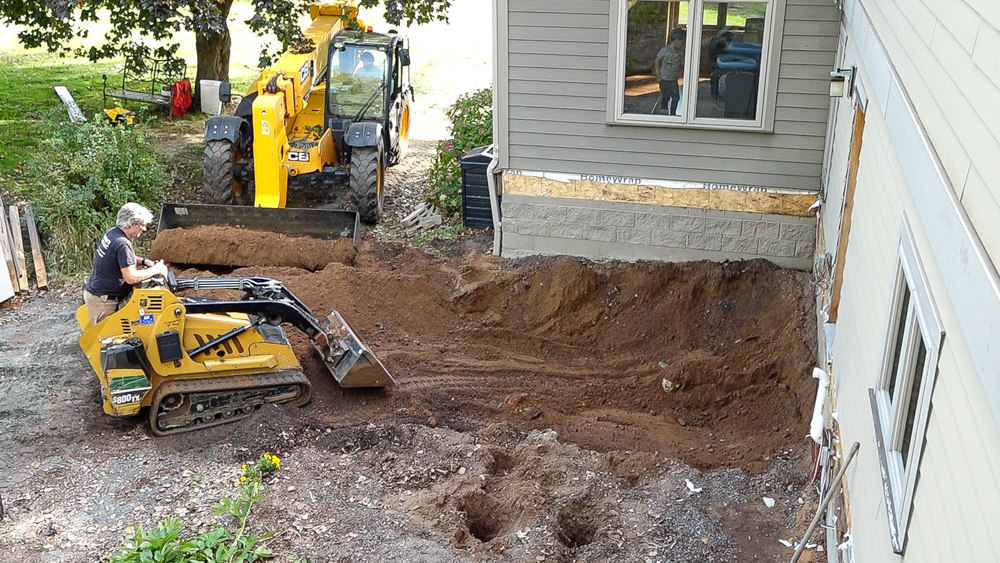
We’re going to dig with the mini skid steer, because I figured we might as well try to get as much soil out of here as possible.
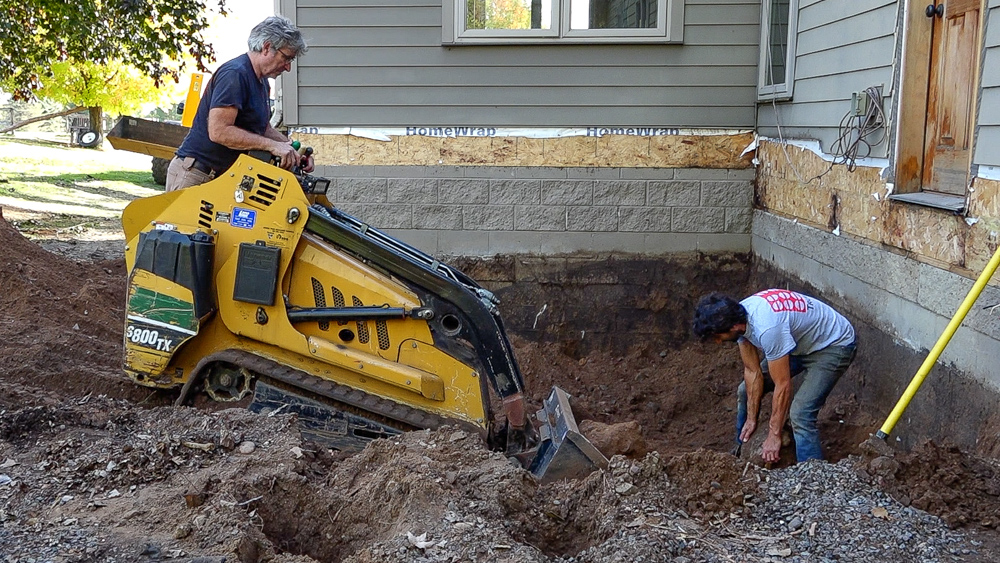
Donavan has excavated quite a bit already. He found a lot of footings while excavating, so there were apparently a lot of little decks here at some point.
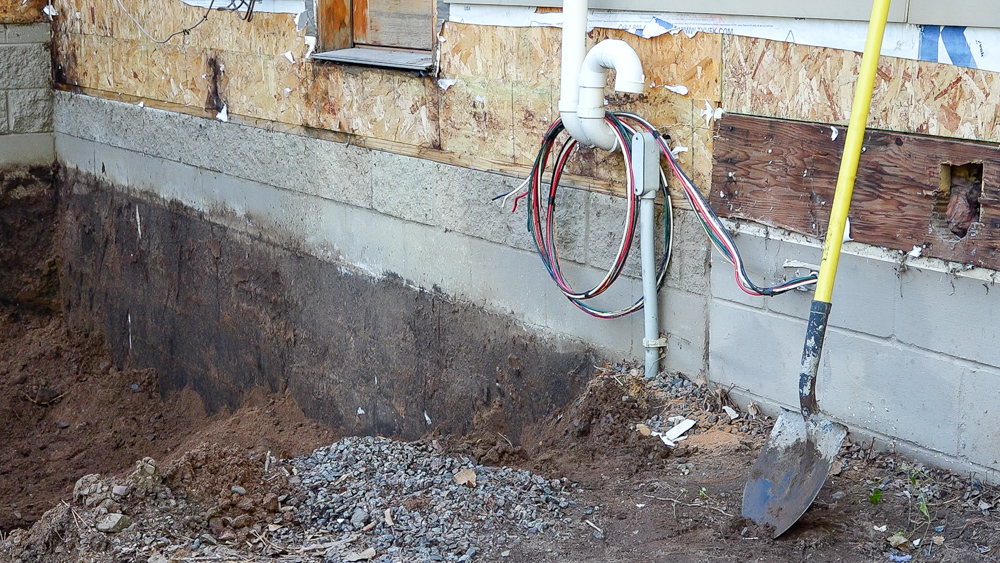
Now I’m going to hand dig around this electrical line. Farther down in the same area, there are two water lines. One goes out to all of the horse waterers in the pastures, and one goes to the well, which is what this electrical line goes to as well. That water line is down below the footing, so we’re less worried about that, but I’m going to hand dig around this area and see what we can find.
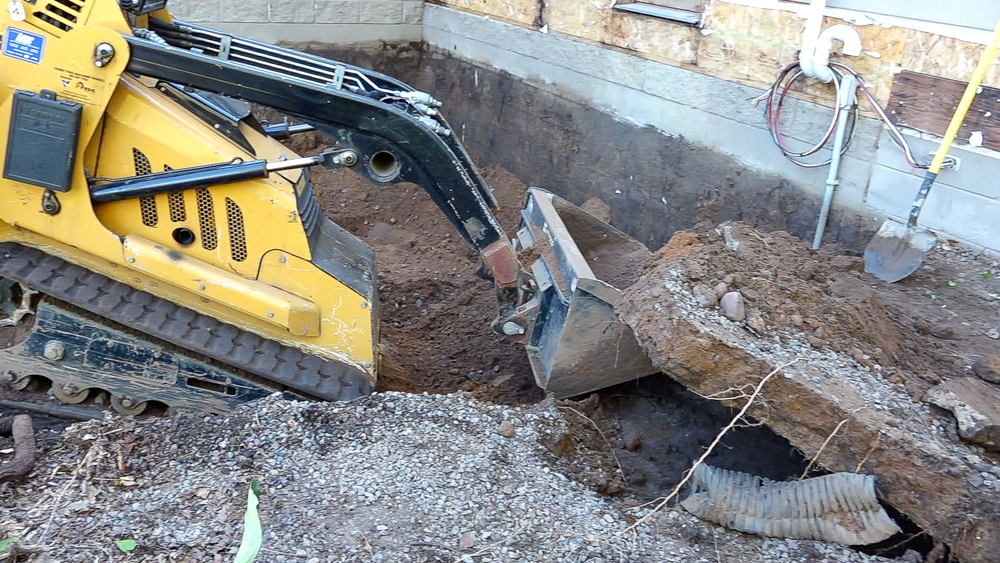
We found the old patio. I guess there was a concrete patio back here at some point, under the deck that was below grade.
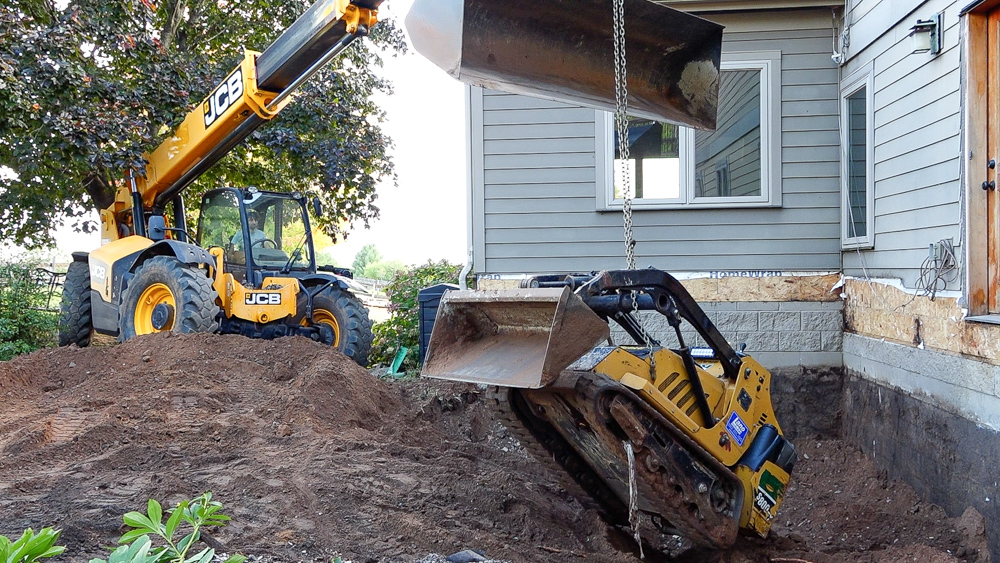
Donavan sent it a little too hard, so we’re going to fish the skid steer out of here and call it a day. We’re a couple of days ahead of schedule because we weren’t planning on starting excavation today. We got about a third of the way through all of this in about three hours. It’s going pretty quickly!
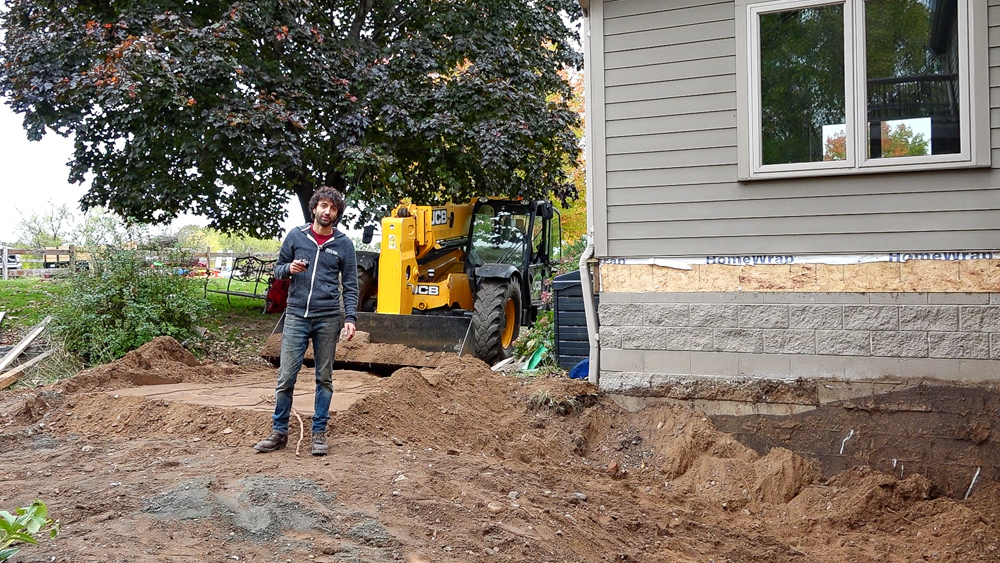
Good morning, everyone! Happy Tuesday. Last night, I got like most of the concrete moved out of here, and I got some more of the dirt out of the way. The excavator is showing up at some time today, but I’m not sure exactly when. In the meantime, I’m going to get back to digging. There’s still a lot of dirt here that has to go.
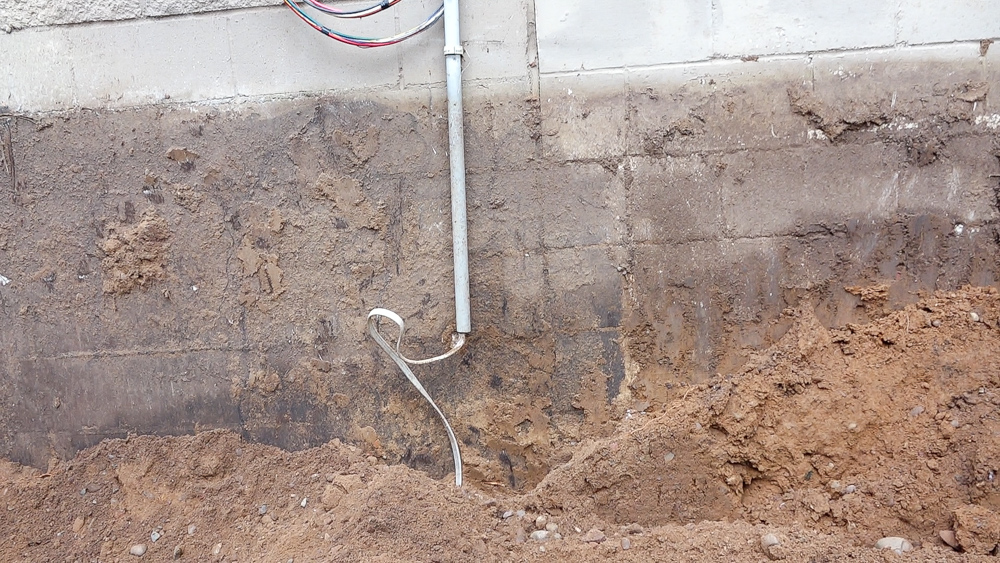
I am working on finding the first water line right now. Here we have the electrical for the well that I am assuming goes down to the well line, which is below the footing of the house. There is a water line that goes out to the pastures for all the horse waterers, which comes out on the ninth course down on the wall. We’re here at seven, so I’m expecting to find that sooner than later.
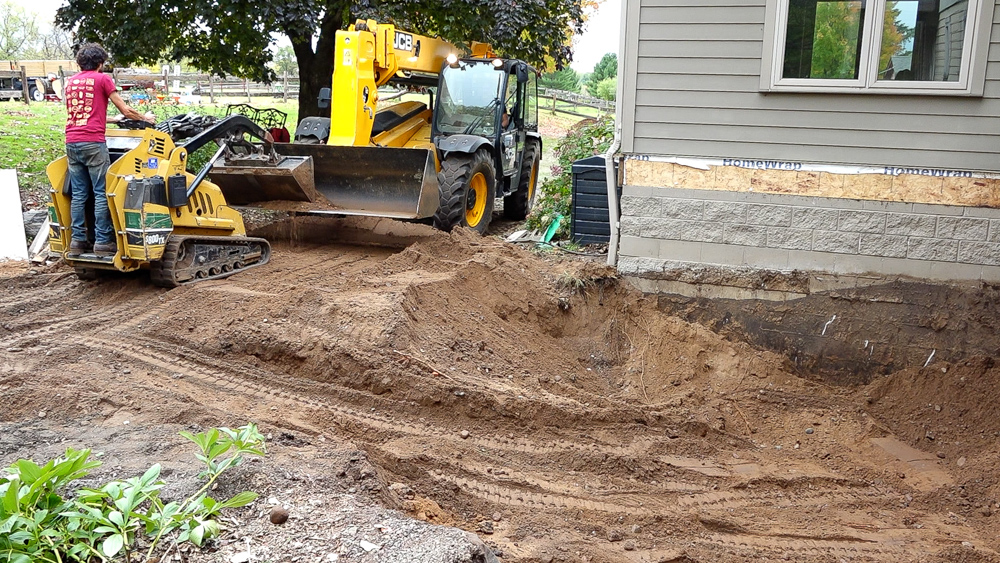
We have developed a little ramp for the skid steer, which works pretty well. Just drive down here, pick up more dirt, drive up and dump it. We have been spreading the dirt in the ruts that I made with the telehandler throughout the property, but now we’re stockpiling it closer for backfill later.
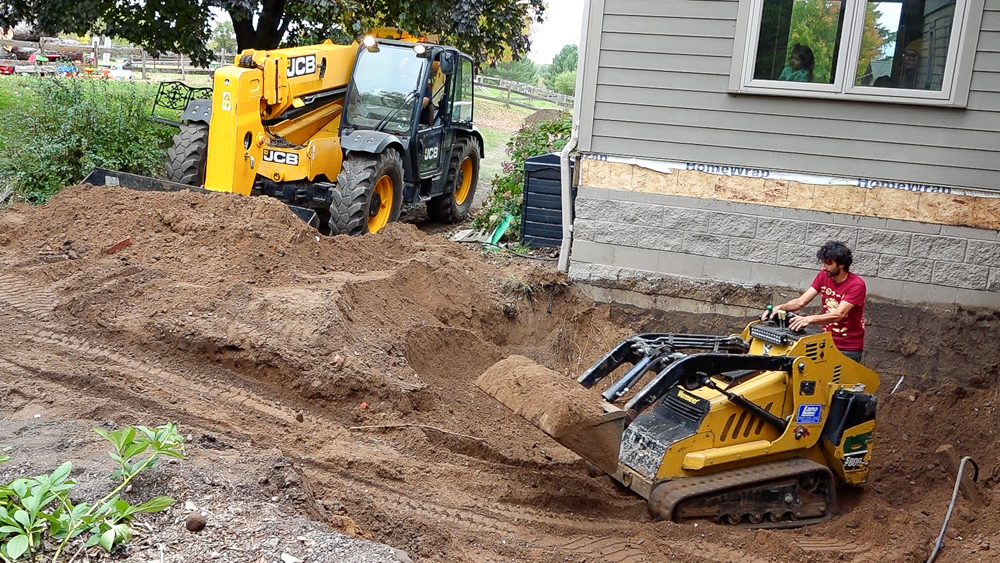
Donavan’s running the telehandler today, and I’m playing in the sand.
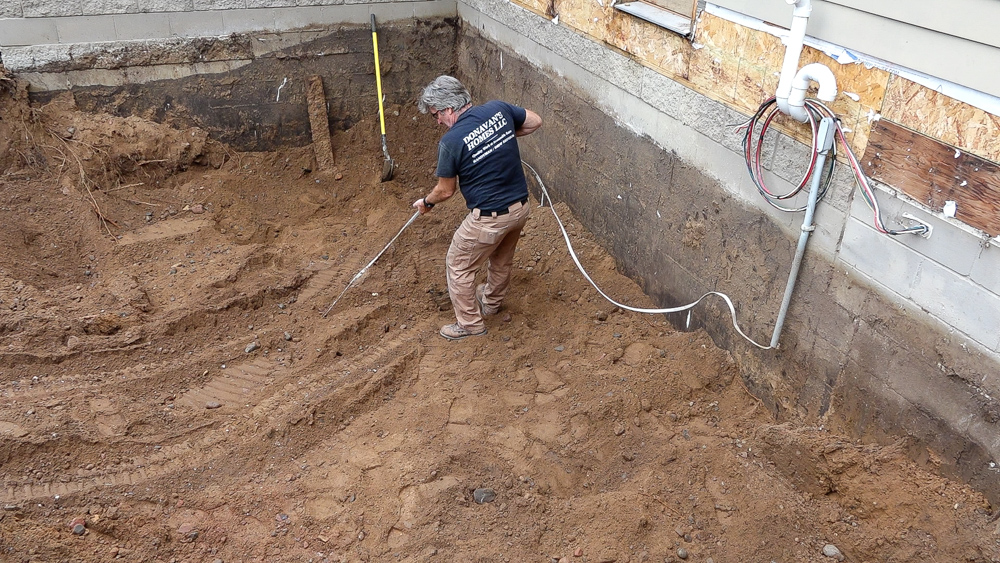
So we made it down to the power line for the well, but we’re not really sure where it’s going. The well is in perfect alignment with the box on the wall, so we don’t know how they ran this well line. At least we have the electrical, and the water line is still a ways down.
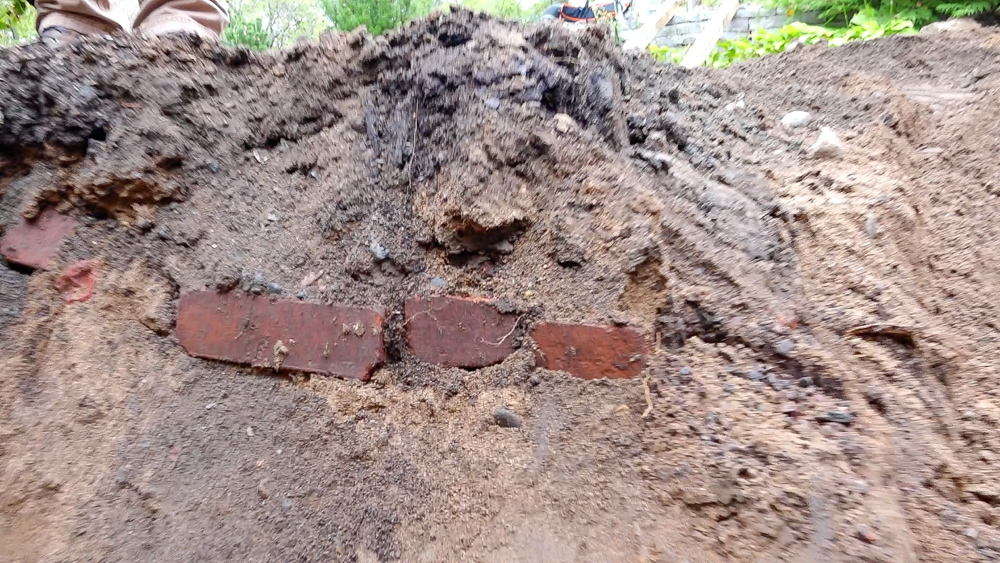
I found an old garden border. I was wondering what all these bricks were from, and apparently it was an edging for a garden or maybe even a patio. They’re cool bricks though.
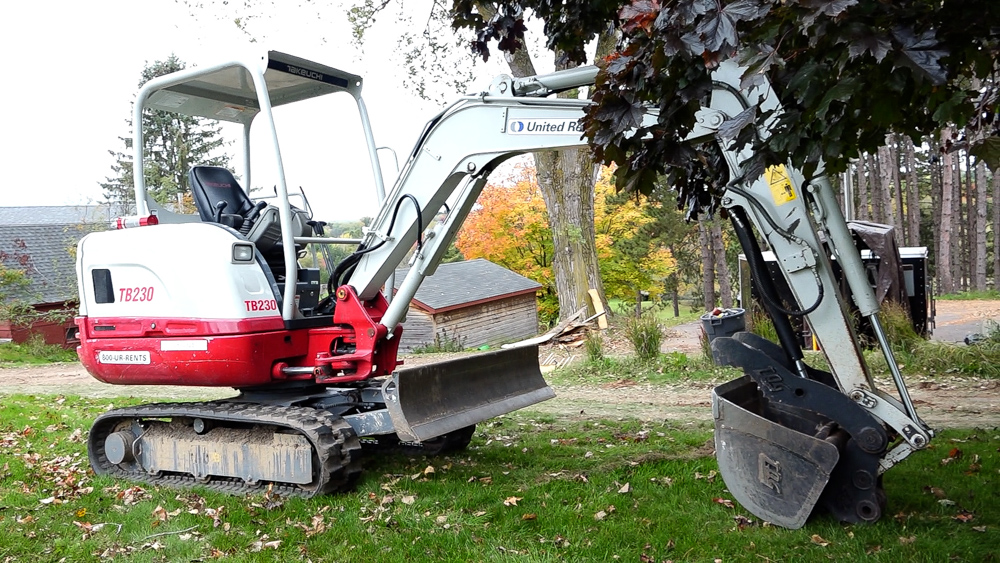
Look what’s here! A little baby excavator. This is the excavator we’re going to use. This is a 6,000 pound class, three ton excavator. We figured this is big enough for what we’re doing because it’s mostly done already. Plus it’s a little bit cheaper. This excavator is $1000 for a week, and a bigger one is about $1500. I haven’t run one of these in 10 years, so we’ll see how that goes!
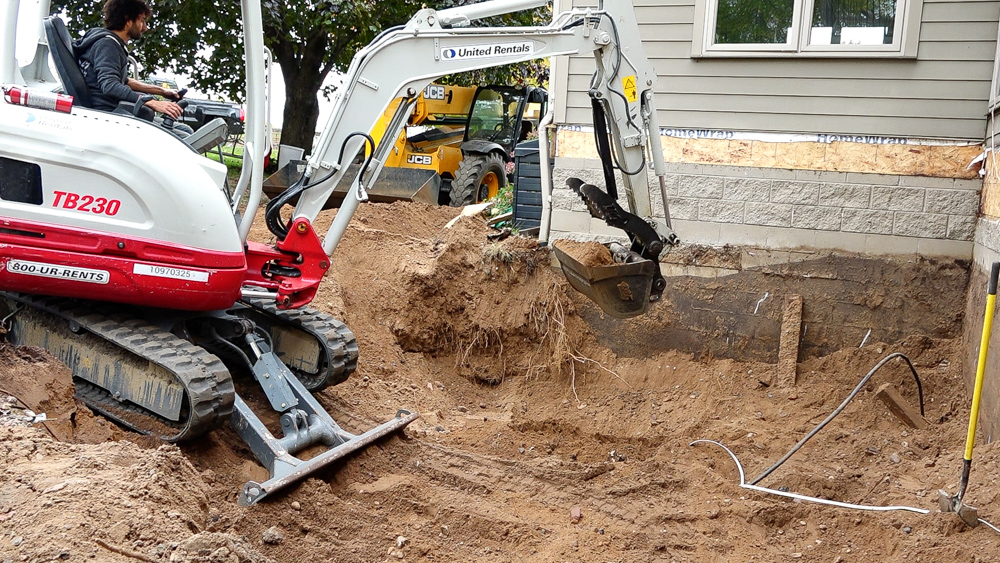
I know not everybody has run one of these things before, so I thought I’d share a little bit about the experience as someone who hasn’t done this in a long time. It’s kind of embarrassing how bad I was at remembering how to use this machine. When you first hop on this machine, you have to figure out what everything does, because there are four main controls. You have to wrap your mind around which levers move which way. The stick on the left will turn the cab left and right, but if you move it up and down, it is going to raise and lower the boom. The stick on the right will curl and uncurl the bucket as you move the stick left and right, and moving it up and down extends and retracts the stick. At first it took me a while to remember what all the controls do, and I did a lot of single-motion moves. (And there were a lot of times when I didn’t remember the right move.)
Once the single motion moves become more second nature, you can move on to some compound moves. Now you’re able to curl the bucket and pull the stick in at the same time and get a real scoop going. With those kinds of moves, you’re not doing anything precise. But if you want that bucket to remain at the same elevation through the entire swing, then you’re talking about more precision compound moves. Every single motion on here exists as an arc. In order to create a flat line at the bucket, you’re doing some compound things to keep a bucket at the right elevation. So you’re moving one part of the boom in one direction while compensating with another part of the boom to keep that bucket right there at its actual final elevation. I got a bit more comfortable with this towards the end as we were setting our final grades. They’re still kind of rough, but they’re final for our purposes here. I could get the bucket to stay fairly flat or fairly consistent through its motion in order to do some final grading, but I’m still not a crazy good operator. It is pretty amazing how quickly it becomes second nature. After about an hour or two, I was able to do a lot of these things, with my only previous experience having been four hours 10 years ago. If you ever had a chance to dig a hole in your backyard and try running an excavator, it’s kind of fun!
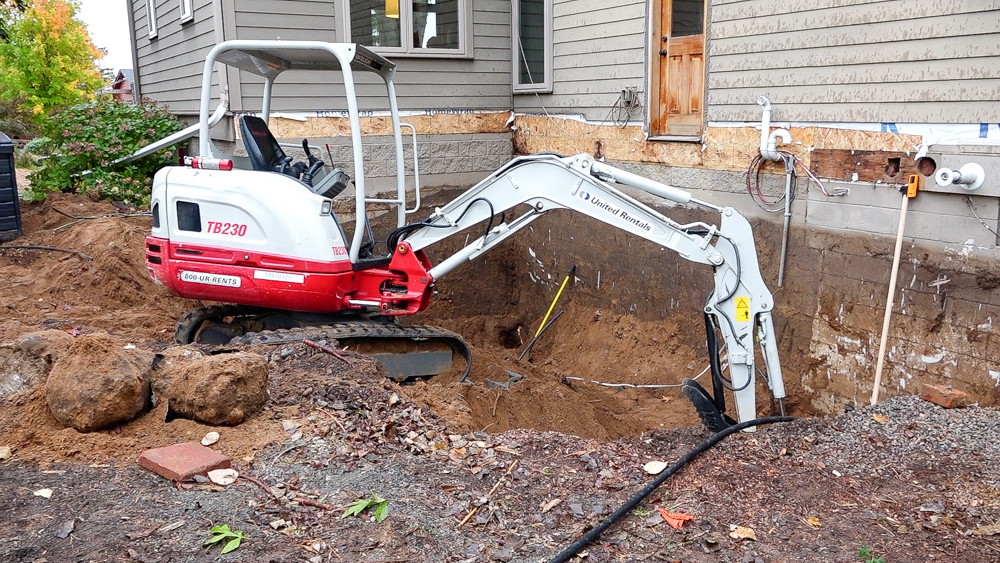
Happy Wednesday, everybody! Here is how far we got last night. We were trying to set our final grade and work our way back out of the hole. This morning we’re trying to shoot a laser to get our final depth dialed in. This is basically how far ahead we are, because we weren’t planning on starting to dig until today! A pretty good start.
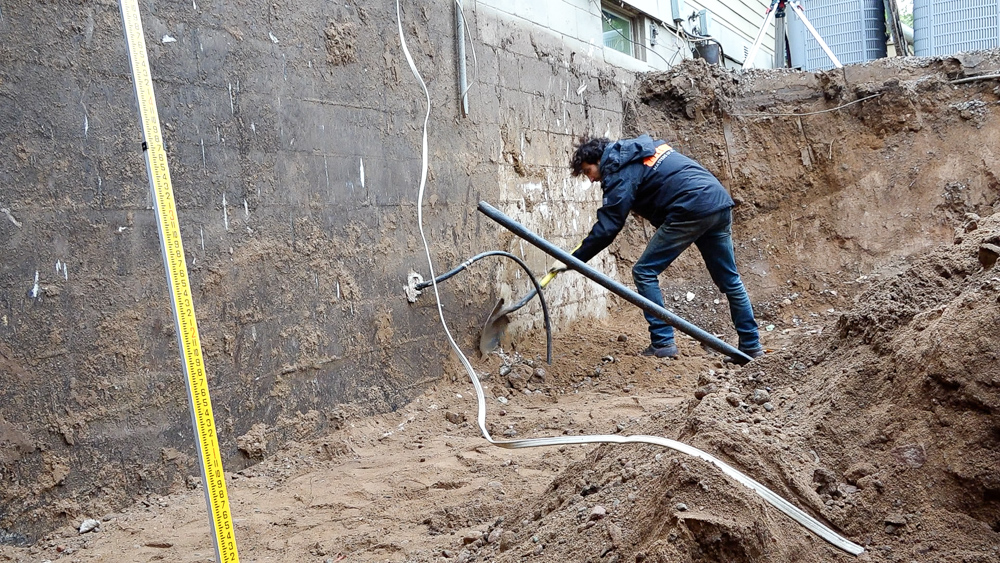
We’re starting to set our grade along the back, and we’re going to work it outwards. We have our laser set up, and we have our grade stick, and we’re just trying to level things out. We found the footing for the old house, and we are going to be above the footing for the addition that was on here before.
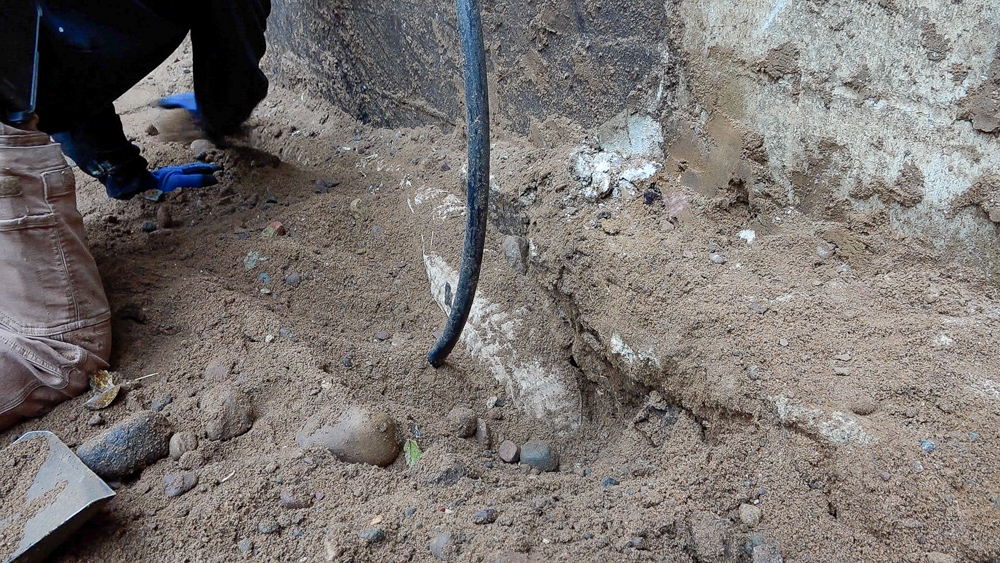
We found a drain tile, which goes straight down, then it loops back around to the sump pump. We will have to figure that out.
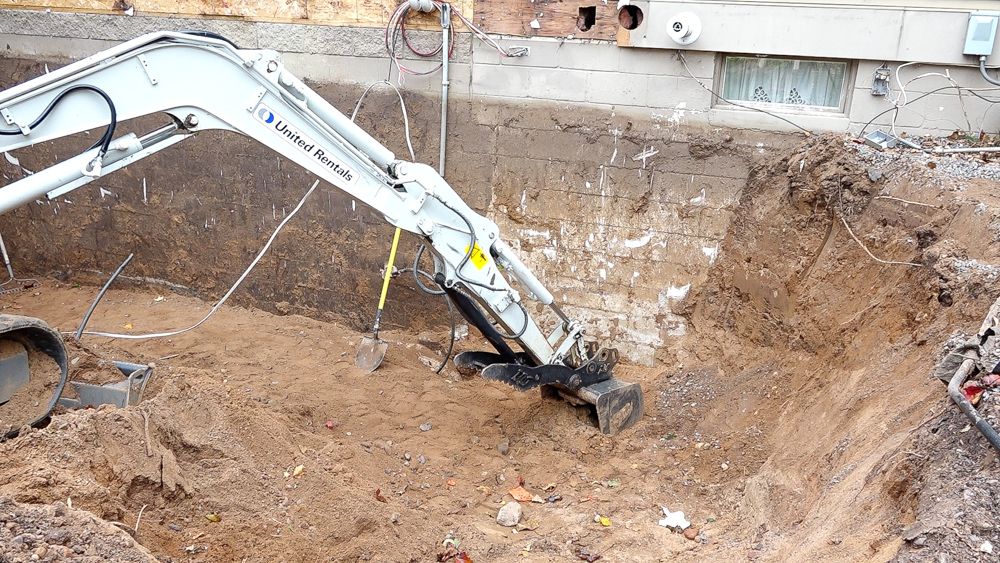
I’m going to excavate where the footing is going to go, which is perpendicular to the wall along here. I’m not going to get it perfect because I’m not that good of an operator and I’m at an angle, but we’re going to get most of material out of there so that we’ll have less to clean up by hand later on.
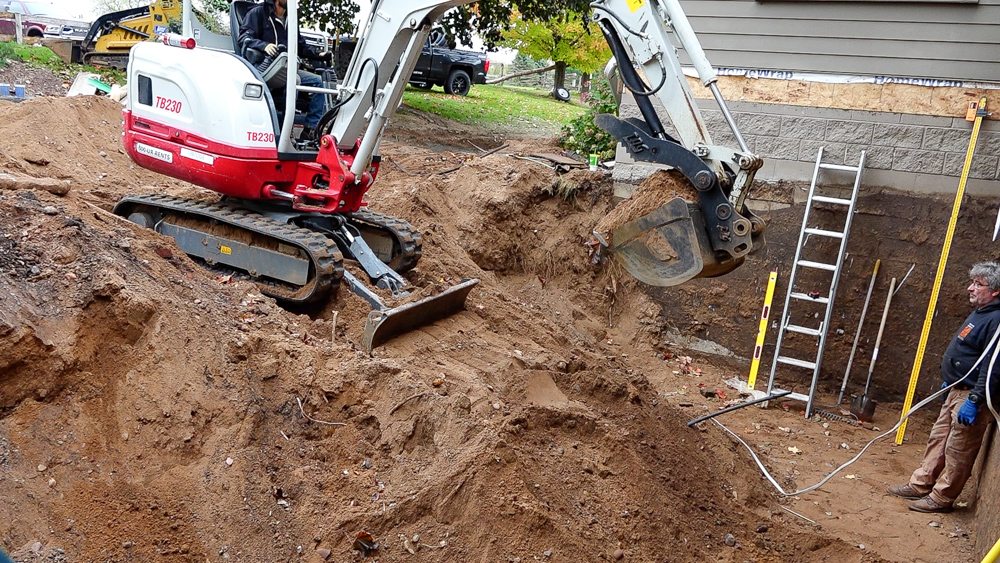
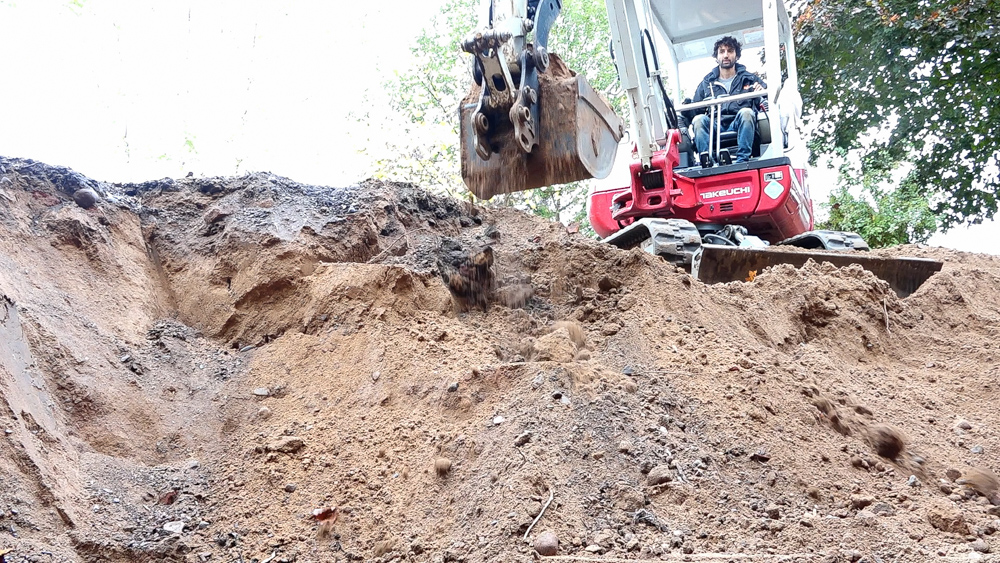
Now it’s time to dig my way out of the hole.
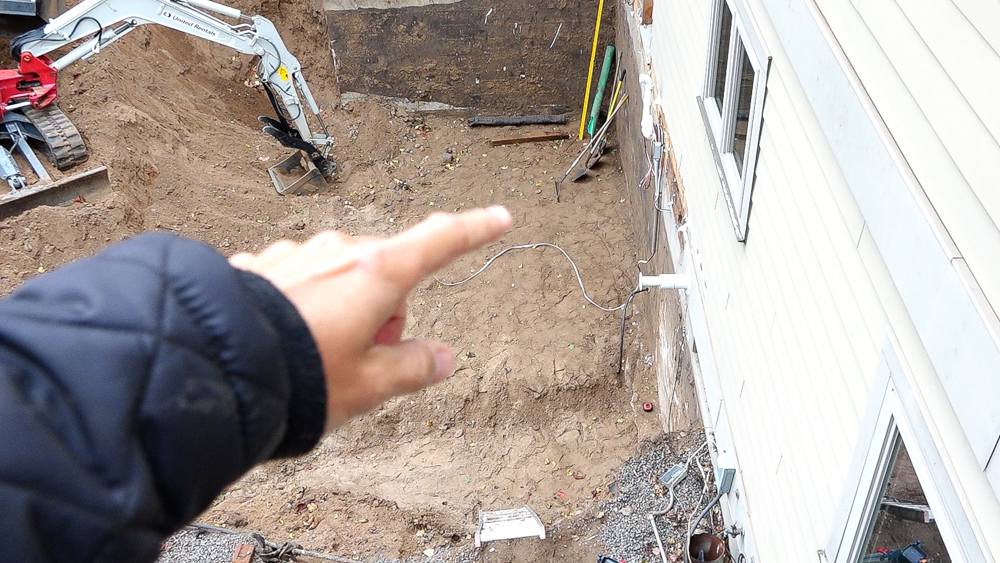
Happy Thursday, everyone! Day four of the project. Let me show you where we got yesterday. Down here in our hole, and we have a roughly finished grade.
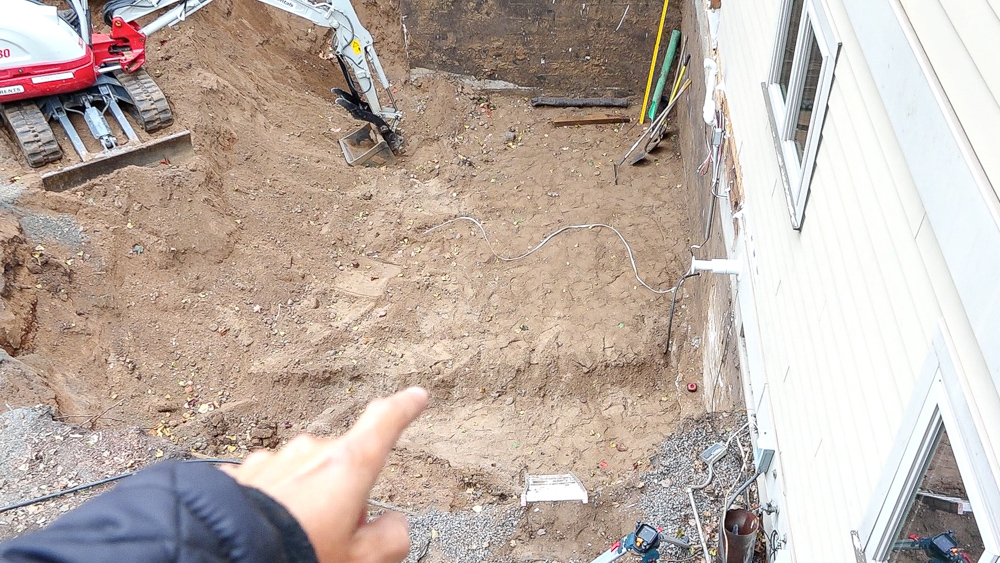
Here we have the trench, which will be for the footing and the drain tile. That’s also rough graded. We are probably going to finish up the grading, and continue working our way back and finishing up this last wall.
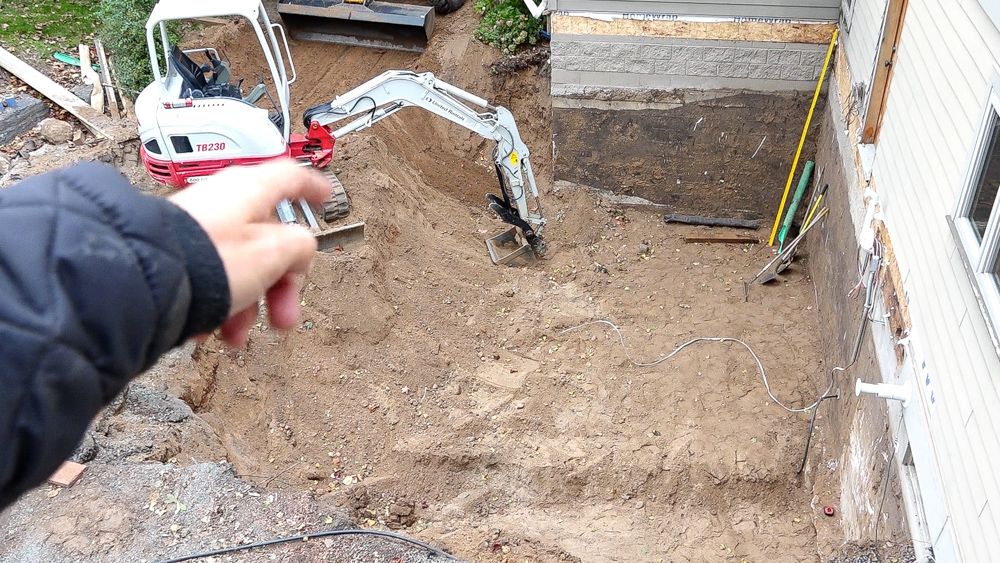
We need to come back to here and remove a little more in the corner. We have a little more excavating to do, and then some more finished grading before moving on.
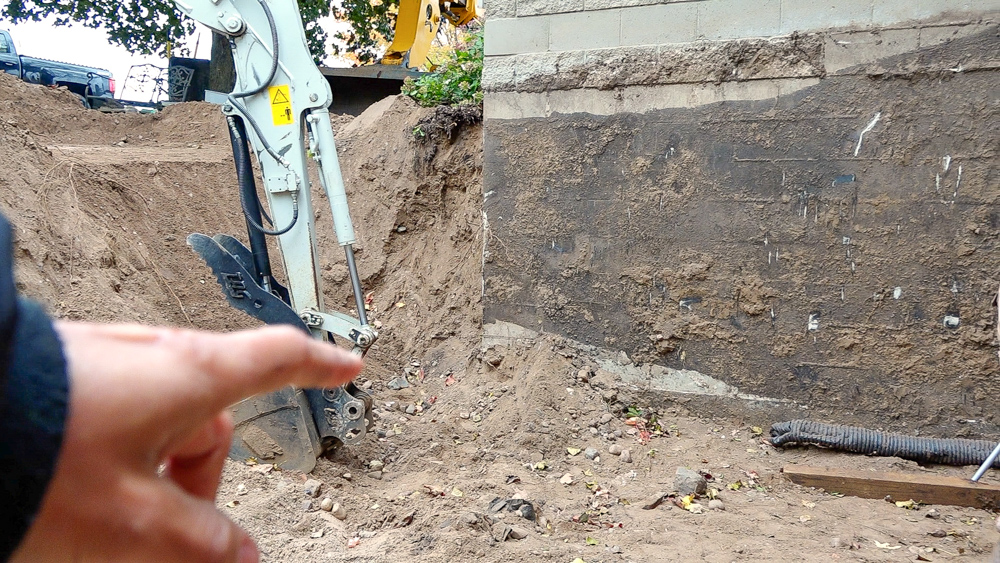
The official plan for this morning is to explore this corner over here a little more. We’re trying to find the footing for this section of the house, which is the garage. As we got down here, we found out that we essentially have three different footing heights here. We have the one for the garage, which is lower, then one for the addition, and one foor the original house, which is six inches above the addition. So we’re going to dig down by the garage to find that footing. We need to tie into that footing and the footing to the original house. So I’m going hop in the excavator and start digging out this corner some more. Donavan’s going to play with the lasers and find where the grade is. We’ve been doing pretty well. It’s a little bumpy right now, but we’re within an inch across the board.
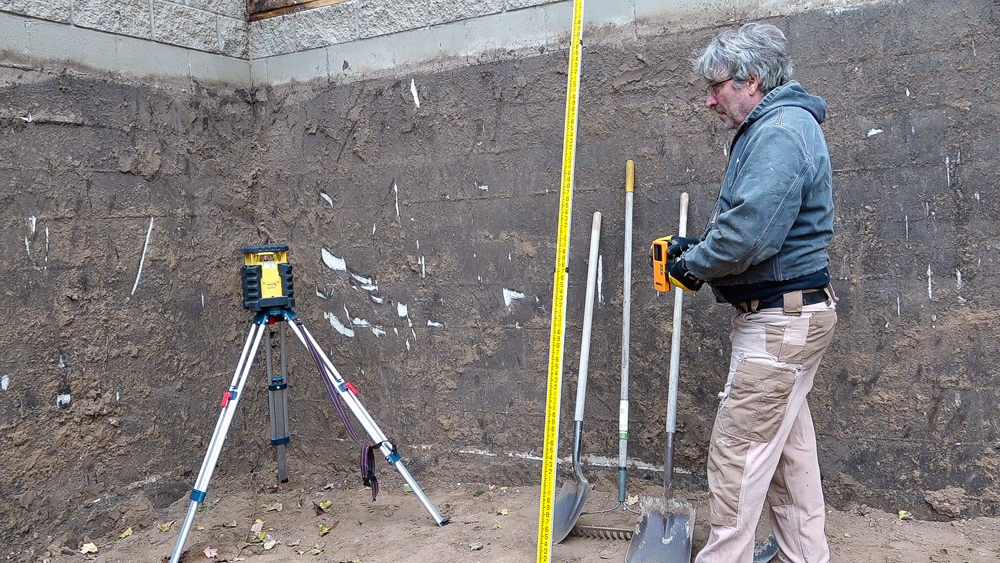
For those who don’t know, this is a grade stick. It has a laser detector on it, so he can set a laser and with the detector, he can tell where everything is relative to the laser’s height. It’s pretty cool!
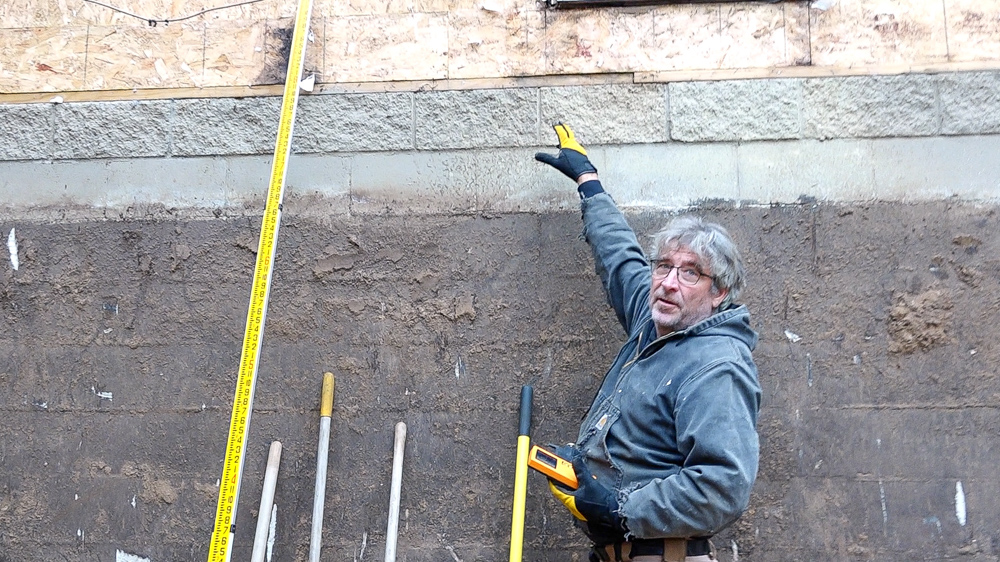
The top of the two by four is the ceiling height on the inside, and we’re seven foot four inches down from that. Then we’ll have four inches of concrete and two inches of foam.
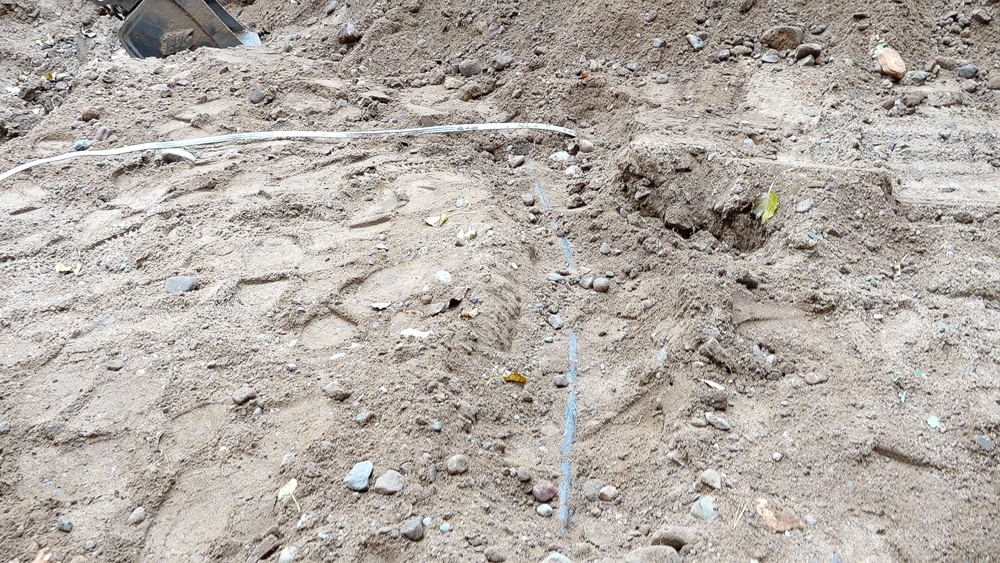
After a bit of digging, we still haven’t quite found the footing yet, but we did find something else we’ve been looking for. Here is the water line that goes out to the well! We’re going to have to deal with that, because that is going to go right through where we had to dig a little deeper for the footings.
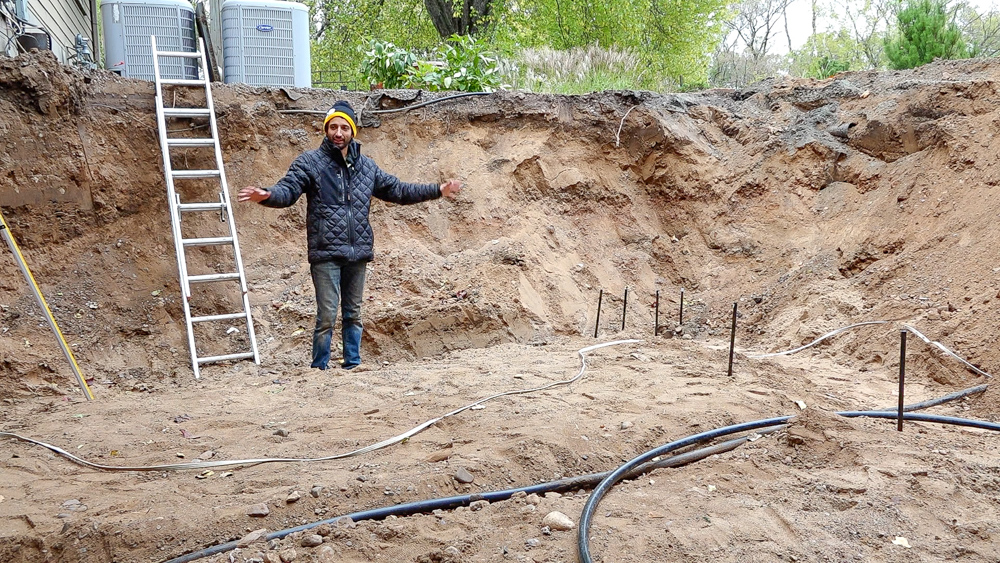
That pretty much takes care of all of the rough excavation. We’re basically done with the excavator, and this hole is still in a rough state. We’ll finish up grading everything here next. This is pretty crazy! It’s just weird to think that just a few days ago, this was like an outside deck area. Now I can’t even reach where the ground level used to be. It’s a crazy, ridiculous transformation.
Having this open like this is exciting though. You can come down here and think “oh, this is going to be the finished space. This is a good amount of space.” I’m very excited at this point!
So we’re going to call this one good: That’s the excavating. Next time we’re going to get into the small things in here, such as getting the grade set and setting the forms for the footings. If you have any questions or comments on the home renovation, please feel free to leave me a comment. As always, I’d be happy to answer any questions you might have. And ’til next time happy woodworking. Or, since I’m digging a hole, happy digging!


Welcome to my shop! This is a quick update to let you know what I’ve been up to. This big chunky thing is the leg

Welcome back to the home renovation. This time I’m going to be working on the kitchen island. Here is a small model of the island.

Welcome back to our home renovation. Today I am going to be working on this wall. It needs some upper cabinets and the surround for