
Matt's Weekly Shop Update
Kitchen Island, Barn Power – March 2024 Update
Welcome to my shop! This is a quick update to let you know what I’ve been up to. This big chunky thing is the leg
Welcome back to our home renovation and remodel project.
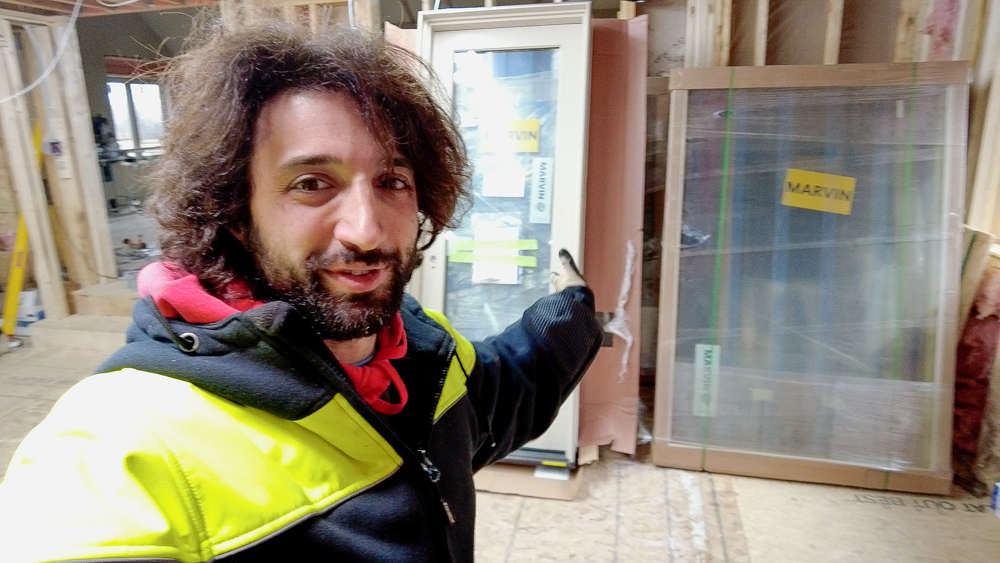
Today is a pretty exciting day today because look what was delivered! We have our windows and door package, which we ordered back in October. It’s mid-April now, so the lead time on this stuff is absolutely ridiculous. So those are all ready to be installed in the sunroom. However, since we don’t have the actual roof on the addition yet, it’s not time for the windows to go in.
But we are going to be working on that roof today. This spring has not been cooperative weather-wise, so it’s been a lot of waiting to be able to work on the roof. The roofing insulation is scheduled for next Monday. It’s Wednesday today, so we’re going to be working on the roof prep today, which means putting in our slopes so that their water drains into the collection boxes, the scuppers. Then we’ll cover the roof back up until the roofers come on Monday to put on the membrane.
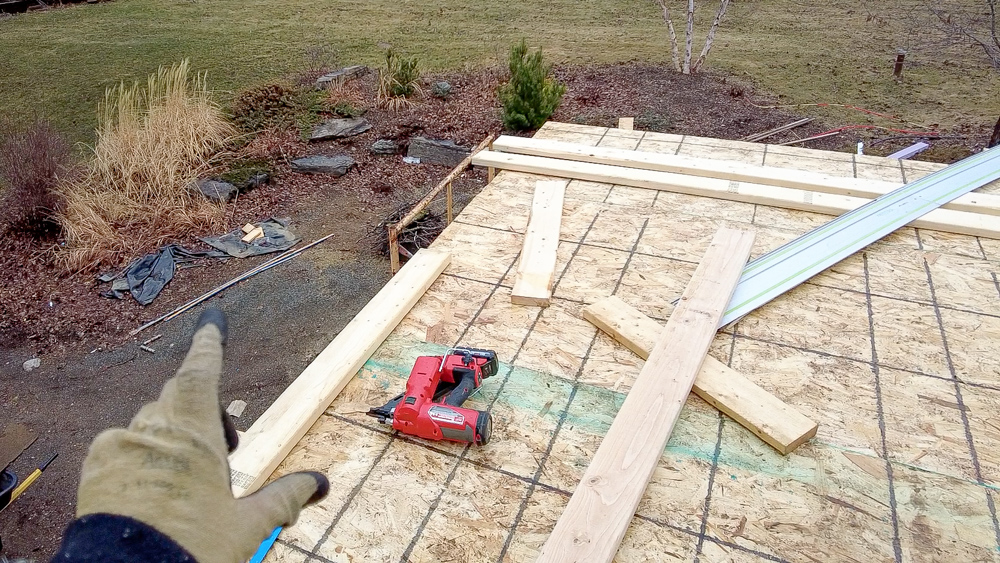
Right now we are working on the parapet. Around the perimeter will be six inches tall. After we do that, we’ll put the taper down.
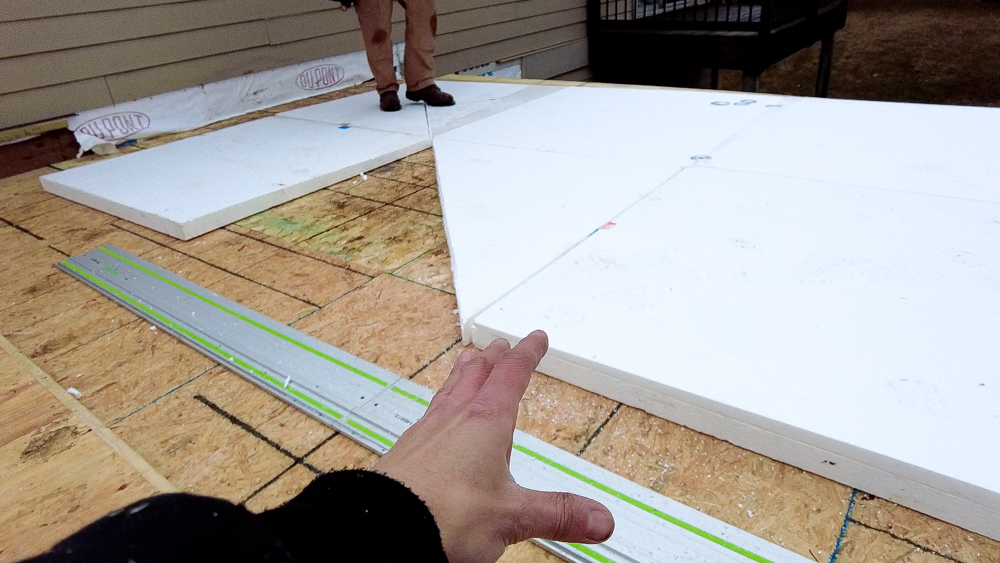
We have two different sizes of tapered insulation, one is a 1’’-1.5’’ thick and the other is 1.5’’-2’’ thick. We can use that to set all the tapers and heights for the whole area by layering and stacking non-tapered and tapered foam.
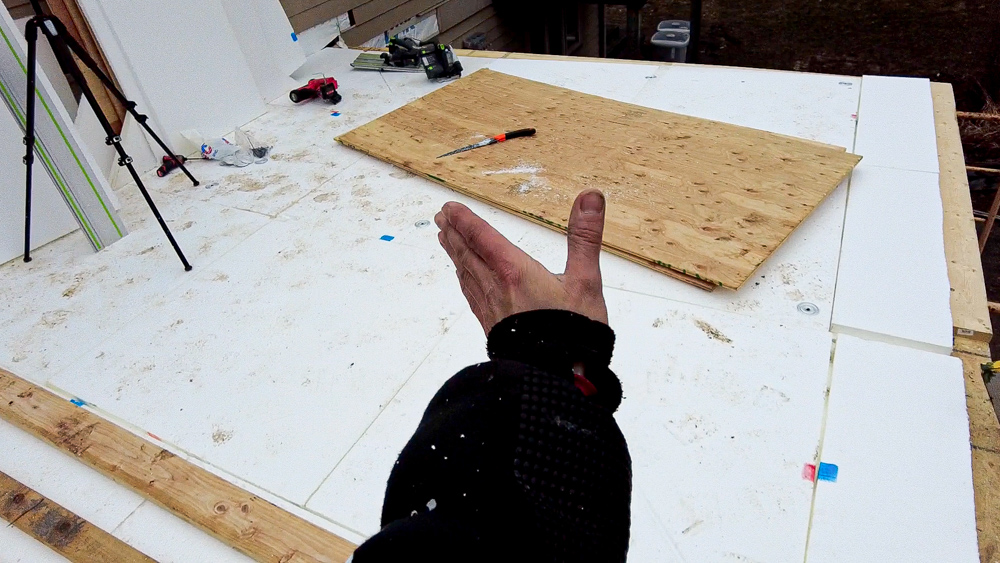
Here is the tapered insulation all installed on this side, with a valley running down to the corner scupper. The high area is the perimeter, with the low area in the back corner.
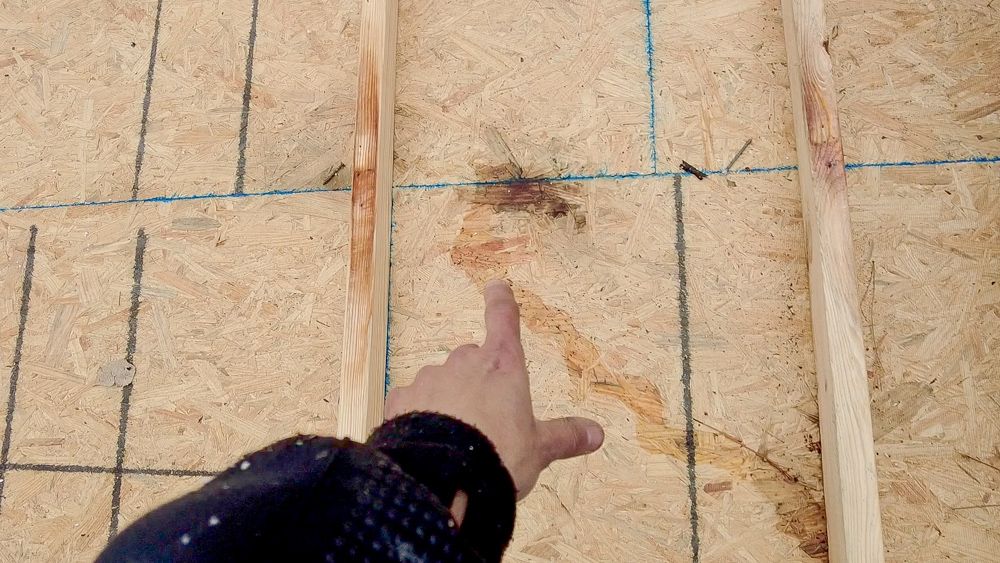
So the valley from the previous addition continues to be a nightmare. We had some water intrusion that was getting under our tarp and then onto our temporary roof deck. About here it penetrated through both layers. This was the one leak we had to deal with any time it rained. But that’s not too bad, our plywood did its job of protecting what we actually care about.
Our tie-in over here is going to be kinda fun and different, because we’re going to come straight down to the floor and getting rid of this little alcove area.
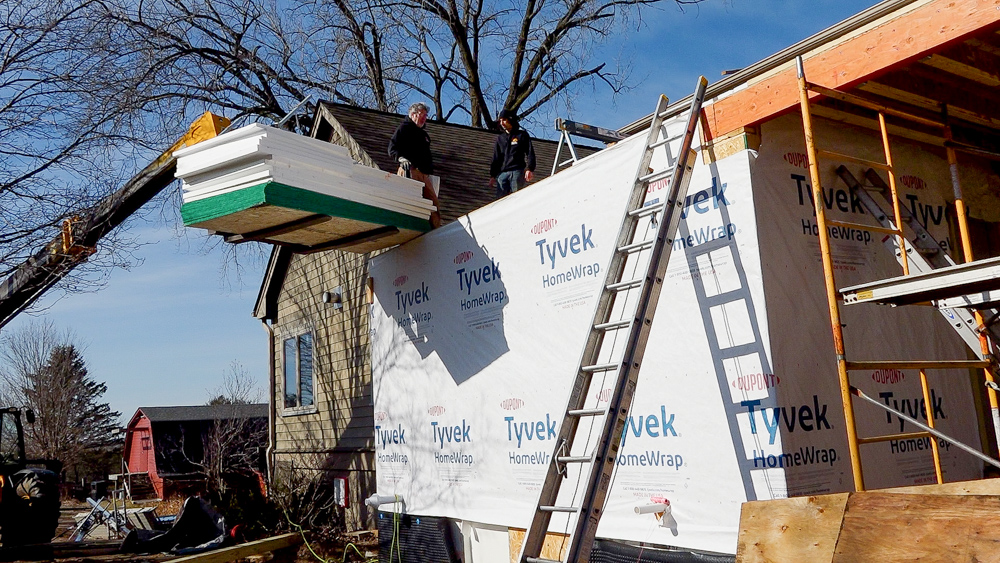
The weather has continued to be uncooperative for us, so it is actually now Tuesday, and we are trying to capitalize on a window of good weather we have today. I’m going to get our materials ready to go and landed near the roof with the telehandler.
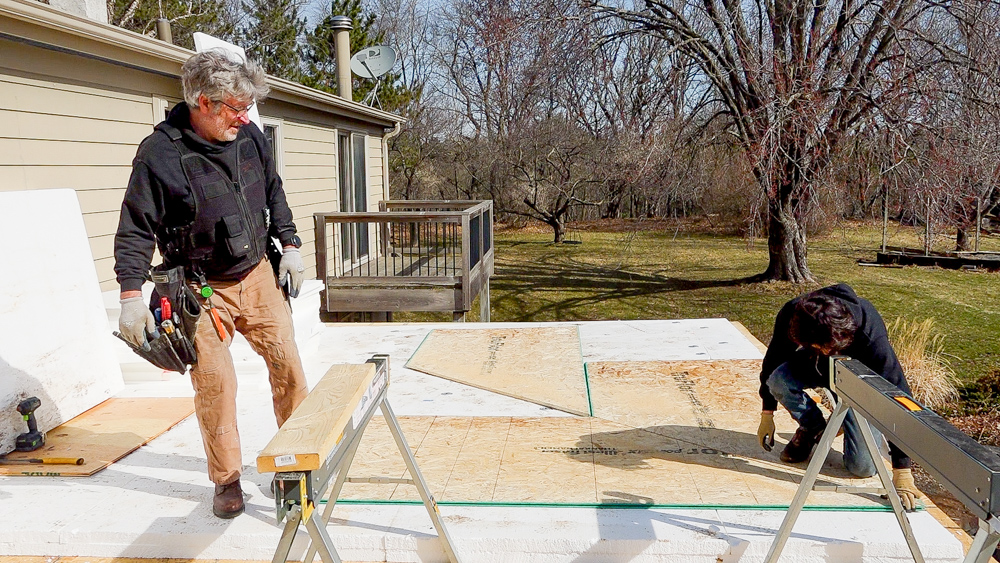
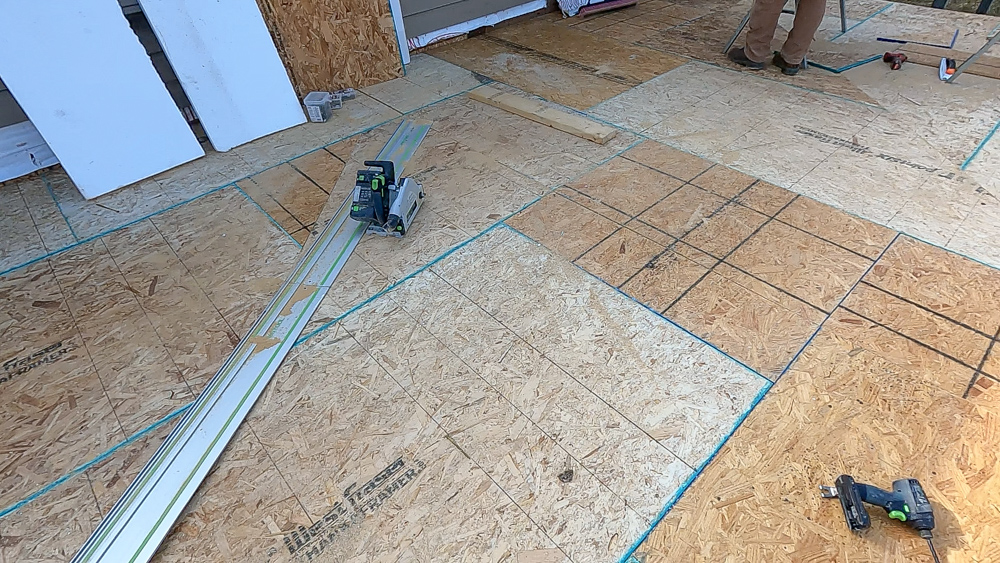
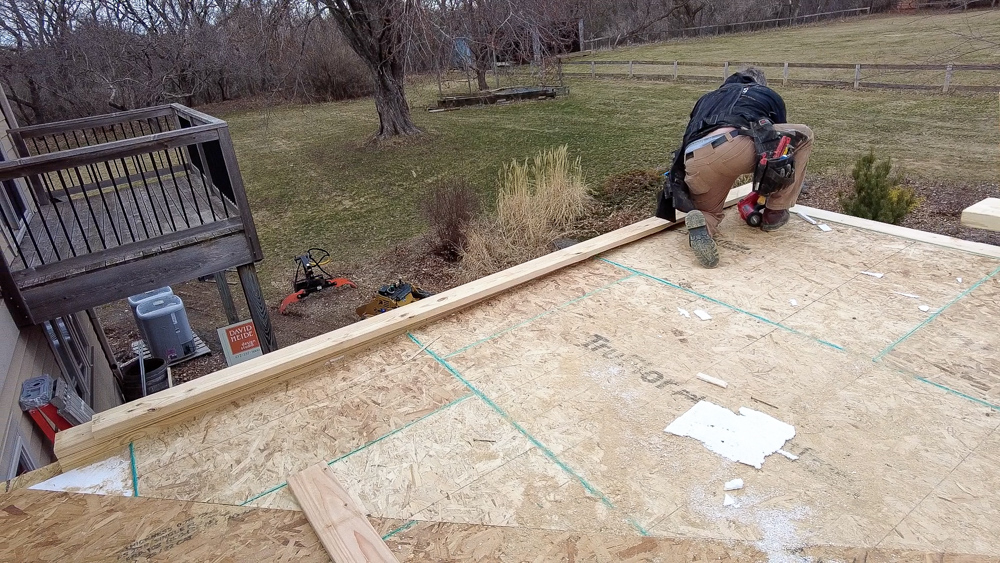
We’re getting the roof sheeting on first.

We’re most of the way done with this side, at least getting some of the screws installed. The screws get longer as you get towards the thicker area, so the outside perimeter is six-inch screws, and we got four-inch screws, and then three-inch screws, etc.
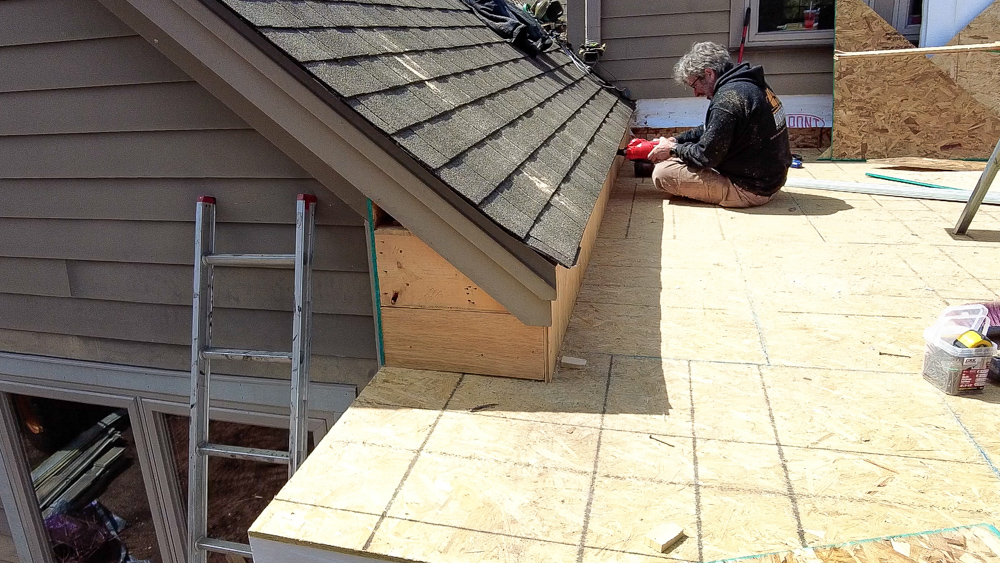
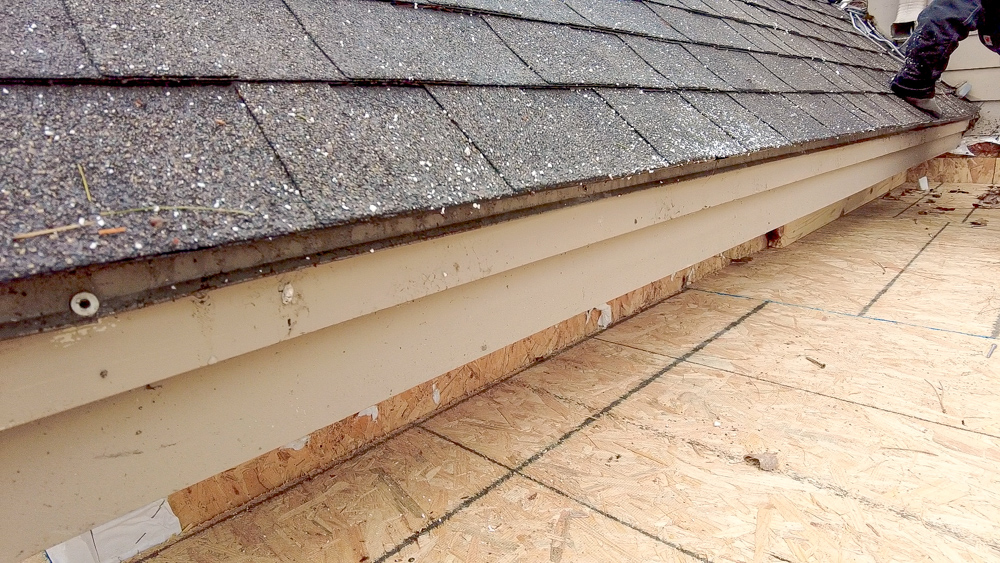
On this side, we are putting in this filler so that the membrane will wrap up and tie into the roof. So Donavan essentially just boxed in the soffit and brought the fascia down to the deck, which actually came on looking pretty clean.
Next we can lay down the foam and make the taper for this side of the roof.
We’re just cutting one last piece, but look how cool this looks.
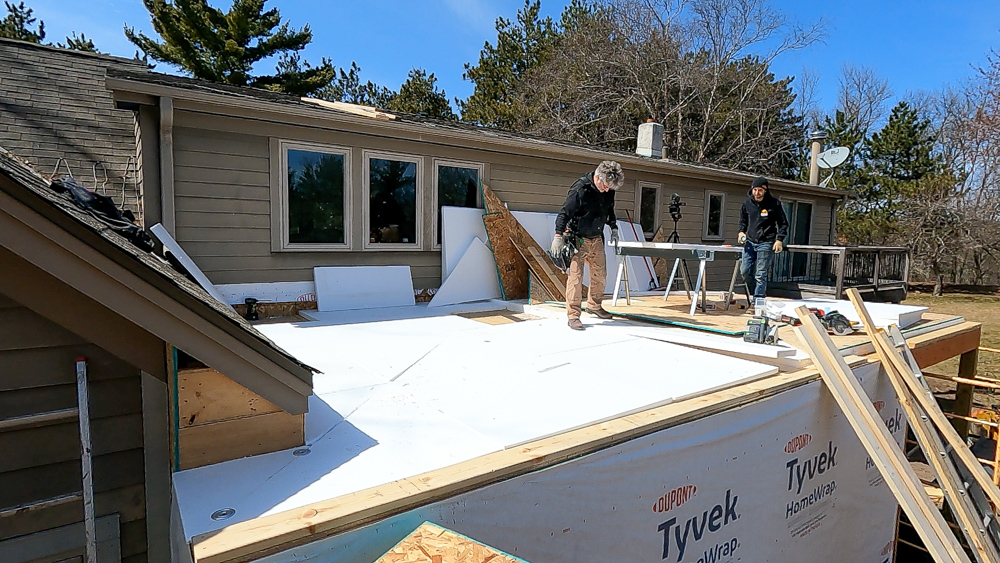
To wrap things up for today, we’re going to add the parapet, which is going to be a stack of five 2x6s. As we are putting these in, the taper becomes far more apparent.

So that takes care of all the prep work on the roof deck. We have our tapers and our valleys that go out to our collection points. The installers for the membrane roof are coming tomorrow. We’re going to see that in the next episode and see how that whole process goes. Then we’ll finally have a weather tight area on this side of the house, meaning that we can actually start putting in some windows in the sunroom. As much as I’m looking forward to having an actual roof deck up here, I’m more excited to see the windows actually go in down beneath me.
That is going to do it for this one. Thank you, as always, for joining me, I greatly appreciate it. Any questions or comments on the home renovation, addition, remodel, please feel free to leave in the comments. As always, I’d be happy answering questions you might have, and until next time, happy woodworking.
Welcome to my shop! This is a quick update to let you know what I’ve been up to. This big chunky thing is the leg

Welcome back to the home renovation. This time I’m going to be working on the kitchen island. Here is a small model of the island.

Welcome back to our home renovation. Today I am going to be working on this wall. It needs some upper cabinets and the surround for