
Matt's Weekly Shop Update
Kitchen Island, Barn Power – March 2024 Update
Welcome to my shop! This is a quick update to let you know what I’ve been up to. This big chunky thing is the leg
Welcome back to our home renovation! I am going to continue with cabinetry construction today.
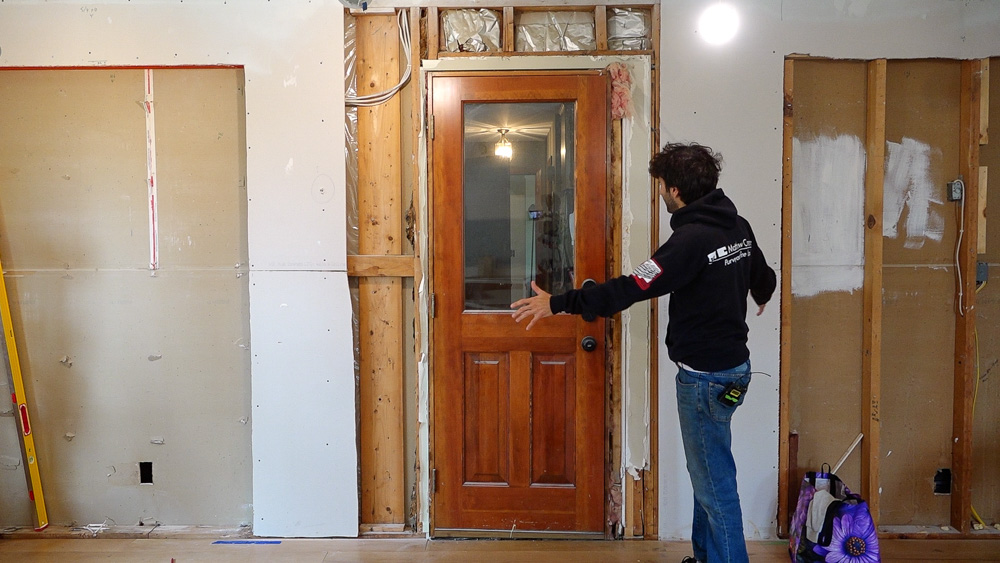
I will be working on the hutch cabinet for the dishes, which goes right where the door is currently.
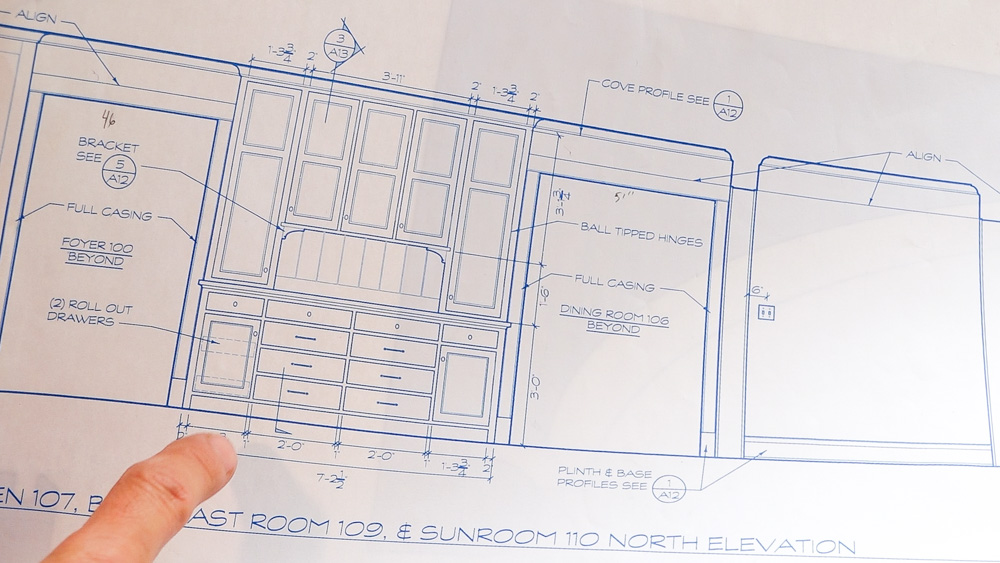
Here is what I’m going to be building. It has a lower unit and an upper unit which will sit on top of the countertop.
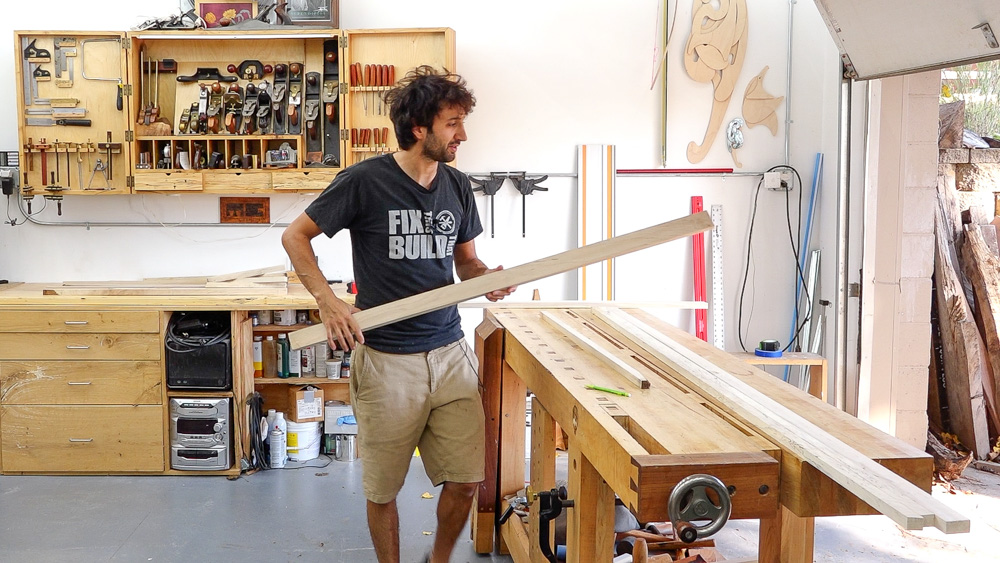
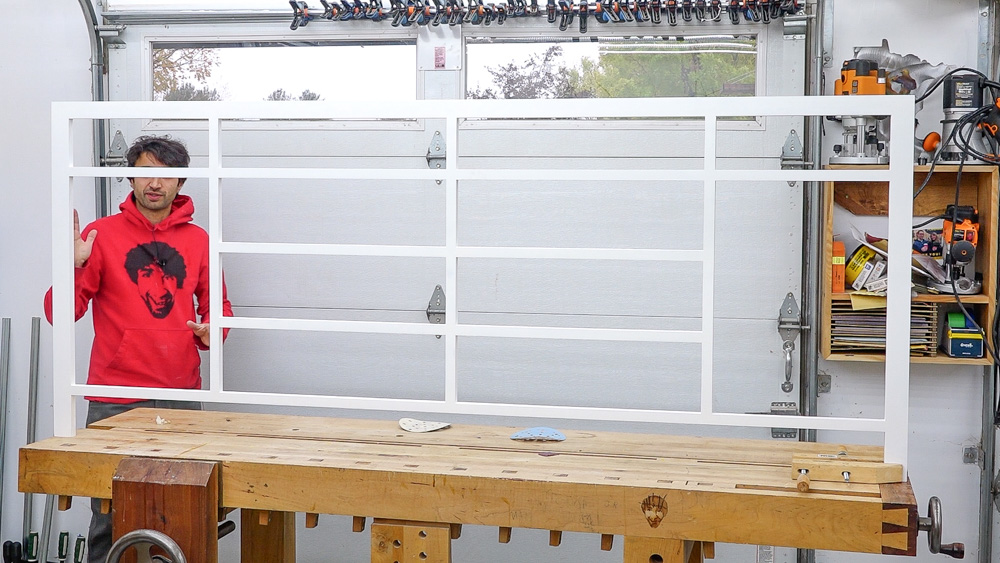
I have all of my material here for the face frame for the lower cabinet, so time to start constructing!
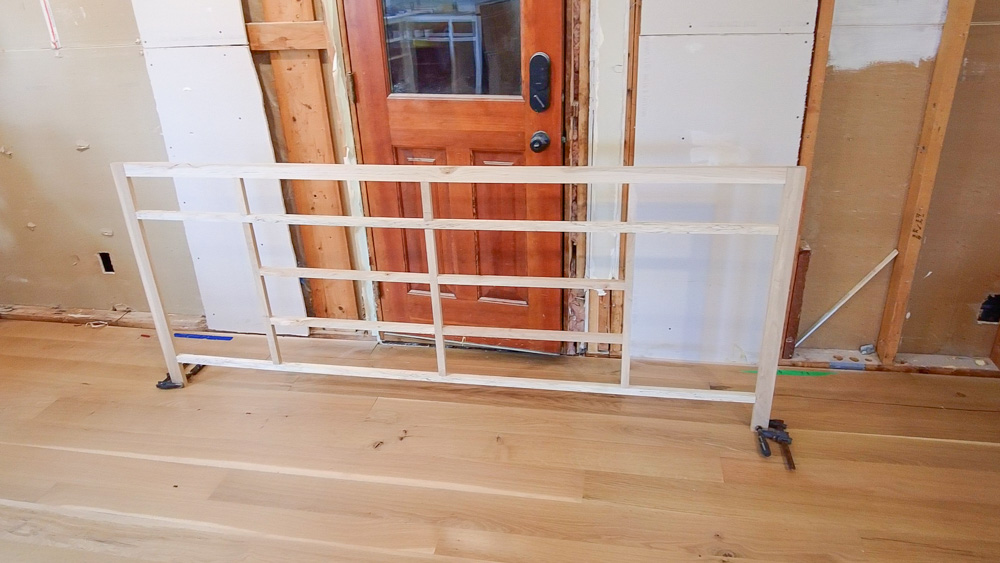
Making sure that it fits in its allotted space, and it looks good. So I’ll glue it up and then build the box to it.
This bad boy is back from paint. One thing, as I start building out the boxes, is that this has a fully exposed side panel. I’m going to have two sides, one that is the interior and one that is the actual side panel that will show. Otherwise, this will be very similar to the other ones that I’ve made, this one is just a lot bigger.
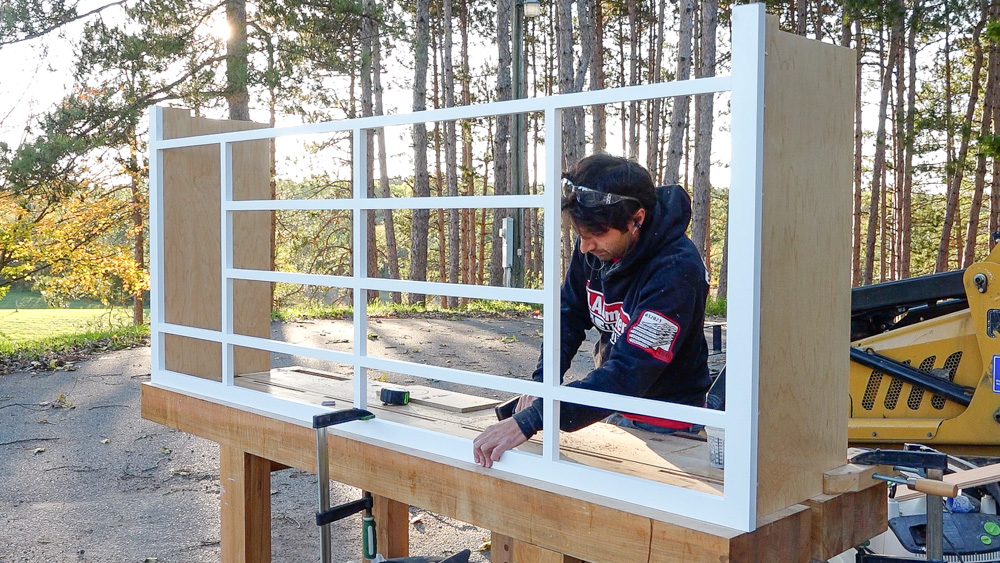
I’m going to put all my dominoes into the face frame and then go from there.
Next up are the three dividers in the case. An interesting feature of this cabinet is that there is going to be a charging station in the back, and you’ll be able to drop your whole device down into the compartment. So the center back piece needs to be notched to allow for that.
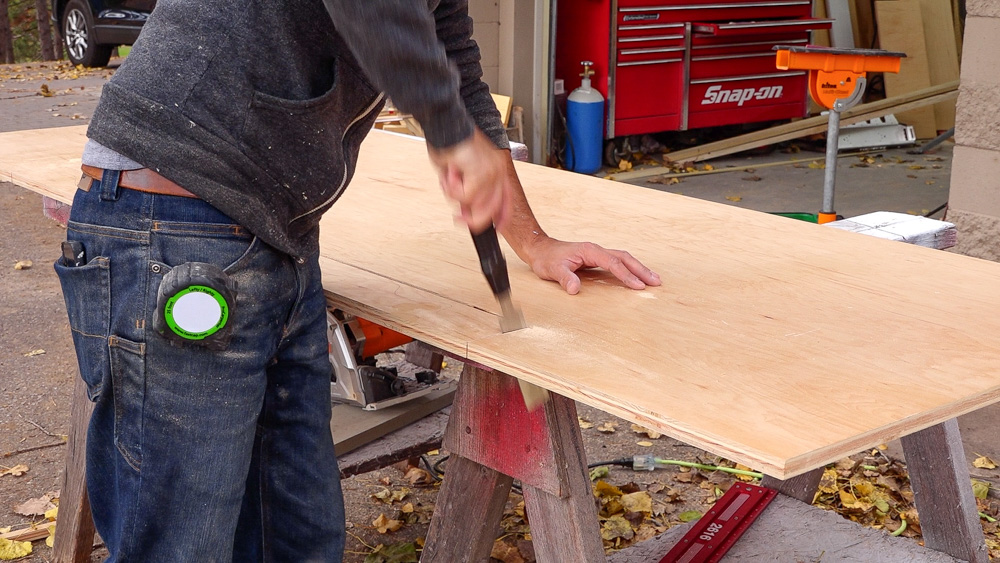
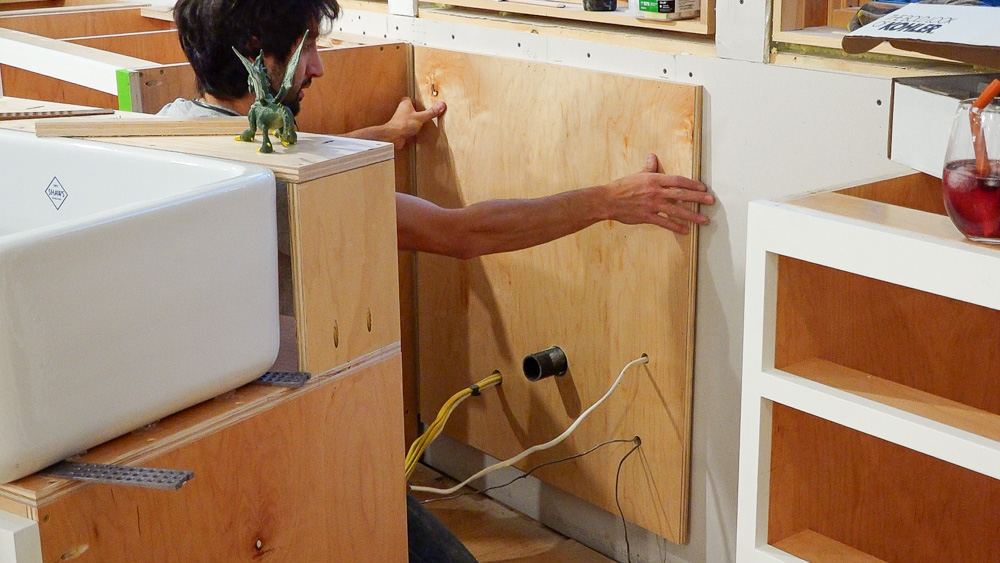
Next up is the back panel. Just like with the corner cabinet, I don’t want to splice two pieces of plywood together and have the grain running vertically. So I’m going to run it horizontally, even though no one will see it. The back will have that same notch detail for the charging cubby.
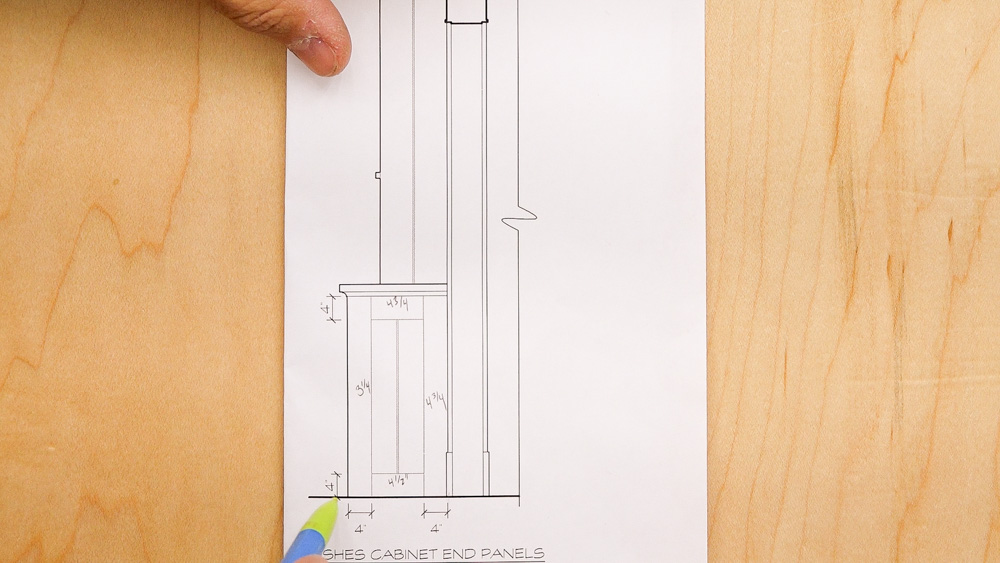
Now onto the side panel. Here is the drawing of how that’s supposed to look. With all of the stiles and rails, there is a four inch show on all of those. In order to do that, I have to think about all the things going on around the whole case. For instance, on the left rail, we have the face frame of the cabinet which comes in and takes up 7/8 of the width. So this stile needs to 3 and 1/8 inches wide so it ends up at four when you see it. I have to make similar considerations around the whole panel. Then the field itself is a pair of V panel boards. They are going to be evenly split in the space remaining, and the two panels are recessed below the face of the frame. Because of that, I am making the frame thicker so that the whole thing is flush on the backside of the panel and can be attached to the case.
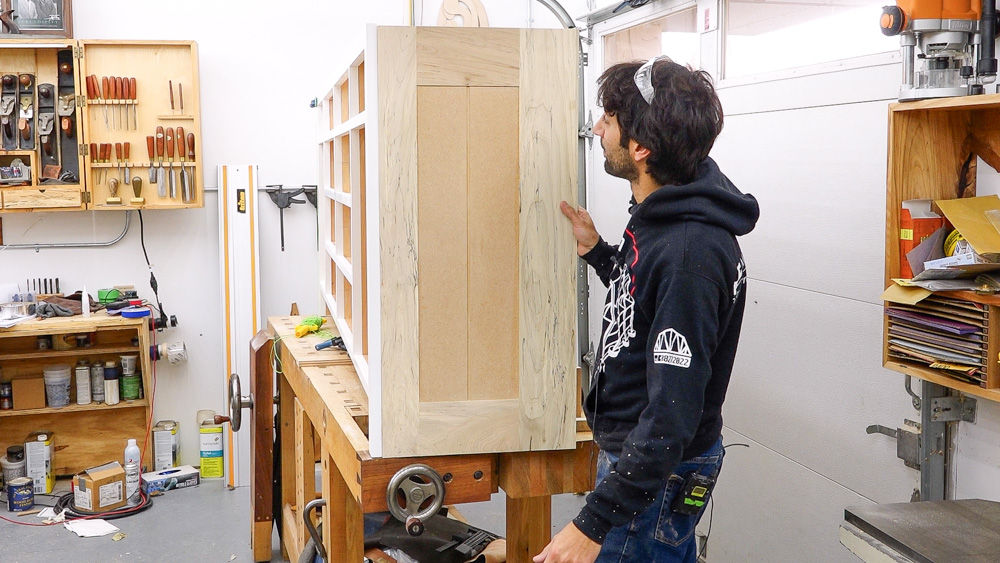
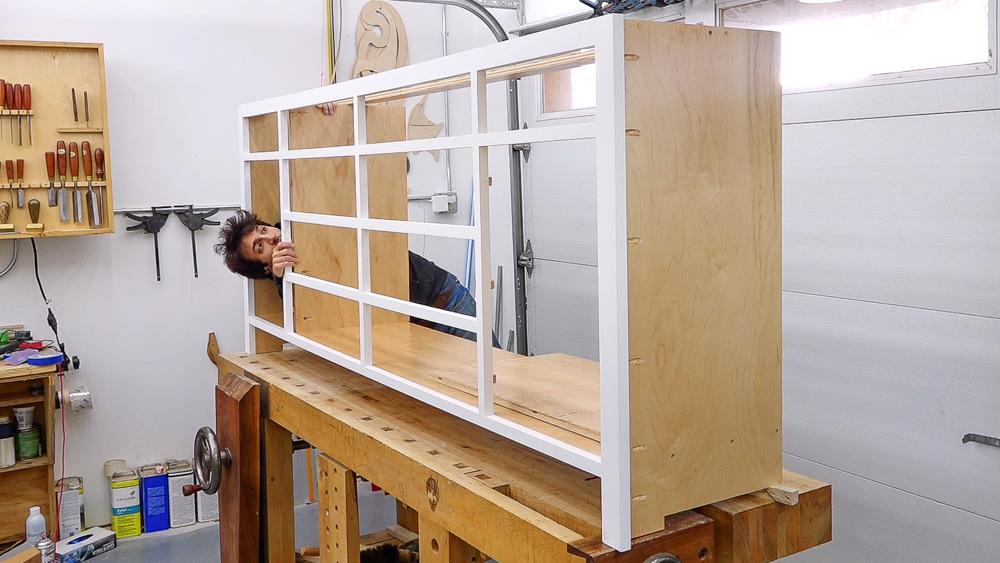
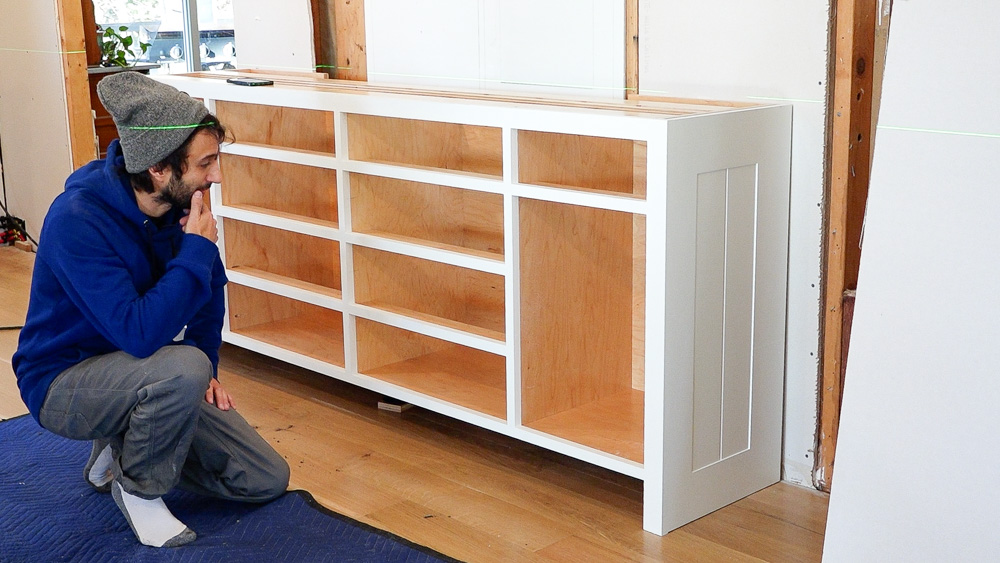
Here are the completed side panels. That’ll get mounted on here, flush with the face frame, and look something like that. I think it looks pretty good! Now they have to go off to the paint shop.
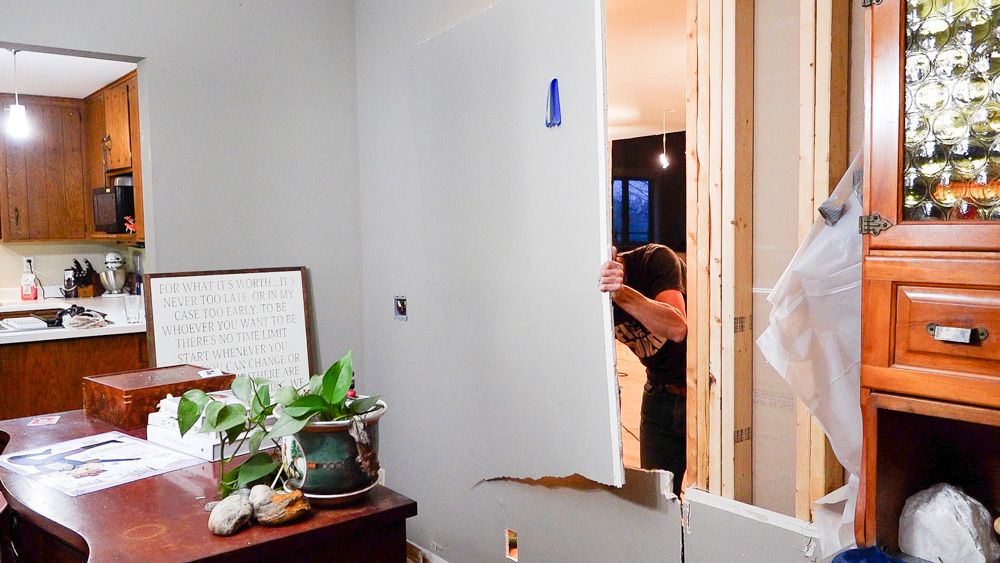
I am going to prepare this space so that the cabinet can be installed as soon as it is ready. So first up, I am going to pop a hole in the wall to open up the new doorway.
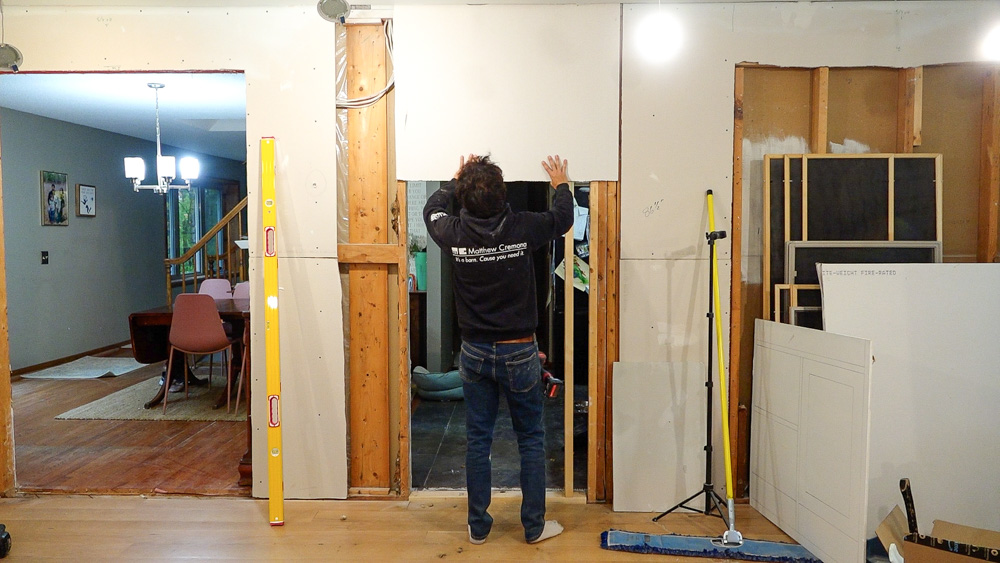
Then I have to close up the old doorway.
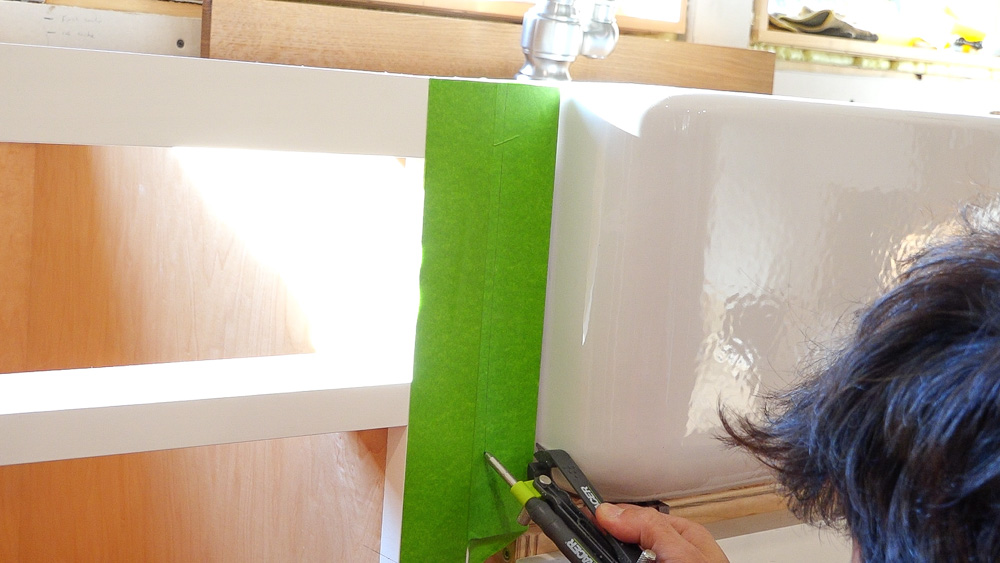
Next up, I have to go back to setting cabinets. Our plumber came back and set the sink to where it needs to be on this base unit, so now I can scribe this cabinet to the sink, set it, and finish the sink base by cutting all the holes through the back.
Next I can cut the holes for the stuff to go through the back of the sink base, and then I can get that one set as well.
This is back from being painted. I have my laser set to the scribe height, and I’m going to install this one just like the other ones. I have the adjustable feet on the blocks, then I’ll scribe it to the floor, cut the base to the scribe line, and then attach it to the wall, making sure it’s in the right position left to right so my casings end up at the feature jamb locations.
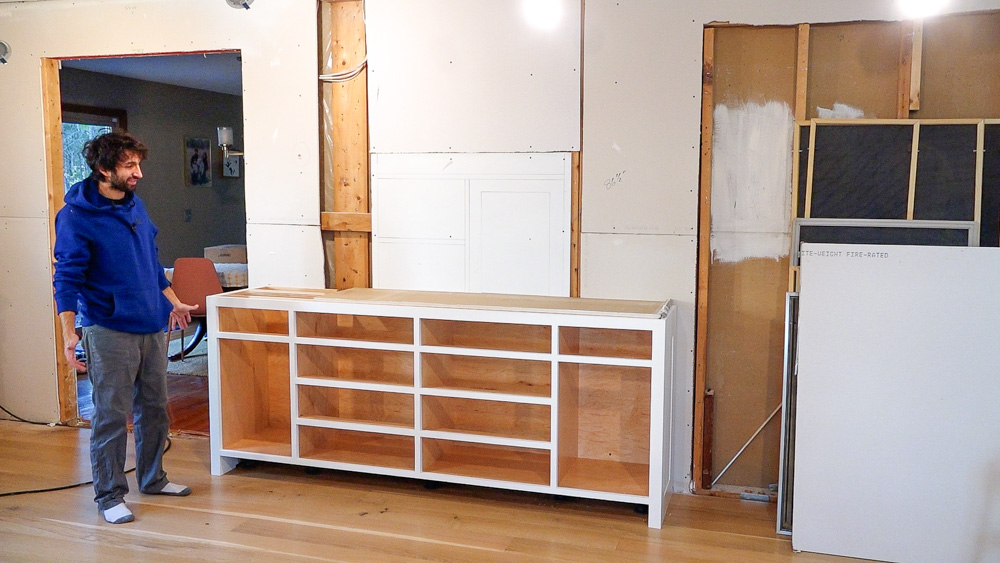
So there is that cabinet set in place! It is cabinet number 6 of 12, so in theory we are halfway done. (Not even close)
That’s going to do it for this one! Thank you as always for joining. I greatly appreciate it. If you have any questions or comments on the home renovation, please feel free to leave me a comment. As always, I’ll be happy to answer any questions you might have. And until next time, happy woodworking!
Welcome to my shop! This is a quick update to let you know what I’ve been up to. This big chunky thing is the leg

Welcome back to the home renovation. This time I’m going to be working on the kitchen island. Here is a small model of the island.

Welcome back to our home renovation. Today I am going to be working on this wall. It needs some upper cabinets and the surround for