
Matt's Weekly Shop Update
Kitchen Island, Barn Power – March 2024 Update
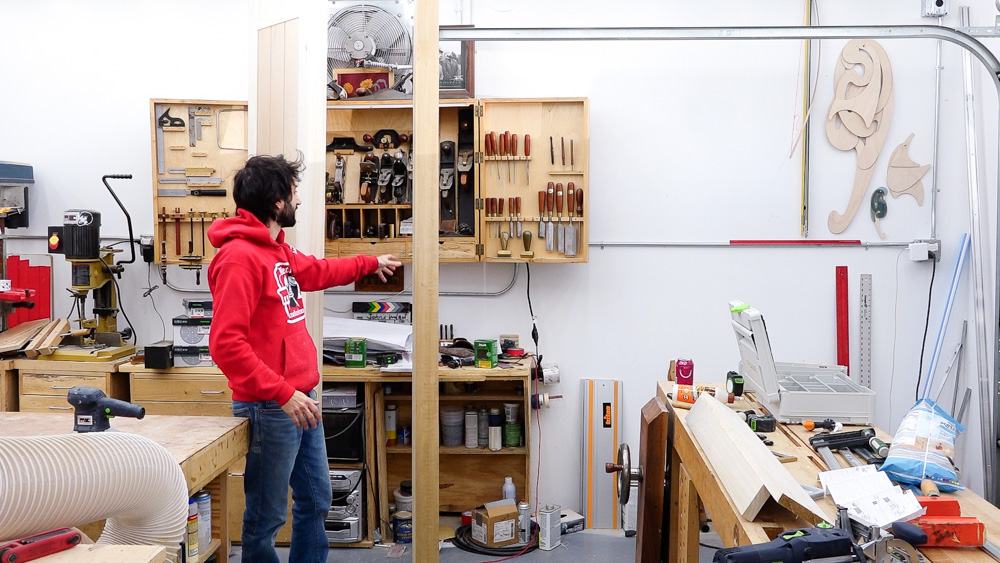
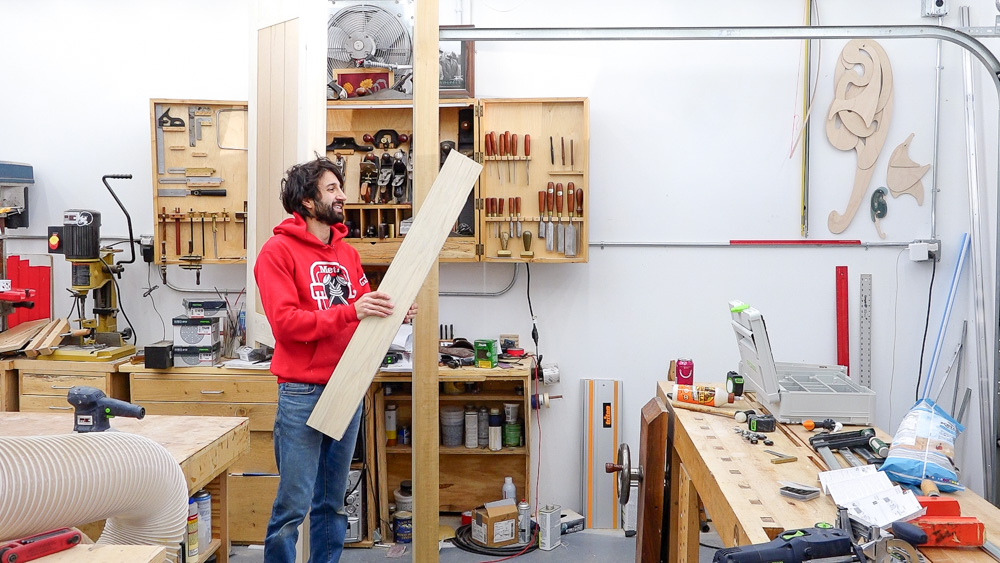
Welcome to my shop! This is a quick update to let you know what I’ve been up to. This big chunky thing is the leg
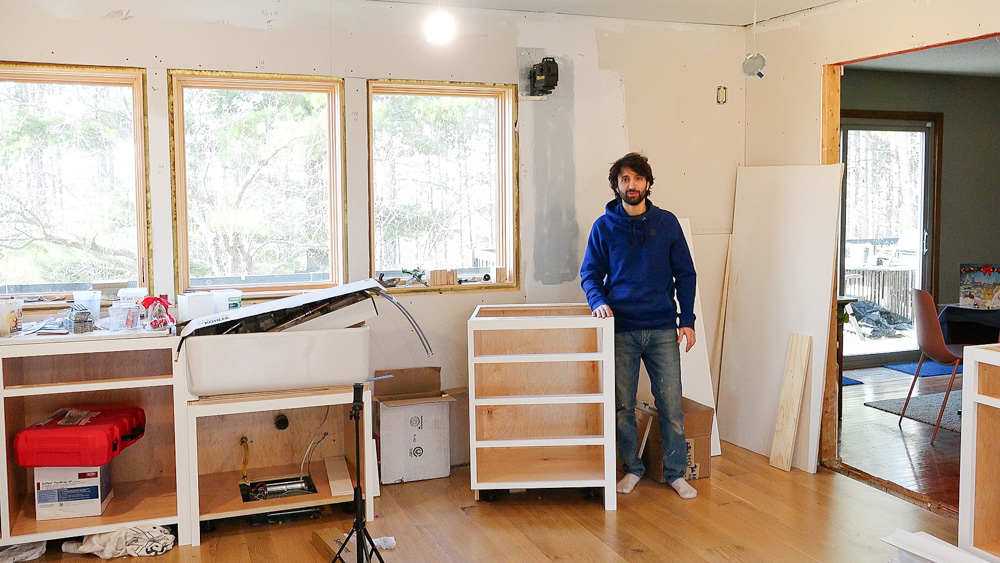
Welcome back to our home renovation. This time, I’m going to make the fridge surround, set it in place, and then get the appliance garage set in place as well.
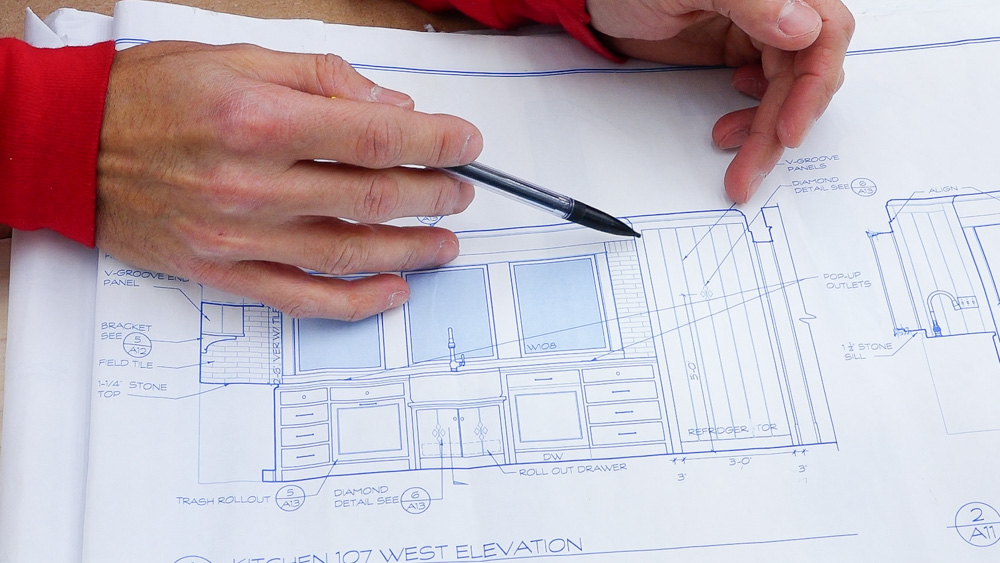
The fridge surround has three inch stiles on either side, but I realized that there is a casing on the doorway. So to keep the stiles three inches, I need to make the right side a little wider than the left so that the two sides look symmetrical. But that means that this cabinet here is a little too wide, so first I am going to shrink it down by one inch in the shop.
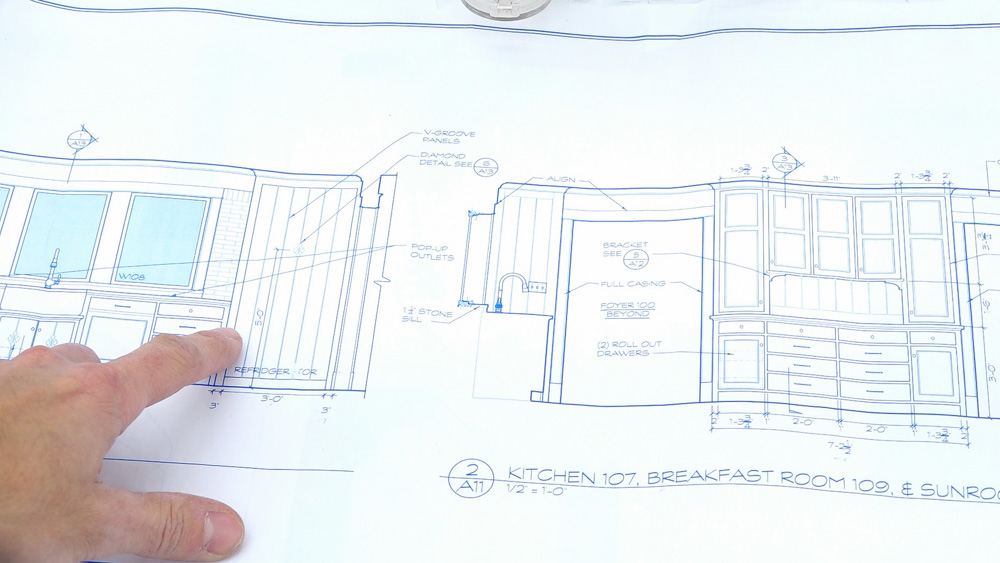
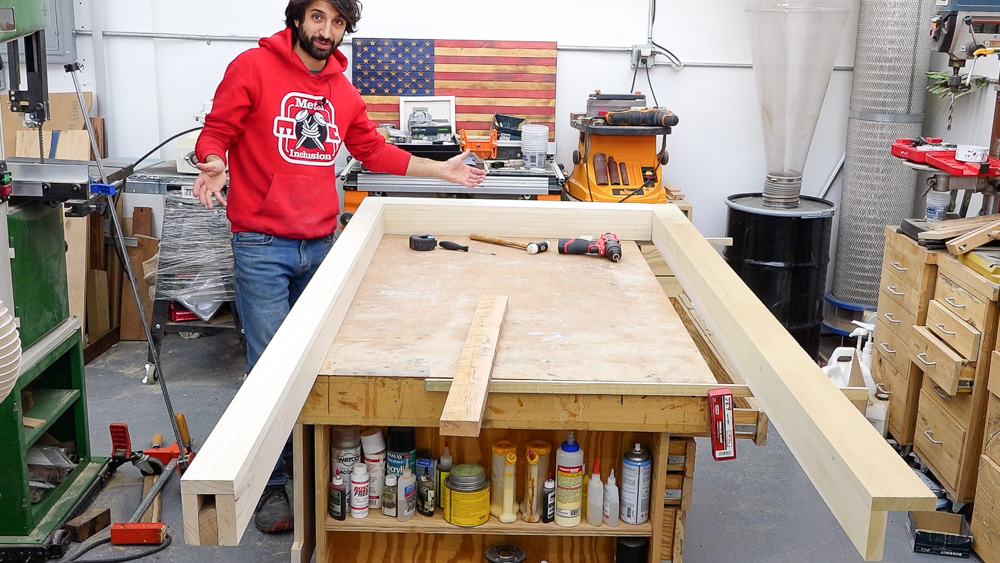
Here are the plans for the refrigerator surround. I’m going to start by making the left side. It’s a panel with a thick edge on it, essentially. It is 26 inches deep, and it has the same 4 inch show as the appliance garage.
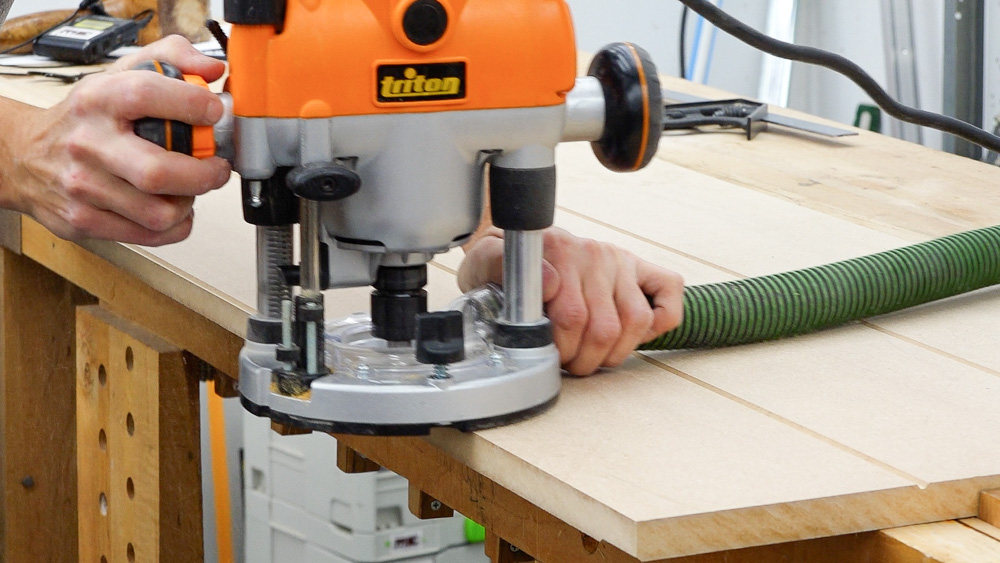
I’m starting with the V groove center panel.
Next up is the front face of the surround, which is where the fridge will go in. The fridge has a fully built-in look, and the paneling will be applied to the face of the fridge, which is a panel ready fridge. So in, in other words, there is no actual show face on the door. The door receives a panel that we manufacture in the shop, which will be a six panel V groove with a faux toe kick applique at the bottom. This will mirror the pantry door, which is opposite the fridge on the other wall.
Here is the right side of the surround. It’s just a simple L, which I haven’t cut to length yet, because I want some wiggle room when I install it, in case there is a dip or a rise in the floor or something.
I also made this connector piece, which goes along the top. I have a couple of fun things to consider with this. I want it to be removable, so I’m going to attach this using domino connectors.
And that’s kind of it: here’s the fridge surround. The fridge will go in this hole, I’ll put a door on it, and the door will look like a cabinet. Now time for some paint.
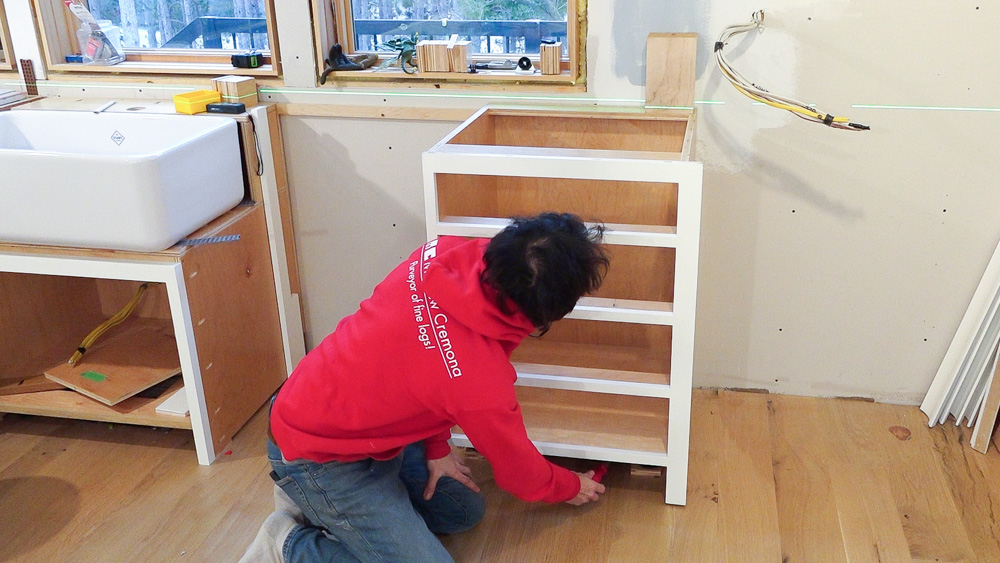
Meanwhile, this cabinet is now an inch narrower now, so I will get it set back in place.

And then I can set the fridge surround. It did not land on a stud, and the nearest stud is nine inches away. So I am going to make some blocks that attach to the stud and tie into the surround.
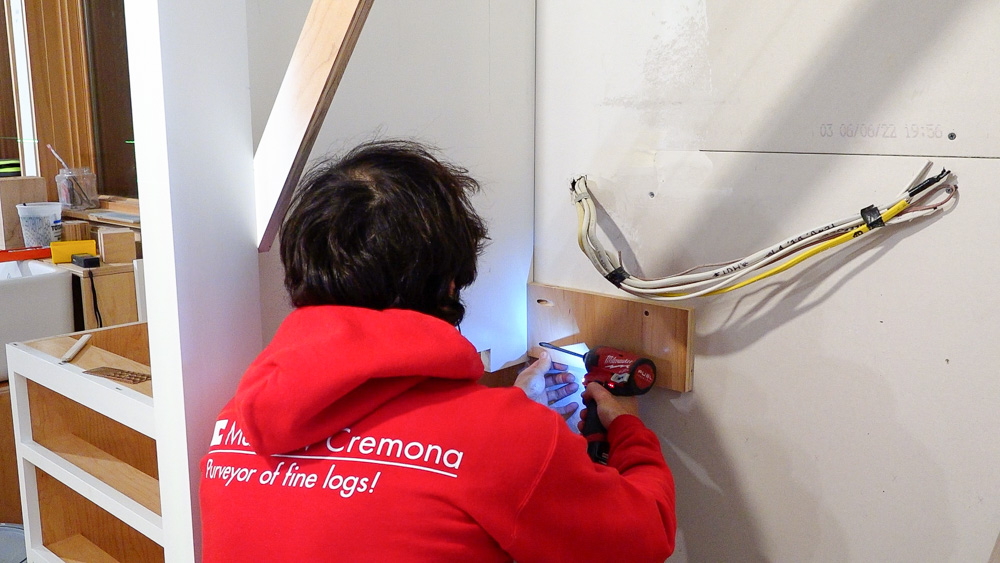
After making sure the surround is plumb, I can get it screwed into place.
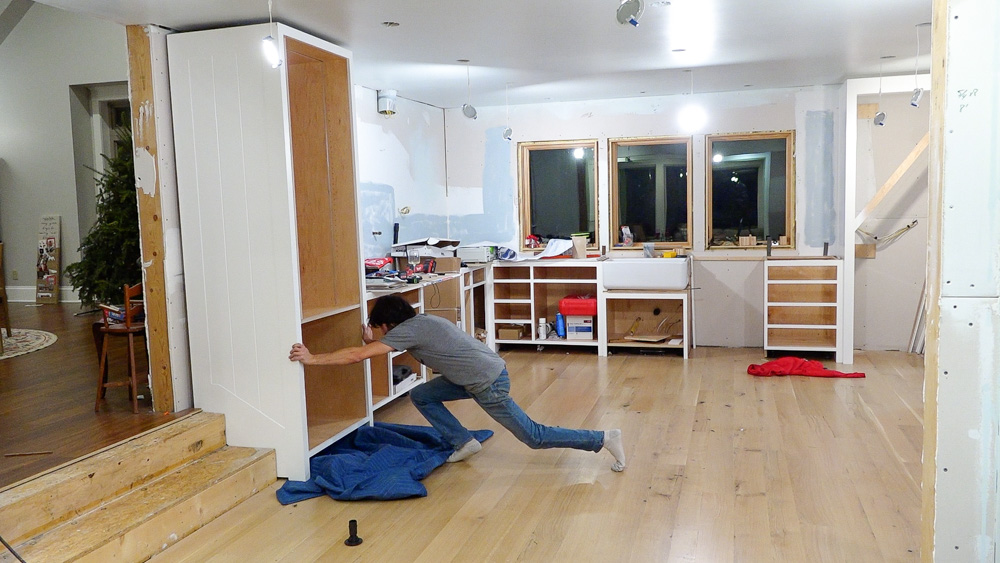
Next up is the giant appliance garage cabinet.
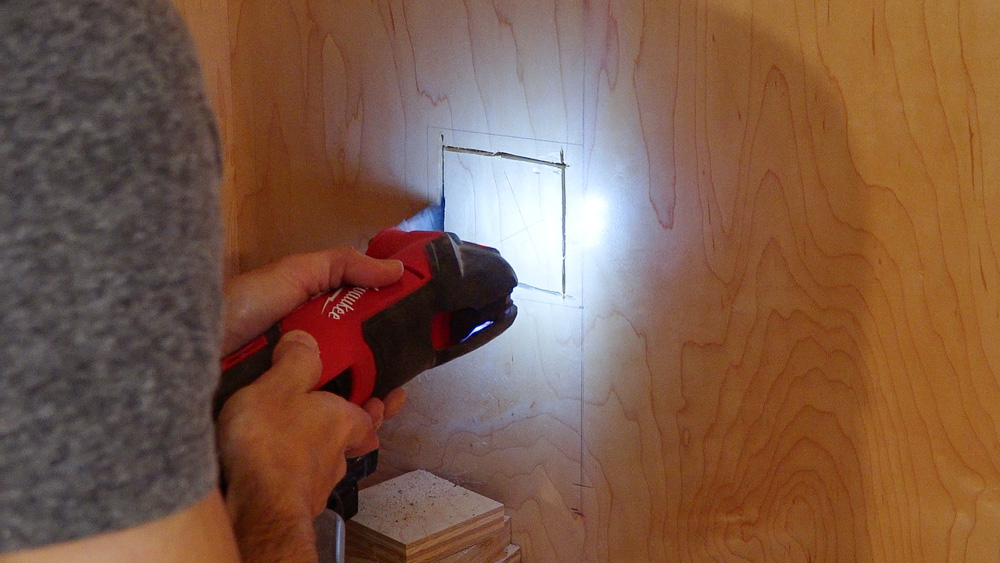
I am going to cut the holes for the receptacles in the back of this cabinet. The nice thing about outlet boxes is they get cover plates that go over them, so they don’t have to be super perfect.
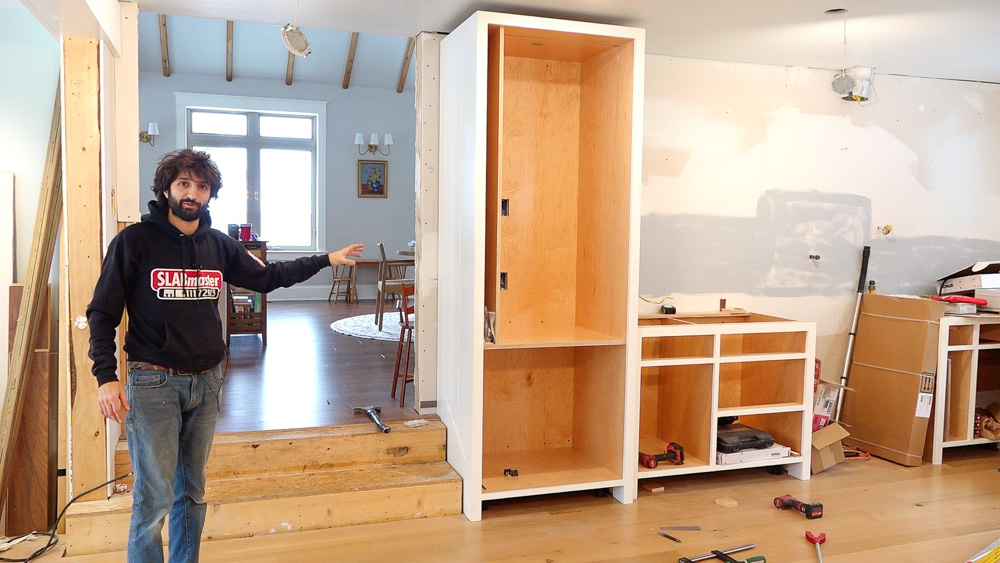
That is now set and ready to go. It’s nice to have this in place, because it sets the location for a lot of things. I can now finish the staircase and the opening can be cased, which then allows me to set the column by the breakfast nook, and I can finish the trim. So a lot can get done now that this cabinet is here.
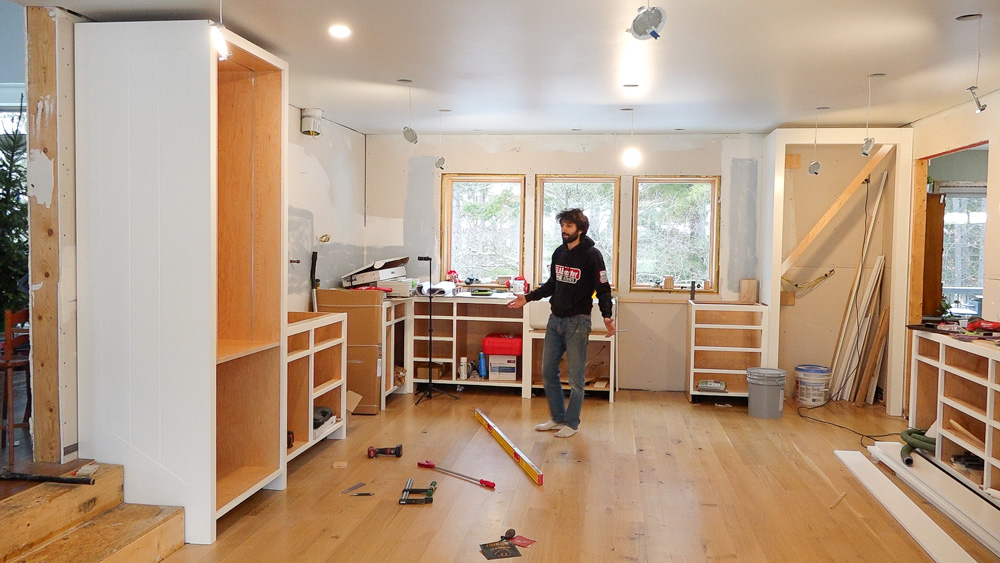
And that’s basically it for the installation of the lower base cabinets! They are all ready for countertops, which is super nice.
Thank you as always for joining, I greatly appreciate it. Any questions or comments on the kitchen, please feel free to leave me a comment. As always, I’d be happy to answer any questions you might have. Until next time, happy woodworking!
Welcome to my shop! This is a quick update to let you know what I’ve been up to. This big chunky thing is the leg

Welcome back to the home renovation. This time I’m going to be working on the kitchen island. Here is a small model of the island.

Welcome back to our home renovation. Today I am going to be working on this wall. It needs some upper cabinets and the surround for