
Matt's Weekly Shop Update
Kitchen Island, Barn Power – March 2024 Update
Welcome to my shop! This is a quick update to let you know what I’ve been up to. This big chunky thing is the leg
Welcome back to our home renovation. Today we are continuing to work in the sunroom. I have the under sill area to work on today.
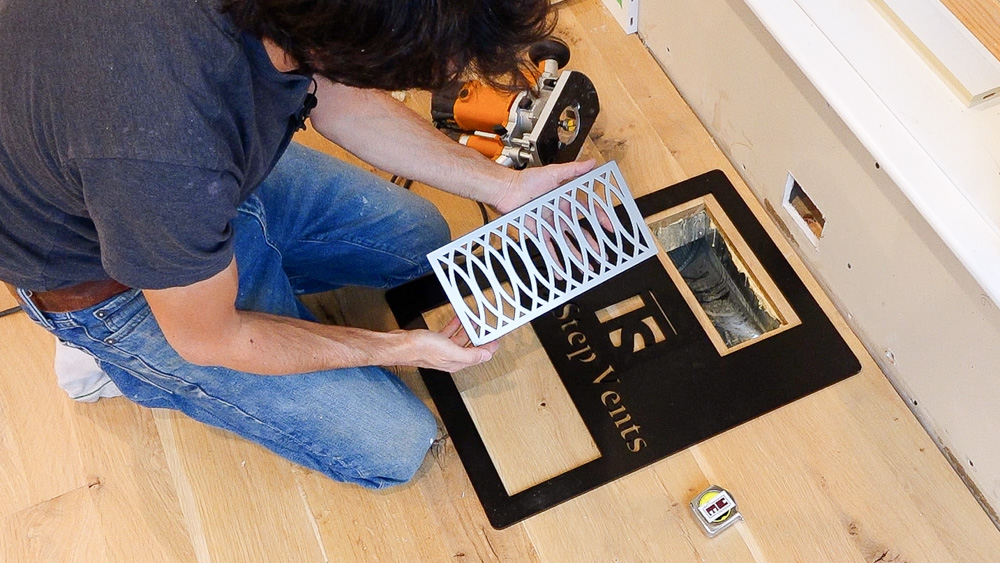
First thing I have to do today is route the pocket for the floor vents while I still have the space to do so. This is the system I went with. These are laser cut floor grates that are steel powder coated. You can also purchase a template, which is made from the same stuff. Then use a pattern bit in a router and follow the template.
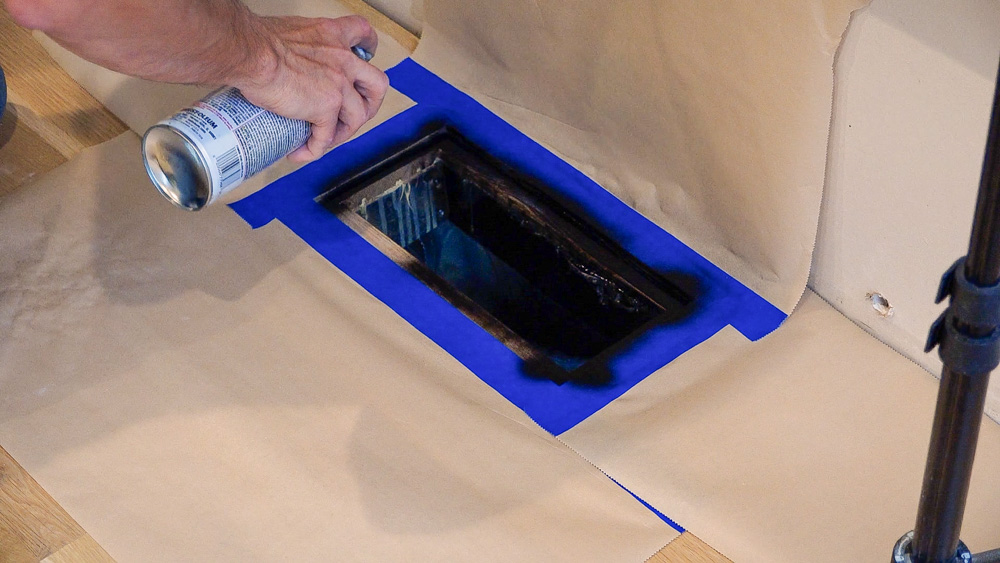
I’m painting the inside of the vent black.
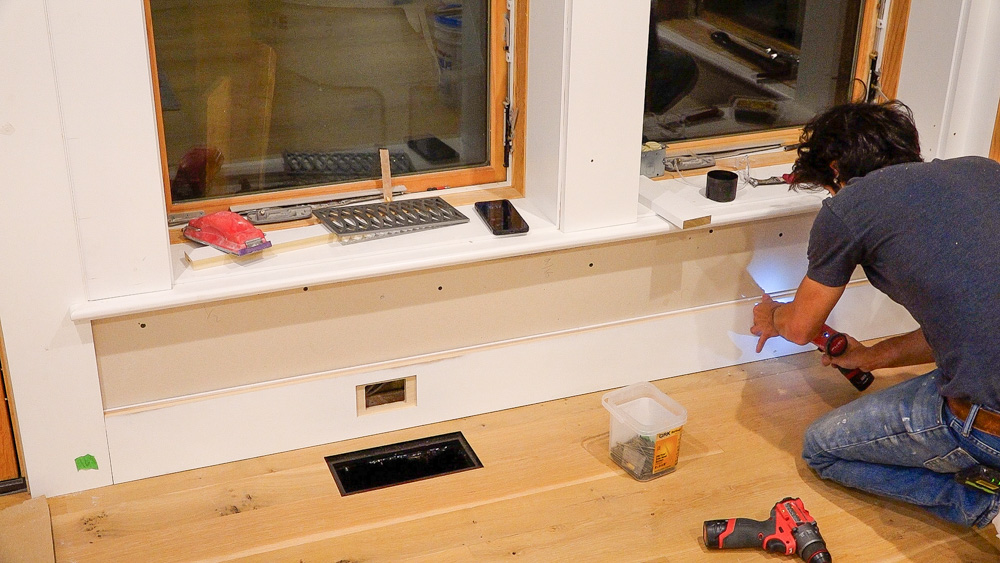
Let’s get the baseboard installed. Last time, Donavan came out with his CNC and cut the pockets for all of these baseboard outlets. I was planning to continue running the baseboard through the whole sunroom, but I can’t do that until I get those vents in.
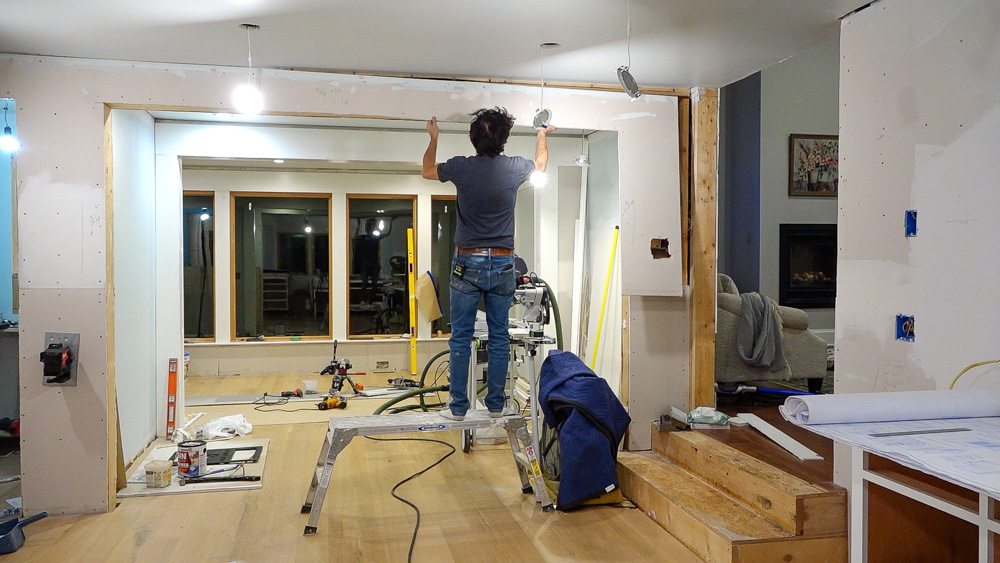
So we are going to detour into the kitchen and do the band board for the beam detail.
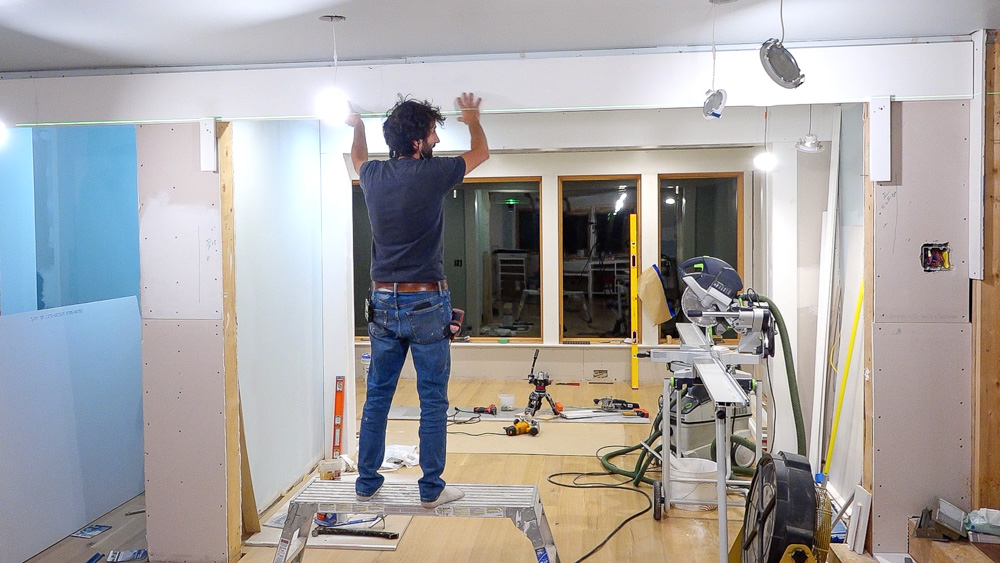
I have my laser set to the bottom of the column, so that the head height continues throughout all of the rooms.
That beam detail is done, so now I am going to make one of the last things that I need for the sunroom, which is the V groove paneling which goes beneath the windows. It will be 5/8ths thick, which will give me a step between my baseboard and the paneling.
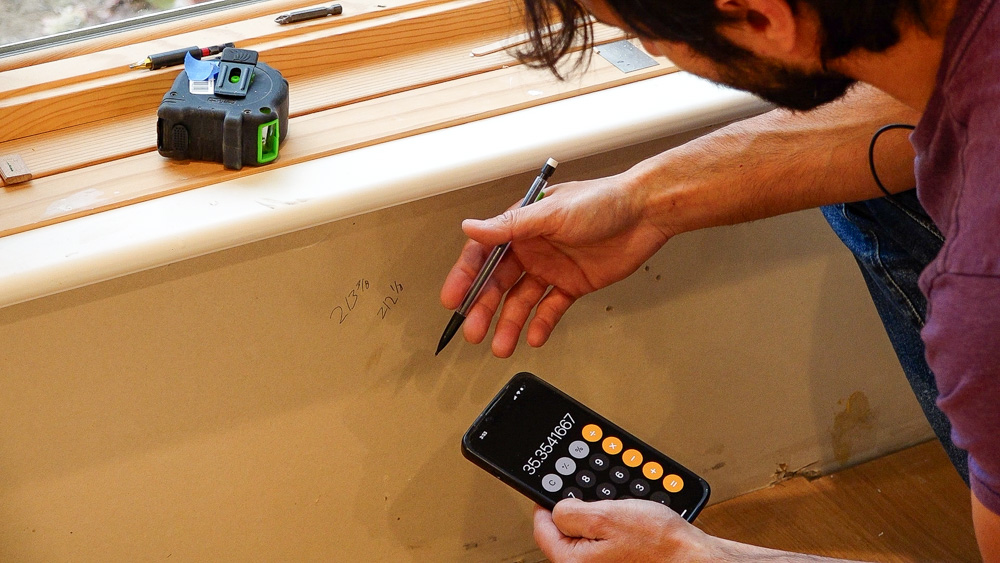
I’m going to get some measurements so that there is an even division, because I don’t want a skinny rip at the end of a remainder. According to the specs, it is six inch V groove paneling, but I’ll make it whatever is needed to make it all work out nicely.
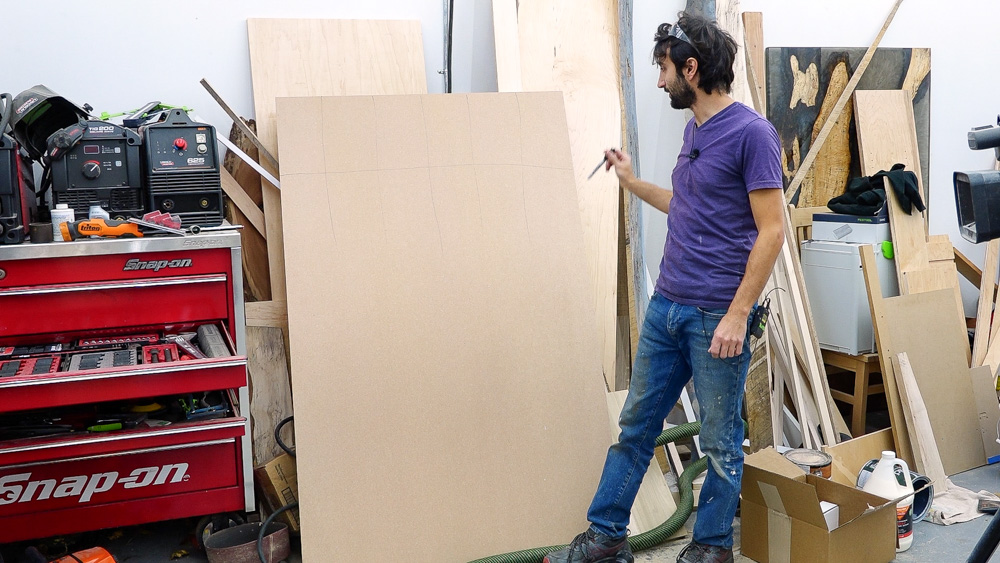
This is what I’ll be using to make the paneling. It is moisture resistant MDF, and I will be making actual tongue and groove V paneling. It would be easier to make V paneling on a CNC, but I don’t have a CNC.

I got a set of tongue and groove V paneling cutters, so I will cut these at the router table. I will rip my strips out of here at the finish size I need, plus the amount for the tongue so that can be removed when I do the milling. I also have to plane this to 5/8ths, because it doesn’t come in 5/8ths.
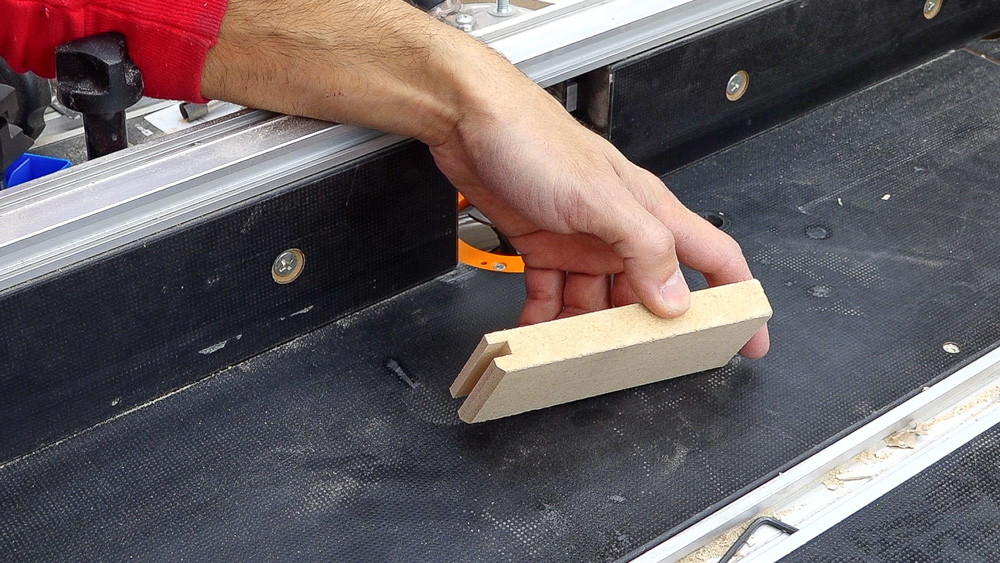
I have my groove cutter in the router table, and this is the profile it’s producing. So I’m going to run everything through for the grooves, and then set up and run the tongues.
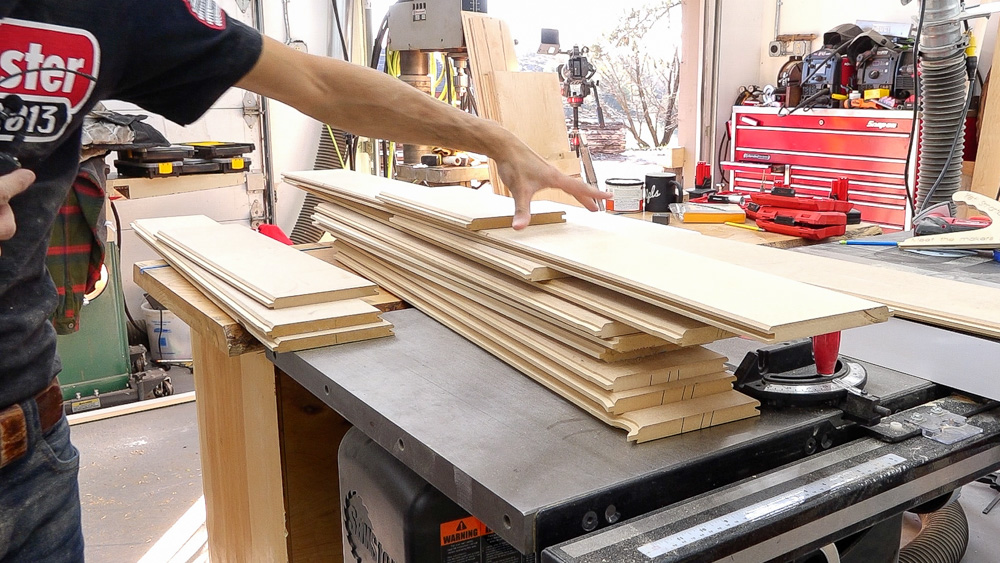
Here’s three piles with three sizes. I made a couple of error correcting pieces for the long run. One is a little wider and one is a little narrower so I can make up any error as I go. So these can go off to paint, and I can move on.
I’m going to install the rest of the baseboards to get those big pieces out of the way.

It’s a nice day today, so I’m going to do some painting on the windows. I got two coats of primer on all of the windows until I ran out of daylight.
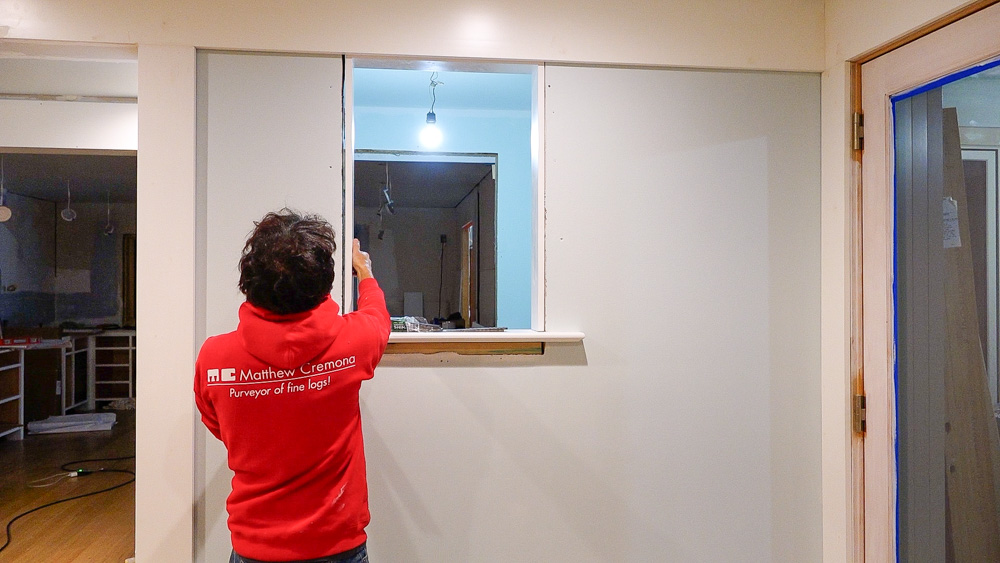
Next up I’m going to get the pantry window installed, because it’s a lot of pieces that I can get out of the way.
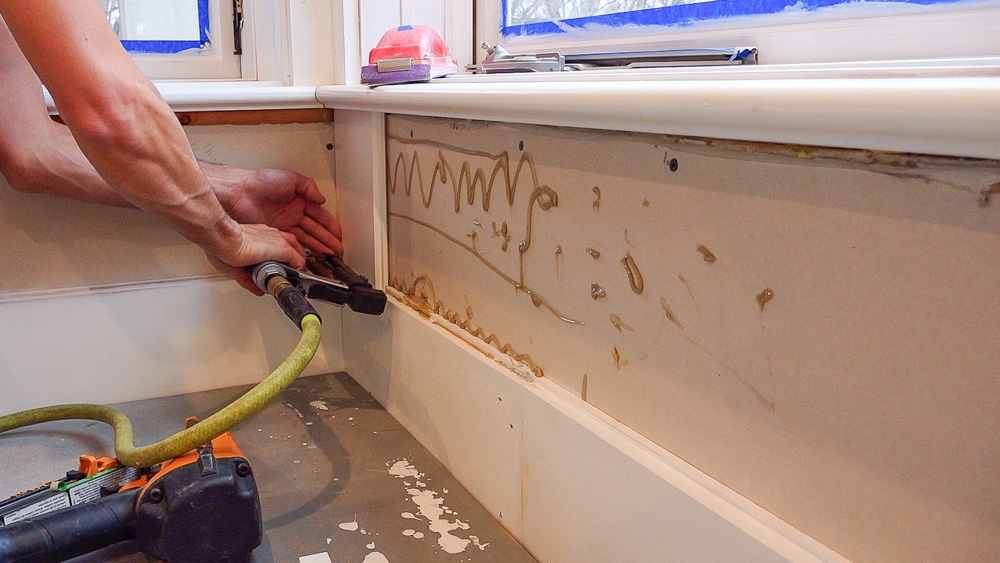
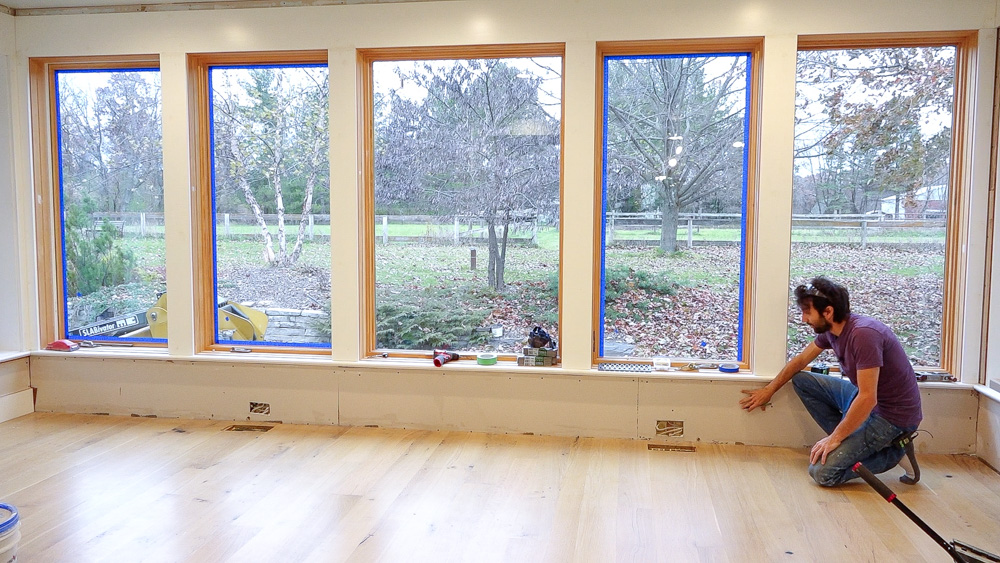
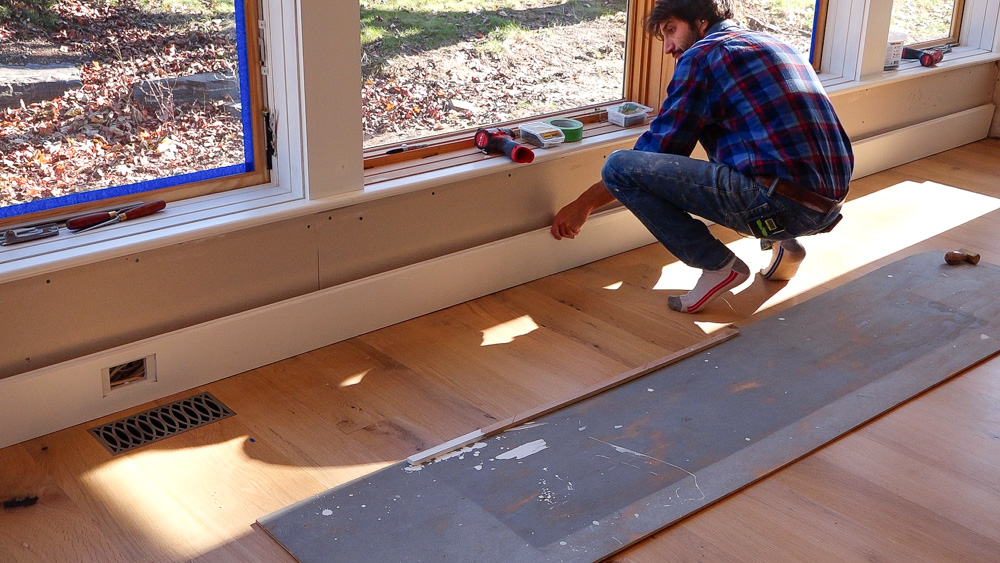
Next I want to take care of that paneling down there below the windows. I’m using construction adhesive to secure these. I’m gluing the paneling to the baseboard and putting some pin nails in there to hold them in place, tight to the wall, until the glue sets.
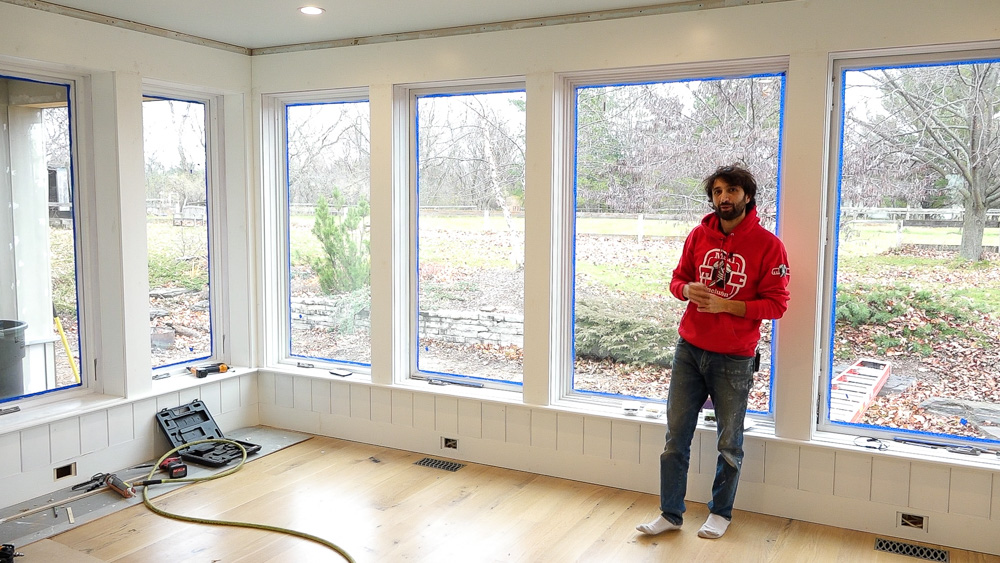
Here is all of the paneling installed all the way around the room. It’s looking like an actual finished space now.
That’s going to do it for this one. Thank you as always for joining. I greatly appreciate it. If you have any questions or comments on the home renovation, please feel free to leave me a comment. As always, I’d be happy to answer any questions you might have. And until next time, happy woodworking!
Welcome to my shop! This is a quick update to let you know what I’ve been up to. This big chunky thing is the leg

Welcome back to the home renovation. This time I’m going to be working on the kitchen island. Here is a small model of the island.

Welcome back to our home renovation. Today I am going to be working on this wall. It needs some upper cabinets and the surround for