
Matt's Weekly Shop Update
Kitchen Island, Barn Power – March 2024 Update
Welcome to my shop! This is a quick update to let you know what I’ve been up to. This big chunky thing is the leg
Welcome back to our home renovation and remodel series. Last time we made the face frames for the main range and sink wall in the kitchen. This time we’re going to make some boxes to go on those frames.
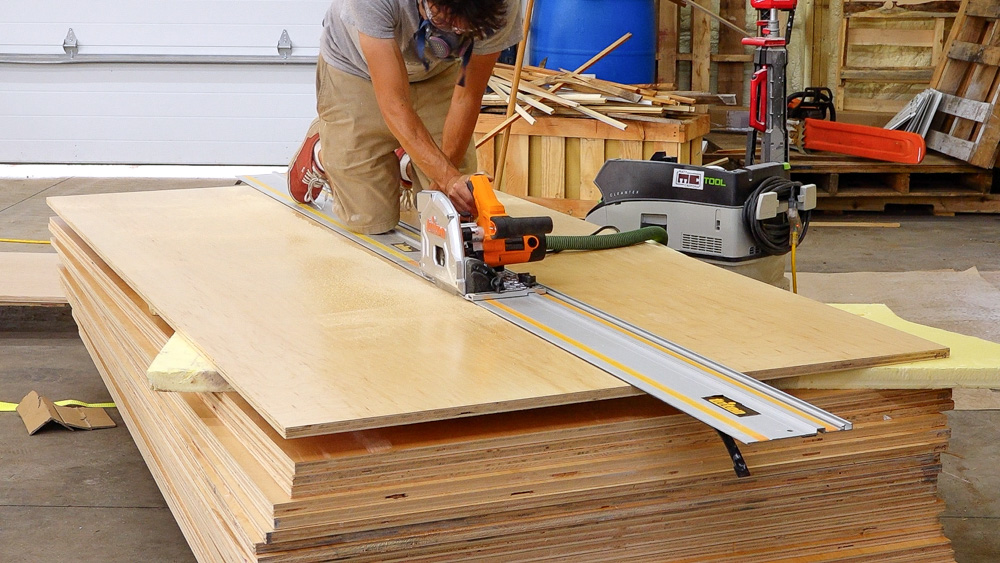
I have a stack of 4×8 plywood sheets to cut all of my box pieces out of. To start out, I am breaking these down into the pieces I’m going to need for the sides and the bottoms, which are all the same depth. So I am ripping these pieces basically in half, and that new edge will become my new reference edge.
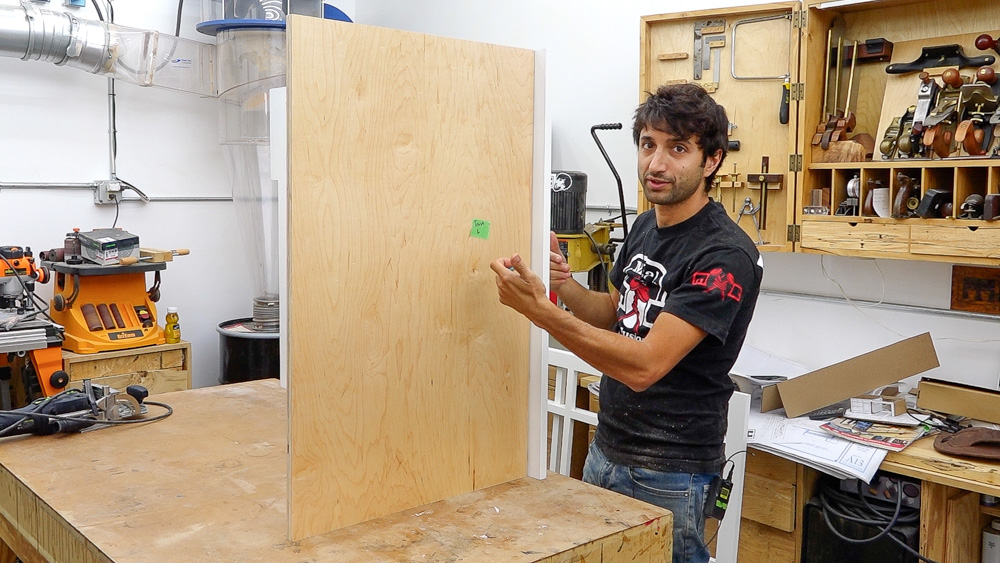
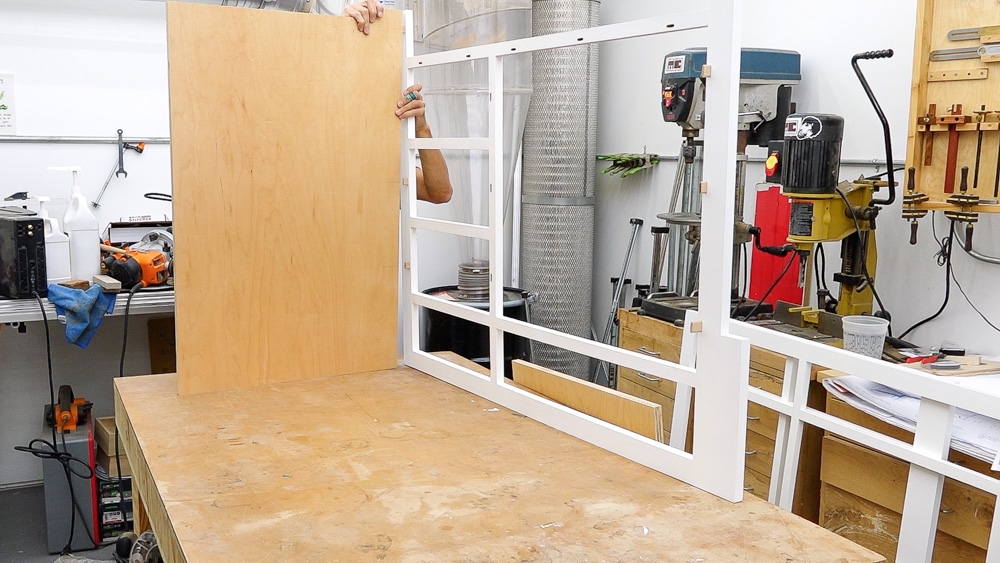
Here is one of the boards attached to the face frame as a test to make sure this is going to work. I used a domino to attach and align the panel, and then used a few pocket screws to secure the panel to the face frame.
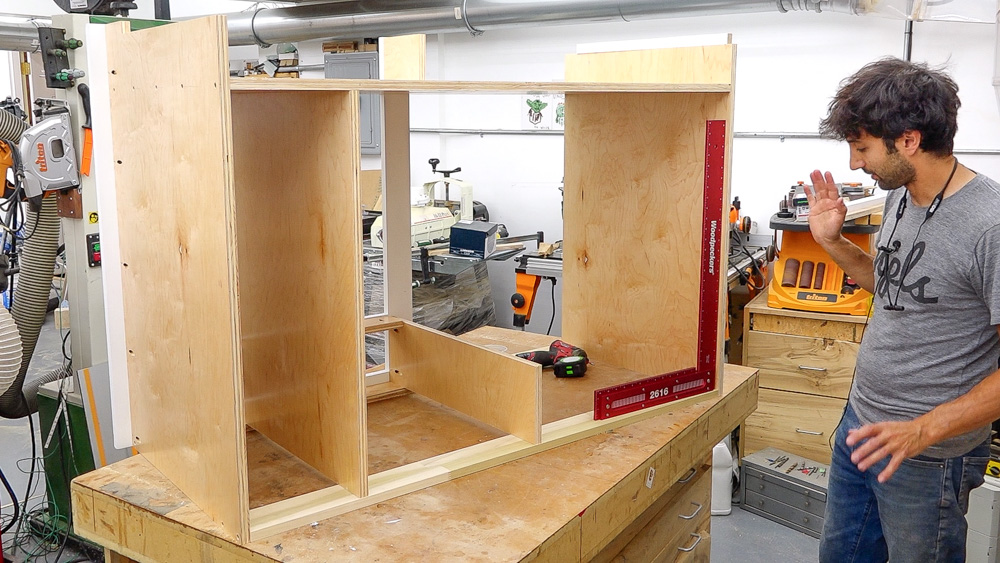
One thing that I needed to figure out was how to align the plywood sides on the face frame. As you can see, my side panel is flush with the inside edge of the face frame. That way, when I install my slides, I don’t have to worry about trying to block out the side panels for the slides to align with the drawer opening. And I was able to get it pretty much dead flush on my test run here, so I think that is going to work out really nicely.
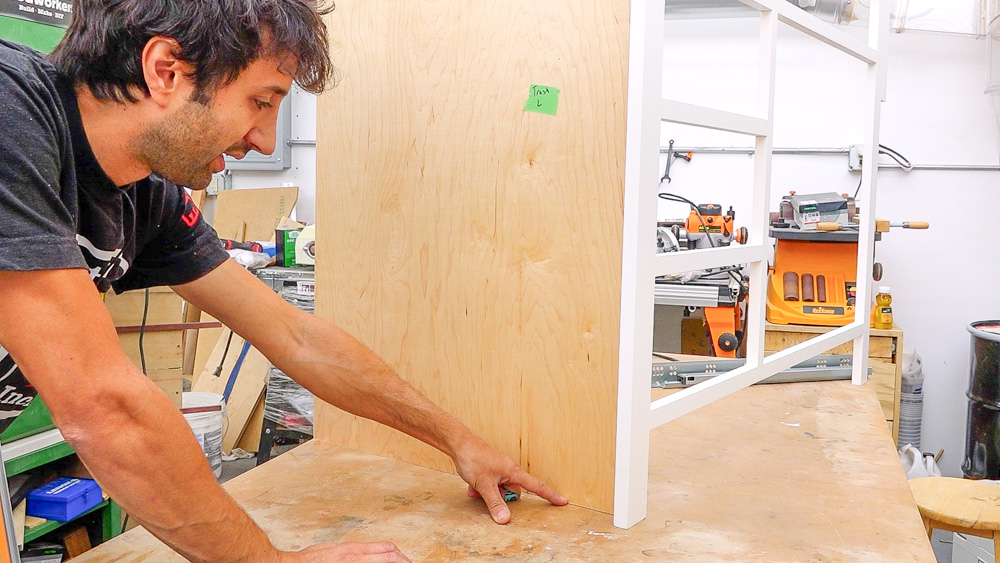
The bottom of the cabinet is a little more complicated though. I have a half inch scribe for the floor on the face frame, and the inside of the toe kick has to go down to the floor as well. Then I want to relieve a good chunk of the material on the box so I have room for shimming and leveling to get the cabinet even on the floor. So I will have to come back in to make a notch cut to remove about an inch high of material, as well as come about four inches back from the face frame to create that little foot for the toe kick. I also have to paint the inside face of the plywood down on the toe kick.
But for now, I’m going to start cutting my dominoes and put my pocket holes into the cabinet sides and start assembling.
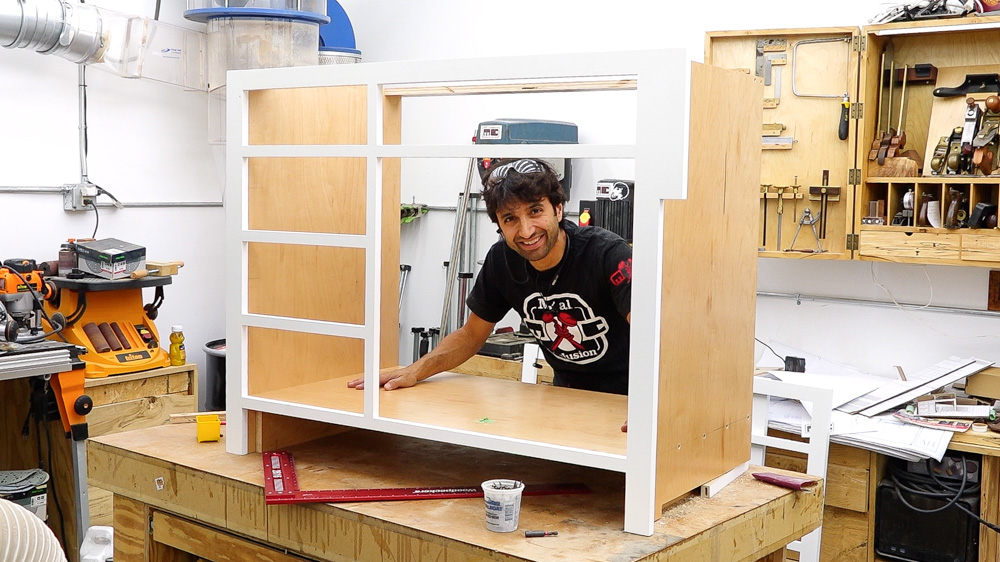
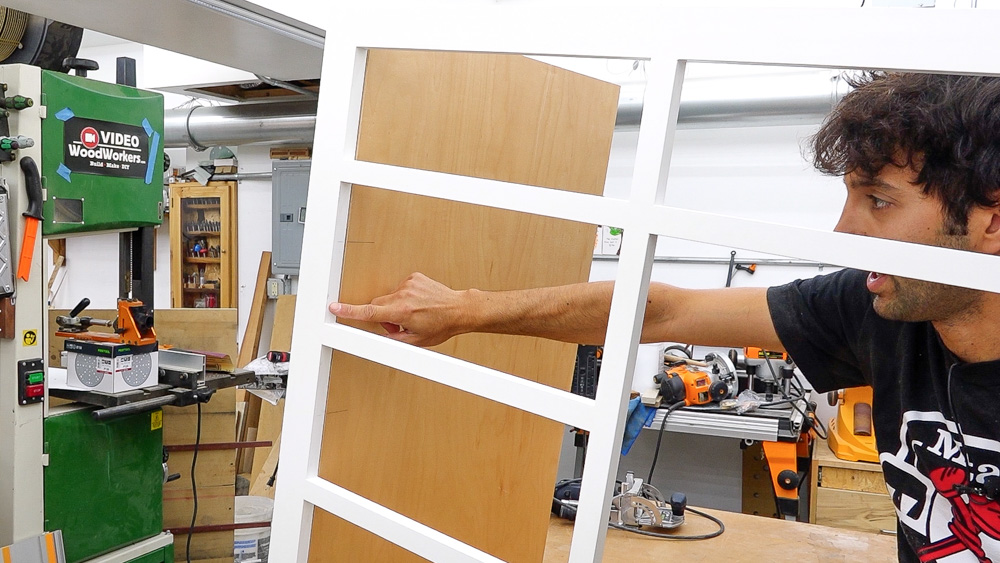
We’re getting there; it’s looking like a box! Next up I’m going to install the divider.
This cabinet’s a little different than the other one since the dishwasher cavity will be on the other side of this cabinet. That means the toe kick filler will be continuous all the way across this cabinet and through the dishwasher. So this side panel is going to be cut very similar to a traditional integrated toe kick cabinet that has the notch in the bottom of the panel. So my panel will come to this point and then jog out.
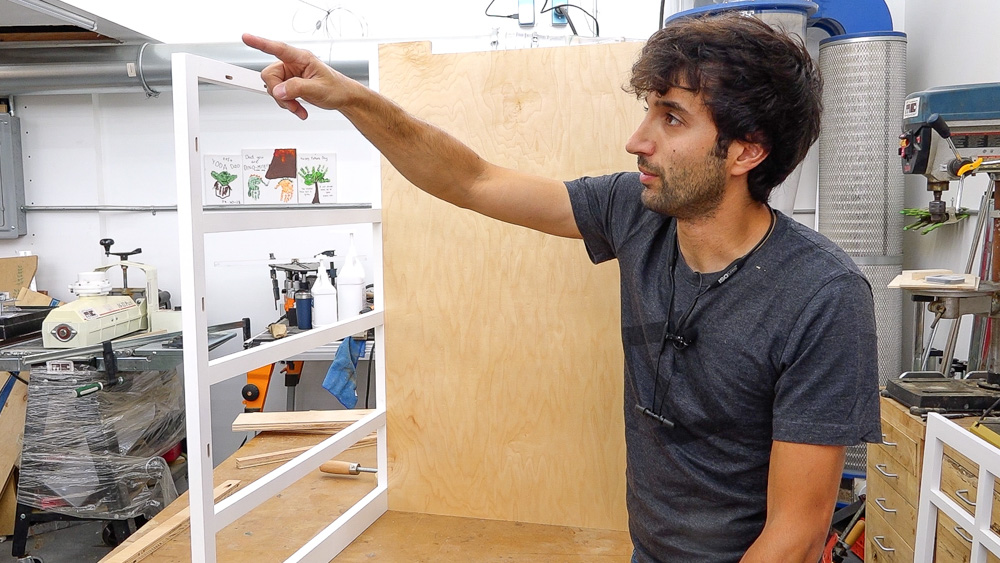
Now I’m onto the corner unit, which is different from the other ones. The side panel does is further out, somewhere over about here. So I am installing the bottom first to establish the final length, and then I can attach the side to the bottom.
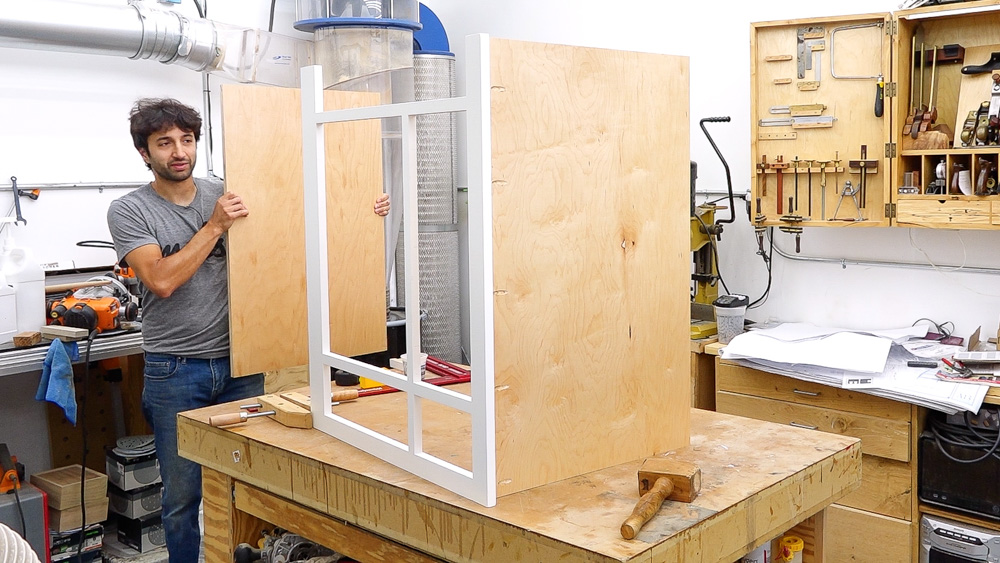
Here is that corner unit, pretty much ready to go. Just needs a back. I’m a little bummed about the back on this one, because I wanted to put all of the grain in the same direction, but this is 51 and a quarter wide, and I can’t put a piece of sheet on here with the grain running vertically. The alternative would be to put a seam and have two back panels, but I don’t like the idea of that either. Of course, this is the back, so no one will see this, but I’m still a little sad about it.
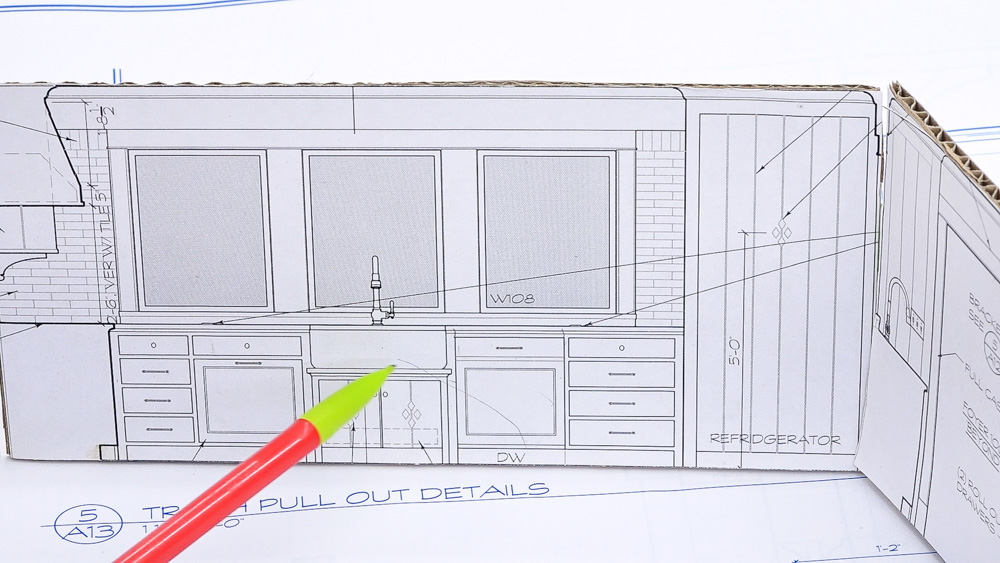
Next up is the sink base, which has taken me the longest time to wrap my mind around. As a refresher, here is the layout of the kitchen. The sink is along the west wall, centered in front of that window bank. The built-in farm sink is basically sitting on a little pedestal, and the piece underneath the sink is a piece of stone so that it looks like the sink is sitting on a countertop. Beneath that piece is the actual sink base. There is a piece of cove moulding that transitions that top rail into the stone. There is no lower rail, and the doors themselves close against the box.
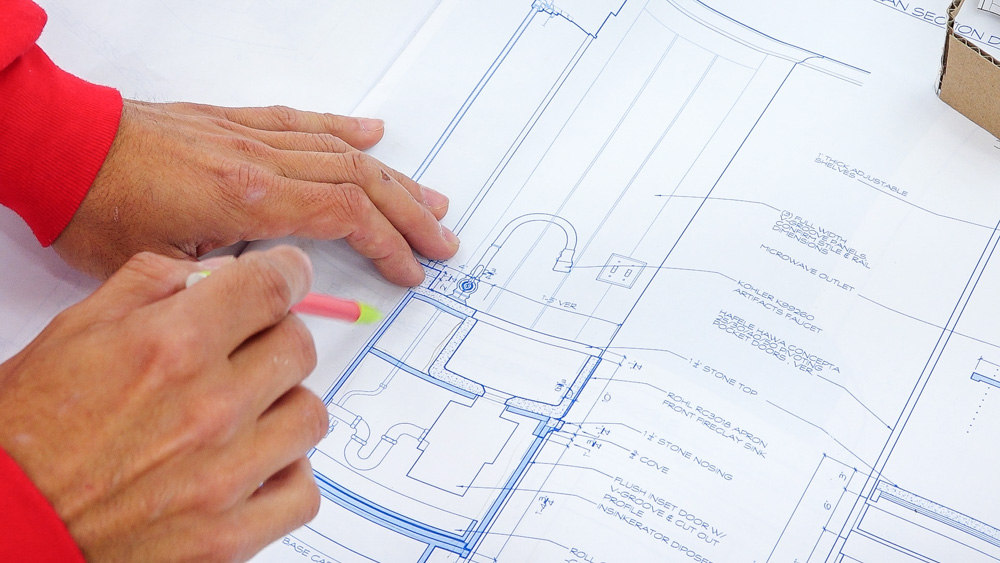
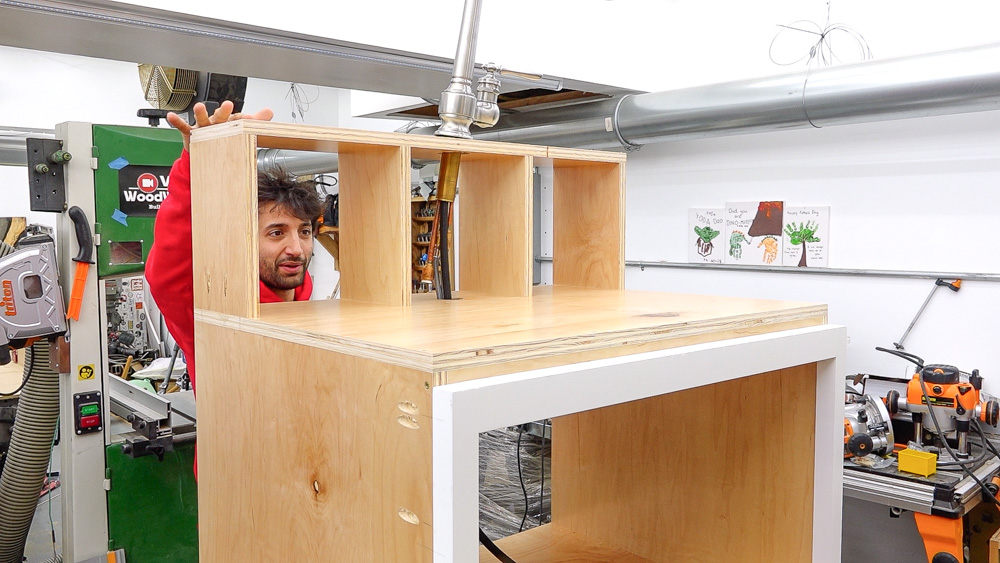
The architects provided me with a cross-section view to get an idea of what’s going on. There’s two ways that I could make the sides of the cabinet. I could either make the side and chop out a section for where the sink is going to go, which would give me an L-shaped side piece and a completely intact single piece. Or I can make a smaller base cabinet and then later on scab on this section up top that supports the faucet and everything behind the sink. I am going to do the latter because it is a little more flexible during the install. Another thing that is different with the sink base is that the cabinet is actually an inch deeper than all of the other ones. It will stick forward an inch from the facade of the rest of the cabinetry. I made the face frame thicker so that when the cabinets go in, the plywood sides won’t be exposed. And yet another difference is that the plywood is attached to the outside. This small cabinet has the most things going on with it!
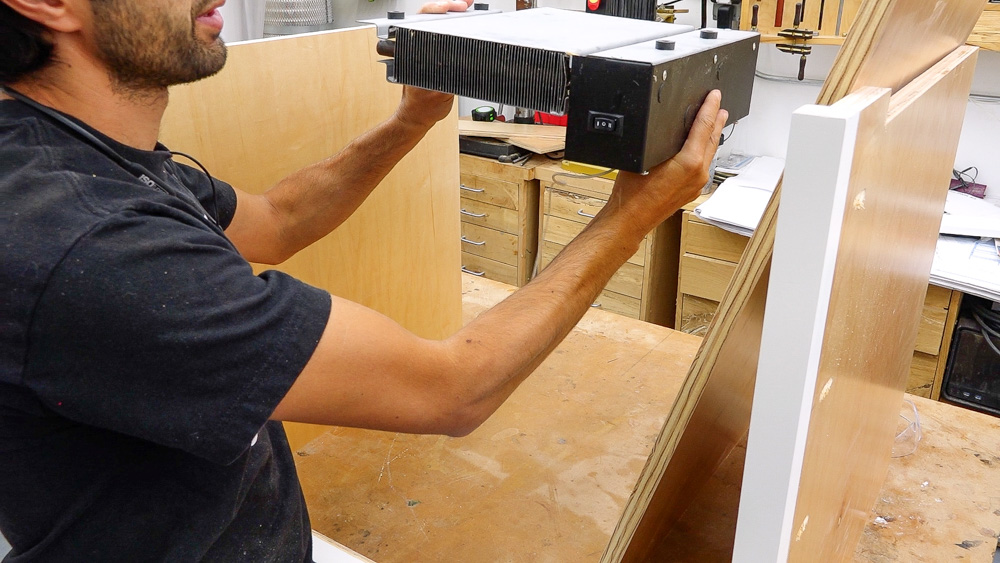
The bottom panel is also different. Underneath the cabinet is this, a toe kick heater. There will need to be access for electrical and water lines, and also the capability of getting this heater in and out in case it needs to be changed. So I will cut an access door into the bottom panel.
Getting pretty close to done with this cabinet finally. One thing I need to fix is that the access needs to be a lot bigger because this faucet gets installed from beneath. The sink and the countertop will be in place before the faucet gets installed, so there needs to be enough room to get in there for the faucet. So I am going to notch out the back area and remove this whole section.
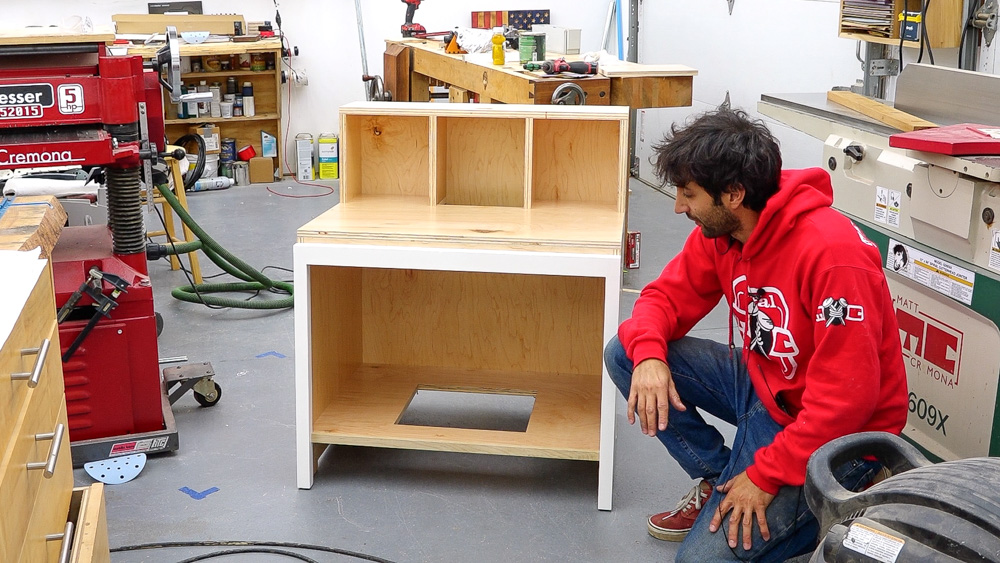
Here it is! The only thing left is to get the sink and cut the hole for the drain.
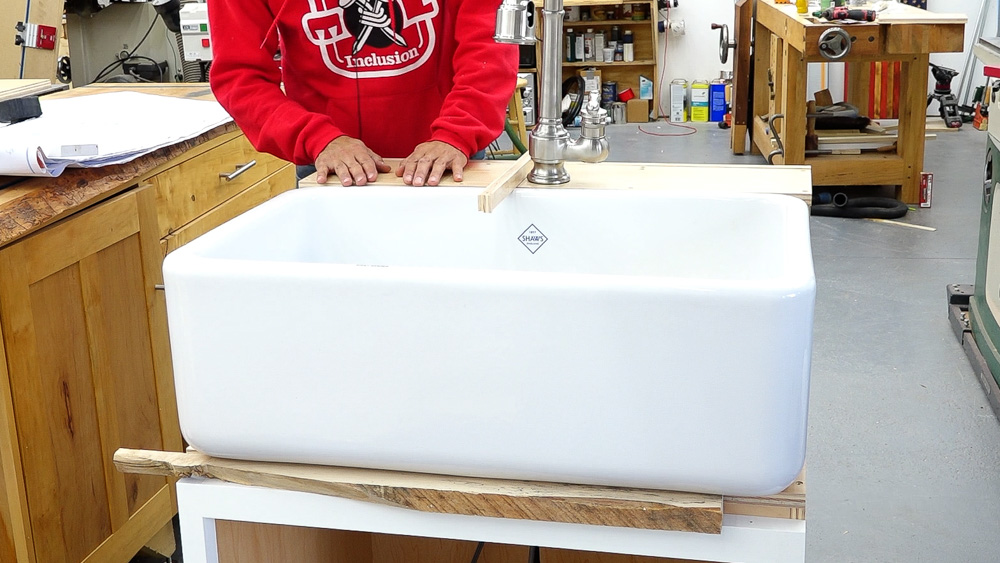
I have a mockup here. There is a little piece of wood in front of the sink to represent the strip of countertop that will be under there, and then I also marked the drain location as long as the sink is on here. One side of the cabinet is low, which is good because the sink has to be shimmed to get the water to drain towards the sink. Unfortunately, the sink is too high on the other side. So I am going to have to raise the back area. Fortunately it’s not a big deal because I can just take everything apart and cut a shim piece to go on top of all these uprights to raise the platform a little bit.
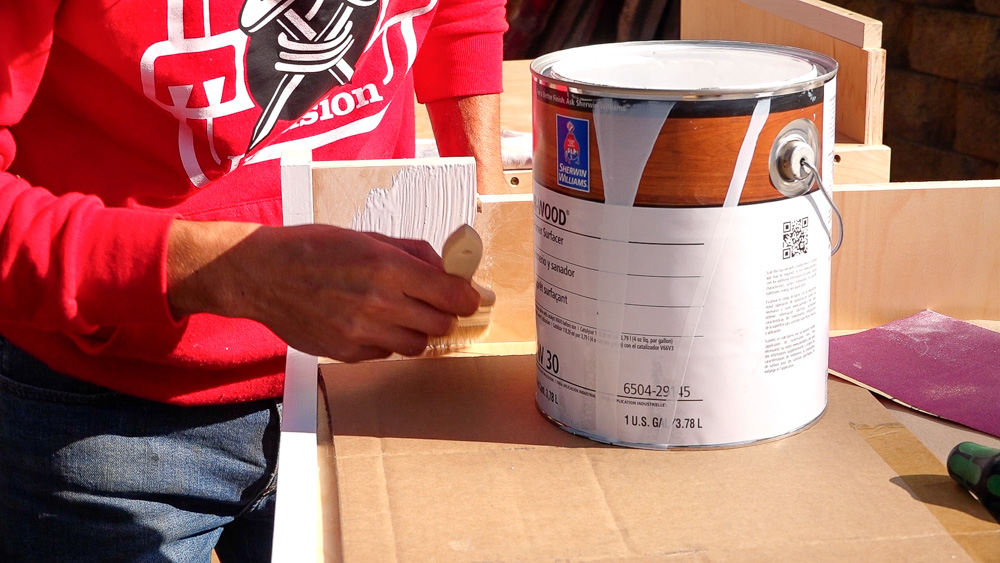
Now I am going to paint the foot area of all the other cabinets, and then they’ll be ready to go into the house.
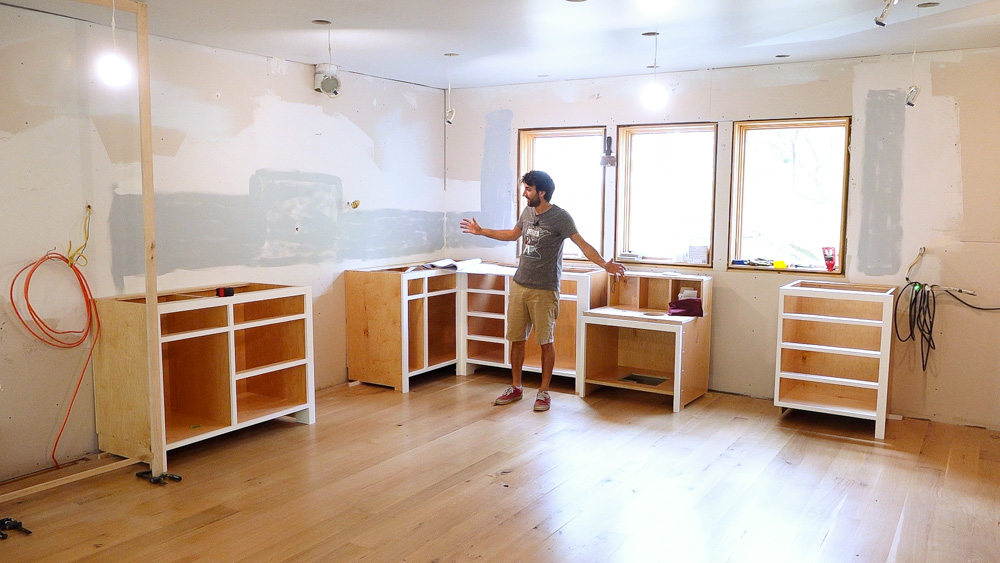
Having the cabinets helps transform the space even more. It feels even more real, and it’s getting pretty exciting!
Thank you as always for joining, I really appreciate it. If you have any questions or comments on the cabinetry, please feel free to leave a comment. As always, I’d be happy to answer any questions you might have. And until next time, happy woodworking!
Welcome to my shop! This is a quick update to let you know what I’ve been up to. This big chunky thing is the leg

Welcome back to the home renovation. This time I’m going to be working on the kitchen island. Here is a small model of the island.

Welcome back to our home renovation. Today I am going to be working on this wall. It needs some upper cabinets and the surround for