
Matt's Weekly Shop Update
Kitchen Island, Barn Power – March 2024 Update
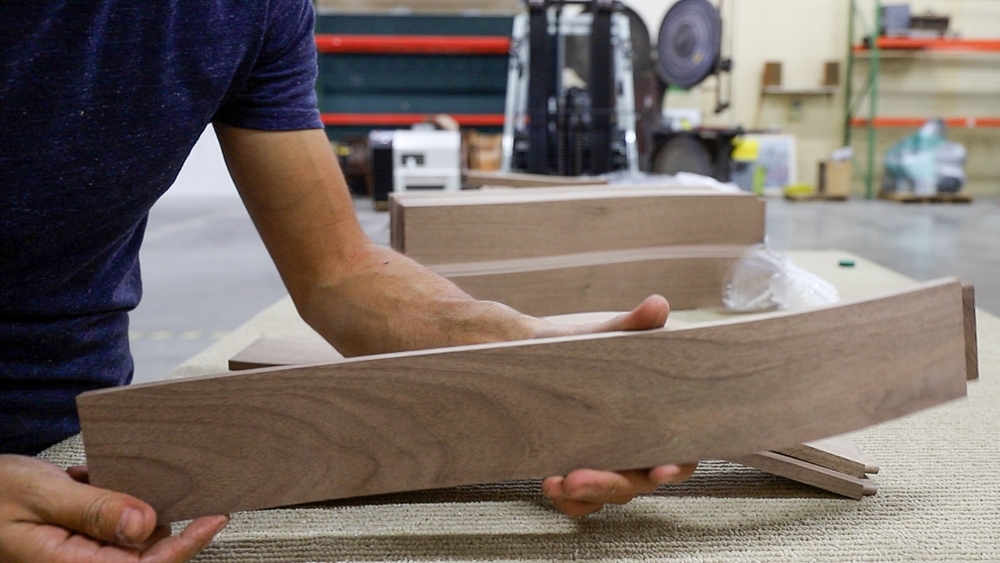
Welcome to my shop! This is a quick update to let you know what I’ve been up to. This big chunky thing is the leg
Welcome back to my warehouse setup vlog. Last time, we moved in a giant bandsaw. This time we’re actually going to get into setting up the actual warehouse space.
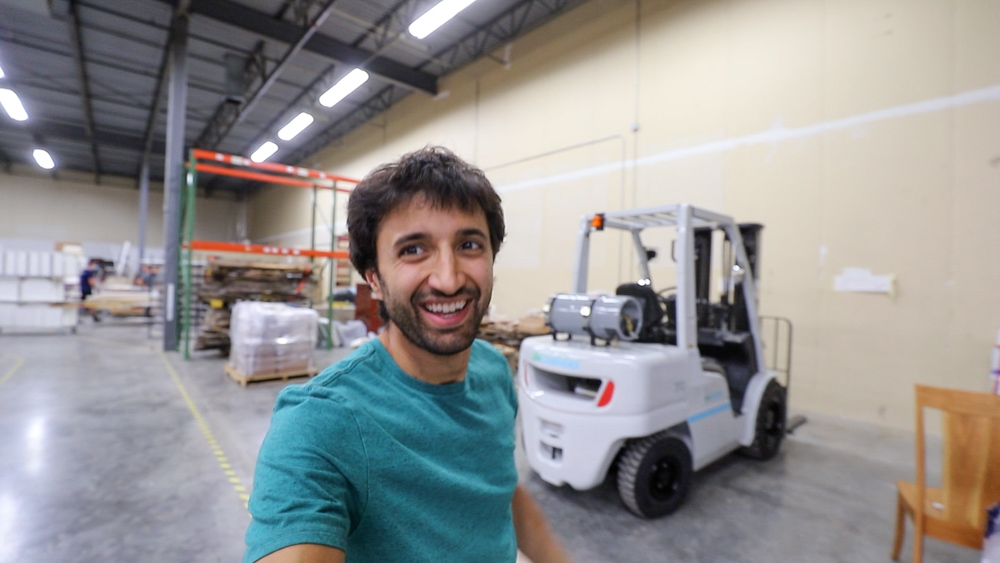
You’ll notice behind me, we’ve got some pallet racks already set up. Big thank you to Donavan for helping me set that up. Today, I’m going to start on the packing area setup.
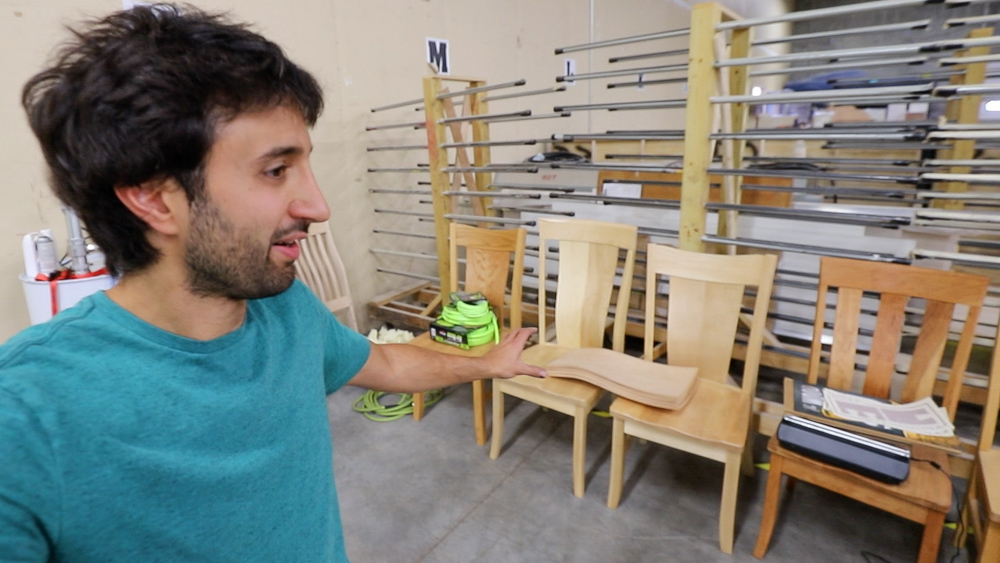
I have all my sample chair kits here, and this is going to become the assembly line area along here. I’ll be working on packing the boxes towards the outside, so they can just go down to the bay door and go on to the UPS truck.
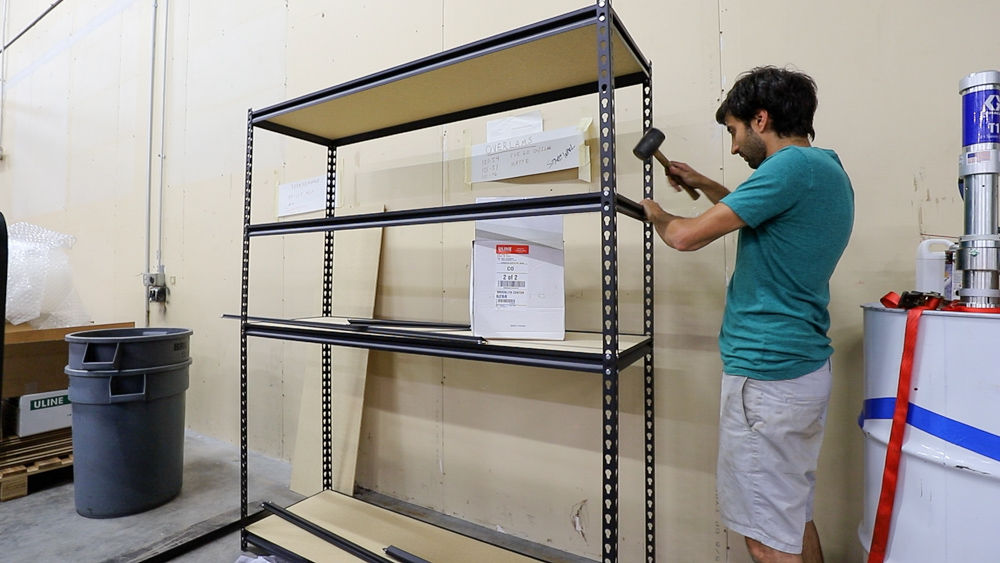
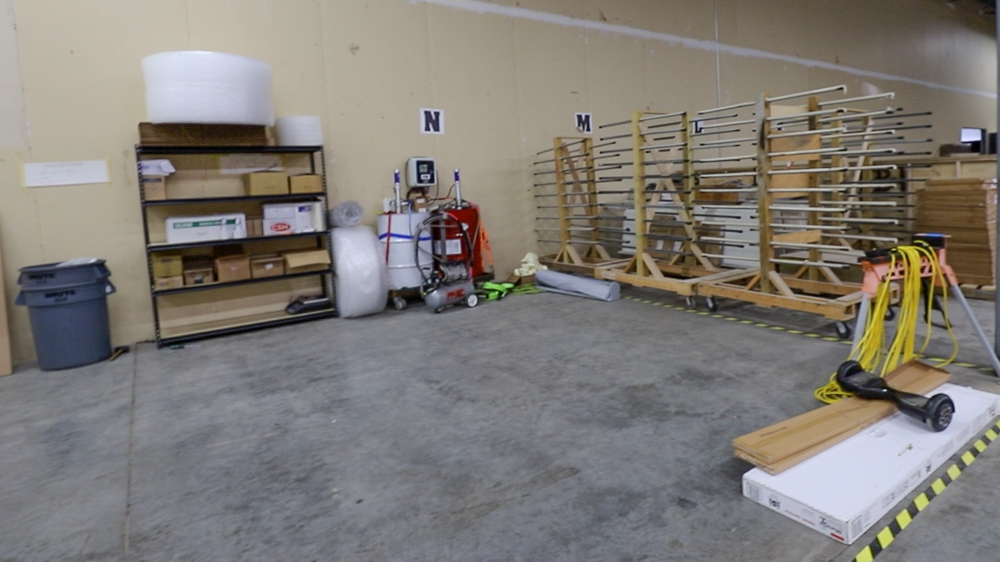
So first thing today, I’m going to be setting up a little bit of shelving so I can get organized and get all this mess of stuff onto some actual shelves.
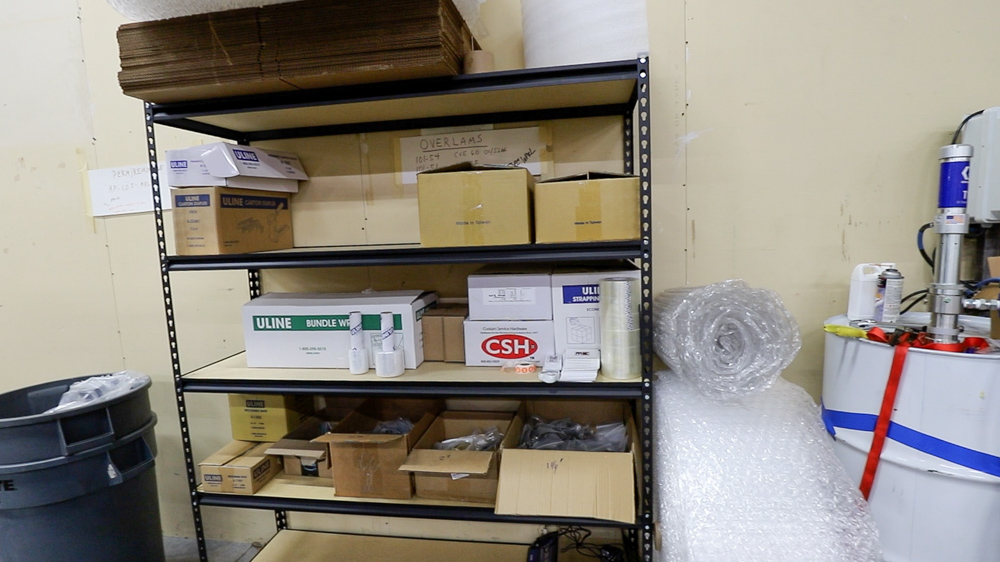
Okay, I’m pretty happy with that, I got everything at least somewhat organized. I will say, if you’re going to buy boltless shelving like this, get it from an industrial supplier if you have time. I didn’t have time because I really wanted to get this put up, so I got this from a Home Centre. It’s a little bit flimsy, but for what it’s holding, it’s going to be fine. But anyway, I have the prepackaged screw kits on the bottom shelf, so we can just grab these screws for every chair kit, already packed to go out. The most common things we’ll need are on the middle shelf. The bags we use are the next shelf up, so we can quickly take what we need and put it back when we’re done packing. Stuff that we don’t use that often is up on top. I do need to get (or make) a roll holder dispenser for the bubble wrap and the foam pad, so they aren’t just sitting there.
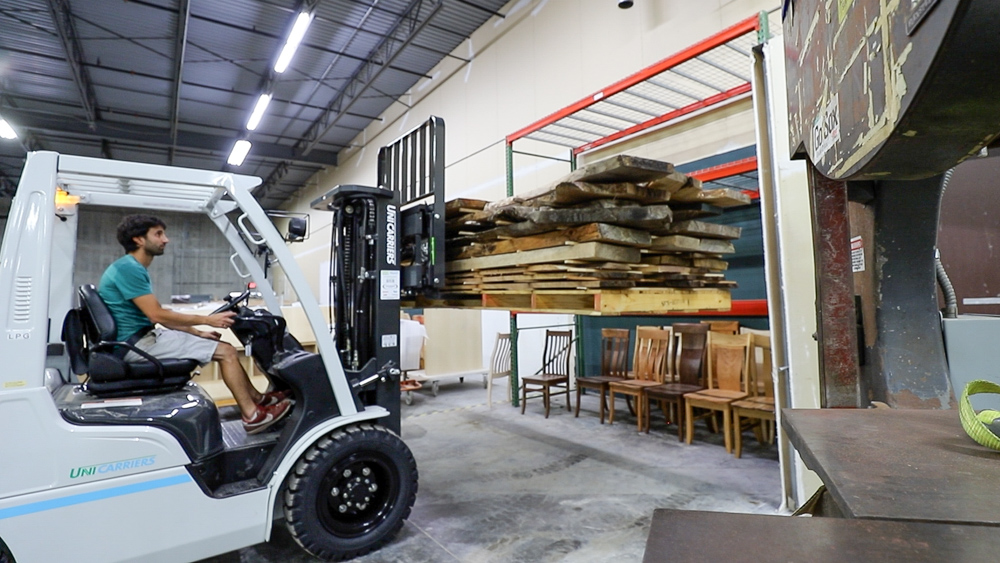
Next, I’m going to move my sea of chairs over there, just to get them out of the way. I think I’m also going to move a pallet of wood, and put that on top of that tall rack so it’s out of the way too.
Look at all the space we have now. I have some tables coming, so we can set up some tables here for breaking down the pallets for the parts and sorting them. This is going to be a nice little area here for packing chair kits. I’m still blown away how much space this is. This space that I have reserved for chair kits, that’s as big as my shop right now.
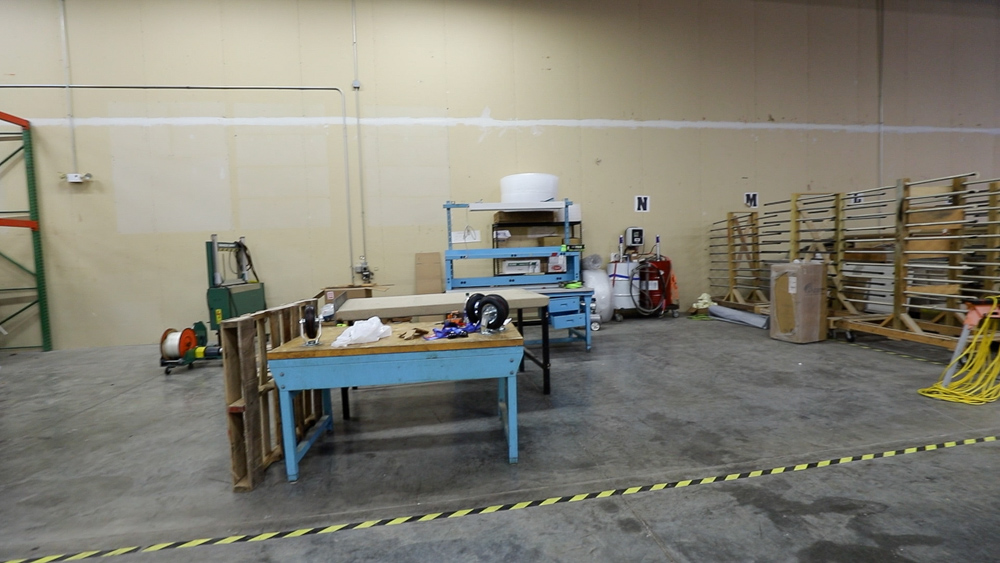
Second day, although some new stuff is here. My buddy Al had these tables and benches that he didn’t need, so I took them off his hands. They’re going to work out really nicely for being able to break down the pallets of parts. I’m going to move these tables around, and then start breaking down some pallets of kits.
After some rearranging, we have the two benches in this area, so we can put a pallet of parts in front of either bench. Then we can break down the pallets into the individual kits from there.
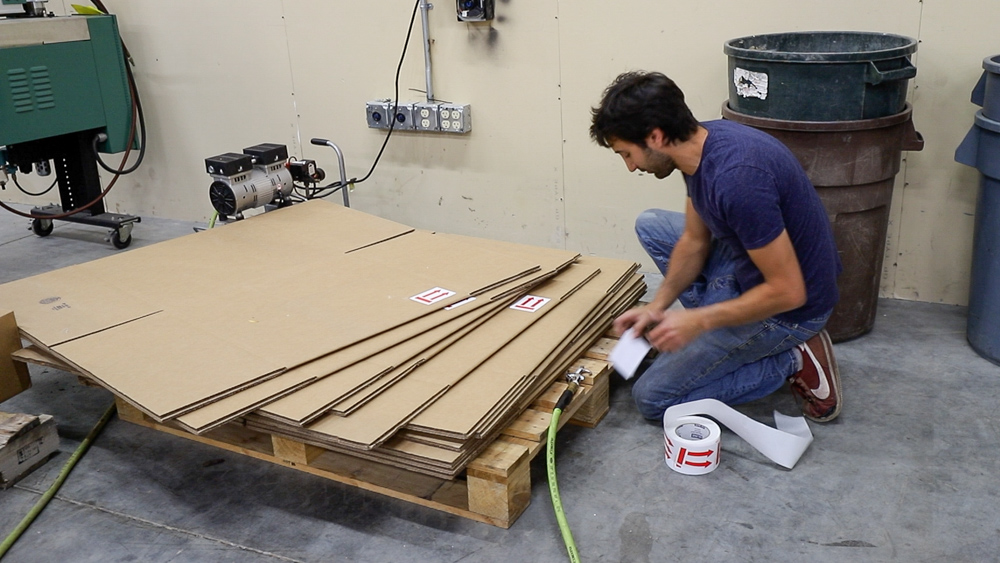
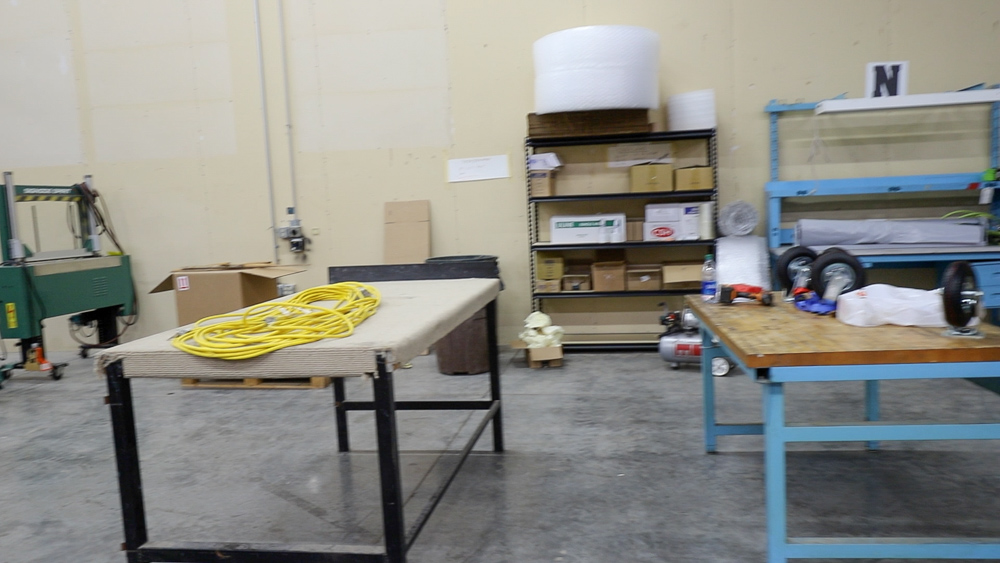
I put these boxes together in an assembly line style. I’ll put these stickers on first, then staple them, then tape them, then I’ll flip them over, fold them, fold the top flaps out of the way so that I can go for spray foaming later.
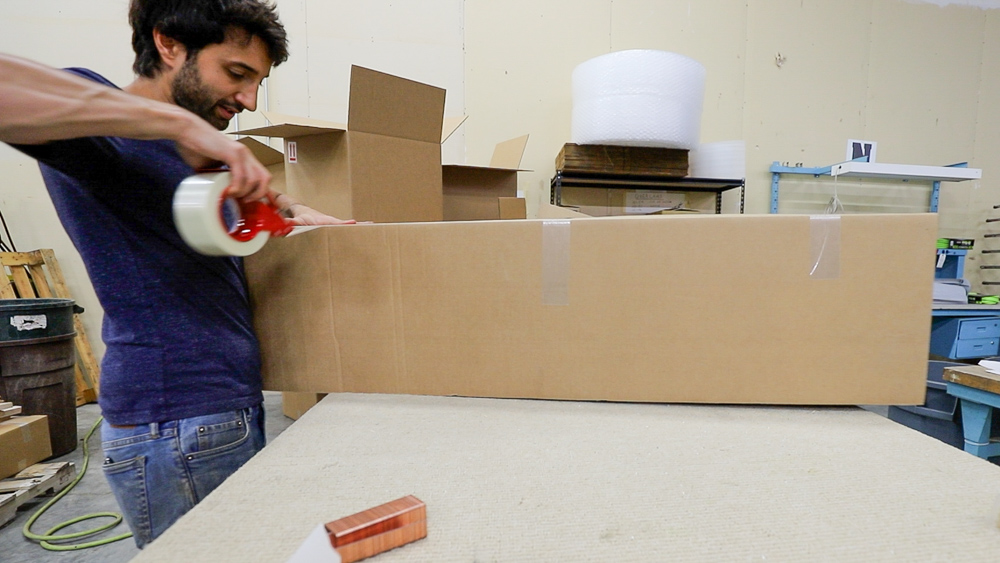
I’m noticing this bench is too high, like way too high. We’re going to get the angle grinder over here and chop these legs down. But anyway, I’m making a skinny box right now. That’s going to be for the rear legs, and depending on the style and quantity, it could have another component. Style three will also have the back slats in here, and then you’ll also have the hardware kits as well.
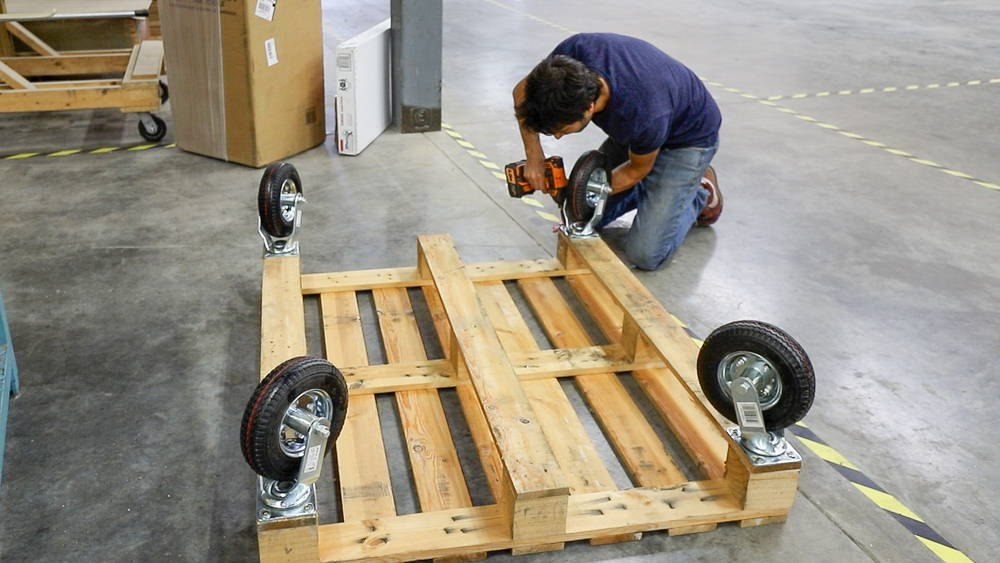
The other reason I wanted those boxes off of that pallet is because I want to put some casters on that pallet. The perfect loading height for those boxes is about 12 inches off the ground, and then they get kind of heavy. I’m going to experiment with the idea of having a pallet cart, which is going to be the right height. You can fit four boxes onto a pallet and then once it’s full, you can wheel it out of the way and wheel in another.
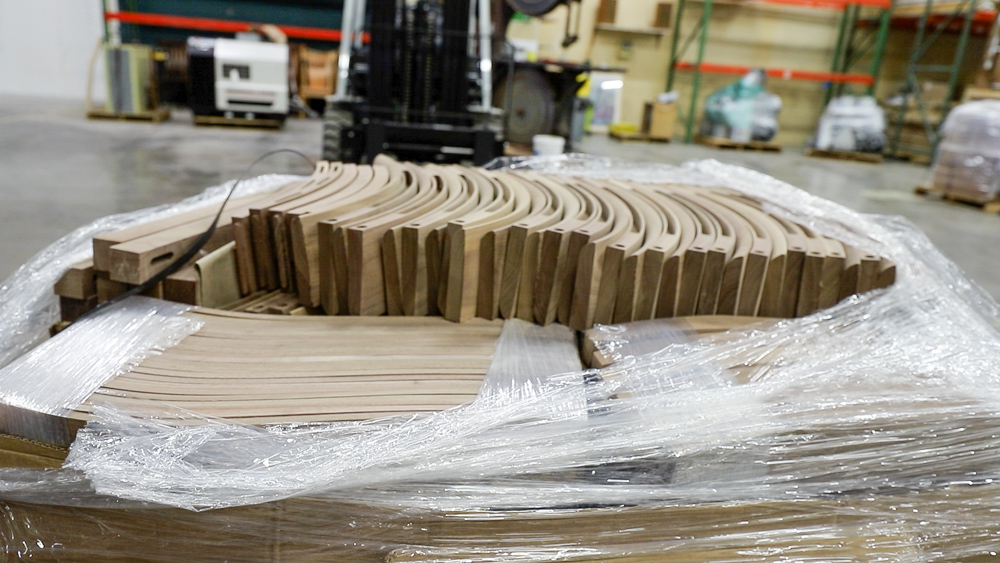
The last thing I’m going to do today is start breaking down the pallets of parts. I have a lot of number threes to ship. I just pack one species of one style. The kits are going to be packed in either sets of four or sets of six. So a set of eight is two four-packs as far as the shipping department is concerned. I’ll start with walnut style three, and let’s do six-packs.
Of course, wood is organic and it’s going to have different colors and shades and grains and textures. What I’ll do is go through and try to group the back slats so the people receiving the kit end up with three back slats for each chair that at least somewhat match the other two in that chair and the other ones in the set. With walnut, for instance, you’re going to have a little more cathedral grain, with more purples going on. You can also have some straighter, more grainy looking stuff with a little bit of a lighter color to it. So I’ll just match up things that look like they should go together.
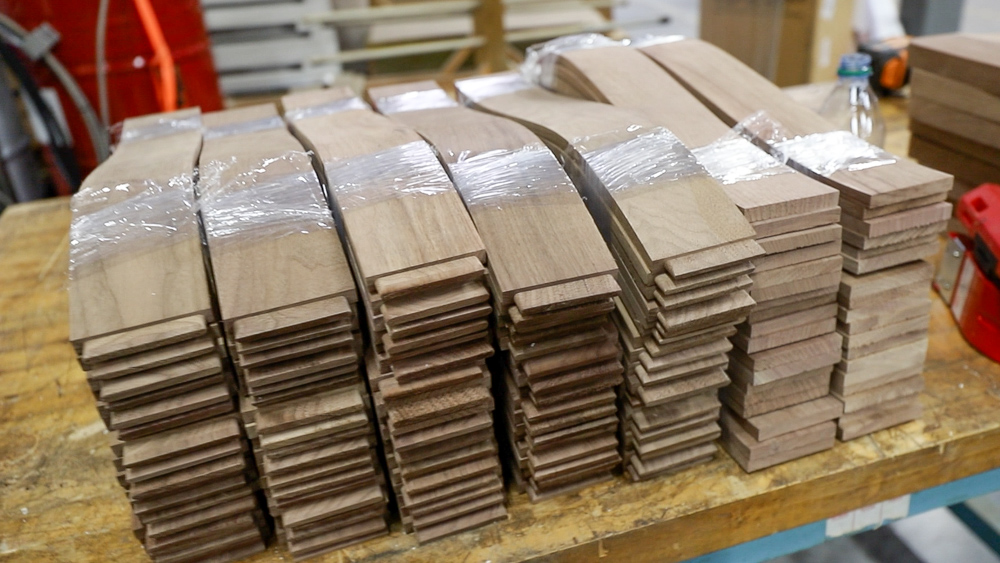
That’s seven sets of 18 back slats, which is enough for the six orders I picked out of that pallet. Still plenty of parts still to go, but I have to head home. I’m going to leave this here until Saturday, which I am going to pick up with the next blog. Hopefully we’ll get these three pallets all into boxes and out of here, which should be super nice.
That’s going to do it for this one. Thank you again, everybody, for your support, as I am venturing off into this thing. Thank you, as always, for joining me, I really appreciate it. If you have any questions or comments about the warehouse, anything back in the shop, please feel free to leave me a comment. As always, I’ll be happy to answer any questions you might have, and until next time, happy woodworking.
Welcome to my shop! This is a quick update to let you know what I’ve been up to. This big chunky thing is the leg

Welcome back to the home renovation. This time I’m going to be working on the kitchen island. Here is a small model of the island.

Welcome back to our home renovation. Today I am going to be working on this wall. It needs some upper cabinets and the surround for