
Matt's Weekly Shop Update
Kitchen Island, Barn Power – March 2024 Update
Welcome to my shop! This is a quick update to let you know what I’ve been up to. This big chunky thing is the leg
f you didn’t already hear, we did move. We got a new house and as part of that I’ll be converting this three-car garage into my new shop, which is super exciting. This is a little bigger than what I’m currently in. My current shop is 20 by 20, it’s a two-car garage. This is a three-car. It’s 20 deep and a little over 32 wide. So it is 648 square feet; 60% more space. There’s also more headroom too, So in this first video, I’m going to take you along as I start the conversion process. We’re going to make this a much nicer, brighter place to work.
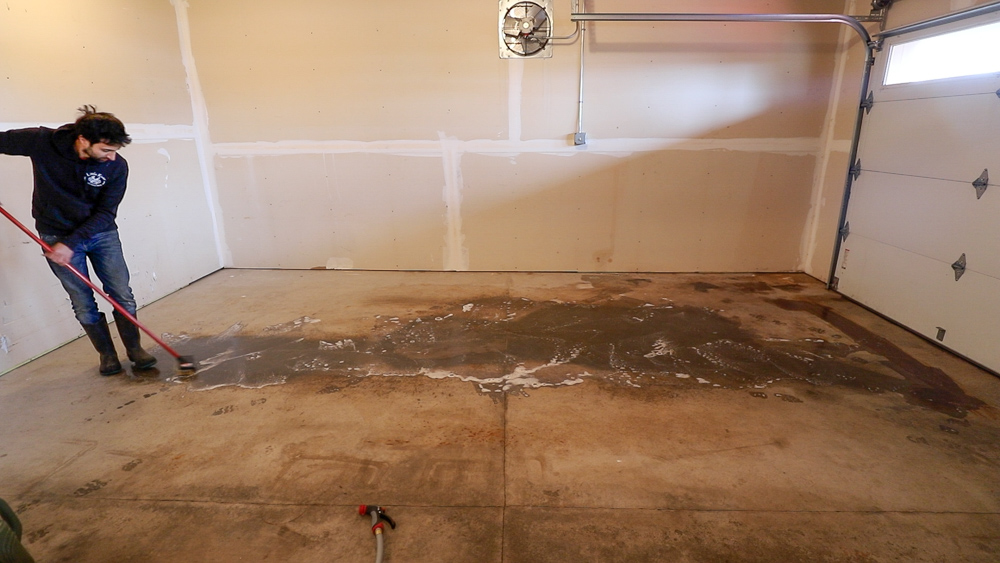
I’m starting off by getting the floor painted. The concrete takes some heavy prep work and getting the paint down will give it plenty of time to cure and reach full durability. The 3rd stall is where the previous owner had parked their tractor which had leaked quite a bit over the years. I’ll start the prep process by spot treating the heavily stained areas in the garage with degreaser. I actually did this twice. I had already spot treated this area the night before.
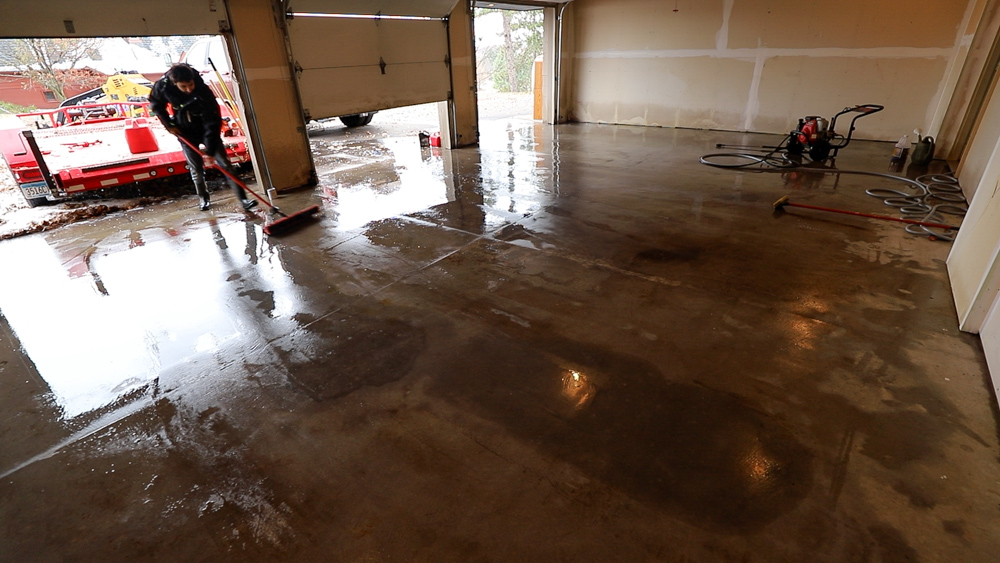
Next up is washing the entire floor. I used my pressure washer and more degreaser. This will further remove any oils from the surface and clean off any dirt. A little squeegee action and I can move on.
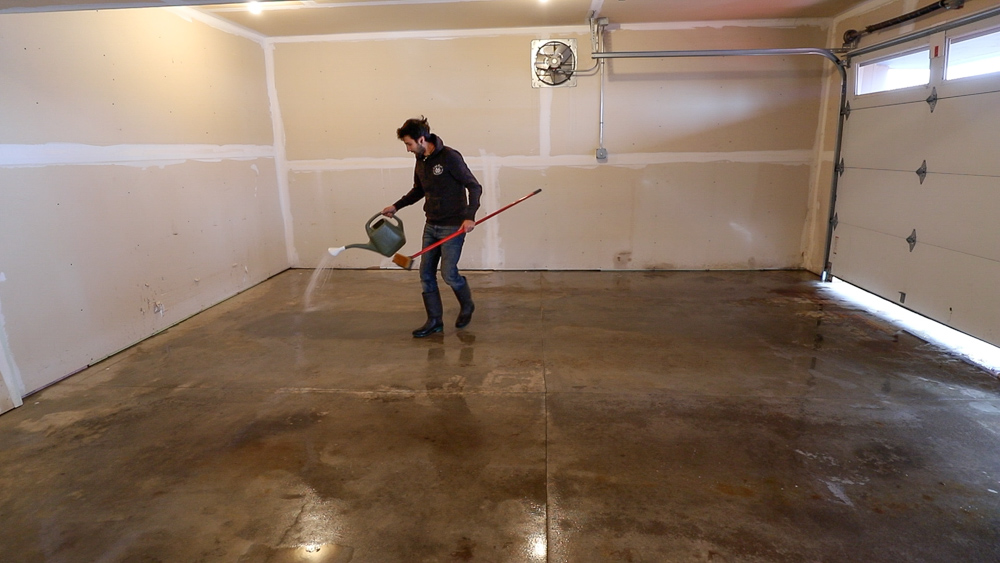
Next up is etching. I wasn’t sure how necessary or effective this would be since the concrete was previously sealed but its a pretty inexpensive and quick step. I dissolved the etch in warm water and spread it over the surface with a watering can. Then I’ll work the surface with an acid scrub brush and allow the etch to sit on the surface for about 15 min. Lastly I can give the entire floor one last rinse with a hose. Yes, I own a hose. I’ll squeegee the floor and allow it to dry overnight before starting to paint.
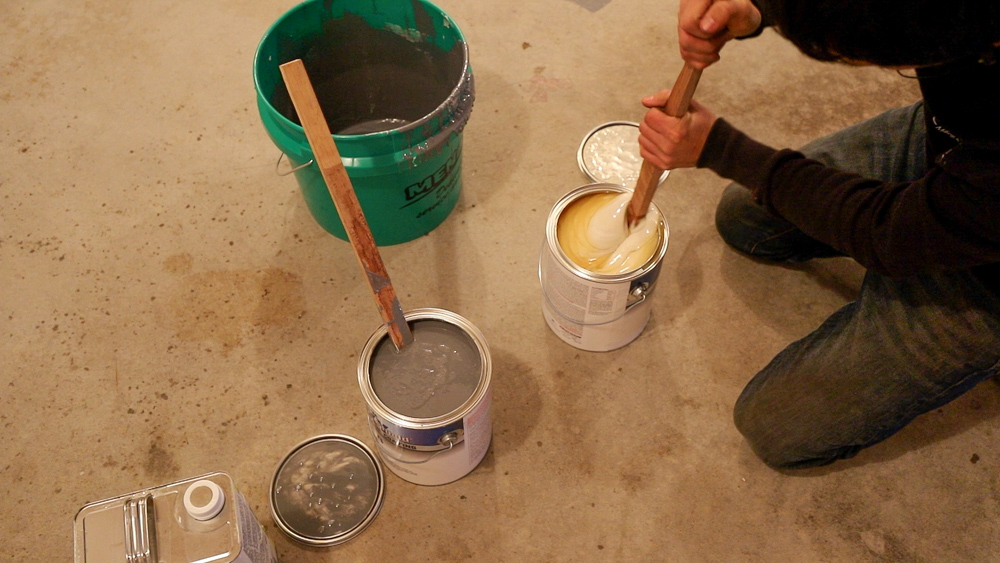
I’m using a two part off the shelf garage floor paint. This one happens to be rustoleum epoxy shield. Here’s a tip which my dad taught me: any time you buy paint, have the paint department shake the can for you. He always said that you have no idea how long that’s been sitting on a shelf. That’ll save you a lot of stirring. As you can see, I was in a rush this time and didn’t stop by the paint counter.
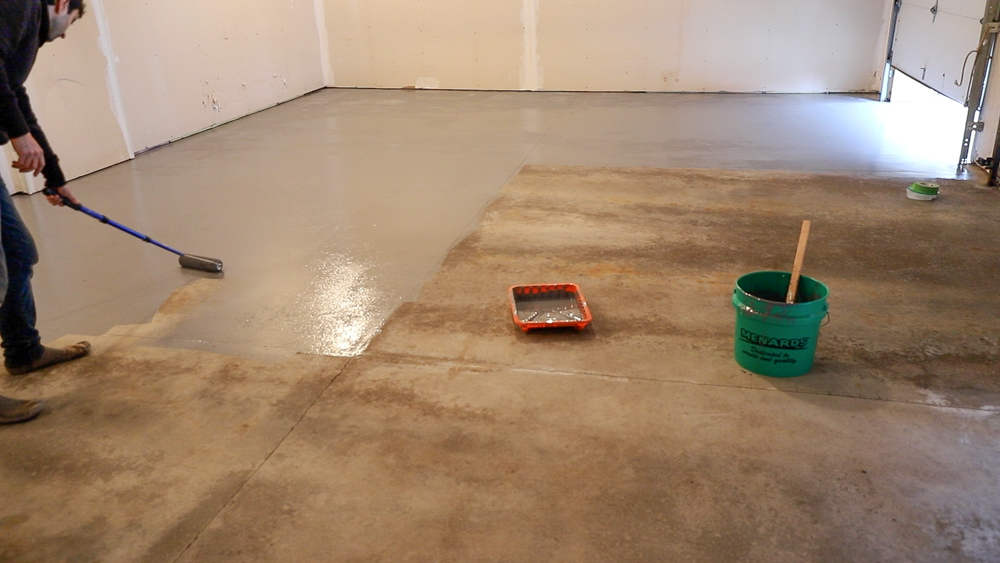
I’ll start with a brush cutting in around the perimeter of the garage and then roll the field. In my previous shop, I also painted the floors but I used a water based 2 part garage floor paint. This time I’m using a solvent based product. I figure it will be interesting to see if there is any difference in the long term durability. The paint in the other shop has held up pretty well over 9 years. There are a few areas that are worn where my jointer would roll but that’s about it. Cost wise, this solvent based paint is about half the price. Both are sold as kits for about $100 but the waterbased one mixes to 1 gal vs this solvent based one that mixes to two gal. In both cases, I bought two kits.
Now one thing that I wasn’t ready for was the offgassing with this solvent based stuff. It was incredibly strong. I of course didn’t think about that and bring my respirator from the other house. Luckily though I could apply the paint with the doors open. The air temp was below the application temp of the paint – around 35F but since the floor is heated, the cold didn’t effect the paint as it went down or as it cured. Any yes, when the floor is heated, working in socks is the only way to go.
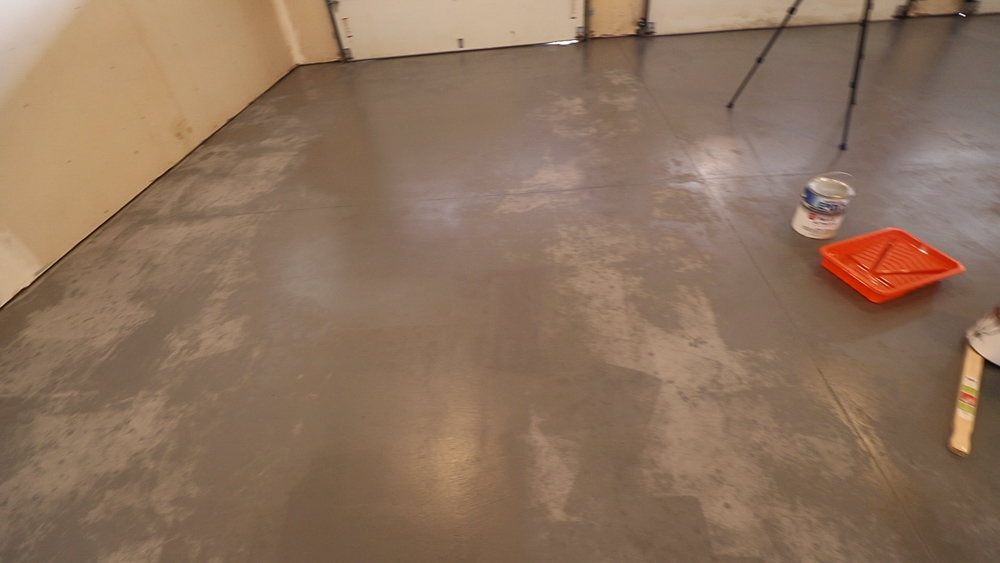
After the first coat it was looking pretty good but was looking a little splotchy. The next day when it was dry enough to walk on, it was clearly very uneven in some places. I’m not sure if that was because it was previously sealed and pulled more paint in in different places or what but I had a bit over a gallon remaining so I mixed that up and applied a second coat.
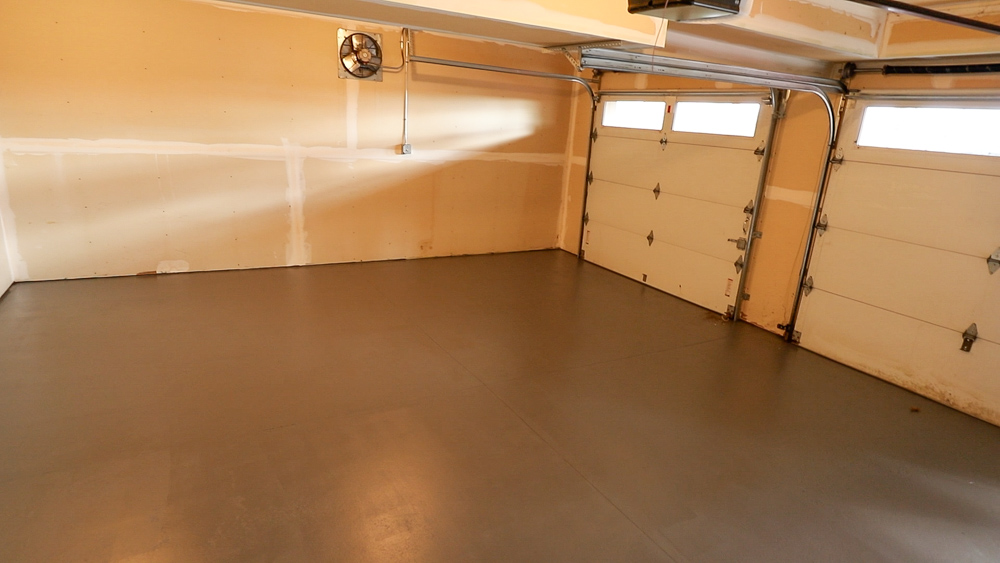
Taking a look the next day, that made a big difference. The coverage is much more even. I masked off the areas where the doors land to create a crisp transition between inside and out. I can pull up that tape and this part is done. Total time here was about 6 hours between prep and paint and about $250 between paint and prep materials.
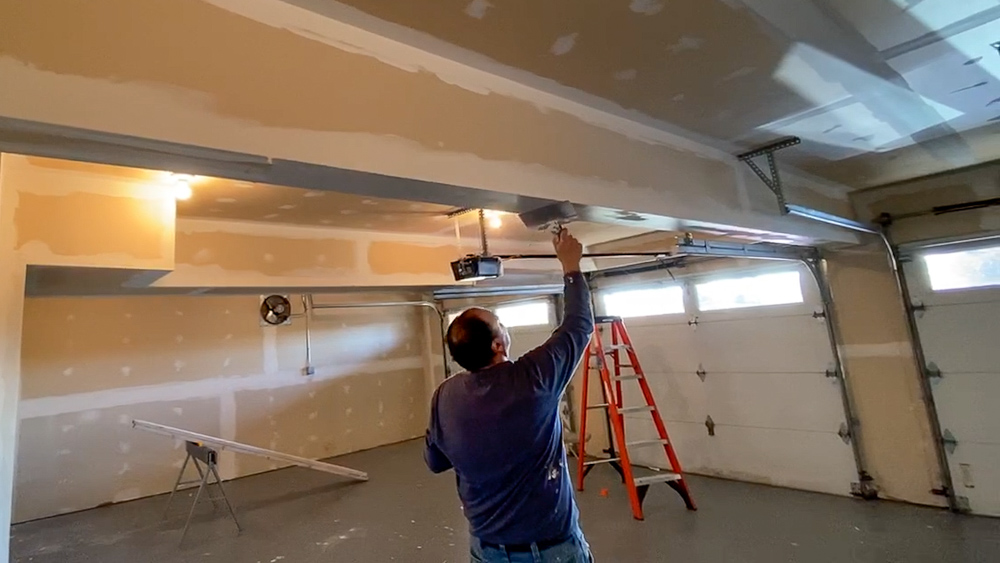
A few weeks later, my parents came to visit to see the new property and my dad helped me get started on the walls. He won’t describe himself as a good mudder but he has much more experience than me. He got me started in the right direction by adding the next coat of mud. While he was working on the seams, I went around and took care of the screw holes.
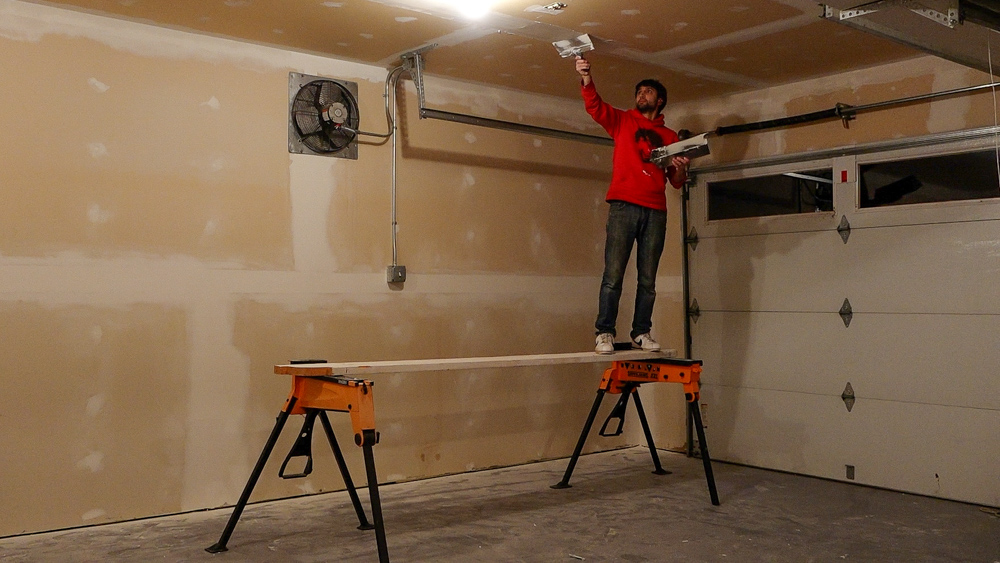
Now I’ll start feathering things out. Thanks for getting things this far for me, dad. I’ll be the first to admit that I’m not very good at this. This is my 3rd time working with mud. My previous two experiences led to some pretty laughable results. This shop, although no where near perfect ended up being worlds better than anything I had previously done. There’s tons of videos here on youtube about mudding and I’ve watched a lot of them but I’m pretty sure this is like most things. Watching a bunch of videos is great and all but it’s not until you put the time in to practice that you start to actually get good at something. I welcomed this opportunity to work at a skill that I don’t have in an area of minimal consequences. After all, this is just a shop and will someday be just a garage again so if it’s not perfect – no big deal. There are so many seams in this shop which made my progression very obvious to me. By the time I worked through a coat and went back and looked at the first seams I did, I could see a clear difference in the quality of the work. It’s quite fun to be able to see a visible improvement in your work.
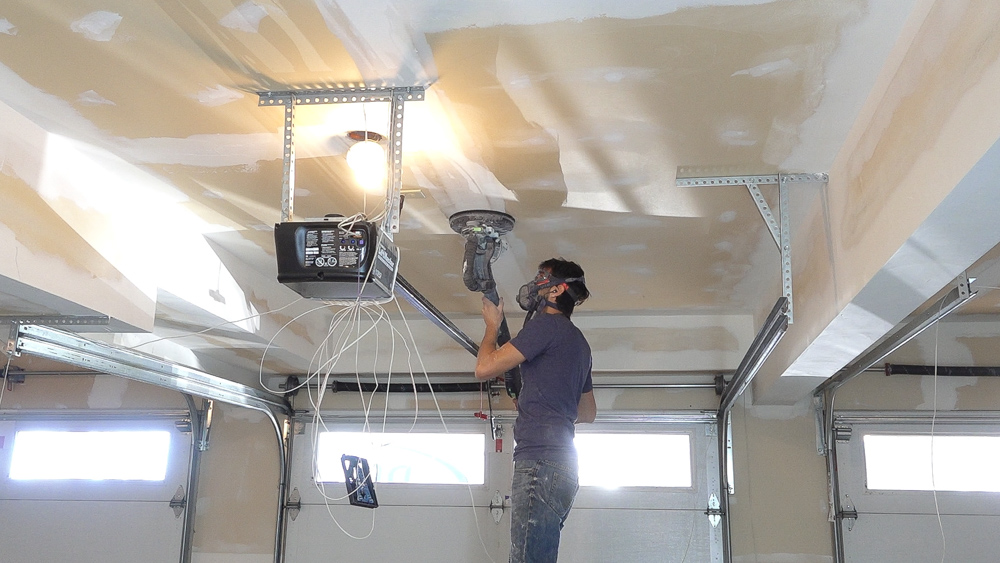
My friend, Donavan, lent me his drywall tools. This festool drywall sander made pretty quick work of evening everything out. As I went, I marked any areas that would need further touch up with a marker. I found this sander worked really well on the walls but I found it a bit awkward to use it on the ceilings. For whatever reason I found it difficult to keep the pad flat to the surface causing the edge of the pad to dig and create divots. I ended up just giving the ceilings a quick sanding with the sander and then finishing them out by hand. Speaking of by hand I’ll work the inside corners with a foam sanding block to crisp them up because I like my corners nice and crisp. Through all this sanding, I wasn’t really concerned with dust since I’m in a garage which is easily contained and easily cleaned up. If I was in the house it would be quite different.
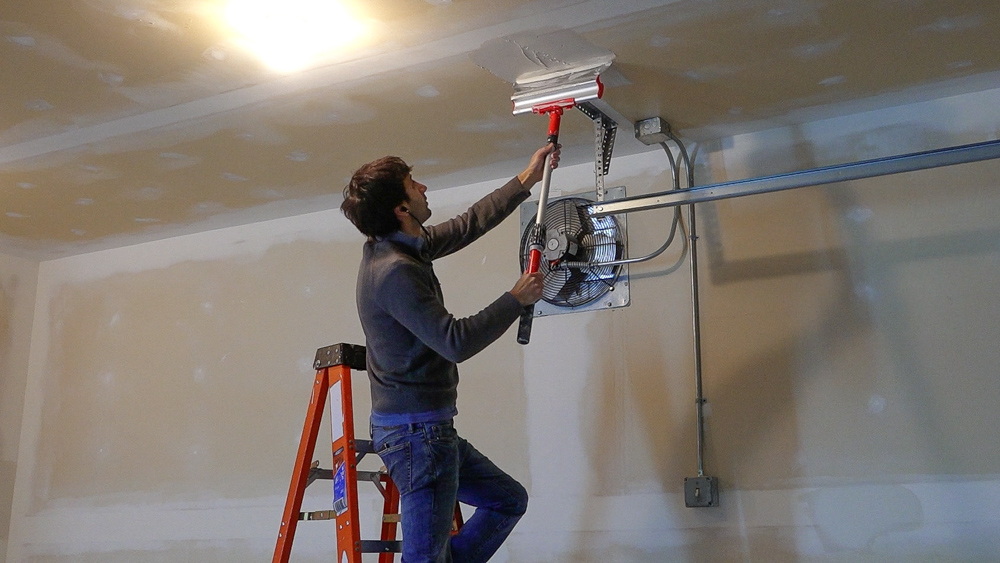
Donavan also lent me his skimming knives. These have a stiffener backing a thinner knife which makes them feather really well and pretty much effortlessly. I used these to touch up the areas I have previously noted while sanding and went over some of the seams with them. I found the 24” knife great for blending the areas where multiple seams intersected. If I really wanted to do it right I would have gone over every seam with these knives to further feather them out. At this point I was close enough and ready to move on. Welcome to good enough territory.
Now I’m still not amazing at this but what’s most interesting is I now have a better eye for quality drywall work. I walk around my house and see all kinds of issues that I didn’t notice before. So maybe this experience ruined me because I can only see those flaws around the house now. But what’s funny is that even my ok job in here makes this the best finished room in the house. I feel pretty good about doing a better job than whoever did the drywall work in the rest of the house.
Totals for this step: about $50 in mud and probably 30 hours of time between my dad and myself. This step is labor heavy for sure.
Now that I’m done, I can blow all this dust out of here. Normally I’d do this with a leaf blower but it’s at the other house, so I made do with using my shop vac in blower mode. Worked ok but not nearly as quick as a leaf blower. Also, if you’re going to blow a bunch of drywall dust out your garage doors, make sure your wife’s car is parked right in front of the doors. I plugged in my air filter and let it pull the remaining airborne dust out of the air over night and then I can get into painting.
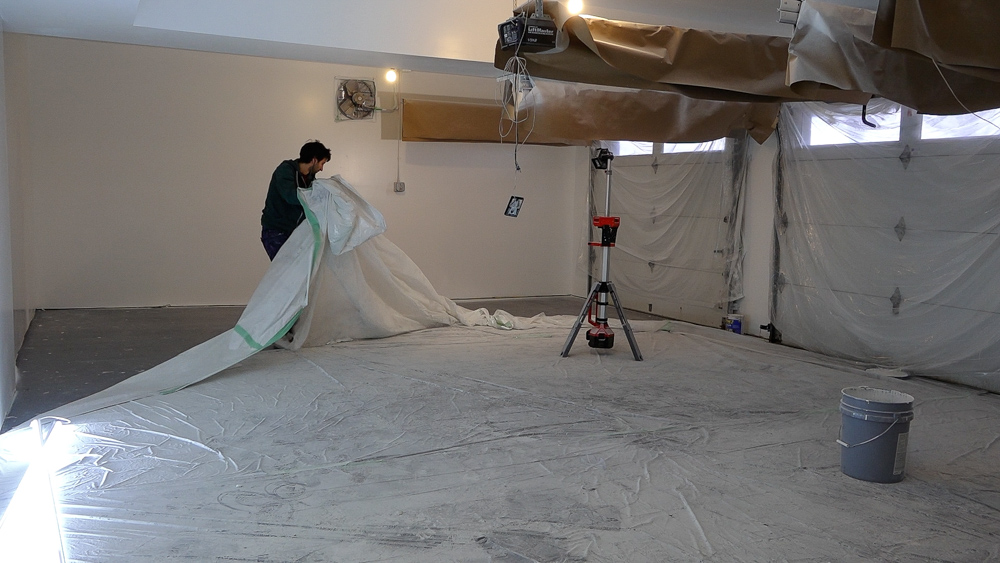
I figured the best way to mask off the garage doors was to just hang plastic in front of them. This will leave me with a little bit of touch up work around the doors that I can take care of later with a brush. To mask the rails, I just covered them in paper. Now to deal with the rail supports. I just removed these. Since I won’t be opening the doors while painting and I’ll just paint the piece that’s attached to the ceiling.
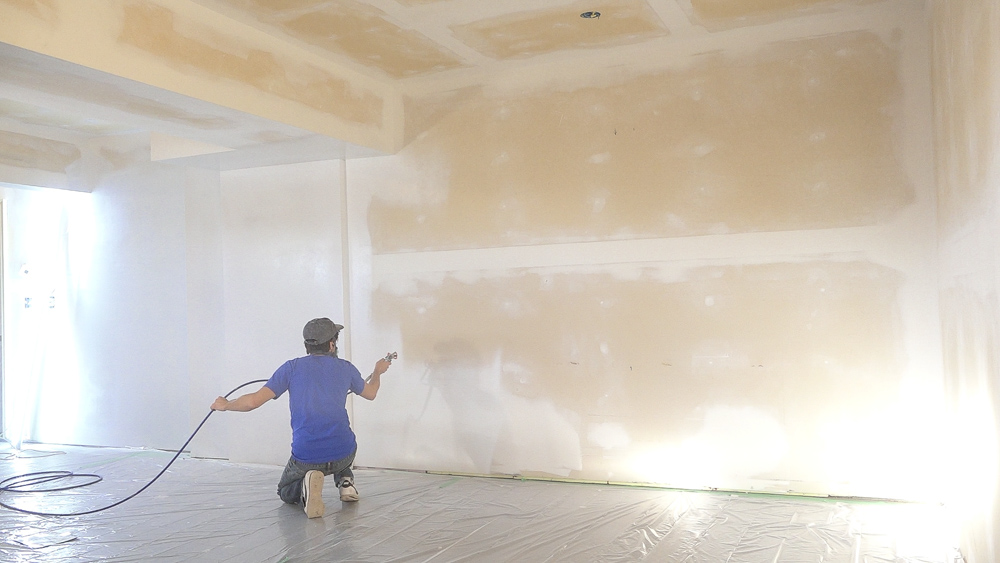
Now I can roll out some plastic onto the floor and then it’s on to primer. My friend, Sam, lent me his airless sprayer and according to him it’s a real time saver. This I can confirm after using it. There is a bit of a set up process to get going and get the sprayer primed. Luckily he gave me the instruction card. This might be more of an experiment of how well you can follow directions. And yes, I had this pail shaken at the counter. After mixing that floor paint, I had a never again moment. Anyways, I got the sprayer primed and did some sample sprays to dial in the pressure to get a consistent spray pattern.
Now one thing I didn’t really think about was the sprayer blowing the drop cloths around. That’s not something I have to worry about when rolling. So in areas where the plastic wasn’t taped completely down, I have a nice spray of white paint on the floor along the wall. Oh well it’s just a shop. But in all reality, most of these spots will never be seen because they’ll be covered with stuff. I actually had a thought to install baseboards to clean up the transition between the walls and floor. I decided that was a silly idea for the same reason. Your mind goes to interesting places when you spend hours in a room with a mud knife.

Anyways, this is how far I got with the 5 gal pail of pva primer. I had a couple 1 gal cans of regular primer that I dumped into the pail to finish up the rest of the walls and ceiling in the last bay. I did notice some fuzzy areas probably from sanding the paper. I sanded the walls quickly by hand to remove this texture effect. I’d like the walls to be nice and smooth to hopefully prevent dust from sticking to it as easily.
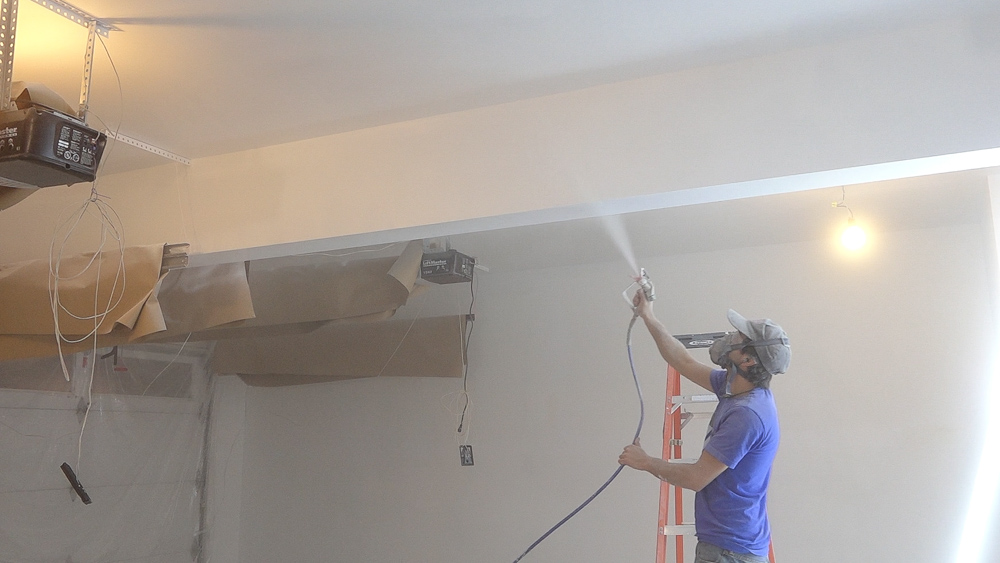
After all that climbing up and down the ladder, I was at the store and saw that they had extensions for this sprayer. I bought one but didn’t have a wrench here to install it. Oh well. I’ll get a little more exercise moving a ladder around and stepping up and down as I apply the top coat. I went with an ultra white with a satin sheen. Yes I like a bright, sterile looking workspace.
I used the entire 5 gal pail of paint. Coverage was pretty good but I decided to go out and buy another 5 gal pail and do a second coat to even out the coverage. While at the store I bought a new adjustable wrench so I could install the extension I previously bought. If someone ever tells you that having two homes is great they’re probably lying to you and trying to offload their second home onto you. I’m so looking forward to having all my stuff in one place again. Anyways, the extension made spraying so much easier and saved a good amount of time too. The previous coats took about an hour and a half. This last coat was under an hour.
I used 4 gal of paint on that last coat which left me with some paint to do around the doors. This was pretty quick to finish up and since this paint dries so quickly, by the time I got to the end, I could go back to the beginning to add another coat. Totals for this step: 7 gal of primer, about $100; 10 gal of top coat, $150 per 5 gal pail. One extension and wrench $50. About 8 hours of work.
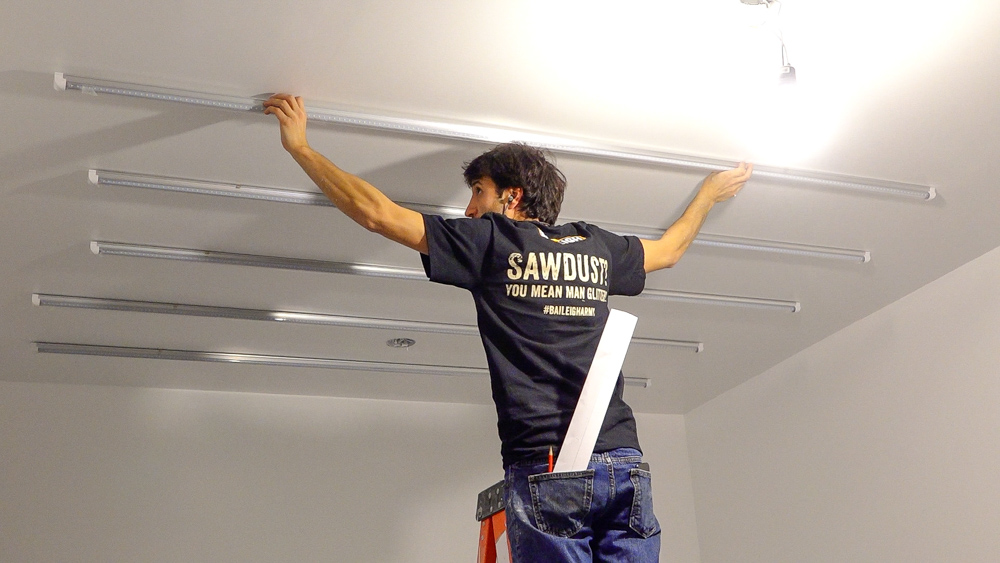
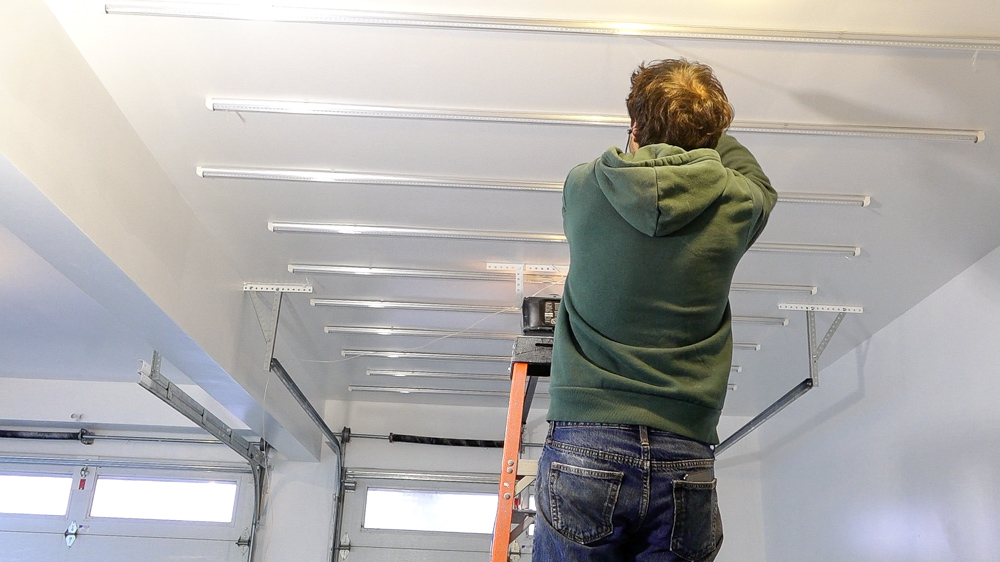
I didn’t order enough wires for all these lights because I wasn’t sure on the layout I was going to go with. But I’ll get these put up so they’re out of the way and so I can at least turn a few on. I’m very much looking forward to being able to see better out here.
To make spacing the lights consistent, I made a spacer to evenly divide out the bay of the garage. A little bit of math. The total length divided by the number of items plus one. I can cut a piece of cardboard to that length and use it to space each light from each other and the first one from the wall.
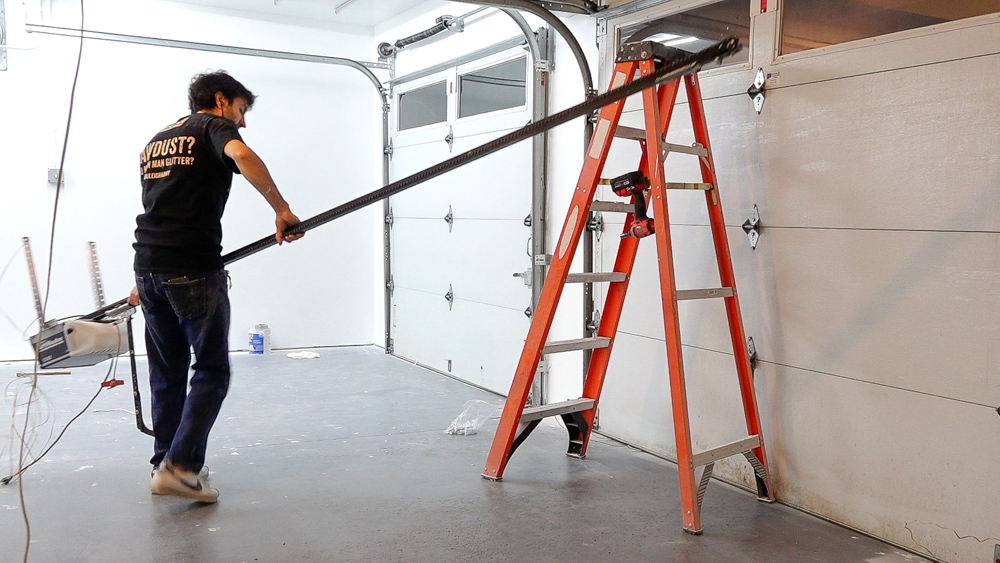
12 lights up, on to the next bay. This is when I decided that I don’t really need a door opener because I have arms. But seriously, my old shop doesn’t have openers and it’s not like I need to open the door remotely like from in a car as I’m pulling into the drive way. A couple bolts and a pin to remove and I can throw this opener assembly into the barn. It’ll be a quick reinstall when this space is converted back into a garage. I was thinking of replacing the opener in the first bay with a wall mount unit but at this point, I’m pretty sure I’m just going to remove it as well because again, I have perfectly good arms.
I got the other 12 pack hung up in the first bay. I had a bunch of clips left over so I installed those in the second bay so its all ready to go once I pull my other lights out of the old shop. And since filming this I did get enough linking wires for one bay and it’s looking like 12 per bay isn’t going to be enough for me so we’ll circle back to the lighting in a future episode.
Donavan – https://www.youtube.com/channel/UCxey9giI8k-uY06CjtFF7TA
Sam – https://www.instagram.com/sammy_mpls/
PRODUCTS USED
Triton Superjaws: https://amzn.to/3nPjuXI
Floor Paint: https://amzn.to/3rpY4Tq
Concrete Etch: https://amzn.to/37NkJkV
Festool Planex w/ Vac: https://amzn.to/3pekiWu
Level5 Skimming Knives: https://amzn.to/37J1uss
Airless Paint Sprayer: https://amzn.to/3nNFItp
Milwaukee Rocket Light: https://amzn.to/3aCZDaH
Lights: https://amzn.to/3n0eVtz
[Amazon links are affiliate links]
Welcome to my shop! This is a quick update to let you know what I’ve been up to. This big chunky thing is the leg

Welcome back to the home renovation. This time I’m going to be working on the kitchen island. Here is a small model of the island.

Welcome back to our home renovation. Today I am going to be working on this wall. It needs some upper cabinets and the surround for