Home Addition & Renovation
White Oak Kitchen Island Leg
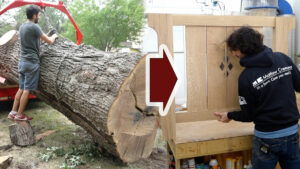
Welcome back to the shop! I’m continuing on with the white oak island build. Last time I made the end panels for the cabinetry unit,
Welcome back to our home renovation and remodel.
Today, I am hoping to have the island cabinetry built out, as well as getting the leg assembly connected at the open seating part of the island.
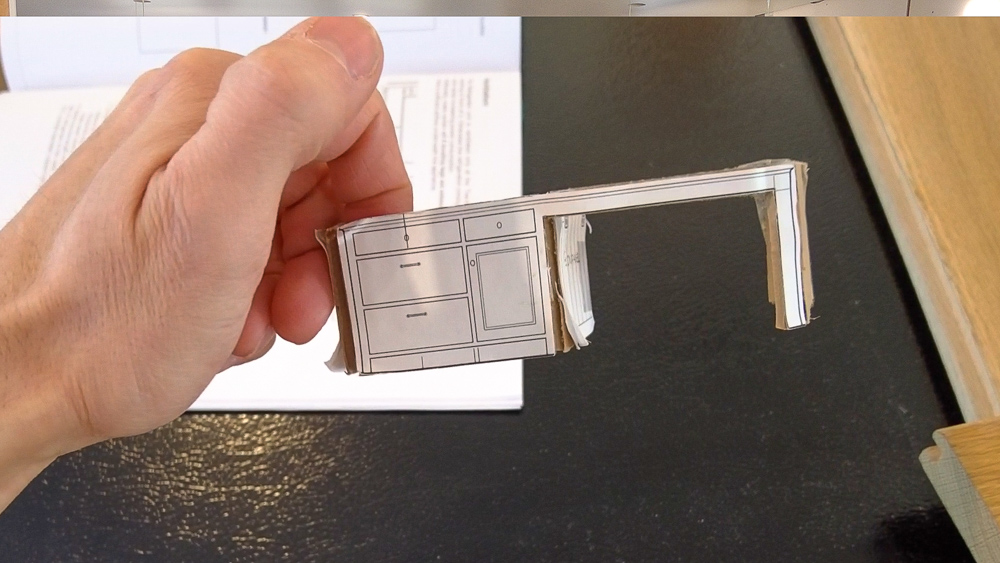
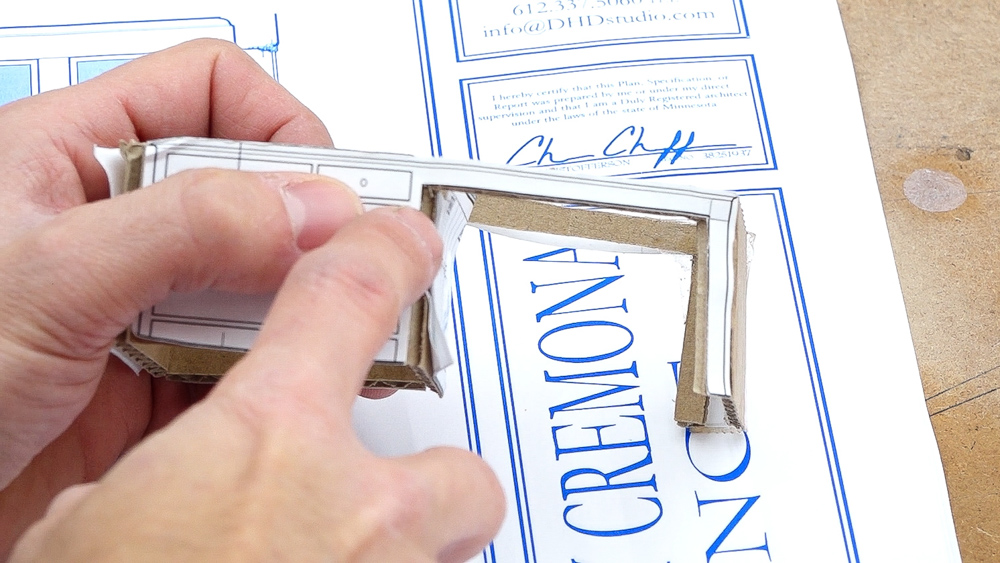
Here is a model of one of the sides of the island. As you can see it has three drawers, a door, and a single drawer on top of the door.
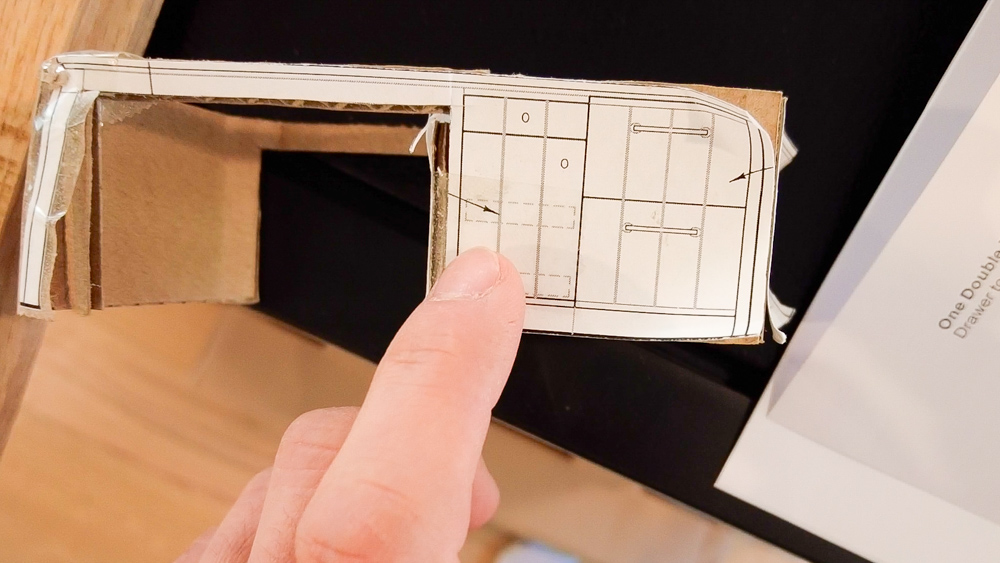
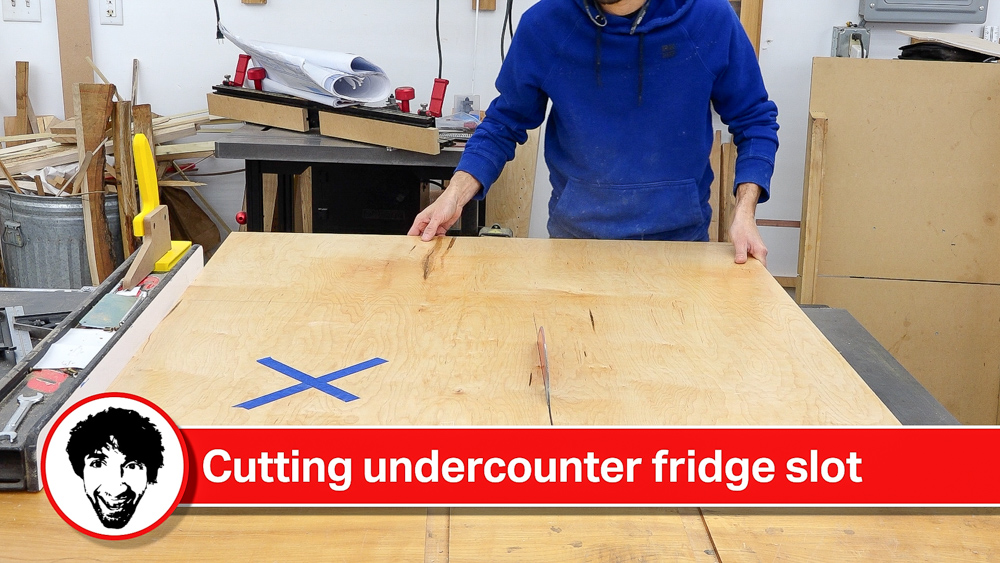
The other side is a little more interesting. The entire front is going to have V-groove paneling on it. One of side of the cabinets will be the refrigerator/freezer unit with the paneling applied directly to that unit, and next to that will be a drawer with a door with some pull-out bins behind it.
I also want to work on the long rails that connect the leg assembly to the cabinetry.
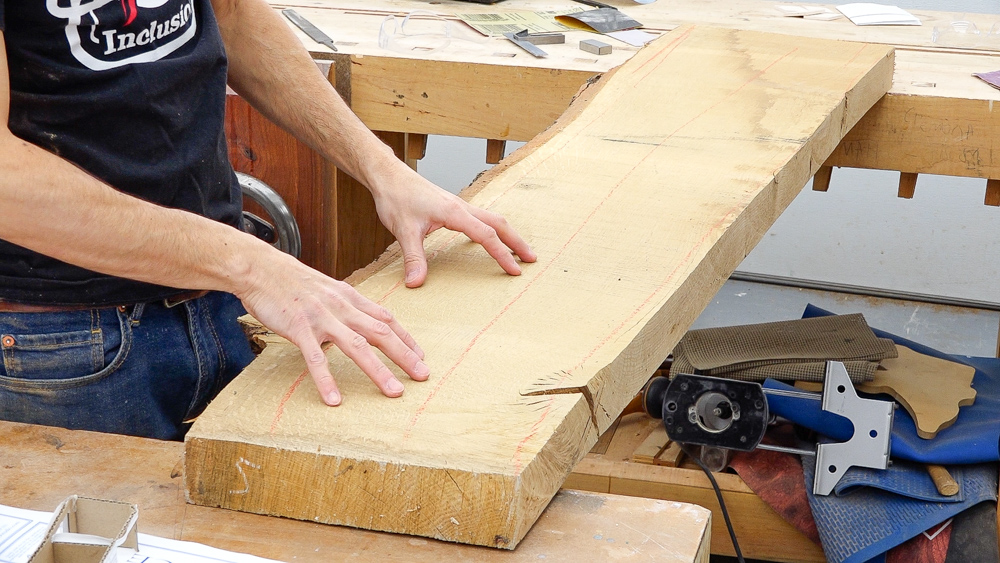
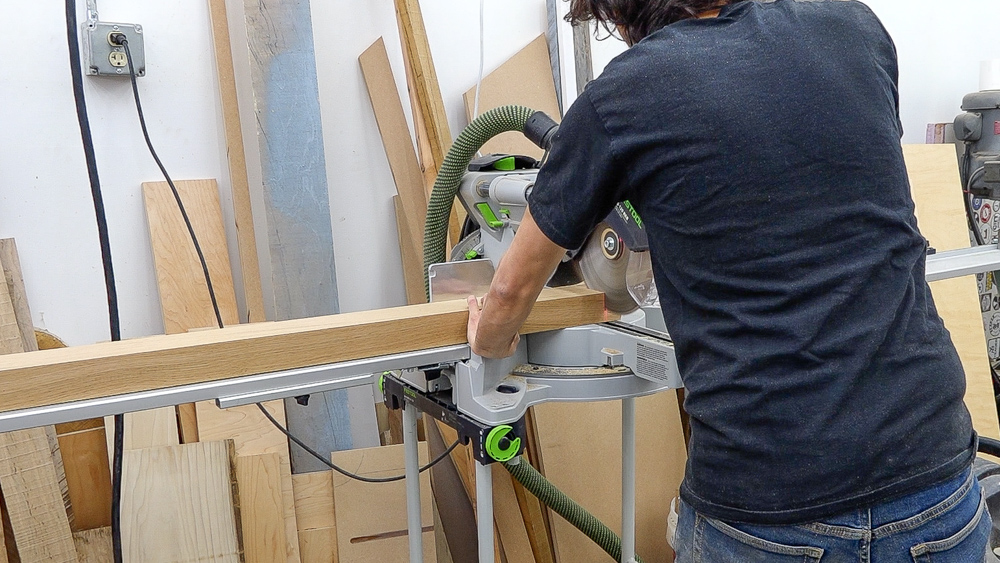
For those two long rails, I am using the same slab I cut the end panels out of. You might ask if the rail really needs to be coming out of a piece of 10/4 and finish at about two inches thick. The answer is probably not, but this is going to be an overbuilt island compared to most kitchen islands.
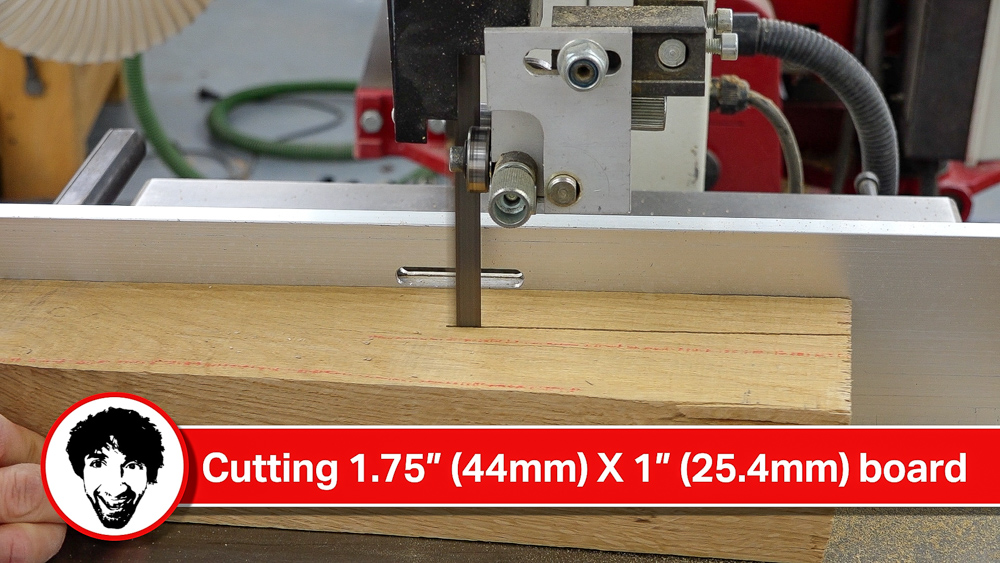
I’m going to chop this up to get all of my long rail stock. I have enough thickness to get both pieces out of this off cut.
Next up, I’ll make the face frame for the cabinets.
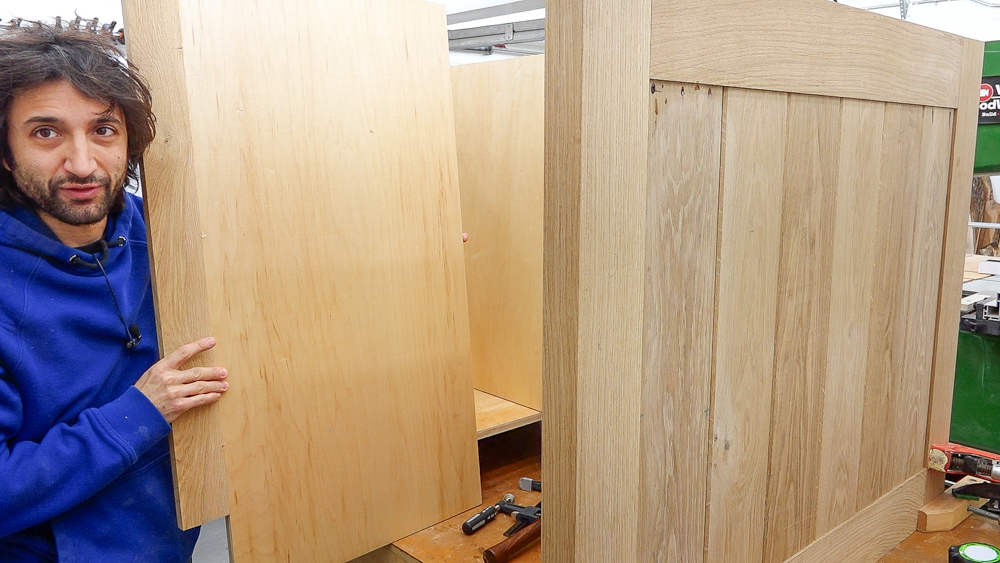
And get the floor of the cabinets cut out as well.
Getting the divider cut out and in place.
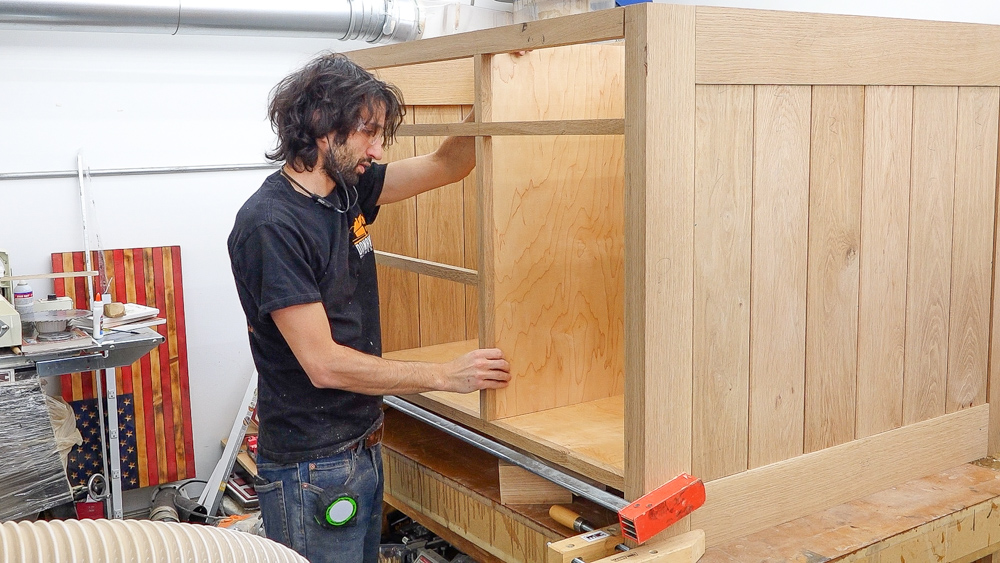
For this partition panel, I’m doing something a little different. I put this 3-inch wide piece of white oak edge banding on for two reasons. First off is I had an off cut that was just a little too narrow to do the whole thing, so by adding a little material it’s now wide enough to work. The other reason is that as you open the drawers, you’ll see a little bit into the cavity around the side of the fridge unit. By attaching this banding, you’ll see a little bit of the white oak. I’ll cut this partition to final size, and that is basically all of the plywood components for the case.
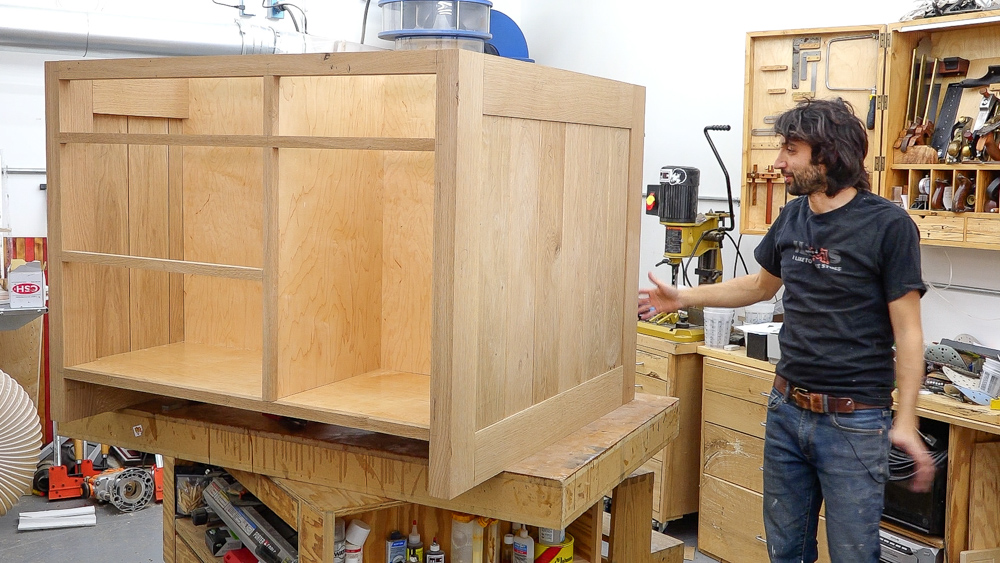
Here is the dry assembled cabinet unit! For the most part, it’s looking good. A few things to tweak when it comes apart again, but nothing too major. One thing I’ll mention that I was having a problem with was that this kept coming out of square. The problem turned out to be that the bottom was sagging. As soon as I took the sag out of the bottom, then everything magically worked. Just goes to show that your squares can lie to you, because what they are referencing off of might not be straight.
With that out of the way, I can start on the leg assembly. I’ll get my stock pieces milled and cut to length.
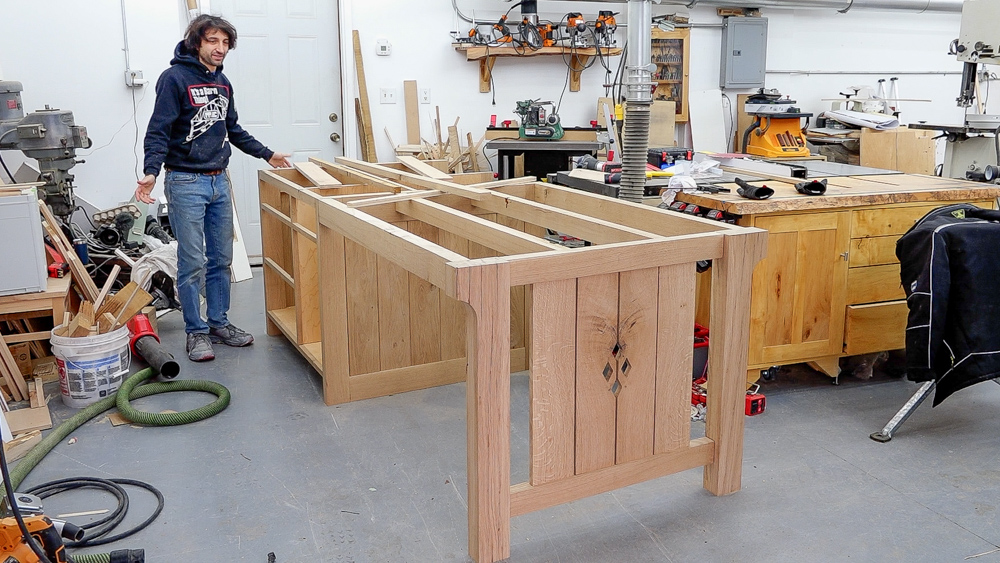
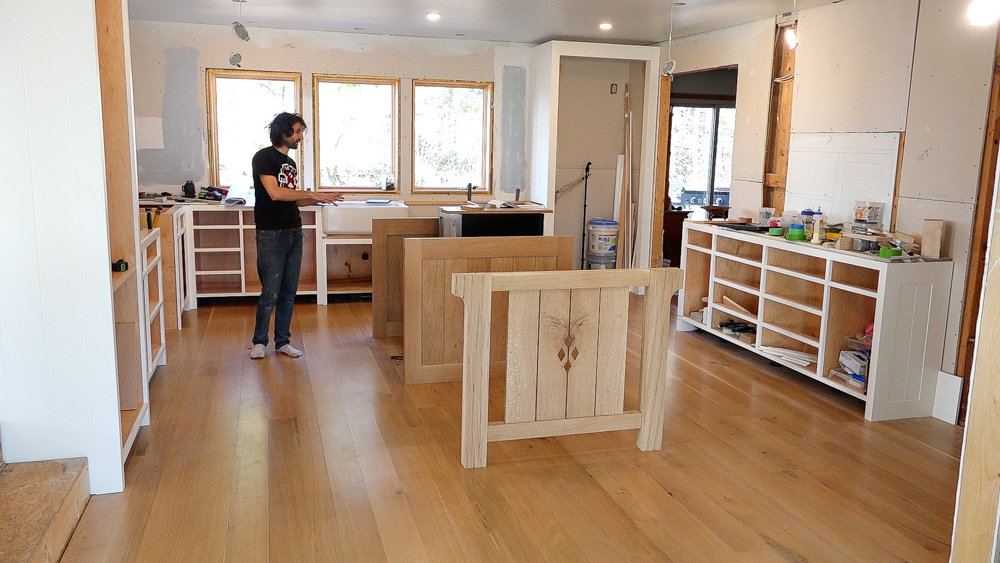
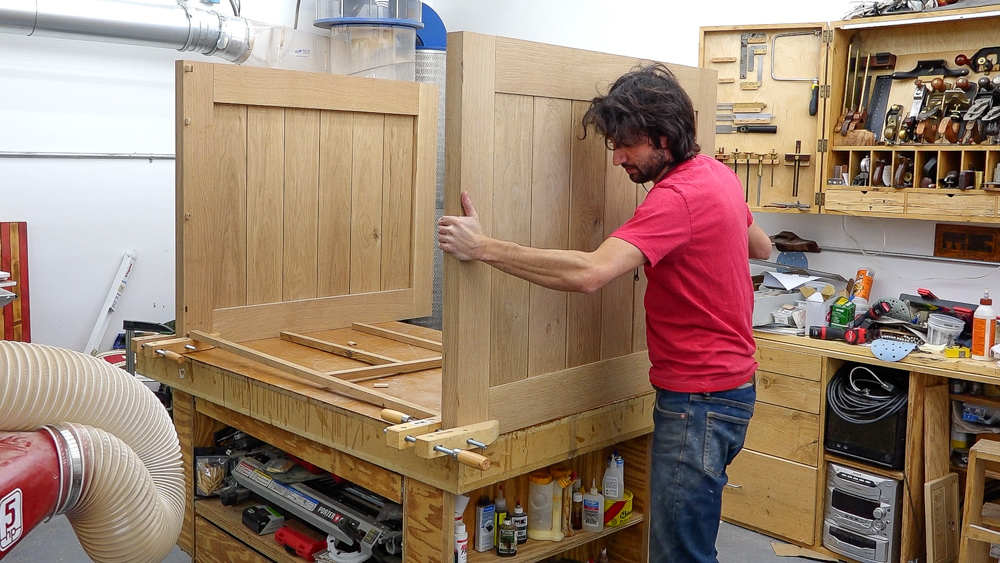
Quite a bit of progress this time! This island is basically done, as far as building it goes. You can finally get a sense of the finished scale of this time, and it is quite big, which I’m excited for. There’s a lot of empty space in the kitchen right now, and this is going to fill it out really nicely.
Thank you as always for reading along, I greatly appreciate it! If you have any questions or comments about this giant kitchen island, please feel free to leave a comment. As always, I’d be happy to answer any questions you might have. Until next time, happy woodworking!
Welcome back to the shop! I’m continuing on with the white oak island build. Last time I made the end panels for the cabinetry unit,

Welcome to my shop! This is a quick update to let you know what I’ve been up to. This big chunky thing is the leg

Welcome back to the home renovation. This time I’m going to be working on the kitchen island. Here is a small model of the island.