
Matt's Weekly Shop Update
Kitchen Island, Barn Power – March 2024 Update
Welcome to my shop! This is a quick update to let you know what I’ve been up to. This big chunky thing is the leg
Welcome to my backyard, and welcome back to my series I’m building my new trailer! This time we’re going to get into some of the customization. We have a basic standard trailer, and now we’re going to start making it a little more urban logging centric. Let’s start working on the stuff that’s going to go up on the tongue.
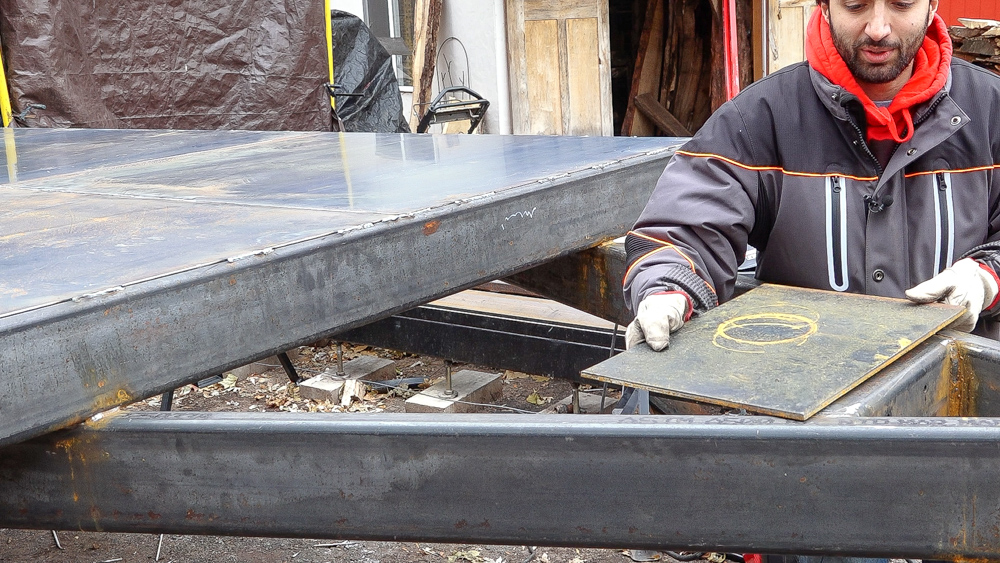
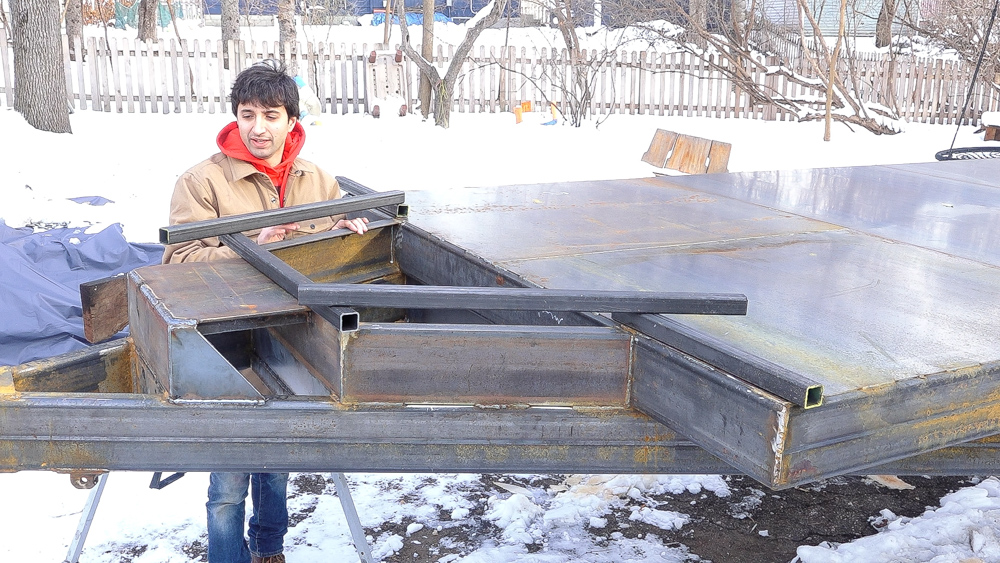
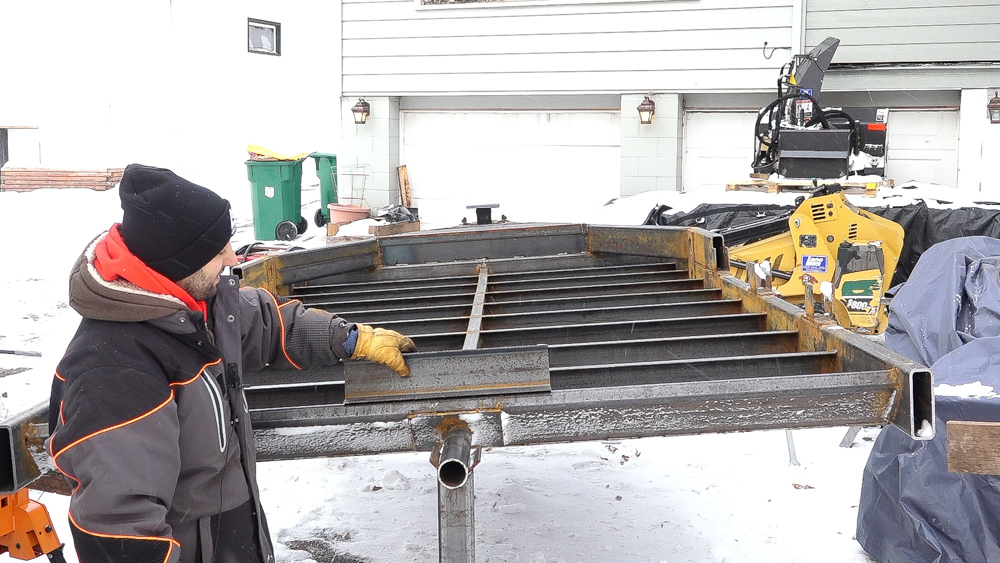
Up here at the tongue we are going to have the winch as well as the extension deck, which will also be a chain tray. This whole layout’s going to start with the winch plate. This is going to determine where the cross-member is going to go.

I have some six inch C-channel, which I’m going to use to frame things out. I’m going to start cutting that to size, so then we can start filling in this area and creating that extra deck area.
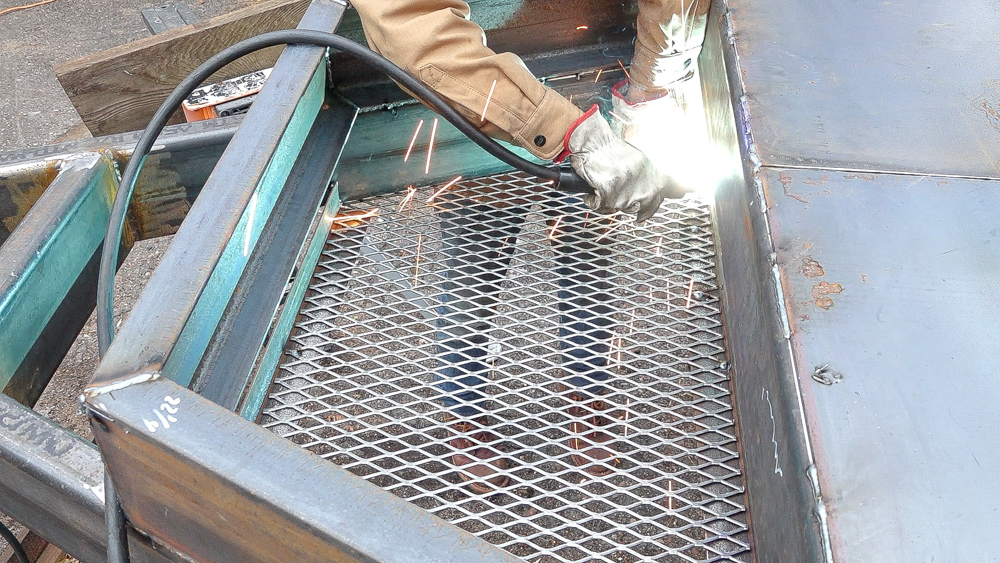
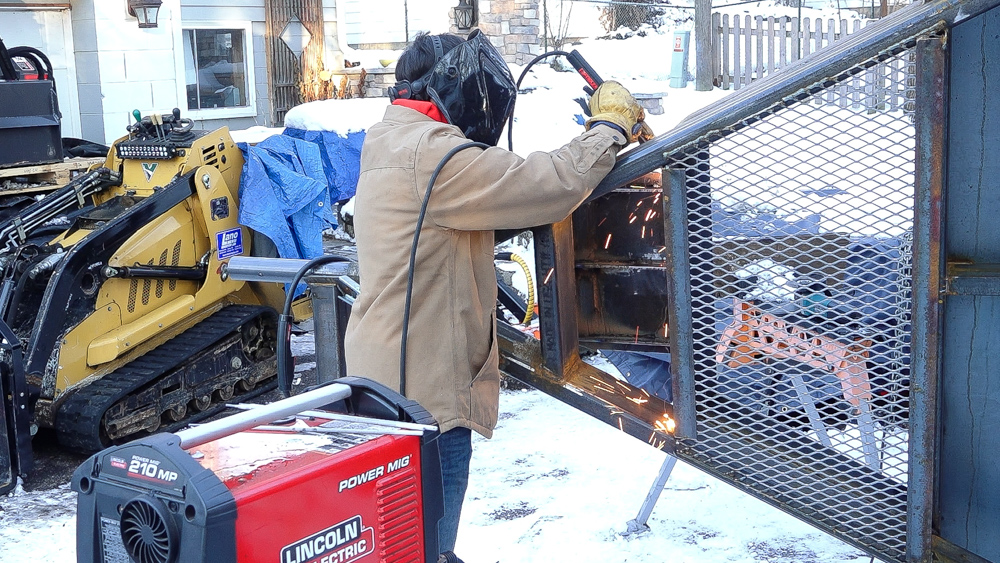
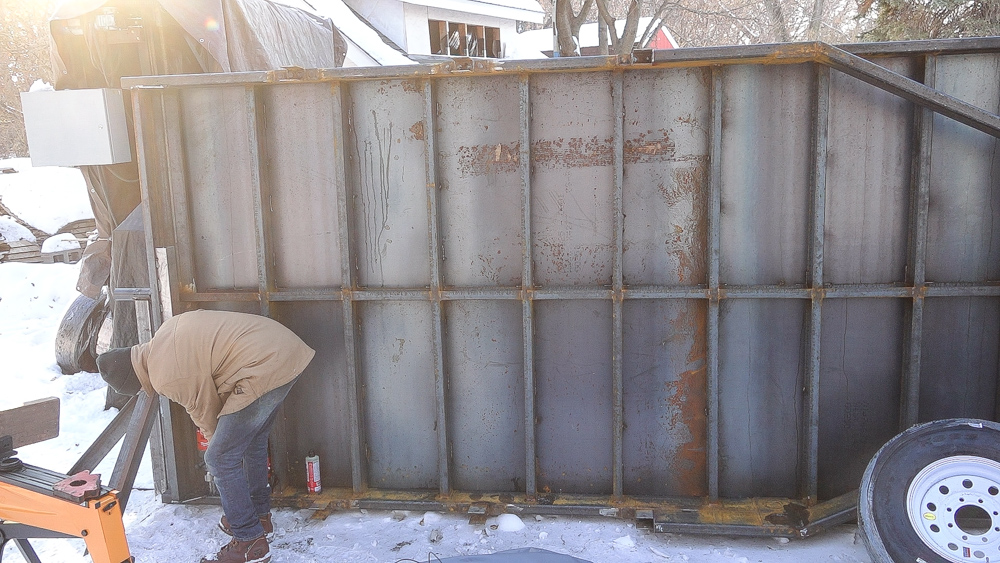
The base of the tray is going to be made of this expanded steel, and it’s going to be supported by a couple pieces of angle iron. The expanded steel being open will allow rainwater and small things to fall through here, but keep my larger stuff in this tray in place. I’m planning to use this area to keep all my chains and my rigging equipment and stuff like that.
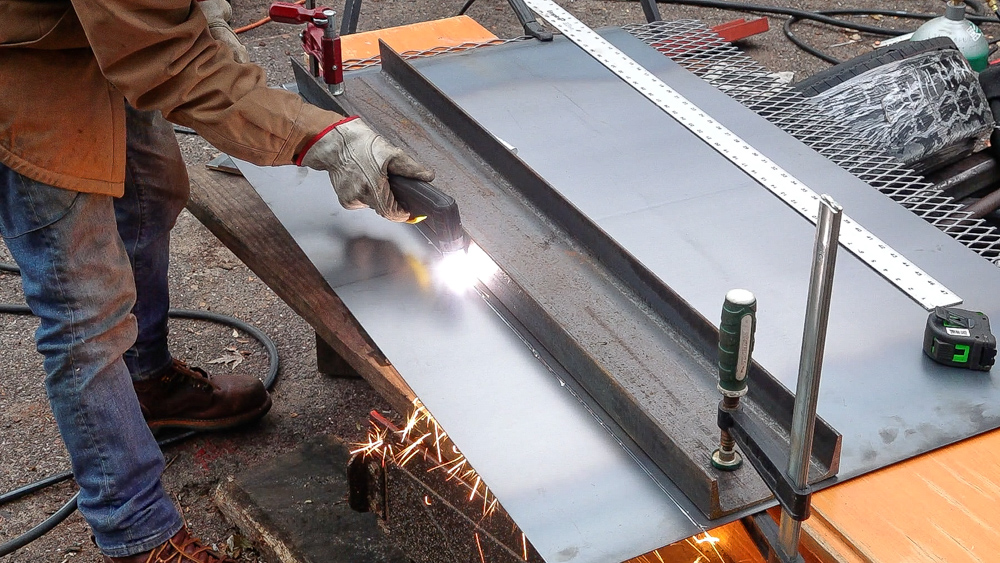
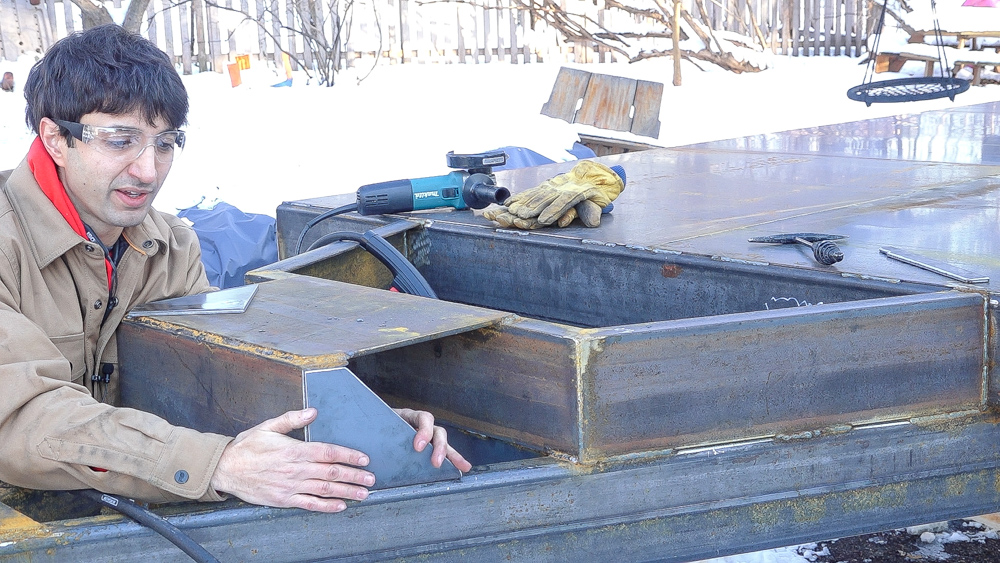
To close in the front and back, I have some 14 gauge sheet, which I cut into a couple of strips that can fill in those areas.
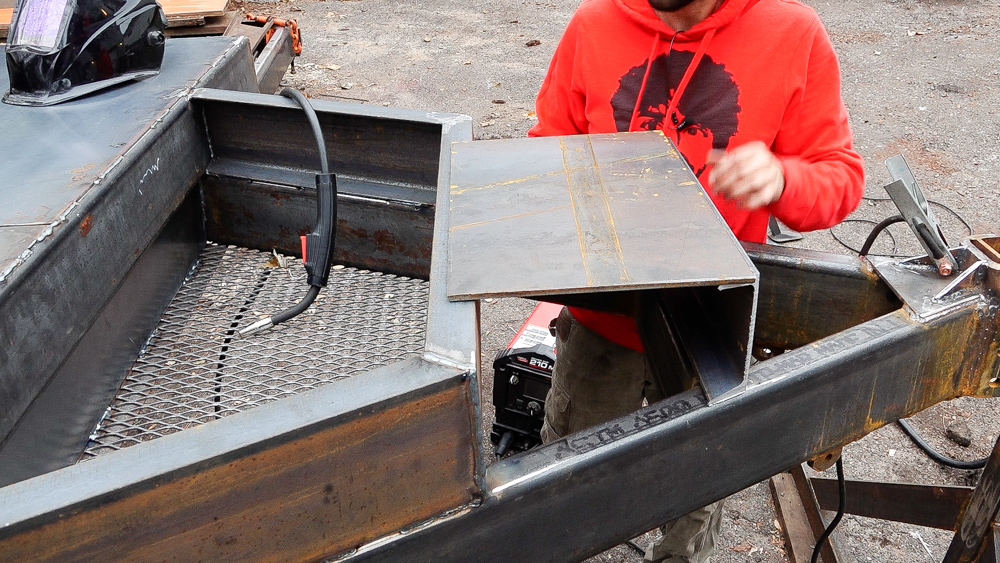
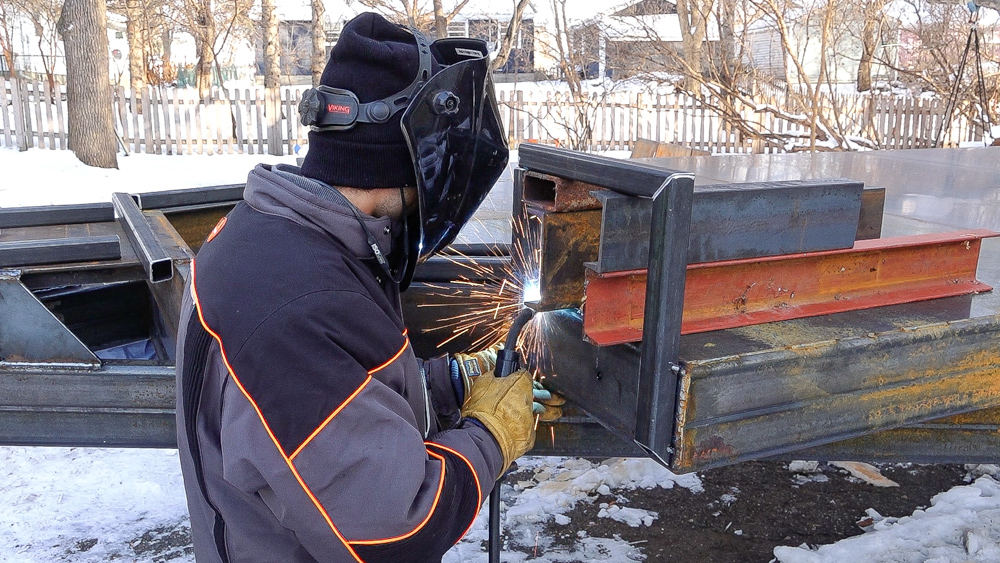
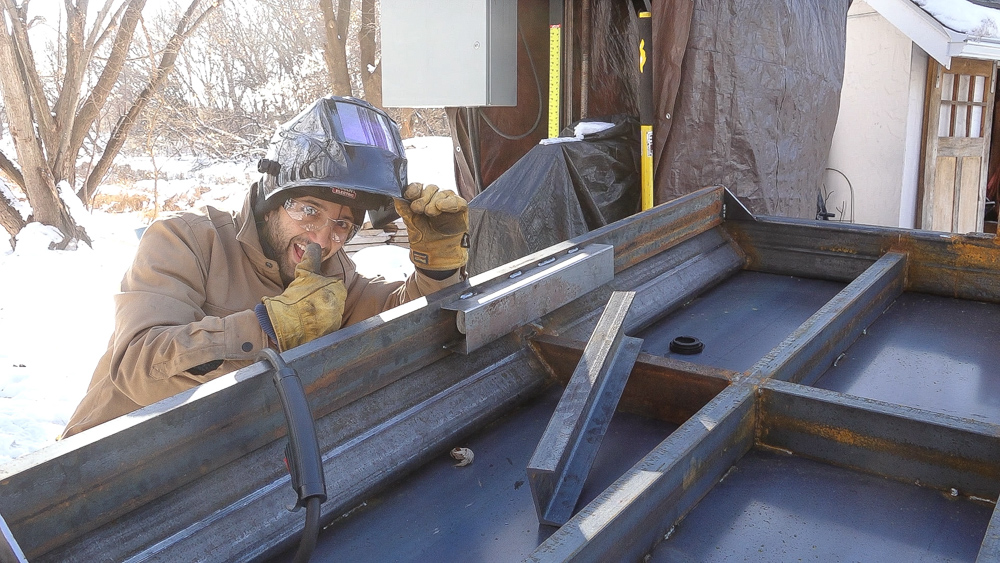
Next thing is to work on the winch mount area. I just cut the piece of C-channel, which will bring the winch area up level with the rest of the deck, and then I’ll attach the plate between those two pieces. I am going to press clip the corners here on the mounting plates and make it look a little nicer.
Now I’m going to move on to adding all the reinforcements. First thing to go on here is this gusset, which will cover up the hideous engrain of the C-channel. I’m also going to add some stiffeners to the underside of the plate, which can be made from some strips of steel.
I cut some strips with the plasma torch and did a little profiling on the end there, and that is the stiffening bar. There’s going to be three of those that go underneath. I want to make sure I install the stiffeners in a spot where they are not going to interfere with the bolt hole pattern for my winch. The winch has a 12 inch wide bolting pattern, so I’m going to run one stiffener down the middle of the plate and then also install two other stiffeners at a distance far enough apart that they’re not going to interfere with that bolt hole pattern.
So the winch mount is all done, and the next thing I want to add up here is the safety rail, which will be made out of this inch and a half square tube. I can actually use the trailer itself as a nice little template to get the length of all the pieces that I need, because I’m just going to make a frame that travels along the outside edge here.
I have all the parts for the rail cut and prepped and ready to go on. This rail is going to be eight inches off the deck, so I have some spacers which will add up to eight inches, and I can work my way around connecting all the parts together.
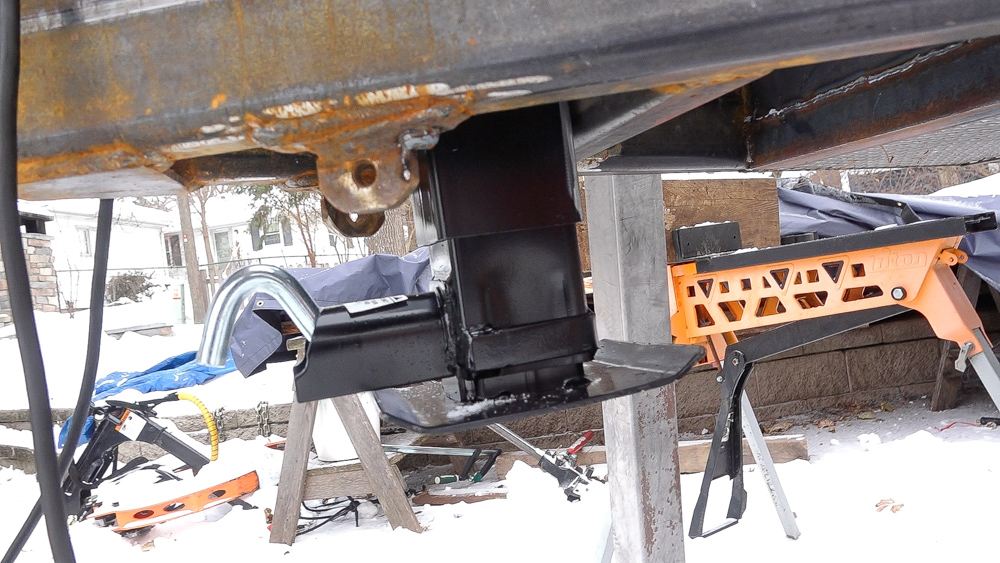
I’m trying to figure out the height for this jack. Since this trailer is pretty low riding, I don’t want to mount this thing too low and have it bottom up as I’m going down the road. So I’m thinking since this jack telescopes in two sections, I’m going to mount the jack body here, flush with the bottom of the trailer. I already made a mounting plate for it, so I will get that bolted to the frame and behind the jack.
Next I want to add something to the back of the trailer that will allow me to mount my marker lights, which are those three lights in the back. I want to mount these things so that they are recessed, so that when a log comes up here it doesn’t smash these things. So I’m going to mount this piece of C-channel up here, which will give me a nice recessed area to mount my three lights. The lights mount in the grommets and the hole size for these is two and a quarter inches. Once those holes are drilled, it’s just a matter of mounting this thing to the frame.
The next thing I want to do is add something to the back to help protect the lights, as stuff could possibly hit the back side of the light bar. I found this piece of scrap metal when I was at the steel yard, and I can weld this thing directly behind the light bar.
So with the light bar on there, I can get ready to drop this off the stands and onto the ground so I can start working on the things that don’t need this thing to be up in the air, such as the fenders, the log arch, etc. I just have a few things to take care of before I drop it, such as installing the caps for the tongue, capping the underside of the safety rail, and drilling some holes for wiring.
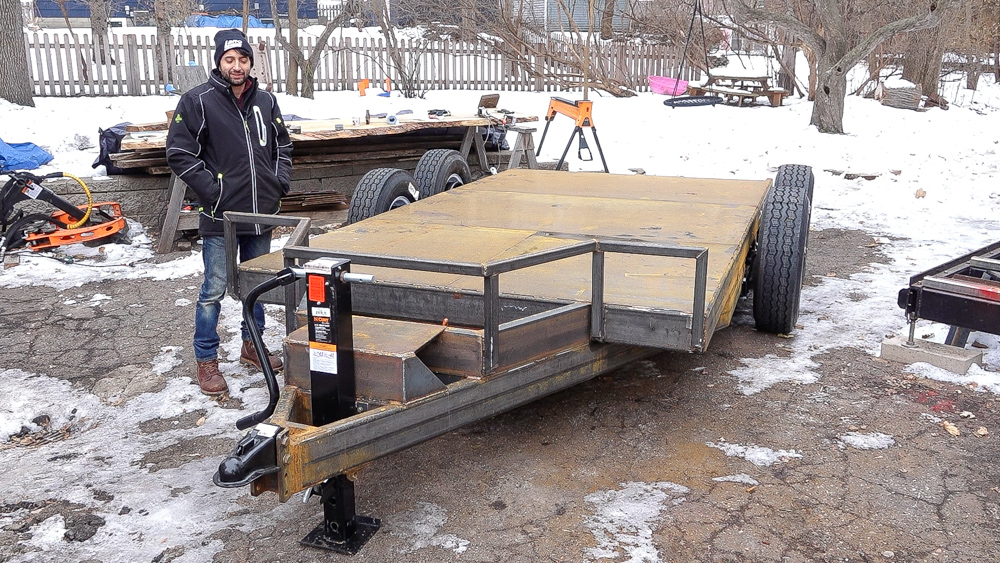
It’s like a trailer now that it has tires! I do believe I have technically made a trailer now. It has wheels, it has a coupler, it can be hooked to a vehicle and pulled down the road. Although there are still a lot of things left to do, it’s just really cool to be at this point. Next time we’ll get into making the fenders and the log arch!
Thank you, as always, for watching. I greatly appreciate it. If you have any questions or comments on the trailer build or anything back in the shop, please feel free to leave me a comment. As always, I’ll be happy to answer any questions you have. And until next happy woodworking!
Welcome to my shop! This is a quick update to let you know what I’ve been up to. This big chunky thing is the leg

Welcome back to the home renovation. This time I’m going to be working on the kitchen island. Here is a small model of the island.

Welcome back to our home renovation. Today I am going to be working on this wall. It needs some upper cabinets and the surround for