
Kitchen Island, Barn Power – March 2024 Update
Welcome to my shop! This is a quick update to let you know what I’ve been up to. This big chunky thing is the leg
Resin stabilizing is a technique that I’ve been wanting to try for a long time. It’s mostly used for turning blanks but since I don’t turn very often, I never would have had a good use for the blanks. Luckily my friend Dema makes these brass hammers with resin stabilized handles and he agreed to turn any blanks that I made into finished hammers.
In the past you may have seen me use Clear Penetrating Epoxy Sealer (CPES) to stabilize and strengthen rotten wood and this process is somewhat similar. The biggest difference however is the stabilizing resin (I’ll be using Cactus Juice) requires an external heat source to cure. So rather than just curing on its own like regular epoxies, stabilizing resin will not cure until it is heated to its curing temperature. This is a big plus because it allows plenty of time to fully saturate a piece of wood. The down side is this technique is only practical on small pieces of wood since they need to fit into an oven.
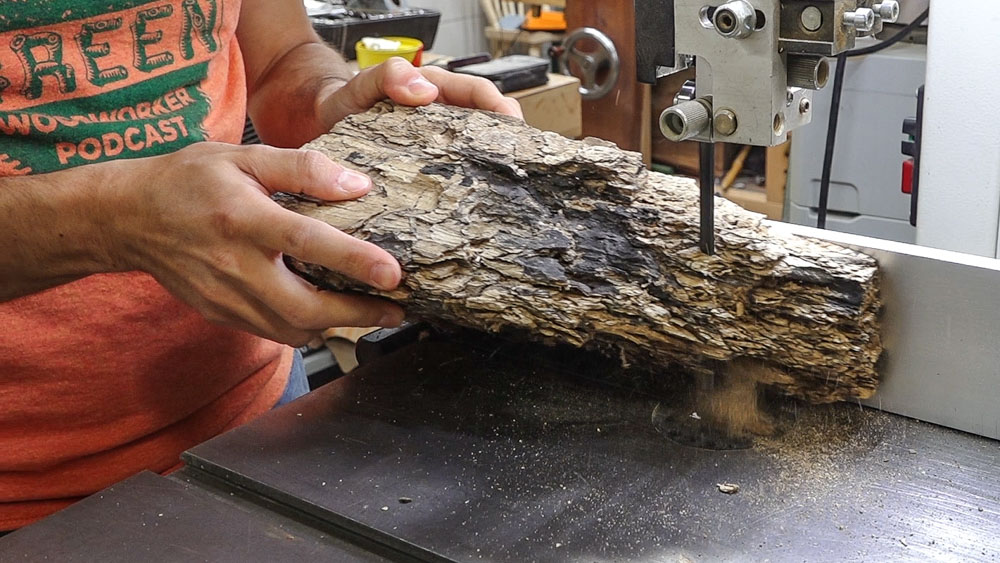
For the stock for these hammer handles I have this piece of rotten maple. It could be called spalted maple but at this point it’s so far gone that it lacks any sort of structural integrity. This piece came from a hollow hard maple tree that had a lot of quilting. I picked up a few chunks of this tree from the yard waste dump in Niellsville, WI in 2012 while visiting my in-laws.
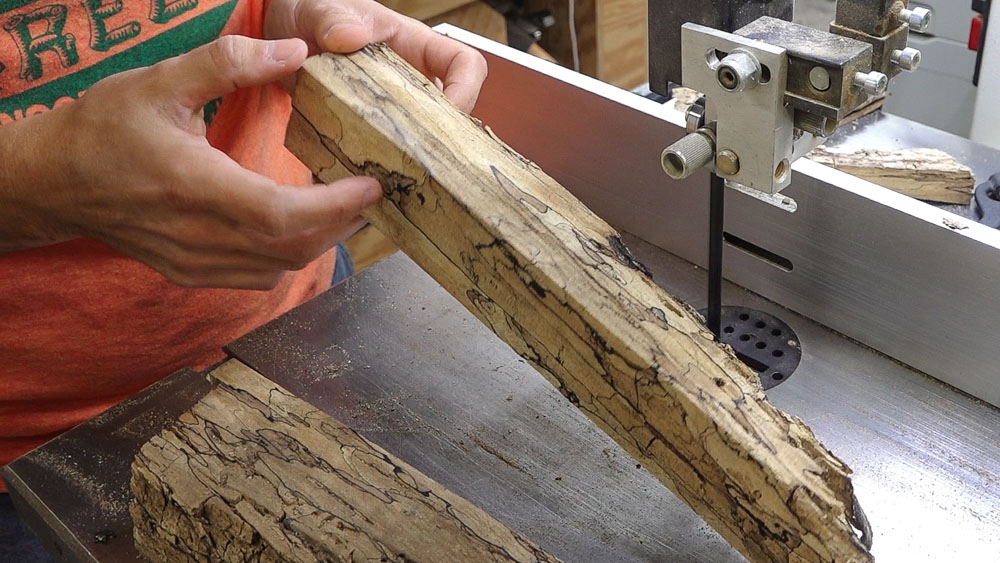
The block of rotten wood is cut into square stock at the bandsaw trying to get as many blanks out of the stock as possible. They are then cut to lenth at the table saw. Final blank size is 1.75″ x 1.75″ x 3.5″
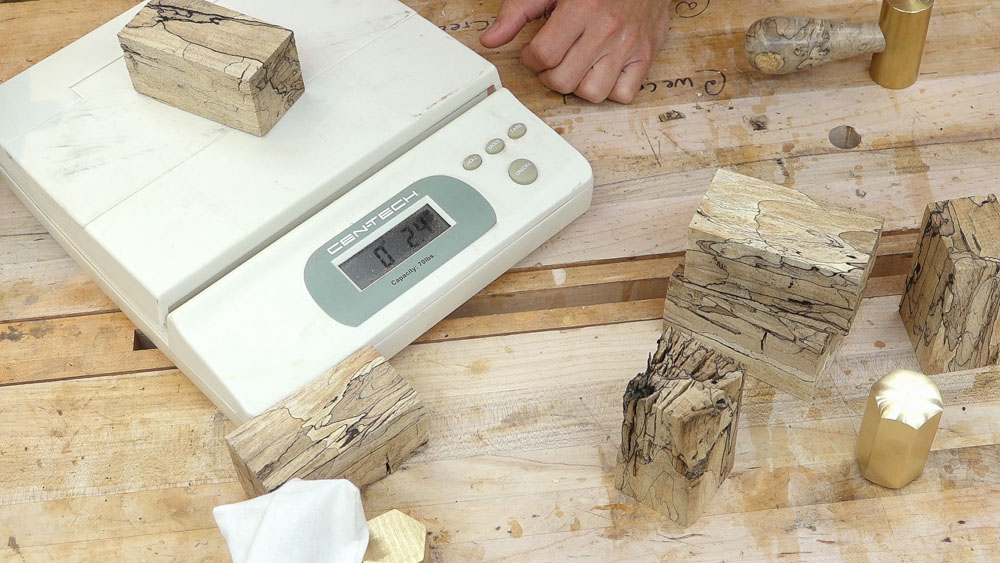
Before starting on the stabilizing process, I take a starting weight. We can compare this wieght afterwards to see how much resin the blanks absorb. Starting weight on the blanks ranged from 2.4-3oz.
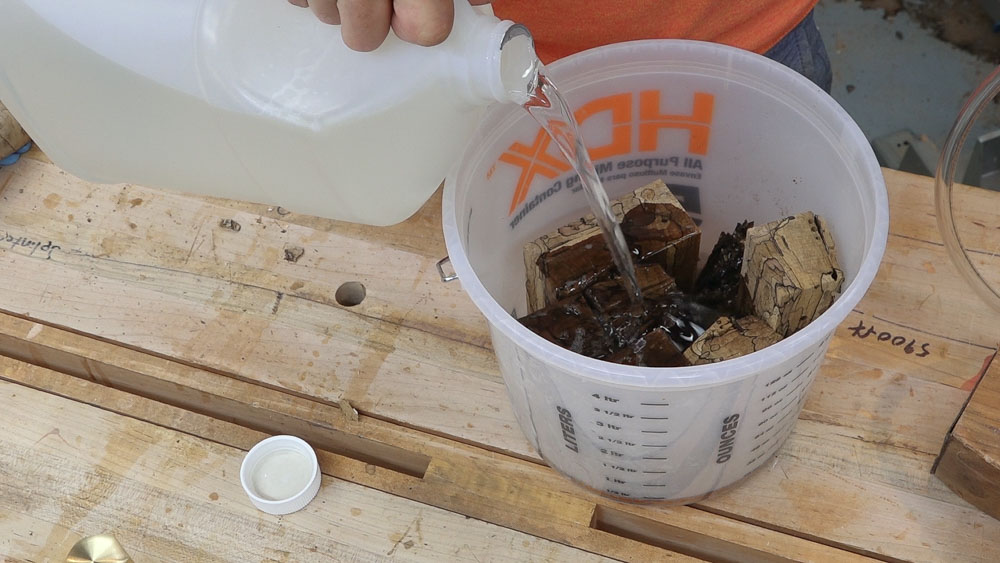
The blanks are arranged in a container and the stabilizing resin is poured in. The blanks have a low density so they will float and will need to be weighed down.
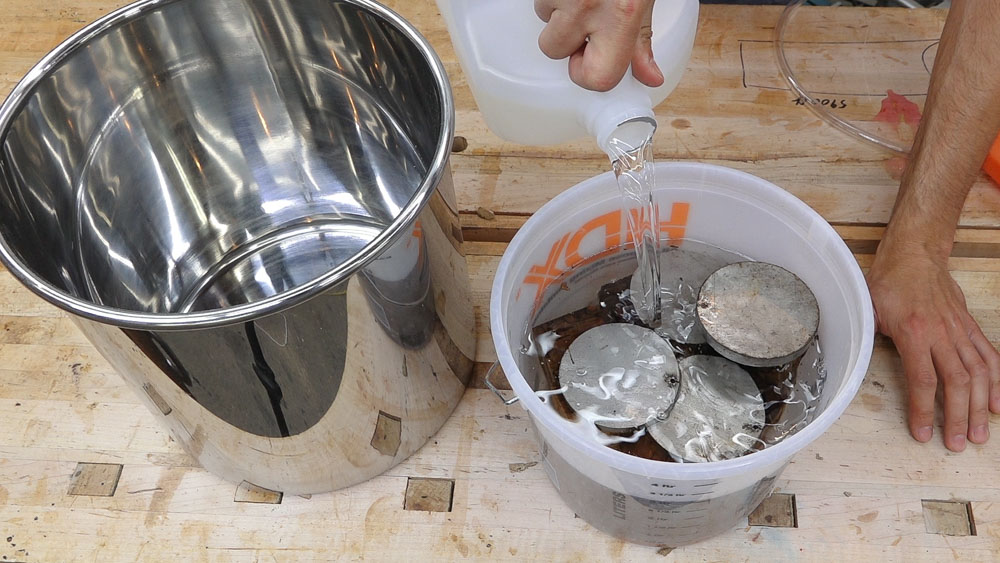
After several minutes the blanks have absorbed a large amount of the resin causing the resin level to drop. Before moving the container to the vacuum chamber, I’ll top off the resin level. We want to make sure the blanks stay fully submerged for this process. If they are exposed to air, the infusion will not be as good.
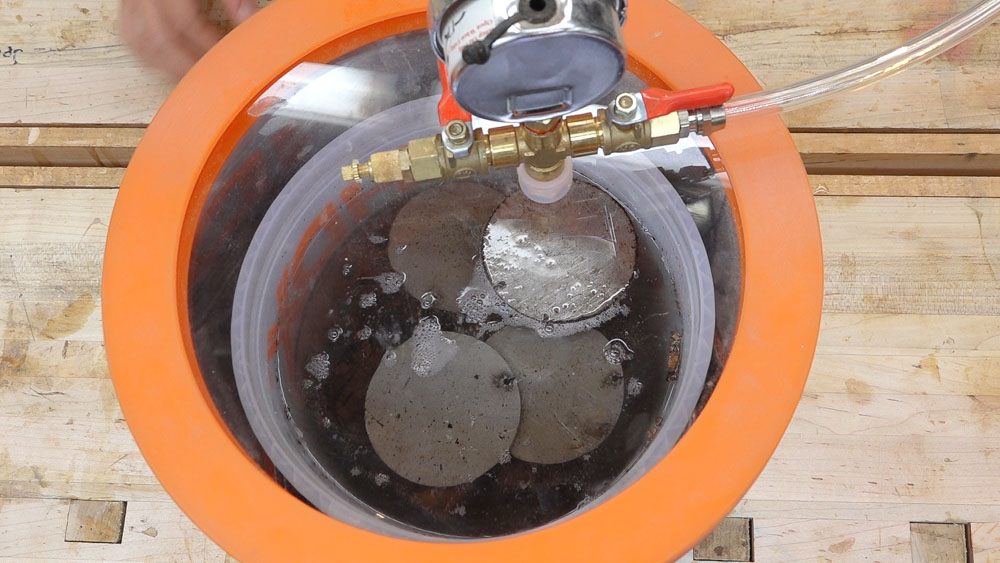
Next the blanks go into the vacuum chamber and a vacuum is applied. The air in the blanks begins to be pulled out. The blanks are left under vacuum until bubbles stop rising out of the blanks and floating to the surface of the resin. For these blanks, that took 5 hours. After they stop bubbling, they need to sit in the resin with the vacuum removed for twice as long as they were under vacuum – 10 hours in this case.
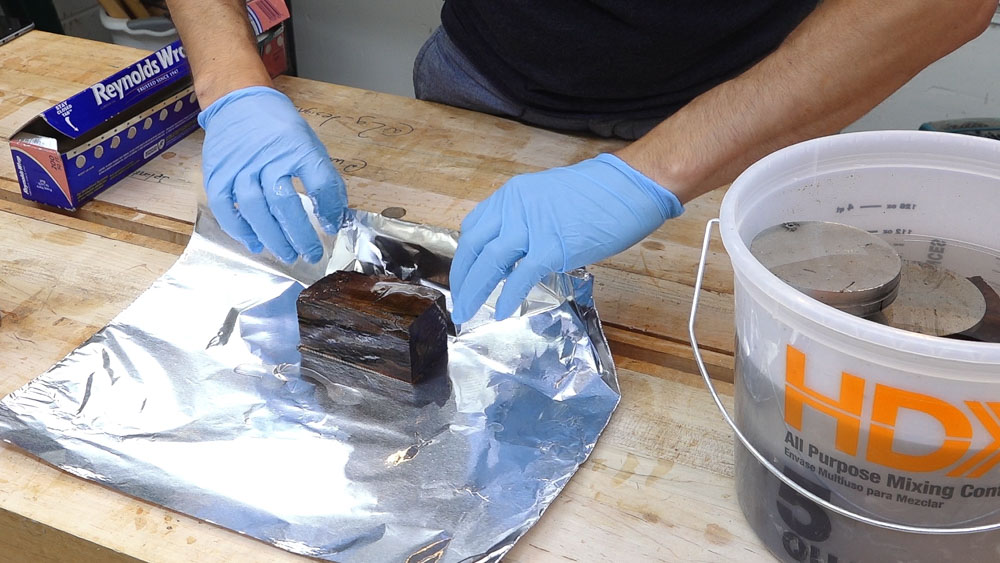
I let the blanks sit in the resin overnight and the next day I could prep them for baking. Each blank gets wrapped in foil to help contain the resin and keep it fro
m draining out beofre it cures.

I picked up a small toaster over for this project. In retrospect I should have gotten something bigger. Due to its size and the size of the blanks, they sit too close to the heating element so heating isn’t very even. I ended up cooking these in two batches so there would be no blanks directly under the upper element. This is not something you’d want to do in your kitchen oven. The resin does offgas as it cures.
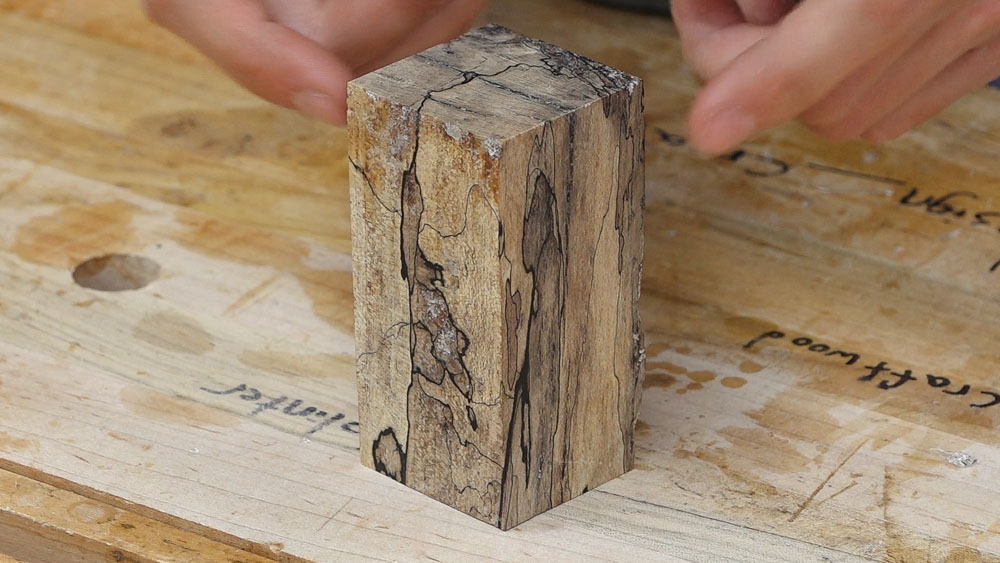
After baking and a little clean up to remove the excess resin, here’s how a blank looks. It’s much harder and way more dense now. It’s weight has doubled as it now weighs 5.6oz.
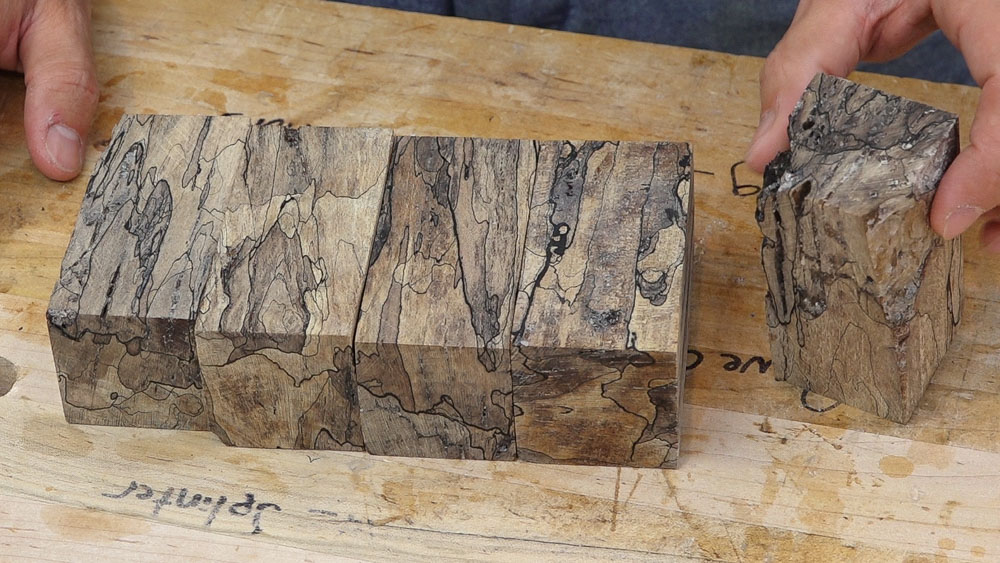
Here’s a look at the blanks. I had one more good blank that I forgot to include in the picture and the blank on the right is a little iffy. I wasn’t sure if it would work out.
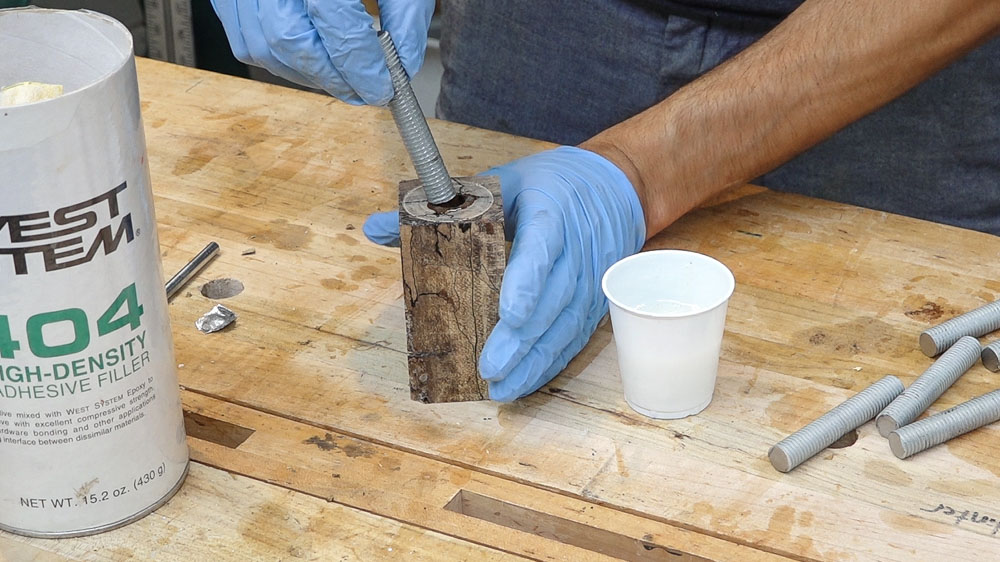
To get these blanks ready to be turned into hammer handles, I drill for and epoxy in a section of threaded rod which will connect to the hammer head.
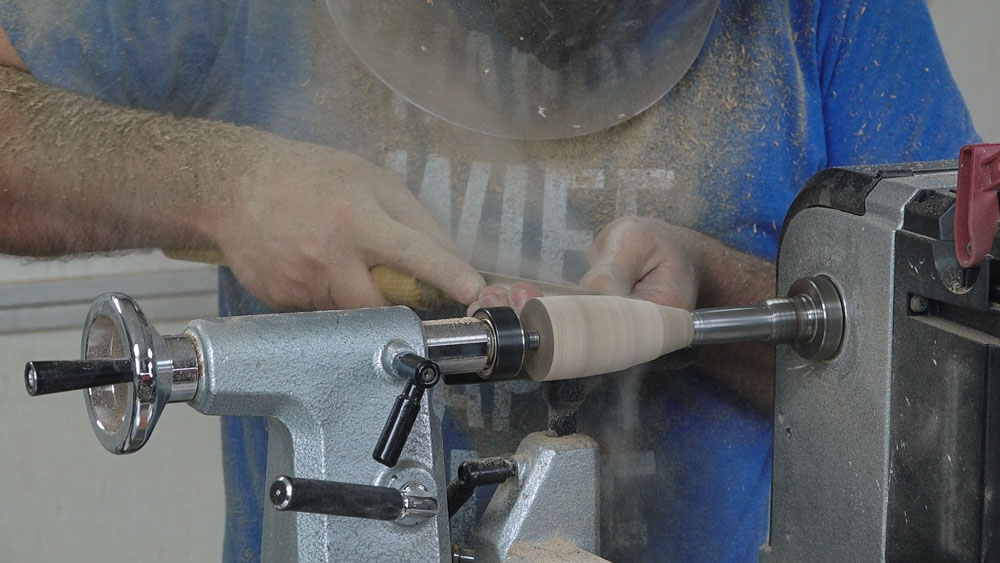
Over to Dema’s shop to start turning the handles. I brought all six blanks for him to turn. I stood there hoping that at least one blank will work out.
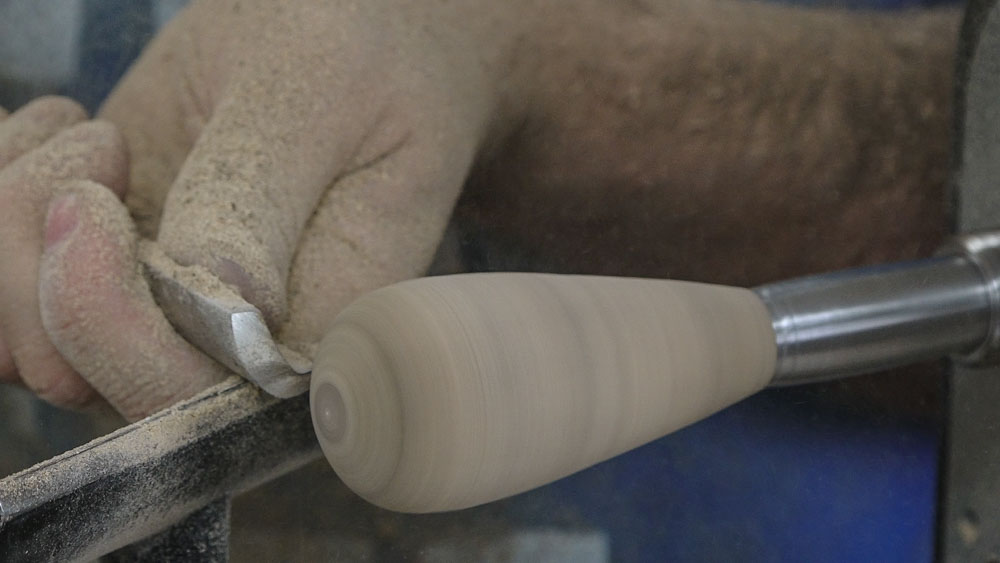
Dema makes quick work of turning the handle to shape. The shaping process takes him about 1 min.
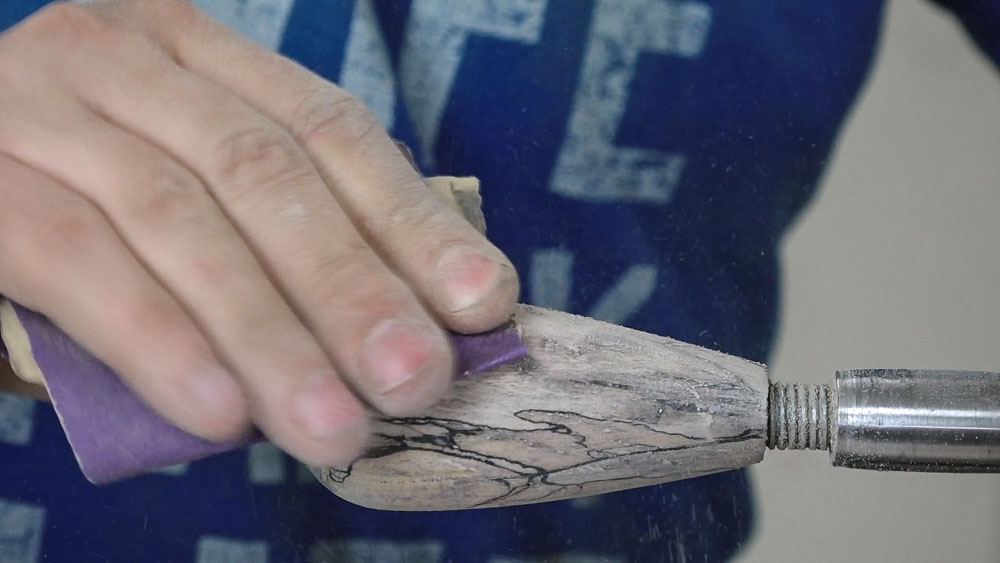
Next the blank is sanded up to 400 grit first sanding with the lathe spinning and then sanding with the grain while the lathe is stopped.
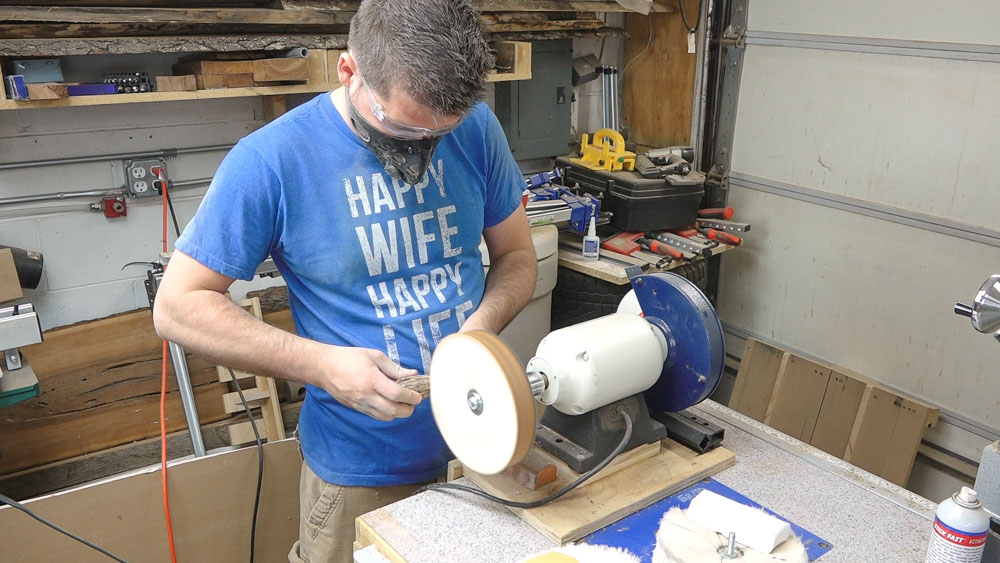
Next the handle gets polished and finished. Dema uses the Beall Buffing system for this. There are three buffing wheels with different compounds which further polish the handle. The last wheel is charged with wax which put the final finish and shine on to the handle.
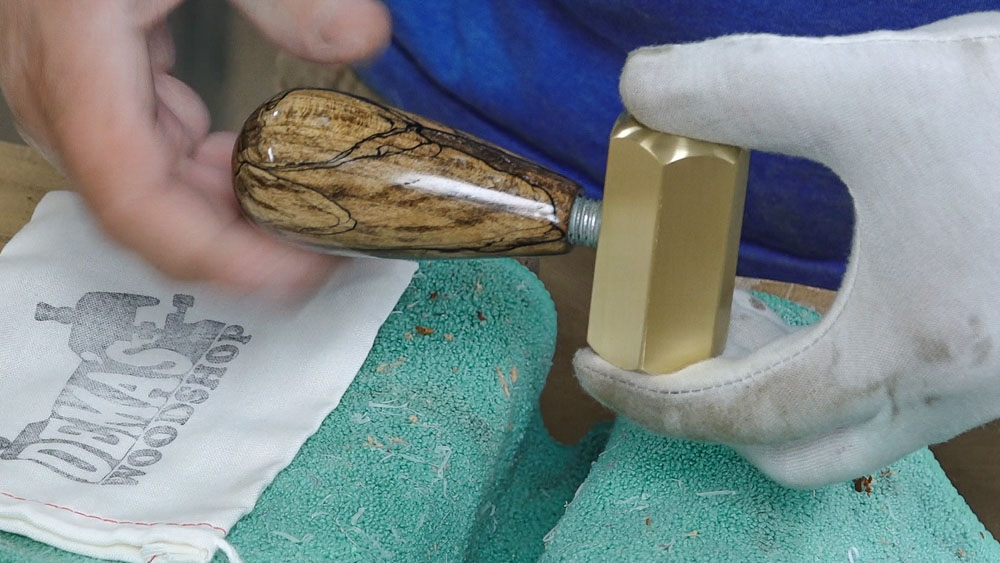
The last step is assembly. The handle is mated to the head via the threaded rod. High strength locktite is applied to the threads so the two parts are permanently connected.
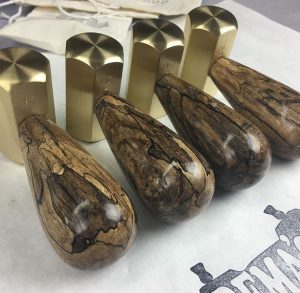
On the left is the finished hammer that I took home with me and on the right are an addition 4 hammers that came from the remaining blanks. Only one of the blanks didn’t work out (the one I thought wouldn’t). The four additional hammers were stamped with limited edition numbers and have already found homes.
If you’re interested in Dema’s hammers you can purchase them in his Etsy store. He also posts the hammers he’s working making on his Instagram so follow him there as well.
These hammers are great for chisel work like cleaning up dovetails. Their small nature makes them very comfortable to choke up on for precision work.
CPES: http://amzn.to/2ikdWVB
Stabilizing Resin: https://amzn.to/2t3saj8
Vacuum Chamber: https://amzn.to/2IM6MUM
West System Epoxy Resin (Gallon): http://amzn.to/25TYH7y
West System Epoxy Slow Hardener (Quart): http://amzn.to/25TYKAr
West System Metering Pumps: http://amzn.to/1qicuEr
High Density Filler: https://amzn.to/2tfPnxN
Buffing System: https://amzn.to/2yfrmg8


Welcome to my shop! This is a quick update to let you know what I’ve been up to. This big chunky thing is the leg

Welcome back to the home renovation. This time I’m going to be working on the kitchen island. Here is a small model of the island.

Welcome back to our home renovation. Today I am going to be working on this wall. It needs some upper cabinets and the surround for
8 Responses
This is awesome. I use penetrating resin on my spalteds, this looks much better. — Especially the part about being able to polish the end product and not have to use additional finish resins… Thanks again.
Bake details please? What temperature? How long?
Thanks
200 Degrees for about 2 hours. Thanks!!
Hey, I’m about to go down this route, but not for turning, but for thick veneer. (I make jigsaw puzzles.) It seems like resawing ‘stablized’ wood may be hard on a bandsaw blade, but I don’t see any other option. Any suggestions? Also, for the blank that had voids, have you considered adding epoxy to the voids while in the vacuum chamber? This is also something I’m thinking of trying. Thanks,
I did that when I made the gentleman’s valet box. Didn’t seem to make much of a difference to the bandsaw. Cut smoothly. Casting afterwards is an option. Had I thought ahead, I’d have let the excess stabilizing resin drain off before I wrapped them for baking. The excess bubbled up and hardened which would make casting difficult or at the very least unsightly. Thanks!
Hey, you never said how the baked potatoes turned out!?
A little hard
Hey Mathew, I have been watching your videos for a long time. I really appreciate how you explain what you are doing and the products that you are using. When you were done with the resin and drained it back in the jug, how much of the resin was left?
About 2/3-3/4 remained. Thanks!