
Kitchen Island, Barn Power – March 2024 Update
Welcome to my shop! This is a quick update to let you know what I’ve been up to. This big chunky thing is the leg
My dad asked me to make a counter top for their laundry room. He said to make it out of anything, it just needed to fit the dimensions provided. I had a stack of 13′ red oak slabs and the narrowest one was a good fit for the counter top. It had some defects to stabilize and I did a porefill on the top.
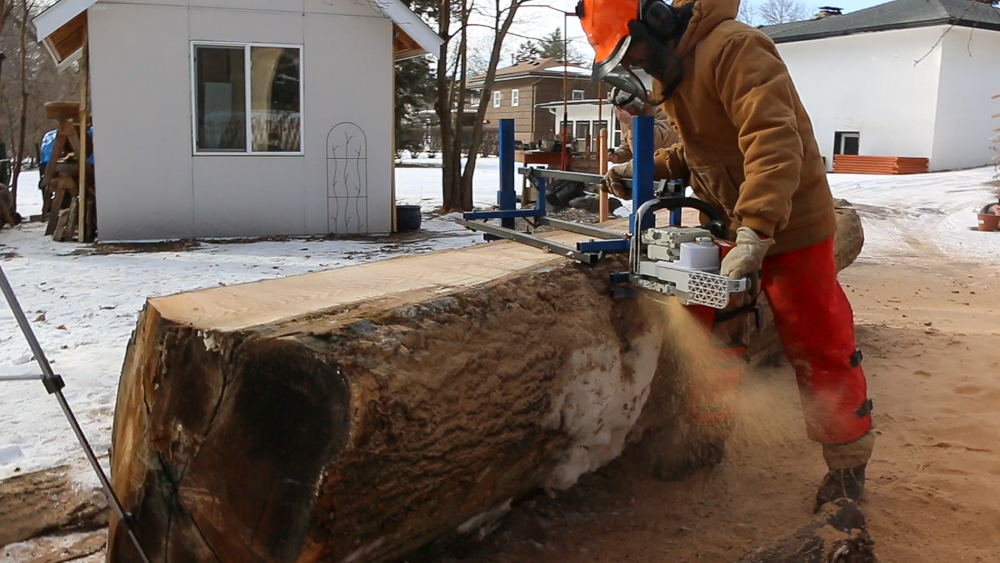
The slab for this project came from a red oak log that I slabbed a couple years ago with my chainsaw mill.

I wanted to start breaking the slab down to rough size to make it more manageable. Since it was acclimated to the outdoors, it was sitting around 11.5% moisture content so it needed to spend some time indoors to get down further. I cut the slab to a rough length that included cutting about a foot off one end so that the hole would still be within the counter top.
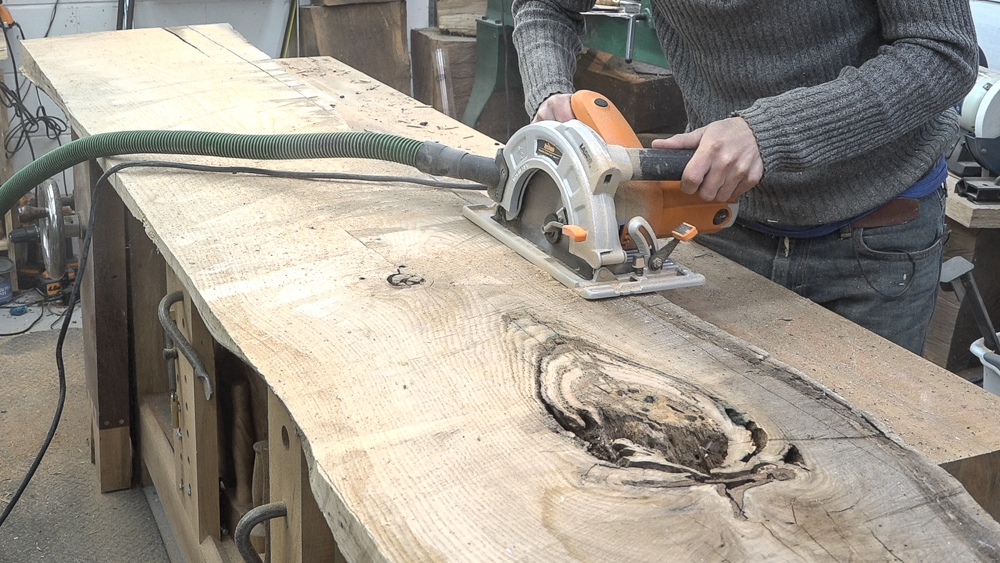
My dad asked that this not be a live edge type of thing, so I drew a straight line and cut the edge off with a circular saw. With the slab being much more manageable now, I moved it inside to finish drying. I was planning on leaving it for a few weeks but it turned into about a year.
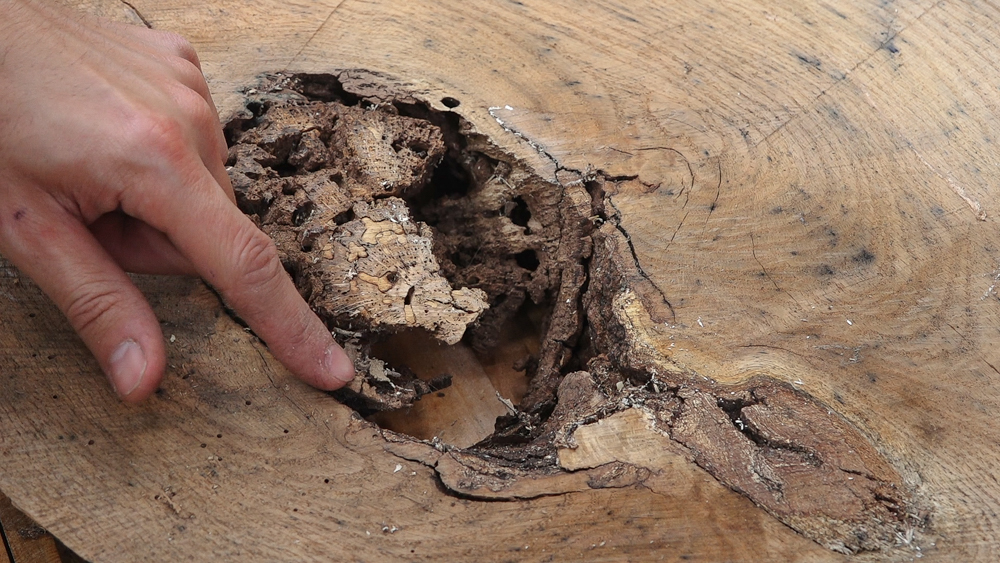
After finally bringing it back into the shop, I could come up with a plan for how to proceed. Looking at the large knot hole that I wanted to preserve with clear epoxy, I could tell that if I tried to surface this slab now, large chunks of the degraded wood inside the knot would be destroyed so this would need to be filled before surfacing.
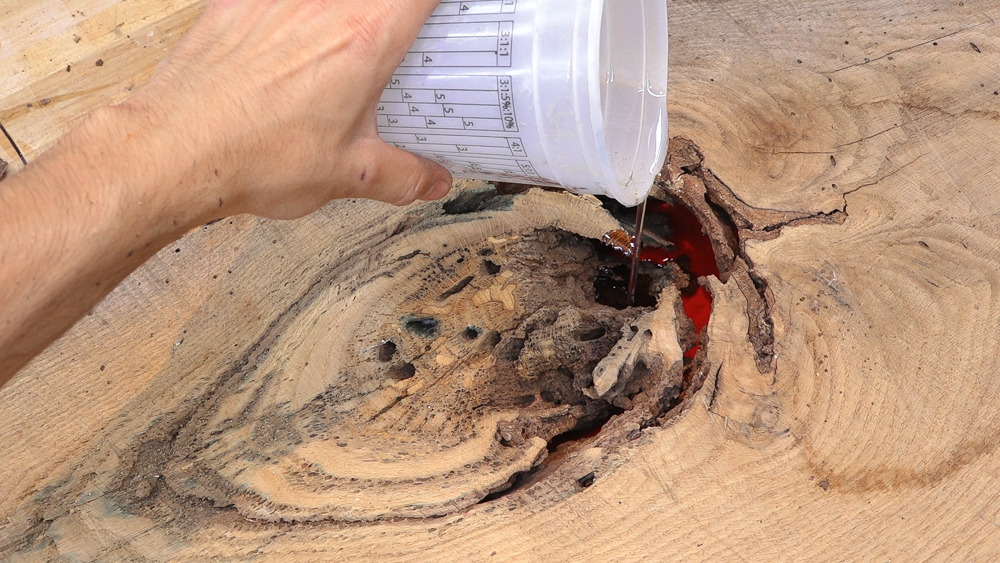
I cleaned up the bottom around the knot to remove the rough saw marks and taped over the hole with sheathing tape. I mixed up a small batch of epoxy that would just cover the bottom of the hole. This first pour will provide a perfect seal for the full pour, preventing the epoxy from seeping past the tape. Doing a small pour like this is much less risky since the tape only has to hold back a small amount of pressure from the epoxy and if there is a leak, there’s only a small amount of epoxy that can leak out.
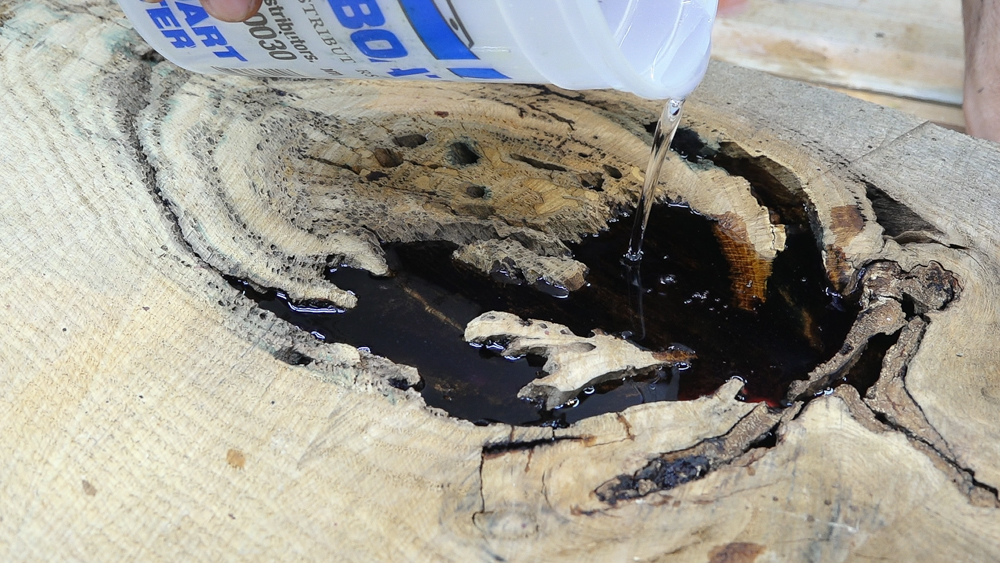
Once that first pour had some time to cure, I could come back and do the full pour of epoxy to completely fill the hole. I tried to pour so the epoxy would fill from the bottom up, allowing any trapped air to escape out the top of the wood.
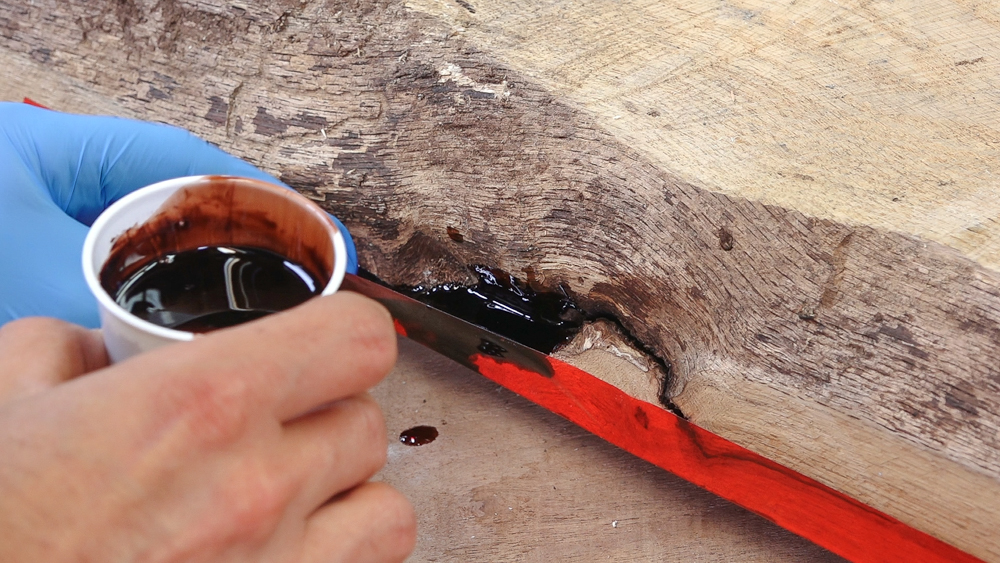
After that big hole was filled and cured, I could move on to the other larger defects. There was a loose area along the side and a split towards the end. I taped the top side of the slabs so these could be filled from the bottom.
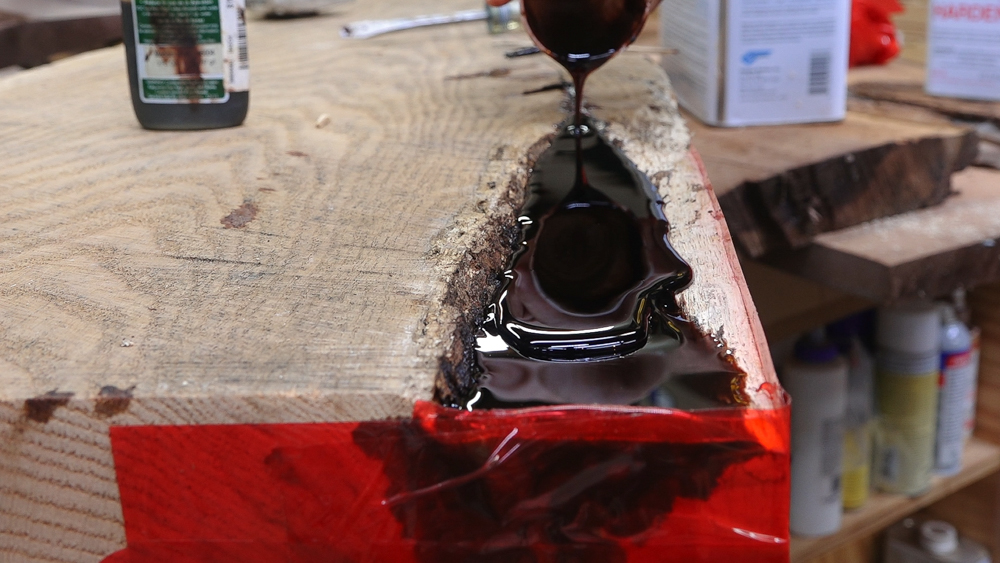
Originally, I was just going to fill the split a little bit since the bottom didn’t need to be filled but I thought it would be interesting to show the filling process for large defects with different epoxies. For these fills I used West System which has a much faster cure time and gives off much more heat, therefore, it can only be poured so thick before it will overheat and cure incorrectly. I poured 3oz at a time which resulted in about 1/4-3/8″ thick layer. It took 5 pours to fully fill the split and I added layers every 8 hours. Little more work but there is some added flexibility in what you can do. If you wanted to show distinct layers, you could do that with different tints or you could easily embed something half way up the pour so it looks to be floating. With a single pour objects will either sink or float.
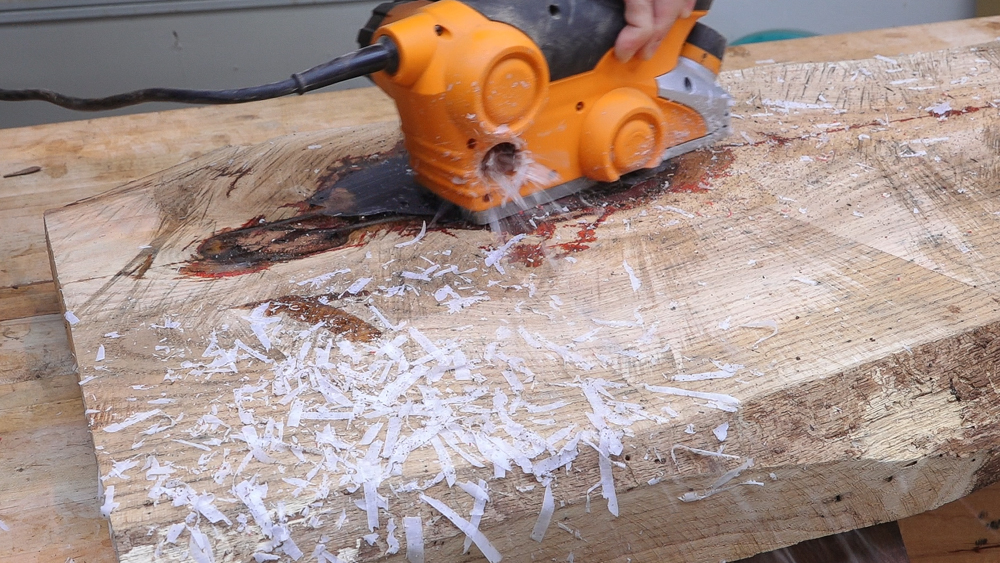
Now finally it was time to surface the slab. The hole I filled ended up with a bit of a bulge, so I flushed that up a bit before flattening.
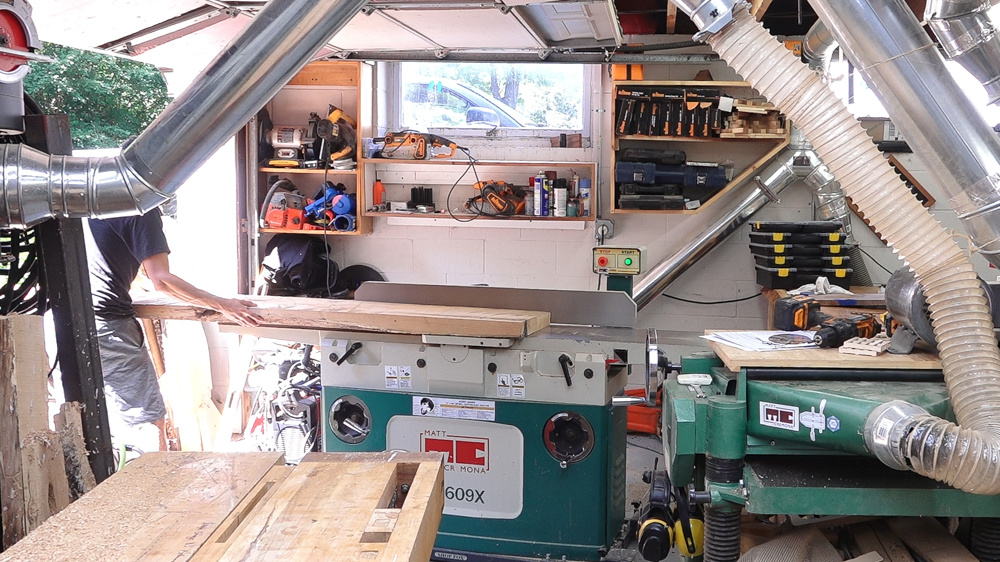
Since the slab is wider than my jointer, I hung the slab over the edge and created a 12″ wide rabbet. This rabbet is the flat reference area.
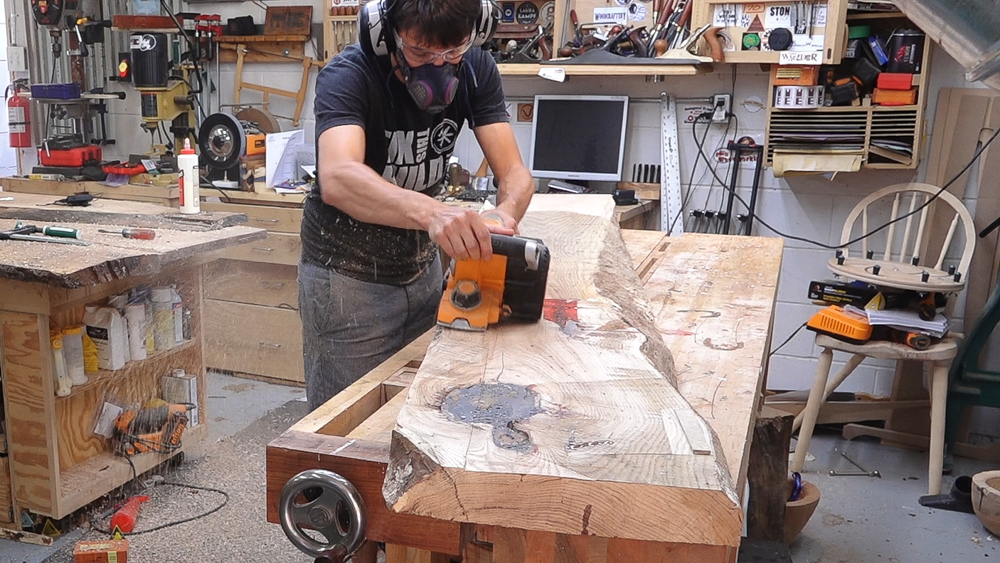
Next to the rabbet is the extra material that the cutterhead didn’t reach (this is the part that was hanging over). This extra material can be brought down flush to the flat reference area. I repeated that process a few times until the whole bottom was cleaned up and flat.
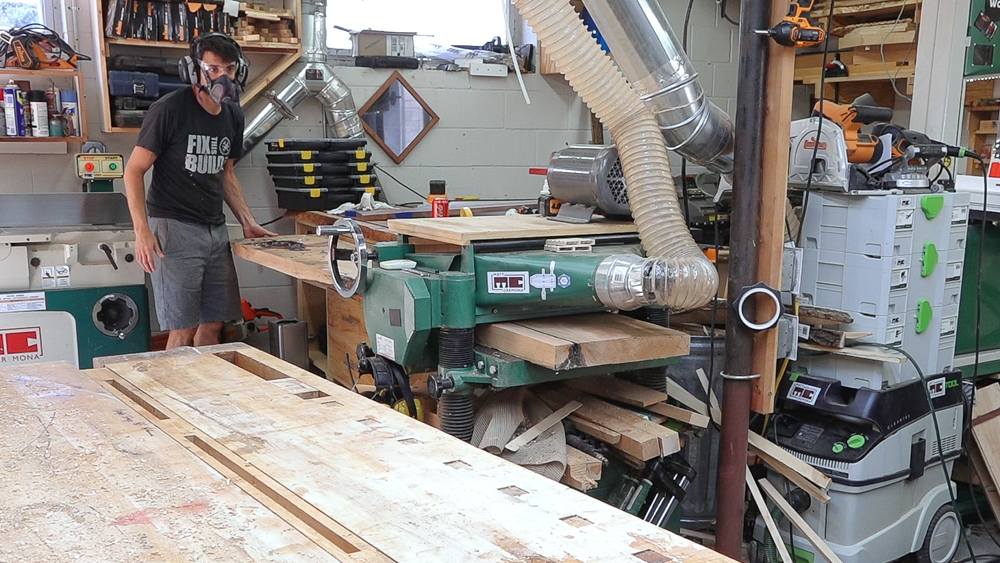
Next the slab can be planed down. I ended up with a finished thickness of about 2″.
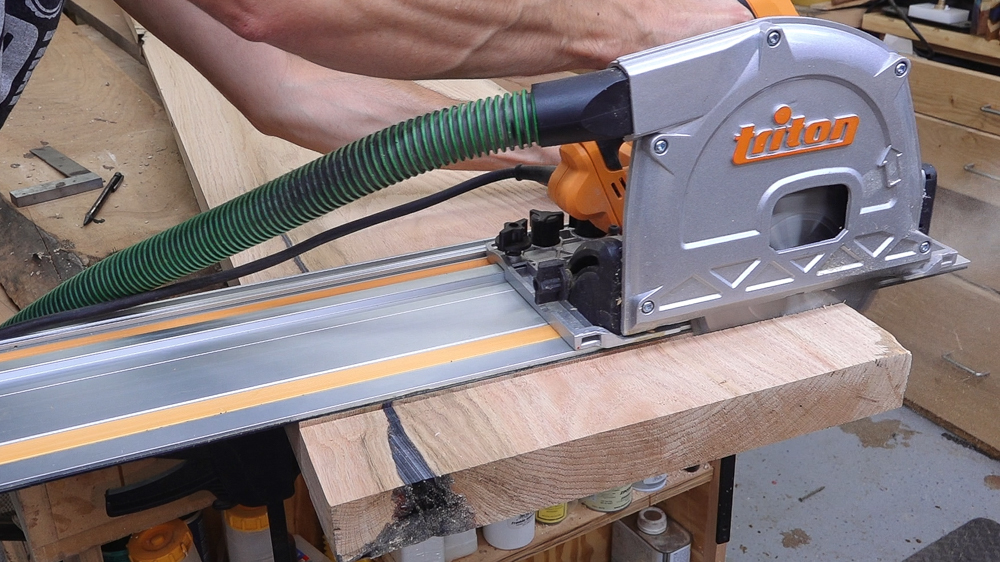
The ends of the slab can be trimmed with the track saw, cutting it down to final length.
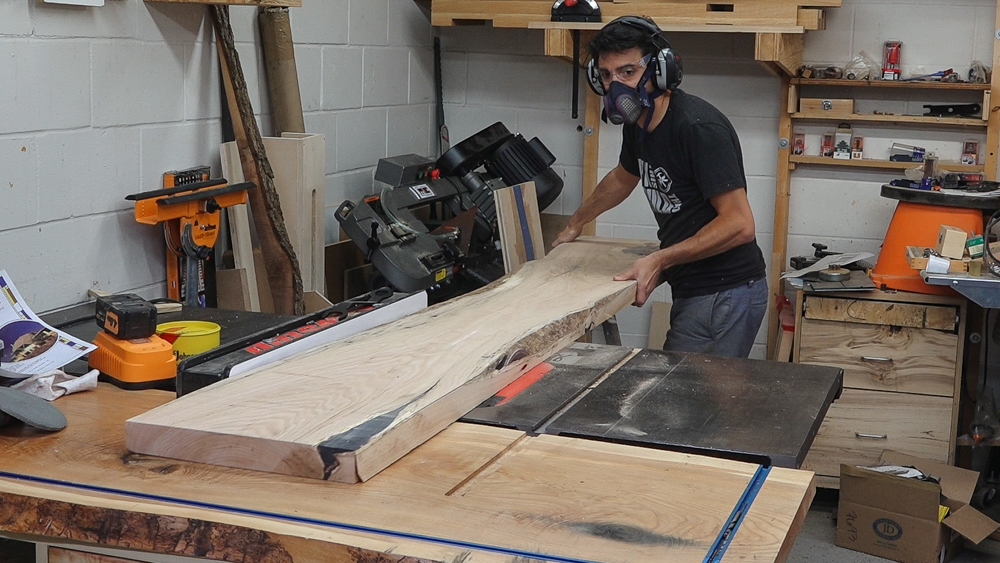
And lastly the edges can be trimmed, bringing it to final width (which included an extra inch for scribing the counter top to the wall.
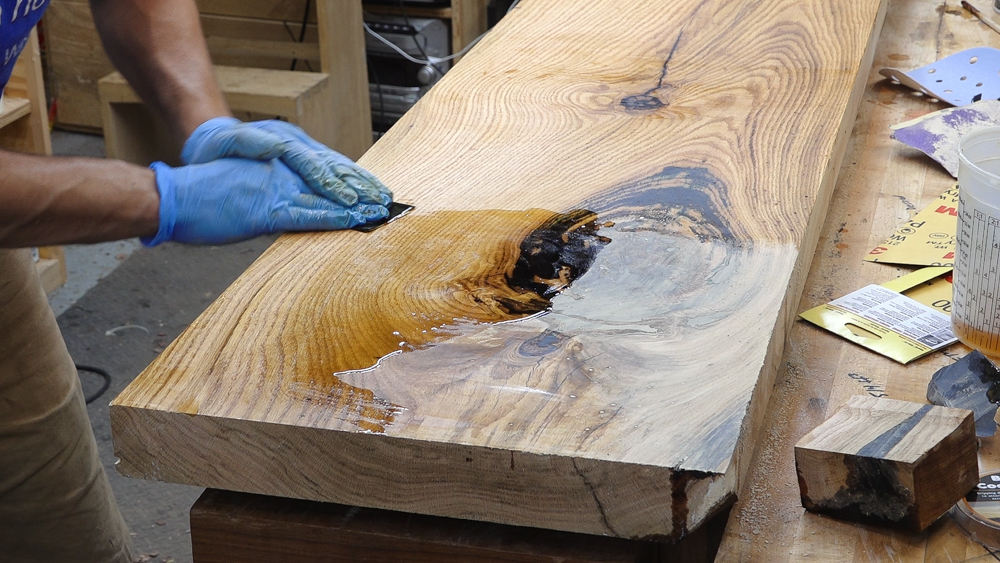
Since red oak is very porous (and since I hadn’t done this in a while), I decided to pore fill the grain with sanding dust. Some varnish with some boiled linseed oil is used to wet sand the surface. It also really helps to have some additional dust to mix in. The best way to collect it is with a filter bag on a sander. Since I never use the bags on my sanders, I didn’t know where they were so I generated some extra dry dust by handsanding with 180 grit.
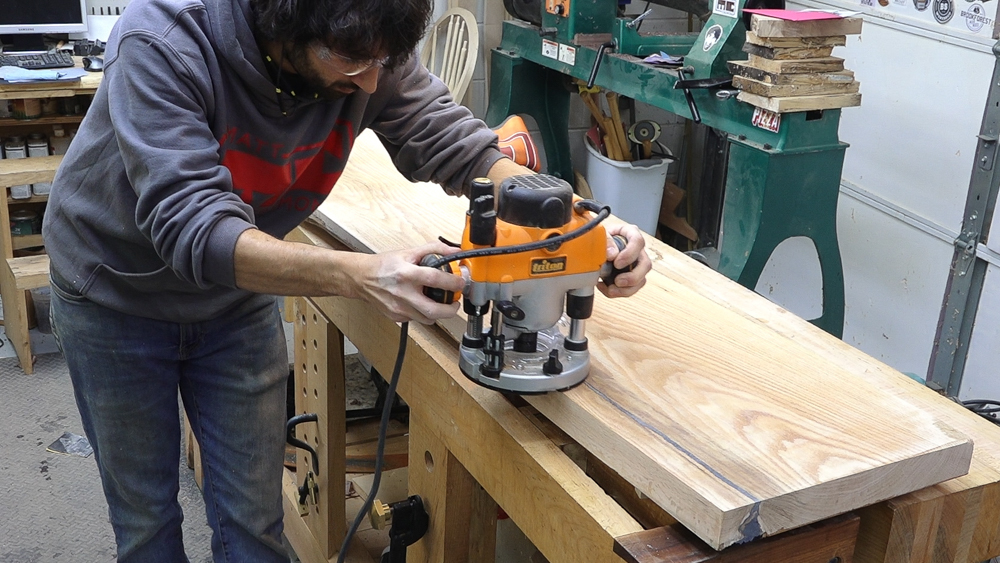
After the pore fill has time to cure, the entire slab can be finish sanded and an edge treatment can be added. I went with a simple 1/8″ roundover.
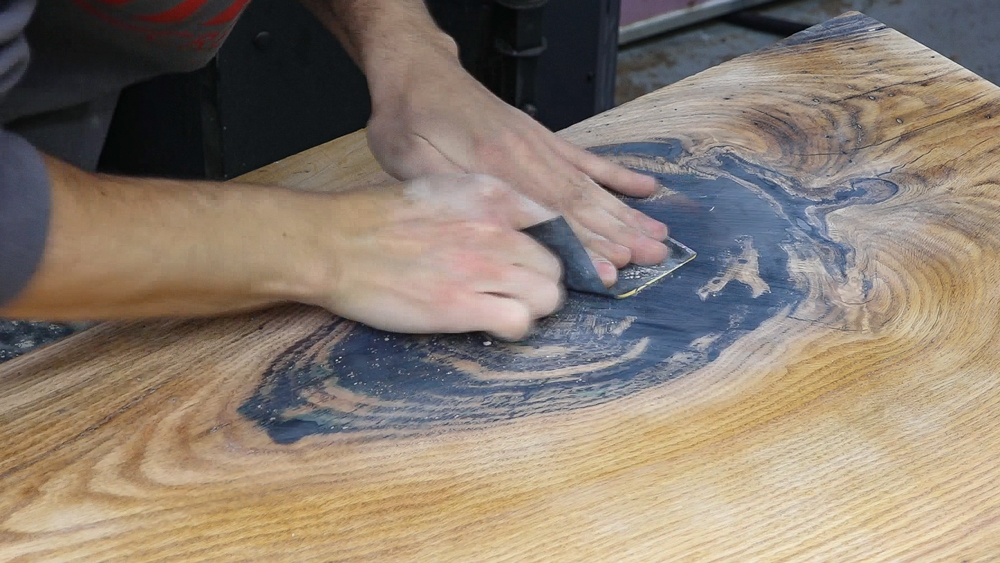
The last little bit of prep is to polish the clear epoxy to dehaze it. I handsanded up to 1000grit to bring back it’s clarity, cleaning off the sanding dust after each grit.
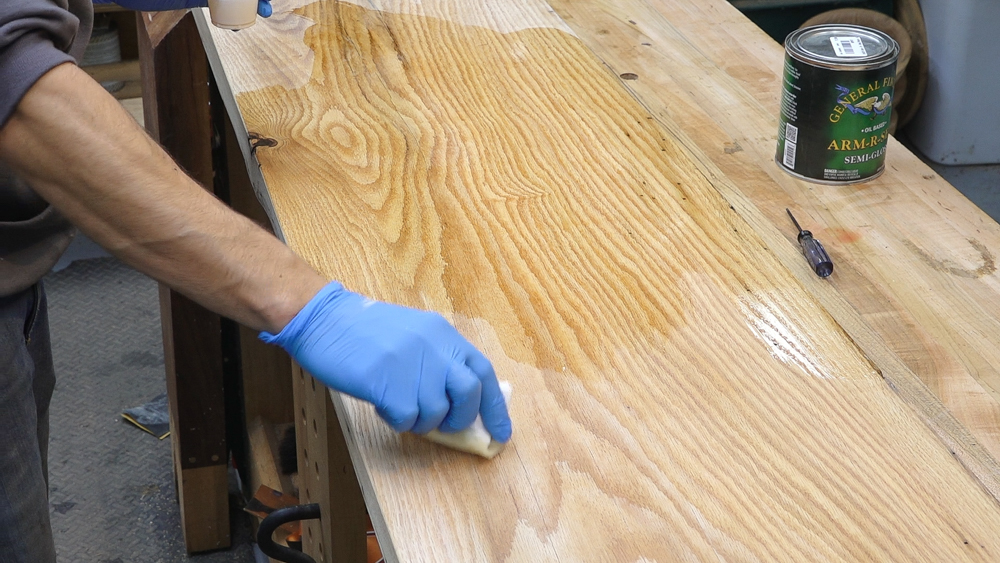
Finally some finish can be applied. I went with my usual 5 coats of Arm-r-Seal Semi Gloss finishing process.
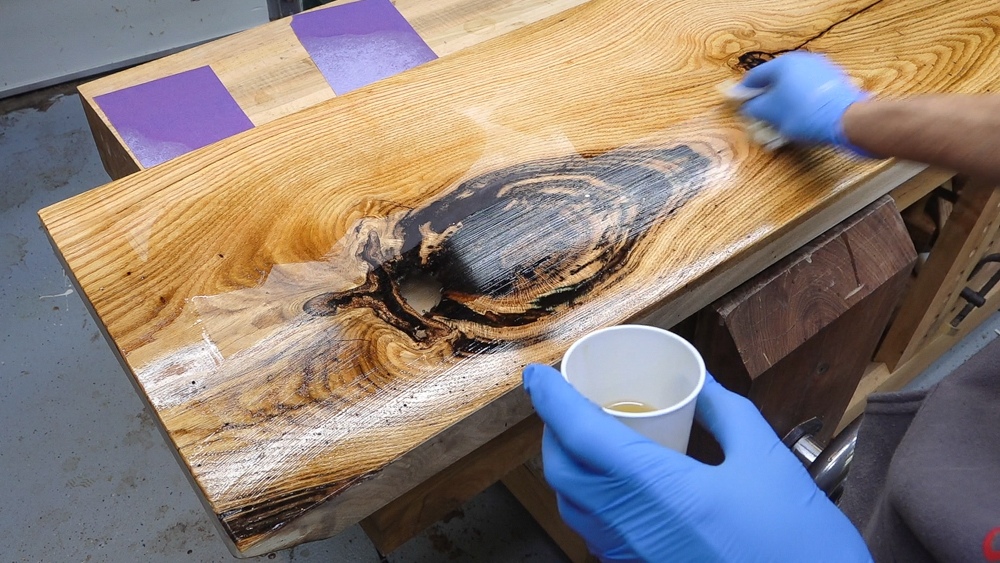
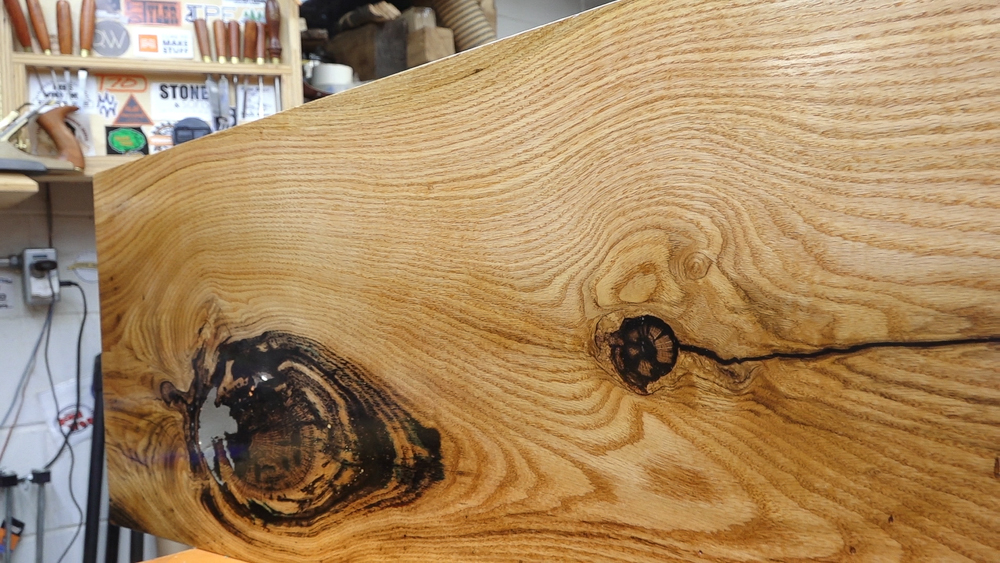
The finish also helps to bring back the final bit of clarity in the clear epoxy.
Slabbing the Red Oak Log: https://www.mattcremona.com/making-lumber/slabbing-the-red-oak-log
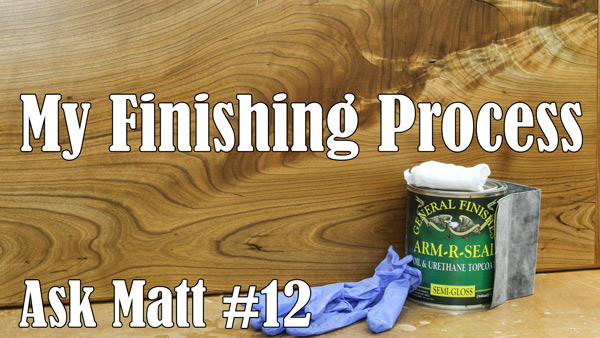
My Finishing Process: https://www.mattcremona.com/ask-matt/my-finishing-process-ask-matt-12
If you want to see another project made from this log, check out James Wright’s table that he just finished up. The top is made from a pair of bookmatched slabs from this log.
PRODUCTS USED
[Amazon links are affiliate links]
Ecopoxy Liquid Plastic: https://amzn.to/2JH5ezw
Sheathing Tape: https://amzn.to/2GbIsyL
West System Epoxy Resin (Gallon): http://amzn.to/25TYH7y
West System Epoxy Slow Hardener (Quart): http://amzn.to/25TYKAr
West System Metering Pumps: http://amzn.to/1qicuEr
Transtint Medium Brown: http://amzn.to/23nL4Ps
General Finishes Arm-r-Seal: http://amzn.to/2fUwWbr
Vacuum Chamber: https://amzn.to/2IM6MUM
Router: http://amzn.to/2hXj5AC
Table Saw: http://amzn.to/2hXj5AC
Push Blocks: http://amzn.to/2yQD24r
Dust Mask: http://amzn.to/2y8dl1m
Hearing Protection: http://amzn.to/2yQ0sa3
Triton Track Saw: http://amzn.to/2f2P85l
Triton 7″ Planer: http://bit.ly/2xqGwtc
Triton GEOS Sander: http://amzn.to/2qmb2Fc
More stuff on my Amazon page: https://www.amazon.com/shop/matthewcremona


Welcome to my shop! This is a quick update to let you know what I’ve been up to. This big chunky thing is the leg

Welcome back to the home renovation. This time I’m going to be working on the kitchen island. Here is a small model of the island.

Welcome back to our home renovation. Today I am going to be working on this wall. It needs some upper cabinets and the surround for
6 Responses
Hey Matt- what ratio of varnish to boiled linseed oil you used for the pore fill and what varnish did you use? Thanks in advance.
I just added a splash. Looks like about 5:1 watching the lines on the measuring cup in the video
Great video. I really like to watch the progress of the epoxy and finish. It’s also interesting to watch your hair go from long to short to long and then short again. It must have taken a while to finish. 🙂
hahaha yeah the scenes go from May 2017 to July 2018 to Sept 2018 to Nov 2018
That vacuum chamber would be great for de-bubbling epoxy for coating photographs (I’ve had a devil of a time with using a propane torch to bring bubbles to the surface.) What size do you have and is this why you purchased the unit?
I have a 3 gallon. Yes, I got it specifically for degassing. Thanks!