
Kitchen Island, Barn Power – March 2024 Update
Welcome to my shop! This is a quick update to let you know what I’ve been up to. This big chunky thing is the leg
Brass shavings from the horizontal metal bandsaw + leftover epoxy = brass on brass goodness!
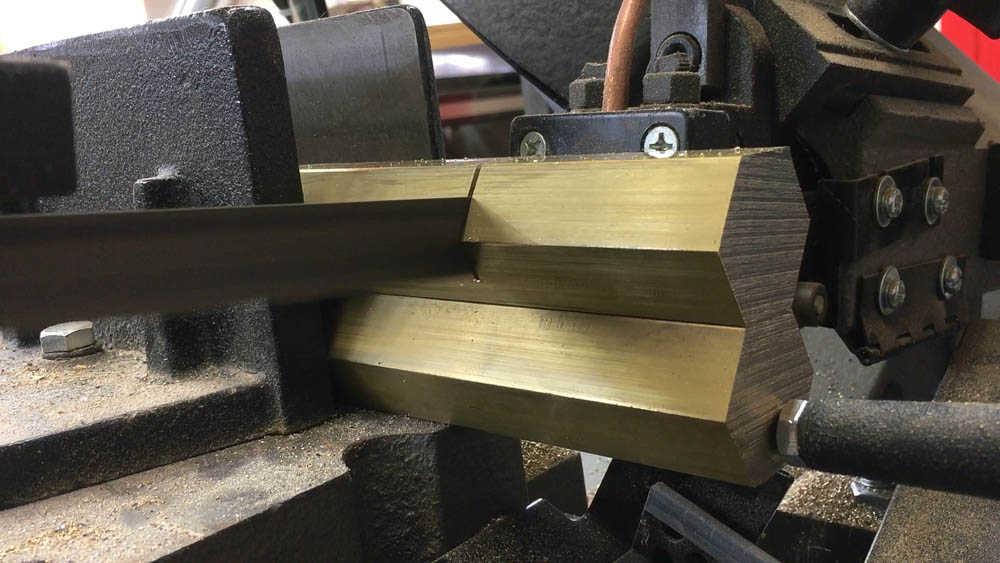
My friend, Dema, makes brass headed mallets. All the stock for the heads is broken down into the head blanks in my shop using my bandsaw. This produces a lot of brass shavings and I always had the thought in the back of my mind of casting the shavings in brass to make a handle for one of the hammers. I thought this would be a little ridiculous looking but in a good way.
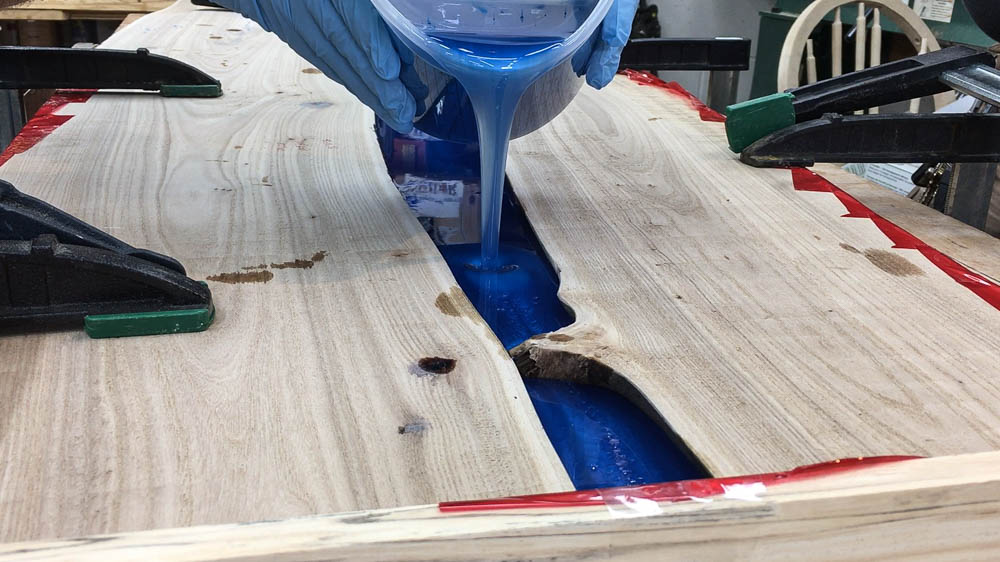
I also have a lot of left over Ecopoxy liquid plastic, a slow setting epoxy, from the waterfall river table that I recently made. So with nothing to lose, lets make a brass shavings blank!
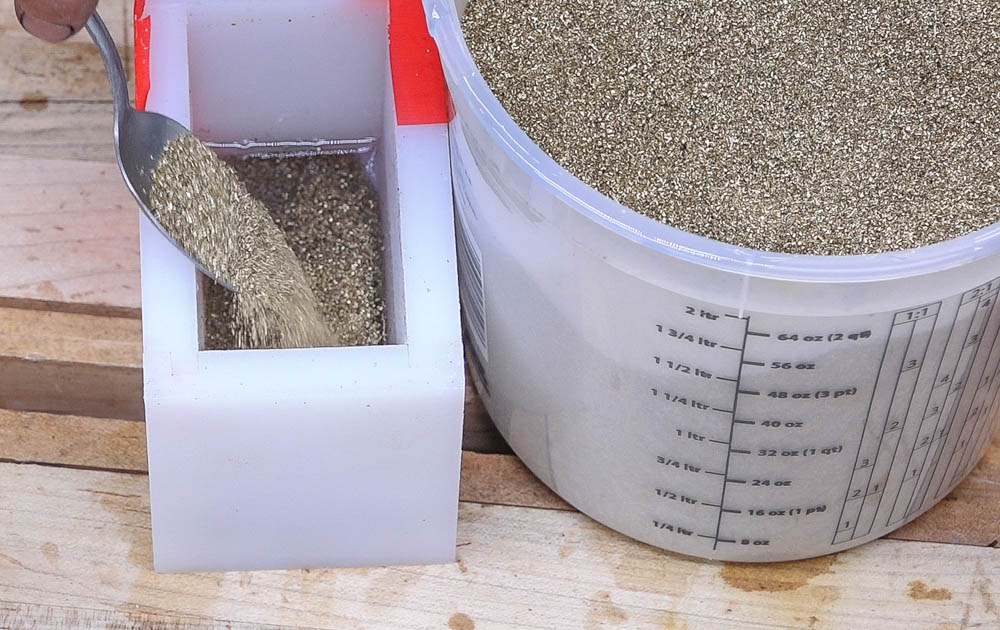
I figured this would need to be made up slowly. I really wanted the blank to be solid with as little resin visible as possible and I also wanted to avoid any bubbles which would leave voids in the blank. I also knew from previous experience that the brass would sink though the epoxy so I mixed the brass and epoxy in the mold a little at a time.
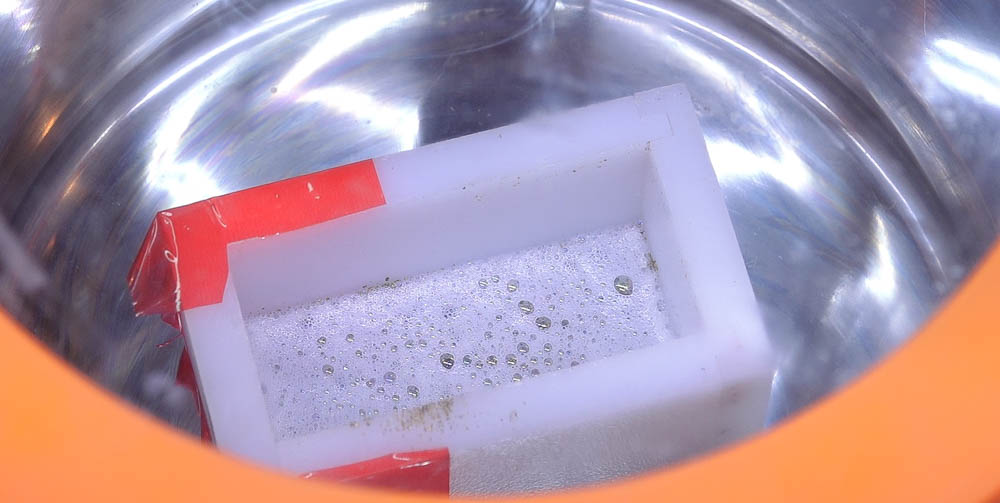
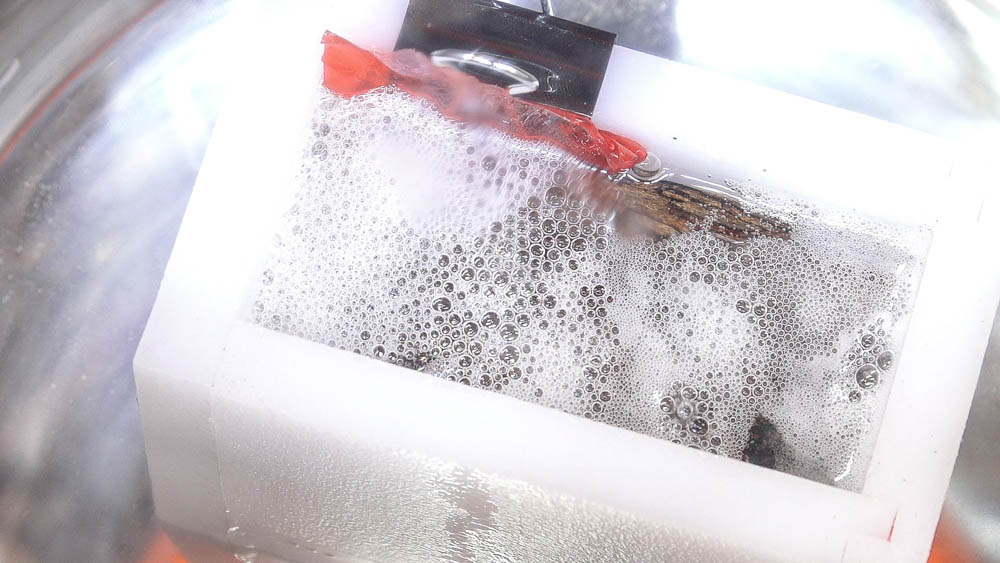
After a few scoops of brass and a bit of mixing with a stick, the mold goes into the vacuum chamber to pull out any air that might be trapped. I repeated this process 4 more times.
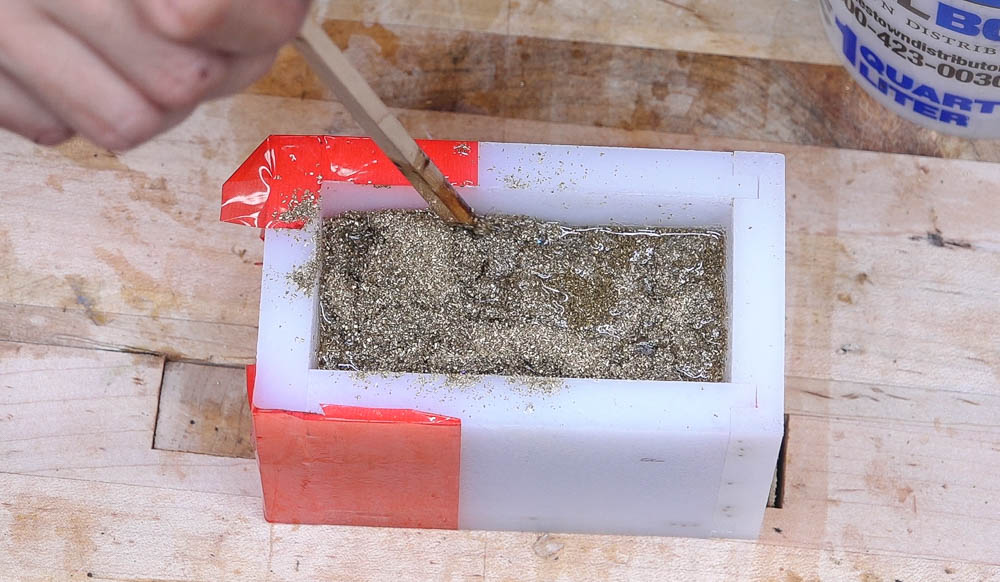
The last scoops of brass are in and mixed up. Now it’s back into the vacuum chamber. I left the blank under vacuum over night so the air bubles would have plenty of time to leave the blank. When I removed it from the chamber the next day, the epoxy had just started to gel. I set the blank aside to cure for a few days.
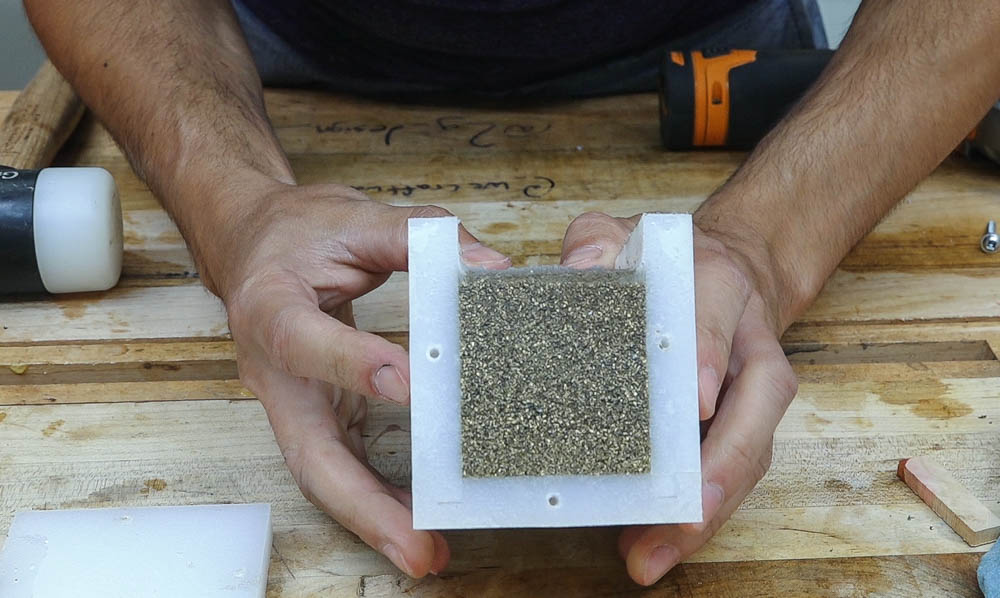
Once cured, I could demold the blank. Popping the side off the mold reveled an incredible textured look. The shavings had compacted quite a bit.
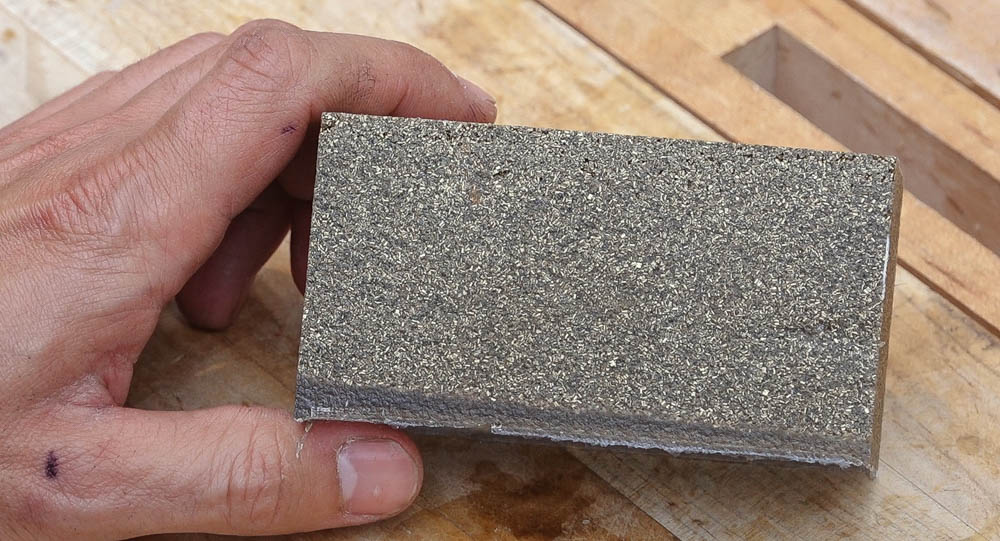
There were a few voids in the blank but nothing too large.
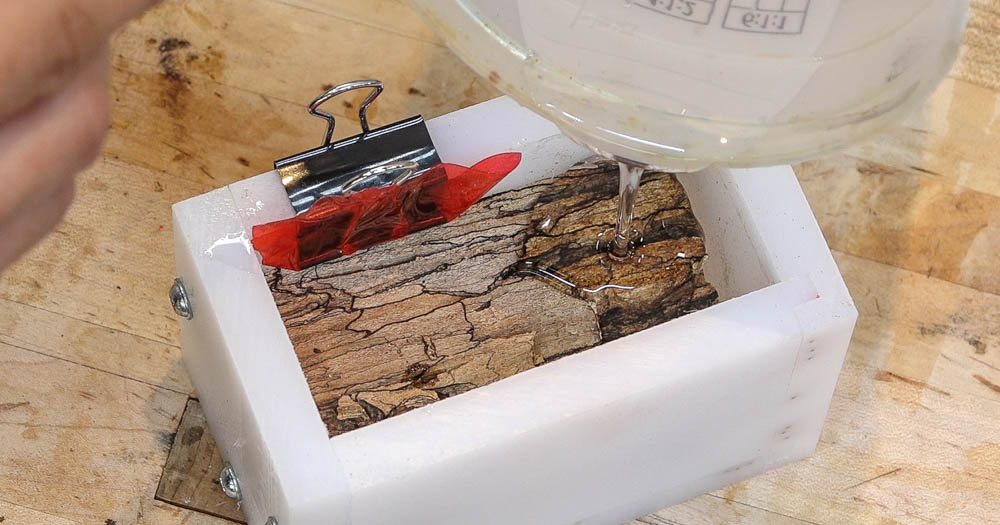
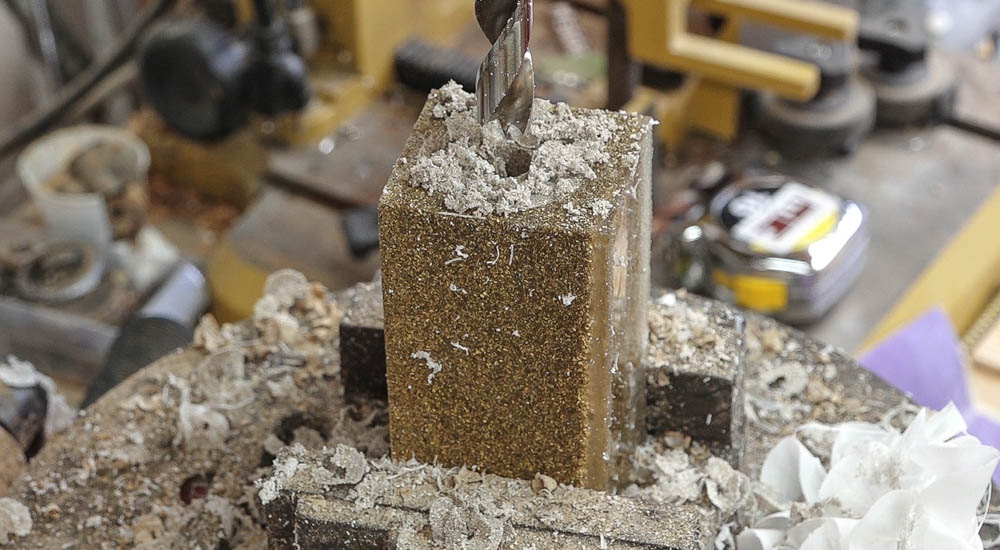
With the blanks ready to go, they could be prepared for turning. The blanks recieve a threaded rod that gets epoxied into them. This connects the handle to the hammer head.
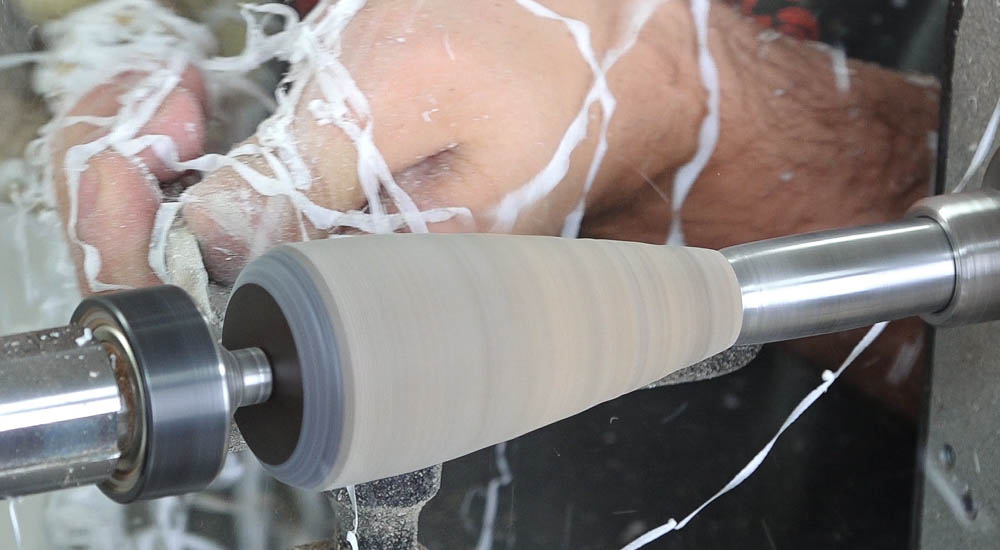
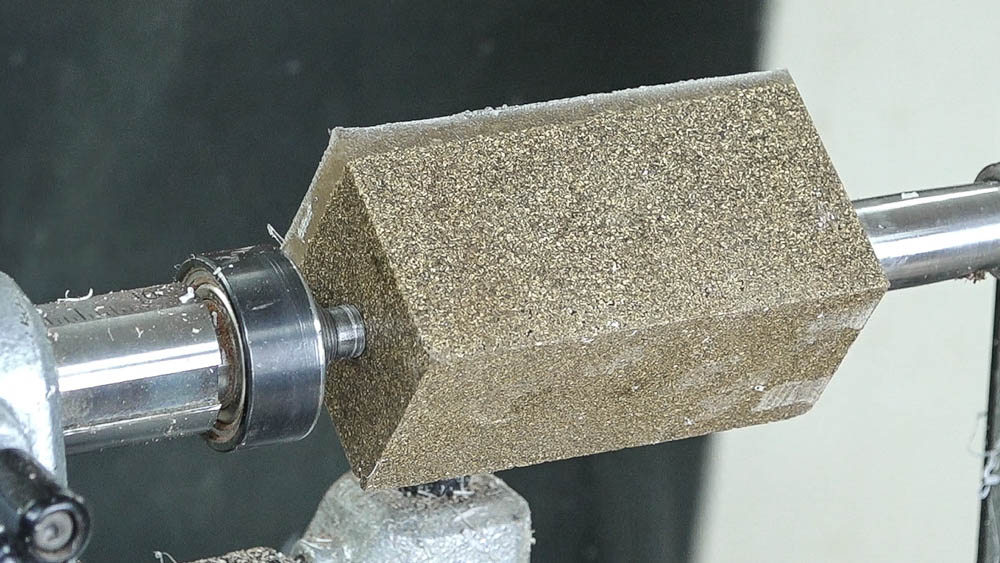
The brass blank on the lathe; ready to be spun up.
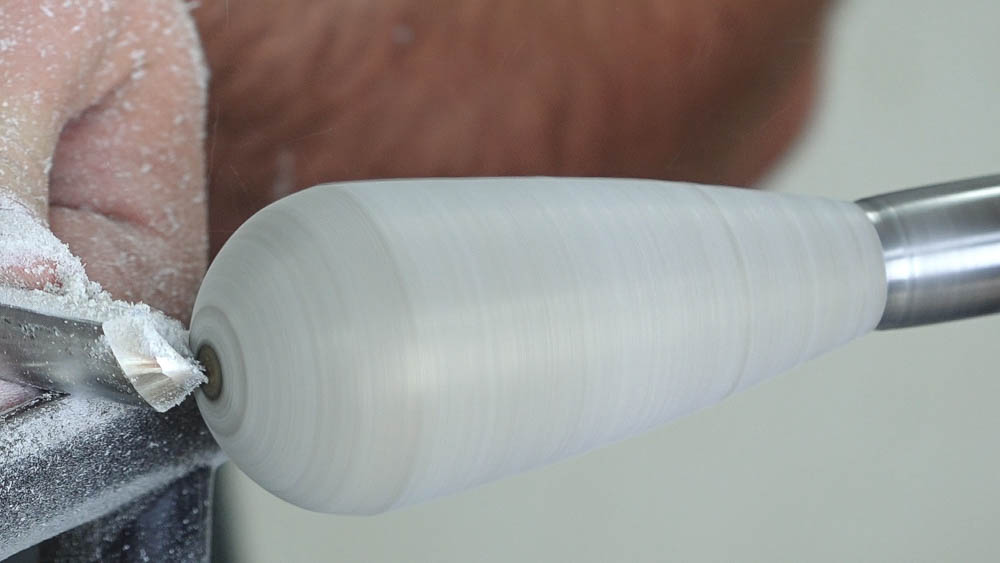
The brass turned much easier than we had anticipated and Dema made quick work of turning the blank into it’s final shape. It’s took Dema 2:30 to turn the brass to shape.
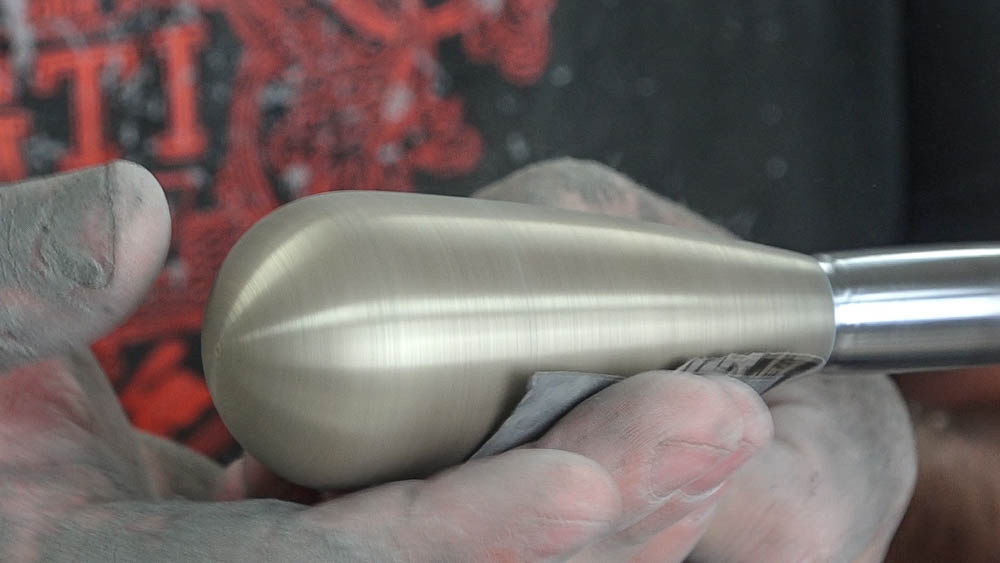
After turning, Dema refined the surface finish with sandpaper. I kept thinking durning this step of how close the blank looks to something that was spray painted gold.
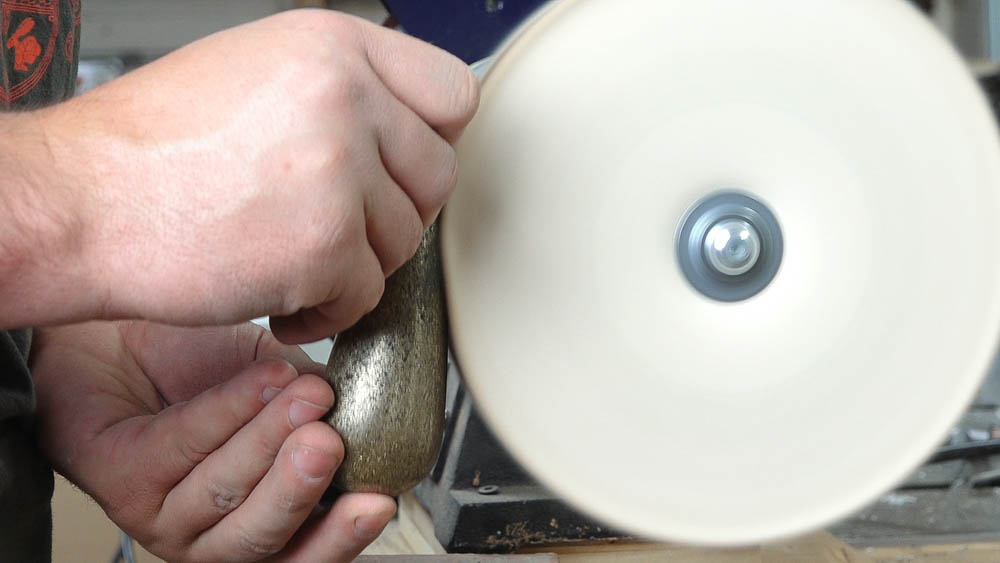
Next was the buffing stage. This is where we ran into problems. The epoxy was a bit too soft and would gum up instead of polishing so we weren’t able to build up a nice polish on the brass. Dema did the best he could, very lightly buffing the surface to keep the heat build up minimal which resulted in more of a matte finish to the handle.
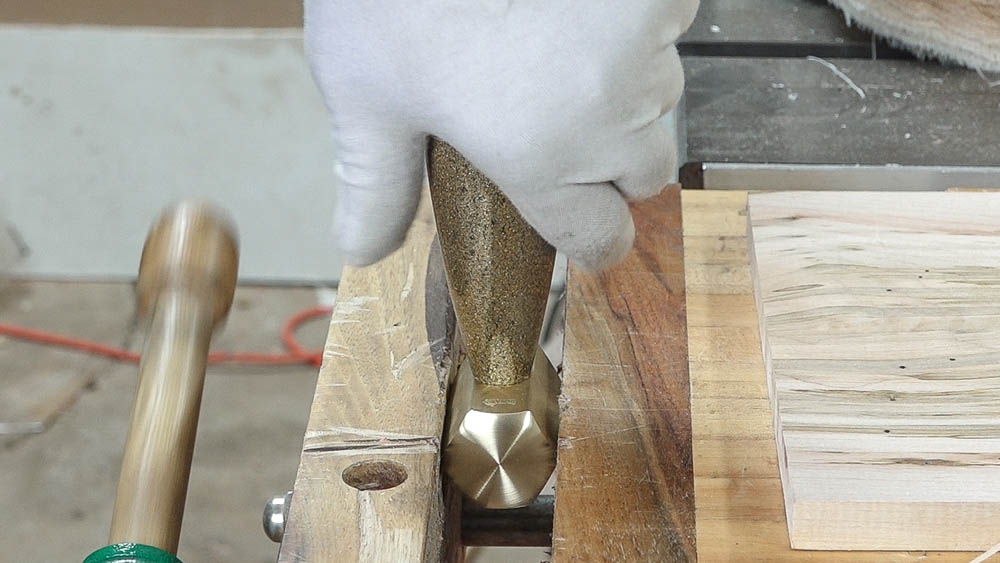
The handle can now be mated to the head by screwing them together.
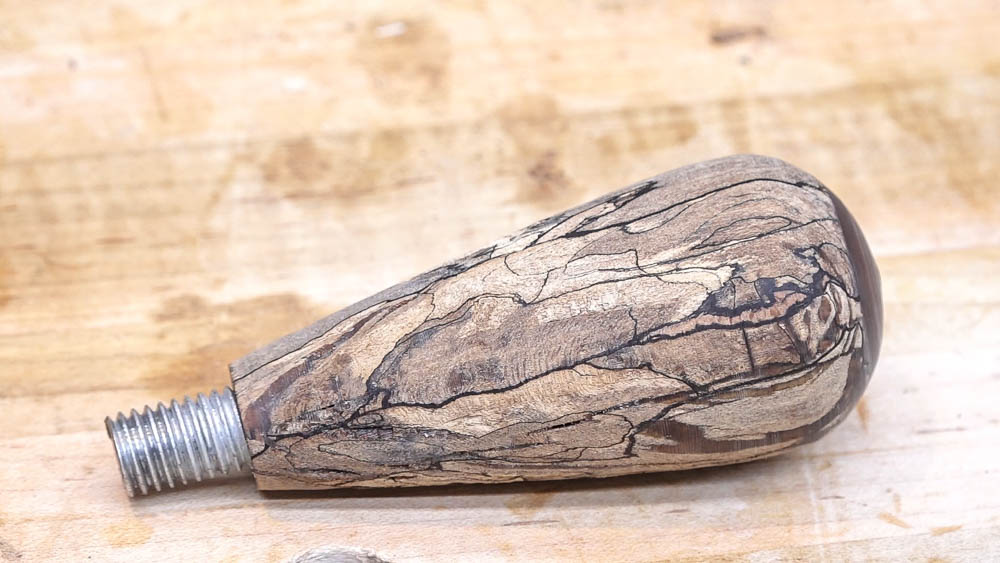
Here’s the turned spalted maple blank. The whiter areas are the softer areas that didn’t get stabilized and there are some voids throughout. I’ll stabilize this with CPES and fill the voids with epoxy over time.
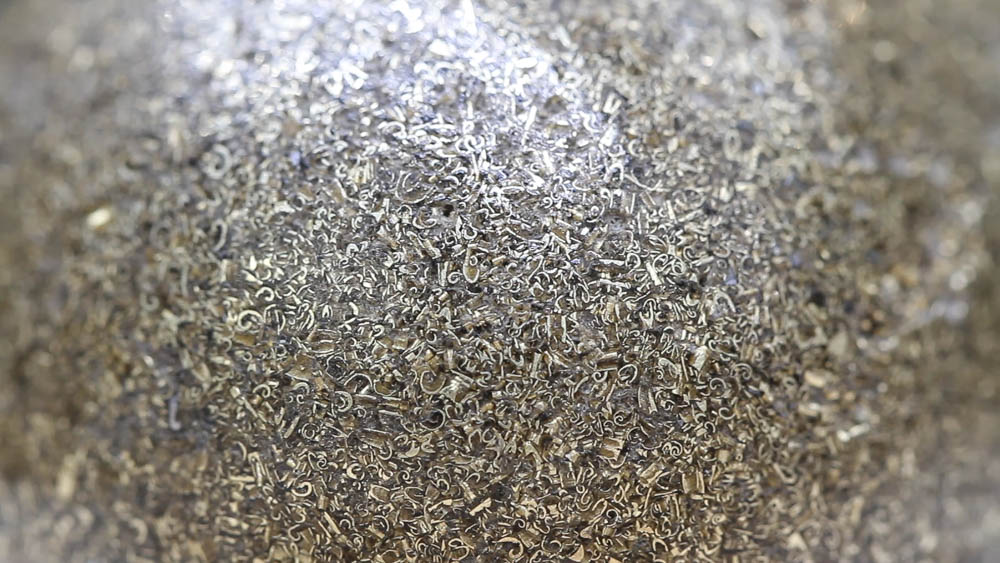
The best part of the brass handle is how different it looks close up. From afar, it just looks like a granular texture but once you get it in your hand, you can see that it’s made up of thousands of brass chips. They each have a different shape, orientation, and size.
Rotten Wood to Brass Hammer Handle: https://youtu.be/gmJZlduLYHI
Dema’s Links
Youtube: https://www.youtube.com/user/MrDemcka
Instagram: https://www.instagram.com/demagamayunov/
Purchase one of Dema’s Hammers – Etsy Shop: https://www.etsy.com/listing/468322029/brass-hammer-with-burl-or-exotic-wood
Products
CPES: http://amzn.to/2ikdWVB
Ecopoxy Liquid Plastic: https://amzn.to/2JH5ezw
Vacuum Chamber: https://amzn.to/2IM6MUM
West System Epoxy Resin (Gallon): http://amzn.to/25TYH7y
West System Epoxy Slow Hardener (Quart): http://amzn.to/25TYKAr
West System Metering Pumps: http://amzn.to/1qicuEr
High Density Filler: https://amzn.to/2tfPnxN
Buffing System: https://amzn.to/2yfrmg8


Welcome to my shop! This is a quick update to let you know what I’ve been up to. This big chunky thing is the leg

Welcome back to the home renovation. This time I’m going to be working on the kitchen island. Here is a small model of the island.

Welcome back to our home renovation. Today I am going to be working on this wall. It needs some upper cabinets and the surround for
2 Responses
MATT,
Looks like you’re having fun with your brass recycling. You recently did a tune up of shop tools. You may have mentioned this, but I want to know if your tri metal blade can be resharpened? And since your in the Cities do you have someone sharpen blades for you?
Thanks,
Tom
Awesome stuff Matt!