
Kitchen Island, Barn Power – March 2024 Update
Welcome to my shop! This is a quick update to let you know what I’ve been up to. This big chunky thing is the leg
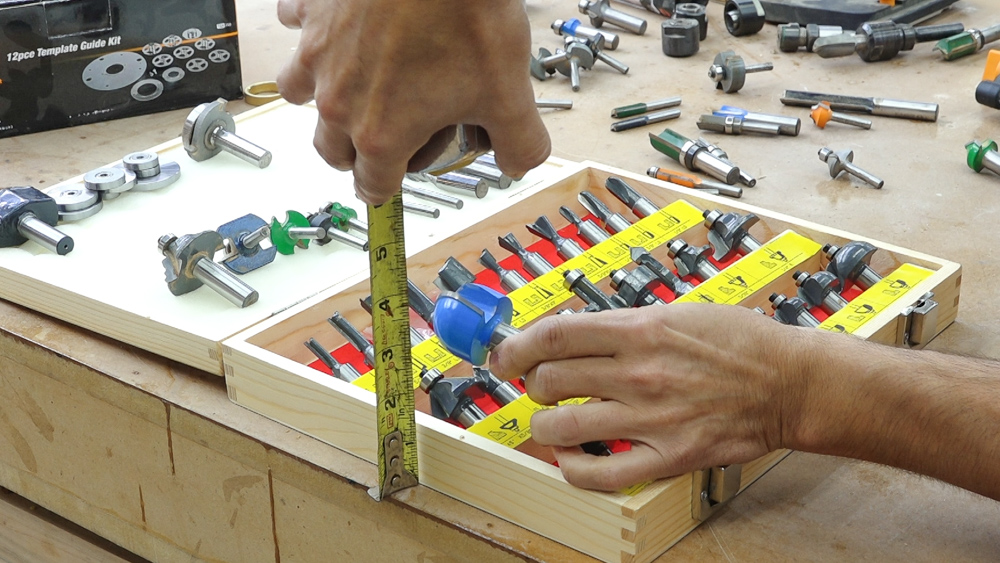
I spent a bit of time on the design of the cabinet by laying out everything I want to store, roughly arranging them, and seeing how big the cabinet needed to be. I used a bit set from MLCS to get an idea of how many bits can be packed into a certain area. Once I decided on the cabinet’s height, width, and depth, I could find some lumber to use.
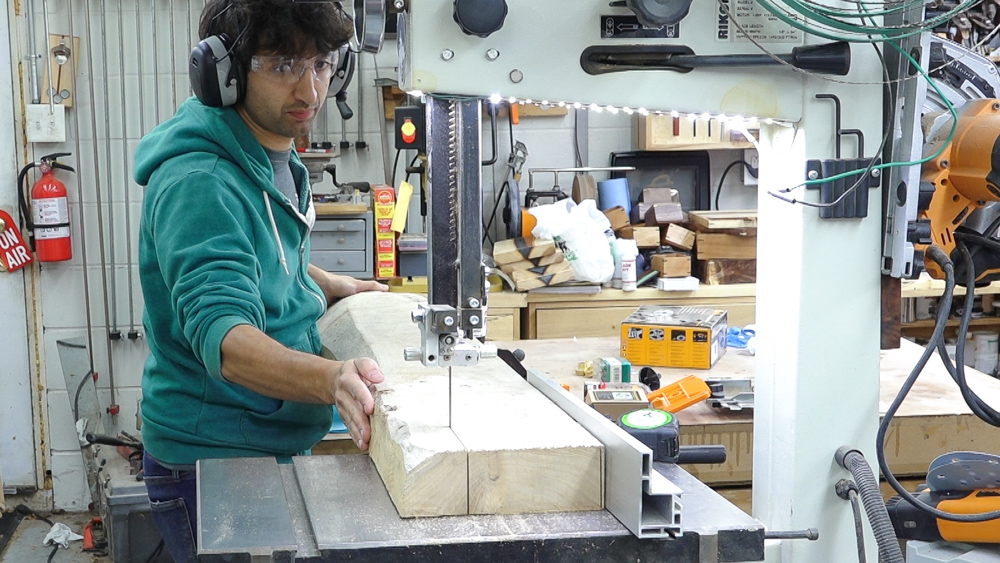
I had a chunk of 10/4 elm that would work perfectly for this cabinet. It has a flat sawn orientation and came from towards the outside of the log. This would allow for a section that could be resawn to give me the case sides with some traditional cathedral grain and I could rip the stock for the doors from the outside of the board where the grain would be rift sawn. This will give me clear, straight grain for the front facing areas.
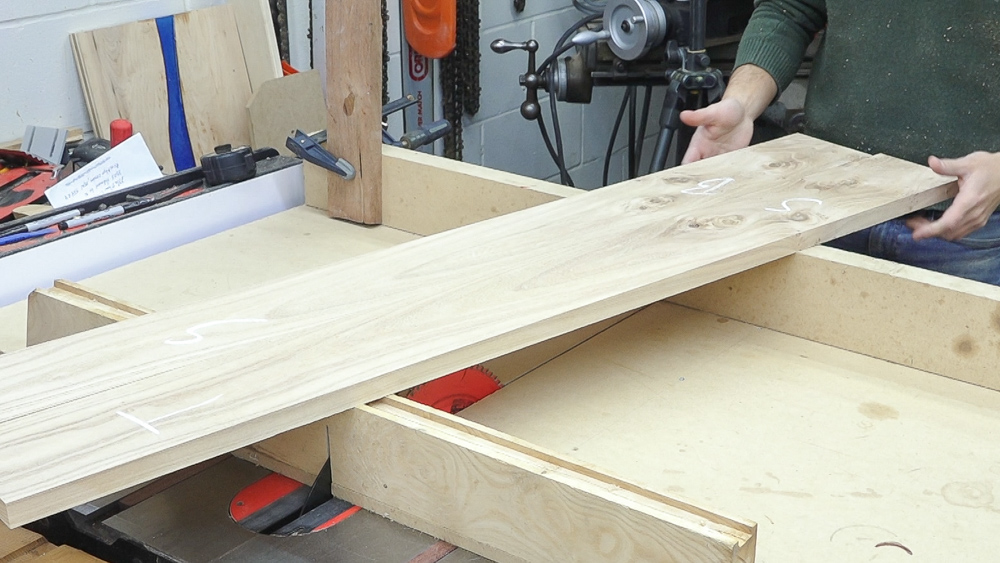
As an added bonus, which is totally unnecessary for this build, I can create a continuous grain pattern around the case. These boards are bookmatched so if I cut the case parts from opposite ends of each board, I will have a grain wrap around the case.
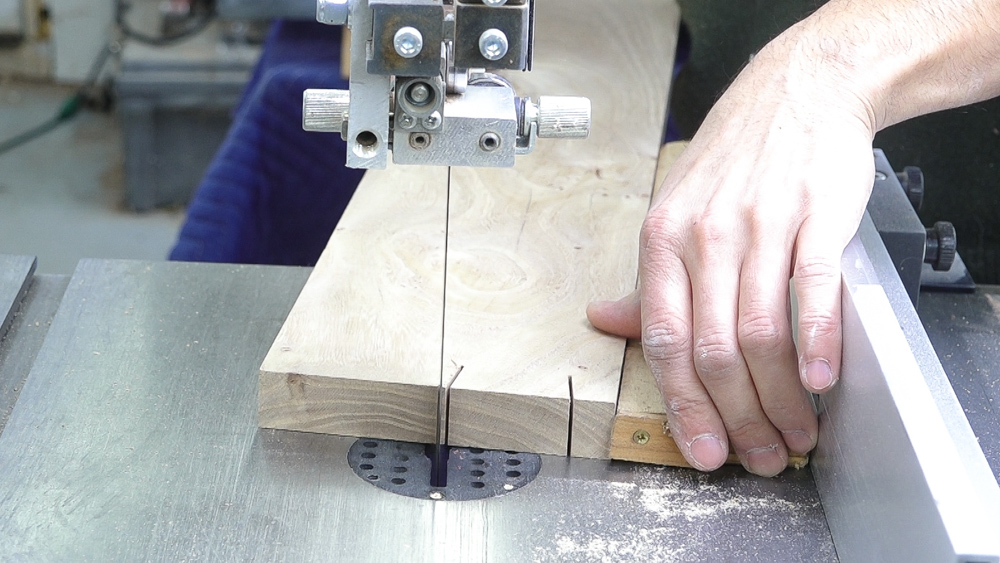
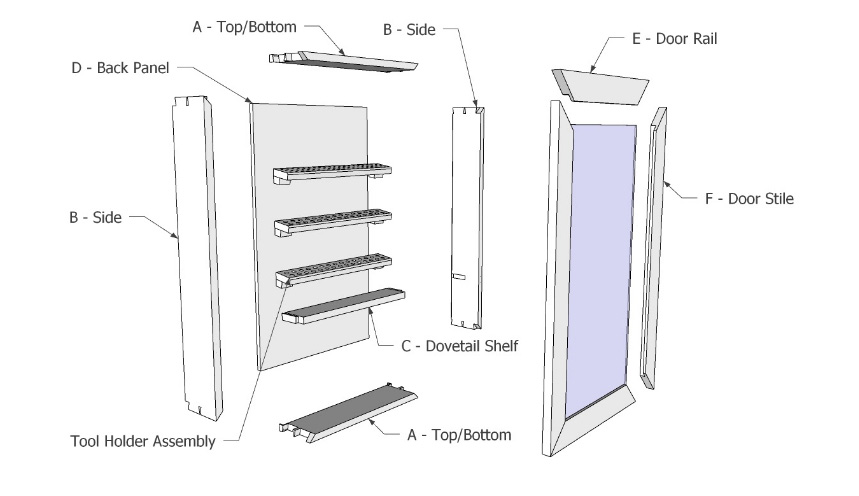
Next I can get into the case joinery. I’ve chosen mitered through dovetails here which will match my handtool cabinet. I cut the tails at the bandsaw but omit the front one.
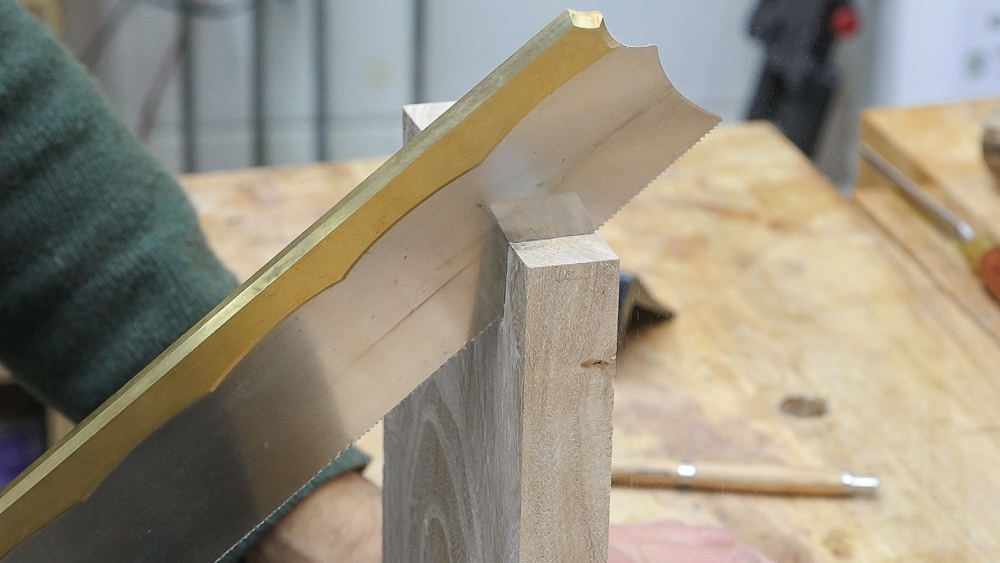
Back at the bench, I can create the mitered tail by sawing the tail but not cutting into the front face. The miter can then be cut and cleaned up with a paring guide.
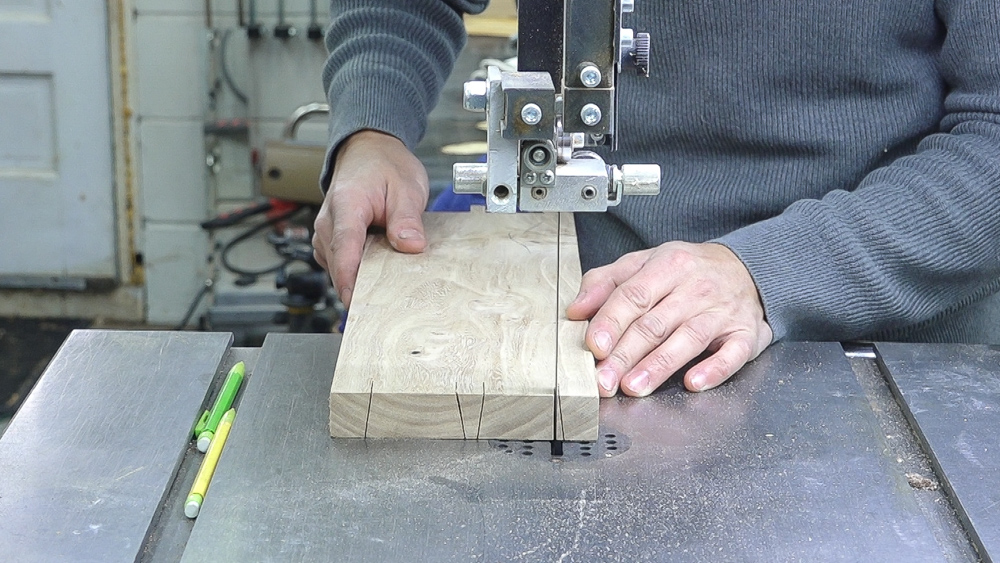
The tails are transferred to the pin board and the pins are sawn with a handsaw. I’ll then use the bandsaw to remove the bulk of the waste before chopping on the scribe line with chisels.
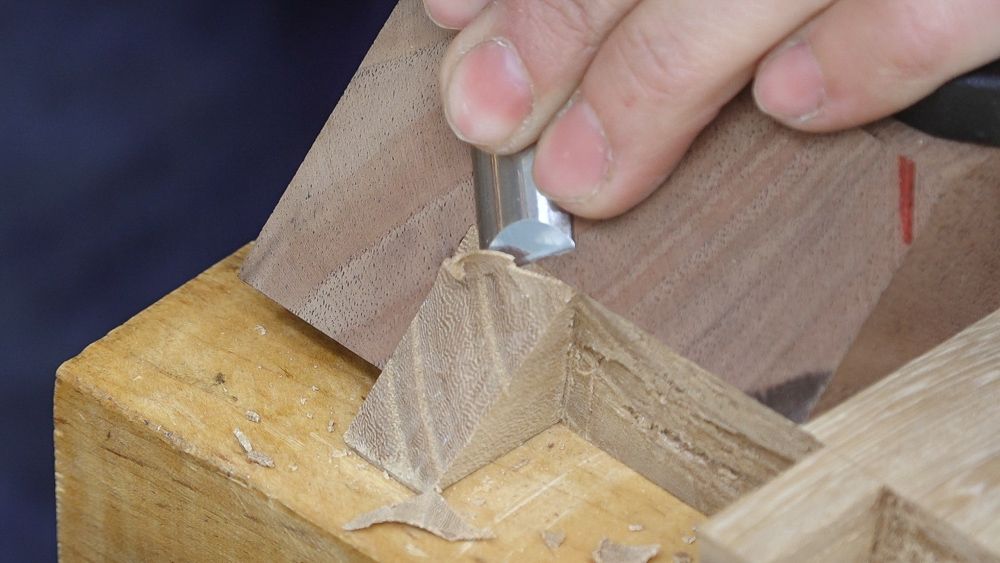
The front pin is mitered and cleaned up utilizing a paring guide.
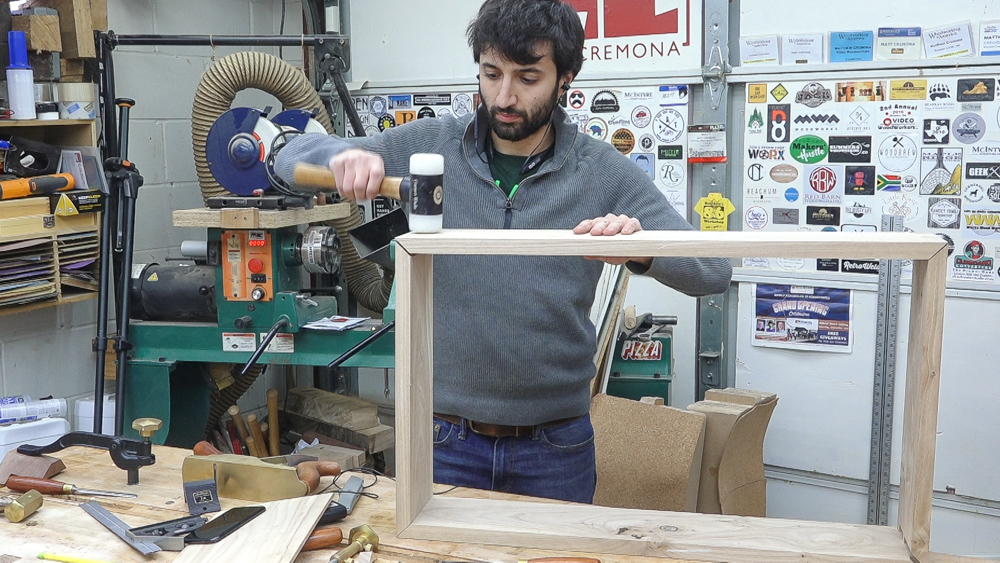
With the joinery complete, the case can be dry assembled. I love the way these dovetails give the front face of the case a mitered look. We can also see how the grain on the front edge is straight which will match the doors.
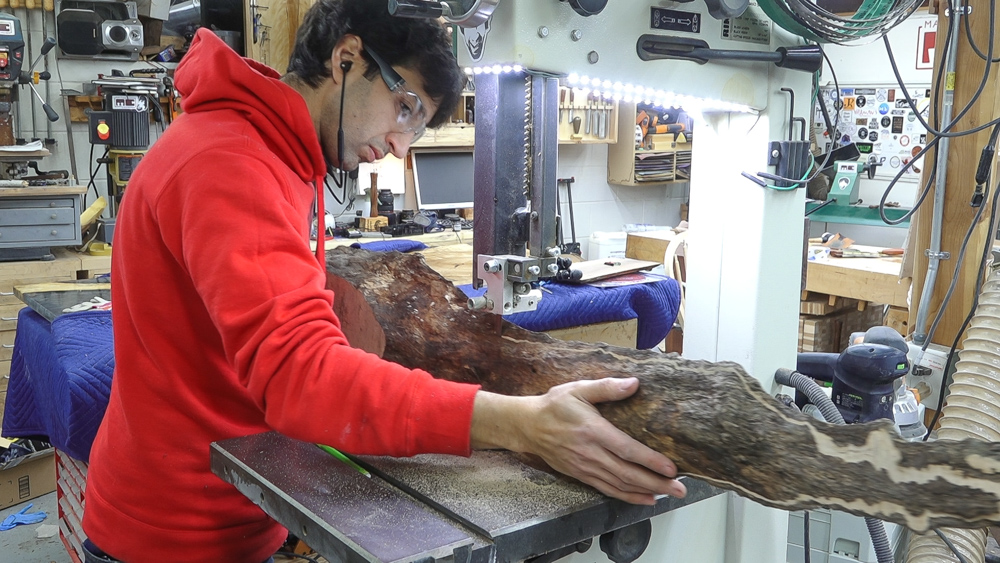
Next up is the back panel. I wanted to get rid of some scraps so I’ll use a scrap of 1/2″ plywood and make a custom veneer for it. I had this goofy shaped offcut from the guitar blank I made a year ago I’ll slice it up into veneers and try to figure out an arrangement for it.
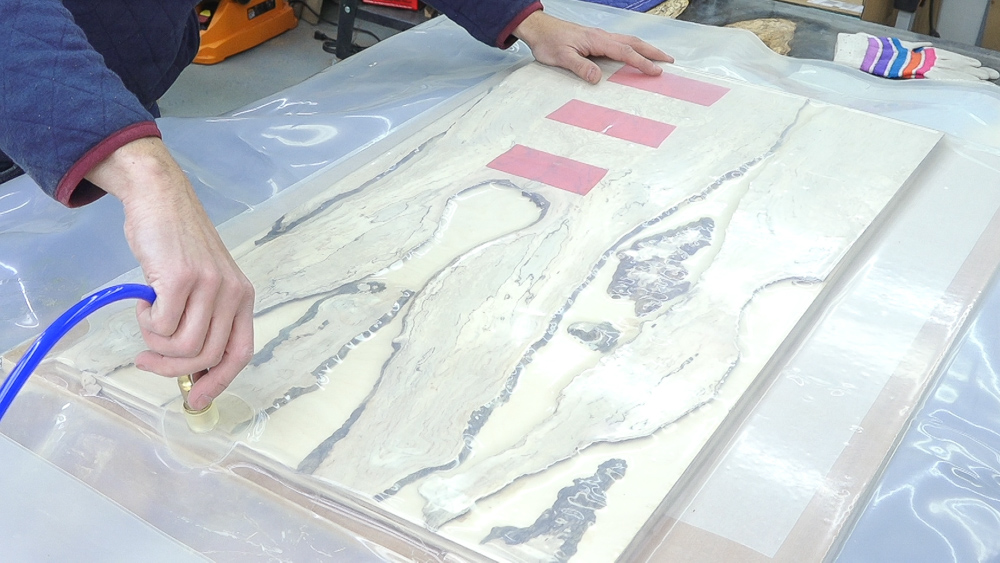
I can up with something I was happy with; it’s a little odd looking but I like it. I applied cold press glue to the pieces and stuck them down to the plywood. The assembly is placed into the vacuum bag to clamp the veneers while the glue cured. I also veneered the back side of the panel with some scrap ash left over from my flooring project
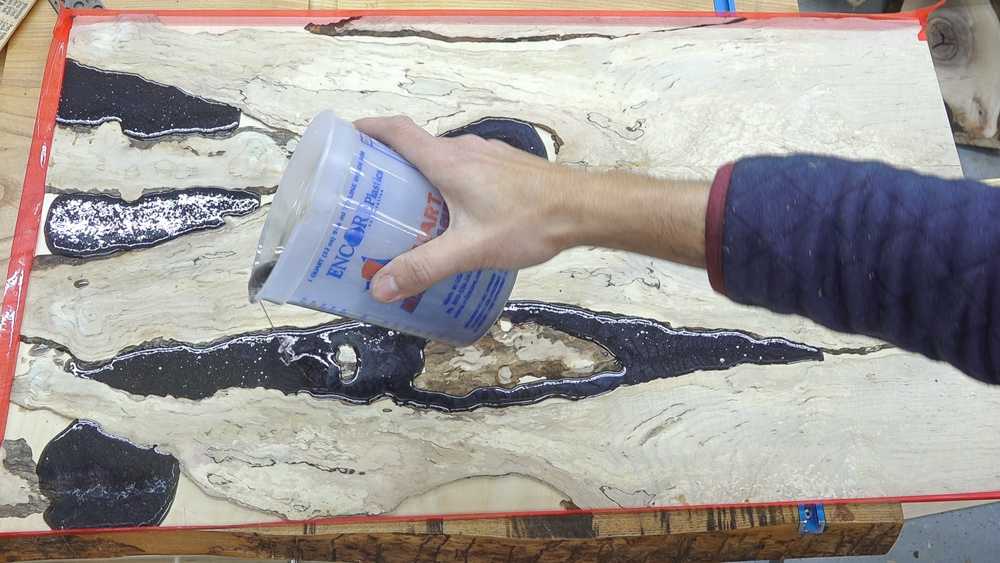
To fill in the areas between the veneers, I did a quick epoxy pour. I damned up the edges with sheathing tape and mixed some resin with a clear hardener so the epoxy wouldn’t gain any yellow tint. I wanted something dark so I added a black powdered pigment and added a bit of micropearl to give the resin a bit of iridescence.
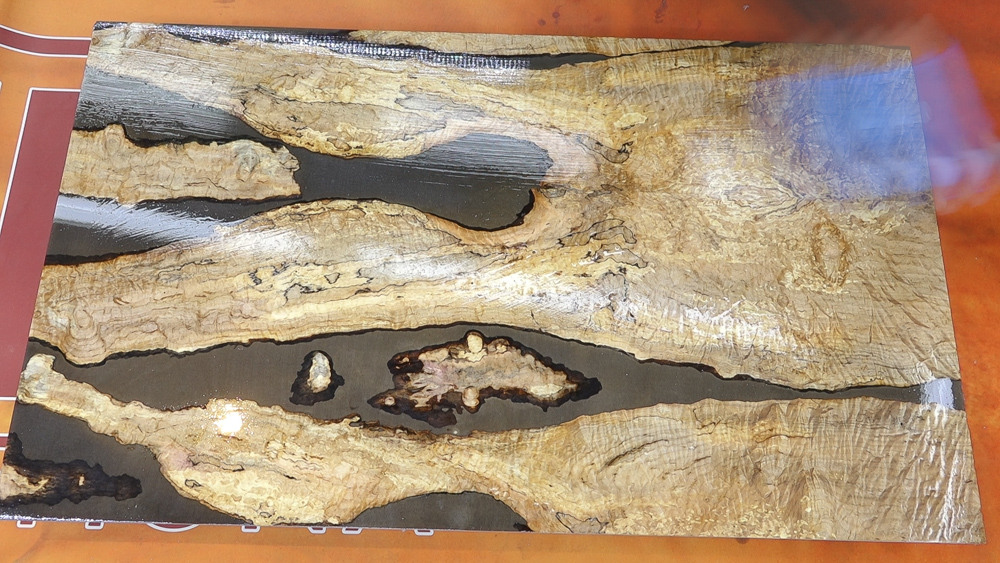
Once the epoxy cured, the panel was planed to flush everything up and sanded to 800 grit before a few coats of finish were applied.
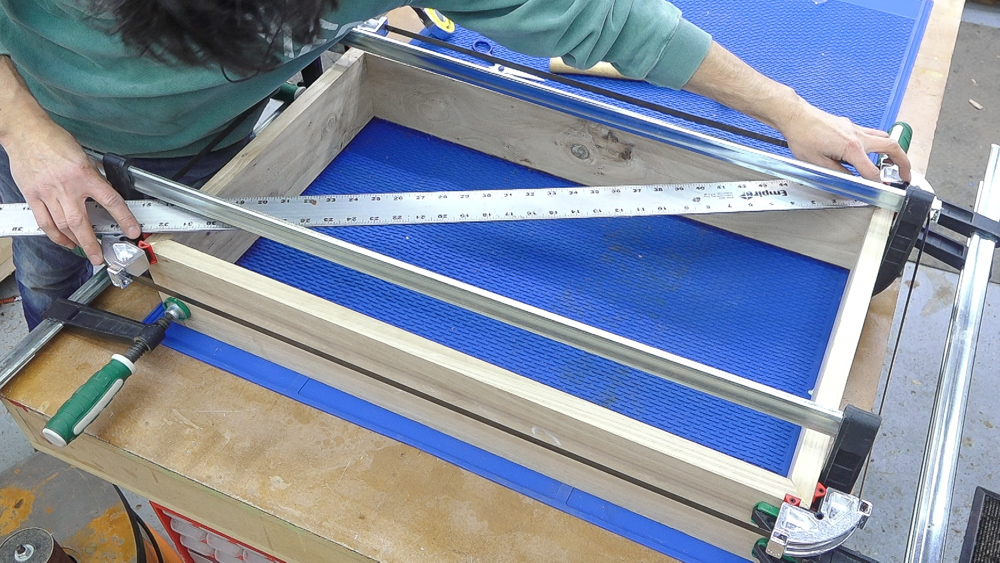
Now that the back panel is done, I know it’s final thickness and can cut the rabbet for it in the back of the case. Once that is complete, the case can be glued up. I used clamps to fully seat the dovetails and a band clamp to make sure the miters were fully closed on the front.
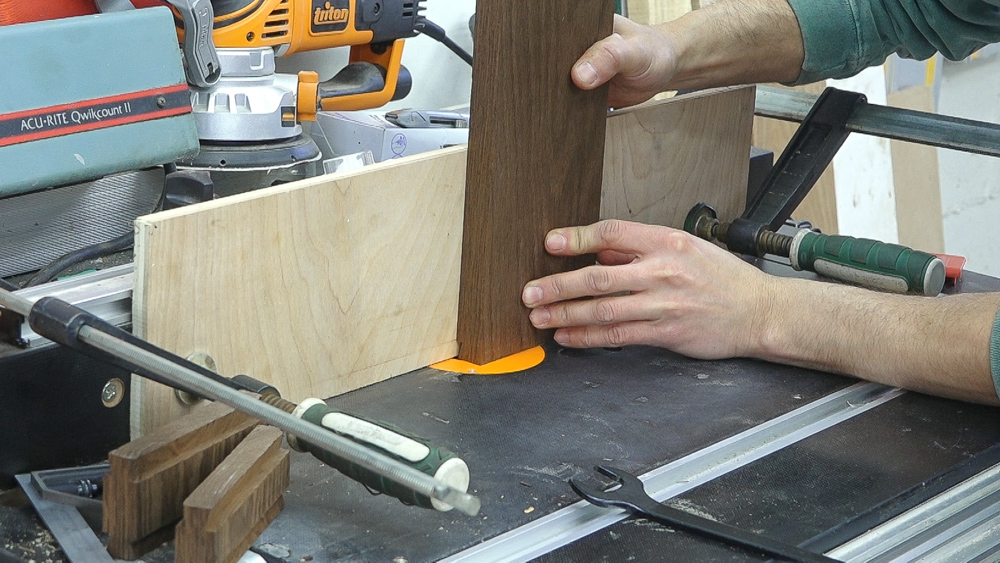
Next I can add a divider/fixed shelf. This is installed with a stopped sliding dovetail. The dovetail socket is cut into the case sides starting from the back and stopping a bit before the front. The divider stock is cut to the correct length and a dovetail can be formed on the ends at the router table. I also cut a few scrap pieces to help dial in the settings before cutting the work piece. This one took 4 tries to get set correctly which is pretty average.
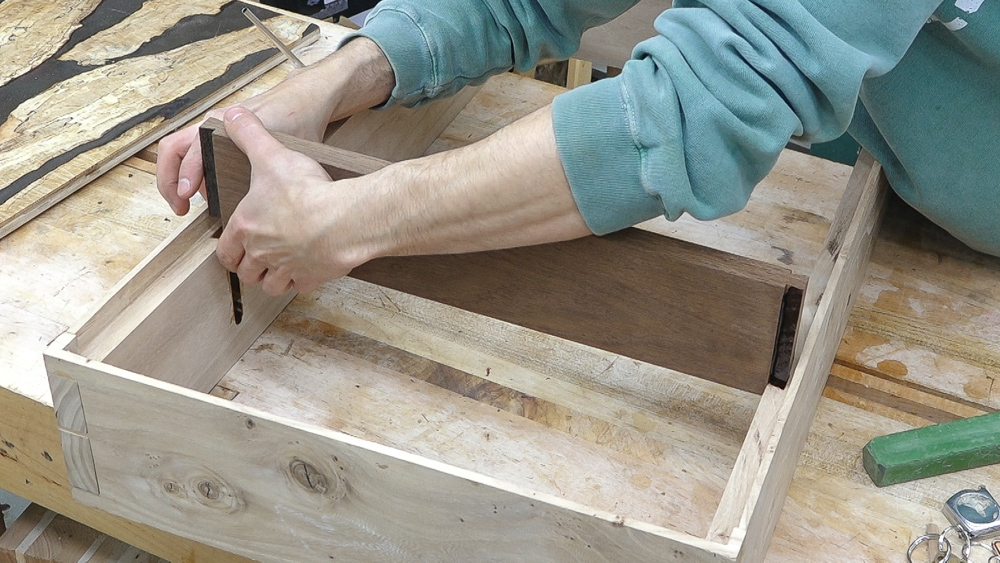
The divider is ripped to final width to clean up any blowout from the routing operation and the front bit is notched so it will lap over the front of the socket. The divider can then be glued in place. I used epoxy here since it will not swell the fibers and make the fit too tight.
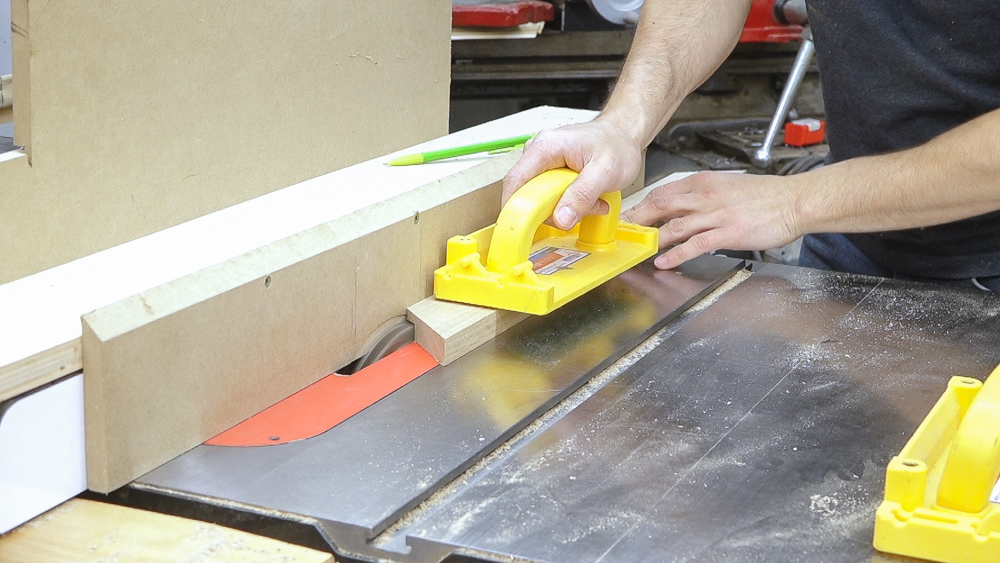
Now we can move on to the door. I made a mitered door frame and cut a rabbet on the inside back edge which will house the glass panel.
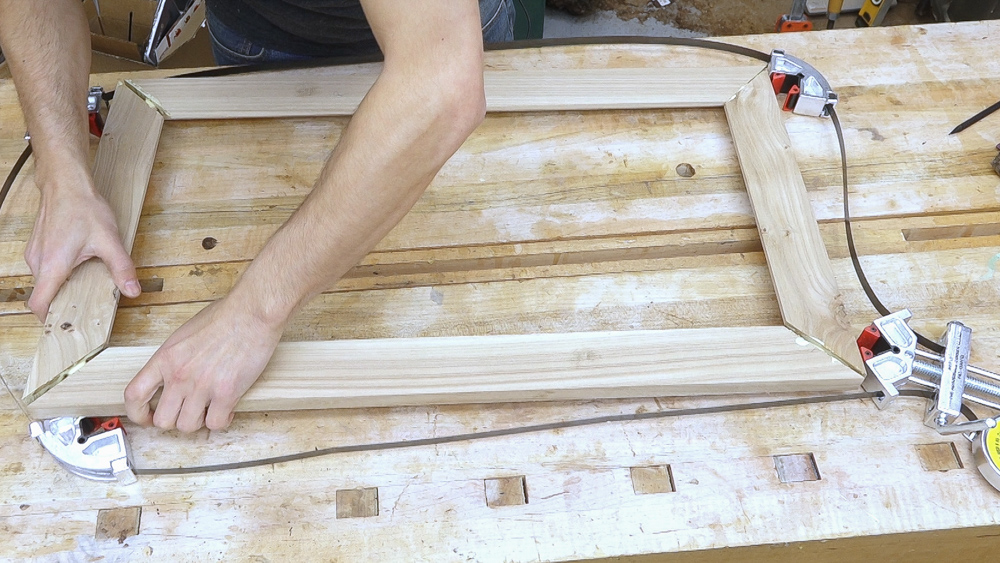
The miters are reinforced with a domino and the frame can be glued up.
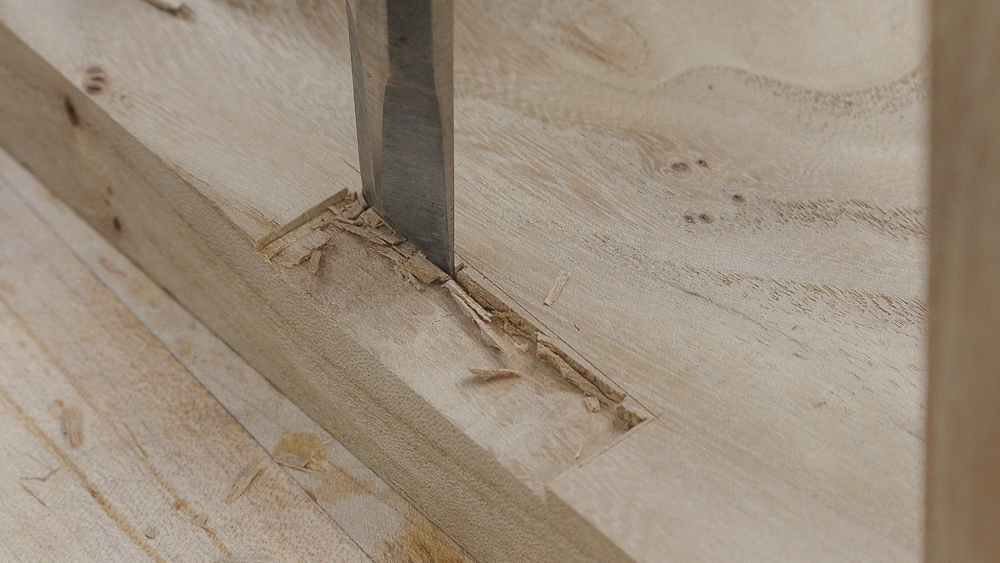
To start hanging the door, the hinge mortises are cut into the case.
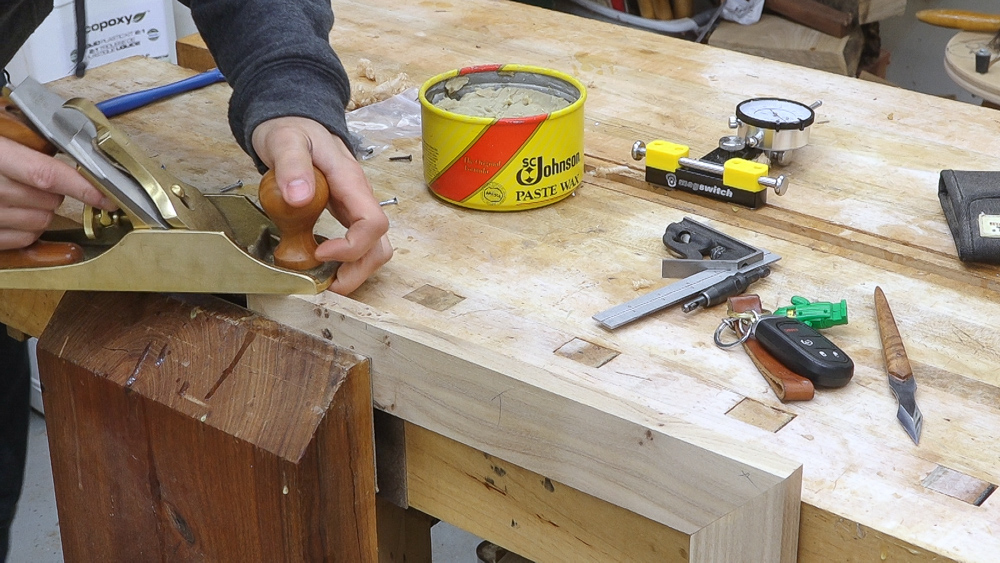
The frame is roughly fit to the opening and it is mortised as well for hinges. Once the door is hung, we can take a look at the fit and adjust as needed.
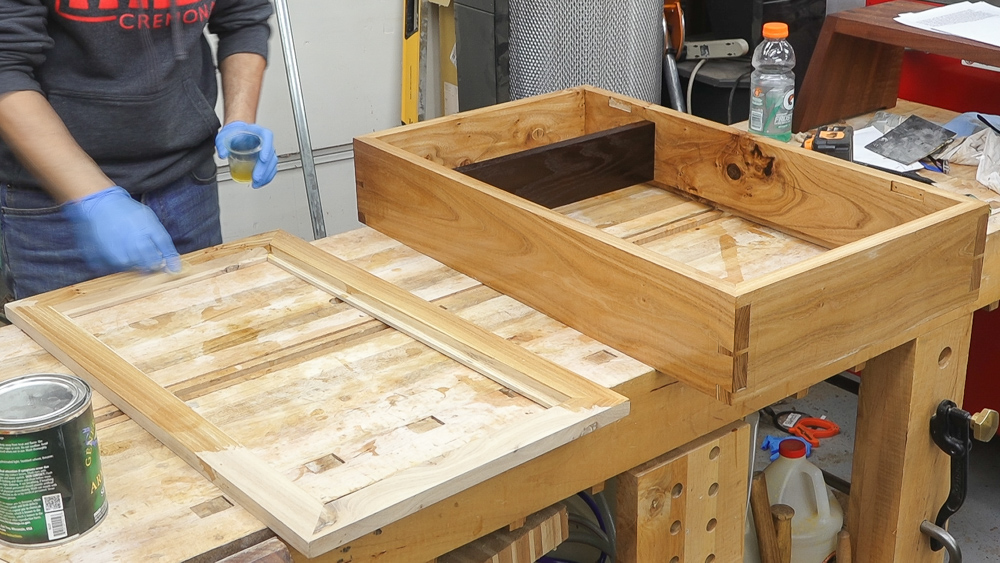
With that all done, the door can be removed and finish can be applied to the case and door.
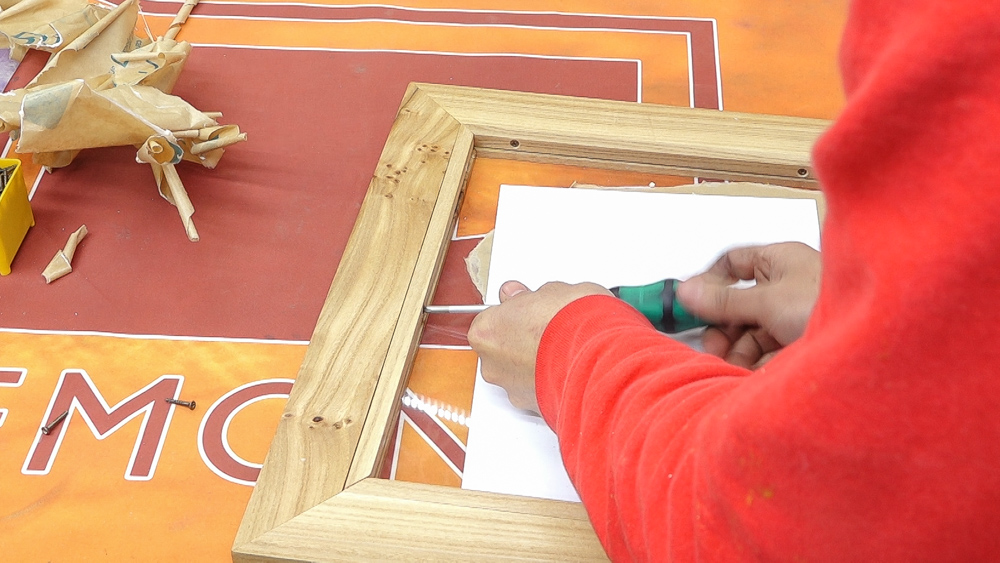
Once the finishing is done, a piece of acrylic is cut and dropped into the rabbet. This is held in place with some retaining strips which are screwed into the door frame.
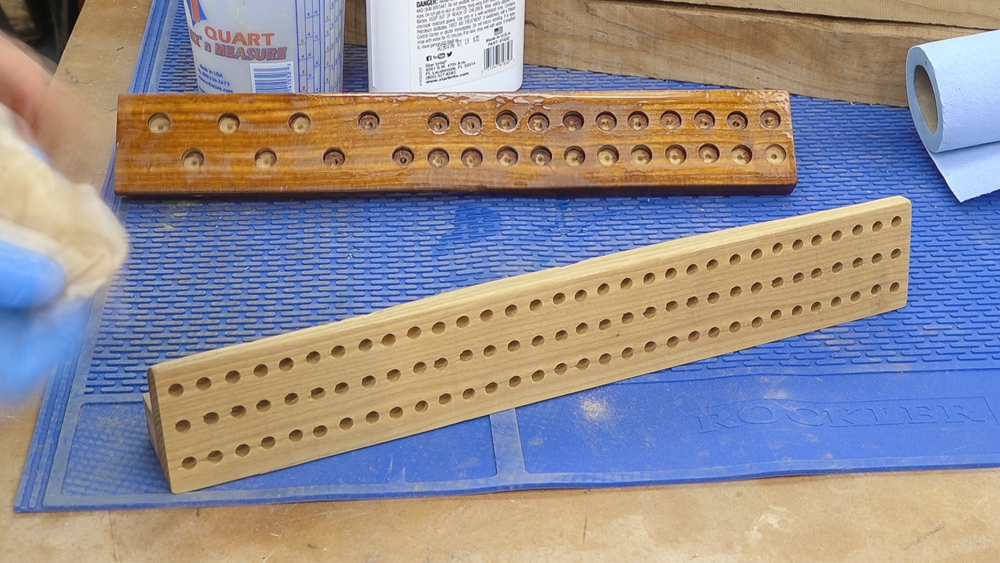
I made some racks to hold the majority of the router bits. The 1/4″ bits are housed in 17/64″ holes and the 1/2″ bit are held in 1/2″ holes since I didn’t have a slightly oversized drill. The holes aren’t super deep and I added some wax which makes the bits pretty easy to remove.
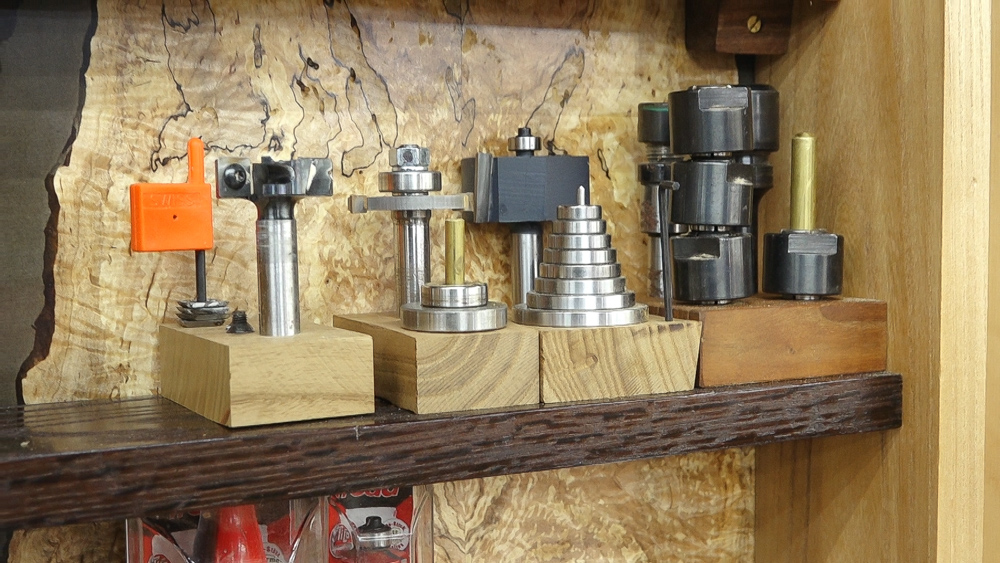
For bits with accessories, I made simple blocks which hold the bits and their accessories.
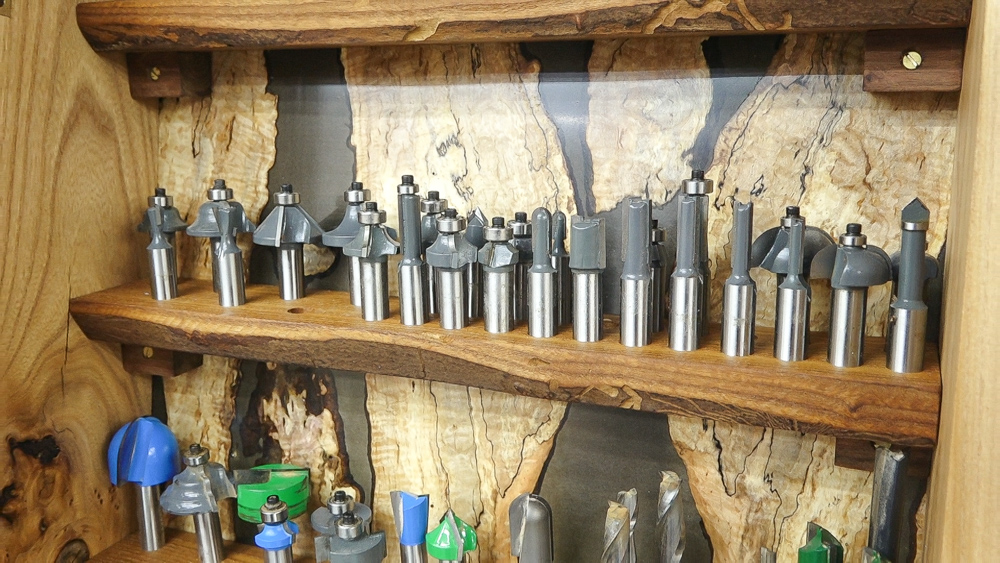
If you’d like to make your own display cabinet for what ever it is you’d like to store and display, I have put together plans for this project.
Router Bit Cabinet Plans – Imperial
Router Bit Cabinet Plans – Metric
[Amazon links are affiliate links]
Band Clamp: https://bit.ly/bandclamp
30 Piece Bit Set: https://bit.ly/30pcset
Hinges: http://bit.ly/handtoolcabinethinges
Knob: https://bit.ly/34Knob
Router: http://amzn.to/2hXj5AC
Router Table: http://amzn.to/2sbcLLt
Jig Saw: https://amzn.to/2PedA0a
Table Saw: http://amzn.to/2hXj5AC
Bandsaw: http://amzn.to/2HISAf0
Finish: http://amzn.to/2FFWlVG
Dust Mask: http://amzn.to/2y8dl1m
Hearing Protection: http://amzn.to/2yQ0sa3
Triton Track Saw: http://amzn.to/2f2P85l
Epoxy Resin (Gallon): http://amzn.to/25TYH7y
Epoxy Slow Hardener (Quart): http://amzn.to/25TYKAr
Epoxy Clear Hardener: https://amzn.to/3fxrglo
Black Pigment: https://amzn.to/3fyzYA1
Micropearl: https://amzn.to/2YRl41F
West System Metering Pumps: http://amzn.to/1qicuEr
Sheathing Tape: https://amzn.to/2GbIsyL
Transtint Medium Brown: http://amzn.to/23nL4Ps
Push Blocks: http://amzn.to/2yQD24r
Vacuum Bag: https://bit.ly/vacuumbag4x4
Vacuum Pump: https://bit.ly/vcuumpump
Veneer Glue: https://amzn.to/2yLQ9JD
Finish: https://amzn.to/3coHvzm
More stuff on my Amazon page: https://www.amazon.com/shop/matthewcremona


Welcome to my shop! This is a quick update to let you know what I’ve been up to. This big chunky thing is the leg

Welcome back to the home renovation. This time I’m going to be working on the kitchen island. Here is a small model of the island.

Welcome back to our home renovation. Today I am going to be working on this wall. It needs some upper cabinets and the surround for
5 Responses
Hey Matt, I really like your vids and the stuff you make. This router bit cabinet is really sweet. I had no idea that elm could be so nice. Thanks for sharing the plans etc for it.
Thank you!
Matt,
Can you illuminate me ( 🙂 )on the lighting strips you have on the throat of your band saw? I just notced them in the video… seems like a great idea for us geezers!
hahahaha I did that in this video: https://www.mattcremona.com/woodworking-projects/shop-projects/led-light-strips?cntxt=359 10 min in.