Check out the Sideboard Project in The Guild: https://thewoodwhispererguild.com/product/shaker-sideboard/
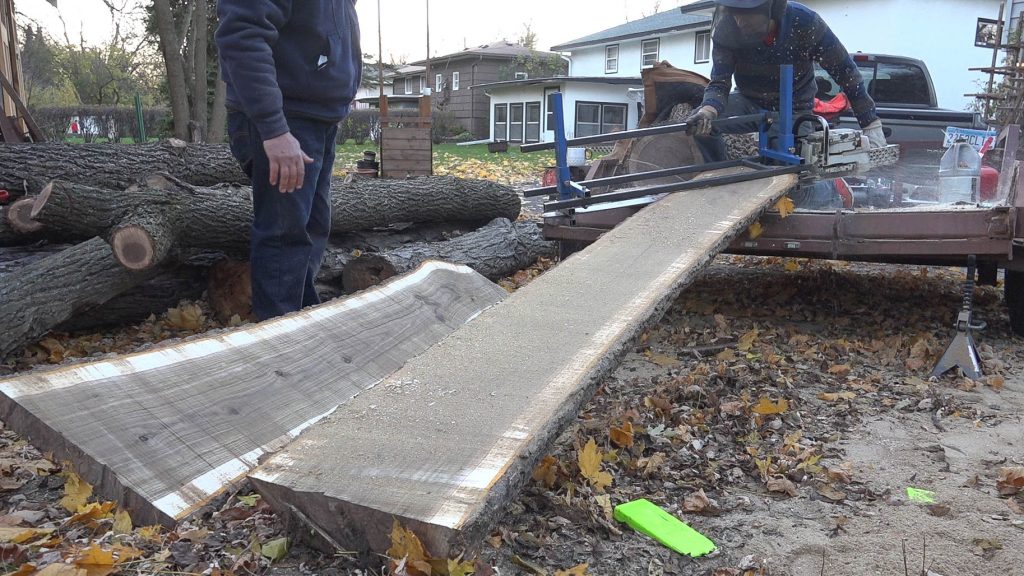
The spruce which I’ll use for the drawer internals came from my neighbor’s front yard. The tree service left me the logs and I quarter sawed one of them which I’ll use in this project.
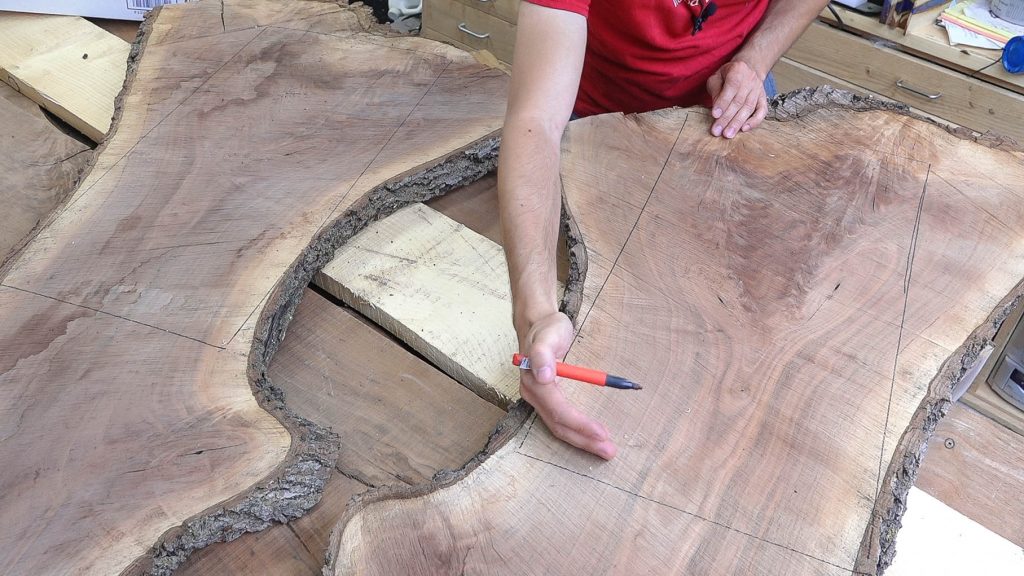
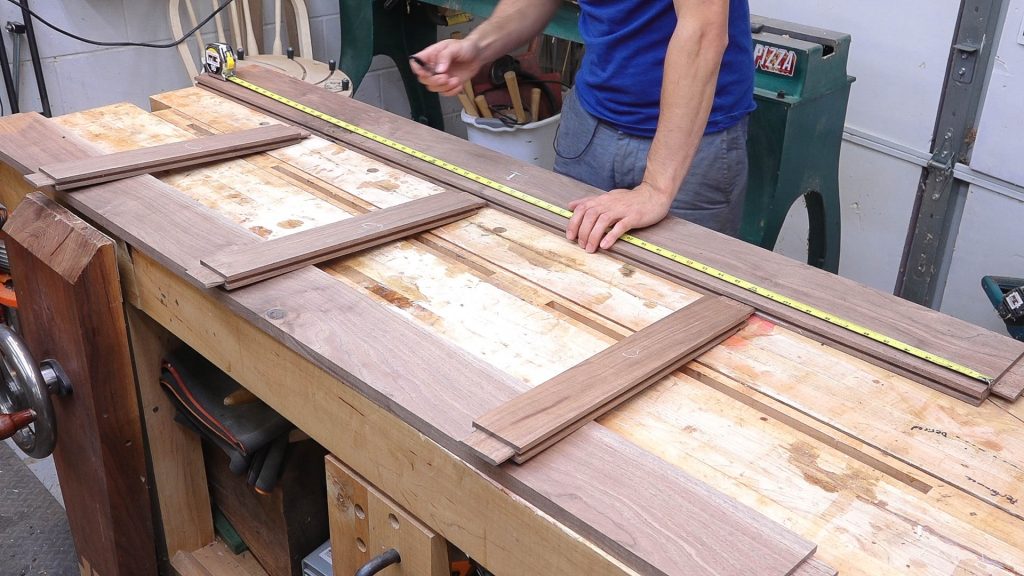
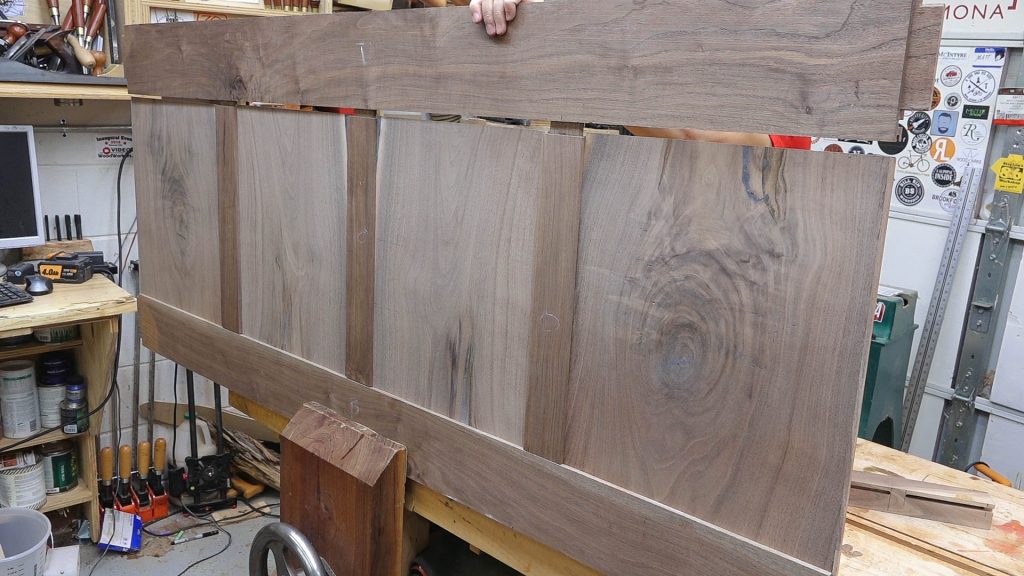
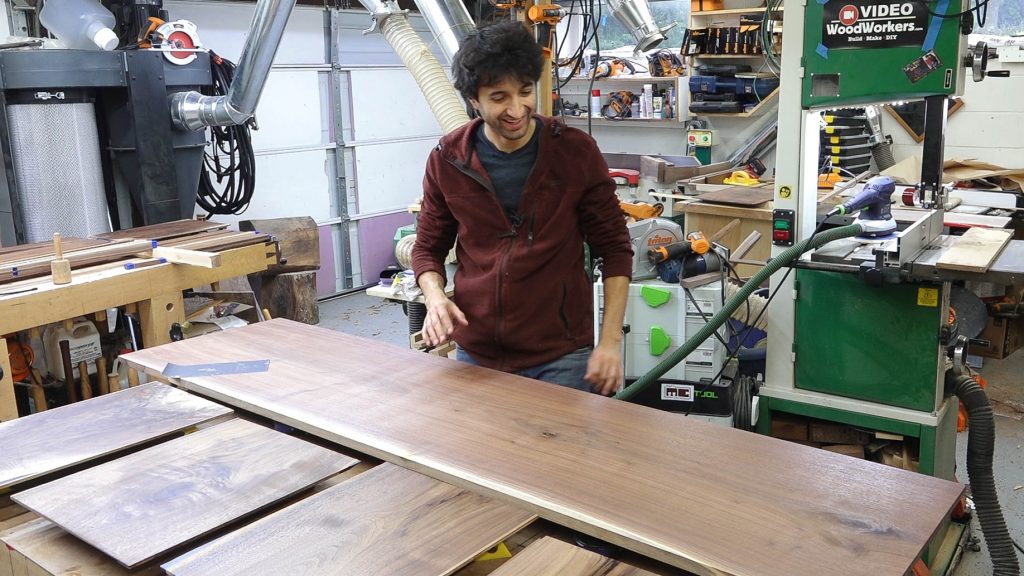
I’ll start out the project by laying out all the parts. The one thing that I’m most excited about are these bookmatched crotch slabs. These will allow me to cut all the panels for the case sequentially so the figure wrap around the case. Once I was happy with the layout, I could break down all the parts and start getting everything surfaced. That left me with a nice sea of parts.
I’ll get started on the legs by breaking down the rough stock and turning it into square stock. The case construction is going to be frame and panel, I’ll start by making the grooves for the panels and then come back and deepen the areas of the grooves that will receive the rails. The front just gets a mortise for the lower rail at this point.
And the last detail on the legs for now is to add a taper to the inside faces.
Next I’ll start on the rails. Each rail part had a tenon formed which will fit down into the mortises cut into the legs. And since those mortises are round at the ends, the tenons on the rails can be rounded to fit.
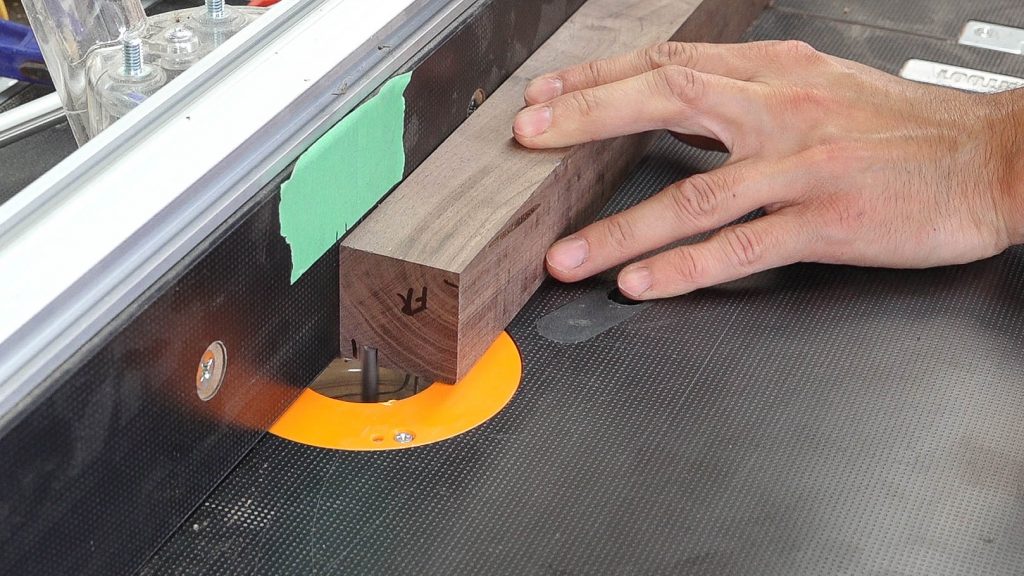
Next I’ll mark out the edges of the rails that will receive a panel groove and cut those grooves at the router table. The mid stiles in the back can be laid out and the mortises can be cut into the top and bottom rail.
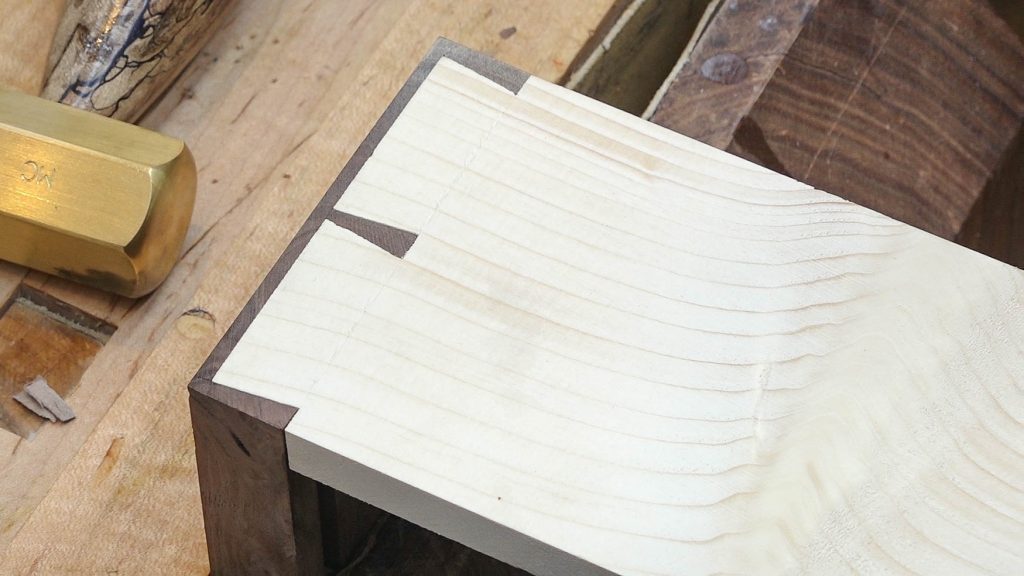
Next I can add the horizontal dividers to the front. The top divider is dovetailed into the top of the front legs. A dovetail is formed on each end, transferred to the leg, and a mating socket is cut into the leg.
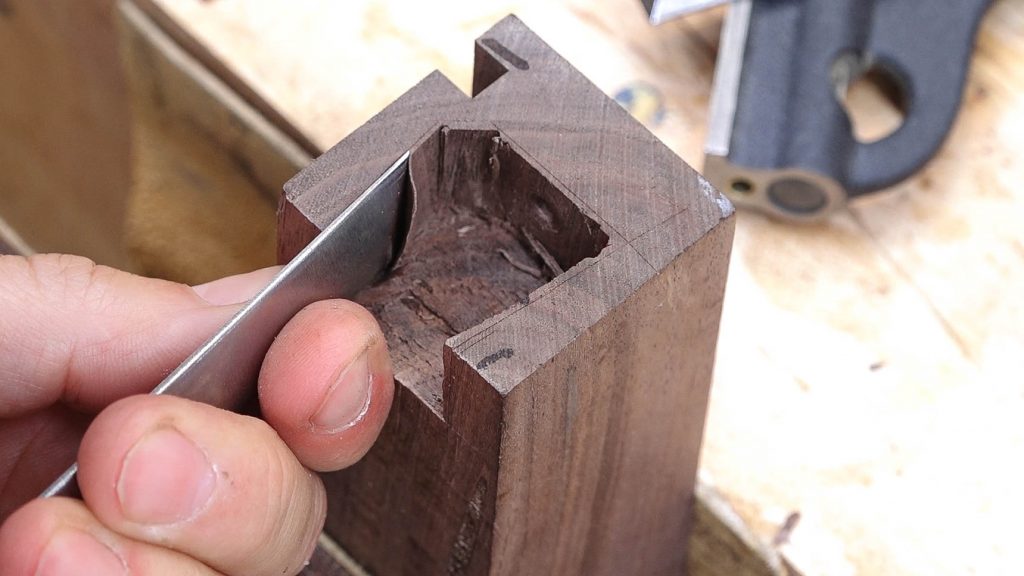
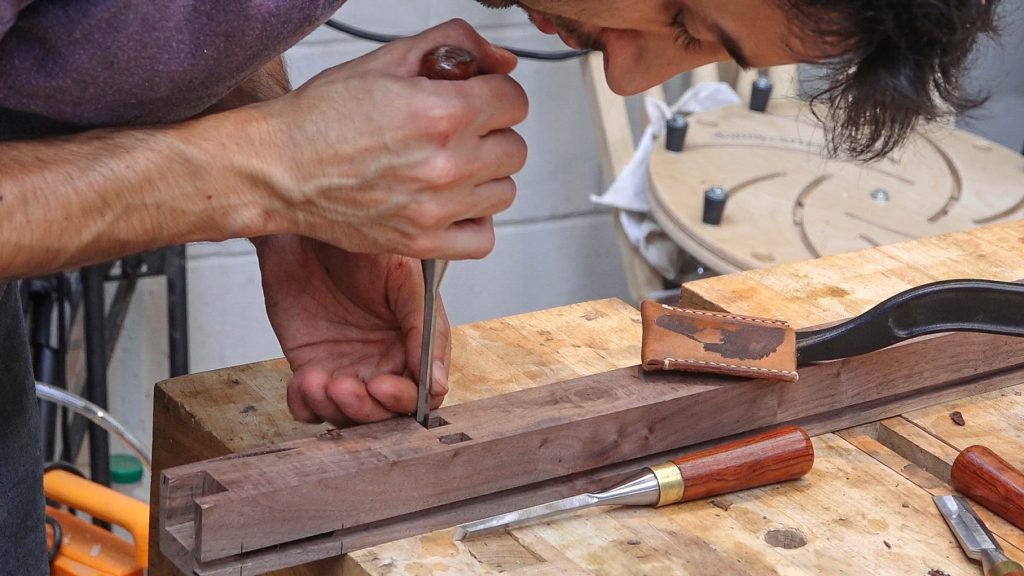
Next is the middle divider which will be joined to the legs with a double mortise and tenon which will help increase the long grain glue surface in the joint. A pair of tenons is formed on the ends of the divider and the layout is transferred to the legs. The mortiser is used to remove the bulk of the waste and then I’ll use a chisel to bring the walls of the mortise right to the scribe line.
Next I’ll create the frame that will hold the bottom panels. This is joined with a simple tongue and groove joint and is sized to fit perfectly into the case.
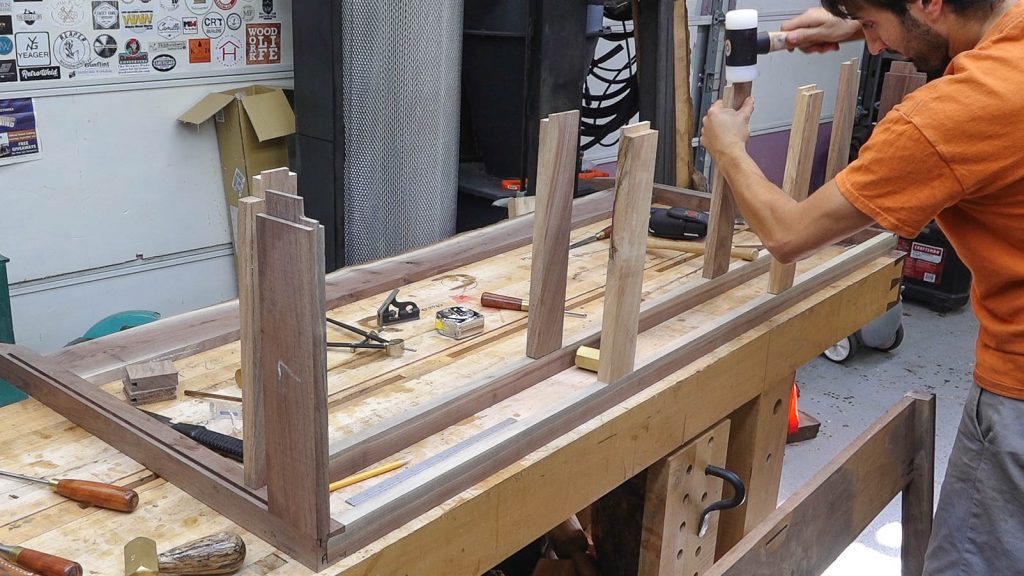
Next up is the drawer framework. The runners and kickers are joined to the case with mortise and tenons. The mortises in the front need to be split to allow space for the vertical divider which will also join in this location. The runners and kickers are supported in the rear by mortises in the top rail. The runners and kickers can be cut to length and the appropriate tenon can be formed onto the ends. I’ll also make the drawer guides which will be installed after the case is glued up.
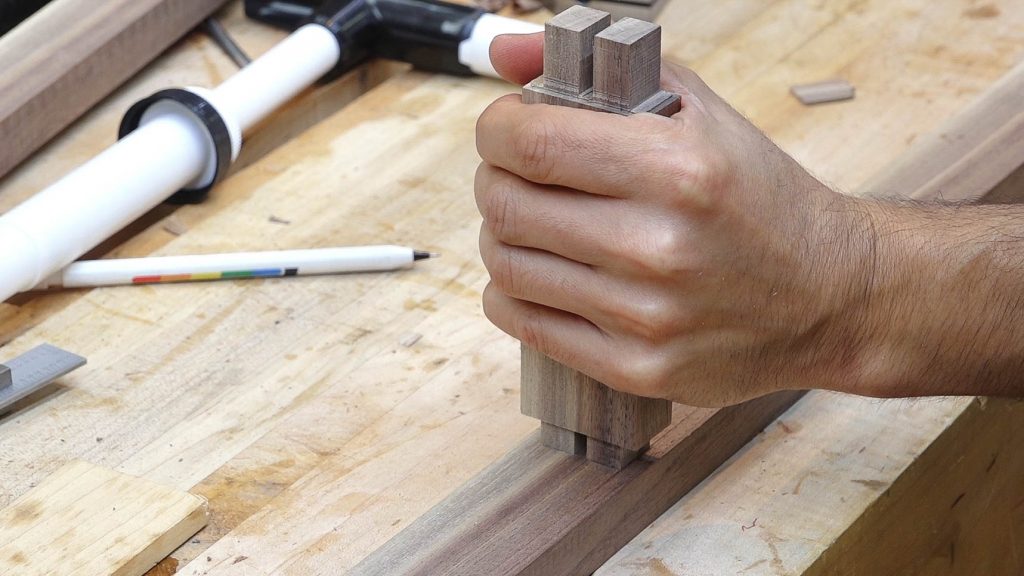
Next I’ll add the vertical dividers. These are joined with double through mortise and tenon. I’ll cut the mortises with the mortiser going down about half way before flipping the part around and finishing from the other side to end up with a clean hole on both faces. On the dividers, the outside cheeks are cut to the correct size first and then the cuts to divide the single tenon into two can be made. A few additional cuts and some clean up and the vertical dividers are installed. And that takes care of all the joinery on the case.
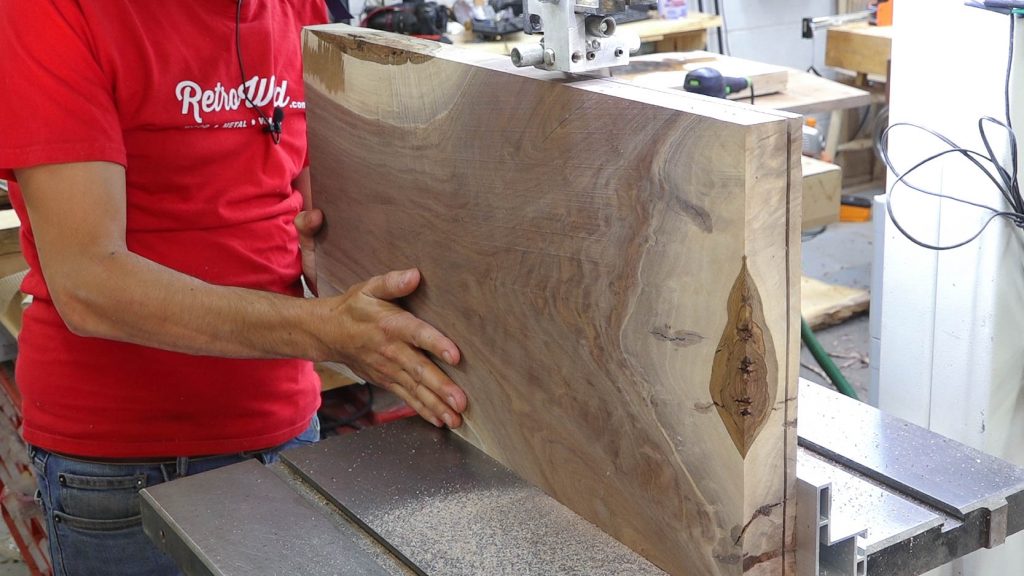
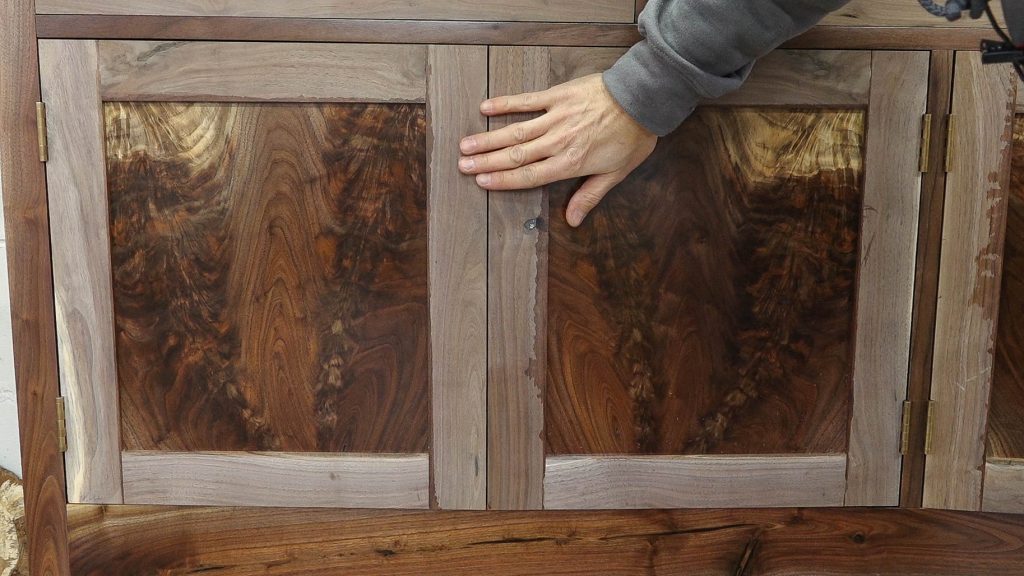
Next we can start filling in the frame with the panels. I’ll start by resawing the blocks which will make up the side and door panels. I resawed each block into three slices for a total of 6 panels. This will allow me to wrap the crotch figure from this section of the tree from the side, across the front, and back down the other side.
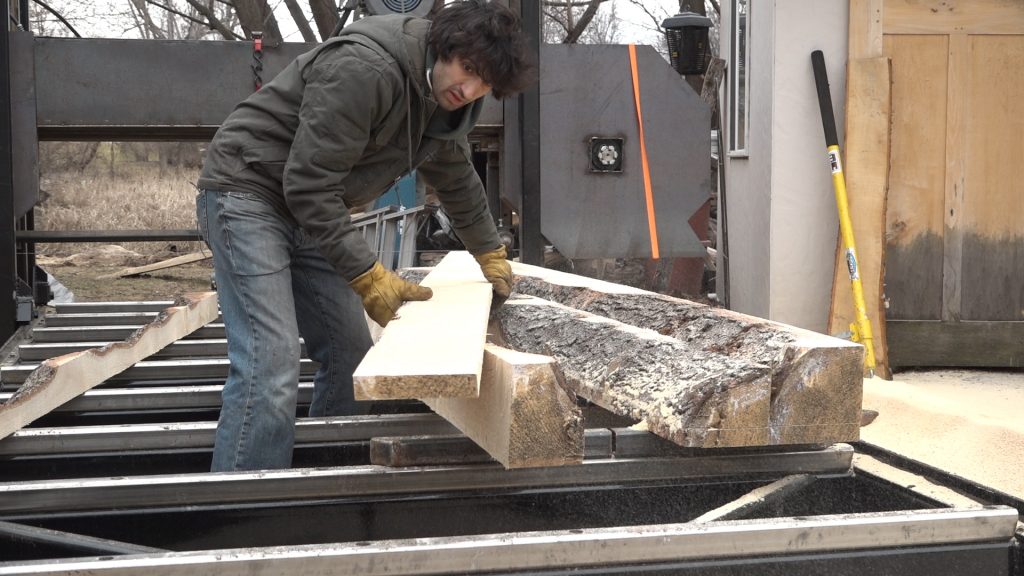
The panels for the back are resawn as well so I could bookmatch those panels. The stock was a little too wide for the indoor bandsaw, so I resawed each board on the outdoor bandsaw. In my excitement to make sure these boards wouldn’t move while I was sawing them, I forgot to tension the blade so the cuts weren’t that great but luckily there was still enough thickness. Nothing a few passes through the drum sander can fix which was the next step anyways as I bring the panels down to the correct thickness to fit nicely into the frame’s grooves.
I’ll get the back panels cut to the correct size for each opening and then add the side panels. The stock for the side panels was from the last cut off the block so these ended up a bit thicker. Instead of planing them down to fit, I added a rabbet to the inside face.
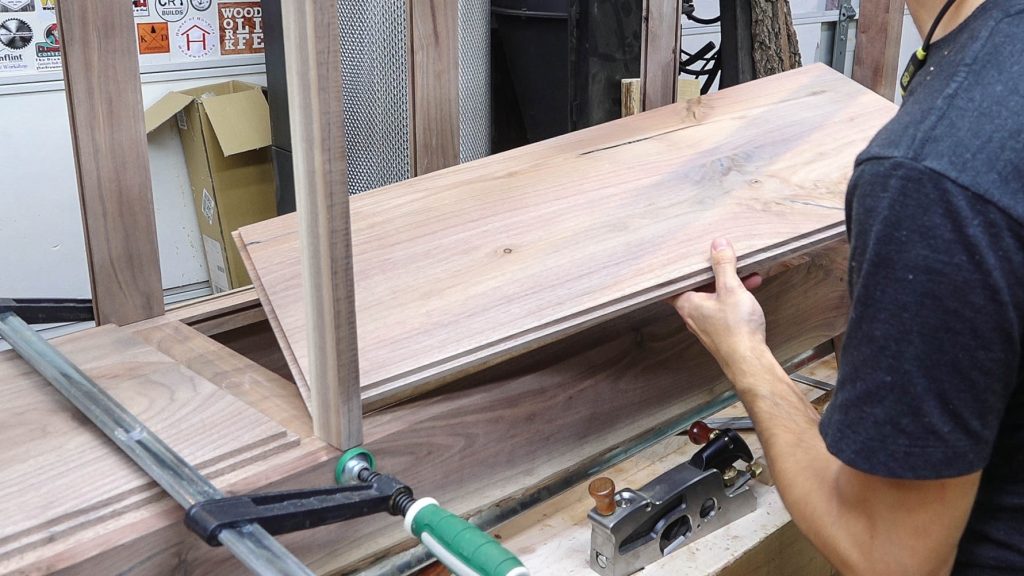
Next I’ll add the bottom panels. These fit into the frame with a tongue cut on all four sides. They are sized to fit perfectly into the frame along the sides and front with an expansion gap left in the back. The panels will be glued into the front so that seam is tight but will be free to float in the back.
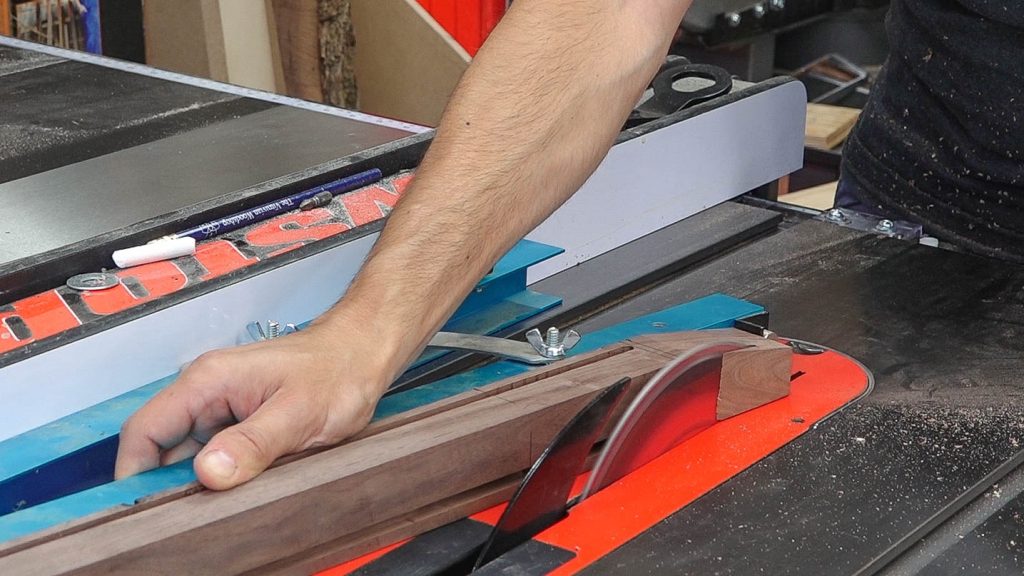
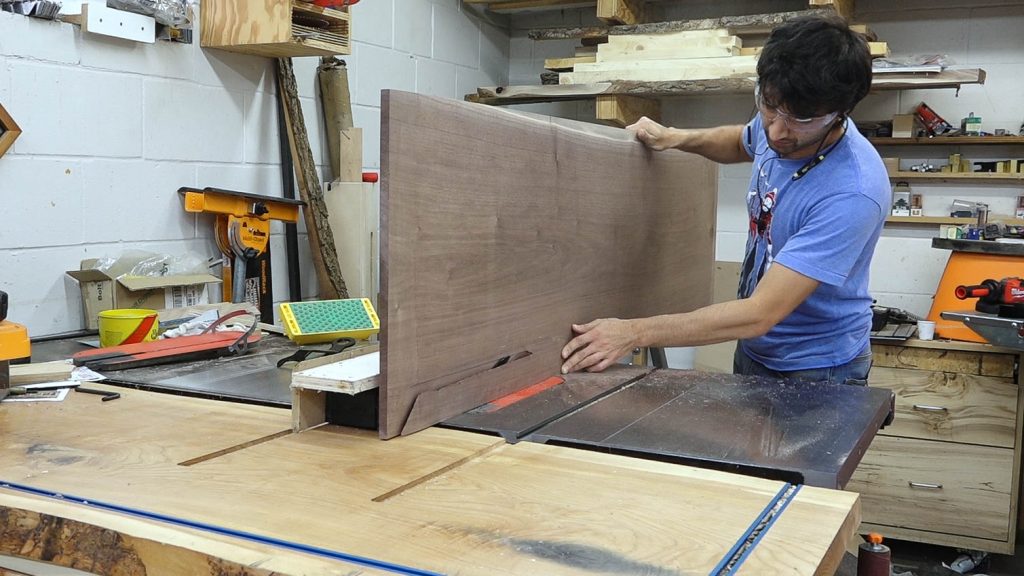
Next I can knock out the top. I got a few of these wide boards from a viewer a few years ago. This one was very flat with only a small cup. To keep the planer from flexing the cup out, I glued a thing strip to the concave side. This worked really well and left the board really flat for only having used the planer. The top is cut to size and a decorative underbevel is added. I did the sides with a plane and the front edge on the table saw.
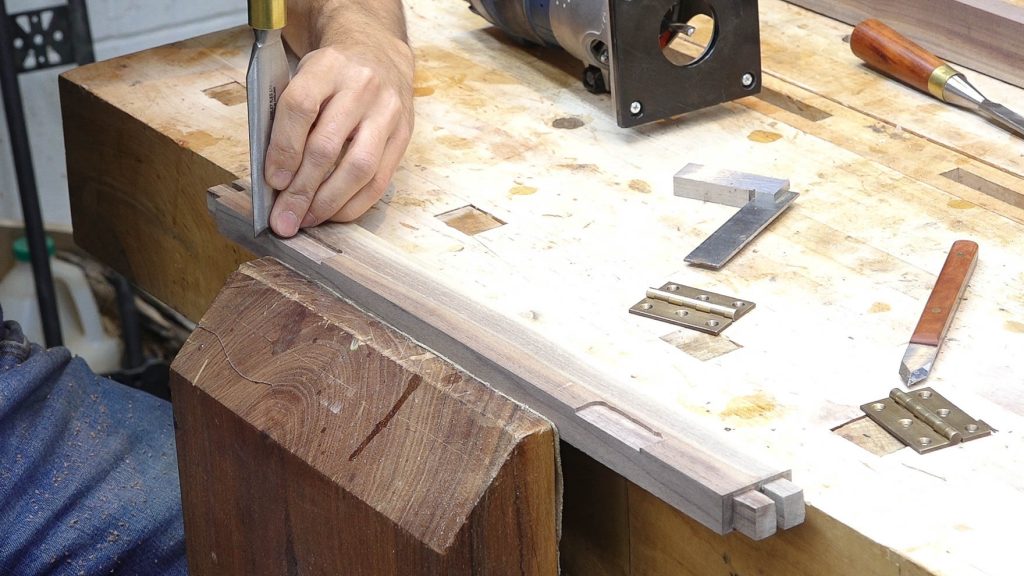
Now to finish up a few details before getting the case finished and assembled. I added the hinge mortises to the case and cut the curve on the lower front rail. The curve is cut at the bandsaw and refined with a compass plane.
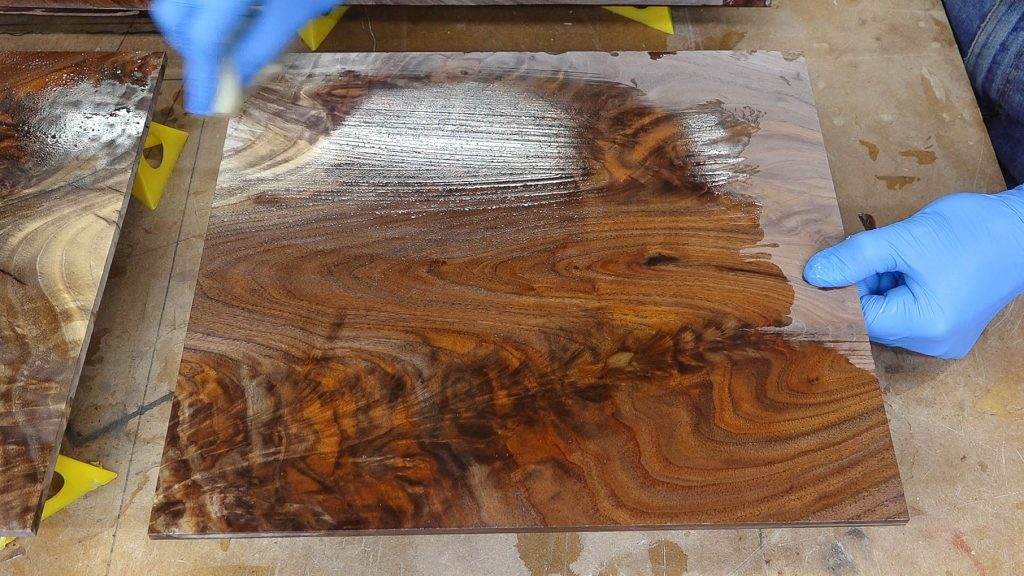
Now I’m ready to get all the parts ready for finishing. On a project like this, it’s much easier to finish all the parts before assembly. I’ll prep all the subassbmlies as a unit to ensure everything stay flush and break all the edges at the same time. And now I can dump on some finish and watch these parts come to life. I applied 5 coats of arm-r-seal over the course of 2 days sanding between each coat with 600 grit sandpaper.
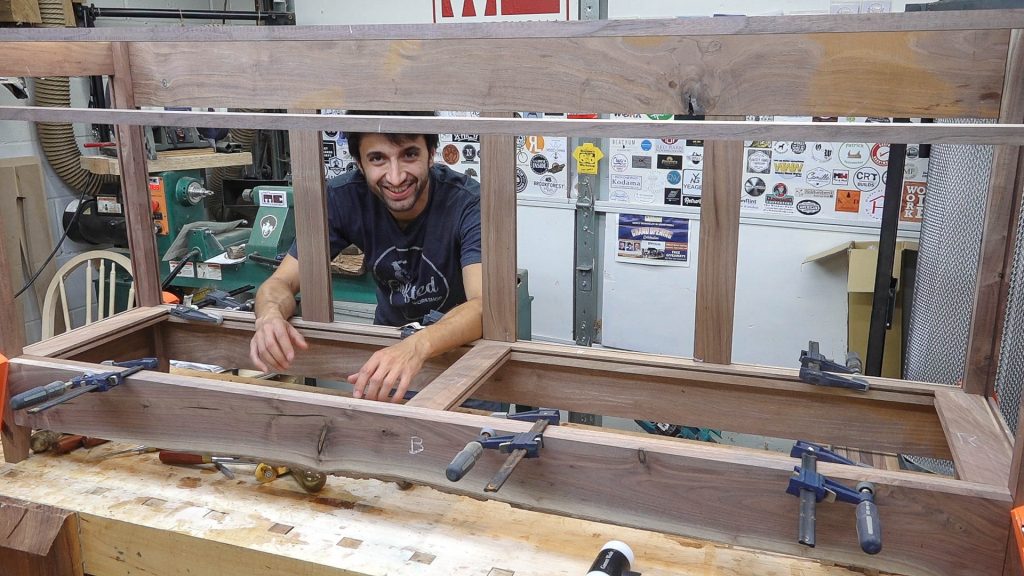
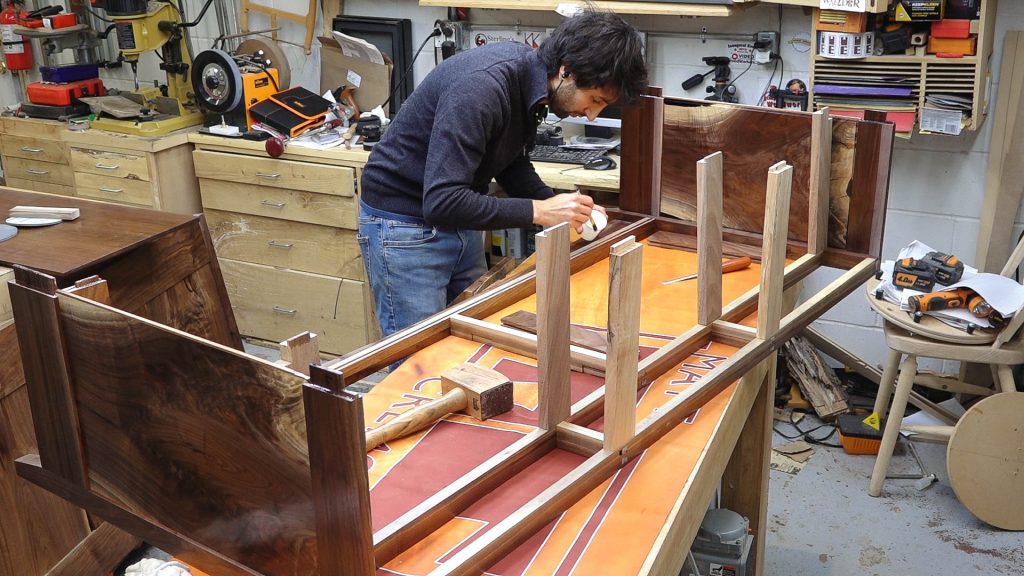
Once the finish was done, I could start on the glue ups. I did this in three glue ups starting with the front assembly. I used epoxy for the glue to give myself as much working time as I could possibly need. The next subassembly was the back and once the epoxy had set on those two subassemblies, I could join them with all the connecting parts.
Next I can start on all the things that go inside the case, starting with the drawers. I’ll start by resawing all the spruce for the drawer boxes and then get the stock for the drawer fronts down to final thickness before cutting and fitting each drawer front to its opening.
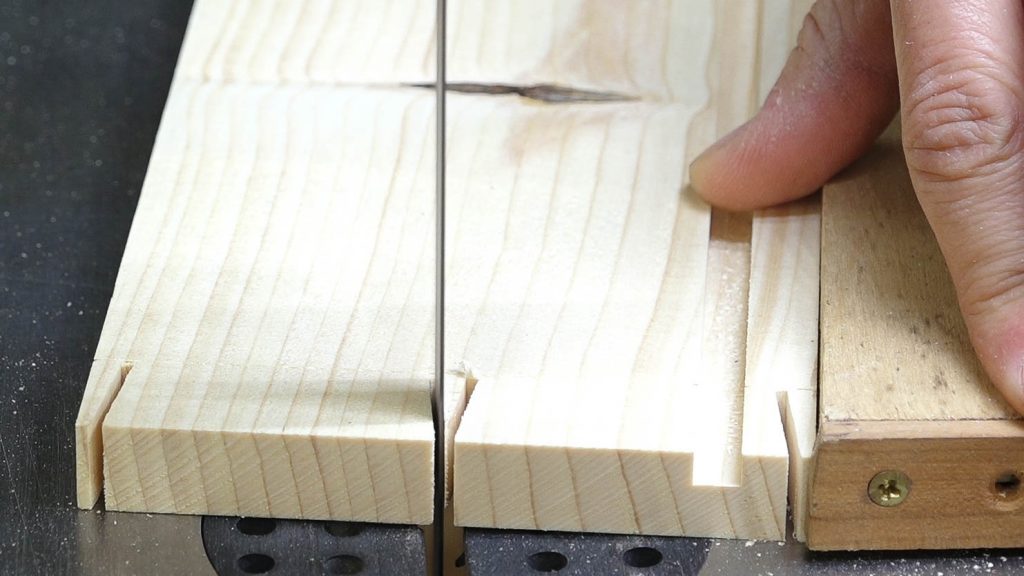
The drawer boxes will be dovetailed together and I’ll start with the half blind dovetails in the front. I’ll use the bandsaw to cut the tails using a wedge jig so my tails will be symmetrical and so I can cut all 6 sides at this step. Back at the bench, I can clean up the tails and take everything back to the scribe line. This spruce really tested the sharpness of my chisels. Someone on IG described dovetailing spruce to be similar to trying to dovetail a marshmallow and I totally agree. Luckily once you get used to it a bit, it’s not that bad but coming from hardwoods, it’s a rude awakening.
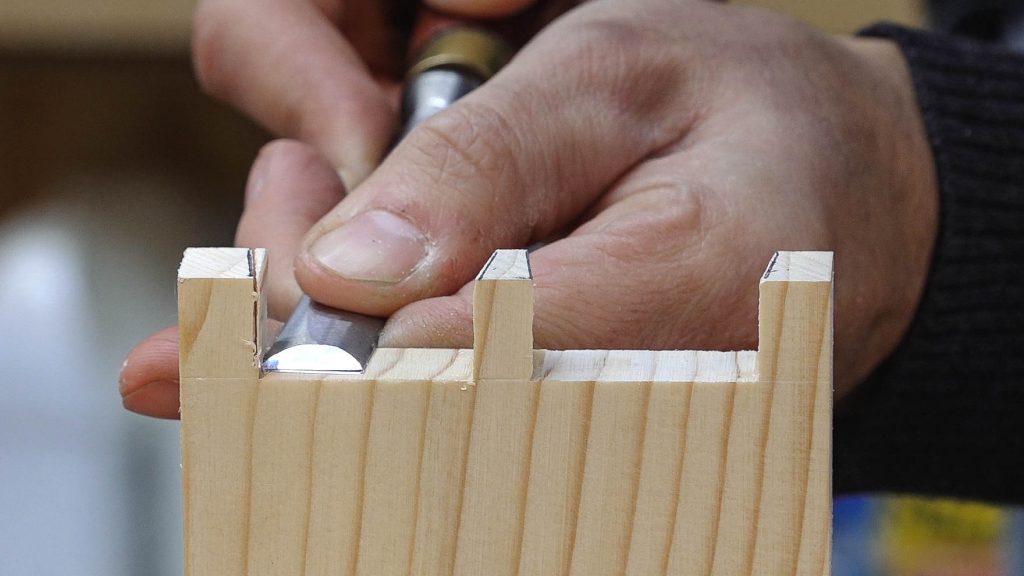
Once the tails were done, they can be transferred to the drawer front and the mating sockets can be cut. I remove the bulk of the waste with the drill press and work back to the lines with chisels.
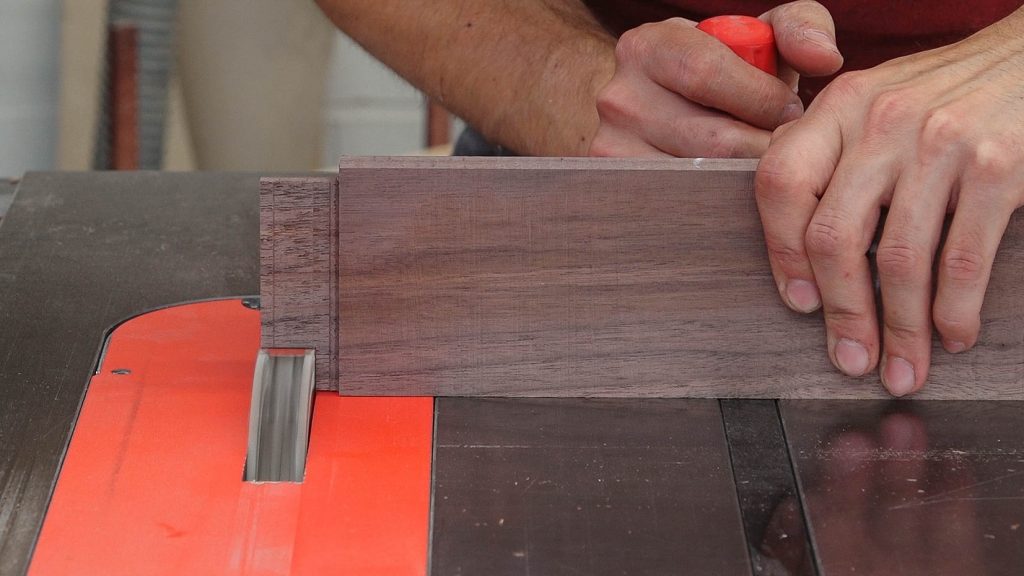
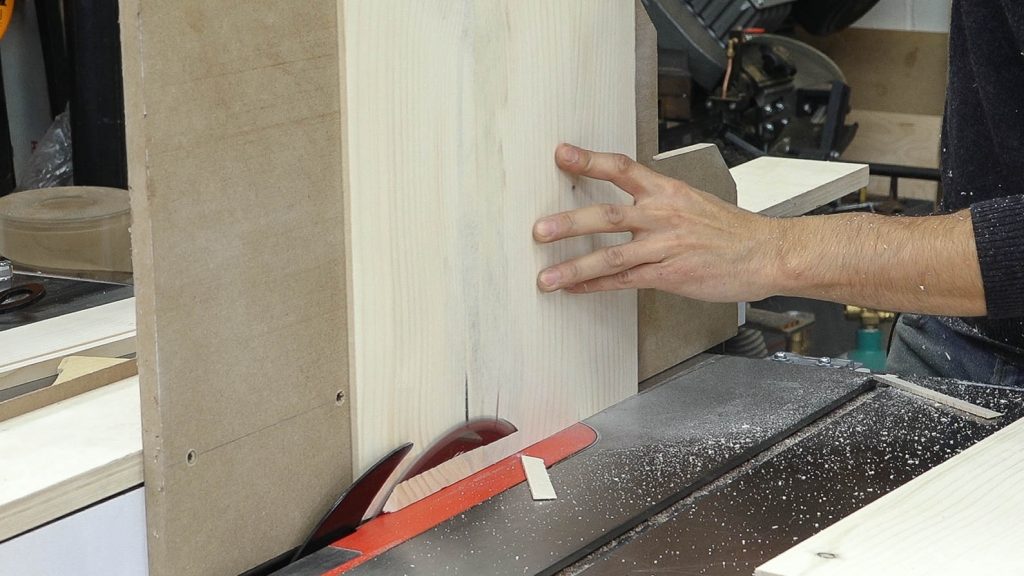
Next I’ll work on the drawer backs. I cut these pins first so I’ll start by sawing the pins and us the bandsaw and table saw to remove the majority of the waste. This just leaves these little ears that can be sliced off. The pins can then be transferred to the drawer sides and the tails can be cut.
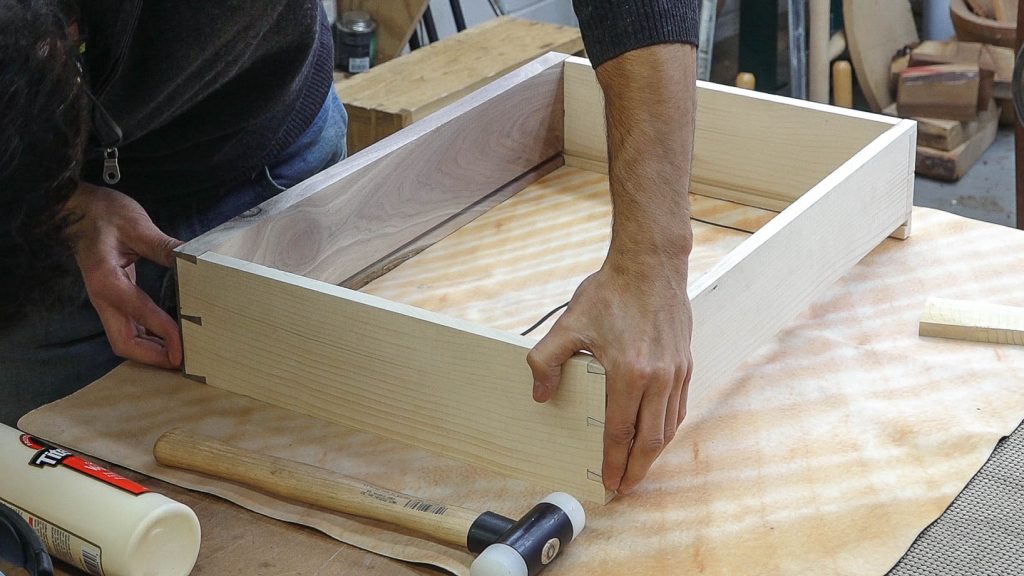
With the joinery cut, the drawers can be glued up and placed into the case while the glue cures. After the glue sets, the joinery can be flushed up and the drawer’s fit can be fine tuned.
Next I’ll add the drawer bottoms. These are panels glued up from 1/2″ thick spruce. They receive a bevel on the underside so they slide into the grooves and are secured in the back with a brass screw.
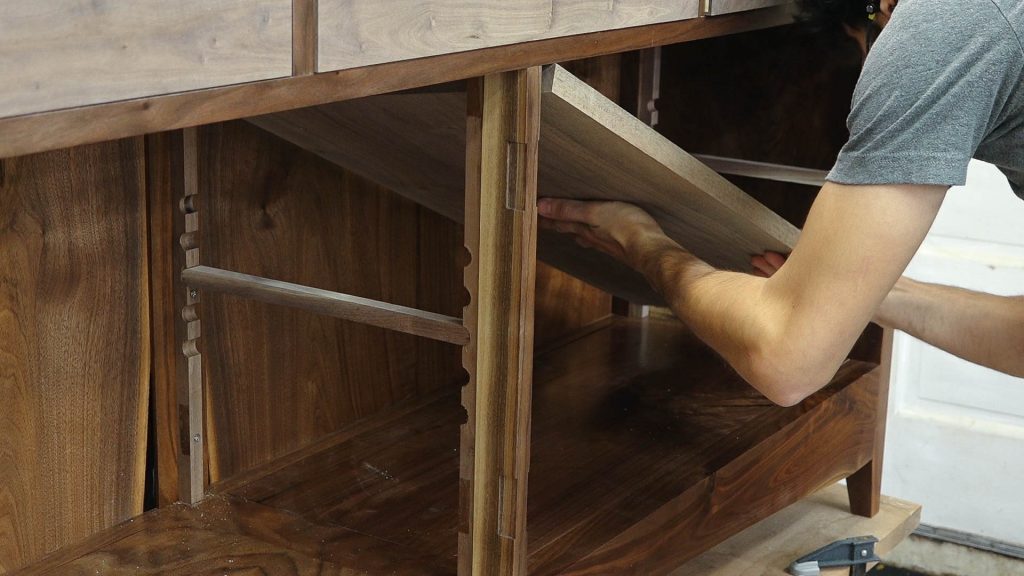
That takes care of the drawers and next I’ll add the shelves. I’m making semi circle adjustable shelf standards. A series of holes is drilled in a blank and that blank is ripped in two to create the front and back standard. A matching shelf support is made next starting with a wider blank that has it’s ends rounded over to the same radius as the standard’s holes. The blank is then ripped apart to great the supports. The shelves are notched to fit around the standards and the case legs and then they just drop in.
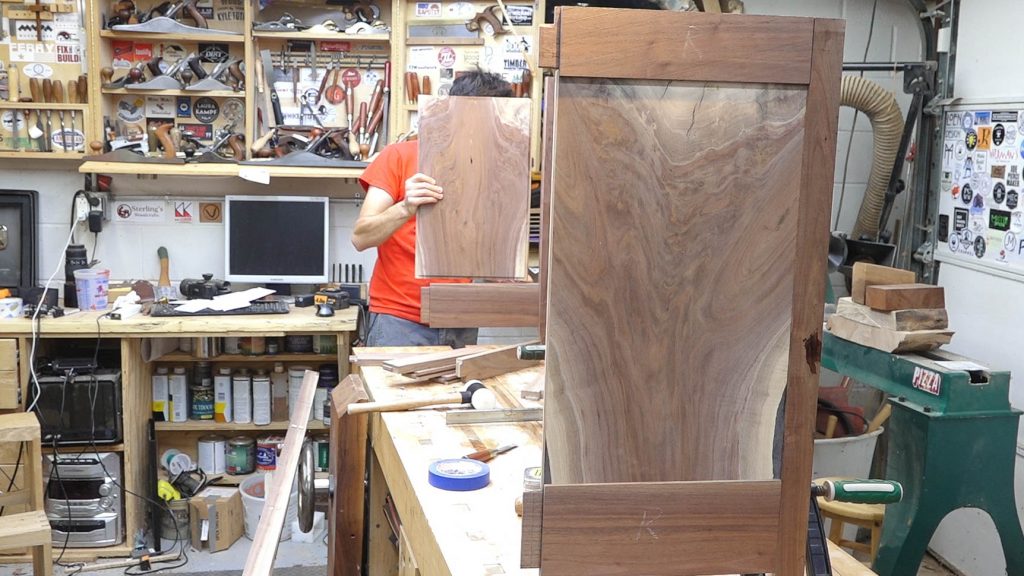
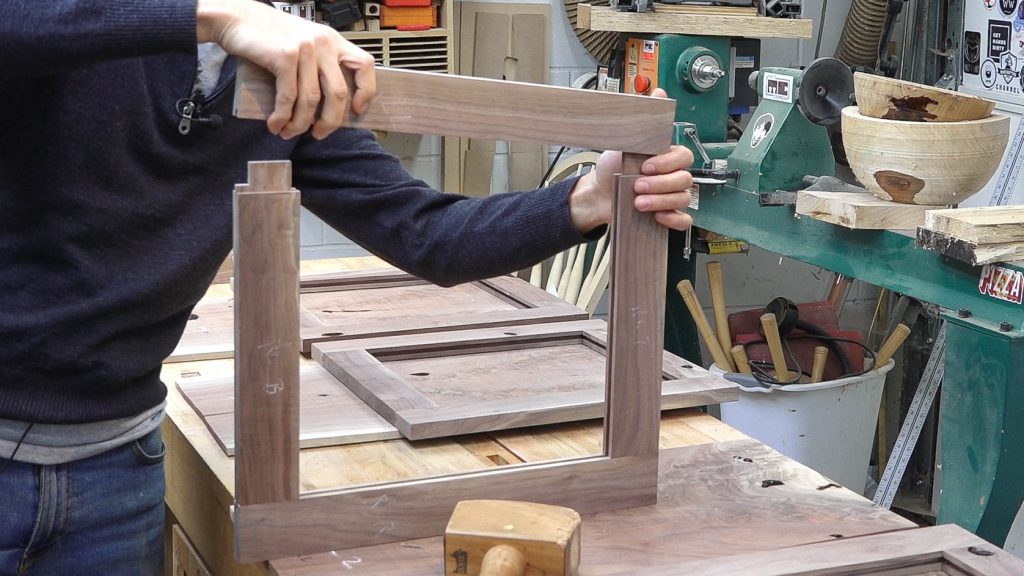
Finally it’s on to the most exciting part: the doors! The doors are more frame and panel construction, just like the case. I’ll cut the grooves in the frame parts, cut the mortises in the stiles and form tenons on the rails.
Next I can work on the panels. I’ll cut them to rough length and then work them down until they fit nicely into the grooves. They can then be cut to size to fit into the frames and the door construction is done. Again to make finishing easy, I’ll apply finish to the panels now before gluing up the doors. I’ll also apply finish to the inside edge of the frames so I won’t have to get anywhere near the panels when I finish finishing the doors after they are fit to the case. A quick glue up and the doors are ready to be fit to the case.
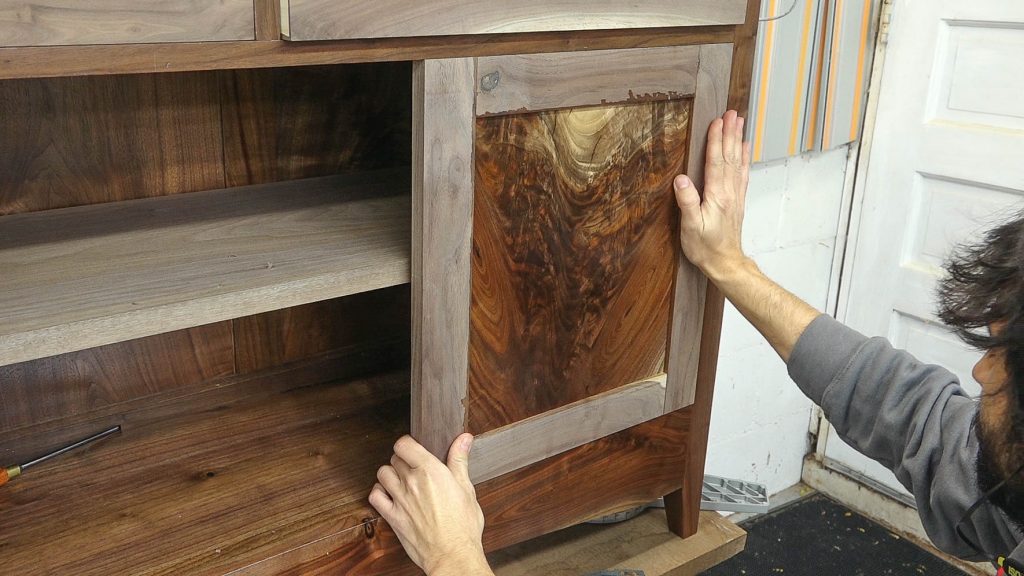
The first step is getting the doors matching the geometry of the opening by adjusting the cut angle on the top and then the bottom until each edge runs parallel to the case. Once those angles are found, the door can be cut to fit snugly top to bottom.
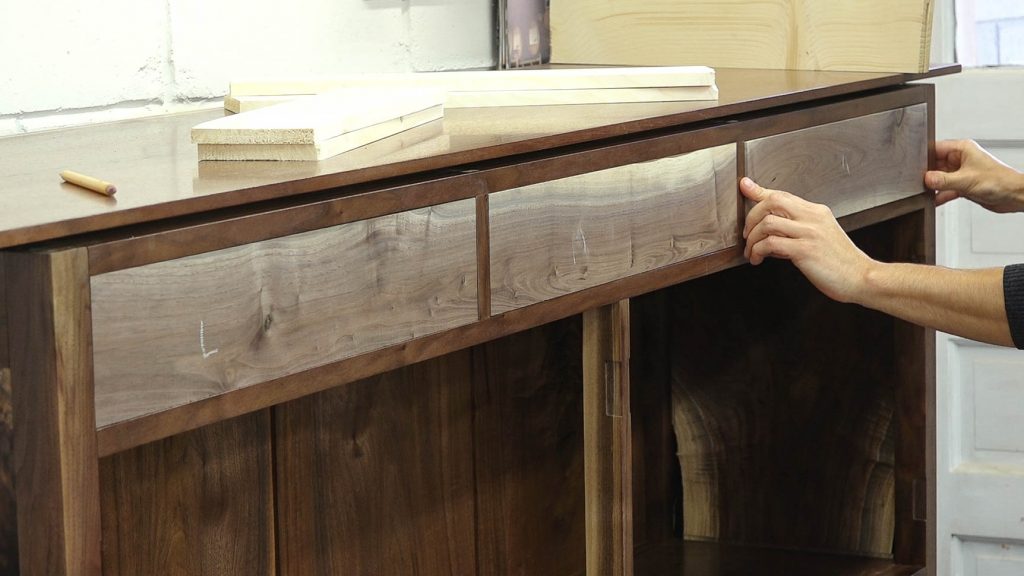
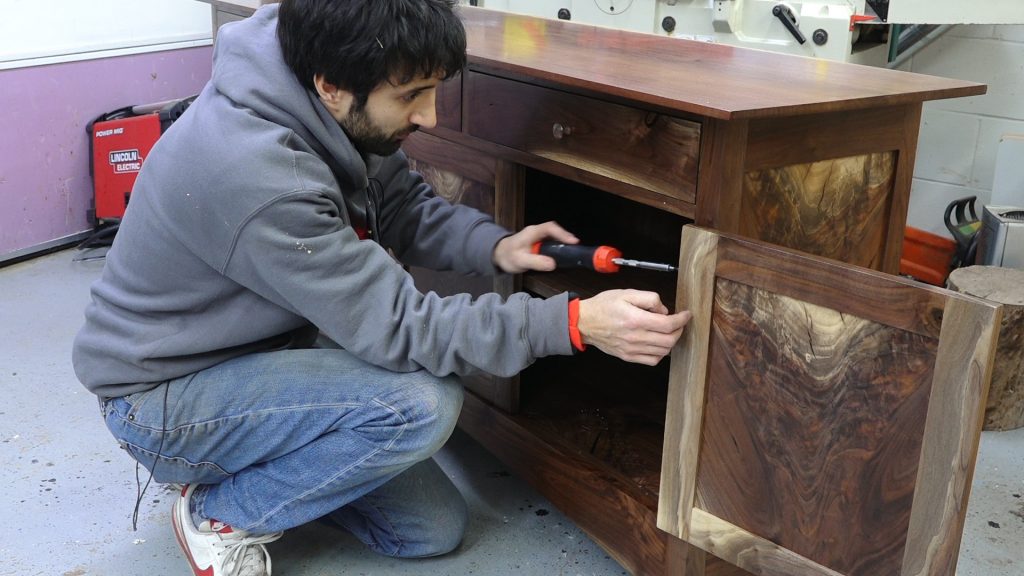
Next the doors can be hung on their hinges. I’ll hang the doors to check that everything still fits perfectly in case adding the hinges threw anything off. The doors still fit perfectly so now I can move on to setting the gaps around the doors. I’ll remove the same amount of material from the top and bottom of each door and for the gap between the doors, I’ll first use a plane to get the stiles parallel to each other and then remove an even amount of material to match the other gaps around the door.
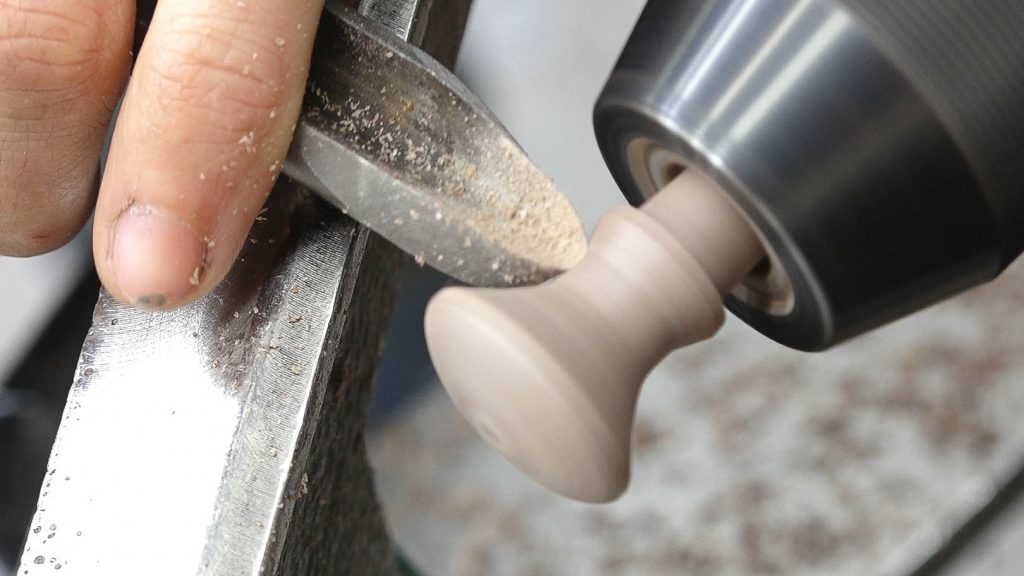
Now we need some knobs for the doors and drawers. These are simple shaker style knobs turned on the lathe. A dome is formed on the top and a cove is formed underneath.
Now it’s time for the final push to get everything finished up. I’ll strip the case of all the new items, finish prep them, and apply finish to everything that still needs finish. I’ll attach the top with screws in elongated holes through the drawer kickers, reinstall the shelf standards, add the knobs to the drawers, add the drawer stops, put the shelves back in, rehang the doors, add the knobs to the doors, add lastly add the magnetic door catches. And just like that, this thing is done!
PRODUCTS USED
[Amazon links are affiliate links]
Router: http://amzn.to/2hXj5AC
Router Table: http://amzn.to/2sbcLLt
Jig Saw: https://amzn.to/2PedA0a
Table Saw: http://amzn.to/2hXj5AC
Bandsaw: http://amzn.to/2HISAf0
Finish: http://amzn.to/2FFWlVG
Dust Mask: http://amzn.to/2y8dl1m
Hearing Protection: http://amzn.to/2yQ0sa3
Triton Track Saw: http://amzn.to/2f2P85l
West System Epoxy Resin (Gallon): http://amzn.to/25TYH7y
West System Epoxy Slow Hardener (Quart): http://amzn.to/25TYKAr
West System Metering Pumps: http://amzn.to/1qicuEr
Transtint Medium Brown: http://amzn.to/23nL4Ps
Push Blocks: http://amzn.to/2yQD24r
Mortiser: https://amzn.to/2KN2ui





9 Responses
Absolutely beautiful! Craftsmanship is very professional! I wish I could do that!
Thank you Wanda!
Matt,
Have not watched all the steps, but I’m faithful on Instagram LOL! Don’t remember the steps you used in finishing. Card scraper? Sanding” Don’t think I’ve see you sand?
The finish prep on this was pretty much all sanding. Thanks Tom!
I only wish I could do this, great work
thanks!
Wow! to that grain Matt
thanks!
At 16:33 , that looks delicious on top of the sideboard