
Matt's Weekly Shop Update
Kitchen Island, Barn Power – March 2024 Update
Welcome to my shop! This is a quick update to let you know what I’ve been up to. This big chunky thing is the leg
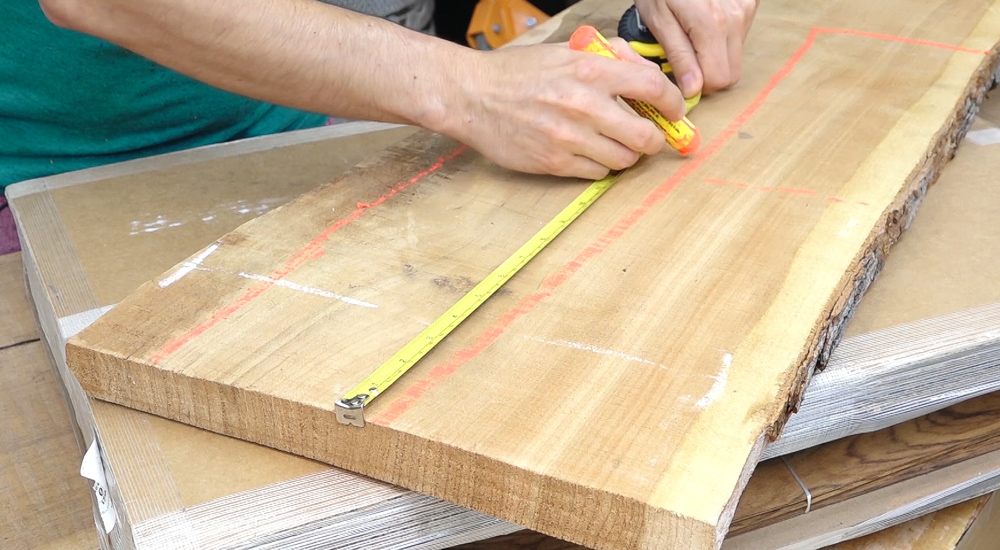
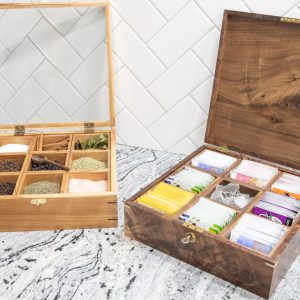
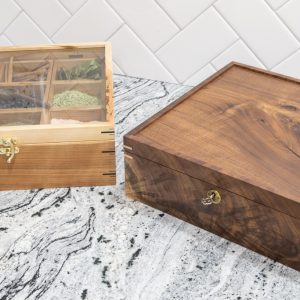
The first box is going to be made from cherry. I had this offcut from when I built the segrtary desk which has a quarter sawn grain orientation which will give the box a nice straight grain, quarter sawn look. There’s enough thickness to be resawn in two to get the ½” stock for the case and I’ll be able to get the internal boxes and their bottoms from the adjacent section by resawing into thirds.
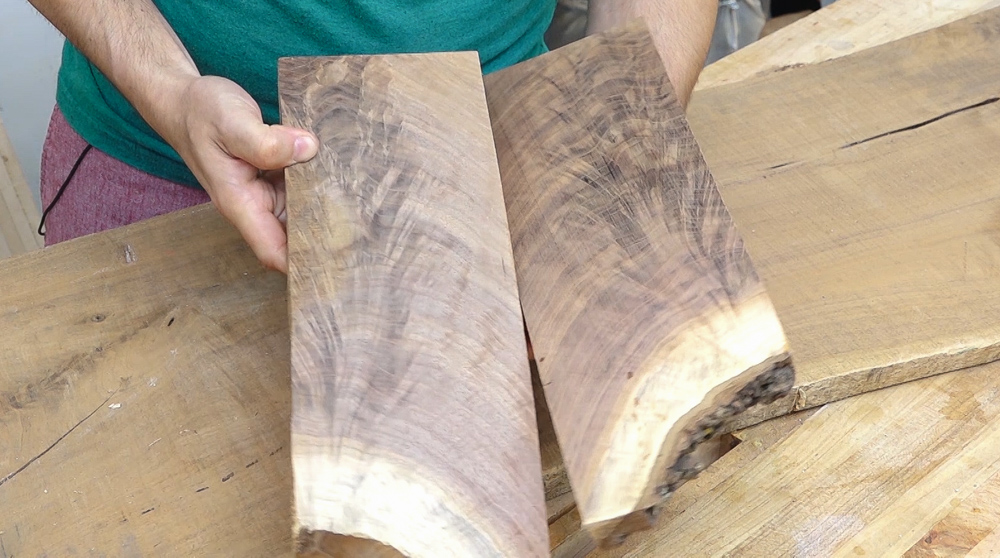
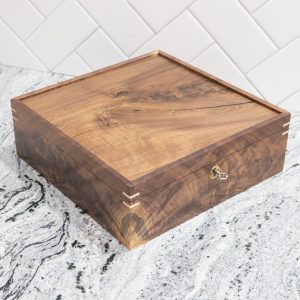
The walnut box will come from a couple pieces of crotch and another offcut I had which will give me the lid and the pieces for the internal boxes.
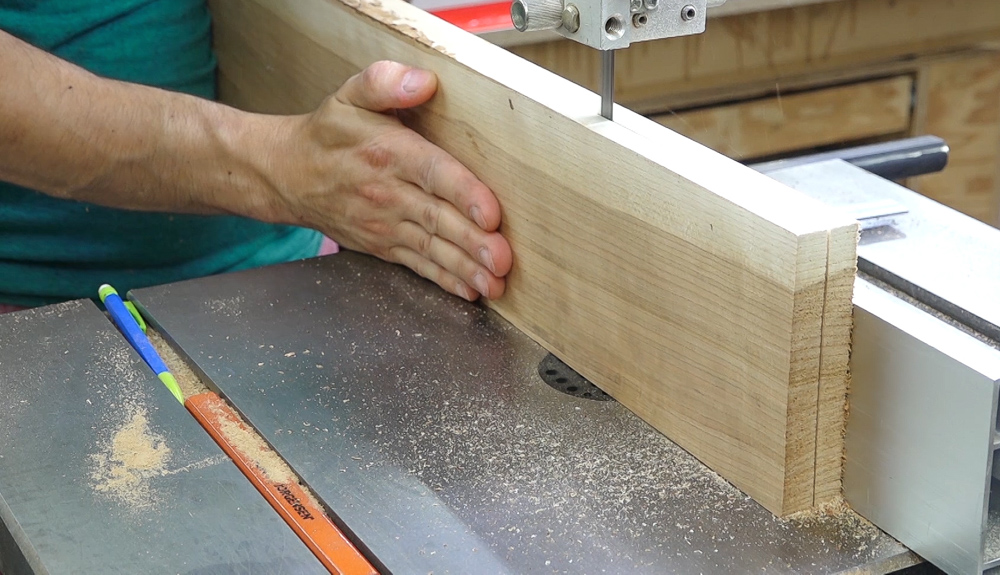
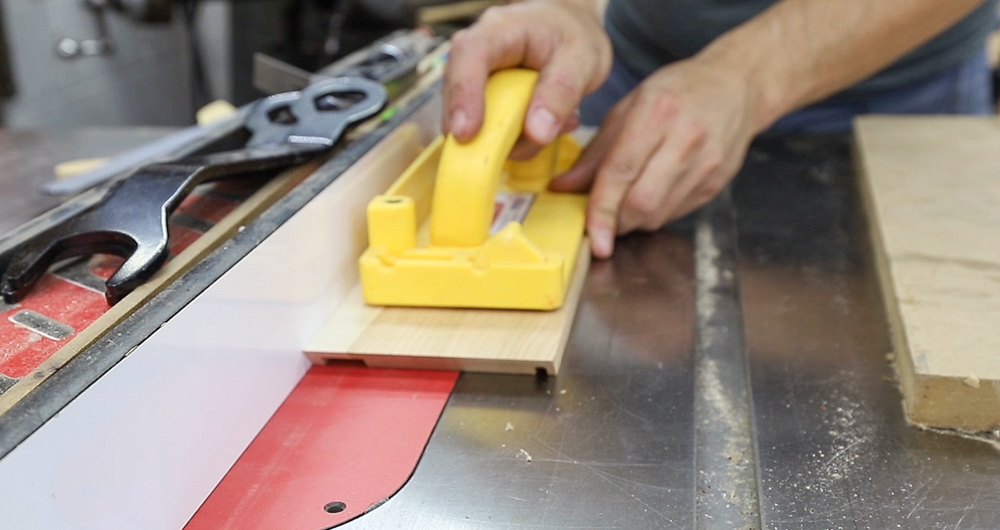
So before we can get going, all this stock needs to be broken down, jointed, planed, and resawn. Lots and lots of resawing.
I’m starting by making the cherry box. The stock for the case sat for a bit and then was machined flat and taken to final dimension. Since I have a sequential pair of boards, I can do a grain wrap around the entire box. The book match faces are turned to the outside and I roughly marked the bevel directions so I didn’t end up cutting something incorrectly.
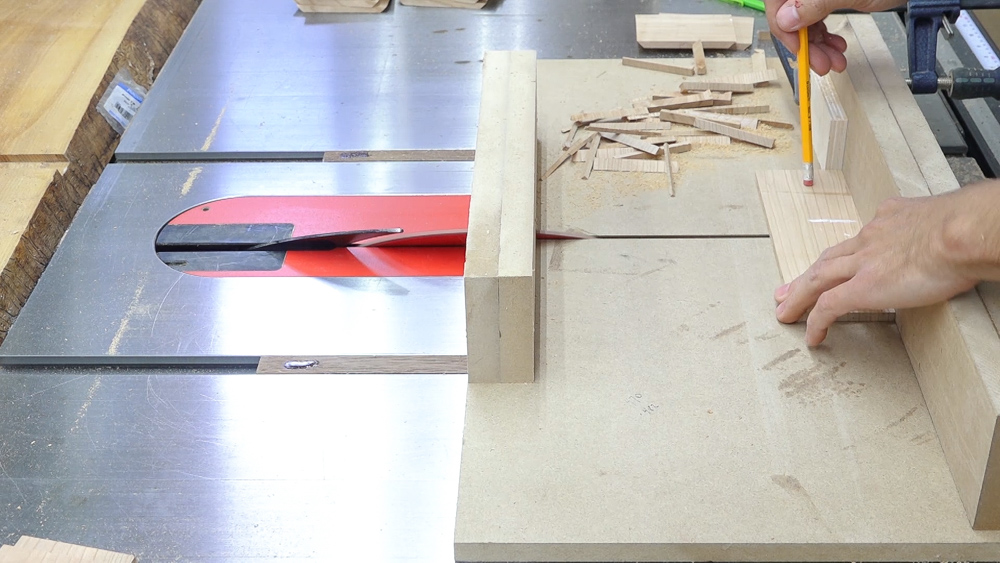
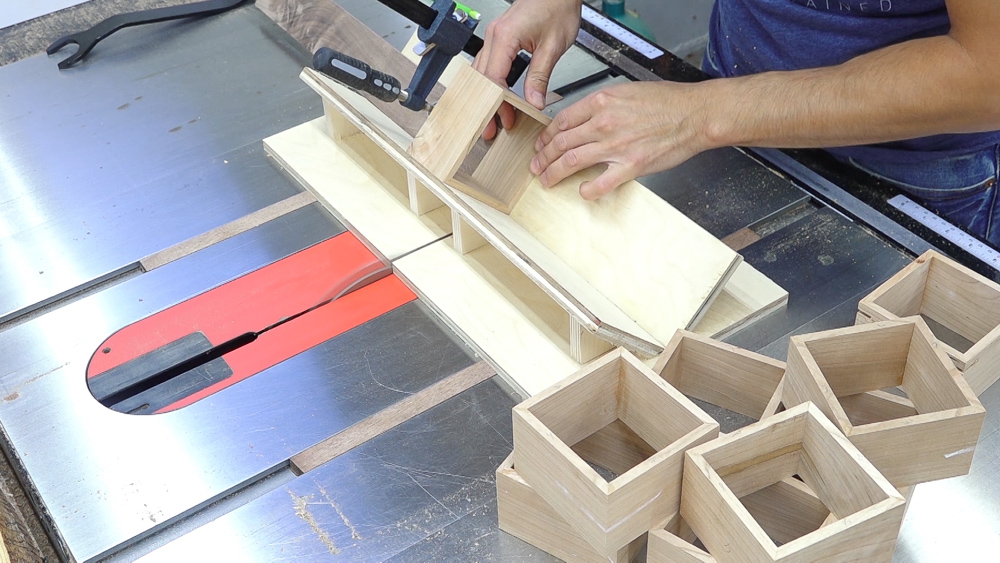
This design is a little easier to execute since the box will be square so a stop block is set to cut all 4 sides to the same length.
With that out of the way, I can cut the groove for the bottom and the groove which will hold the glass. The bottom is cut to size and this one is ready for glue up.
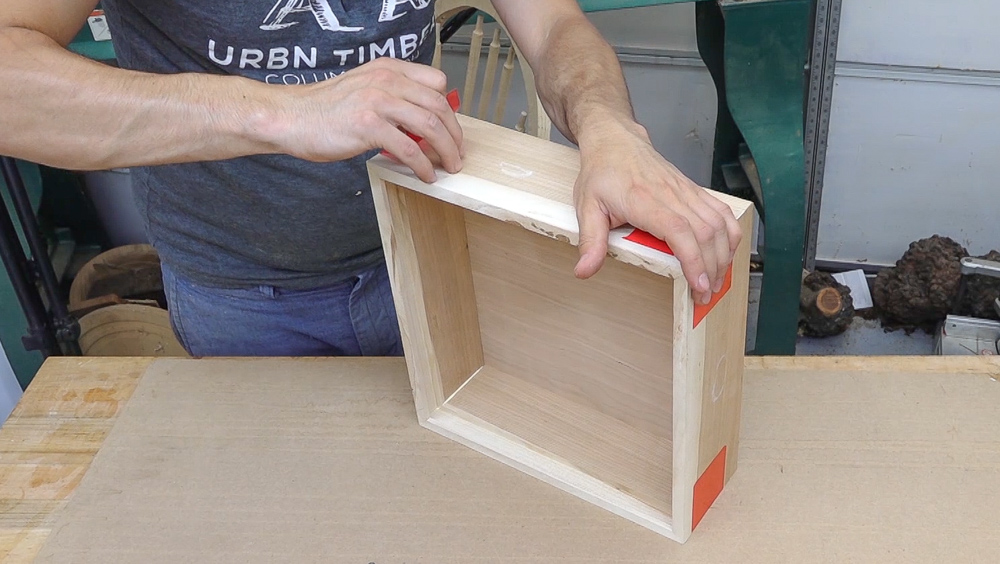
I’ll use some tape to pull the corners together and roll it up with the bottom installed.
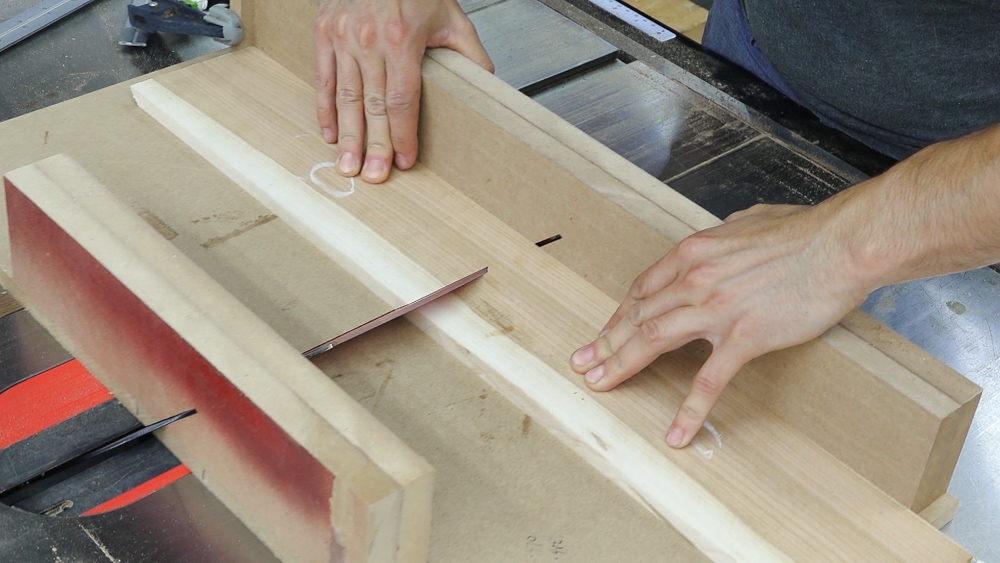
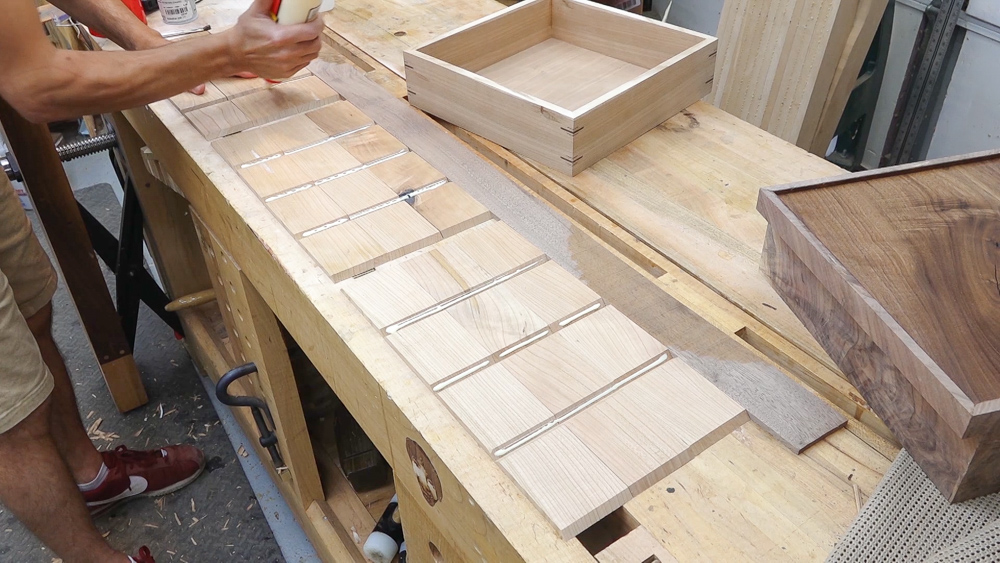
Next I’ll add some spines for decorative reinforcement. I’m cutting the first ones with a thin kerf blade so they will be a little finer than a full 1/8” kerf.
I don’t have a flat bottom blade for this so I’ll clean up the bottom of each kerf with a chisel.

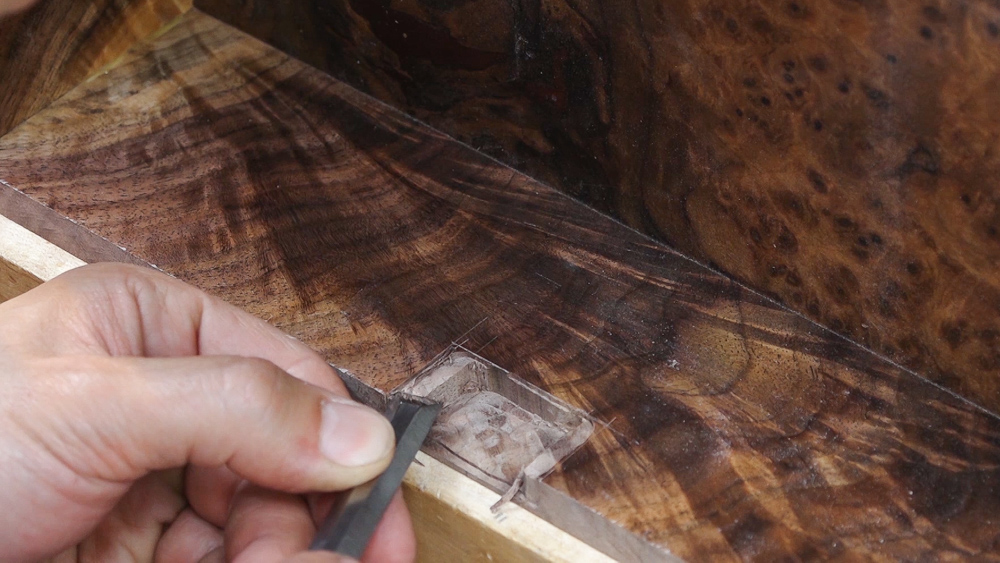
I wanted to install even smaller splines surrounding the first set of splines so I laid out cuts to either side and to a shallower depth and made those cuts with a handsaw.
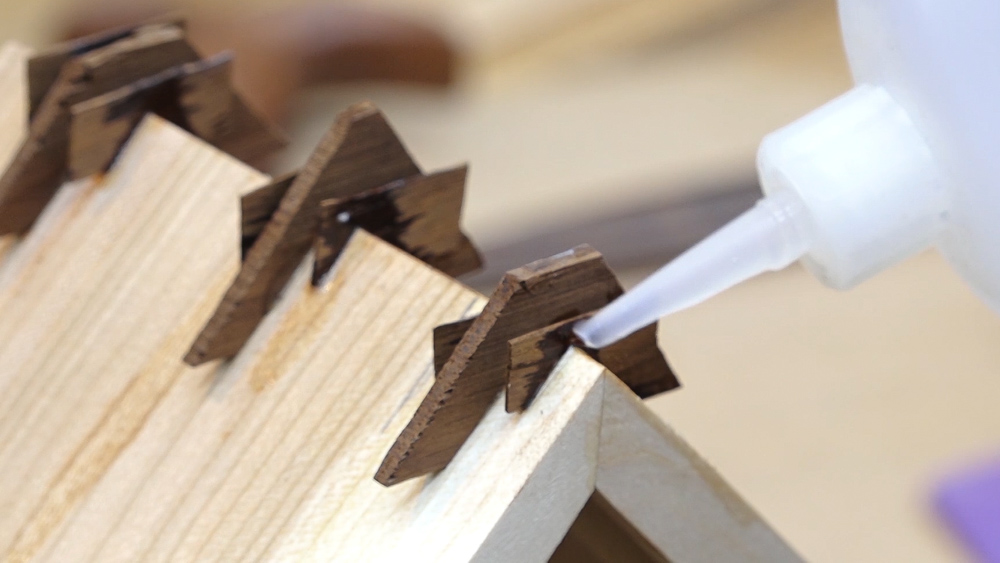
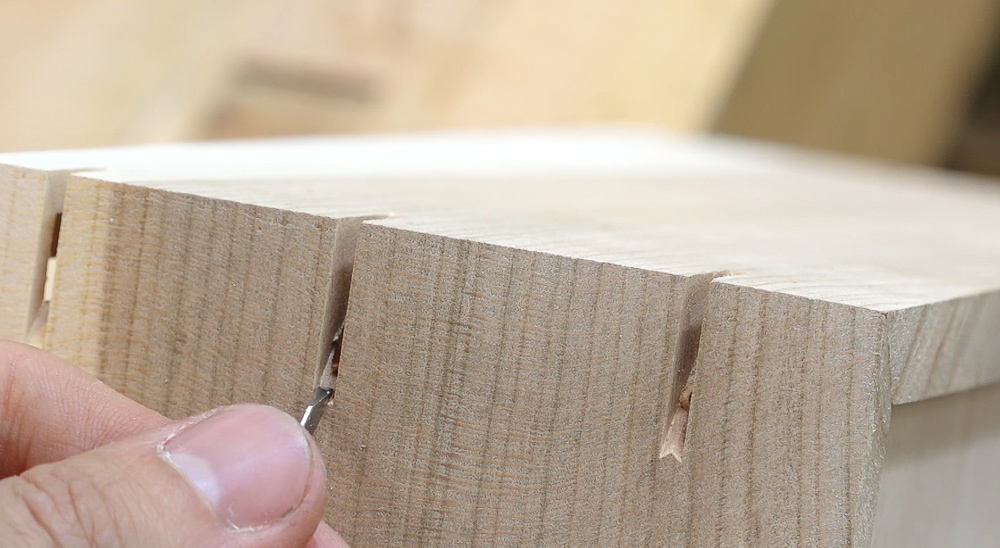
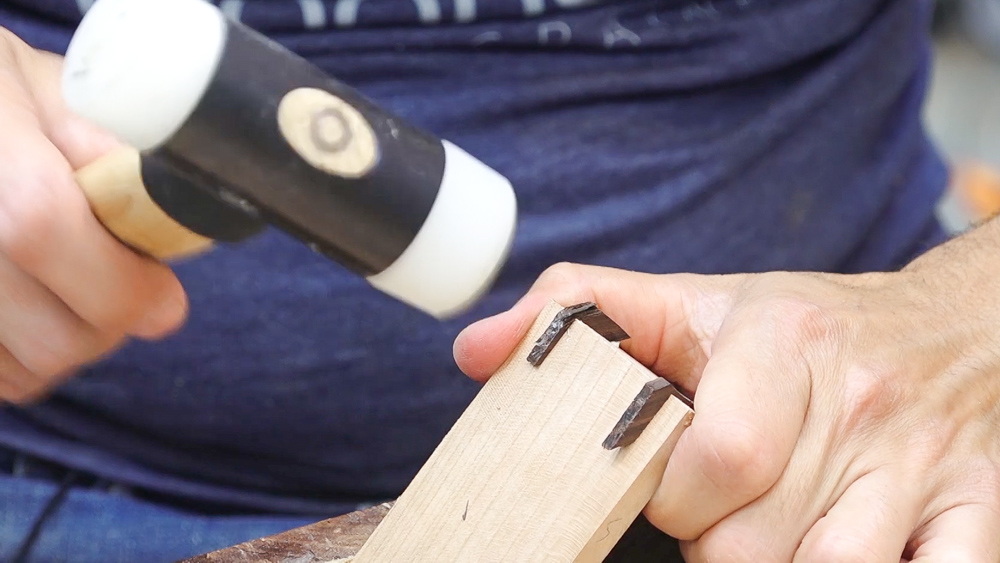
Next I can make some spline stock using the drum sander to slowly bring them to the correct thickness and then chopping them up at the bandsaw. A little glue in the kerfs and the splines can be hammered in. The biggest thing here is just making sure that they’re fully seated. Now for the thin splines. Since these are so delicate, I slid them in dry and use thin ca glue to glue them in place afterwards. After all the glue had set, they could be trimmed and sanded flush.
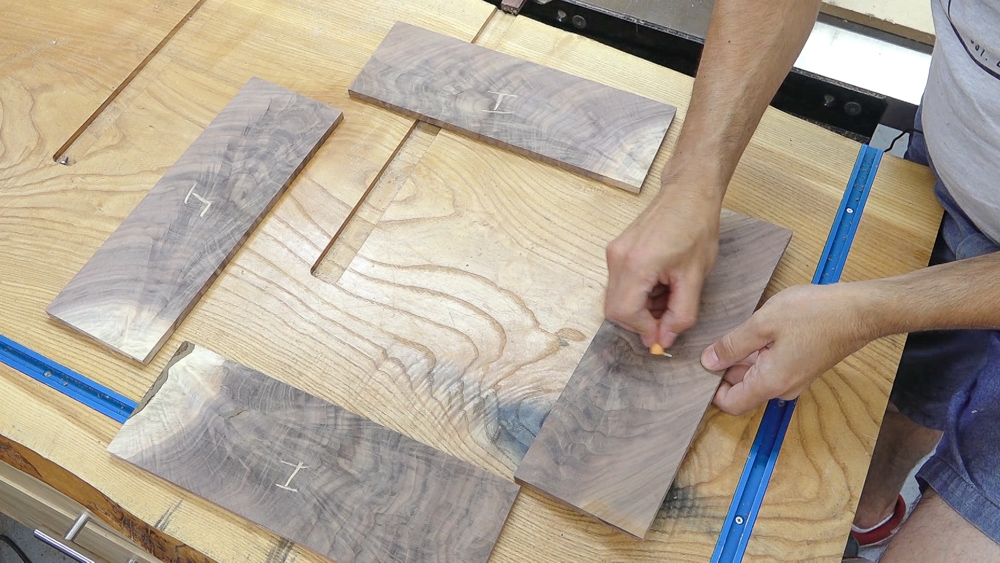
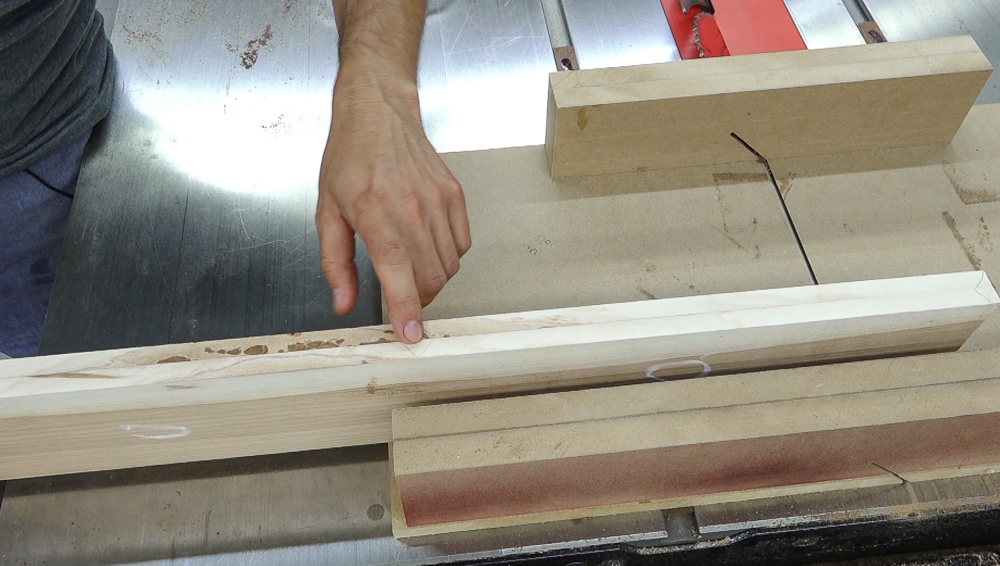
Now I’ll switch gears and start on the walnut crotch box. I’ll lay the cuts and parts out so that I don’t incorrectly cut any of these. I’ll make a cut on each end and then use a stop block to cut the other end to final length. I’ll cut grooves for the top and bottom.
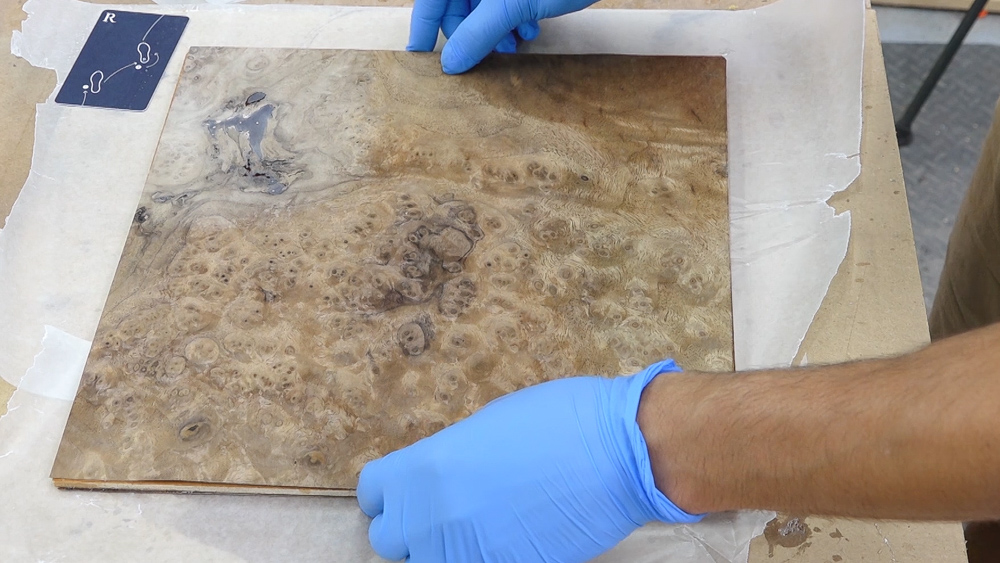
For the bottom I veneered a piece of walnut burl to some cherry plywood. There were some voids in the veneer that I filled with a tinted epoxy and I used epoxy to glue the veneer to the substrate. The top of the box is going to be solid ¼” panel.
The top and bottom can be cut to size and on this box, I’ll prefinish the inside and the panels. I applied 3 coats of wiping varnish and once the finish was cured, the box can be assembled. Prefinishing is especially useful in this case because the inside is inaccessible so squeeze out can not be cleaned up. With those surfaces prefinished, and squeeze out will just pop off.
Once the glue is all set, it’s time to cut away the lids. On the cherry box, the top groove will turn into a rabbet for the glass.
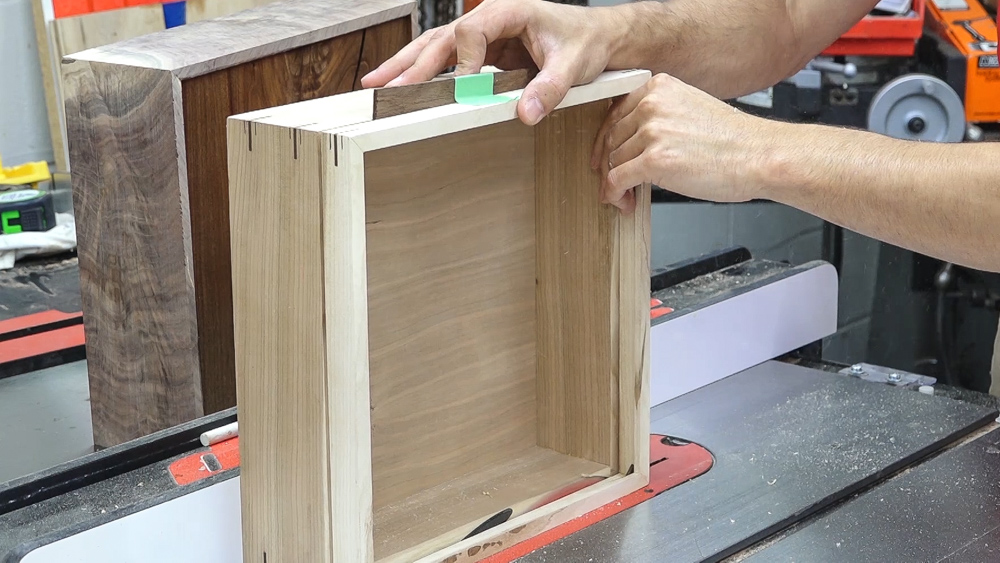
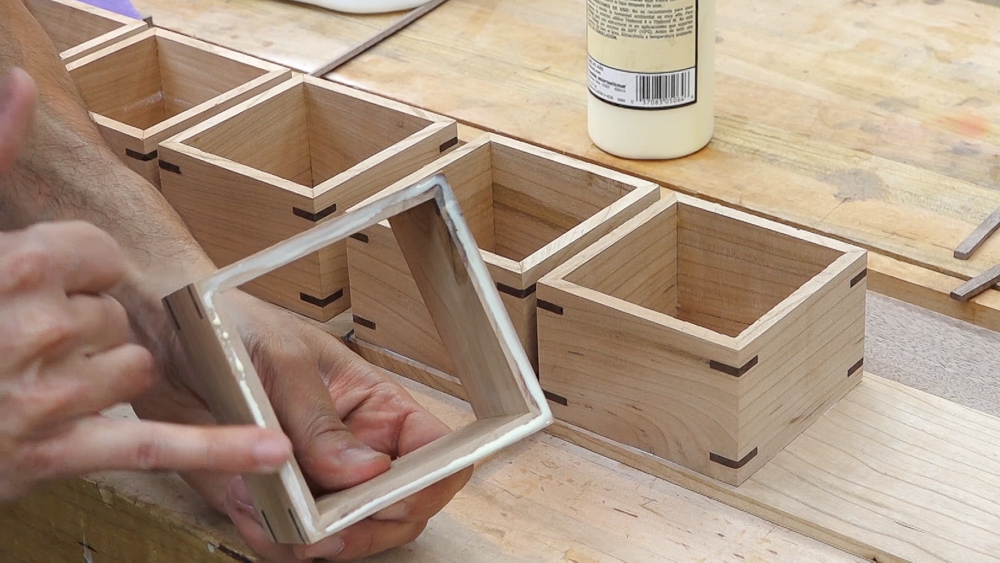
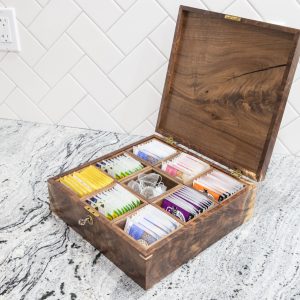
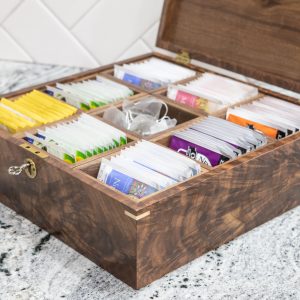
Now I can set the cases aside and begin working on the interior boxes. All of the stock that I previously resawed is milled to thickness and cut to width. Each of the boxes will have a continuous grain wrap if I can keep each pair together. I’ll crosscut each pair, mark the bookmatched faces and then I can start cutting the bevels onto the sides. Once they’re all cut, I’ll again label and group them together so nothing gets mixed up.
Each set is taped together and rolled up. I’ll place the interior boxes into the case while the glue sets so they maintain the same geometry as the case.
Next I can add the splines to the interior boxes. On these cherry boxes, I’m putting one towards the top and bottom. The walnut boxes just received the top spline. This time I’m using the outer blade from my dado set since it cuts a square bottom. The kerf is a full 1/8 so it’s a bit bigger than the splines on the case but I’m not about to clean up 108 spline kerfs with a chisel. No thanks.
Since these are thicker, I had to make some new spline stock. The cherry boxes are getting spines from thermally modified ash and the walnut boxes are getting cherry sapwood splines, just like their cases.
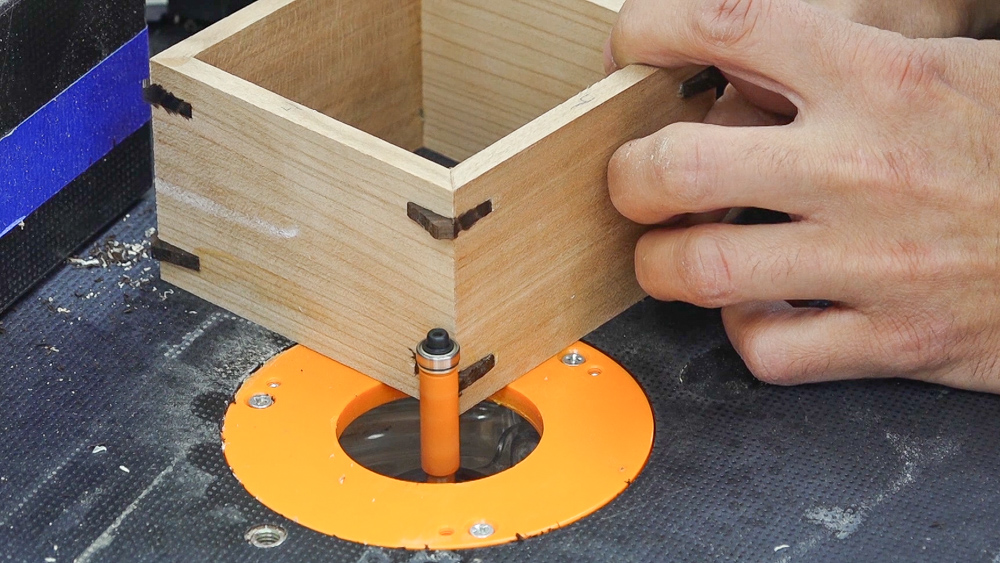
To speed up the clean up, I’ll use a flush trim bit to remove the bulk of the waste then sand and clean up the outside of the boxes.
Now I can add some bottoms to these. Since they’re small enough, the bottoms can simply be glued on without worrying about wood movement. To make the process easier, I stuck a bunch of them down to a longer piece of ¼ stock rather than trying to glue on individual bottoms.
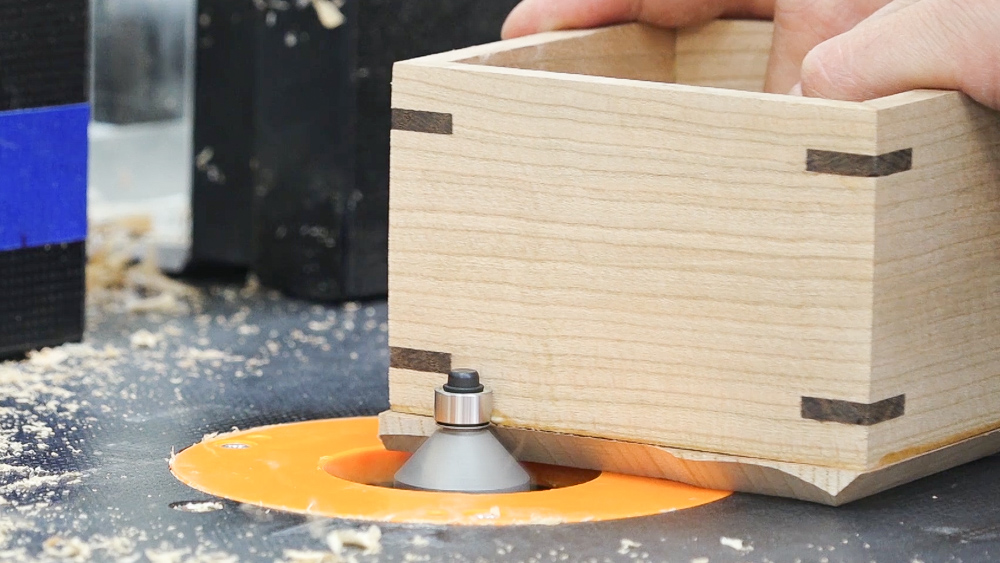
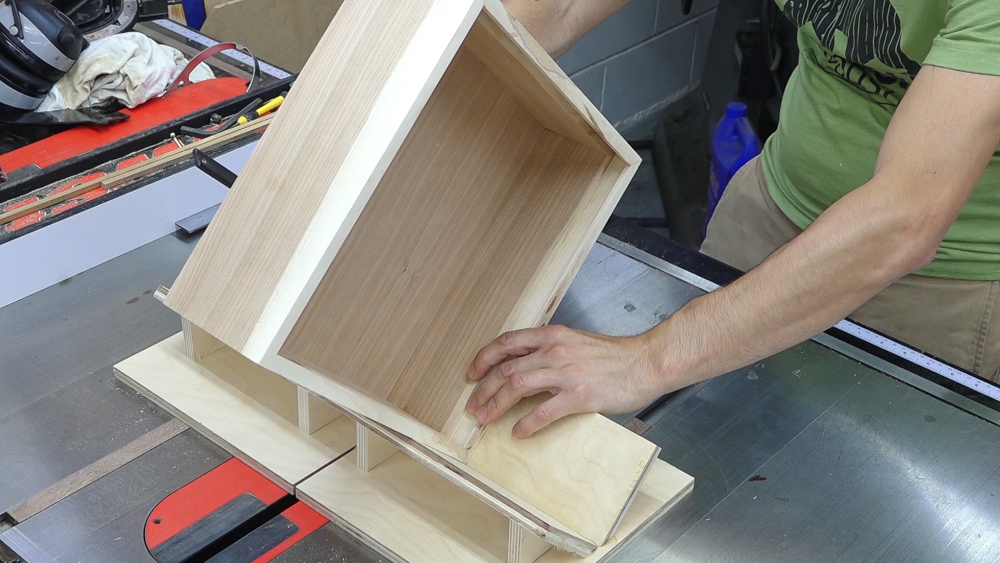
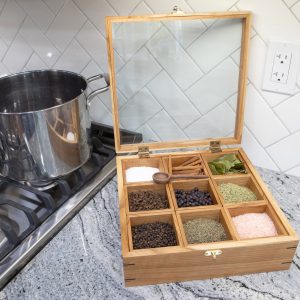
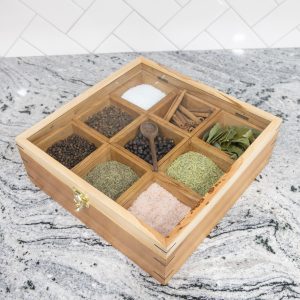
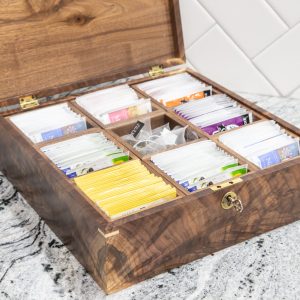
The boxes can be separated and a chamfer is added to the bottom to make the boxes look like they’re floating when they’re sitting on a table.
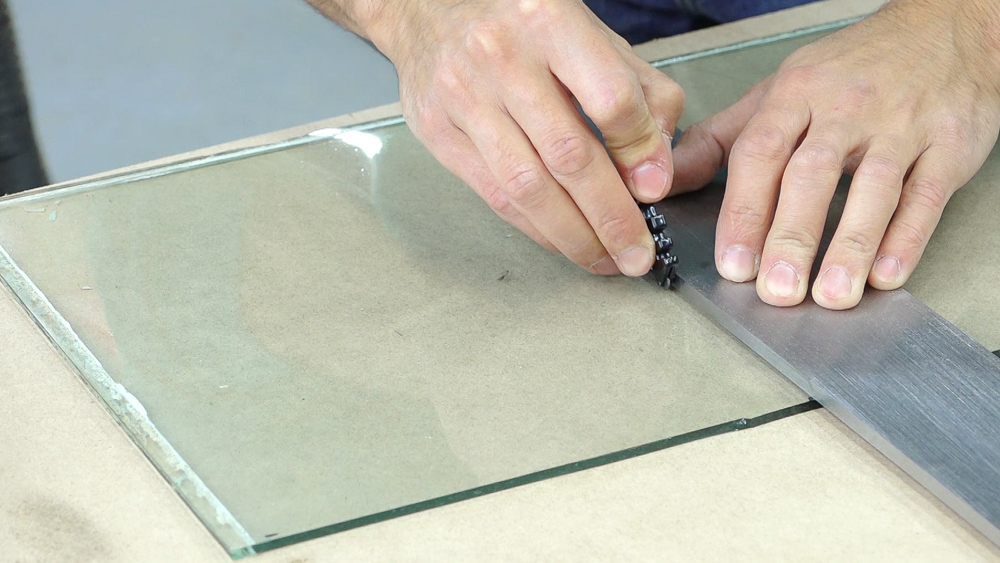
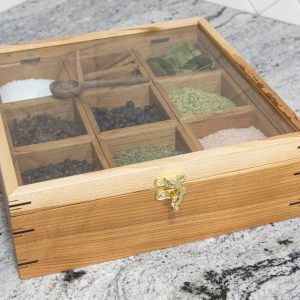
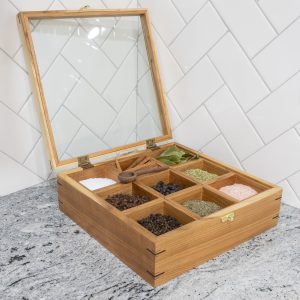
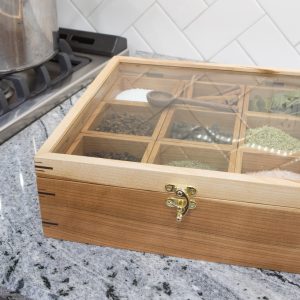
Now I can take care of the glass lid. I had this old glass cabinet door that I salvaged the glass from. Cutting the glass took a bit of mental preparedness to get over the idea that I was about to break a piece of glass. You really have to commit to the action. Once the glass was cut to fit, it could be secured with some retainer strips.
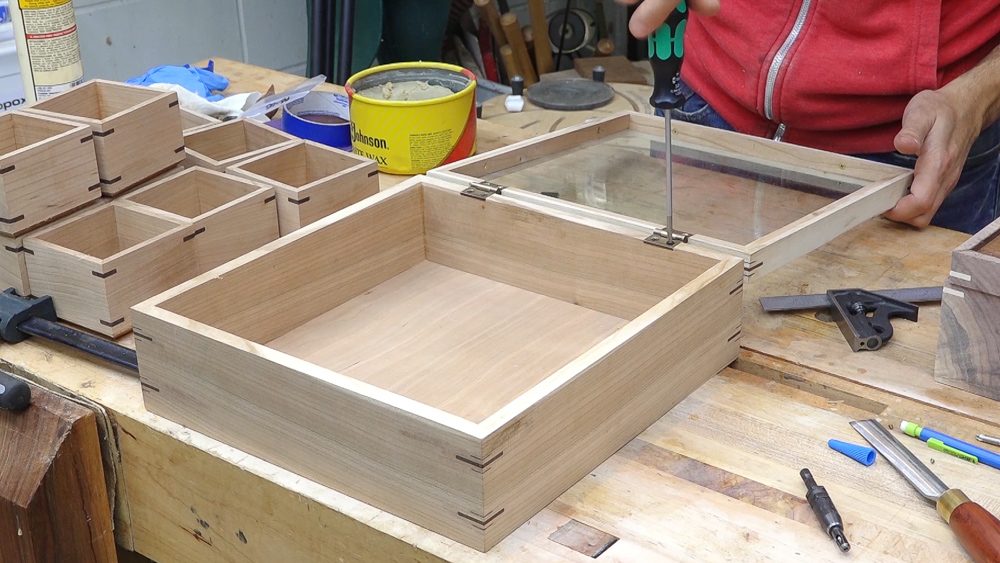
Now it’s onto the hinges. This box is getting a pair of small box hinges from Horton Brasses. I’ll first make the mortise in the case for them. Then I can transfer the hinge locations to the lid and cut the mating mortises there. And that’s about it for the construction of the cherry box.
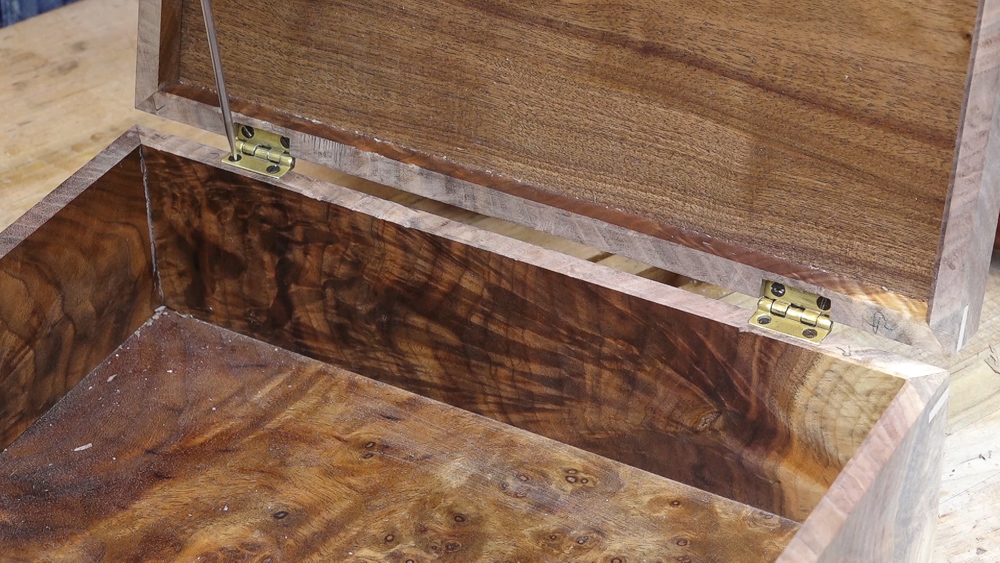
Back to the walnut box to get it’s hardware installed. On this box, I’m using these wax cast stop hinges also from Horton Brasses. These are replicas of hinges that were hand made a long time ago so they’re an interesting contrast from the perfect machined hinges that we’re used to. I’m setting the leaf into the case flush so I’ll cut that mortise by hand. I’ll cut the mortise into the lid deeper so the lid touches the case when closed. I’ll quickly remove the bulk of the waste with a router and chisel the walls to fit the hinge.
This box is also getting a half mortise lock. I’ll start stepping through that process to inlay the lock into the box so it ends up flush with the surface. Once the mortise is all set, I can drill can cut the keyhole. This lock also has a latch mechanism that gets mortised into the lid. A little bit of router and chisel action here. And with all the hardware installed, this one is ready for finish as well.
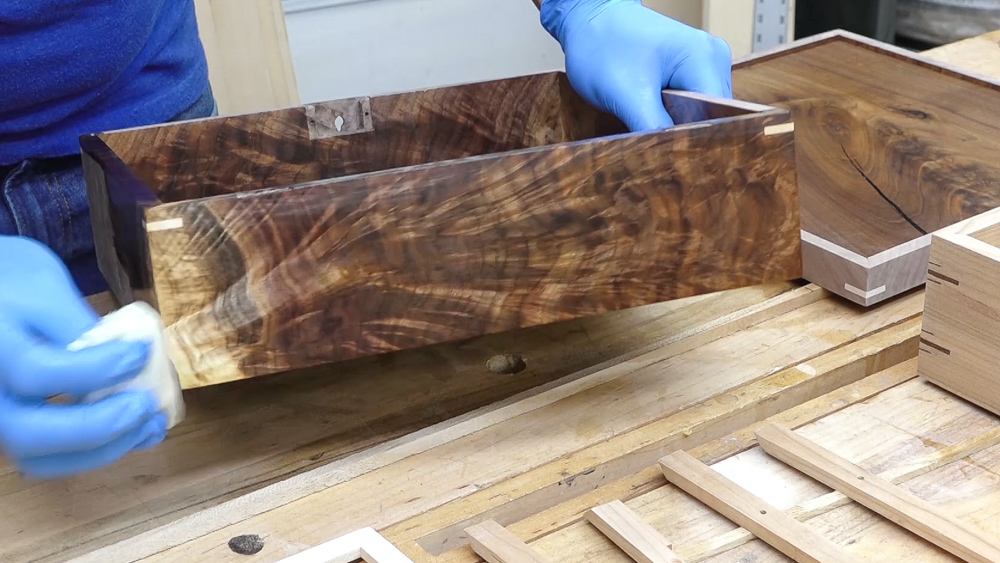
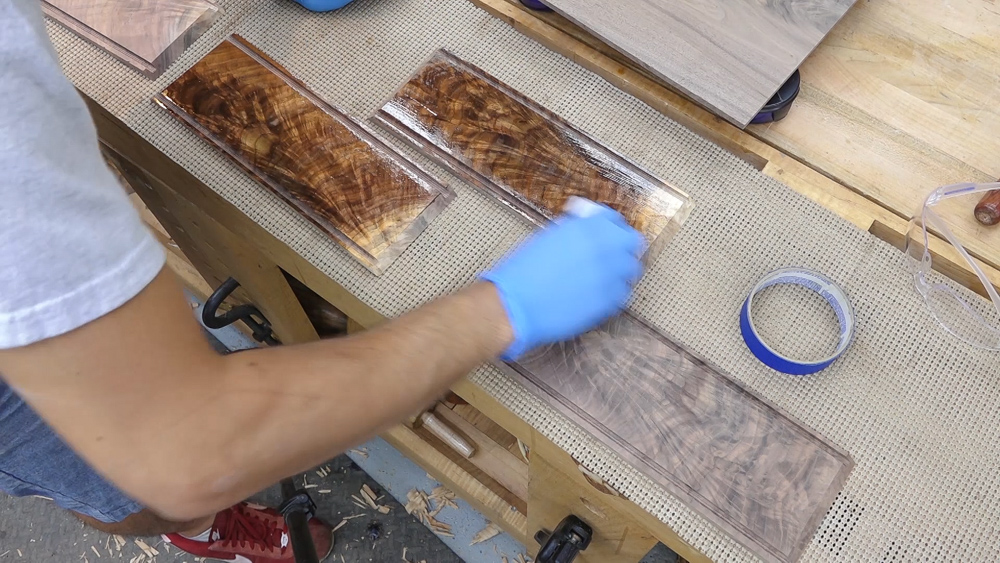
After a bit of finish prep, I can finish the boxes in the same manner as the prefinished parts. Three coats of wiping varnish sanding between coats with 600 grit.

While the finish is curing, I’ll make a quick spoon for scooping the spices. I used a ball rotary file in a die grinder to crave the bowl, did some rough shaping at the bandsaw and finished up the carving with some handtools.

[Amazon links are affiliate links]
Router: http://amzn.to/2hXj5AC
Router Table: http://amzn.to/2sbcLLt
Jig Saw: https://amzn.to/2PedA0a
Table Saw: http://amzn.to/2hXj5AC
Bandsaw: http://amzn.to/2HISAf0
Finish: http://amzn.to/2FFWlVG
Dust Mask: http://amzn.to/2y8dl1m
Hearing Protection: http://amzn.to/2yQ0sa3
West System Epoxy Resin (Gallon): http://amzn.to/25TYH7y
West System Epoxy Slow Hardener (Quart): http://amzn.to/25TYKAr
West System Metering Pumps: http://amzn.to/1qicuEr
Sheathing Tape: https://amzn.to/2GbIsyL
Transtint Medium Brown: http://amzn.to/23nL4Ps
Push Blocks: http://amzn.to/2yQD24r
More stuff on my Amazon page: https://www.amazon.com/shop/matthewcremona
Welcome to my shop! This is a quick update to let you know what I’ve been up to. This big chunky thing is the leg

Welcome back to the home renovation. This time I’m going to be working on the kitchen island. Here is a small model of the island.

Welcome back to our home renovation. Today I am going to be working on this wall. It needs some upper cabinets and the surround for