
Matt's Weekly Shop Update
Kitchen Island, Barn Power – March 2024 Update
Welcome to my shop! This is a quick update to let you know what I’ve been up to. This big chunky thing is the leg
Welcome back to my backyard!
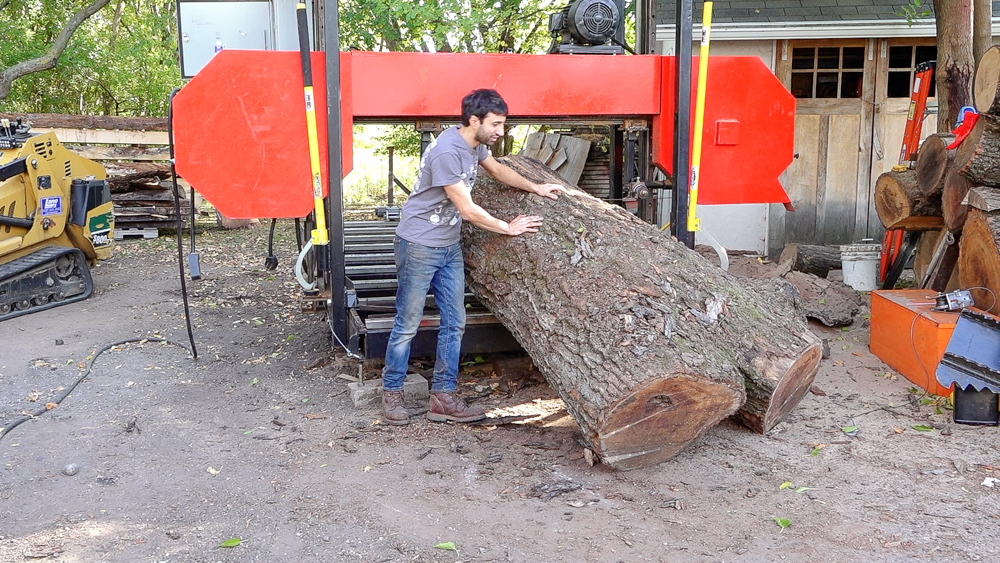
Today we will be slicing up this red oak crotch on my backyard-built, wide-cutting band saw mill. Back in the spring, I actually went out and salvaged an entire tree that had blown over, and that is where this red oak crotch is from. This is the first piece of that tree that I’m going to be cutting.
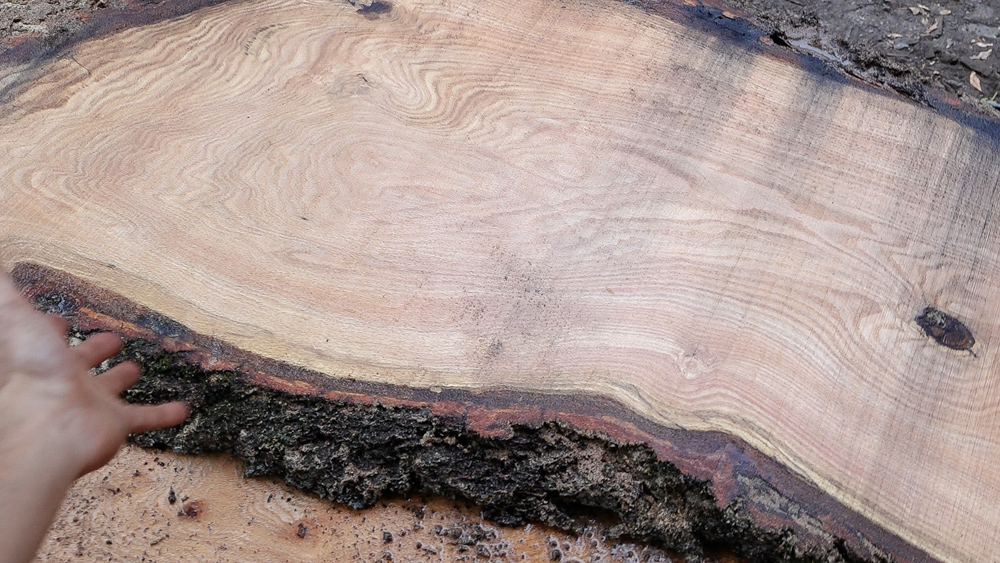
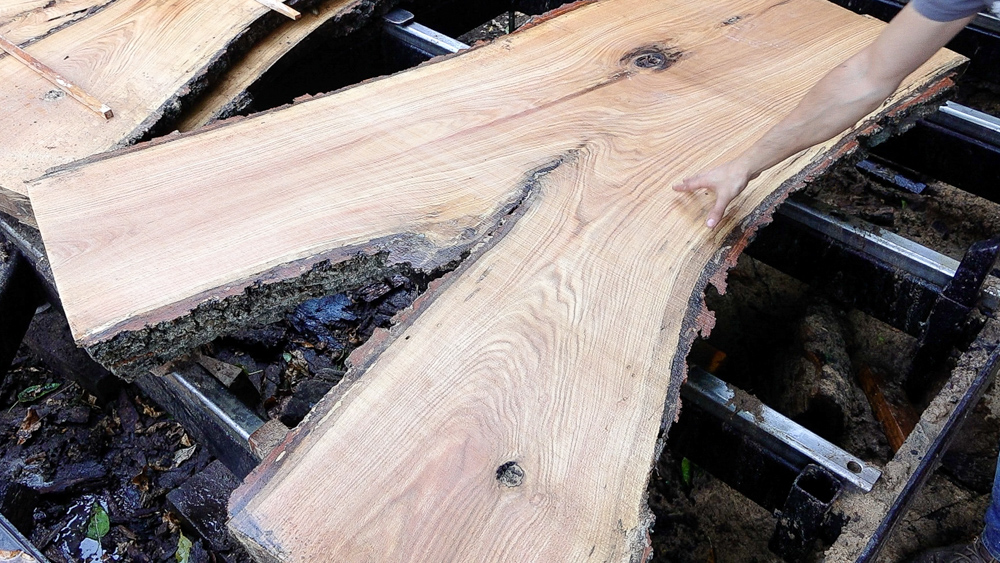
Now that we have this up on the saw and leveled out, let’s take a look around and see what we’re dealing with. So of course, there is a crotch, which should result in a decent amount of crotch figure. In the picture above, you can see the bulge here as the two limbs come together. The diameter on one end is about 28 inches, and it’s about four feet across at the top of the crotch.

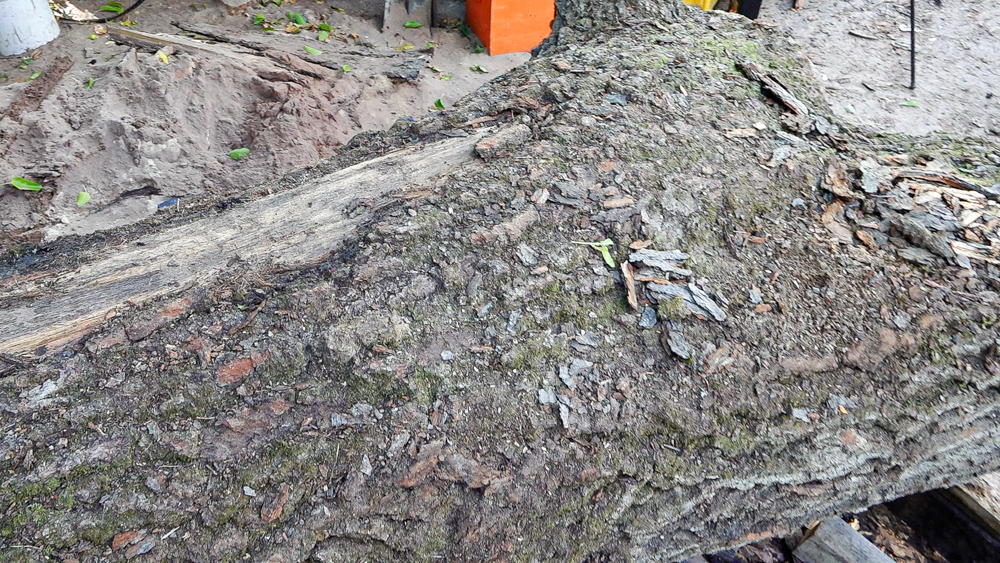
We do have this old limb here, which could have a little bit of rot infiltration, which could lead to some interesting staining inside of the wood.
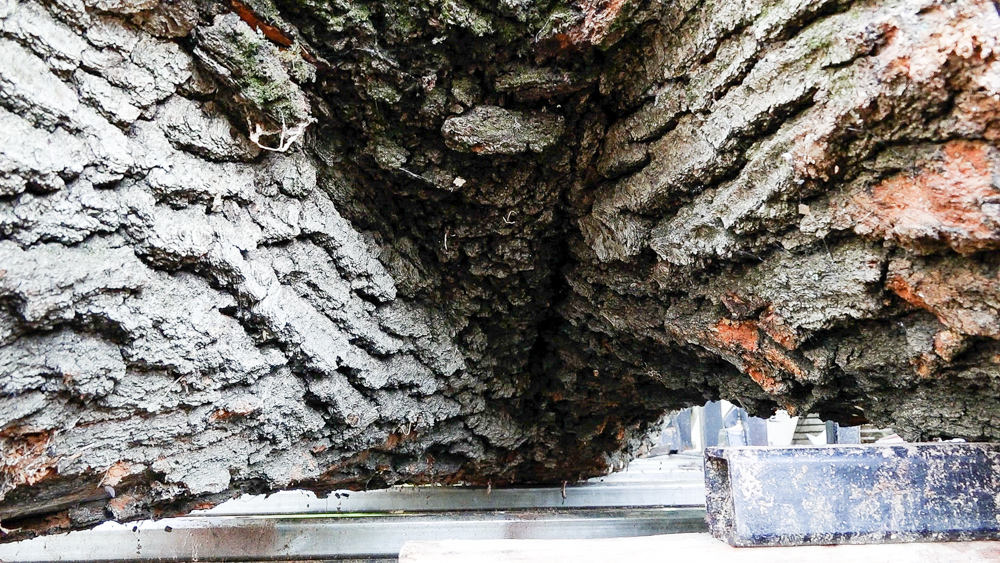
The most interesting thing about the way this tree grew is how much negative space there is down here where the two limbs connected. Normally you’d expect to see a lot of meat connecting them. Because of that negative space, there won’t be many full-length slabs, and we’ll run out of material pretty quickly. And then we’re gonna have some very, very odd slabs with a very wide V between them. That might be kind of fun for an epoxy table or something.
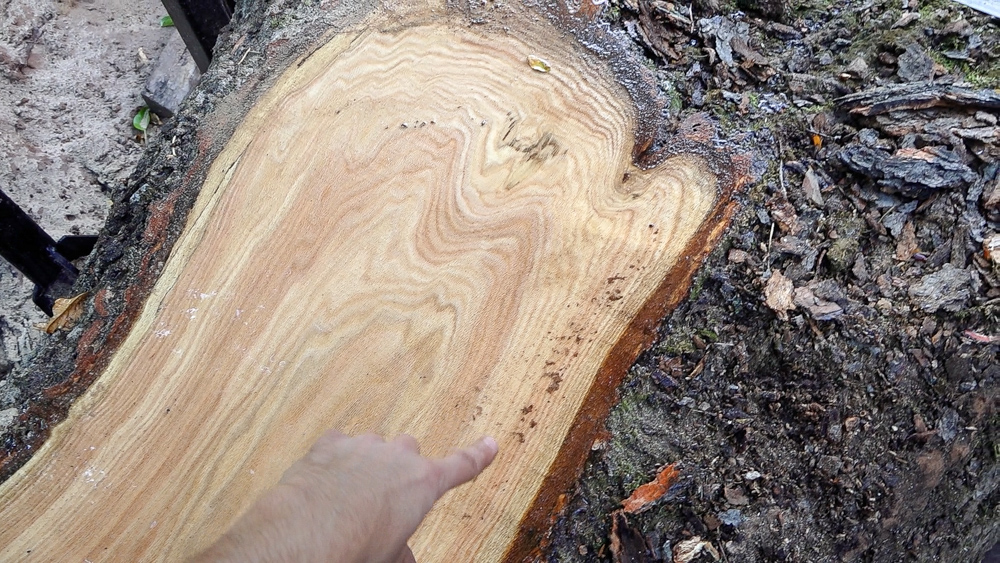
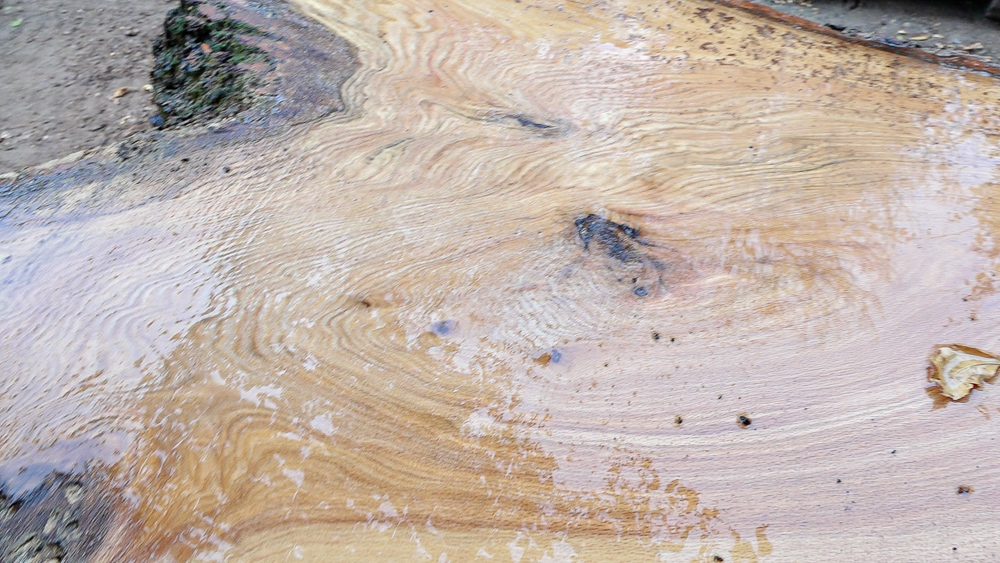
Let’s just take a quick preview of what we’re gonna be dealing with here. Man, that’s gorgeous. One of the things that I love about sawing the area where the crotches are before you get to the actual limbs is this pattern that happens up here. You have the grain coming up one side, and then it travels across and then comes back down.
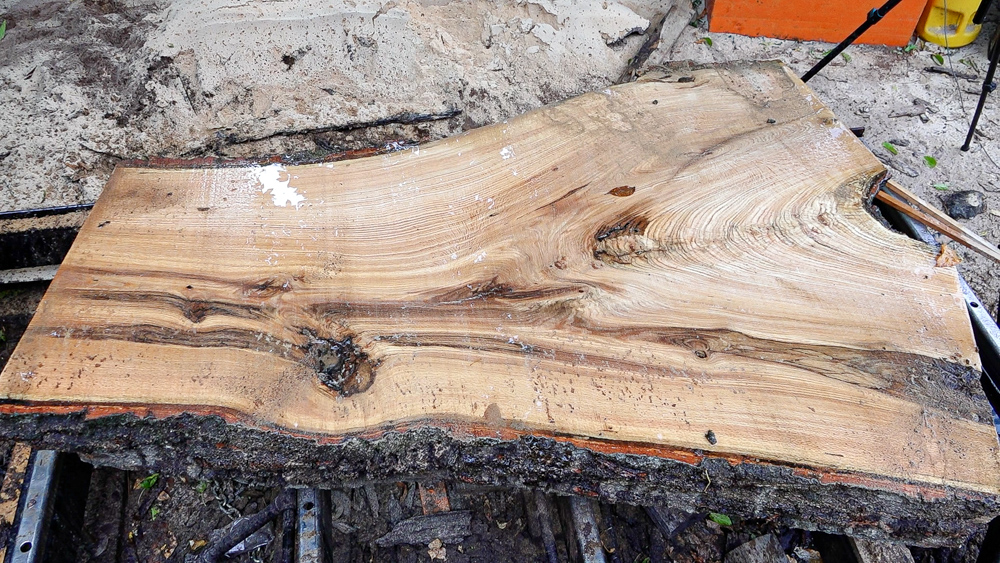
All right, now that I have cut through the whole log, let’s take a look. There are some interesting things happening in the area pictured above. That’s really about it.
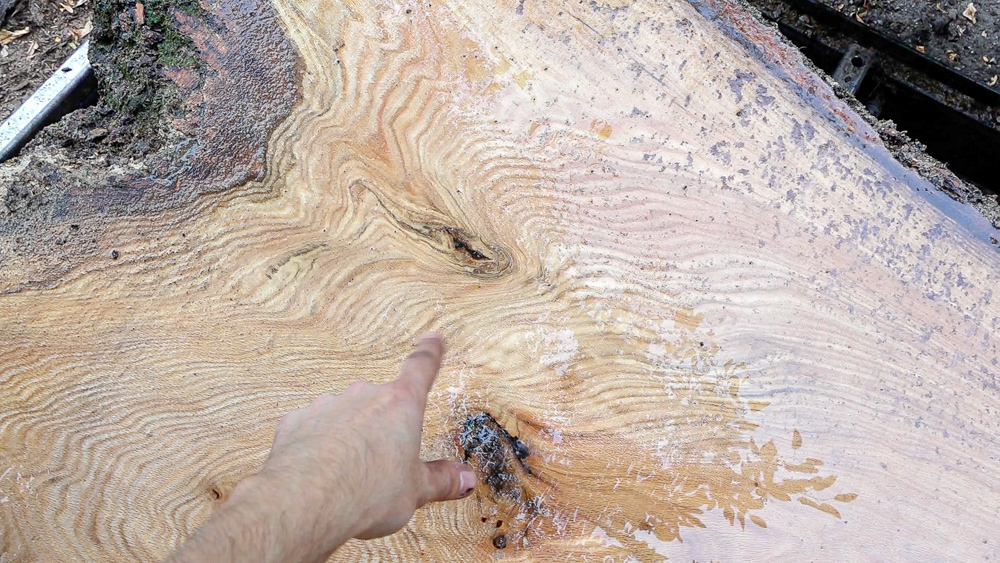
Now that we’re into both limbs, we should start seeing some interesting things happening. There are some old limbs, which are producing some interesting grain patterns around them. We’re getting into a little bit of a crotch action here.
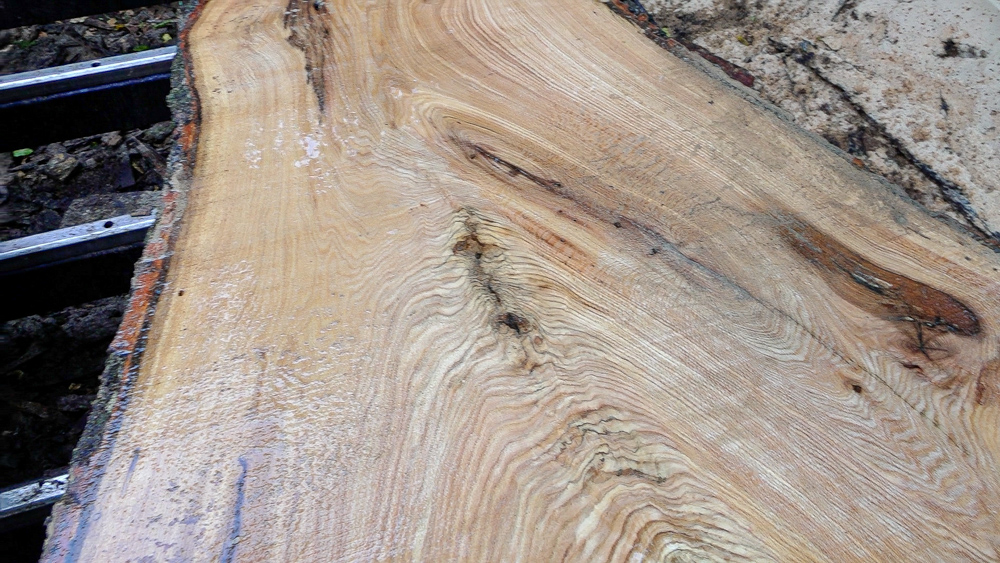
This next slab is beautiful. We are starting to get crotch figure happening, there is quite a bit of ray fleck, as well as some bark inclusion. We’re starting to see the figure come through for it.
This next one has a nice band of crotch figure coming through, as well as some more ray fleck. There also must have been an old rotten limb on the right side because it is kind of punky, as well as another punky area further down the log. That’s a cool looking slab though.
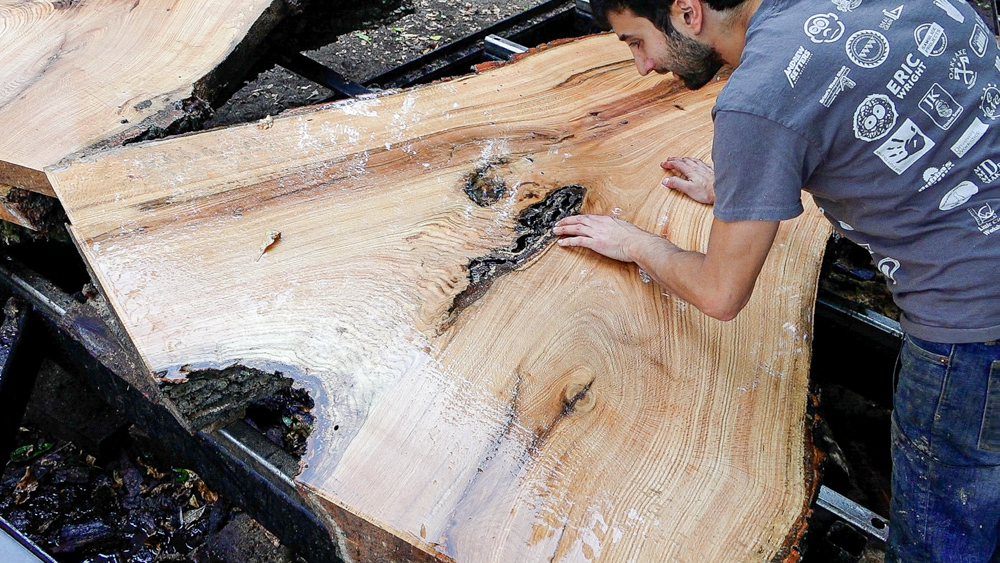
On to the next one. More ray fleck, and we are starting to see the bark come through, meaning that we are getting through to the bottom side of log already. Man, this is cool.

There’s a lot of really large ray fleck right in here. You can see these lines, which are all ray fleck and curl through here. So it’s a nice quarter sawn area.
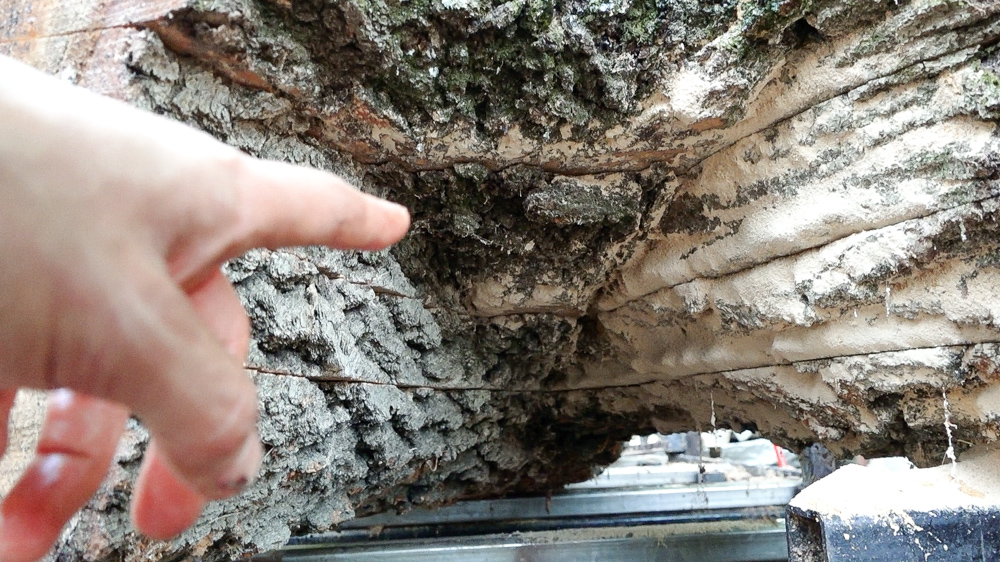
If you take a look at the underside here you can see what I’m talking about. We have cut to the bottom side of the crotch there. The next slabs will not have any meat right here. They’ll only be connected where the limbs came together on the log and be fully disconnected between the limbs, so we’ll have a big V void between those limbs.
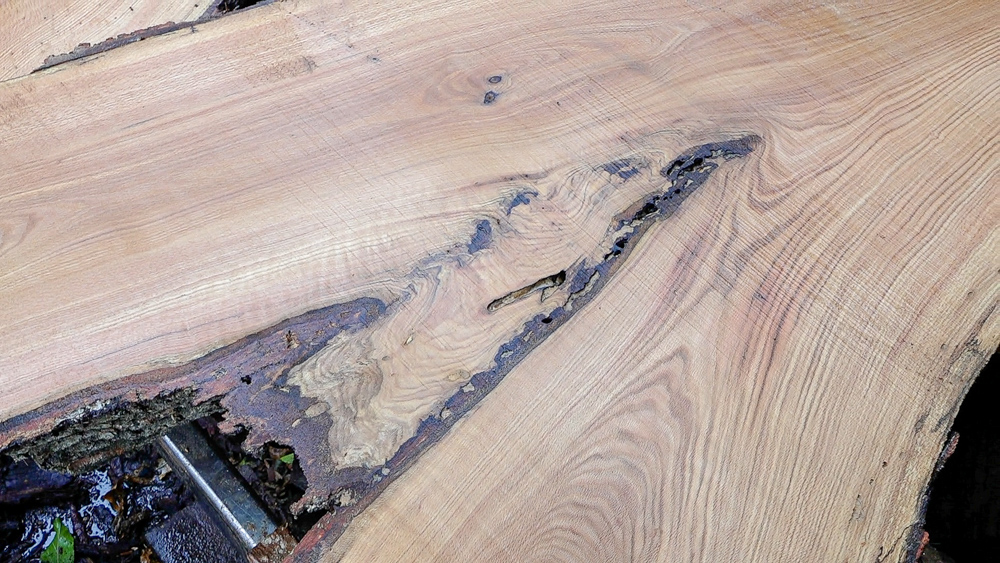
Well, this is interesting. There is still a little bit of connective meat between the limbs surrounded by the bark inclusion. That is really cool.
Here’s where things get kind of interesting, because we have a pretty big void between the two limbs. You can fill this void with something, like an inlay or epoxy or glass or something else. You can even make that into a circle table, too, which could be interesting.
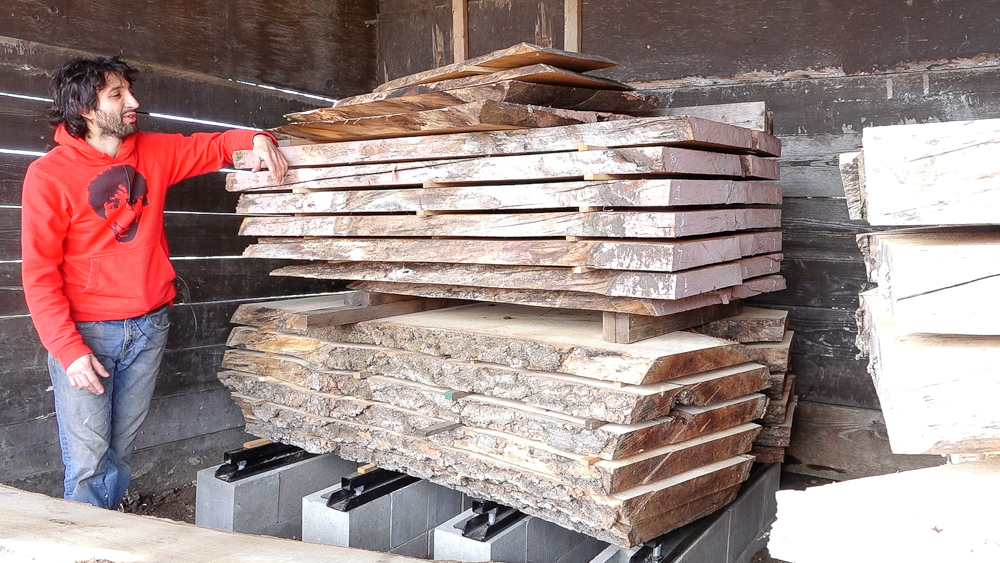
These slabs came over here on one of the first loads right after we closed on the house, and they are stacked back here in the first of the horse shelters. Some pretty big giant red oak crotches, and I’m looking forward to seeing those ones get used.
Thank you as always for supporting me. I greatly appreciate it. For any questions or comments please feel free to leave me a comment. As always, I’d be happy to answer any questions you may have. And until next time, happy woodworking.
Welcome to my shop! This is a quick update to let you know what I’ve been up to. This big chunky thing is the leg

Welcome back to the home renovation. This time I’m going to be working on the kitchen island. Here is a small model of the island.

Welcome back to our home renovation. Today I am going to be working on this wall. It needs some upper cabinets and the surround for