
Kitchen Island, Barn Power – March 2024 Update
Welcome to my shop! This is a quick update to let you know what I’ve been up to. This big chunky thing is the leg
There are many ways to turn a log into usable lumber. This time we’ll take a look at the process of making live edge slabs.
Generally, the focus when making slabs it production of the most interesting material. The sawyer may be looking to expose the most figure or the overall shape of the log – both of these would not typically be done when sawing boards, especially when grade sawing. Interesting pockets of figure would be less preferable over a uniform grain and the shape of the log would be removed when the boards are edged. Furthermore with the shape, the sawyer my cut the log down into shorter lengths to achieve more yield. For instance if the log has a large curve, it would yield more lumber if cut into two shorter logs than trying to edge a full length cut.
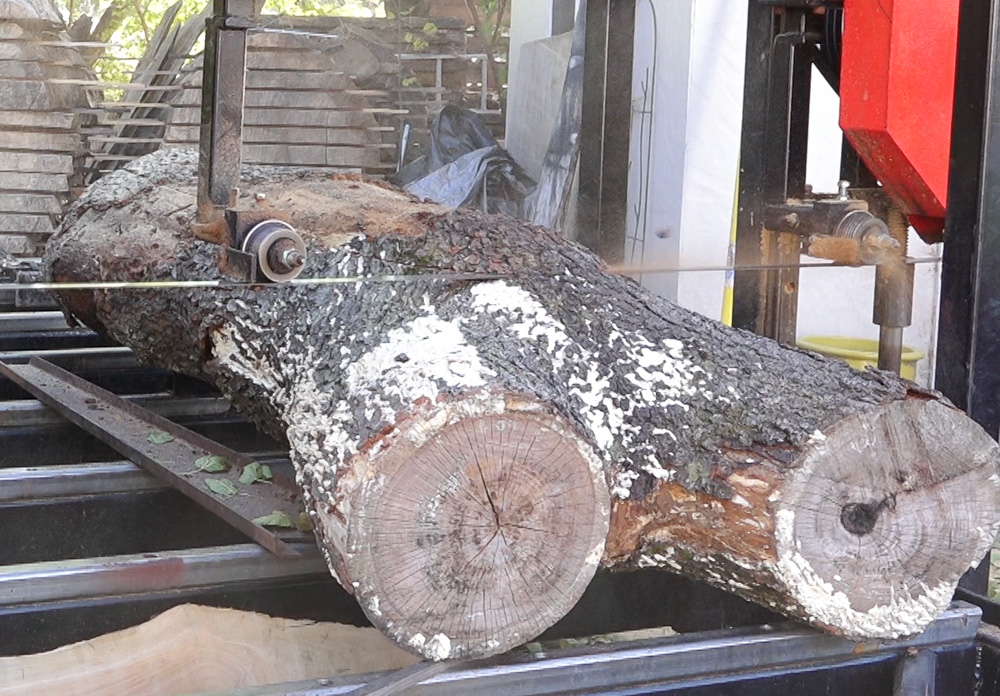
The first log that I’ll be cutting into live edge slabs is this cherry crotch log. To expose the crotch figure, the log is oriented so the blade is parallel to the centers of the upper limbs. The log had a big of a curve in it so the first cuts result in standard shaped live edge slabs.
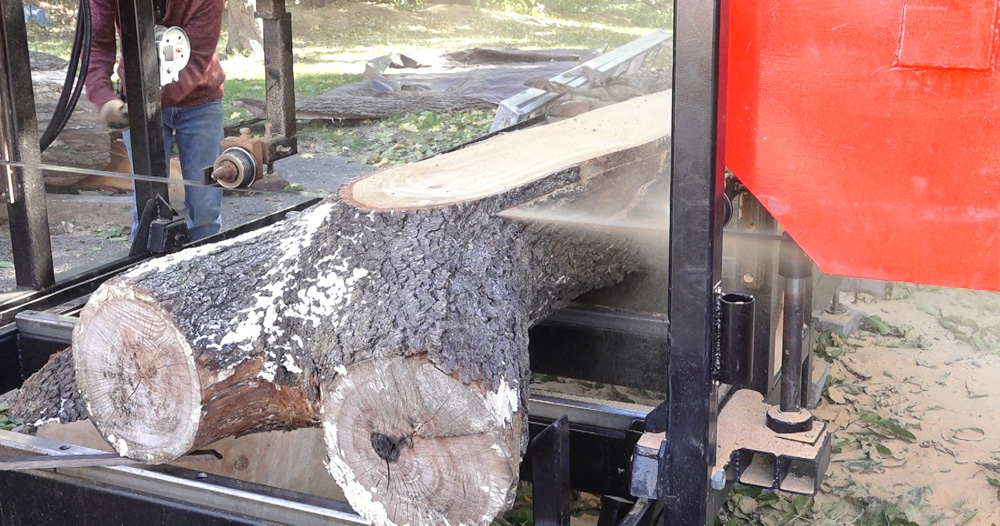
The bu
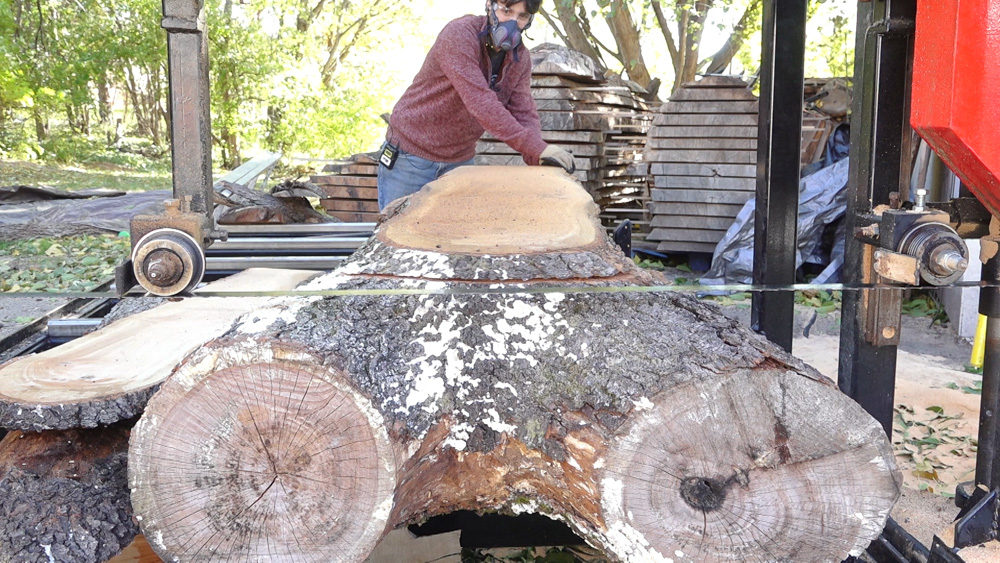
After another cut, a second 4/4 live edge board is removed from the log.
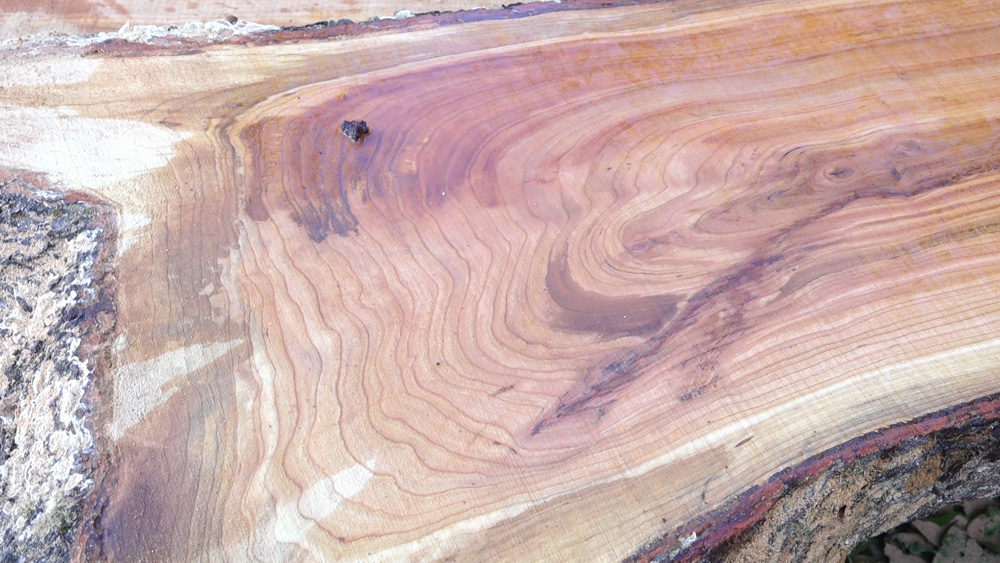
What’s really unique about this cut orientation is the grain creates a rectangular pattern at the end of the board.
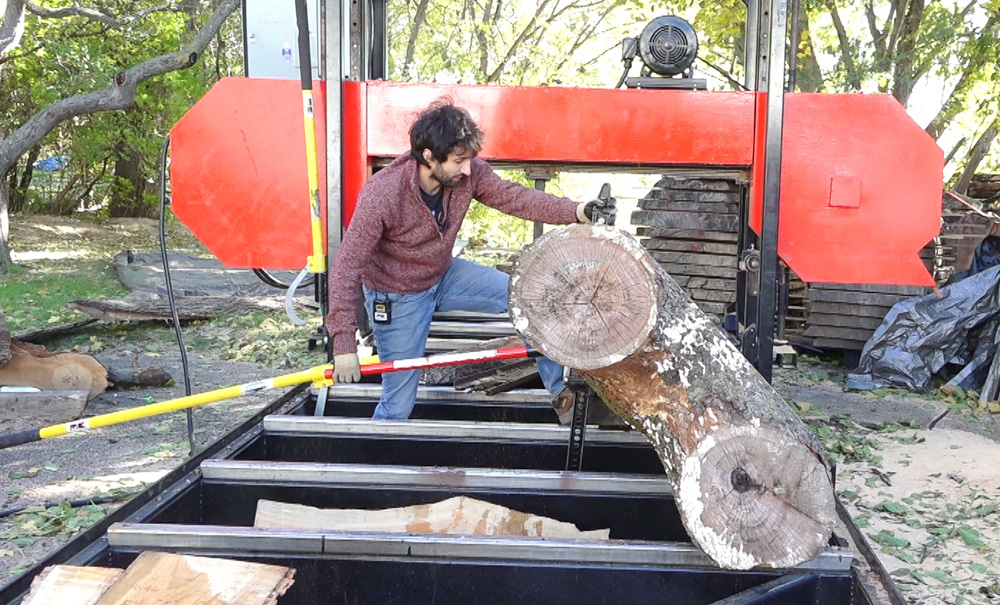
Now with a flat area cut onto the log, it can be rolled over so it sits flat and stable on the bed.
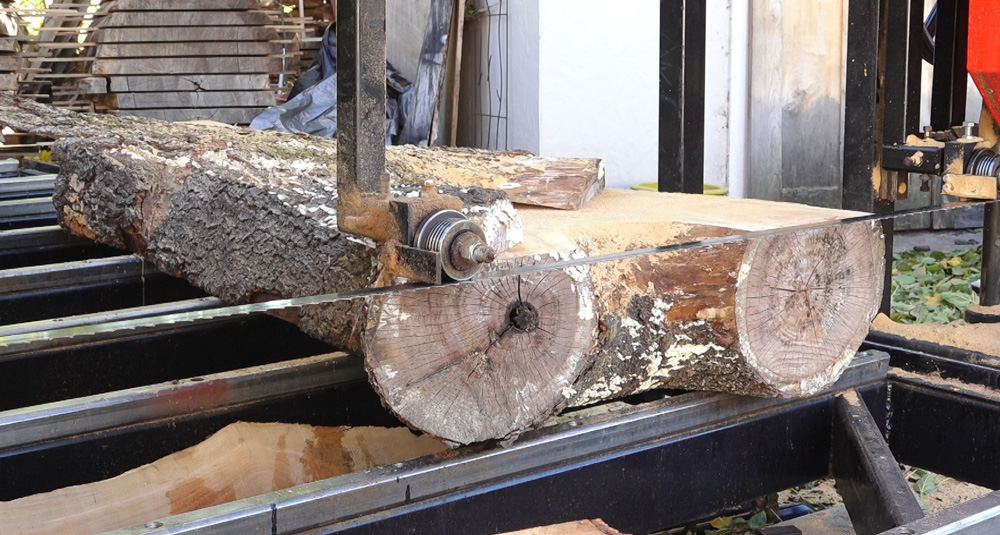
On this side, anther facing cut can be made. With this cut, we’ll use the lumber scale to divide the log into even thickness boards. In other words: the blade height is set to a multiple of the desired thickness.
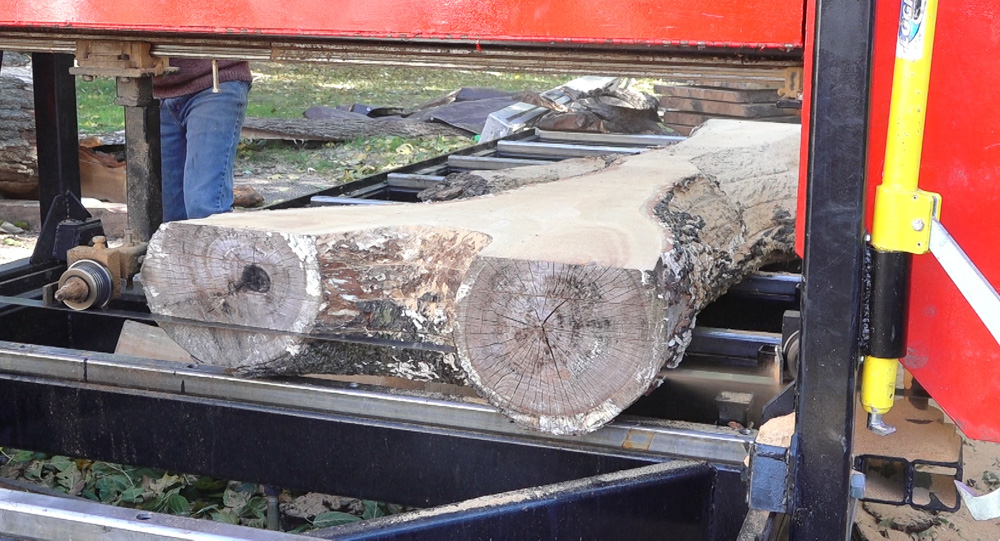
The log can now be sequentially sliced into even thickness slabs.
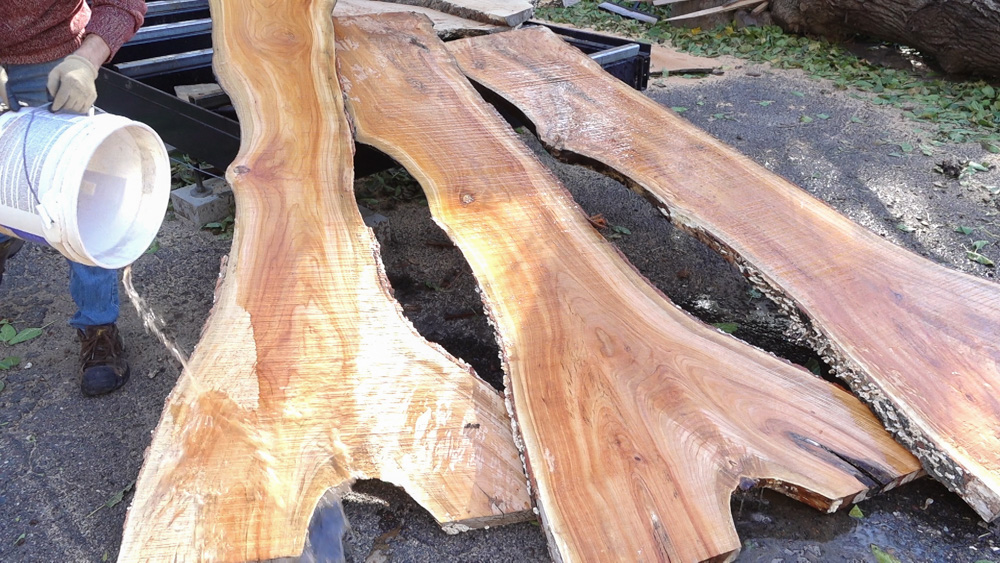
Here’s a look at the slabs from this log. This tree did have some rot infiltration. There are some areas of dry rot that would need to be stabilized but what’s really cool about a bit of rot in the log is the staining that results. Especially in cherry, the areas adjacent to rot have a much deeper red hue.
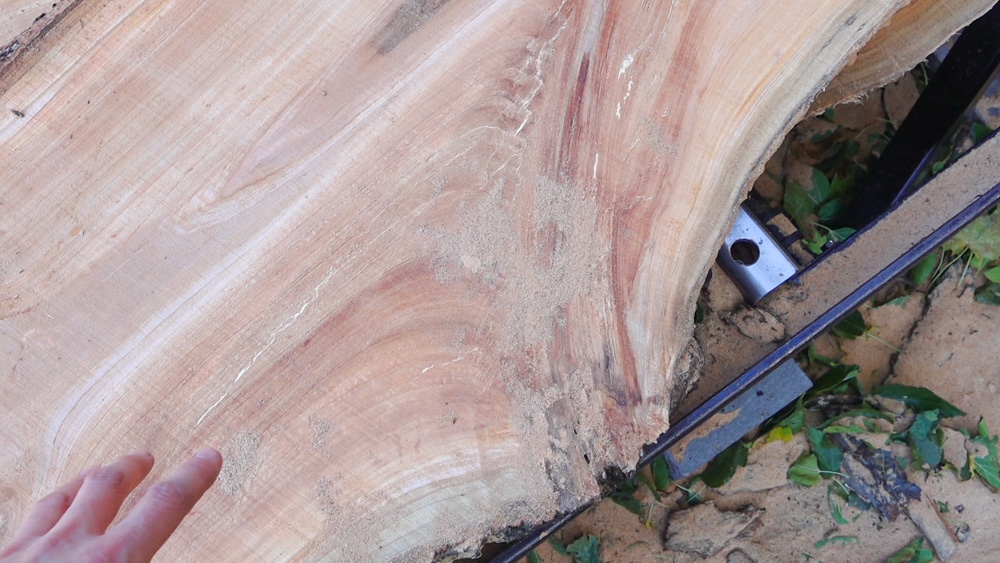
Here’s a closer look at the dry rot areas. Notice the deeper reds in the surrounding areas.
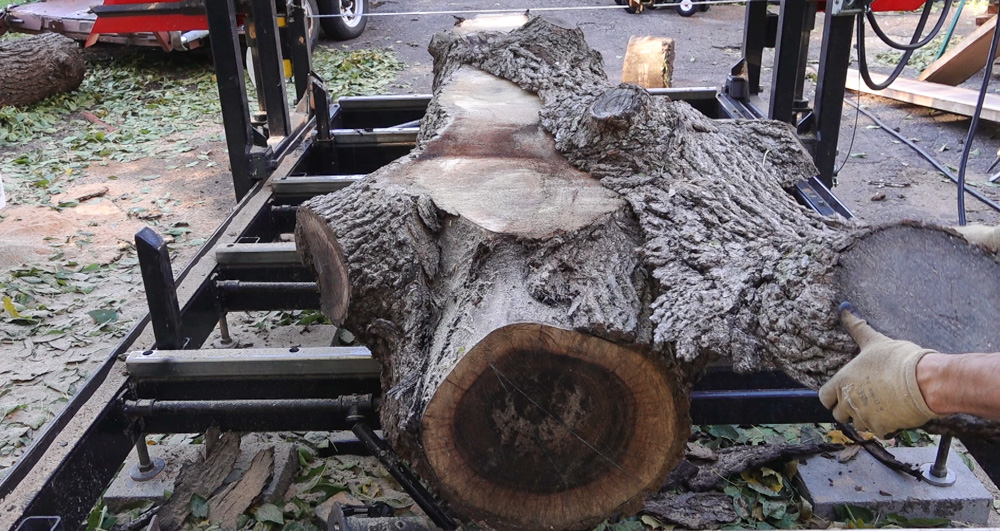
Next up is a walnut log with many limbs. This will produce slabs with interesting grain and patterns.

Similarly, a flat area is formed on the starting top side and then the log is rolled over so it sits stable on the bed.
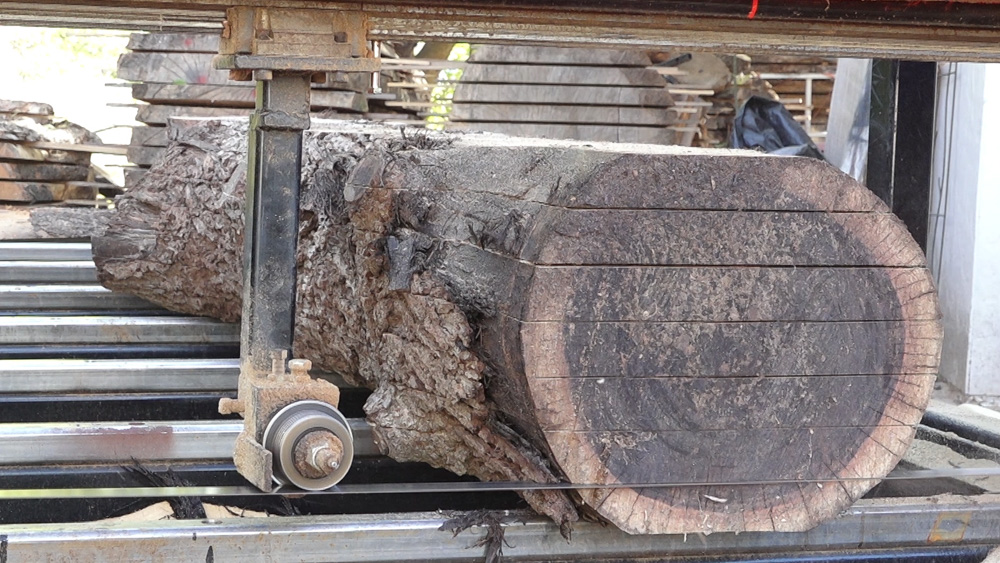
Again the log is sliced into even thickness slabs.
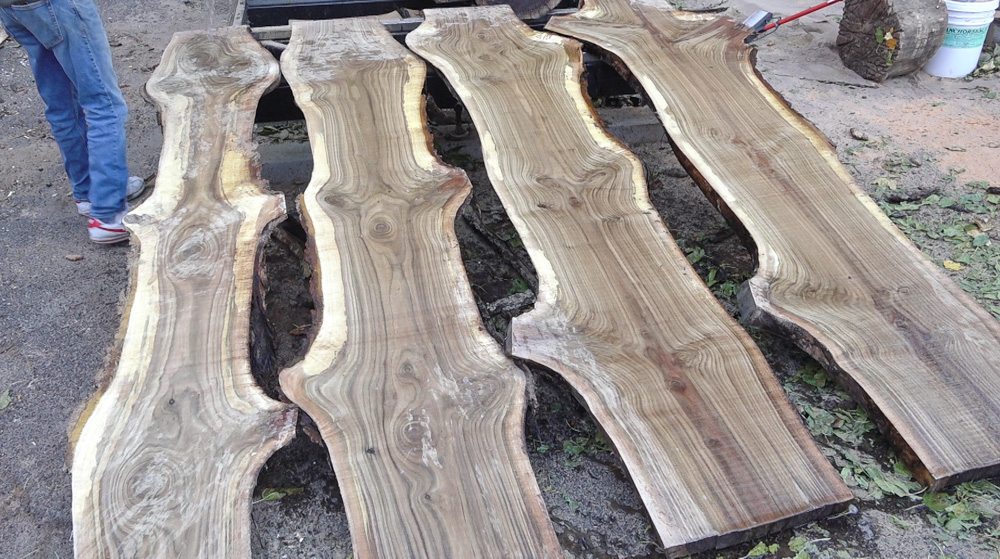
Here’s a look at the slabs from this log. The couple on the right have some really nice straight, quartersawn grain. There’s also some interesting grain characteristics throughout the slab due to the limbs. One thing to also note is how green the slabs are. Freshly sawn walnut has a very green color which fads within about 15 min to more of the purple/brown we’re accustomed to.
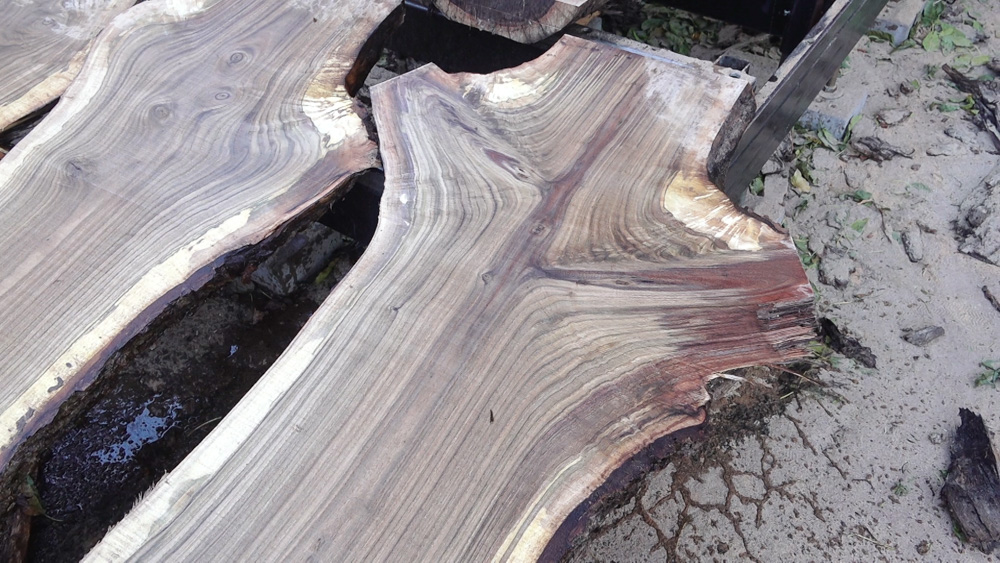
At the top of the slab is a pair of limbs and since the blade passed parallel to each, we have a bit of crotch figure on each side of the slab. Here we can also see some of the wood has oxidized and gives us an idea of what the color of the rest of the slab will have once it sits for a bit.

Lastly is this small crotch log from the top of the walnut tree. With this log, I’m just trying to expose as much of the crotch figure as possible. The log is again oriented so the blade is parallel to the limb and trunk. A facing cut is made, the log is rolled, and the log is sliced into slabs.
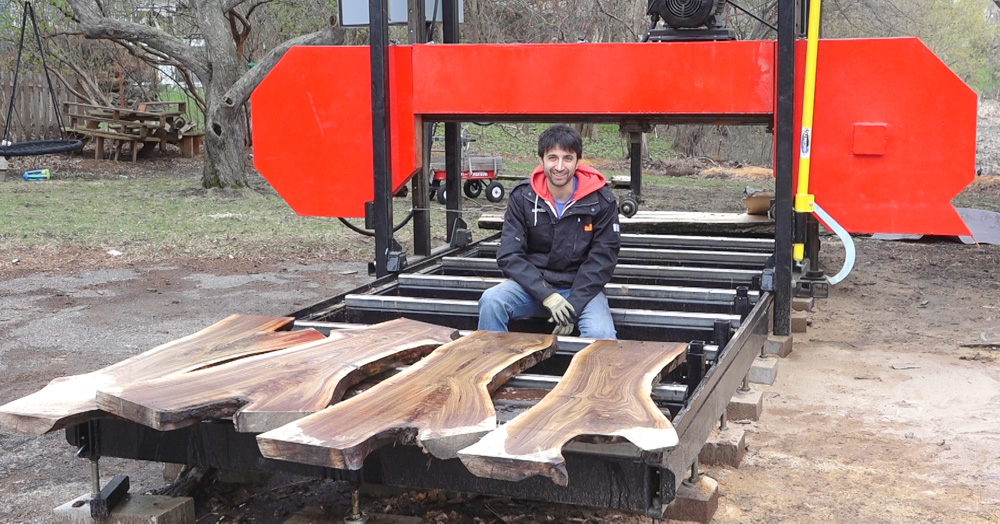
That small log yielded 4 decent crotch slabs.
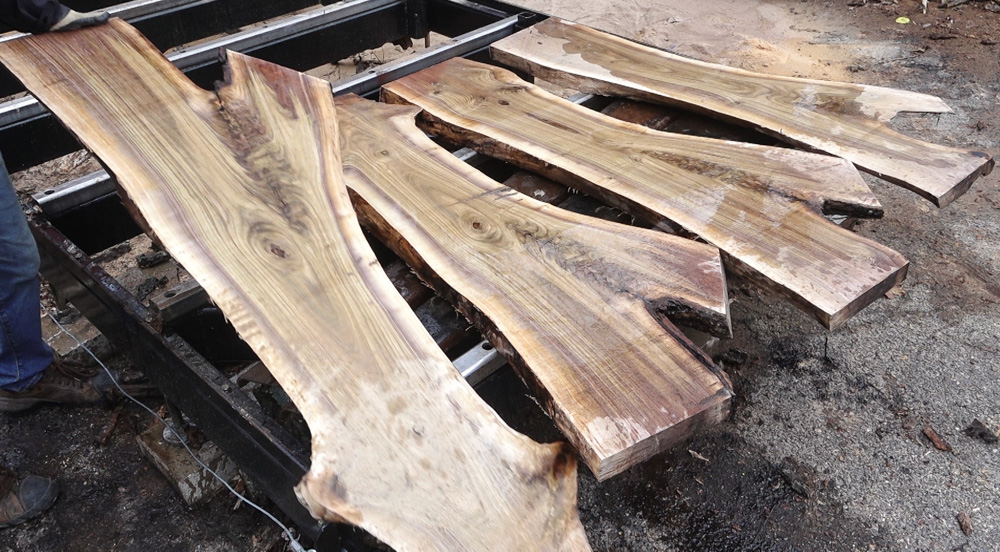
A closer look at the slabs. Some really nice crotch feather in these!
60″ Peavey – https://amzn.to/2X8WtS9
78″ Cant Hook – https://amzn.to/2Is0RY1
Hi-Lift Jack: http://amzn.to/2nwL9Nq


Welcome to my shop! This is a quick update to let you know what I’ve been up to. This big chunky thing is the leg

Welcome back to the home renovation. This time I’m going to be working on the kitchen island. Here is a small model of the island.

Welcome back to our home renovation. Today I am going to be working on this wall. It needs some upper cabinets and the surround for
2 Responses
I have a garden hose nearby to wash the slabs instead of carting around a pail of water . Makes the job so much easier.
Interesting outcome. Looks I can only admire. I don’t think I can get such a saw mill anywhere near me