
Kitchen Island, Barn Power – March 2024 Update
Welcome to my shop! This is a quick update to let you know what I’ve been up to. This big chunky thing is the leg
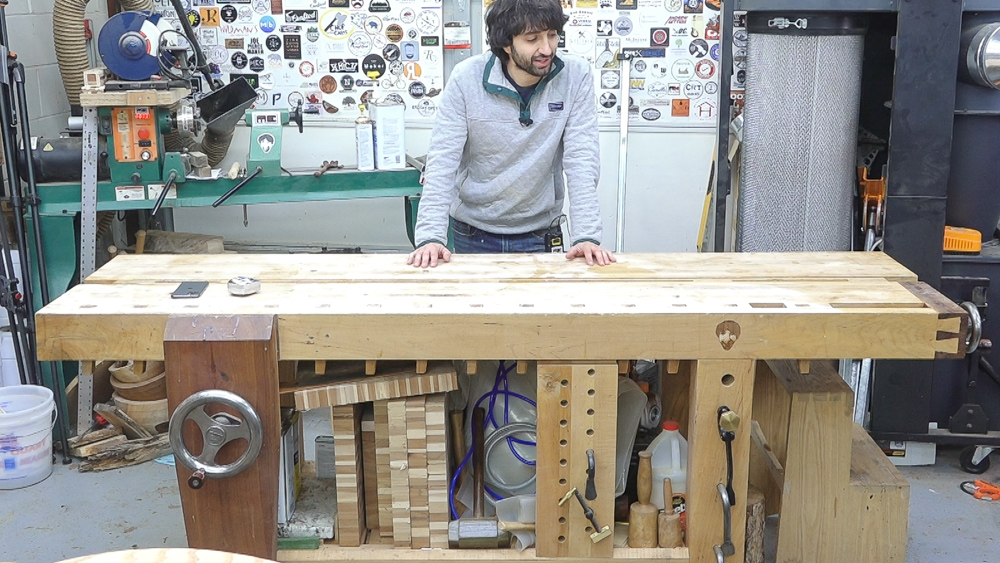
The split top roubo has become a very popular workbench style. When building them however, a huge amount of time is spent creating the laminated tops. Ideally these tops become quater sawn from laminating plain sawn stock but that’s rarely the case. It would be really great if the tops could be made from a single quarter sawn slab each which would save a lot of time and provide great stability so the bench wouldn’t need to be reflattened anywhere near as much. In my opinion it would also look better. I not a huge fan of the thin flooring look. The legs and stretchers are also typically laminated so it would be nice to not have to worry about laminating those either. In an ideal world the legs would have a plainsawn face along the wider edge so the grain orientation matches the benchtop. I’m going to try sawing and the perfect bench material.
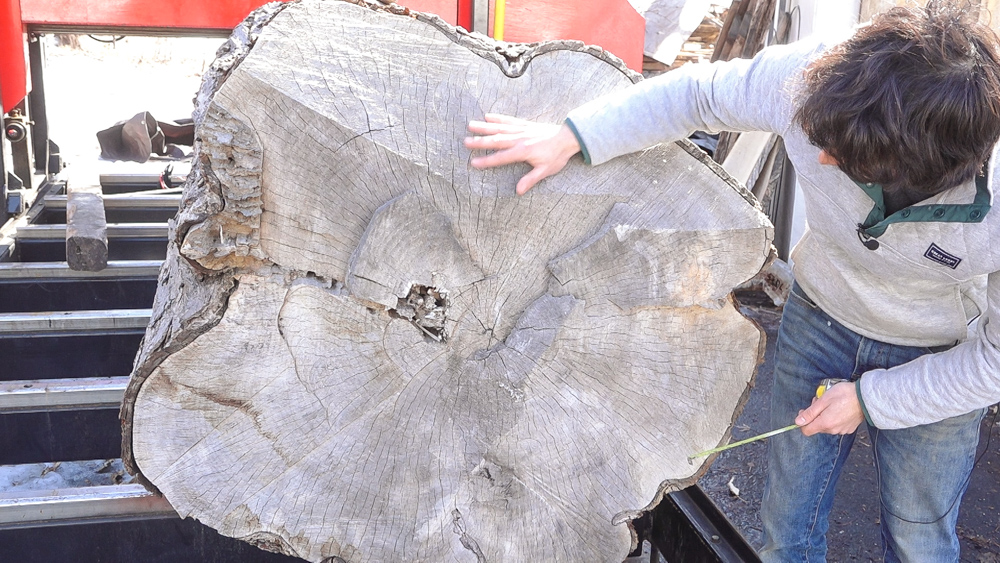
This first log is 40″ on the wide end and 36″ at the narrow end. I’ll pull two quarter sawn benchtop slabs from the left and right of the pith and pull plain sawn stock for base material from the top and bottom half. There will still be a lot of extra material so I’ll also be sawing a few Slab Skins so we have some extra material to experiment with.
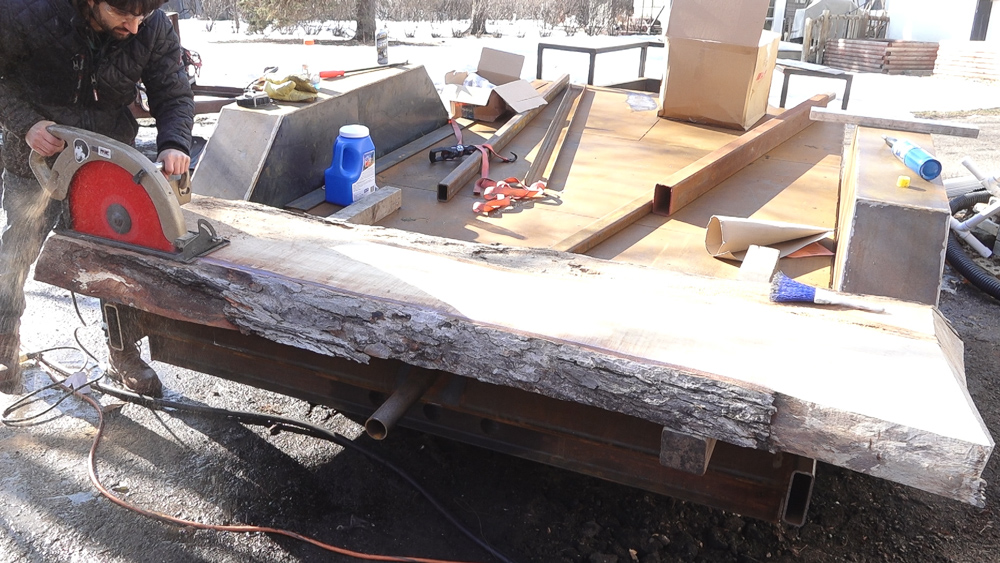
To make slicing the base material a bit easier, I’ll edge the slabs with a beam saw so I don’t have to stand up and level the whole slabs.
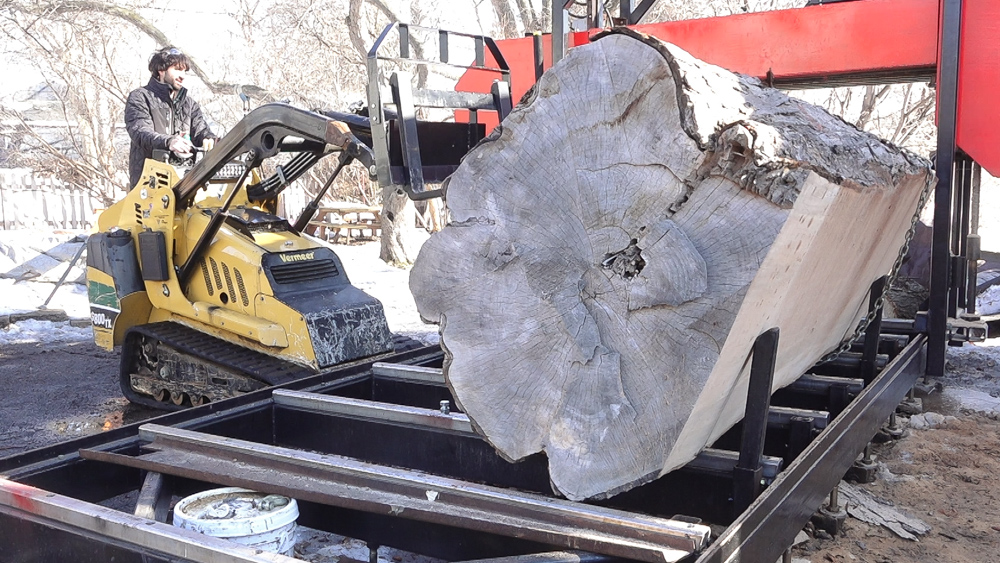
After removing the slabs for base material from the top section, the log had shifted a bit so I’ll roll it over.
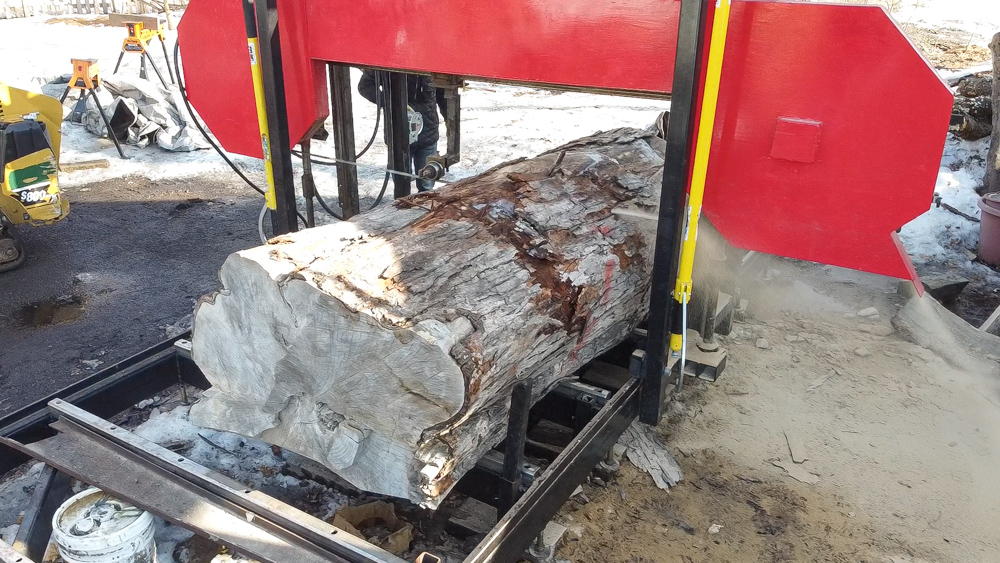
These next few cuts will be pretty similar to the top section. I first make a facing cut.
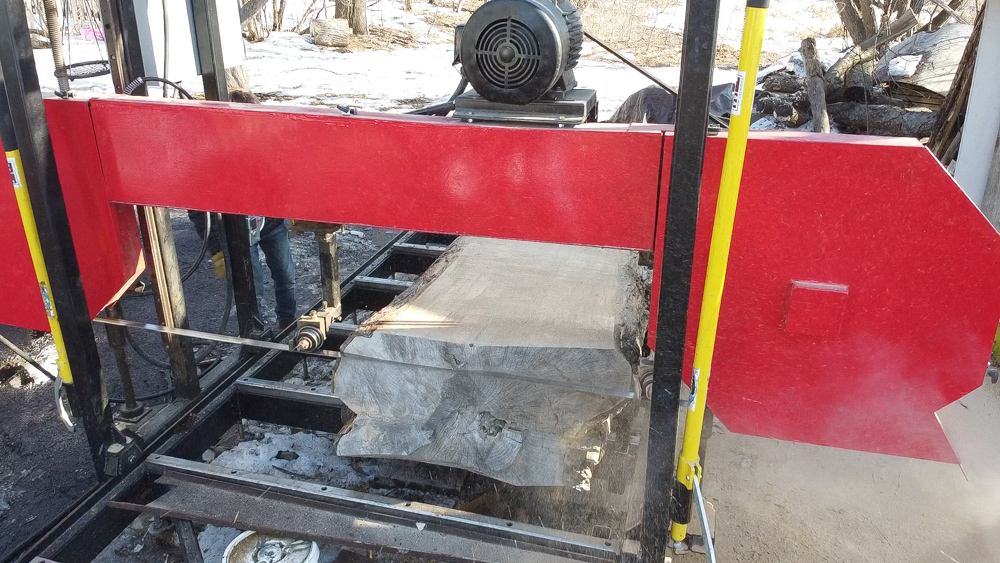
Next I can saw another slab at 4″ thick which will later be ripped into 6″ wide stock for bases.
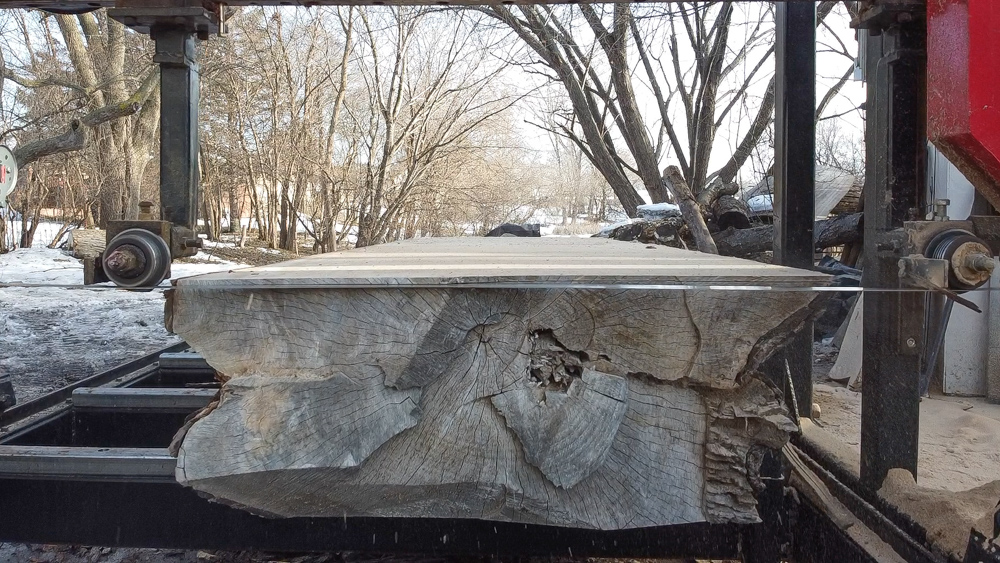
As I get closer to the benchtop cut, I’ll saw Slab Skins to remove excess material until I’m 3″ away from the pith. I’m cutting these skins at 3/8″ thick and with the kerf of the blade, the total removed is close to 1/2″.
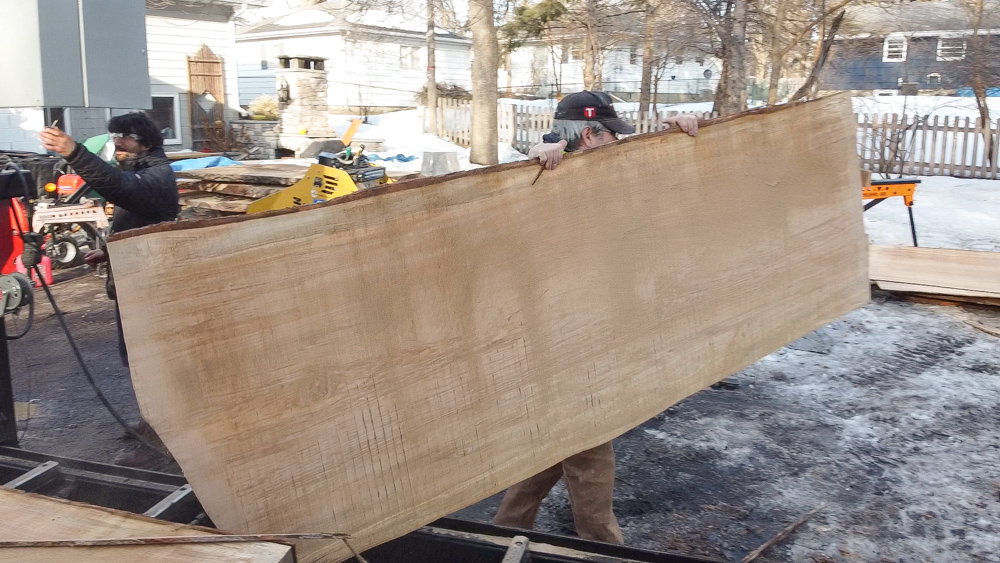
My friend, Donavan, stopped by. Here he’s offloading a slab skin. It’s a funny contrast how light these are when compared to the full thickness slabs I’ve been sawing.
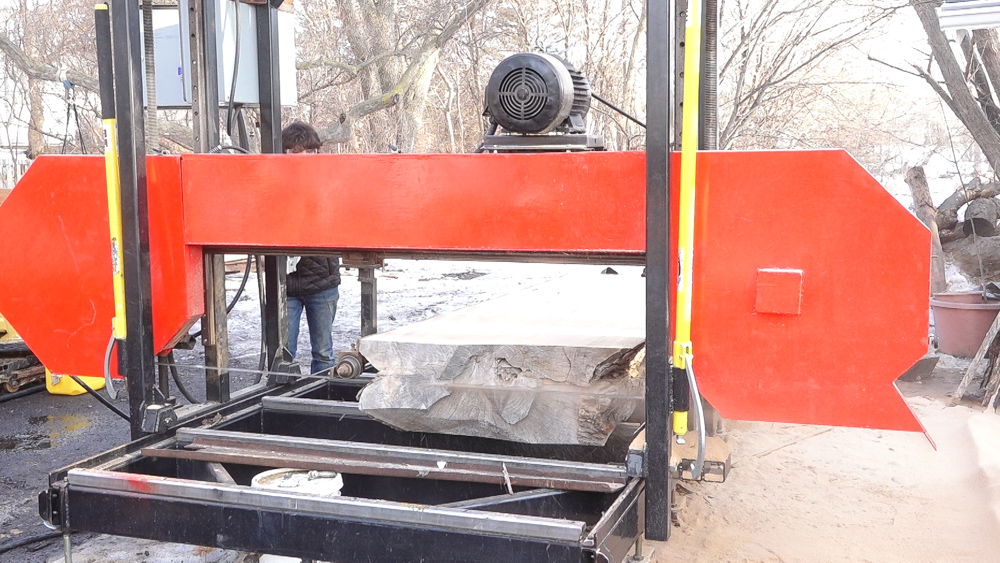
Once the top of the slab is 3″ from the center of the log, I can drop down 6″ and make a large slab with the pith centered in the thickness.
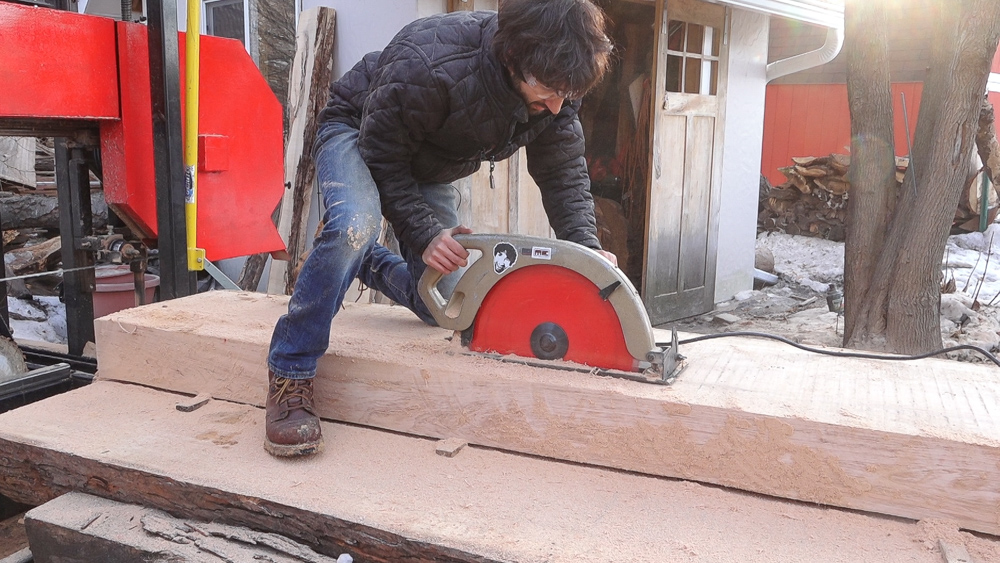
That big slab can be cut to reveal the two benchtops. I’ll edge off the bark and removed a 6″ wide section from the middle with contains the pith.
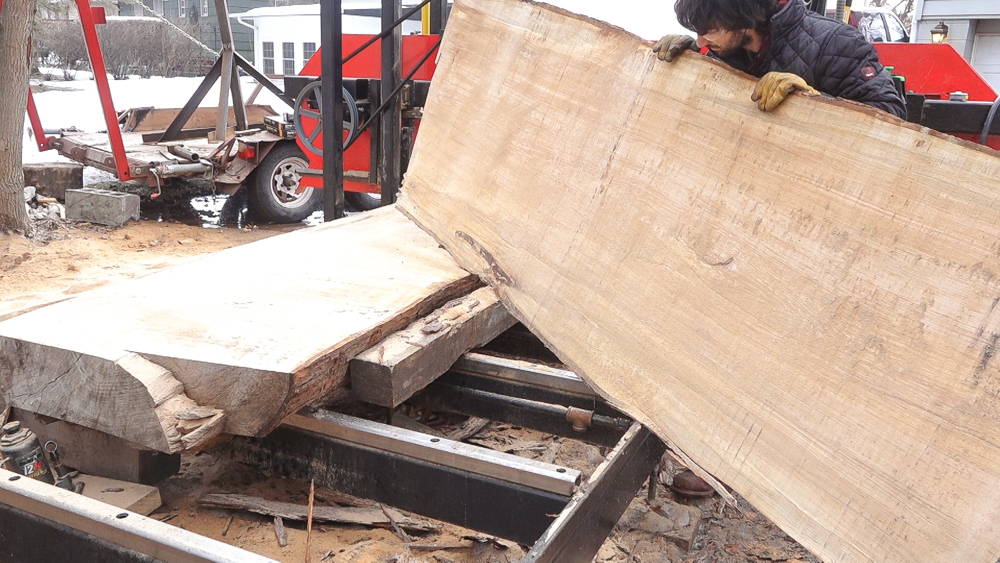
Now I have a big chunk of the log remaining to break down. I’ll saw a few more Slab Skins from this side of the log.
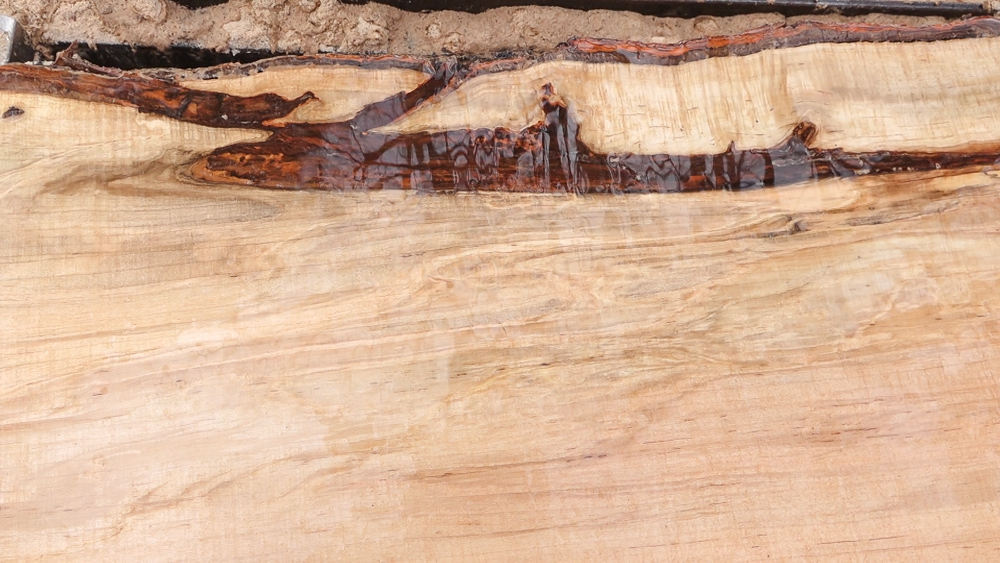
I decided to also cut a standard thickness slab from this section as the grain and color was pretty amazing. Above is some figure surrounding a bark inclusion.
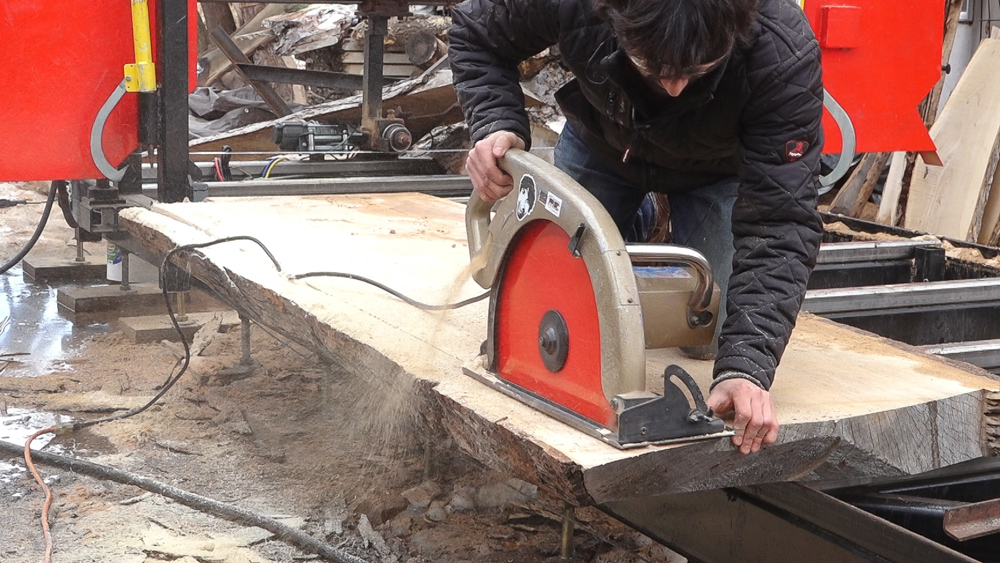
After those skins and slab were removed, I was left with a 4″ thick section for more base material.
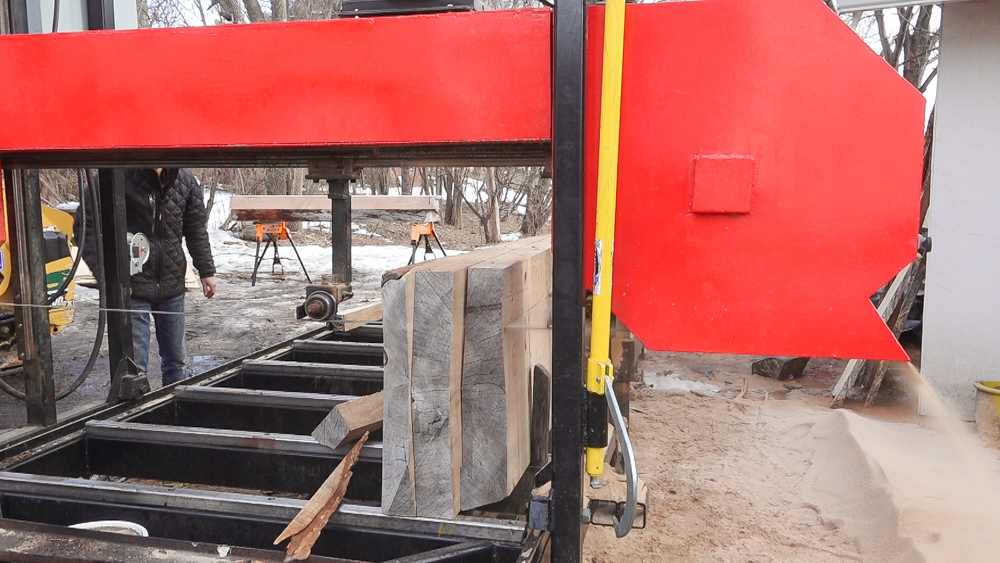
I’ll stack the edged base material slabs vertically on the mill and make passes at 6″ increments to create all the base stock.
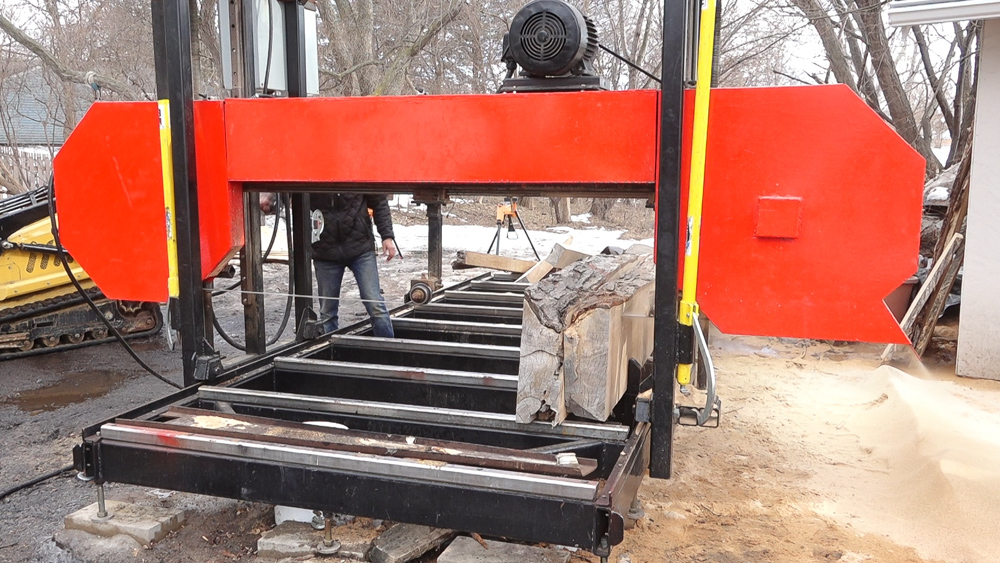
Lastly I’ll bring back the top slabs and edge them on the sawmill.
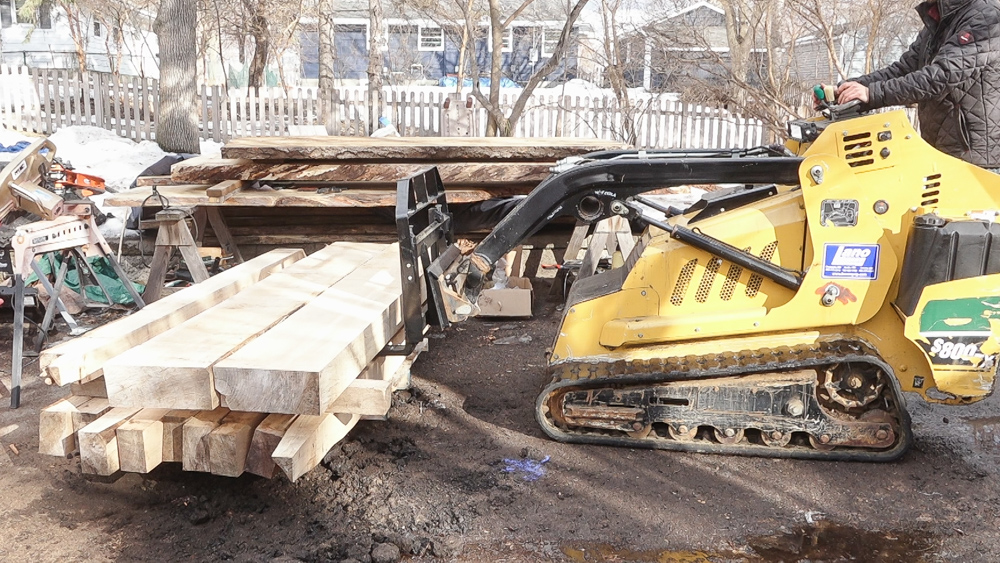
Here’s the workbench material produced from that log. Several sections of base material and a pair of bench tops.
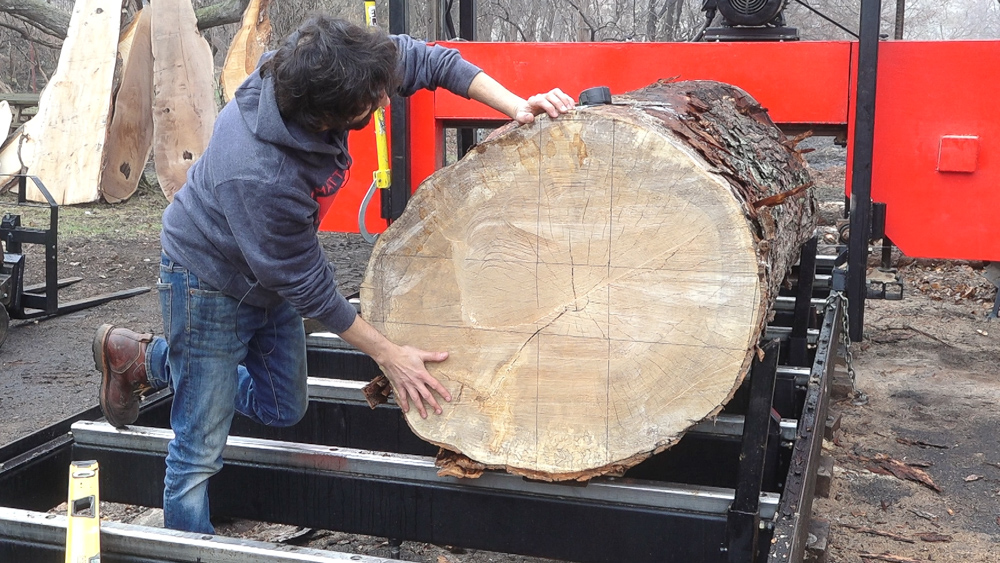
For the second test log, I decided to try cutting 4 bench tops radially from the log since the first log produced so much base material and realistically, the base material can come from more common smaller diameter logs.
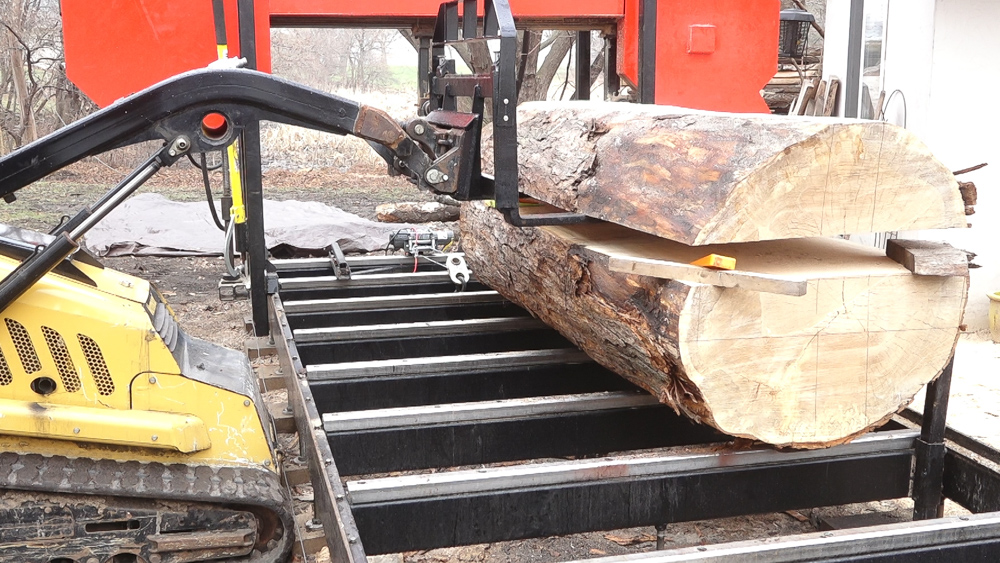
The first two cuts make the top section. I’ll set this aside for now.
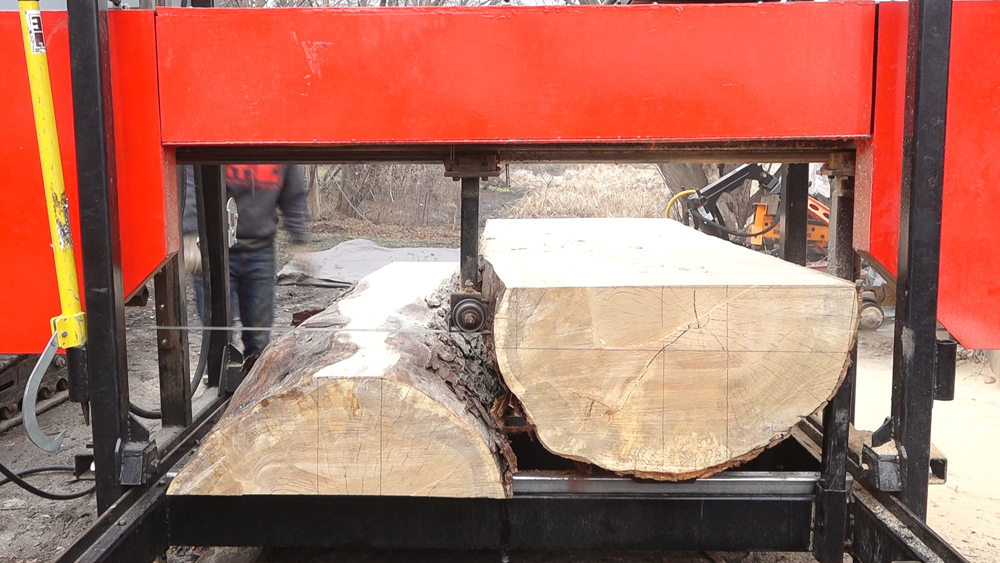
The next cut creates the 6″ thick slab that contains the pair of tops.
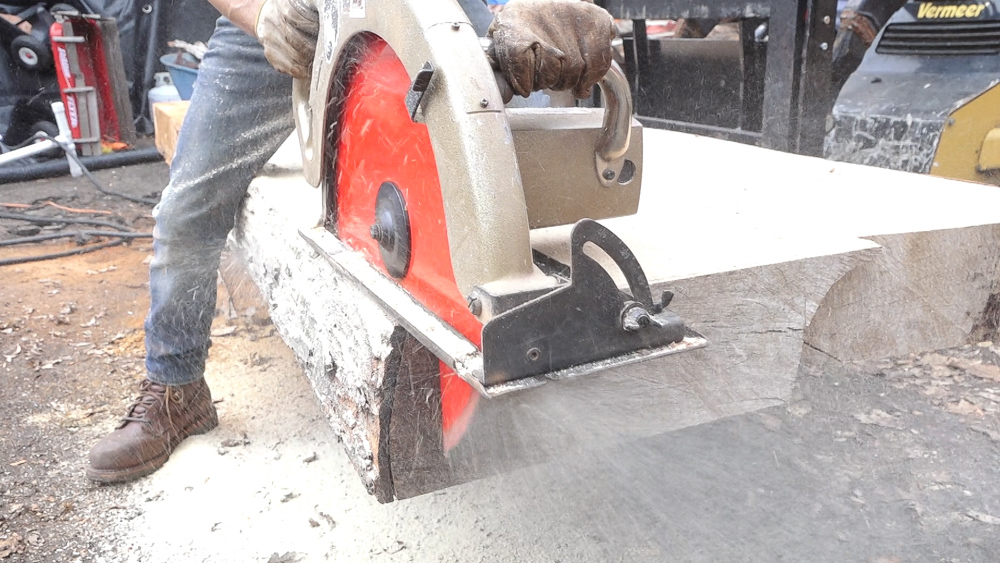
I’ll edge one side of the slab and set it aside.
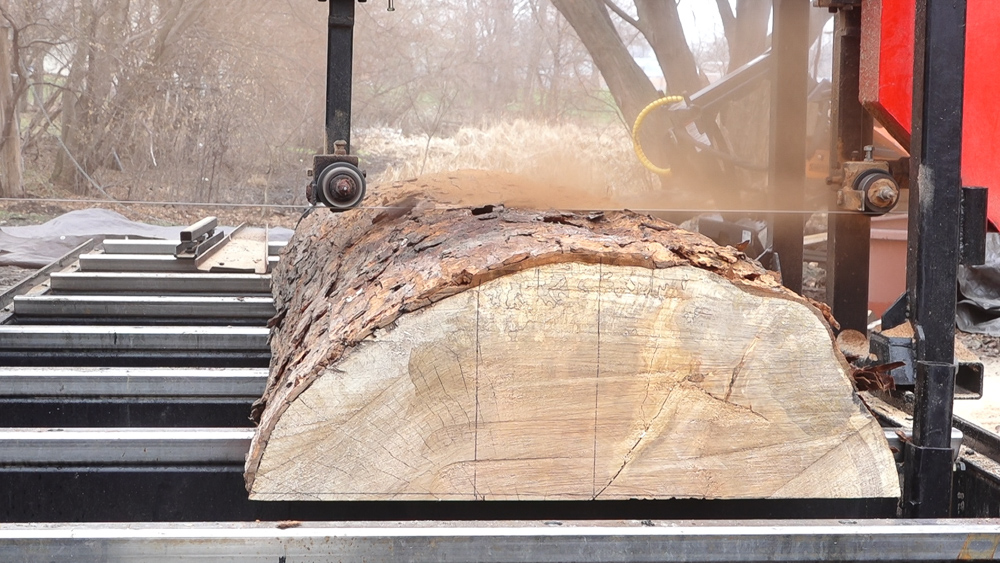
The bottom section is rolled over and the outside is faced.
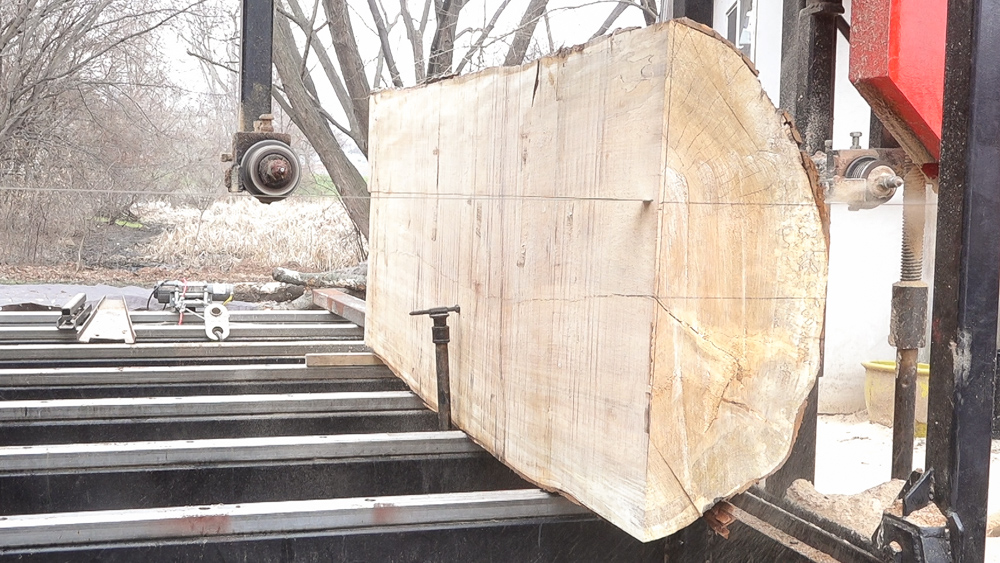
The slab is turned on edge and the benchtop is removed from the middle.
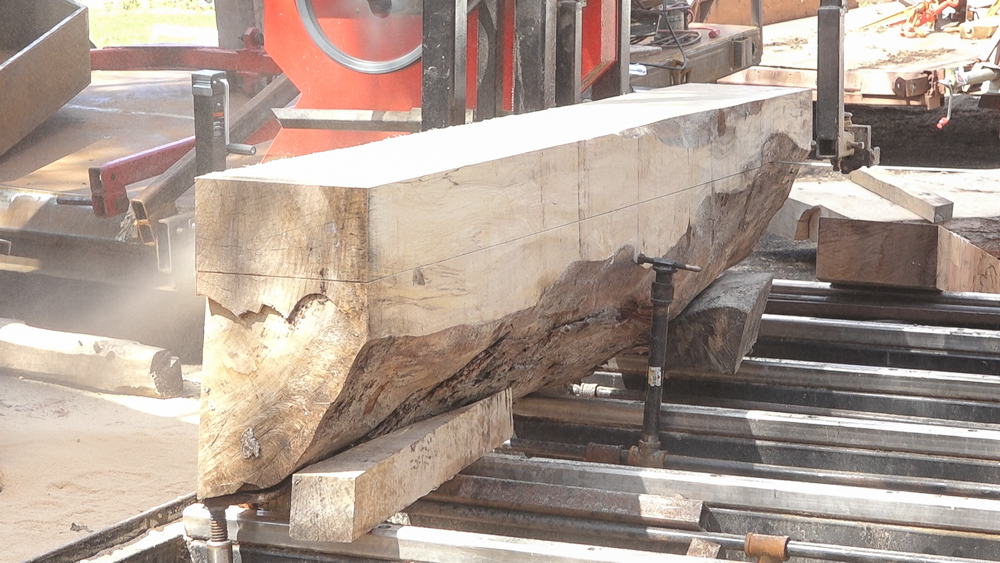
The top section is brought back onto the saw and cut similarly to the bottom section to remove the benchtop from the middle.
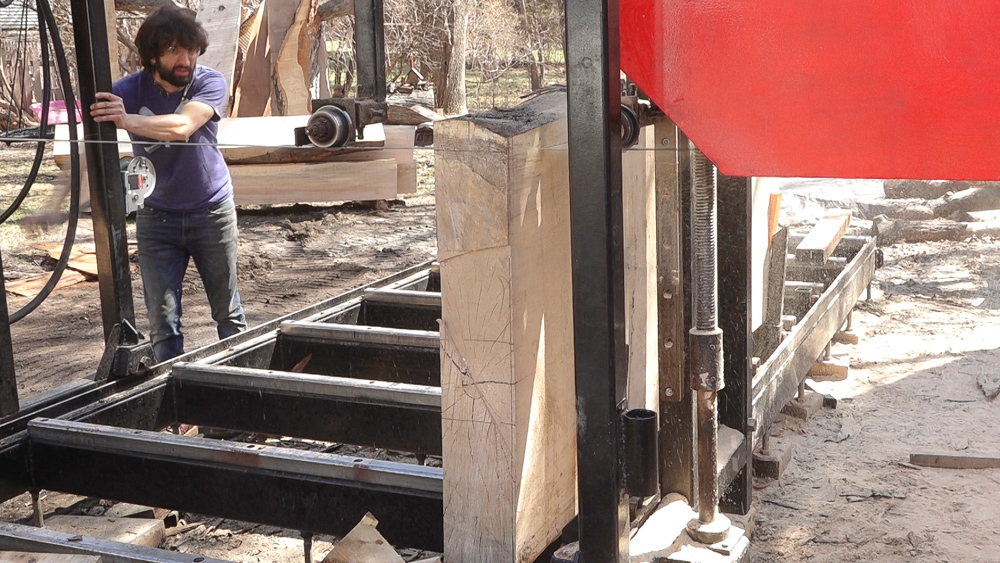
Lastly, the middle slab is brought back on edge and it is broken down into the two benchtops.
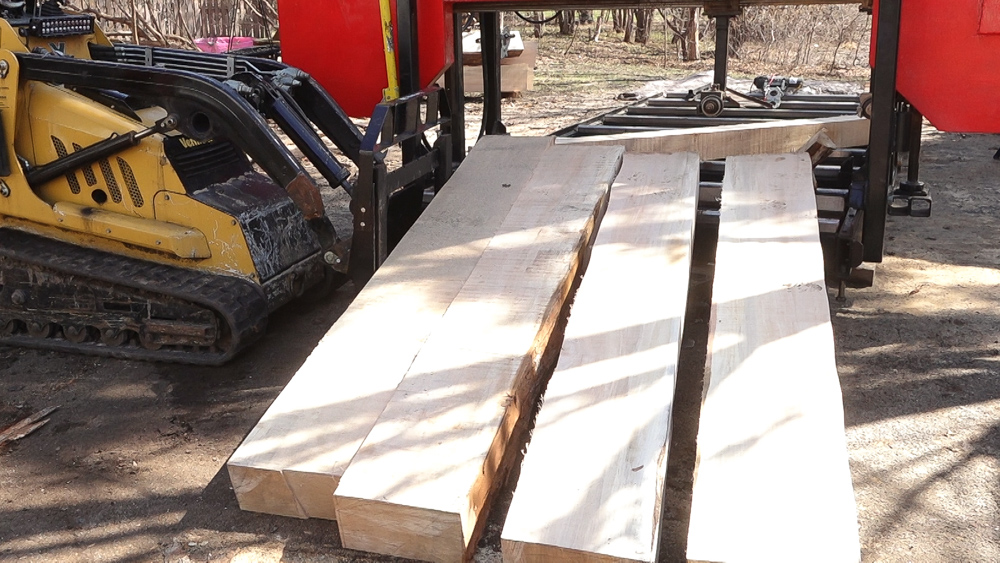
Out of that one log, here are the 4 quarter sawn bench tops.
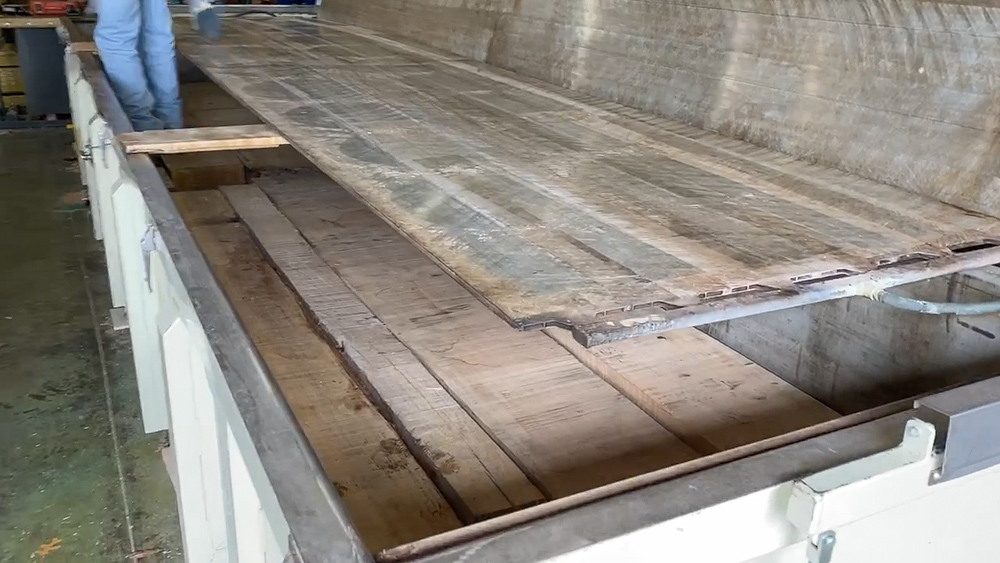
The magic that makes these slabs feasible is my friend Eric’s vacuum kiln. A vacuum kiln works by placing a vacuum on the wood which lowers the boiling point of water which causes moisture to more freely leave the wood – drastically reducing the drying. The kiln ran for 12 days with these bench kits in it which is much longer than the few days per load that it normally runs for when drying 4/4.
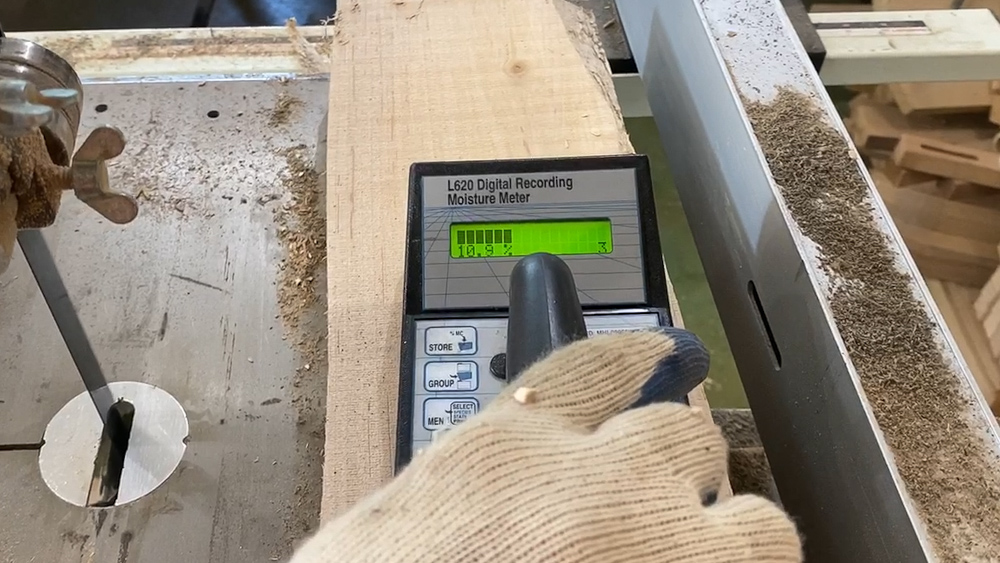
The 6×6 sections went through the drying process as sacrificial test blanks. These were resawn so the core moisture could be read.
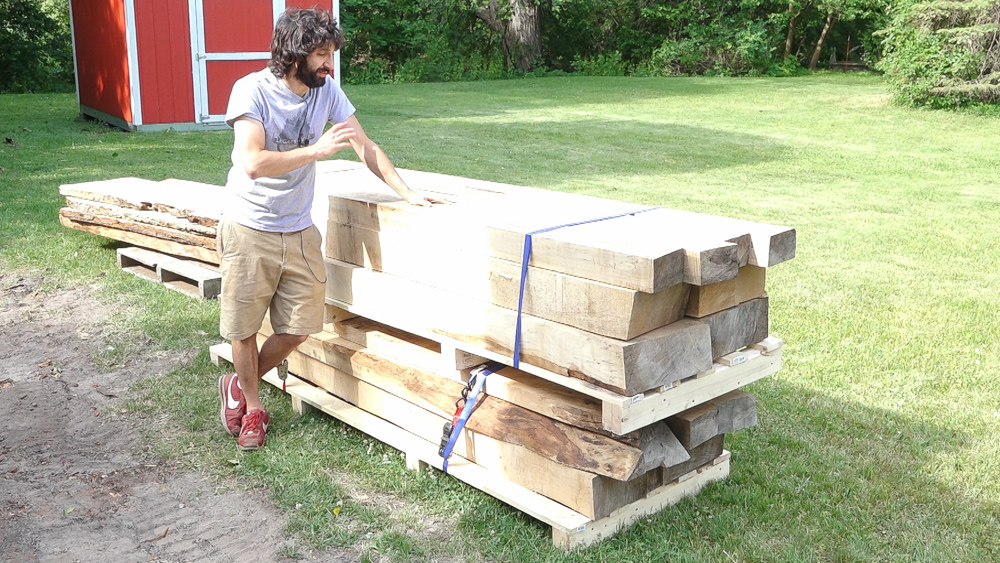
With much surprise, the bench tops came out of the kiln with no drying defects!
A pair of these bench tops are heading to Andy Klein for a bench he’s building: https://www.youtube.com/playlist?list=PLBtl4Z2Fk7O3gVe1OQ4rQEluKcmb1gxNN
The other two pairs are heading to a couple of other woodworkers who are going to give no lamination workbench building a try.
If you’re interested in reserving a bench kit from one of my future batches: https://www.mattcremona.com/product-category/workbench-kits
Log Tongs: https://amzn.to/2KXxJZR
60″ Peavey – https://amzn.to/2X8WtS9
78″ Cant Hook – https://amzn.to/2Is0RY1
Hi-Lift Jack: http://amzn.to/2nwL9Nq
Hearing Protection: https://amzn.to/2xysd8q
Beam Saw: https://amzn.to/3e8Gtr2


Welcome to my shop! This is a quick update to let you know what I’ve been up to. This big chunky thing is the leg

Welcome back to the home renovation. This time I’m going to be working on the kitchen island. Here is a small model of the island.

Welcome back to our home renovation. Today I am going to be working on this wall. It needs some upper cabinets and the surround for
6 Responses
I enjoy your YouTube videos and banter!
YES! I am (still) interested in your slab Workbench “kit.” maple, (cherry) smooth domestic hardwood. Thanks.
~Ralph
Thanks Ralph! The tops will likely be limited to maple since it grows big enough and can easy go through the vacuum kiln. I may be able to do accent woods for vise jaws or end caps.
Maple it is.
I have five silver leaf in my yard! Most apropos. How much does the “kit” cost & how do I securely send you a deposit?!
~Ralph in OP
I am ready.
PayPal
Check
CASH?!
~Ralph
Reservations are available here: https://www.mattcremona.com/product-category/workbench-kits You can choose either the fall or winter batch. thanks!