
Matt's Weekly Shop Update
Kitchen Island, Barn Power – March 2024 Update
Welcome to my shop! This is a quick update to let you know what I’ve been up to. This big chunky thing is the leg
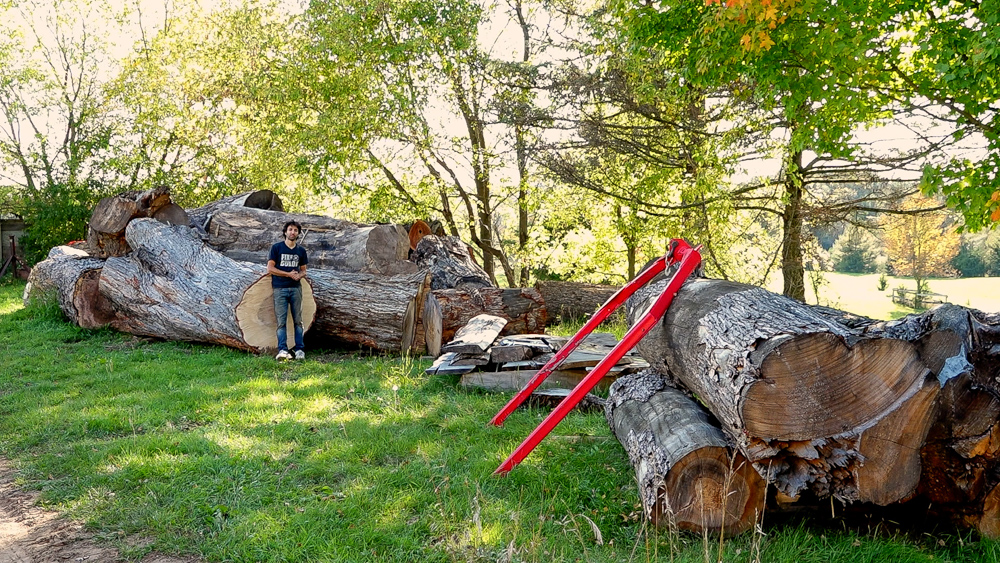
Welcome to my backyard!
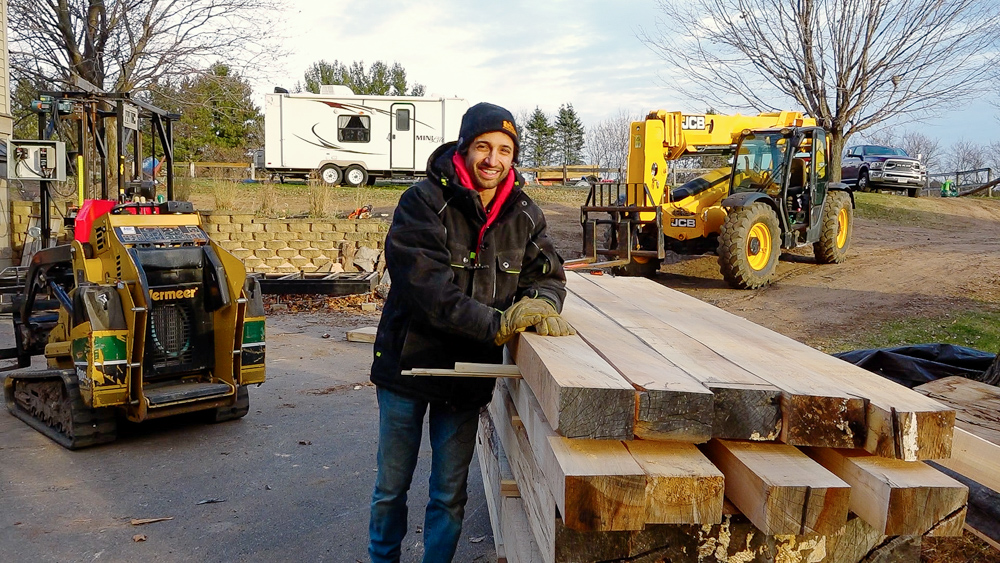
Today we’re going to get back to making some more workbench kits. Last fall I produced the first batch, and now I’m getting into producing the second one. Since producing that first batch, I’ve had a lot of interest in more workbench kits. My biggest issue right now is sourcing the logs to produce the quarter sawn workbench kits that you’ve seen me producing so far. I am looking at branching out and growing this into more of a product line. So the workbench kits I produced in the first batch will become the high level premium offering. I’m also considering doing other things such as a solid, non-quarter sawn one piece slab top and a smaller lamination kit. With that, instead of a bunch of strips to laminate, you’d laminate three pieces for each slab. I don’t know exactly where things are going to go just yet, but I’m planning to grow this over the next two to three years. I’ll let you know when things progress a little more, but that’s a bit of a heads up of where things are going to go with this one.
So I have six more kits that I pre-sold last year, and those are the ones that I am focused on getting produced right now. I have a few logs here, and we’re going to start sawing today, and I’ll probably saw throughout the fall. One of the other things that we figured out is with the drying, since it is a three week schedule, it really works well to put them in the kiln right before Christmas. That way my friend Eric, who dries these, can take some time off and his kiln won’t be sitting empty during that time off. So I’m aiming to have a full kiln load ready to go by mid-December so we can get that loaded and drying. It’s October right now, so I have two and a half months to get through all this stuff.
Let me show you some of the logs I have which we’re going to saw in the next several videos. I’m estimating that this will be a three part series, just like the first batch. Let’s just take a quick look and see what I have. First up, I have a few silver maple logs, a couple of these will likely be base material because they have some rotting, but I’m hoping to get some bench tops out of one of these logs.
I also have this chunk here, which should produce a few benchtops. It’s about the same size as that really big one I cut last year.

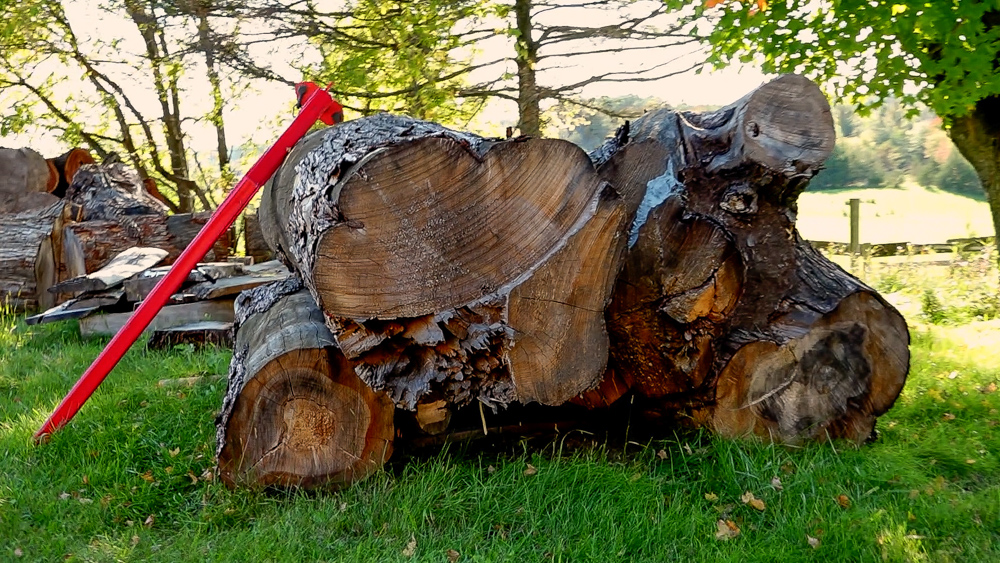
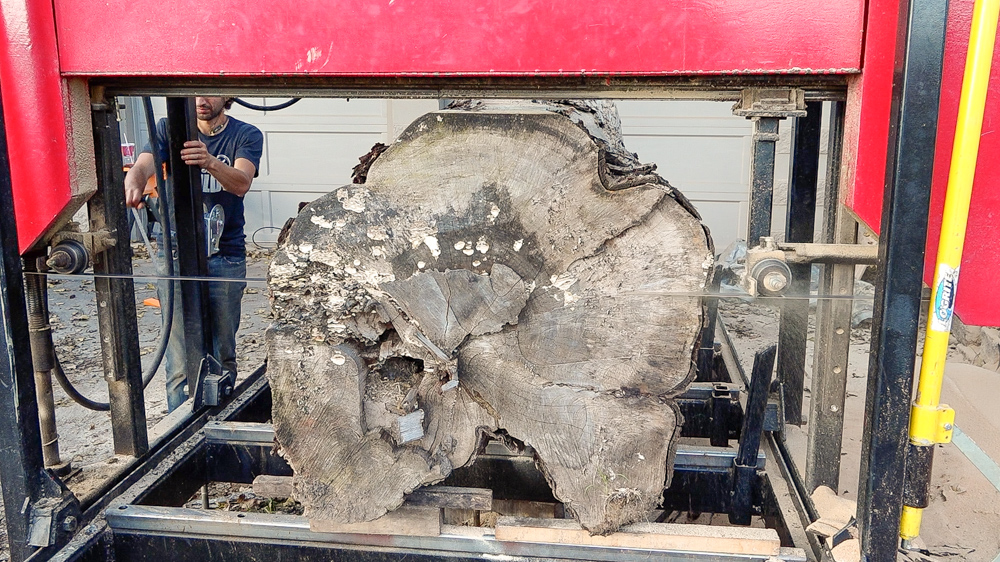
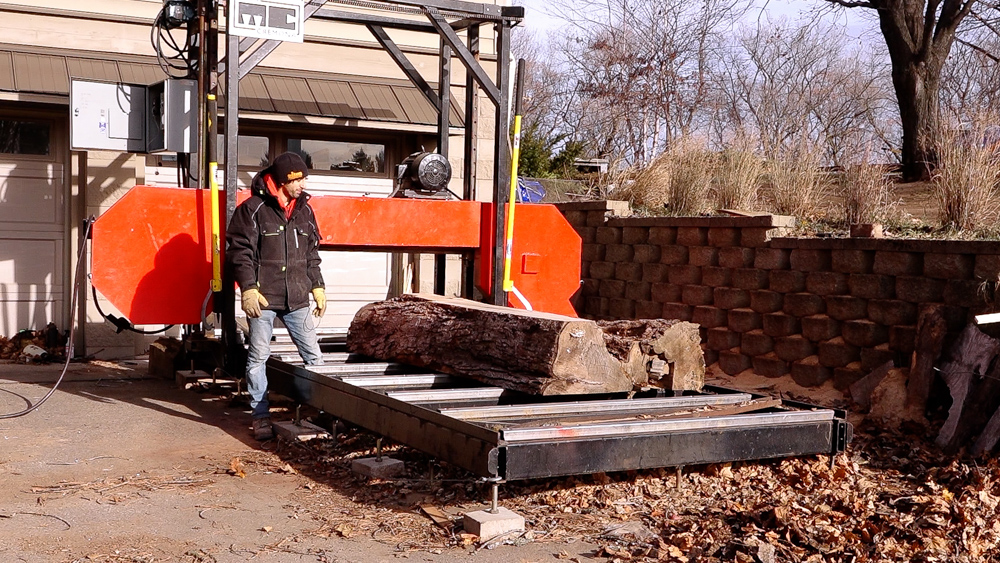
This is what we’re going to cut today. This is a log that I had from the first batch. I bought several larger logs like this, and I didn’t end up cutting this one because it’s missing a big chunk of wood. This is probably only going to produce three bench tops at most. This one’s been sitting the longest, so it’s going to have some spalting and stuff for the folks that want a bench top with some spalting.
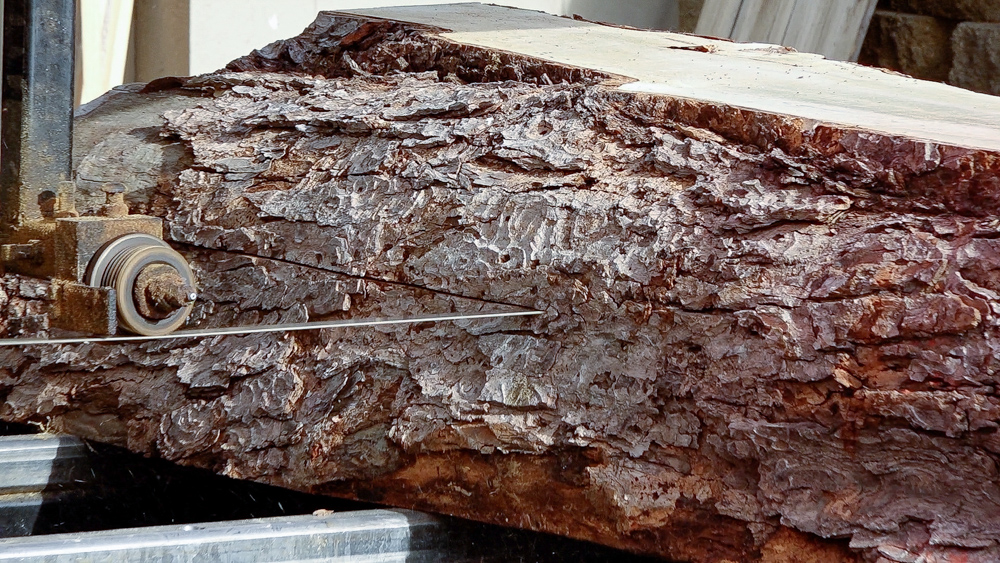
So I have this thing staying on here pretty well. I tried to orient it so an inclusion would be in the waste area. This thing is super goofy. It has a hole from some fibers being torn out when the tree was felled, but I’m not super worried about that because past that should be solid wood. But as I walked around this log, I remembered why I didn’t cut it last time. This log is super goofy and it might be iffy. I’m guessing this is only going to produce one work bench, but if it produces two, I’ll be very happy. But regardless, any waste from the production of bench top material just becomes base material.
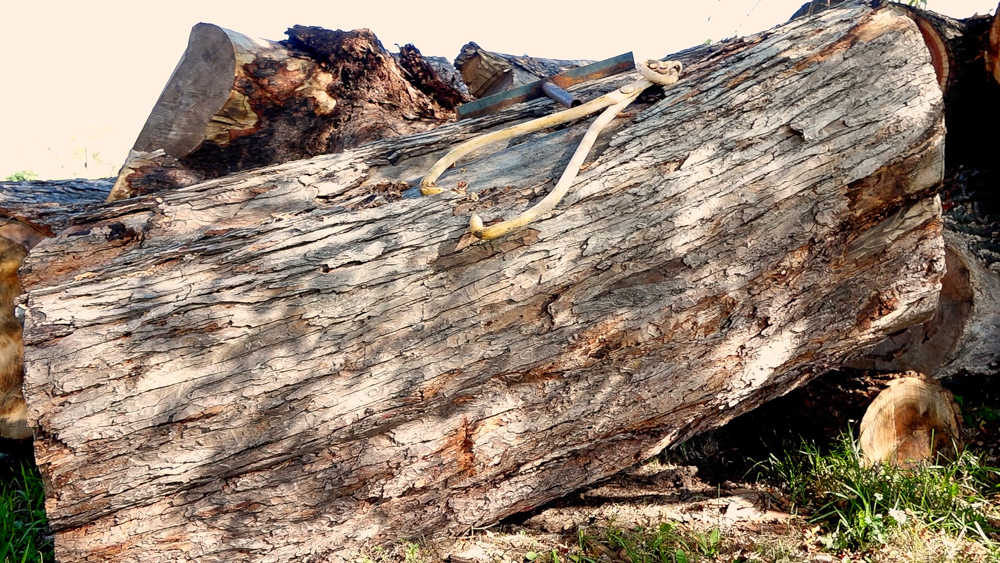
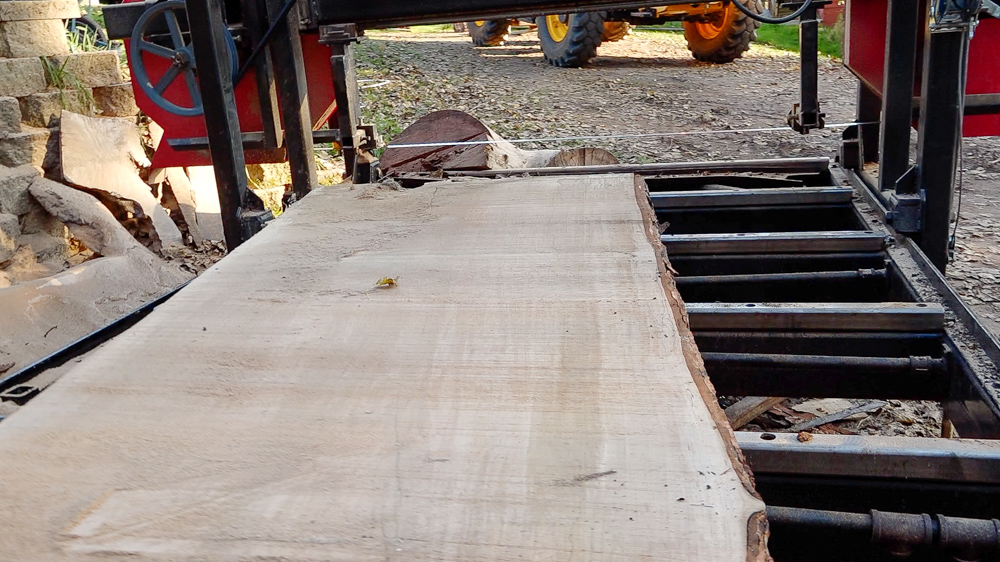
So, as always, I make a kind of skimming cut on the top. We’ll drop down and make a huge chunk to make that first bench top. And then we’ll drop down again or we’ll flip it depending on how things go and make a six inch thick slab that includes the pith.
So this log was super duper surprising, I wasn’t expecting it to work out this well. This thing is in really great shape, so we got our two slabs out of this one, and the other part of the log looks like it’s going to work out pretty well too. So, we’re going to get three work bench tops out of this log!
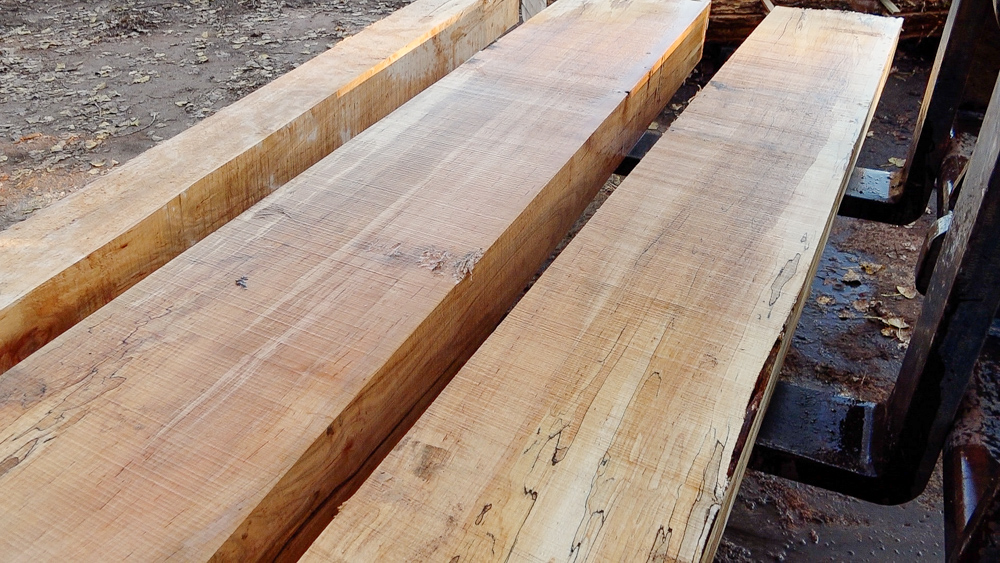
So these are actually pretty darn nice. The one on the left is 15 and a half inches across, so it’s an extra large bench top. The other one is 13 inches across, so after it gets cleaned up, it’ll be a standard 11 inch workbench top.
And here is the workbench top from the other part of the log. I can’t believe I got three benchtops out of that log, and they also turned out really nicely, which I was not expecting based on the way that log looked.
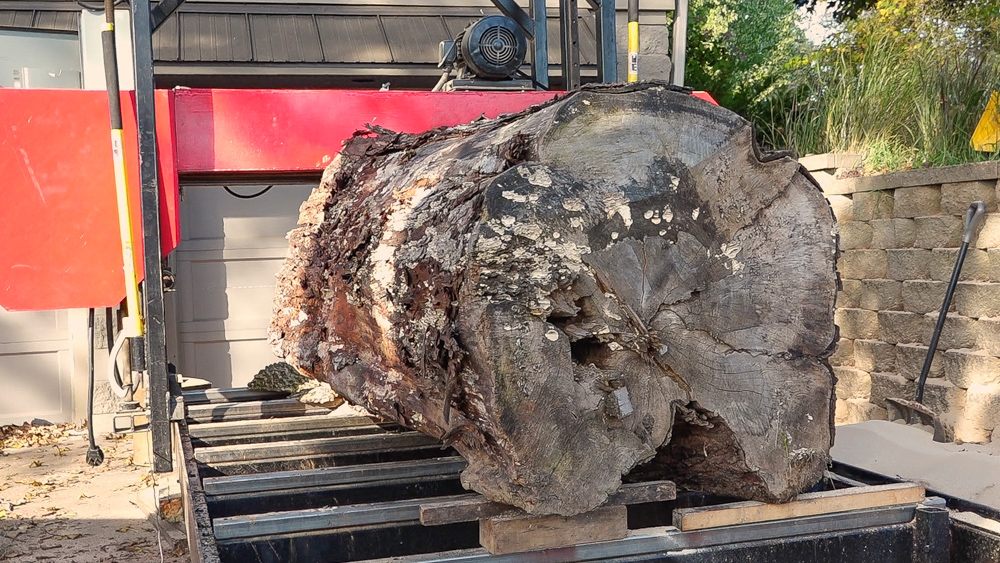
So it’s a little colder now than the last time we were out here working on this. Today I’m going to finish cutting this log today. We have this big chunk here, and I’m going to attempt to make a single slab workbench top out of this and that’ll be one bench top. Then we’ll go through and make a bunch of base material from the off cut from this chunk as well as the two chunks from before. And I have another log which we’ll grab and cut into base material as well.
The saw is set at six inches right now, and we’re going to go through and make our big giant slab cut.

So with that, we ended up with five bench tops. We have two that are not quarter sawn, and then the three that are. This is the last one we just cut, so number five, which is more of a rift sawn bench top. So ended up with two non-quarter sawn tops, one half a bench, and one full bench. Not too bad.
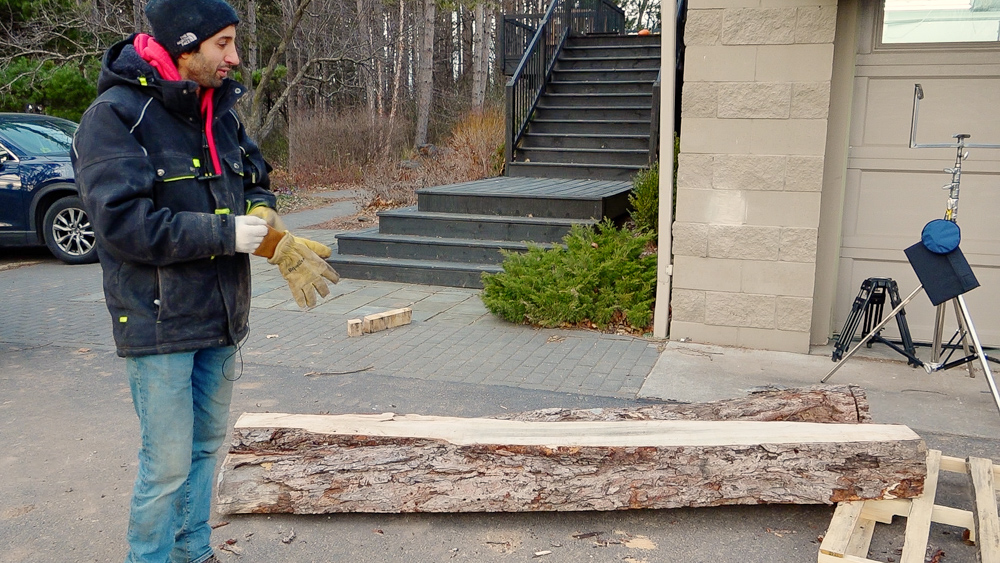
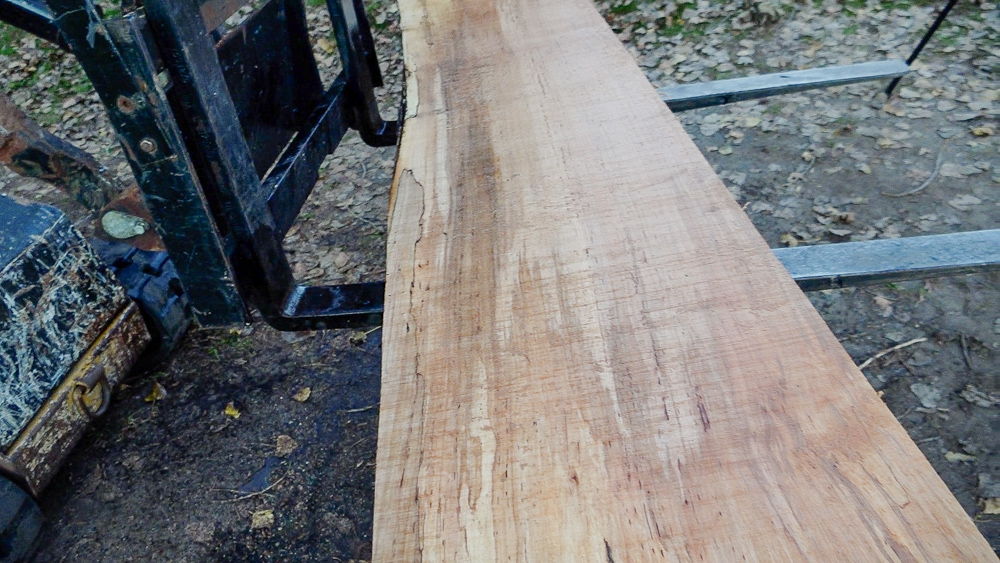
The only thing left is this a little weird off-cut, which I don’t think I can get any bench stuff out of. I’m just going to throw it back on the saw and cut some kind of slab out of it, and we’ll take a look at what that looks like.
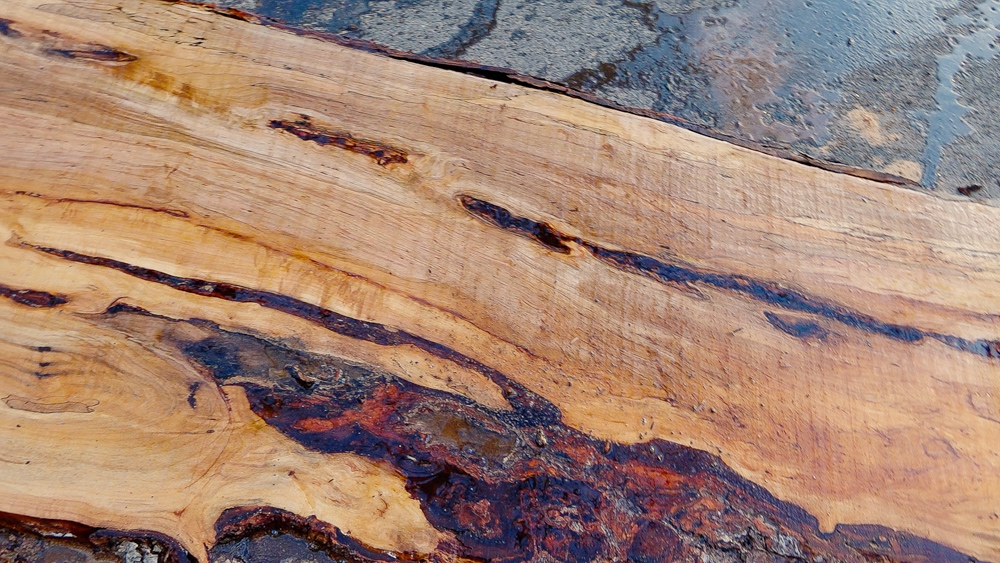
That is very pretty. Lots of things going on there. It’s got some really nice bark inclusions and color and whatnot.
So that’s a pretty good first stack from one big log and one small log. Next time, we’ll do some more sawing. I have another big one back there to pull out and turn into some more quarter sawn bench tops, so sort of the same as this one, but it’ll be very different because that log is very goofy.
Thank you as always for joining me, I greatly appreciate it. If you have any questions or comments on the workbench kits, the saw, or anything back in the shop, please feel free to leave me a comment. As always, I’d be happy to answer any questions you might have, and until next time, happy woodworking!
Welcome to my shop! This is a quick update to let you know what I’ve been up to. This big chunky thing is the leg

Welcome back to the home renovation. This time I’m going to be working on the kitchen island. Here is a small model of the island.

Welcome back to our home renovation. Today I am going to be working on this wall. It needs some upper cabinets and the surround for